Bookcase Makeover | Blue Gray
As an Amazon Associate, I earn from qualifying purchases.
For today’s Thrift Store Decor Team, I’m sharing a 90’s bookcase makeover. This set of bookcases was actually given to me. The set was very musty and moldy!
Be sure to see the projects shared by my friends at the end of this post.
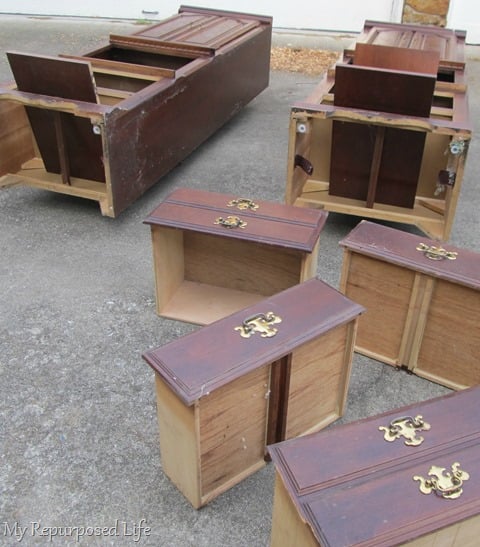
You can see that they definitely needed some cleaning up. I used warm soapy water with a little bleach added. I wiped everything down, inside and out. You can also use TSP on a bookcase makeover like this.
Bookcase Makeover | Clean

As you can see the bookcase had a real issue of being yucky.
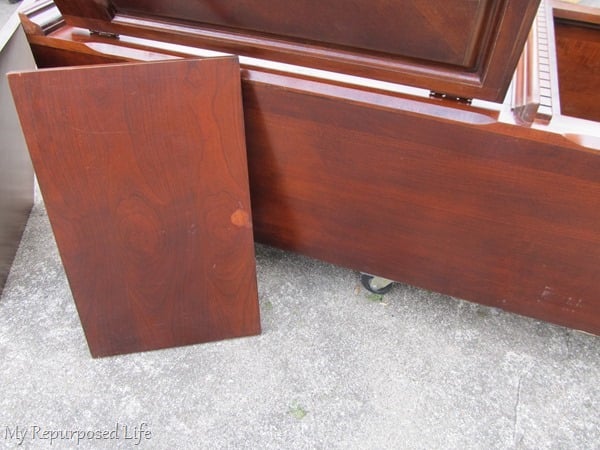
After a good cleaning the bookcase is now ready for it’s makeover.
DIY Chalk Paint
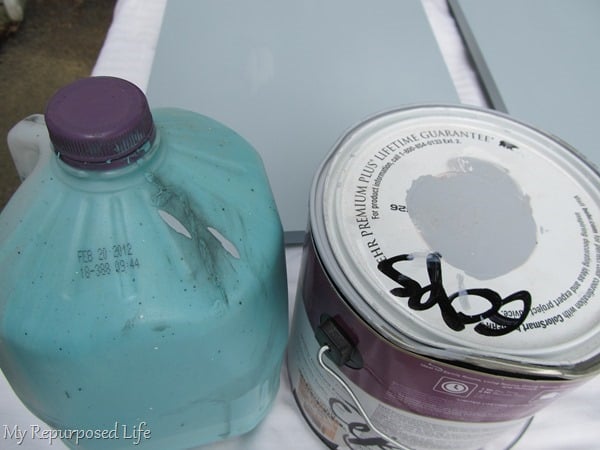
After talking with a friend, she suggested a gray with a little turquoise. When I keep paint too long and the can gets rusty, I store paint in laundry jugs. This paint happened to be stored in a milk jug for years! This is the same paint I used to paint the Repurposed Fire Pit Outdoor Table Made with Pallet Wood.
In order to get a flat sheen with the paint, I mixed it with Plaster of Paris to make my favorite Chalky Paint Primer.
Apply Two Light Coats of Paint
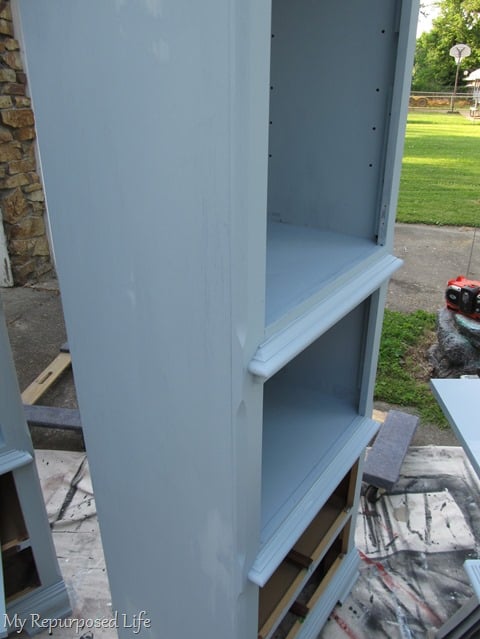
I applied two coats of the DIY Chalk Paint. The first batch I made up was enough to do everything once, and the inside of the shelves twice.
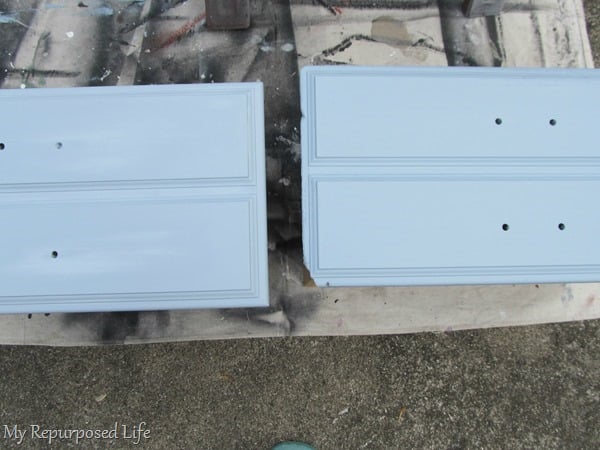
I was afraid that I wouldn’t be able to get the same shade for the second coat, but actually got it perfect. the drawer on the left is the second batch, the drawer on the right is from the first batch.
Boards on Sawhorses Allow More Room for Painting
It was a challenge to lay everything out and get both sides painted. I use 2×2’s on the saw horses to get the maximum amount of room.
Tip: If your paint is a little tacky, you can use wax paper to protect the finish while on the sawhorse.
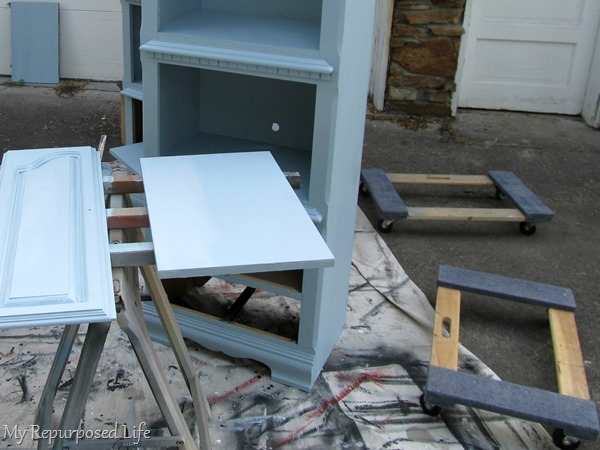
These bookcases are so very heavy. The only way I can manage to move them is on furniture dollies.
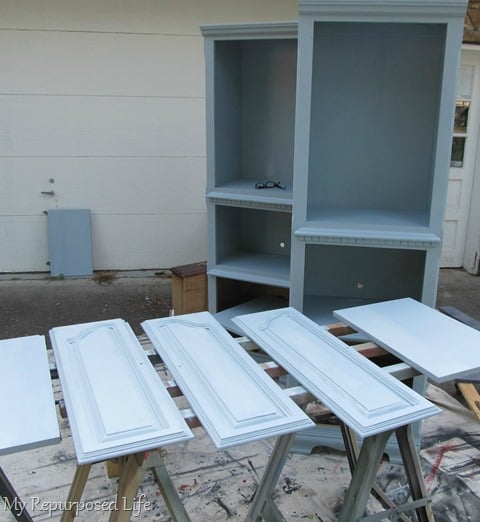
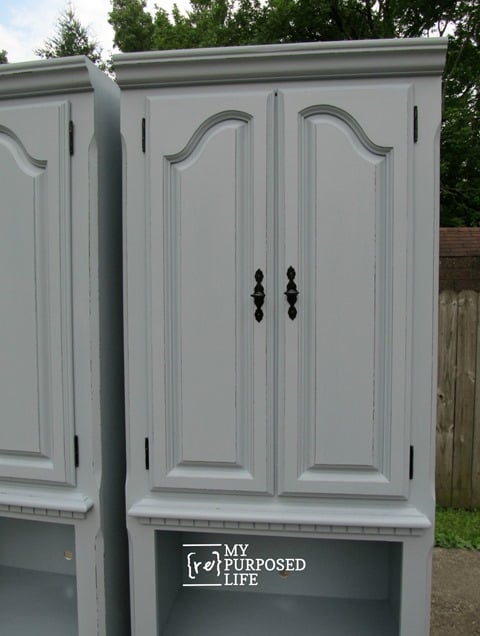
Glue Gray Bookcase Makeover
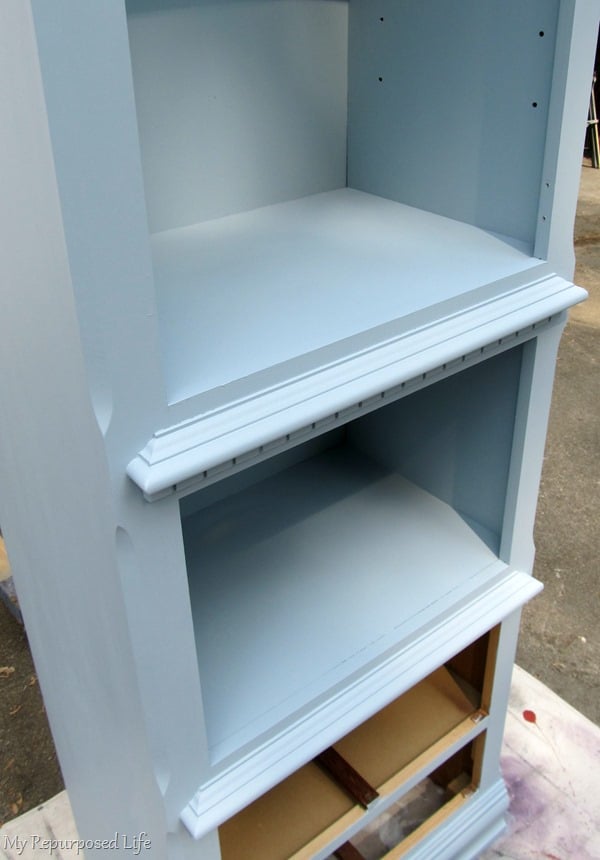
After two coats inside and out the bookcases are showing a slight hint of the blue.
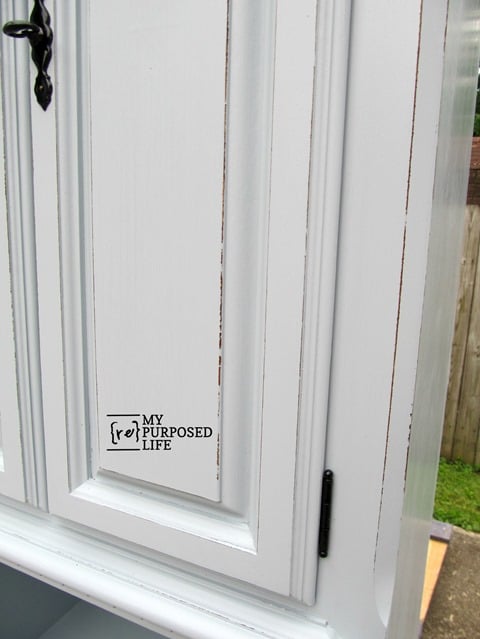
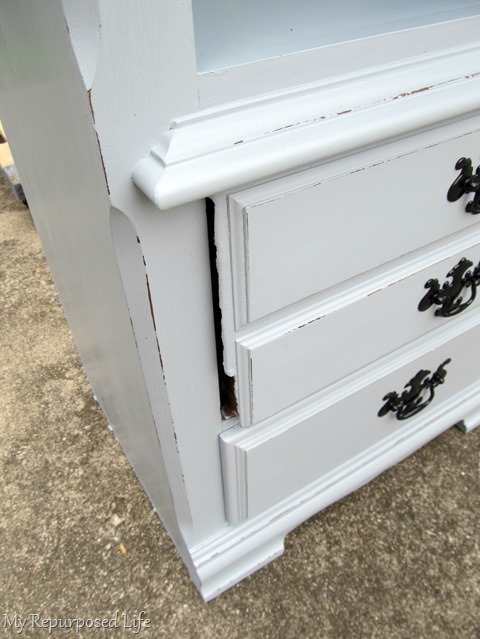
Bookcase Doors with Distressing

I distressed the edges by scraping very lightly with a putty knife. Emery Boards are also very handy for light distressing.
Spray Paint Hardware
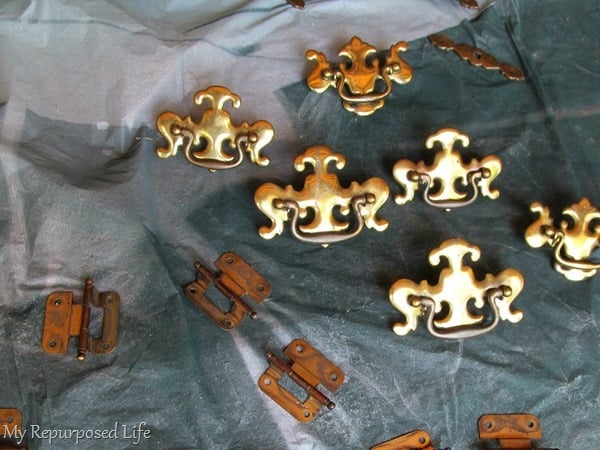
I used black spray paint on the hardware. I wasn’t about to change it all out.
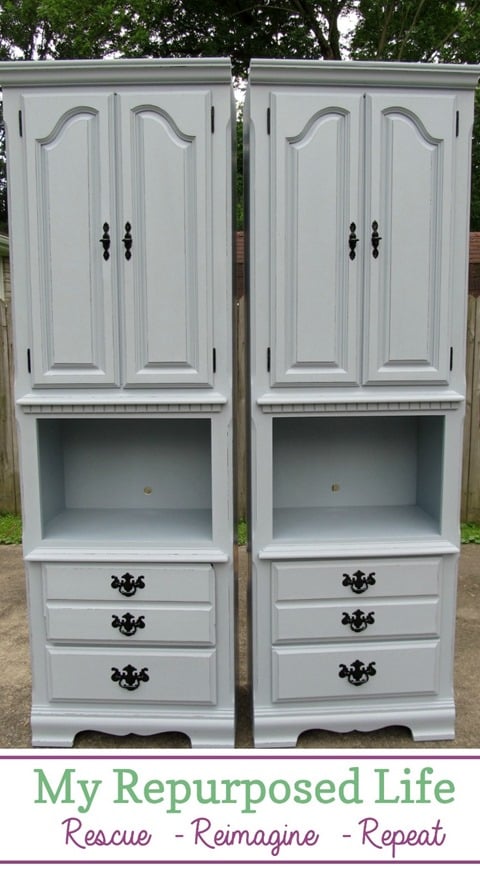
Old Bookcase Makeover Complete
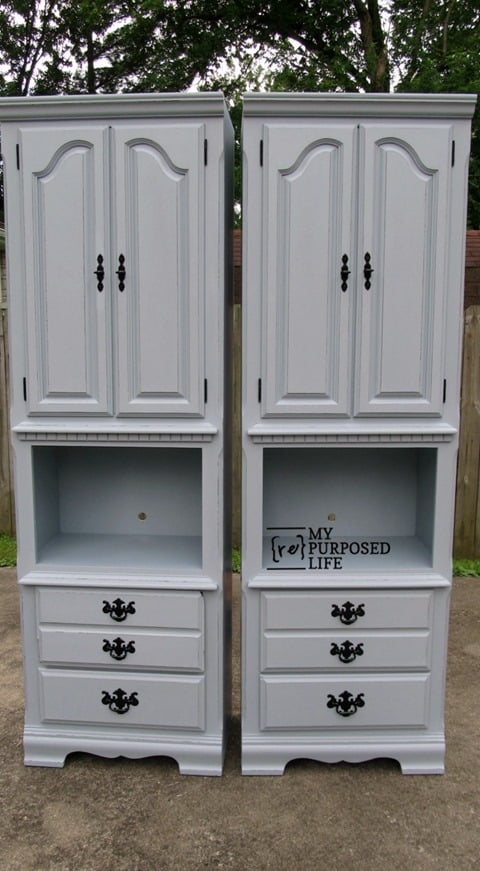
Are they blue? Are they gray?
I waxed the bookcases with Annie Sloan clear wax. I think that brought out the gray?
There is quite a bit of damage on this one drawer of this bookcase. Perhaps I could have made it a shelf, but my heart wasn’t in it. Since I sell my pieces, the final decision would be up to the new owner.
I love using the homemade chalk paint! I did have to sand the surfaces lightly before I waxed them. (due to them being a little gritty) But after a a quick, light sanding, they were oh so smooth! Surely someone would love to give these a new home.
Before you go, won’t you please save & share this on Pinterest?
see more Chalky Paint Projects by clicking that link
Every so often, even I need to take a break from the saw and drill. 

Thrift Store Makeovers Furniture & More
We’ve been a busy bunch, take some time to visit everyone and see all the other wonderful thrift store makeovers!
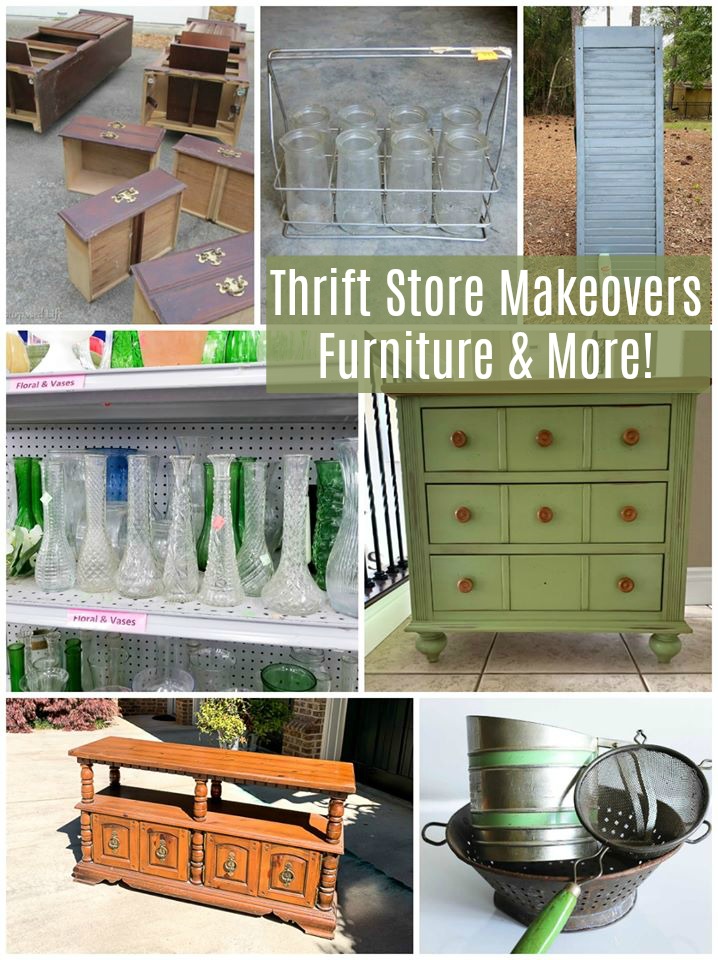
Urine Specimen Bottle Display
Shutter Shelf DIY
TV Console Makeover
Nightstand Makeover
Florist Vase Makeover Inspired by Cloisonne
Repurposed Kitchen Tools As Planters
I love this! I recently used chalk paint on my dresser and have been waiting to find the right hardware- I never thought to just paint it!! Your link goes to Krylon spray paint, but does it need to include primer? And did you use satin or gloss? Thanks! I’m new at this:)
Lauren,
Thanks for stopping by and taking the time to reach out to me! I think any spray paint will work, it’s more about the prep of the hardware. Make sure it’s very clean and very dry. I typically use semi-gloss spray paint. I’m sorry–I’m not sure what I used on this. When in doubt, you can’t go wrong with oil rubbed bronze! 🙂
gail