Board and Batten Back Splash
As an Amazon Associate, I earn from qualifying purchases.
I took the easy way out, (and cheap). The funny thing is I decided on board and batten last Thursday while I was looking at some magazines. I found a really pretty bathroom and I thought to myself, I could do this for my backsplash. I did a google image search and look what I found:
![IMG_0916[1] IMG_0916[1]](https://lh4.ggpht.com/_TrDKdmiRg0Q/TTURQuLAZmI/AAAAAAAAMQY/KWuctQC78L8/IMG_0916%5B1%5D%5B6%5D.jpg?imgmax=800) Click the picture, I’ll wait while you check it out. Did you see whose blog it is from? Did you check out how many followers there were? I was so shocked when I saw that it was Donna’s original blog. Isn’t that funny! And, Donna is doing a series on “copy me”.
Click the picture, I’ll wait while you check it out. Did you see whose blog it is from? Did you check out how many followers there were? I was so shocked when I saw that it was Donna’s original blog. Isn’t that funny! And, Donna is doing a series on “copy me”.
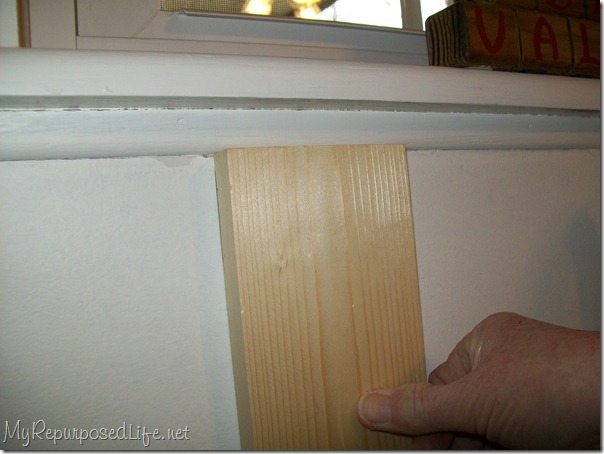
I did some dry fitting and a lot of measuring with a couple of scrap pieces of 1×4 before I made my list of what to buy. This is under the kitchen window. I can see that the trim is going to be a problem.
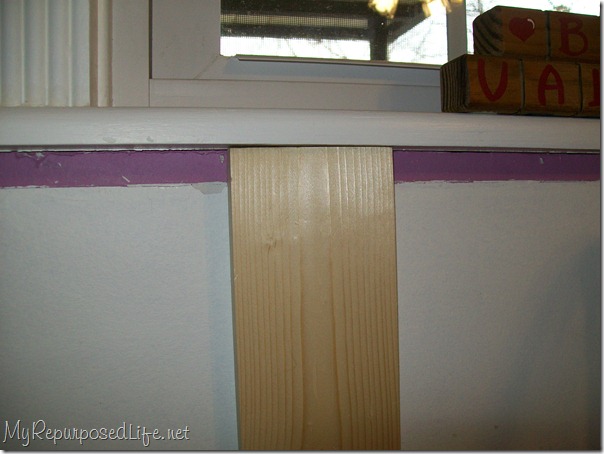
The trim was very easily removed. That’s a lot better.
*this post contains affiliate links*
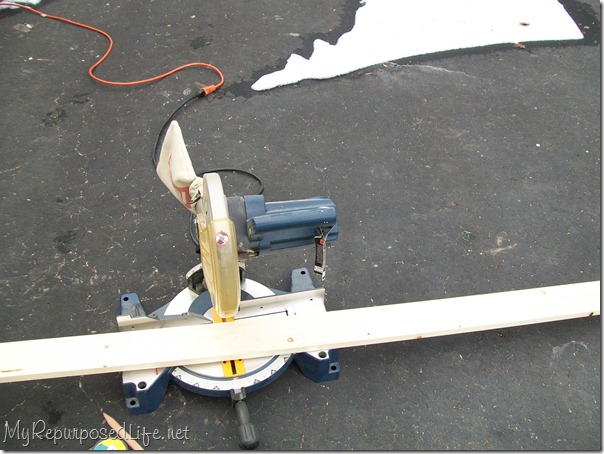
I went to Home Depot and purchased my 1×4’s. I used my small compound miter saw because it was easier to get out of the garage. Because this length of lumber was 12 ft, I cut it on the driveway. (yep, that’s snow in the background)
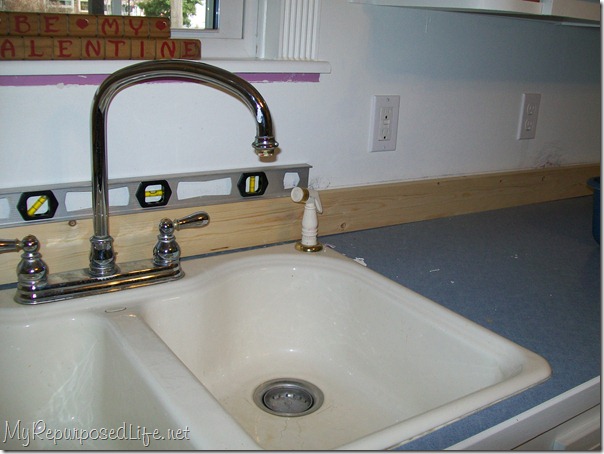
I brought the length in to check it out. See the level. The board is level, but there is a huge gap under the board right behind the faucet.

See it? Not good!
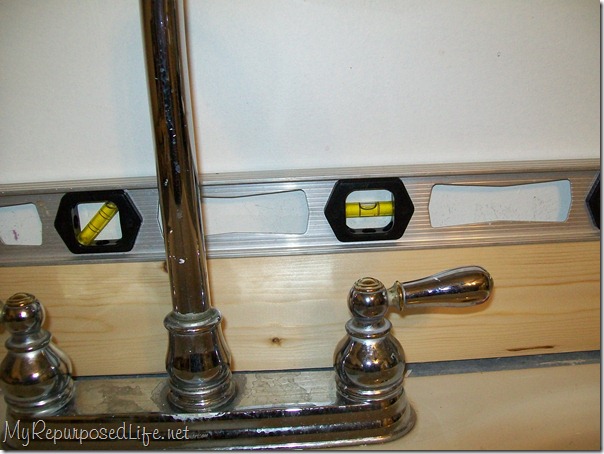
note: old ugly faucet!
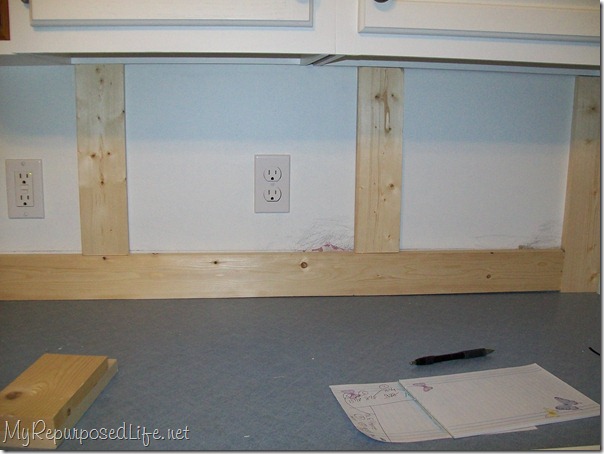
You can see here that there is also a gap on the right side. This is all just a dry fit here. I used my rasp to scrape off some of the wood between the two outlets to try to get the board to lay flat. It helped some.
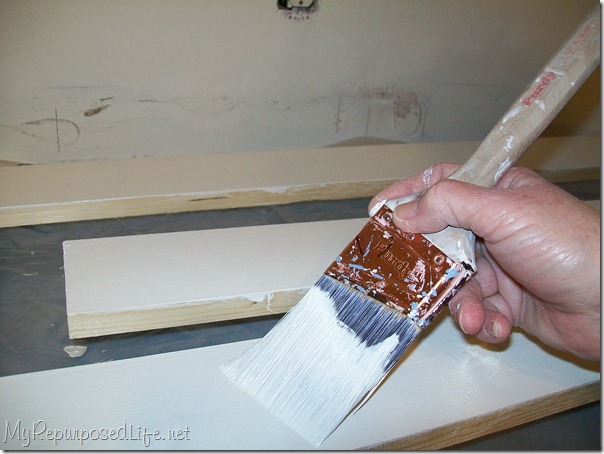
I pre-painted my boards with my Purdy Paint Brush.
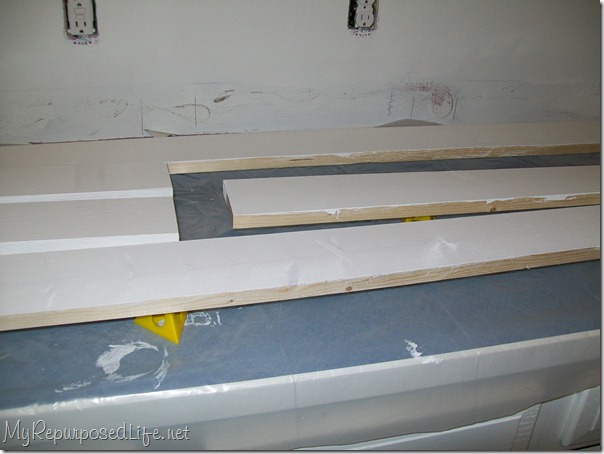
I used these little triangles to hold the boards off the counter.
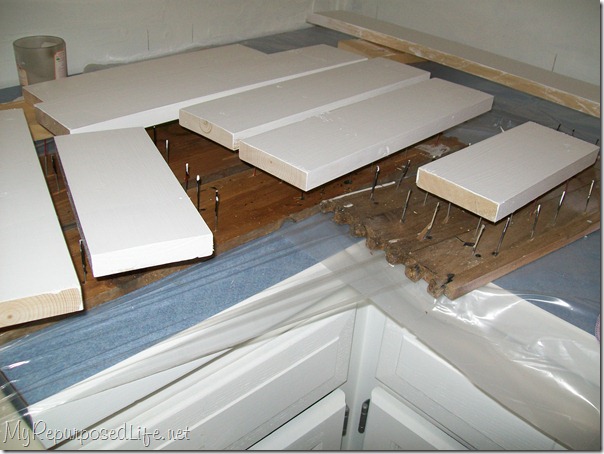
I’m sure these home made pieces have a real name. They are great for holding boards for painting. I gathered some old drawer pieces and used my nailerto shoot some nails through the board.
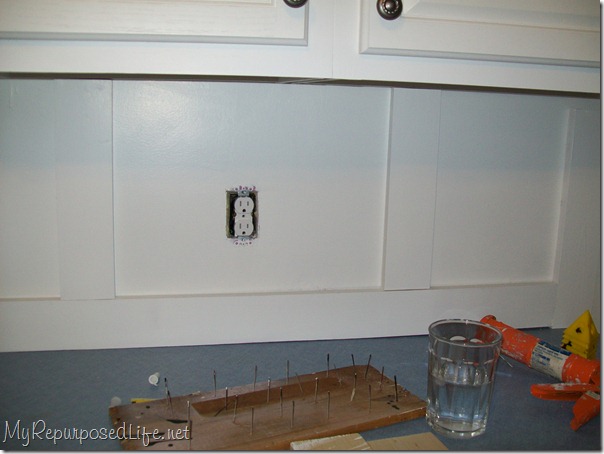
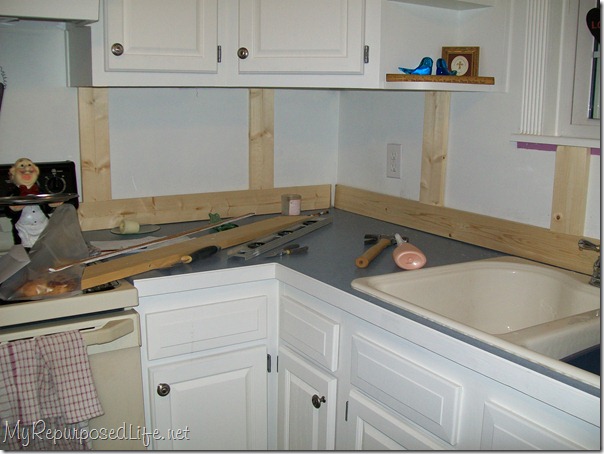
I made my vertical boards fit very tight to try to help hold the horizontal board down.
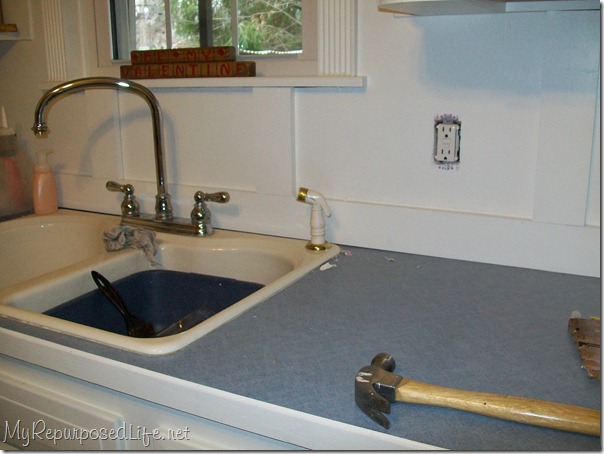
This is still the dry fit stage. I spaced my boards about 16 inches apart. I really liked the way that spaced them under the window.
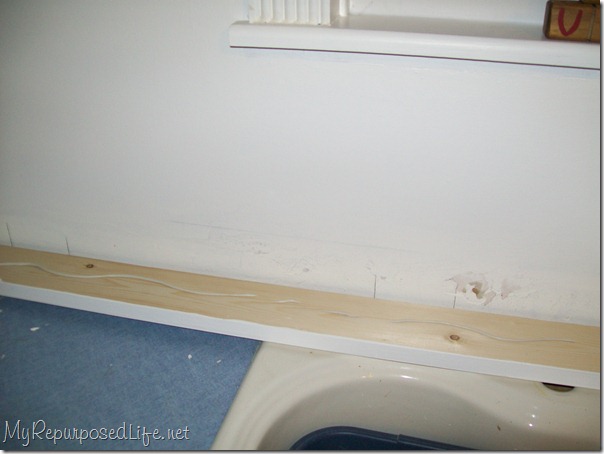
I used Liquid Nails to hold my horizontal board in place.
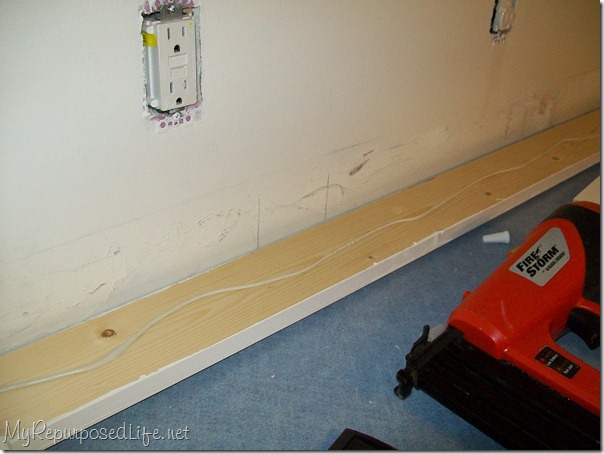
When I use liquid nails, I apply it to the board, stick the board to the wall briefly, then pull the board away from the wall, and then smash it back on for good.
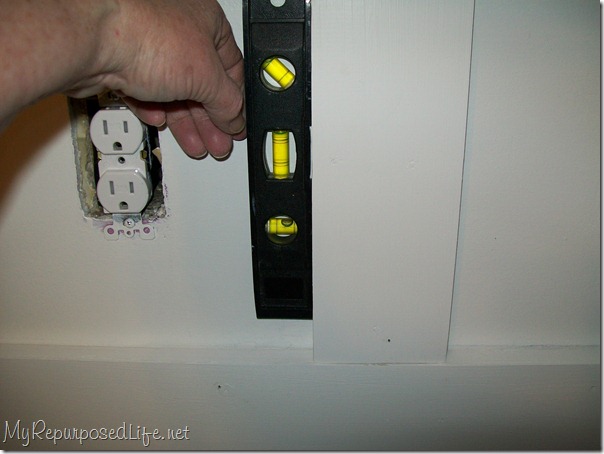
Working very quickly, I started putting in my vertical pieces. Because of the tight fit, sometimes I had to pull the horizontal board away from the wall slightly. If my board was not quite level, I tapped the level with my hammer to get it straight. You can also use a scrap piece of wood. Do NOT hammer on your painted board.
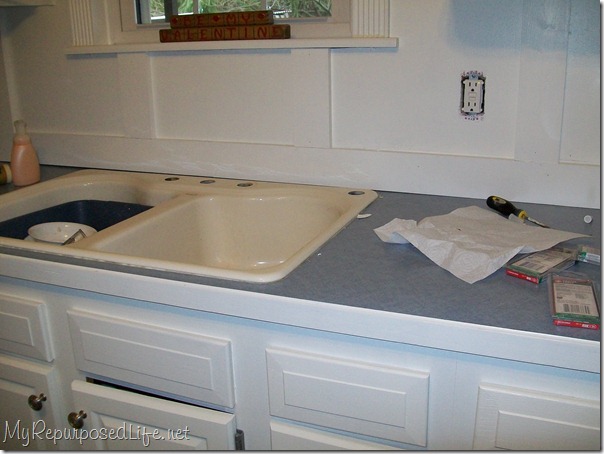
As soon as I got the vertical boards in the right place, I started nailing the horizontal board into place. Those lines behind the sink are not really there, they are an optical illusion, possibly some kind of reflection from the shiny sink.
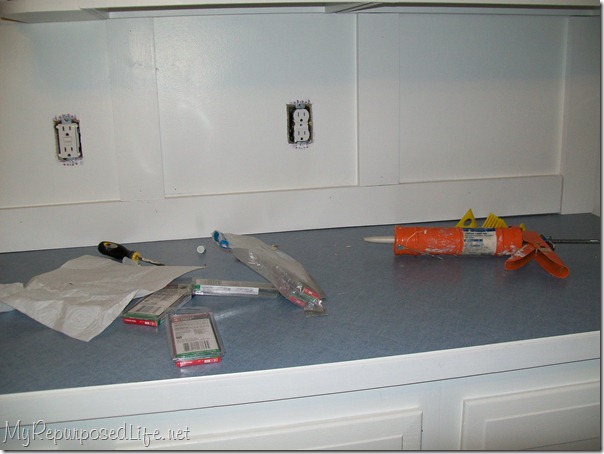
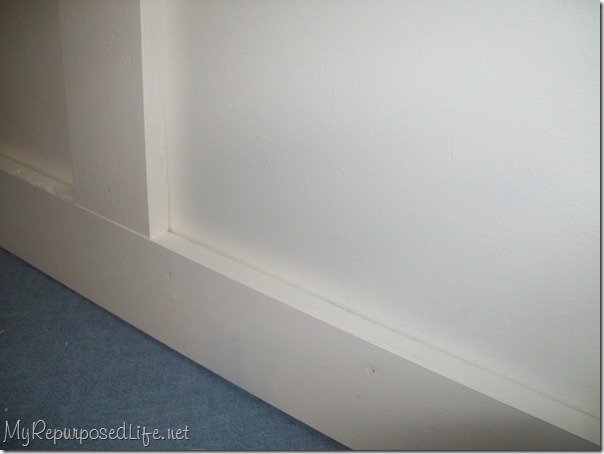
This is before I caulked. Painter’s caulk really is one of my best secrets! It gives your work a real finished appearance.
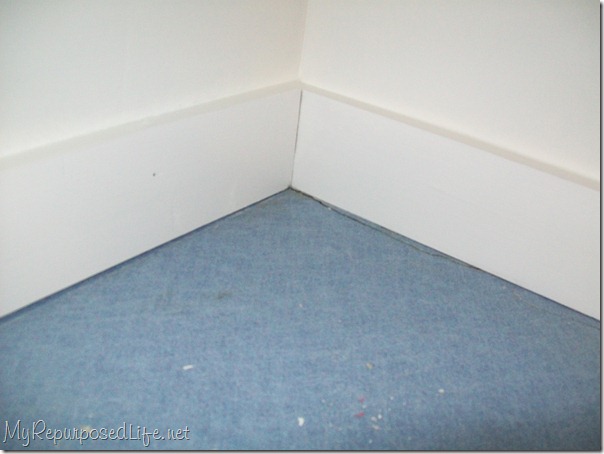
You can see here that I have caulked on top of the horizontal board, but not where it meets the counter.
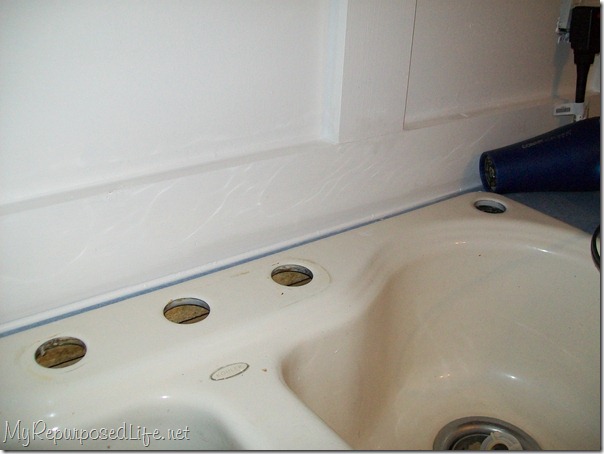
I used the hair dryer set on cool to help set the caulk. Because there was such a huge gap, I had to use several applications of Kitchen and bath caulk.
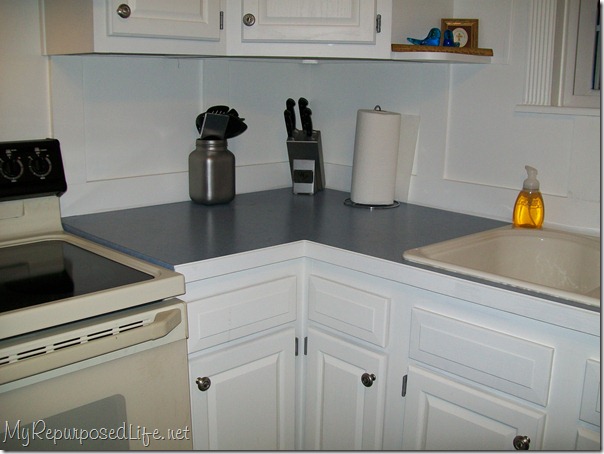
Voila! It’s finished. (note to self, get a new paper towel holder)
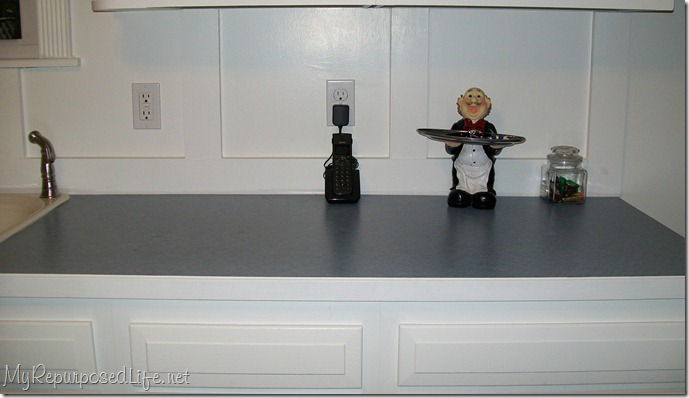
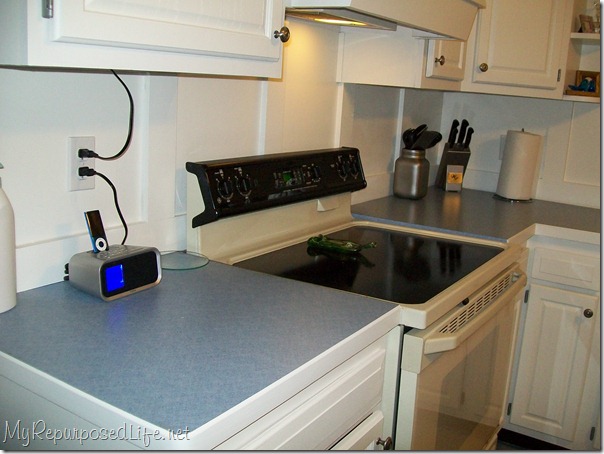
Do you see that Ipod? A gift from jamie! See the Ipod dock? A gift from Uprinting.com. I won a $100.00 gift card for my Thanksgiving post. I got the Ipod dock and some new flatware.
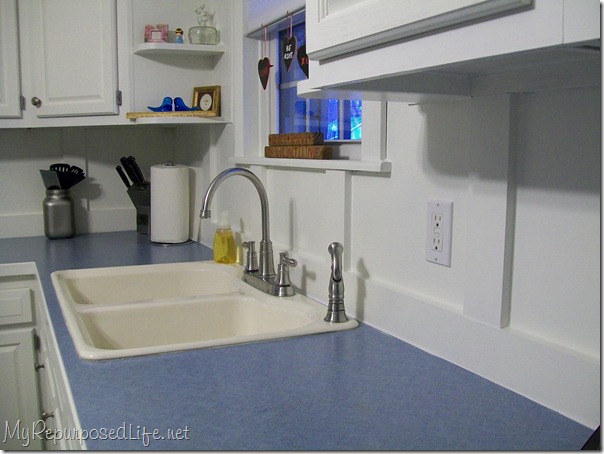
See that new faucet? Love it with the new back splash!
This board and batten may be a temporary fix, but I really do love how it looks.
Do you have board and batten in your home? I’m thinking about doing it in the bathroom, not chair rail height. You know the board and batten that is a little higher with a ledge? That’s what I originally saw in a magazine last week that inspired me to do this back splash. Any thoughts?
Related content : How to prepare for a new back splash
gail

This is so nice!!! It really looks great! Thanks for sharing!
Gail – What a fabulsou idea to use the B&B as a backsplash – brillant! Looks wonderful – fantastic job! Thanks so much for linking to the Sunday Showcase – I greatly appreciate it. I’ll be featuring this today. Hope you have a wonderful week ~ Stephanie Lynn
Gail, I LOVE the board and batten there! So classy! Great job! I’m a little jealous!
I know everyone is telling you how great this looks but come on!!! This is amazing! My style! I love it!! This is a lot of exclamation points!! I’m going to totally copy you. (By the way, did I tell you I love it?) !!!!!!!!!!
Oh, you did such a beautiful job on it. 🙂 This is actually the first time I have seen board and batten used for a back splash and I love it!!! I would have never thought of this. Great job!
I hope you have a wonderful weekend!
Blessings,
Jenni
belle & sparrow/{Beautiful Nest}
Beautiful Gail, must be so satisfying to know you have done it yourself! Thanks for sharing at Beyond the Picket Fence.
oh my goodness! You just solved a 10 year old question: “what can I do with that blah backsplash?” I live in an 1870’s gothic victorian house that I’ve been pulling back from the brink of disaster since 2000. The outside of the house is entirely board and batten! The backsplash hasn’t risen to anywhere near the top of “the list”… but I am almost ready to replace the tired countertops and now I know what to do with the backsplash… Thank you!
LOVE IT! I’m about to do some b&b in my dining room. Such a classic look.
Wow, this looks really great! Love it!
Love how it turned out and it complements everything you have done in the kitchen. Great job!
Great job! Looks fabulous!
Angie
Sooooo clever! I love the crisp, cottage-y look of it… You did a great…..no GREAT job!
Warm blessings,
Spencer