Caddy or Tray Repurposed from Hymnbook Holders
As an Amazon Associate, I earn from qualifying purchases.
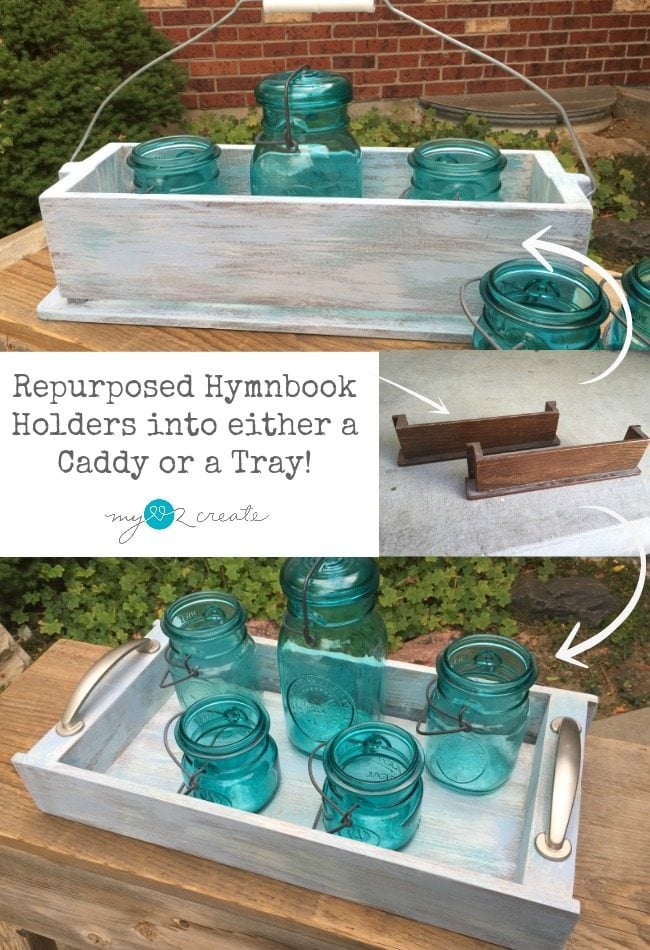
I am loving the results! Are you a little confused about the Hymnbook holders? Let me explain.

A few years back our church was getting new pews for our chapel. They originally said we could take a pew (if we wanted one), but when I went to pick it up they had decided to sell them to an organization. Ok, cool, but “Do you want the Hymnbook Holders?” I asked…No they didn’t! So of course I came home with several, and they have been collecting dust in my garage ever since. Until now!
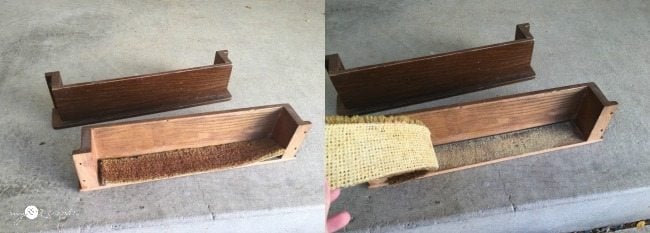
It was time to dust them off and turn them into something cool, and I had just the idea! I started by removing the carpet strip (cause you can’t have the loud noise of hymnbooks dropping back into their holders, right!) and realized I would have to deal with the nasty hardened glue left behind on the wood.
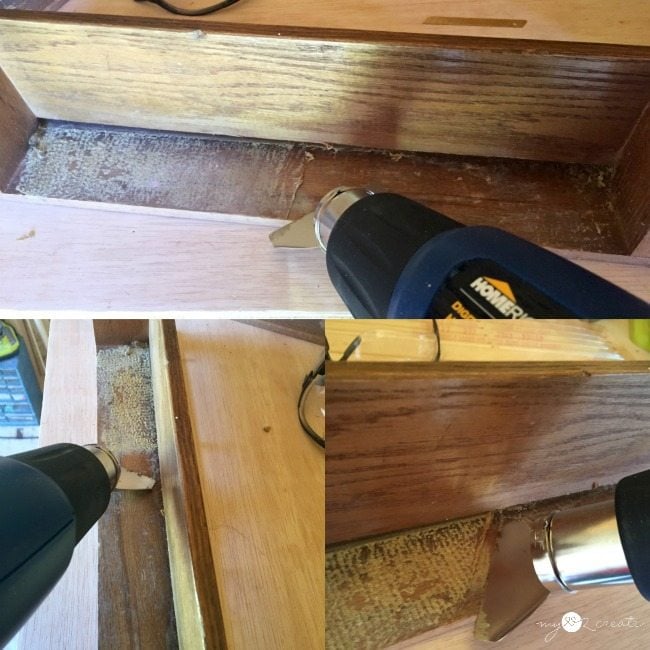
I knew sanding the glue off would ruin 50 million pieces of sandpaper so I busted out my HomeRight Heat Gun! It took about 5 minutes or so to scrap off the glue, but it was well worth the effort!
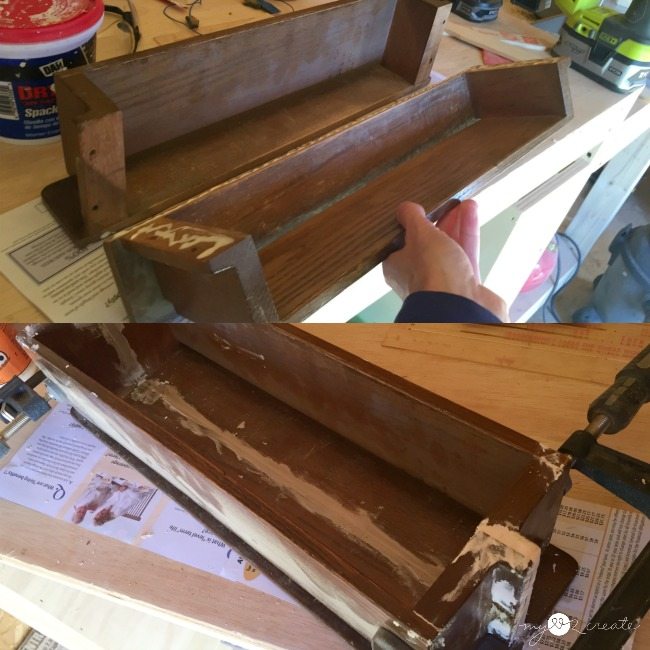
I had decided to make a caddy with two of the hymnbook holders so I added wood glue and clamped them together. As I waited for the glue to dry, I filled in all the holes and cracks with spackle.
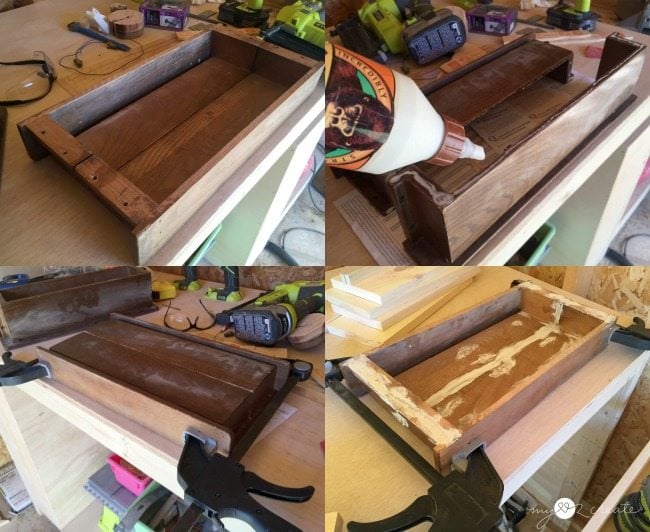
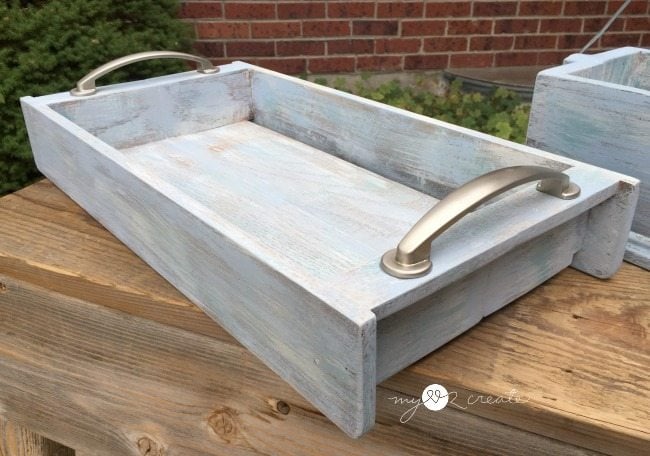
As an unexpected twist I was messing with two other hymnbook holders (yes I still have more in the garage…) trying different configurations, and realized they would also make a cool tray! So of course I had to make one. I glued, clamped, and filled the holes with spackle as well.
In the bottom left photo you can see I turned it upside down, I forgot to take a photo but I also nailed on 5 gallon paint stick scraps to help support the bottom of the tray, and to make it level with the edges of the holders so the bottom would sit flush.
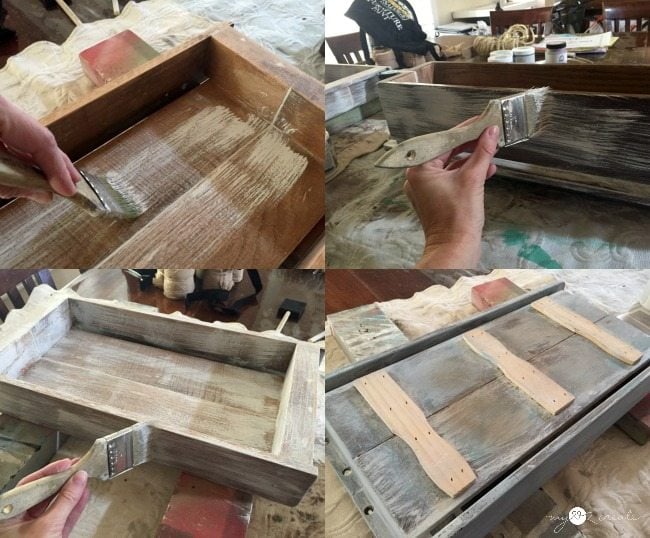
Once the glue was set and I sanded the caddy and tray down, removing all the extra spackle, I was ready to paint!
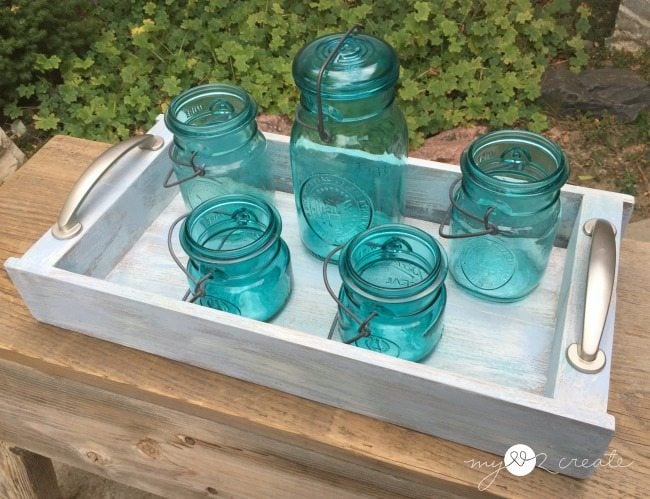
I ended up going with a dry brush technique in white, aqua, light blue, and gray. All I did was add paint to a chip brush, wipe most of it off onto newspaper, and then brush it on. There is no method, just be messy and don’t completely cover the piece…that is the look you want. I added little bits of the other colors, but not too much. For another example of this technique see my Pottery Barn Knock-off Sign.
And look! There are the paint sticks I told you about (bottom right). 🙂 And one more thing, I did apply a few coats of wax as well.
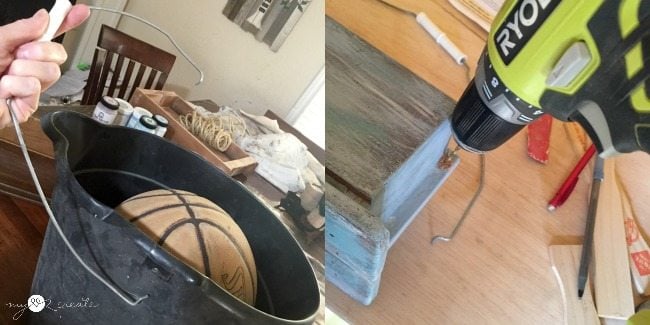
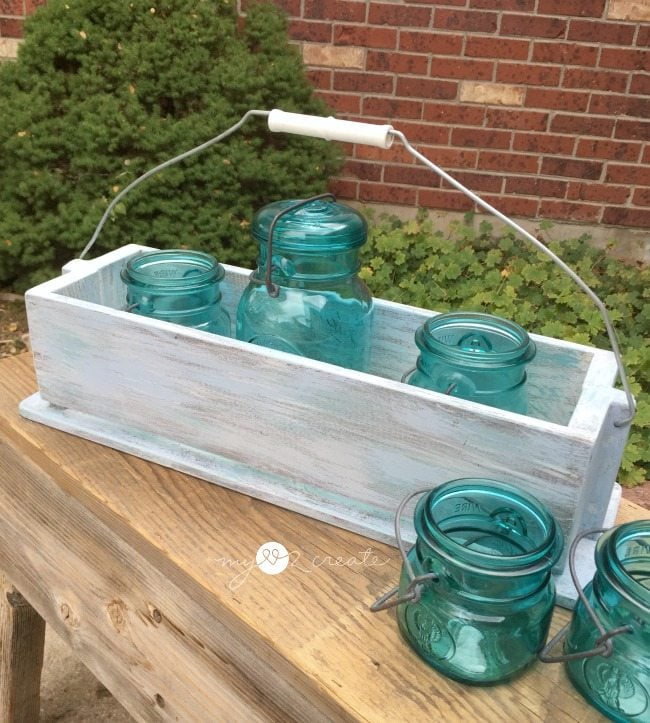
I was going to do rope handles, but a the last minute I went another direction. I added drawer pulls to the tray, and stole this bucket handle for my caddy. I drilled holes on each side and super glued in the wired ends.
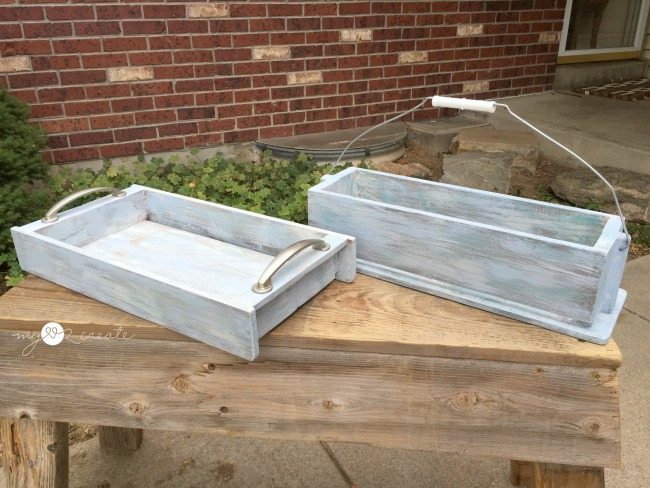
Ta-da! How fun are these!? I knew the caddy would be cute, but the tray was a super fun surprise!
I am so glad I decided to mess around with the hymnbook holders, it pays to think outside the box!

Caddy’s are always useful, and the handle makes it unique, I also used a metal handle for my Coca Cola Crate!
This shot gives you a glimpse of the fun colors I used. 🙂
I know I can put these to good use in my home.
Or, I could give them away as gifts. Maybe add a stencil to the sides…or the inside of tray like I did on my Baby Supplies Gift Box…man those were cute!
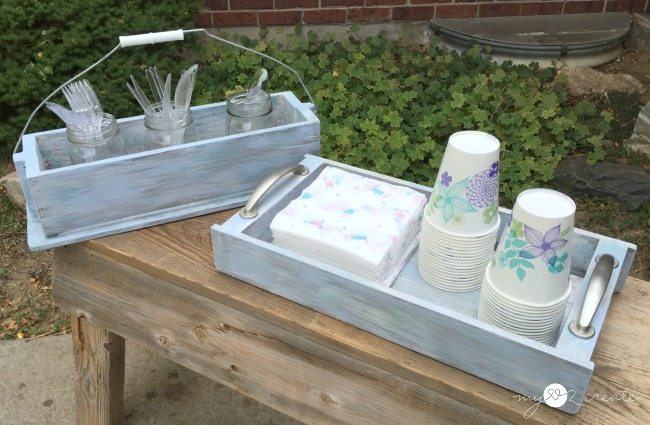
They would be great for entertaining too! Endless possibilities!
Thanks for reading! Please visit me for more great project ideas!
Hugs,
Mindi
see more of Mindi’s posts on MRL below:
[categorythumbnaillist 274]
Mindi,
I love your caddy and your tray made from hymn book holders! That’s great wood to repurpose for sure. The colors are perfect together, sooo pretty!
I’m dry brushing today, and may add more colors….
thanks for a great tutorial!
gail