Chain Link Fence Be GONE!
As an Amazon Associate, I earn from qualifying purchases.
If you follow me on Instagram or Facebook, you know I’m tackling a huge DIY project at my home—removing a chain link fence and replacing it with a DIY Picket Fence! It has been on my to-do list for several years, and I just can’t put it off any longer.
First, I’ll share a few pictures that will tell you the story of why this fence needs to come down.
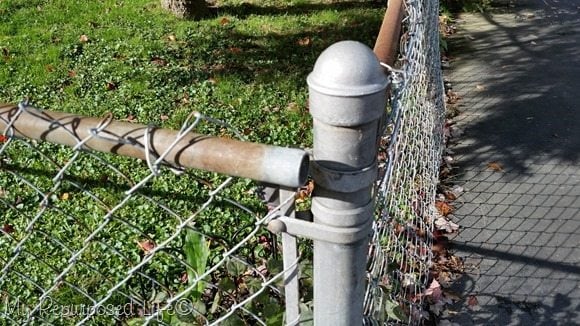
The components are no longer connected how the should be due to their age.
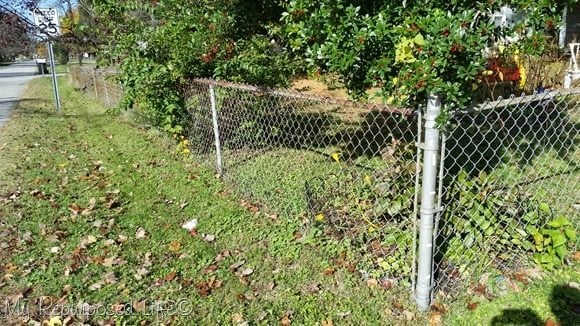
The fence is rusting, as it is probably almost as old as I am!
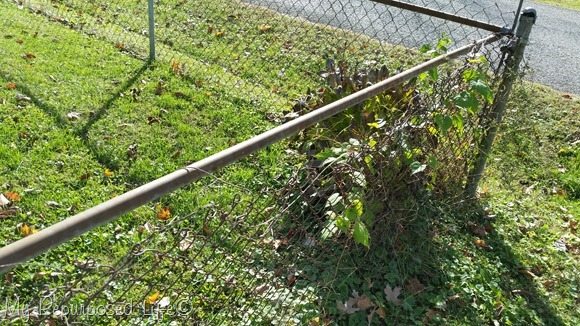
This very sad back corner is the worst of the entire fence.
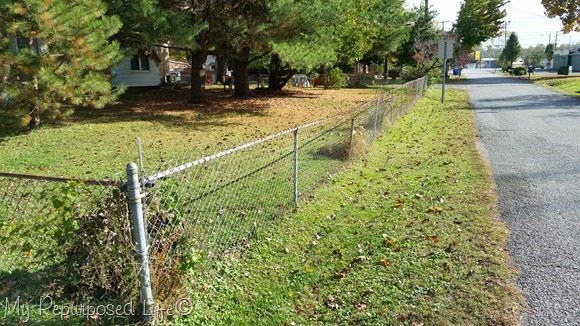
This is the same corner, but from a different vantage point. Notice the second post from the corner going up the street. It has sunk about a foot into the ground away from the top rail.
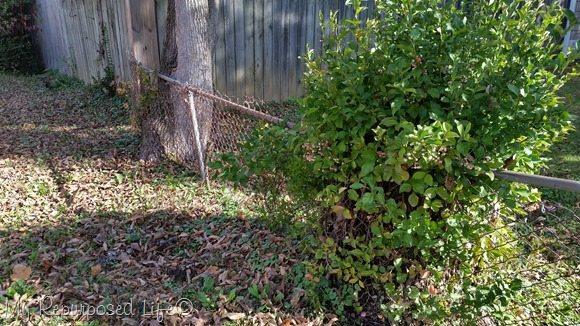
This is that same section of fence, one of the smaller sections, with only a few poles. This part of the fence was actually the shortest (in height) of the entire fence. From the ground the height was a full 10 inches shorter than the highest point of the fence (along the driveway) Removing this part of the fence was the most challenging due to two trees growing into the fence over the years.
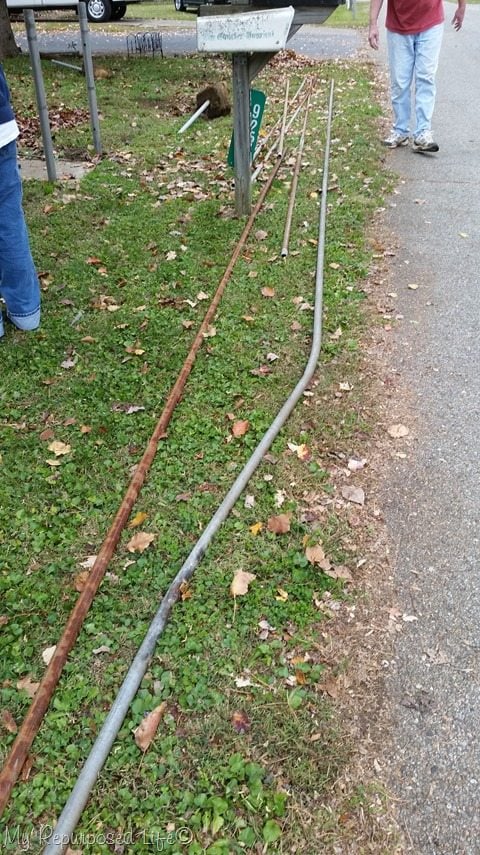 You can see here how bad the top rails of the chain link fence were bent.
A neighbor (Rodney) from down the street is the brains behind all of this work. Most of the poles were dug up, and they will be re-used as will the better portions of the fence. We did temporarily leave a few very stationary posts for measuring etc. There were FIVE posts that will remain for the new fence. Stay tuned for details on that.
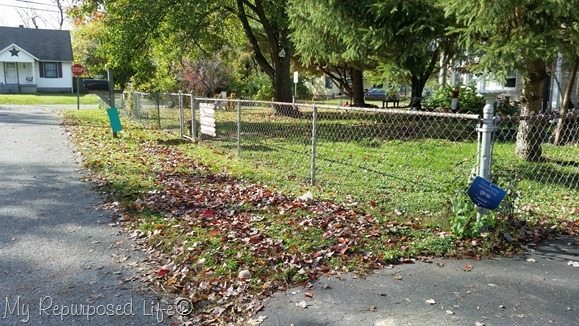 Before
Hanging on the fence is my DIY reclaimed fence flag.
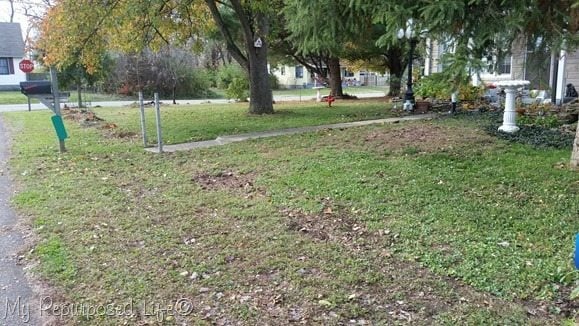
After removing the chain link fence.
The small red “cross” looking item is the PVC pipe fire hydrant I made for my little Louie.
If you look closely, you will see a difference in the color of the leaves on the tree. As my series continues, the leaves will tell their own story of how long this project has taken.
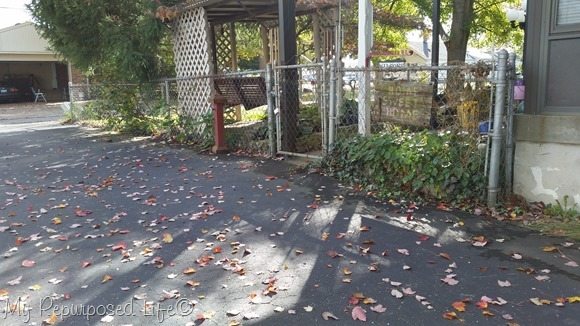 It’s funny, how many of my former projects are visible in these pictures. You can see the red easy porch post, and the reclaimed wood Home Sweet Home sign.
The porch swing enclosure has been there since 1988.
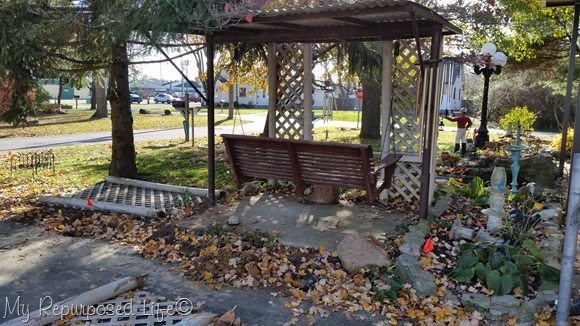
So, while the fence and posts were gone, I took advantage of the situation and removed all of the lattice sections. I literally just pushed them over. After taking this picture I removed the two smaller sections.
More projects visible here. On the right you can see my Glass Topiary and the Candlestick Birdbath that was featured in Woman’s Day AND Reloved Magazine! Hanging from the swing is the Wind Chime I repaired
I can’t wait to share more details with you next week.
I thought doing the prep work was going to take the most time, but actually all of it is moving rather slowly due to shorter work days because of the time change.
Have you ever removed a chain link fence?

Chain link fences are so ugly, but so necessary sometimes. We have a 6ft high one covering about a third of our five acres. Since we’re small town/rural, it’s very useful for keep stray dogs (and pigs and goats) from invading our yard. It was a big relief to me when the kids were younger, because our property borders a street that people think is alright to barrel down because it’s rural. Useful, but so industrial looking. Taking it down is not an option, so my solution was to grown things all over the sides I see most frequently. Too bad you can’t leave off the fence – your yard looks so spacious and welcoming without it. Probably not practical, I know.
One of my sons is about to take down a portion of a chain link fence in his yard. Totally curious on your outcome. His thought was to just take a grinder and get rid of the posts. Can’t wait to see the after shots.
Wow Gail this is a huge project! It is going to look so amazing when you are done, and then all the hard work will be a memory…I hope you finish sooner than later, good luck! These kinds of things always take way longer than expected! I can’t wait to see it!
It’s going to look so good! This is a huge task! Can you come down to my house next with all that extra energy you have and help me tackle a biggie here? Can’t wait to see how pretty it turns out!
I’m not sure I’ll survive this huge task wendi! It’s about to wear me down. 🙂
gail
I dunno, you are a brave soul is all I can say!
I so enjoy Gail and her projects.please keep going.
What a huge task, Gail! I’m excited to see what you have planned. It’s fun seeing your old projects still being enjoyed around the house. Your yard is so big and gorgeous that I’m quite envious! 🙂
Laurel,
Until I started writing the post, I didn’t realize how many past projects are still around… most of them for FIVE years. I think I need to make some stuff for the new yard. The yard is very big, I can vouch for that because I am the one who mows it. lol
thanks for stopping by Laurel!
gail
I haven’t and hope not to anytime soon.looking good though.can’t wait for future posts.
I find myself wondering what I would make out of old chain link fencing…..
Don’t throw away those top rails–they make GREAT curtain rods for really wide windows! My dad had some in his scrap pile, so we cut them to length, painted them and added finials. Inexpensive and easy!
Great idea Connie! I think my neighbor will be using most of them for an actual fence. Thanks for your input!!!
gail
yay! i remember you talking about that a while back! so happy for you!
Gail you rocked the yard! Oh my stars, what a wonderful difference you have made. I can HEAR your yard smiling with delight. You also! :)))
I AM squealing also! A fence will be going up…. but hoping it will do so much to improve the looks of my home!