chair wall shelf
As an Amazon Associate, I earn from qualifying purchases.
This chair wall shelf was a no brainer, because I love, love, love old chairs. They made my top five list on my items to pick up at thrift stores and curb shopping on my DIY with MRL podcast.
It’s tough for me to ever pass up a chair, but when they are great deals, it’s impossible to say NO.
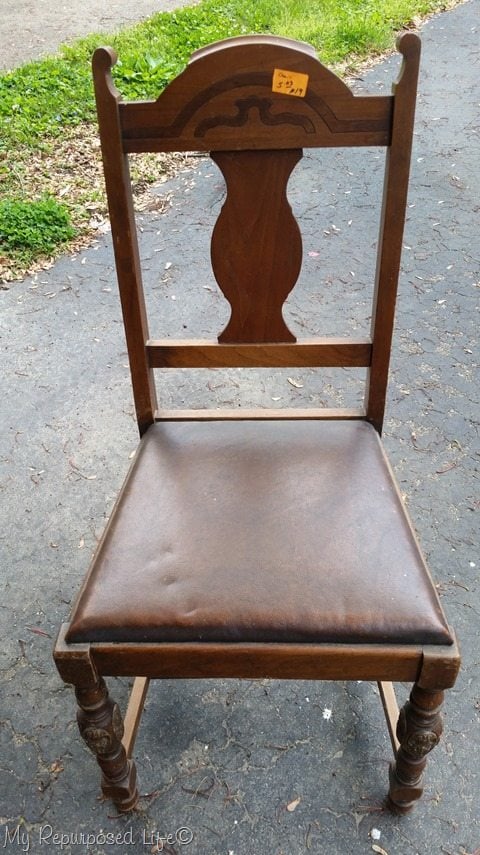
Case in point—this recent find from Vendors’ Village. It was in decent shape, but I mostly bought it because of the legs . . .
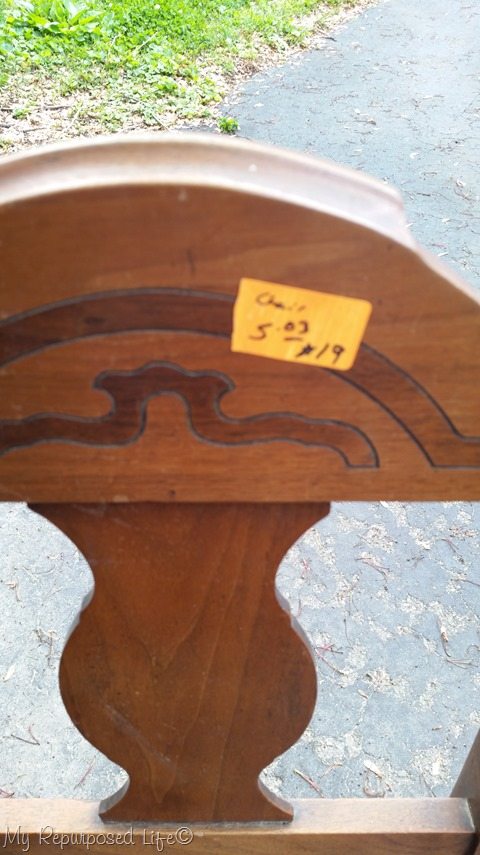
And the price!! It was marked $5.03, but it was actually on sale for 50% off! C’mon, a pretty chair for $2.50, who could say no to that?
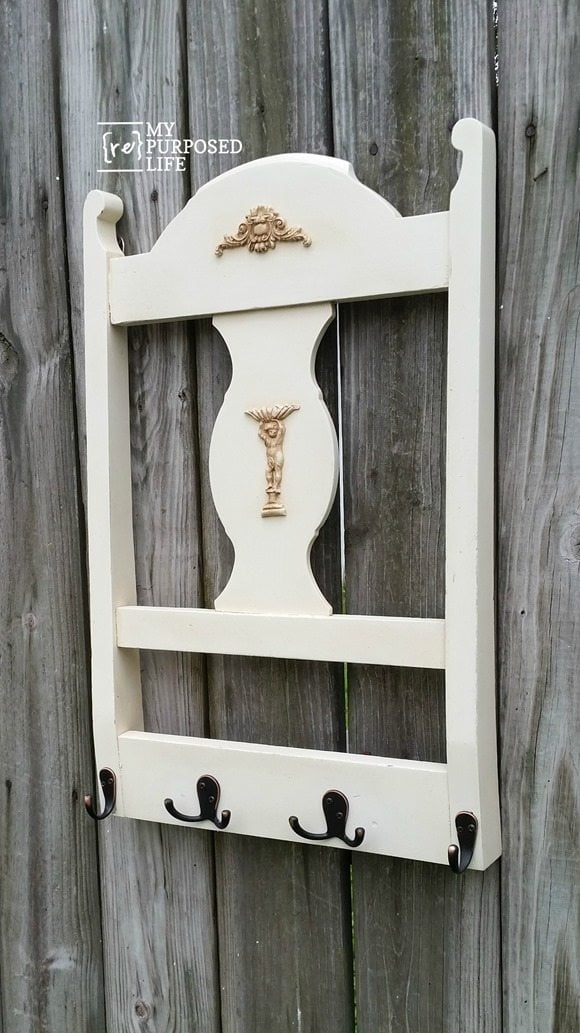
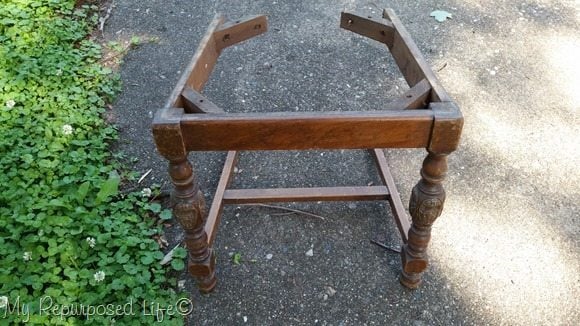 I removed the back for another project- a chair back hook rack. I decided to make a repurposed chair wall shelf, so basically I needed to cut down the depth. I decided to cut it right behind the bottom cross brace.
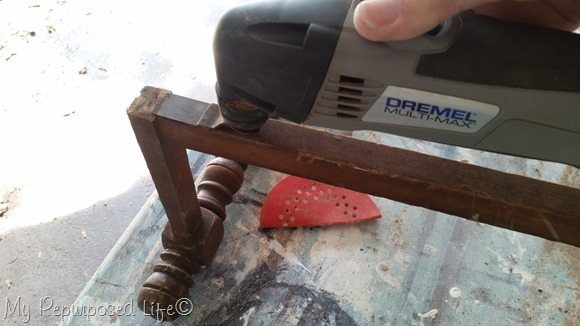 I wouldn’t fit on the compound miter saw, so I used my Dremel Multi-Max to do a flush cut.
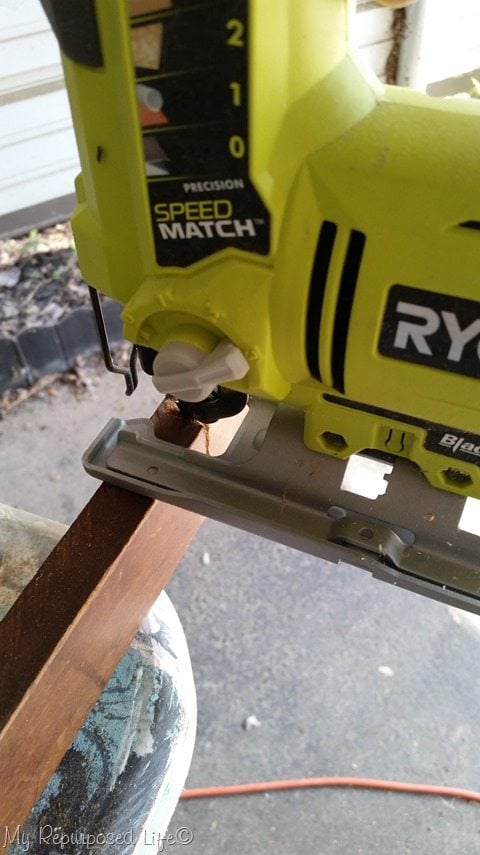 I also tried to cut the seat portion on the compound miter saw, but it wouldn’t work so I used my Ryobi Jigsaw to cut that the same depth as the bottom portion.
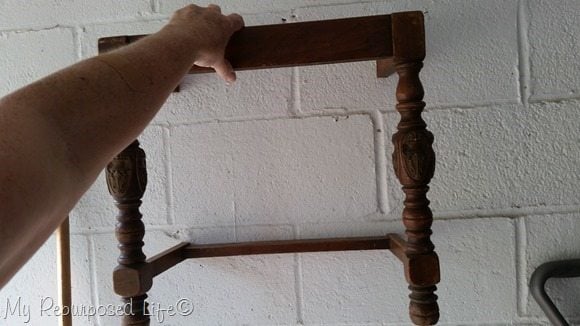 To make sure it would hang flush on the wall, I held it up to the garage wall to make sure it was actually going to do what I was thinking.
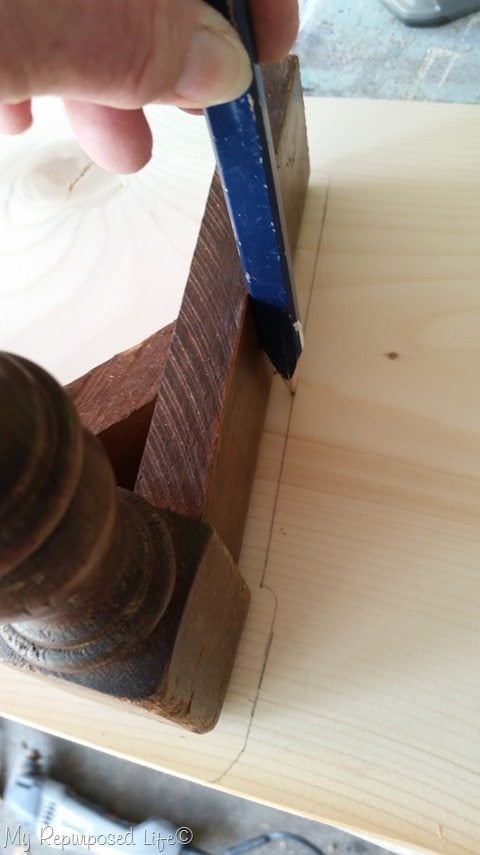 In order to get a slight overhang on the shelf all the way around the former seat of the chair, I traced a line on a 1×12 with a carpenter’s pencil held in such a way that it would give more room on the board to allow for the overhang.
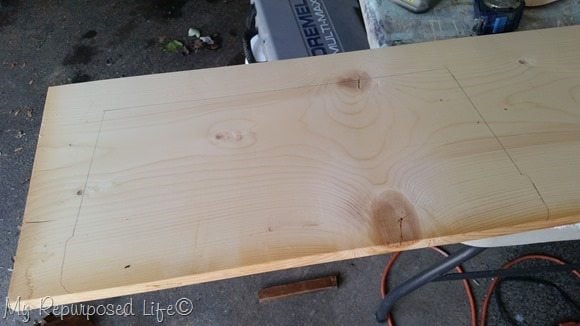 This was actually a free scrap board I got at 84 Lumber during the winter months while I was picking up some stuff for my DIY picket fence. I should have planned better for the cutting, to avoid the huge knots, but I really didn’t want to waste any of this board.
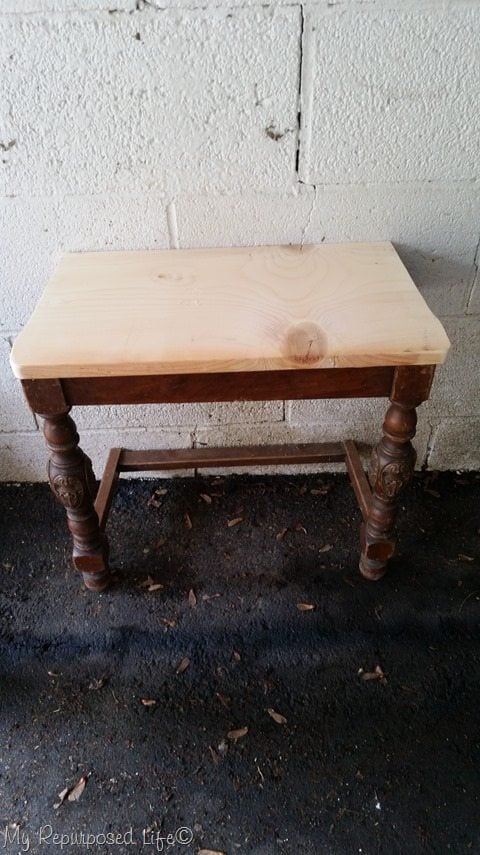 After sanding the edges just a little, I placed the new shelf board onto the chair seat to do a dry fit.
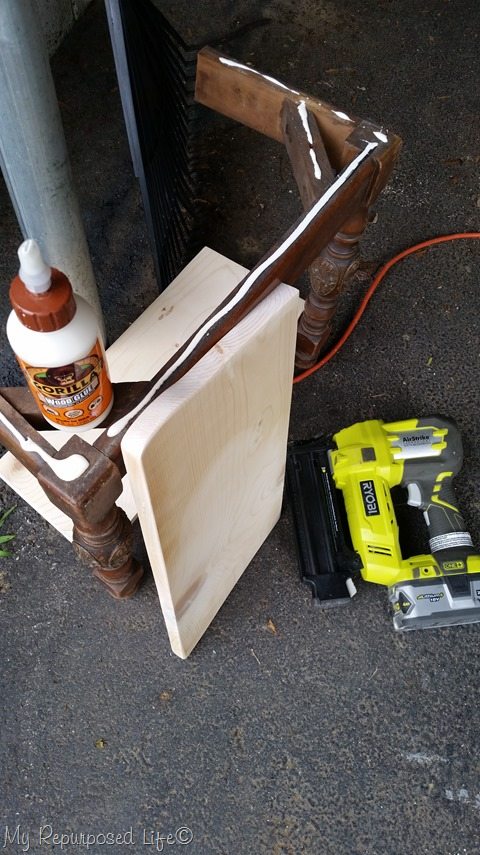 I traced a bottom shelf board and cut it with the jigsaw as well. I used Gorilla Wood Glue and my Ryobi Airstrike Nailgun to secure the boards to the chair parts.
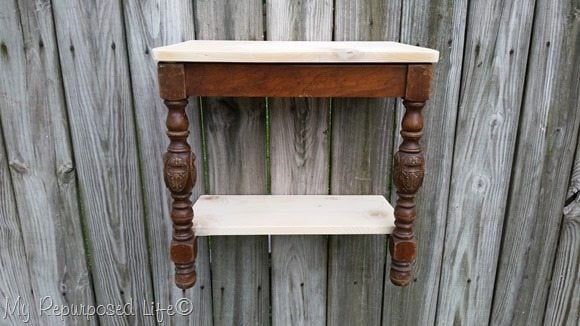
I hung it on the fence to see how it was going to look. I felt like it was missing something, and that it may look better if I added some back “legs”.
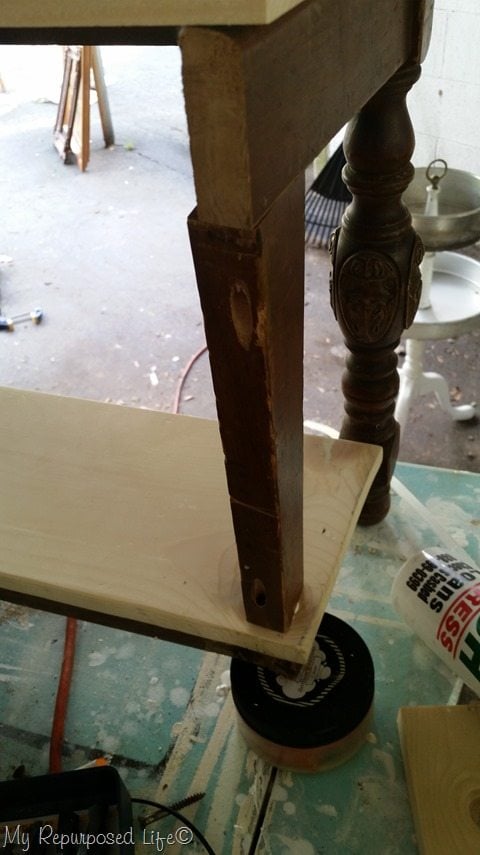 I used the original chair legs, cutting them to size on the compound miter saw—drilling Kreg Jig Pocket holes to secure the leg to the bottom shelf and top skirt.
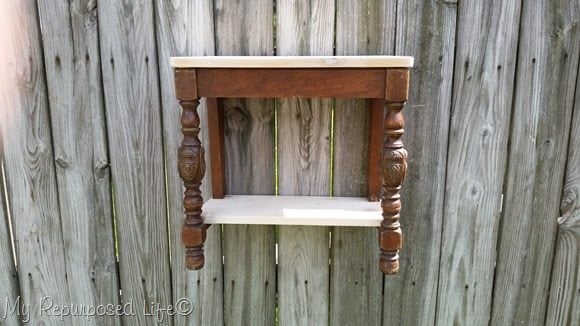 Here it is with the back legs. Better? I’m undecided actually. But it’s done now.
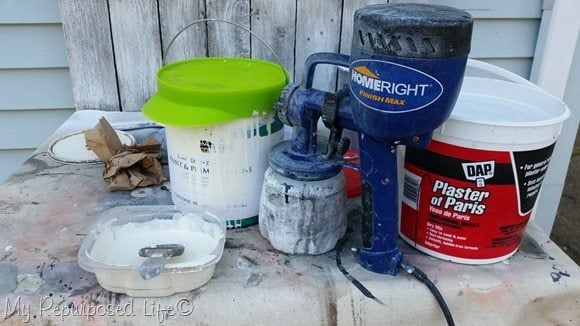 Of course I used my diy chalky paint primer as a base coat for the repurposed chair wall shelf. Check out the green lid on my paint can. You can get one on Amazon, it’s called CanSealid. It seals a can of paint with a “burp” and is so easy to use. I love it!
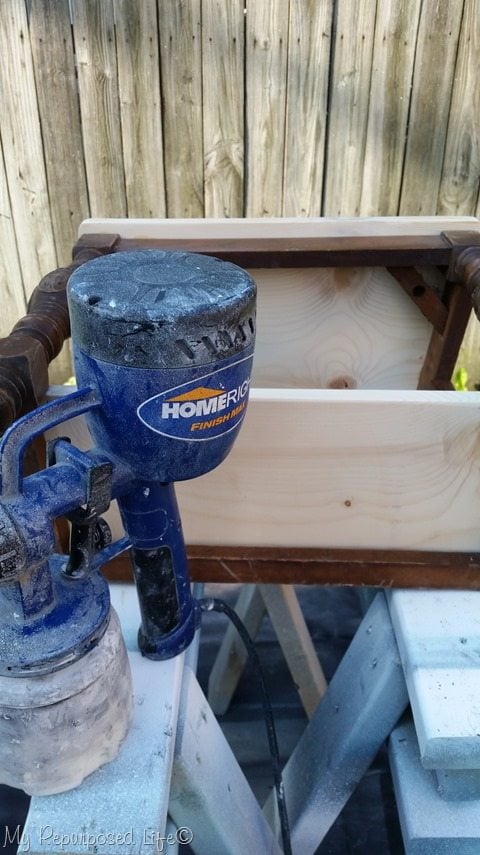 I used my Homeright Finish Max to spray the chalky paint primer on the new wall shelf.
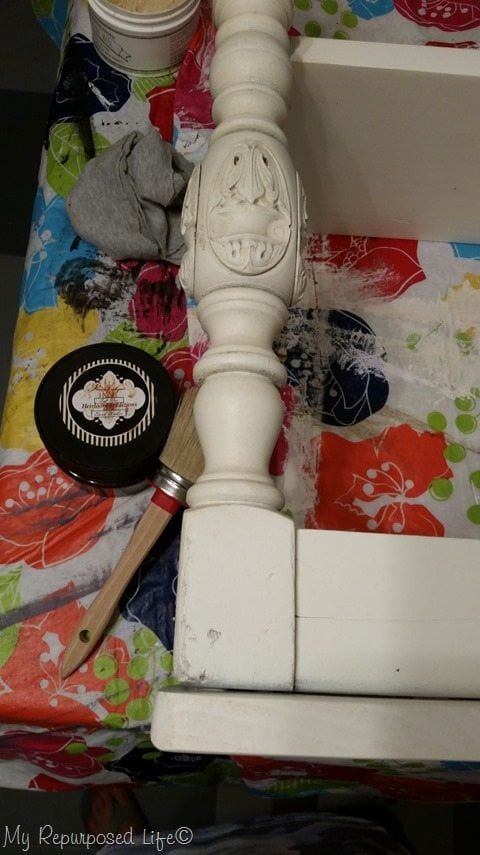 It got H.O.T. and I brought some projects in the house to work on them in the kitchen. I applied some Miss Mustard Seed clear wax, and then added a little Dark Umber Wax from Heirloom Traditions using a small wax brush.
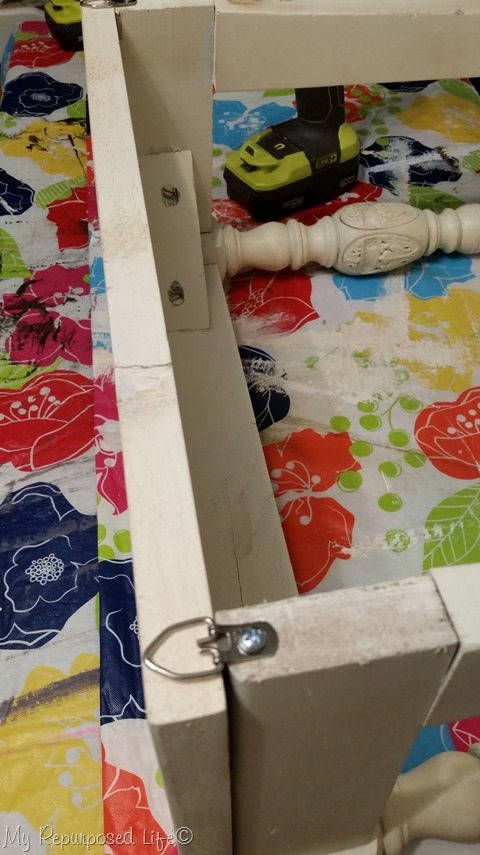 I used my favorite d rings on the back of the chair wall shelf for hanging it on the wall.
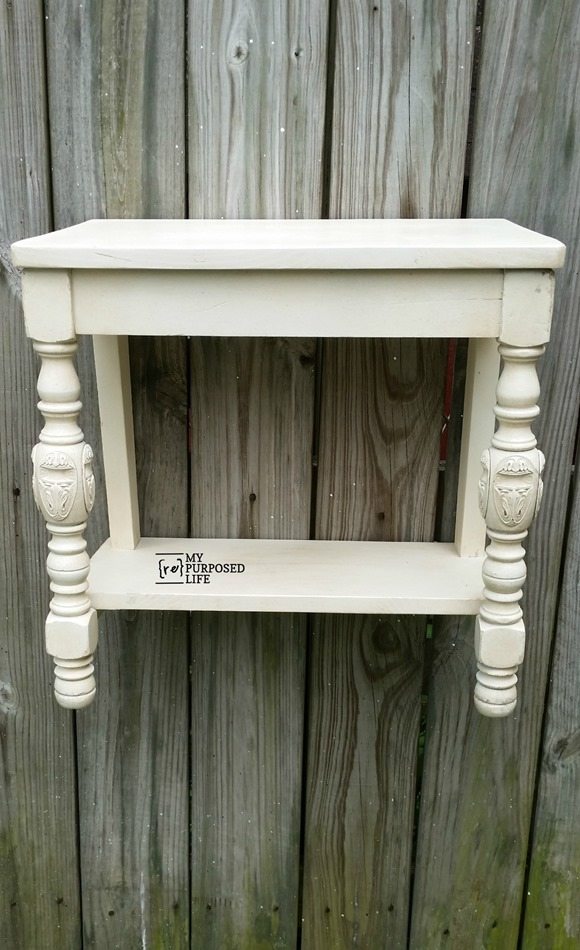 I love the “hint” of antiquing or glazing that the shelf has. I just wanted to bring out the pretty details of the legs.
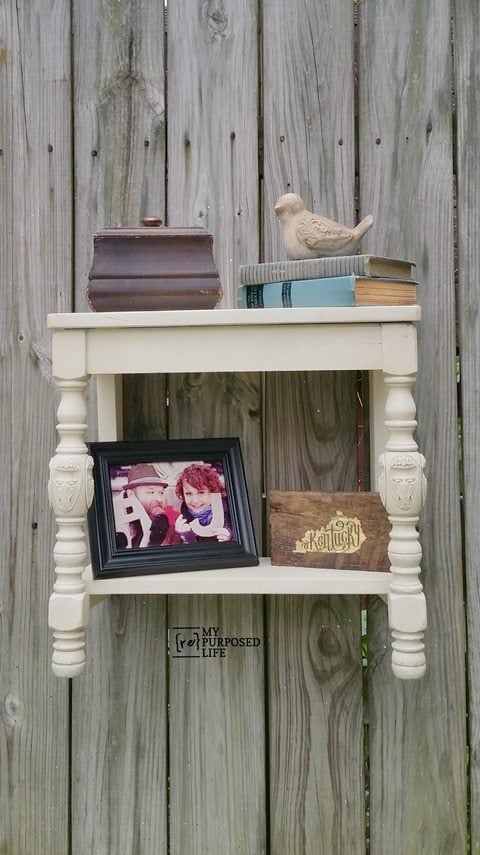 Because it’s been so hot, I quickly staged this unique wall shelf on the fence. The Kentucky sign was a gift from a sweet friend of mine who I was able to hang out with recently in Salt Lake City, thank you Suesan!
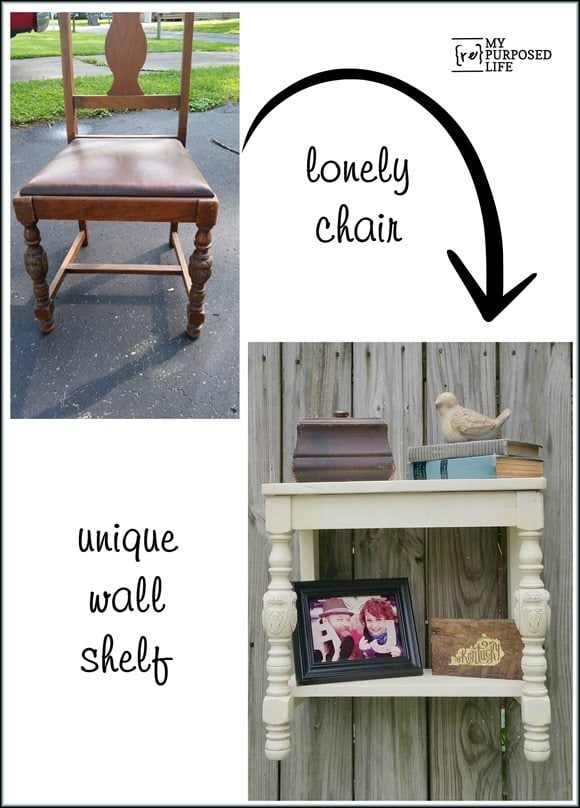
This was a fairly easy project. I’ve done one other chair that hangs on the wall, a towel rack shelf made from an old rocker.
Two projects from one $2.50 chair! Those are the projects I love! Check out this chair back hook rack.
See one of my first, and an all-time favorite chair projects here
Sharing here: DIY Sunday Showcase


Just wondering how you got the edges of the board so smooth. Did you use a router?
Sharon,
I once saw a really old “country” shelf and loved how the edges were softened over the years, so now I always sand the hard edges on my shelf boards and bench seats with my orbital sander. I love the “old” look of the boards better than the “new” look of the boards from the store.
gail
Love this! And great tutorial, too. Pinning.
such a great idea wall space is something we use because we do not have much floor space and i like the addition of the back legs, i still haven’t used my homeright max yet first i was so sick then it rained and rained, and now it is 98 degrees and maybe i am just a little afraid of messing up lol xx
Creative! I love your chair ideas!! I have one broken chair in the garage that is waiting for the perfect makeover. I know I’ll find it in your project gallery 🙂
Cute shelf! I love it! I don’t know if you remember me or not but I sat next to you on the plane on the way to Salt Lake City!!!
Dina!
Of course I remember you! You were going to the stampin up conference! Thanks so much for checking out my blog and this project.
Take care,
gail
Cute idea! I like how you explain what you did and how you changed it when you felt it needed more. I was just given two chairs by a lady that walked into my shop and I haven’t decided what to do with them yet.
I love chairs! I can’t stop buying them. But the thing about having so many is this… I can do lots of things, and I don’t mind cutting them up because I have more to do other projects. 🙂
You are so clever, Gail. I love seeing what you come up with. Great job and I have to say, I love the sign! 😀
Super cute shelf Gail! I think I like the back legs added. You always amaze me with your cleaver repurposing skills, I don’t remember a chair shelf like this! Awesome job!