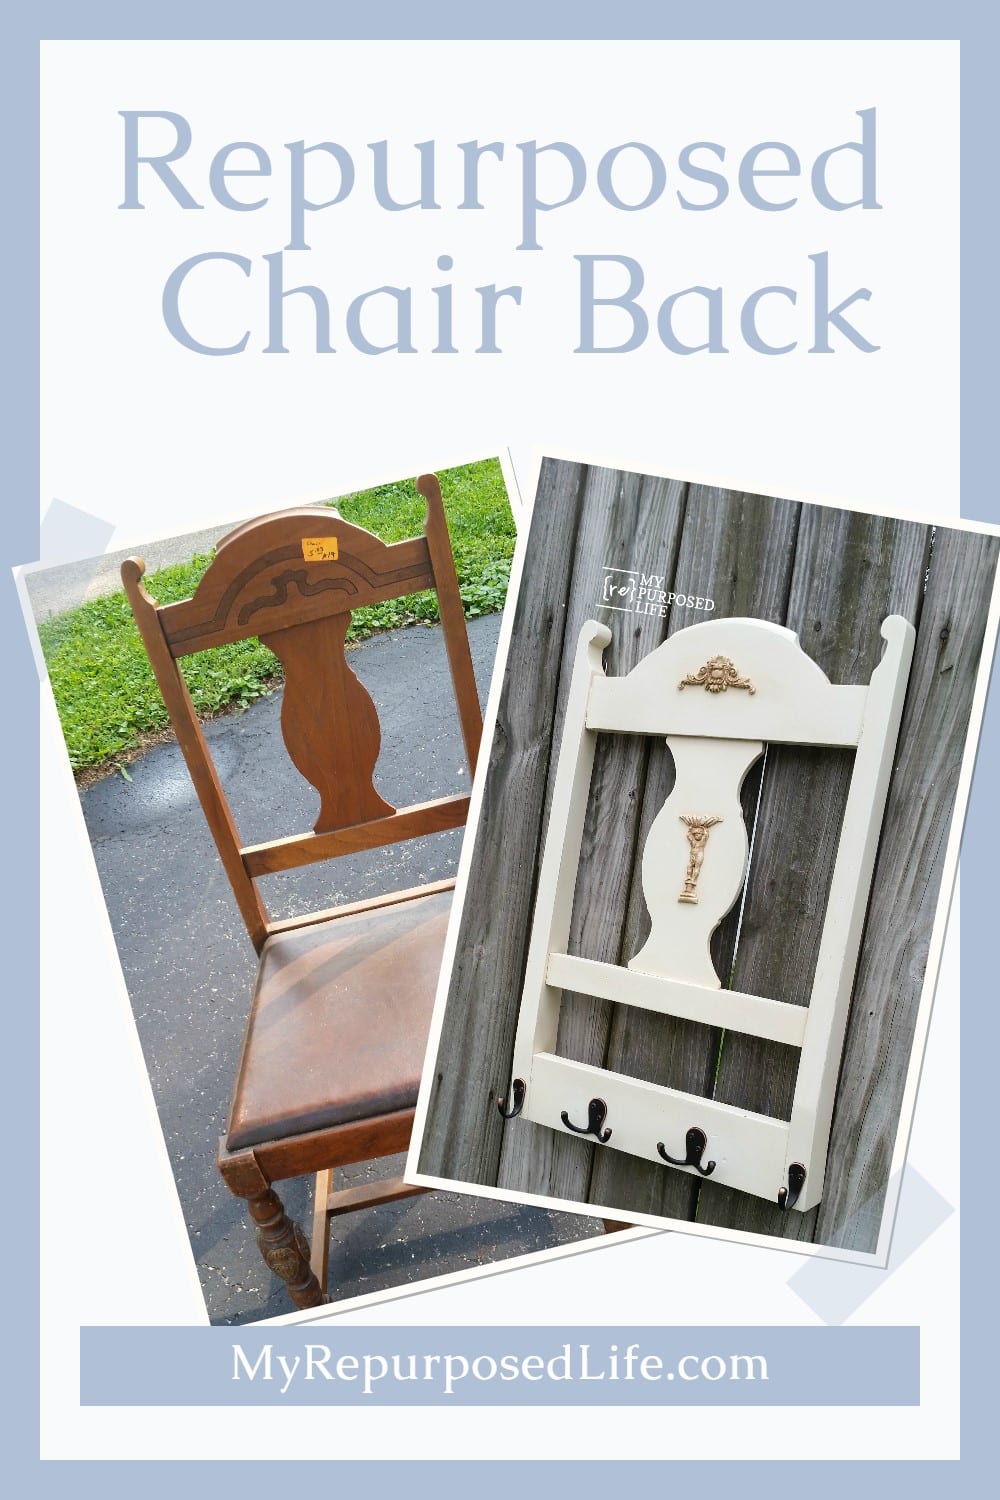
Repurposed Chair Back Coat Rack
As an Amazon Associate, I earn from qualifying purchases.
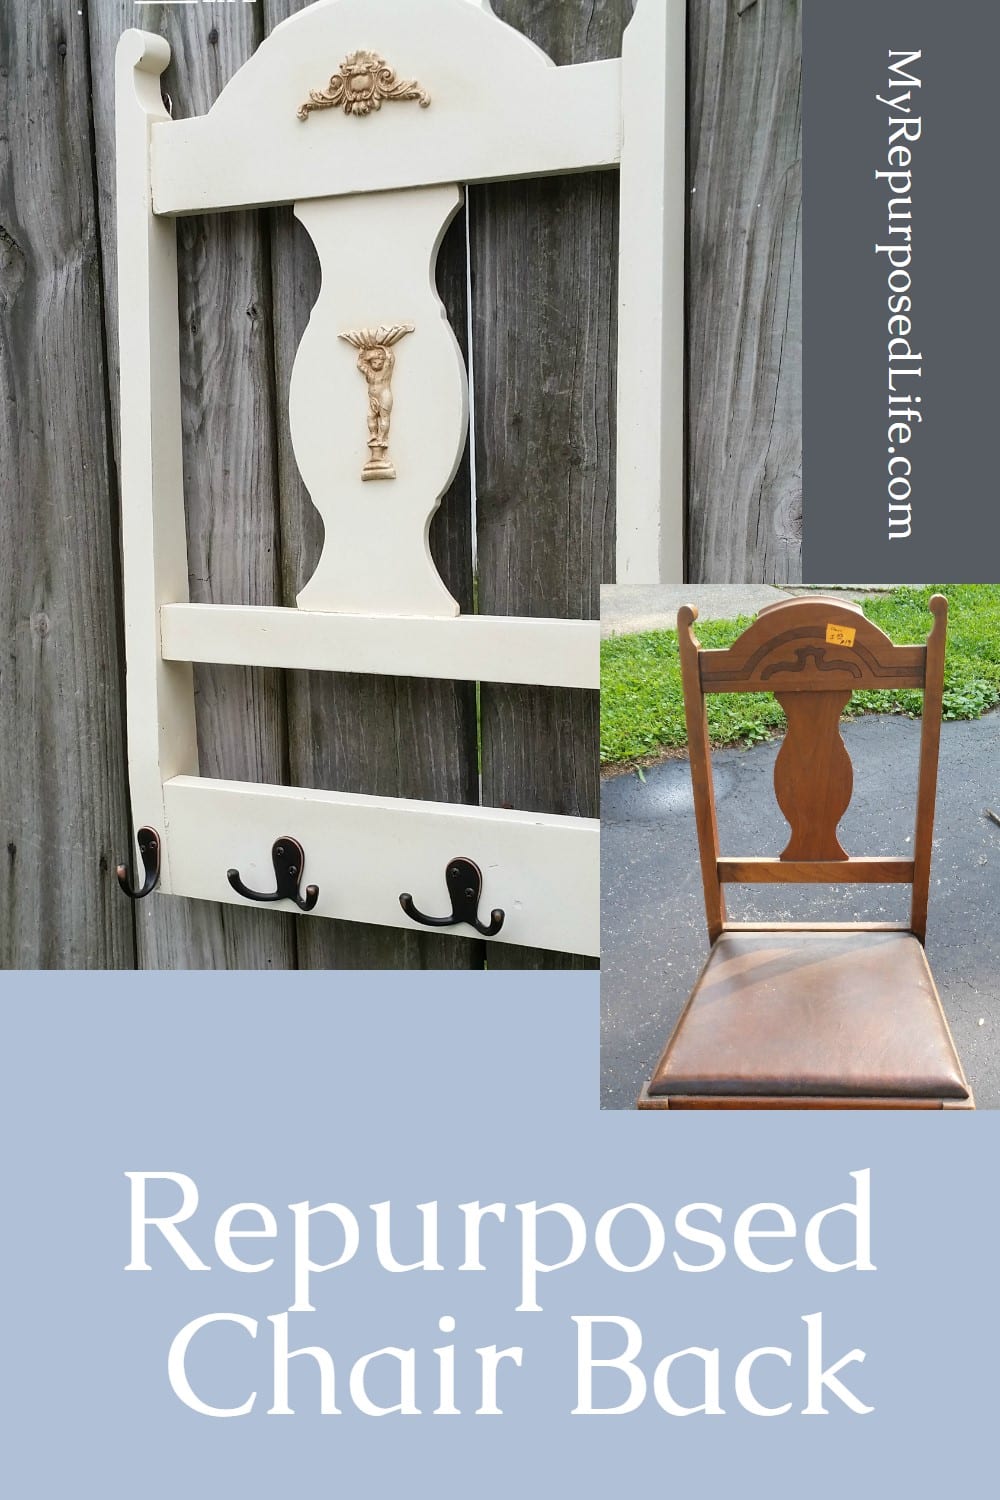
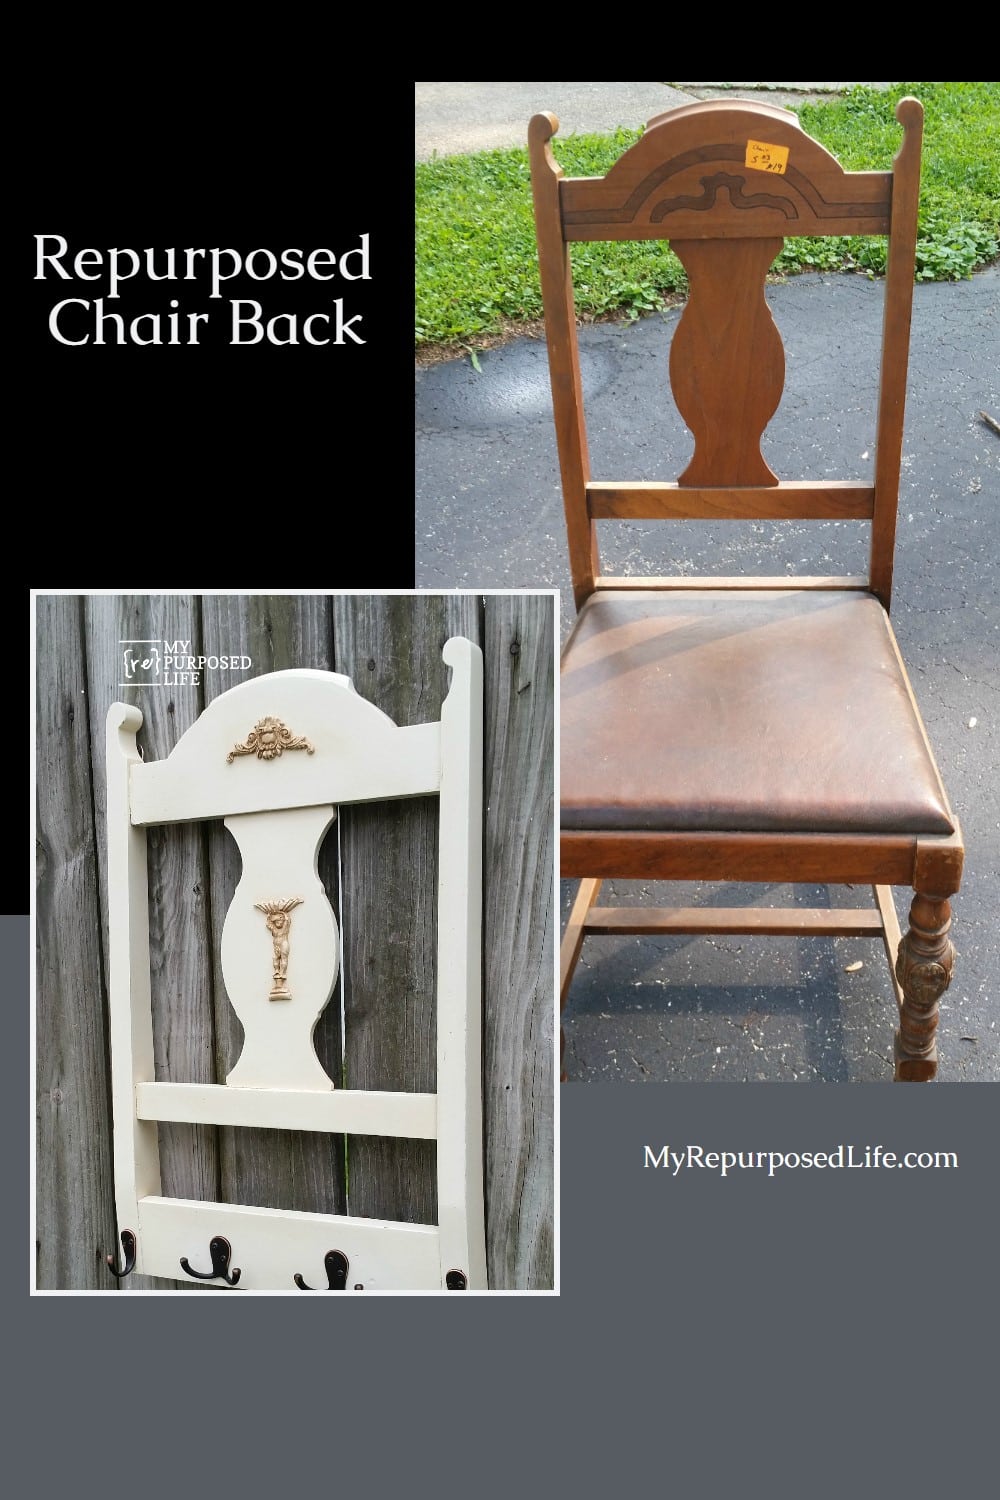
This repurposed chair-back coat rack project is one of those super-satisfying builds that gives new life to something that might otherwise be tossed. I turned the back of a thrift store chair into a useful wall rack for hats, coats, towels, or scarves, and finished it in a soft, classic off-white. The whole project can be completed in an afternoon and adds both function and character to a hallway, mud room, or guest space.
Thrift Store Chair

This lonely chair had been marked at $5.03 but was 50% off when I bought it at Vendors’ Village. What a deal! A chair for only $2.50? I have this thing with chairs.
Remove The Chair Back
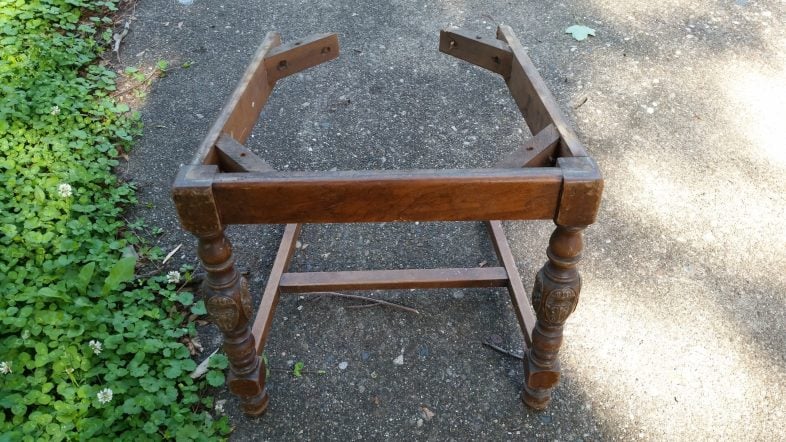
I began by removing the chair back from the chair seat, which was pretty simple to do by removing some screws.
Cut Some of The Length Off The Back of
The Chair
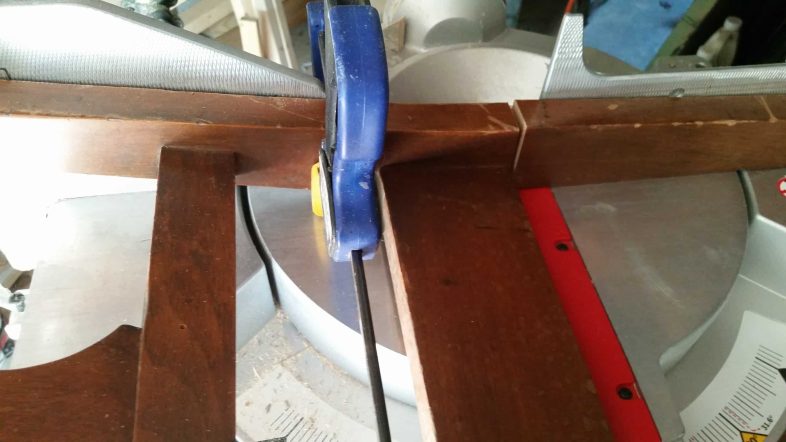
After the back was removed, I needed to cut the bulk of the legs away from it. Although I did this on my compound miter saw, you could easily do it with a handsaw or a jigsaw.
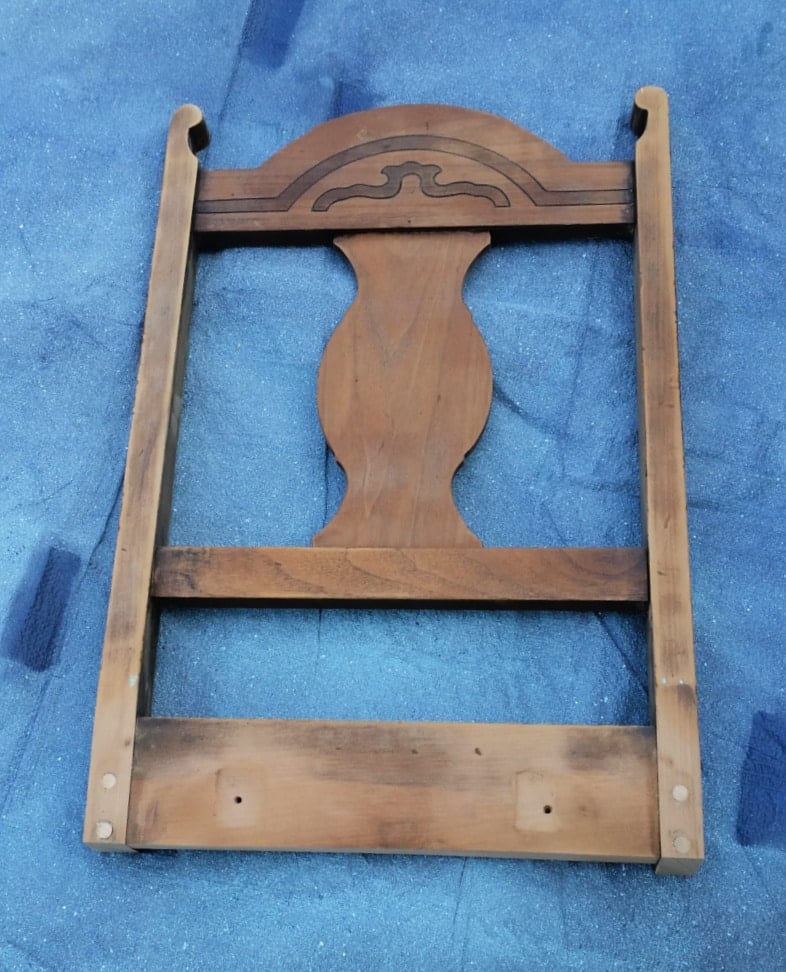
I was left with this small section of the chair back. As always, I sanded some of the finish away and started painting the back of the project first.
Prepare to Paint
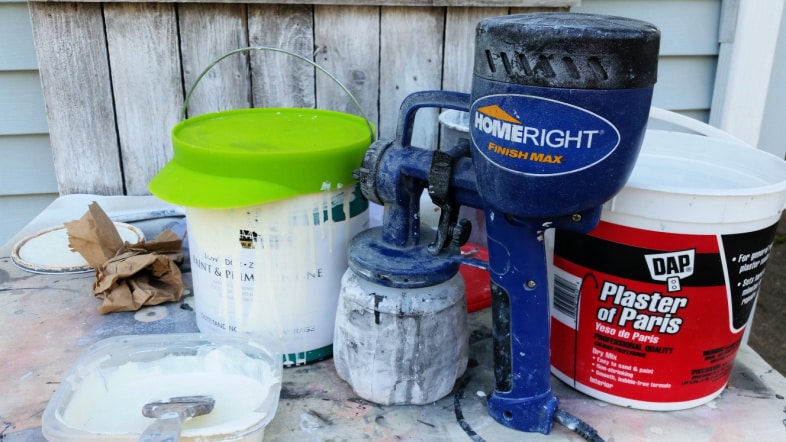
I mixed up a quick batch of my diy chalky paint primer, which I use on 90% of my projects, and used my Homeright Finish Max to spray the chair back with my favorite white, Polished Pearl.
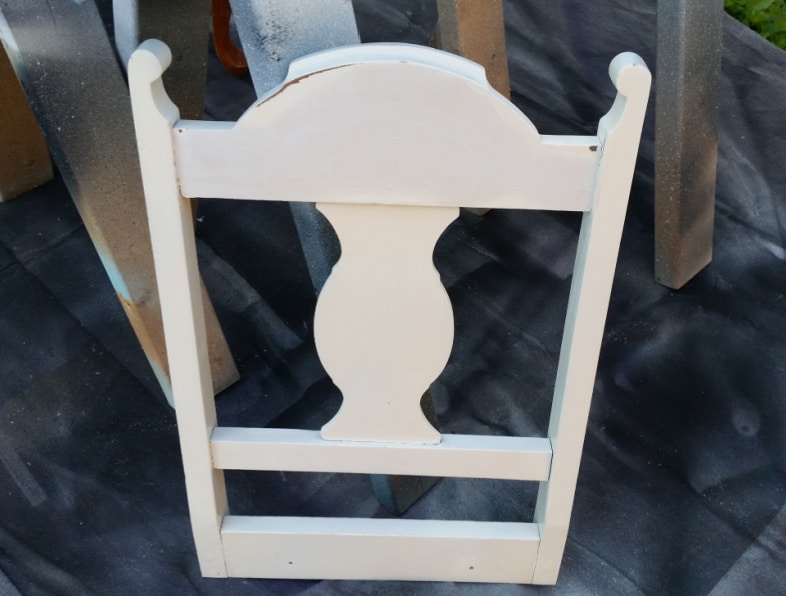
After the first coat, I decided to fill in the detailed lines with some spackling.
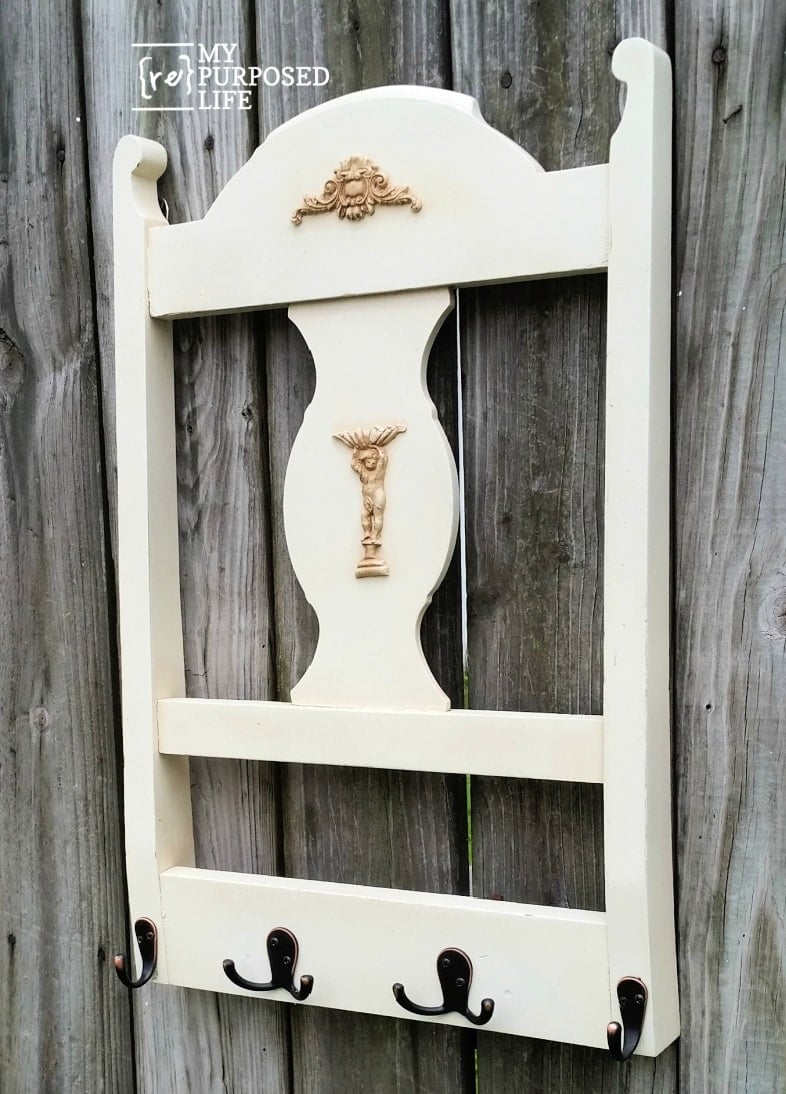
Add Embellishments to The Repurposed Chair Back
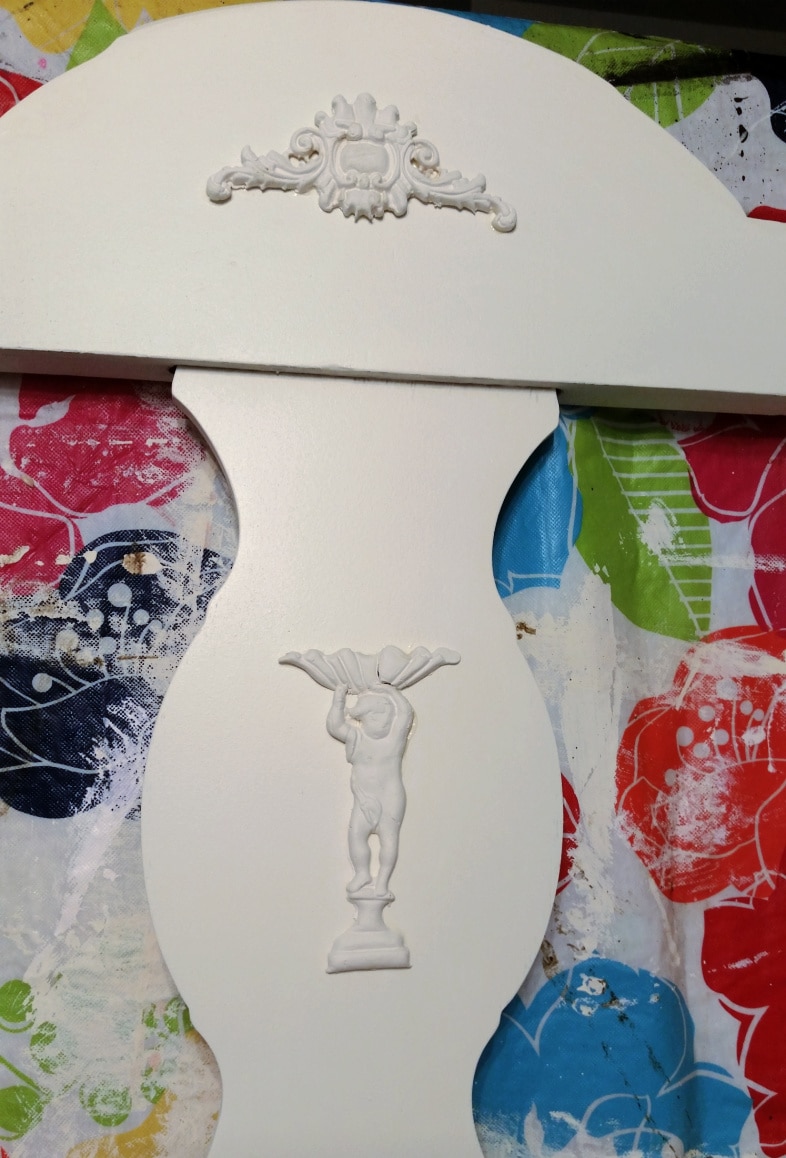
I used some of my IOD paper clay molds to add details to the top and the center of the chair back.
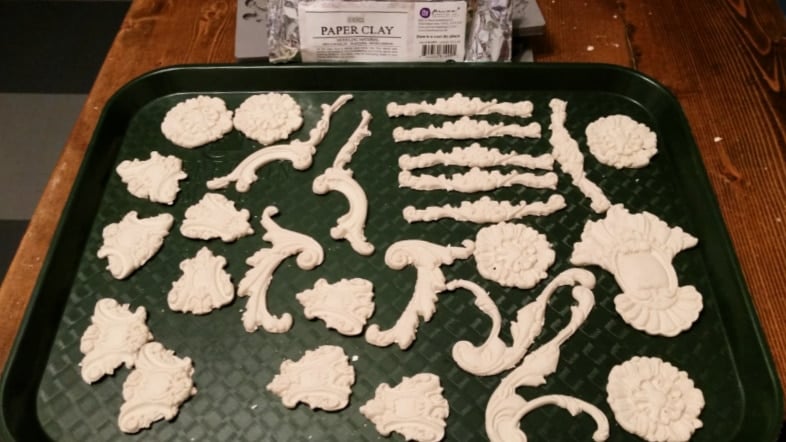
I recently spent about 30 minutes making a bunch of molds, using up an entire package of my paper clay to have plenty at hand for future projects.
Related Content: Use Resin To Make Embellishments (Instead of Paper Clay) Easily.
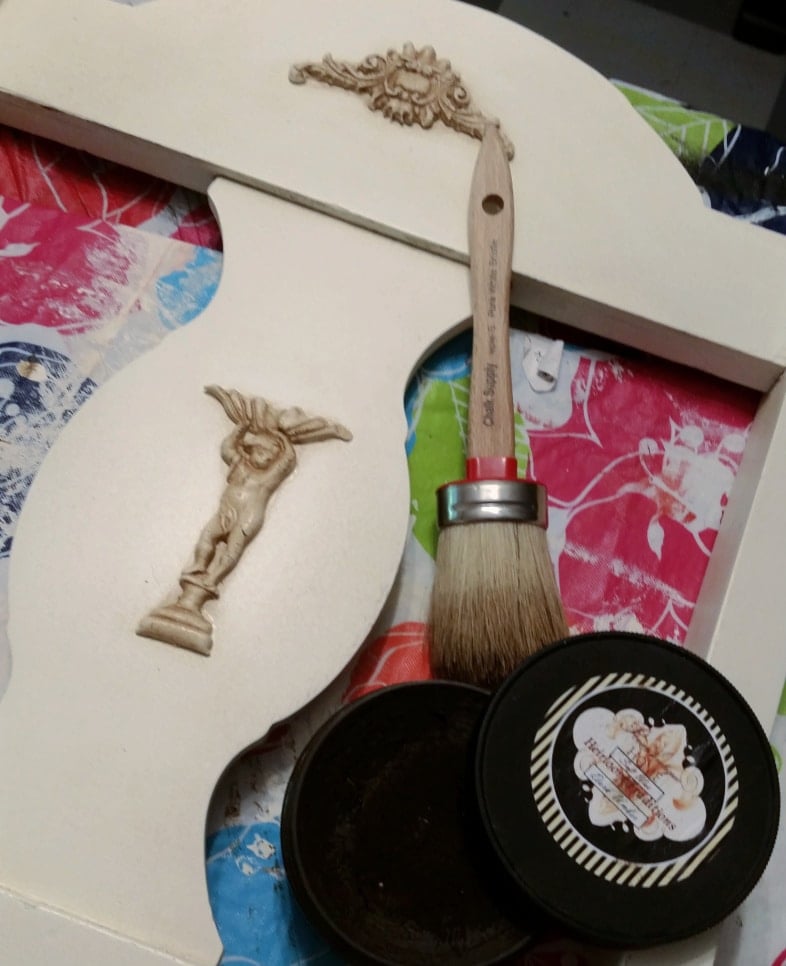
After attaching two of the paper clay appliques with some Gorilla Wood Glue, I used dark umber wax from Heirloom Traditions Paint to make the details of the appliques show up better.
Adding Coat Hooks for Chair Project
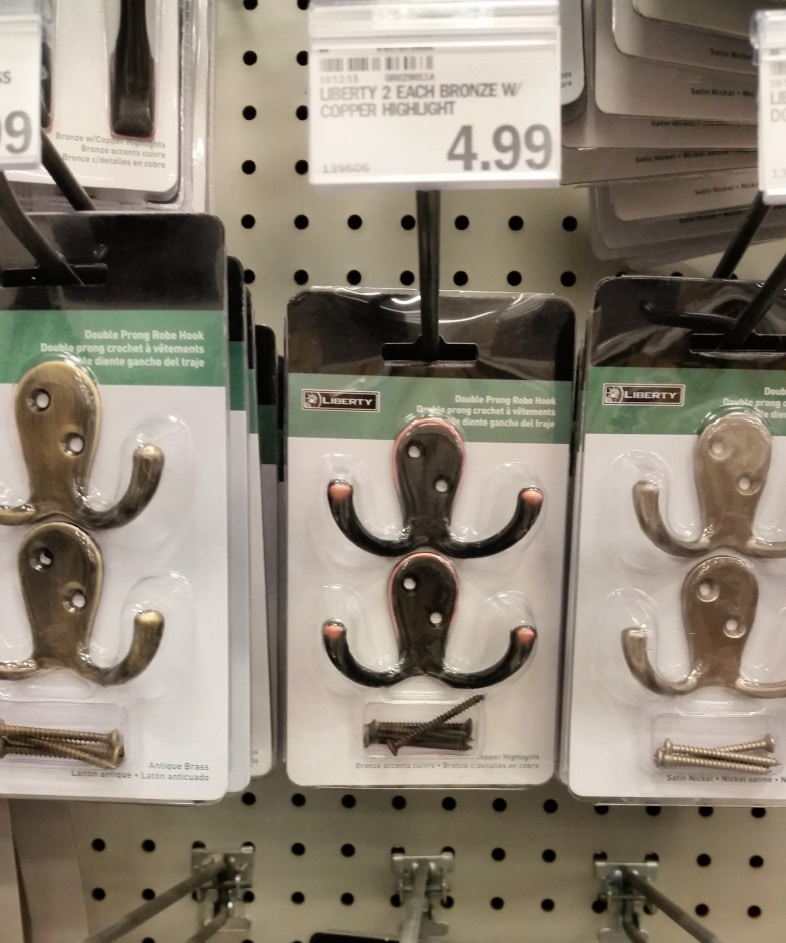
I didn’t have any hooks from D. Lawless Hardware. So I used store bought hooks that were much higher. It’s time to stock up on more hooks from my friend Dave!
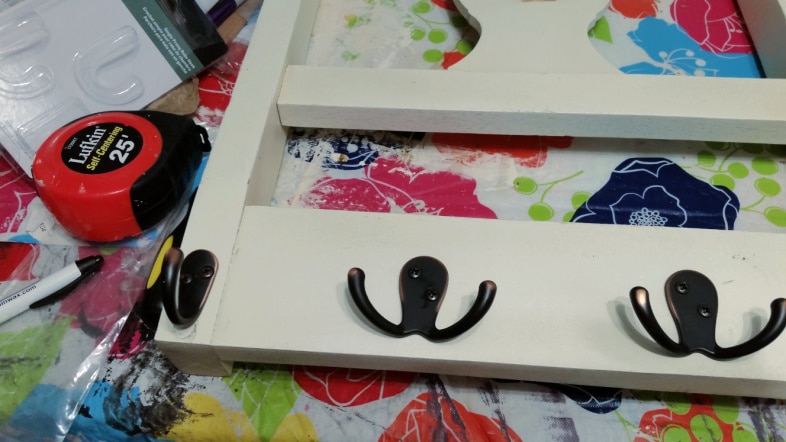
I had to replace the screws on the double hooks with shorter ones because the ones that came with the hooks were too long for the chair back.
Attach D Rings For Hanging
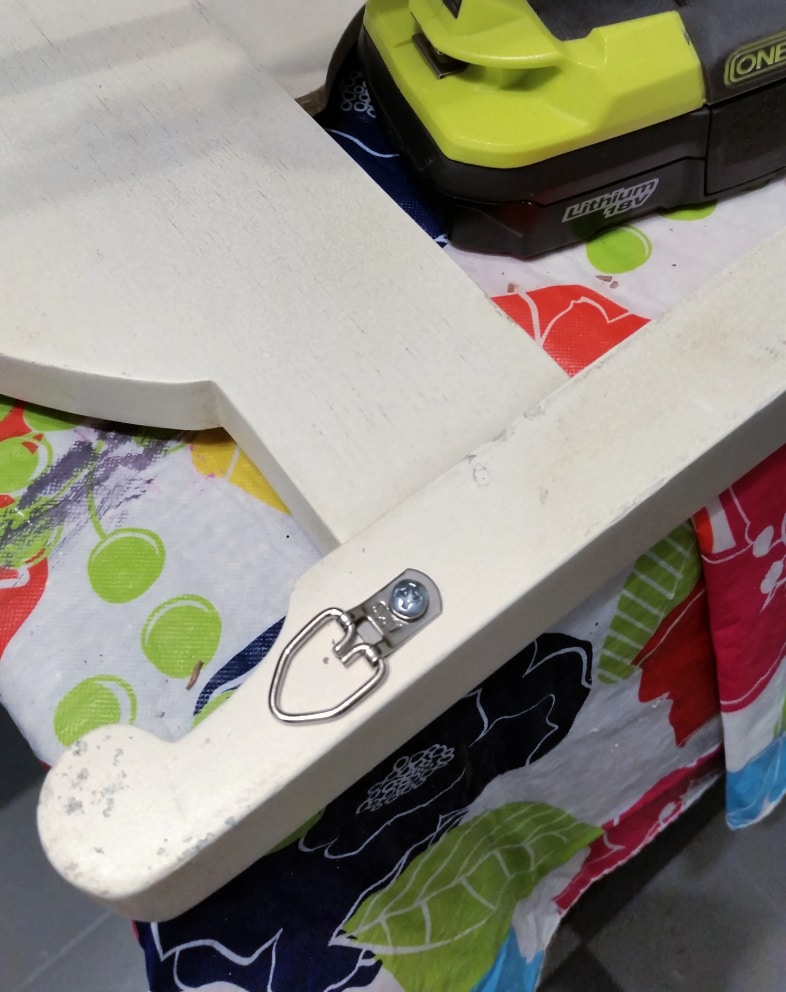
I used my favorite d rings to enable the coat rack to hang safely on the wall.
A coat rack on the fence? It was the best place to “stage” it for a good photograph.
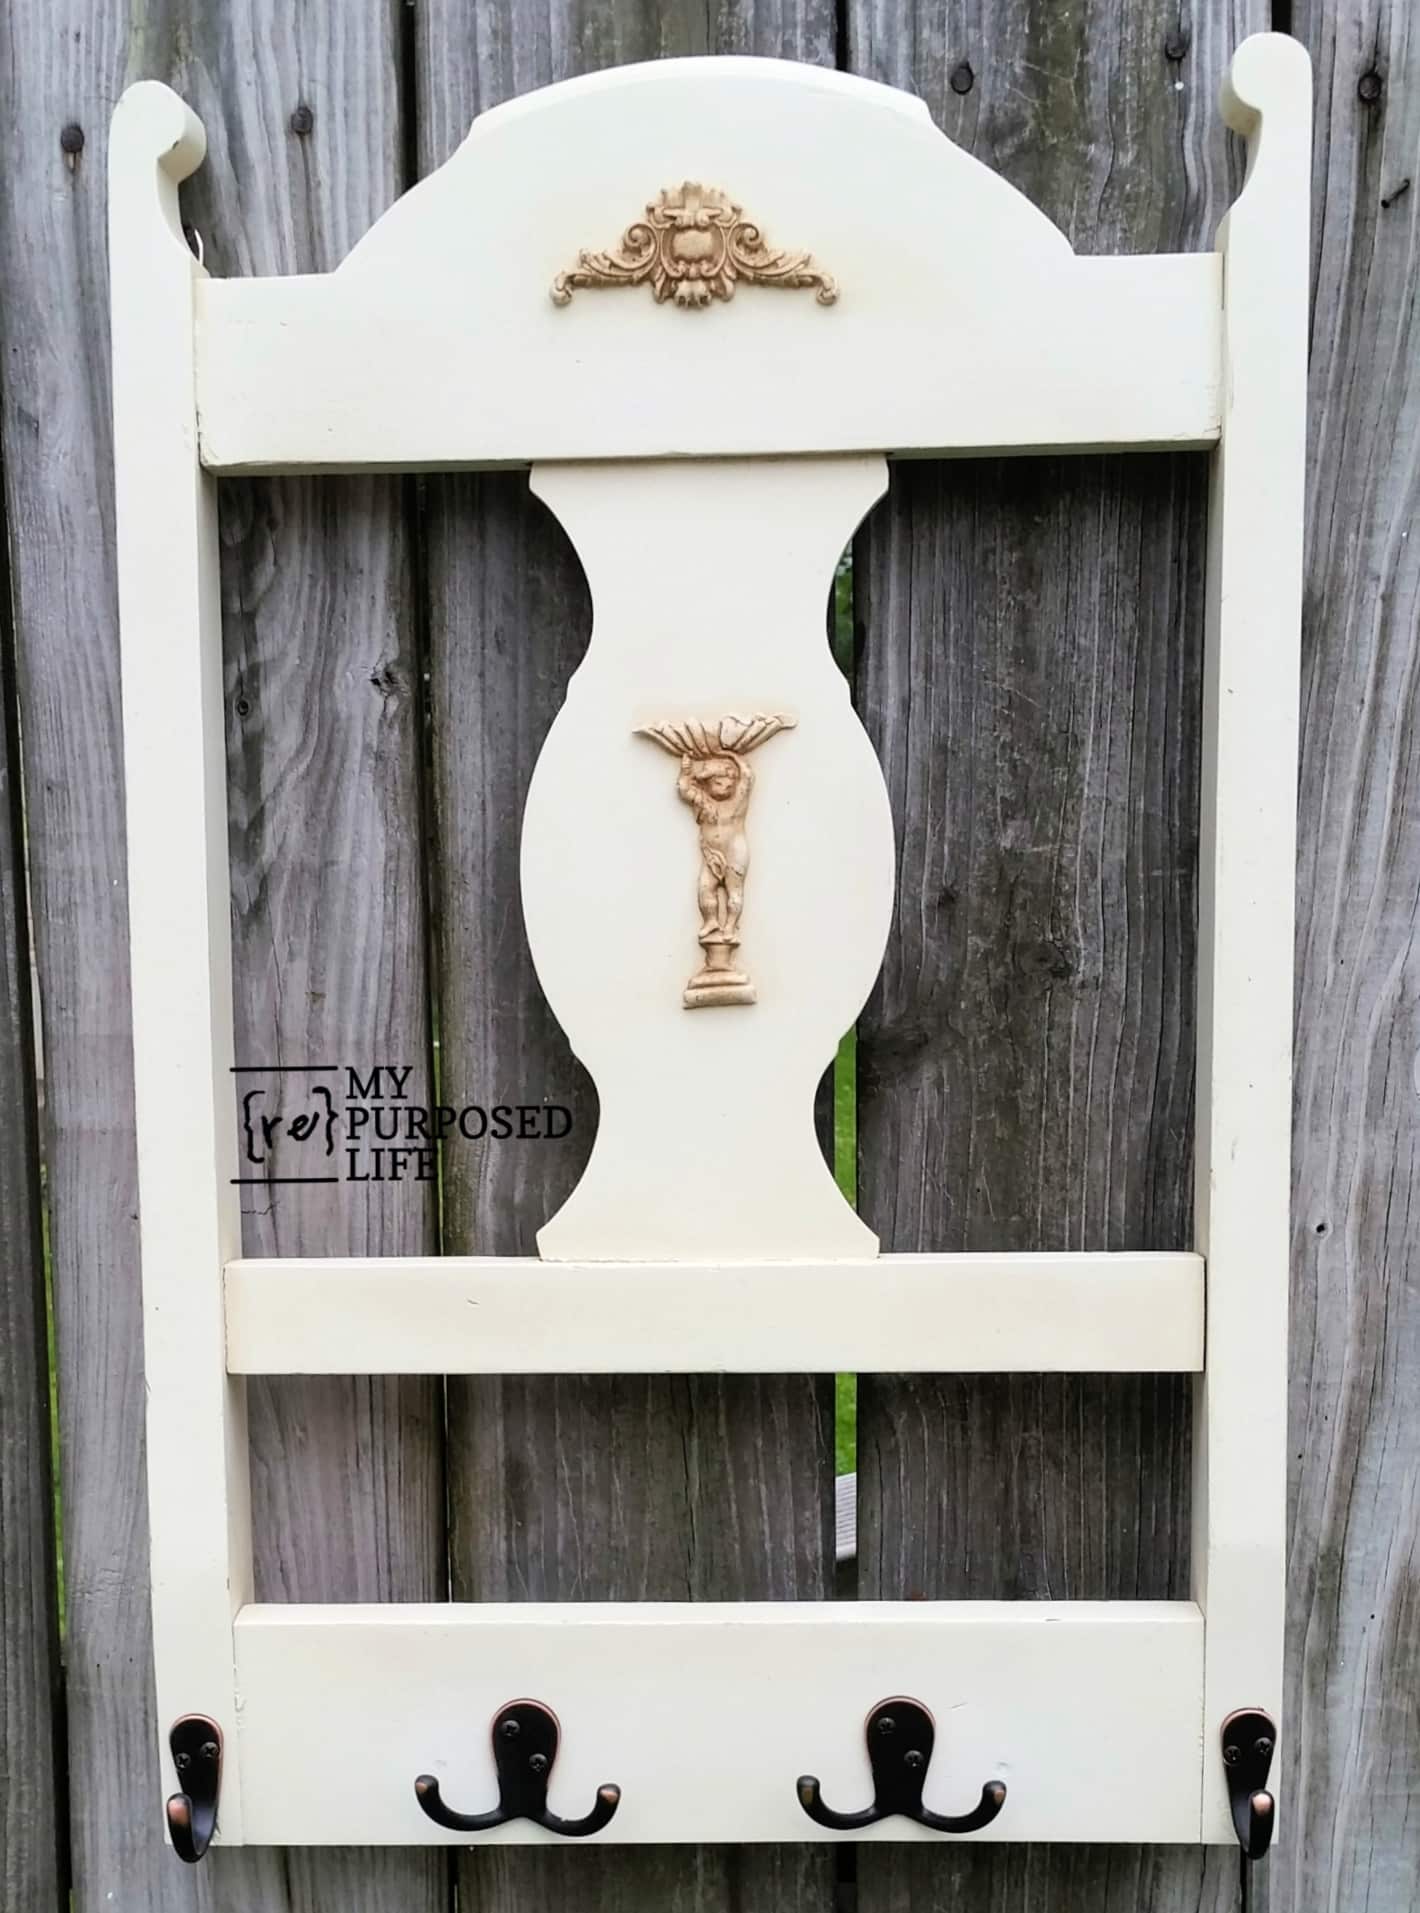
This isn’t a trendy craft or a complicated build. It’s a practical repurpose that solves a real need. Old chairs are everywhere, and chair backs make perfect bases for hook racks. The lines and details you find on vintage chairs add visual interest without effort. This project also reinforces a simple idea: creativity can be practical and useful.
Isn’t it amazing how beautiful it turned out? You could do this project in a few short hours if you have an old chair and some hooks in your stash.
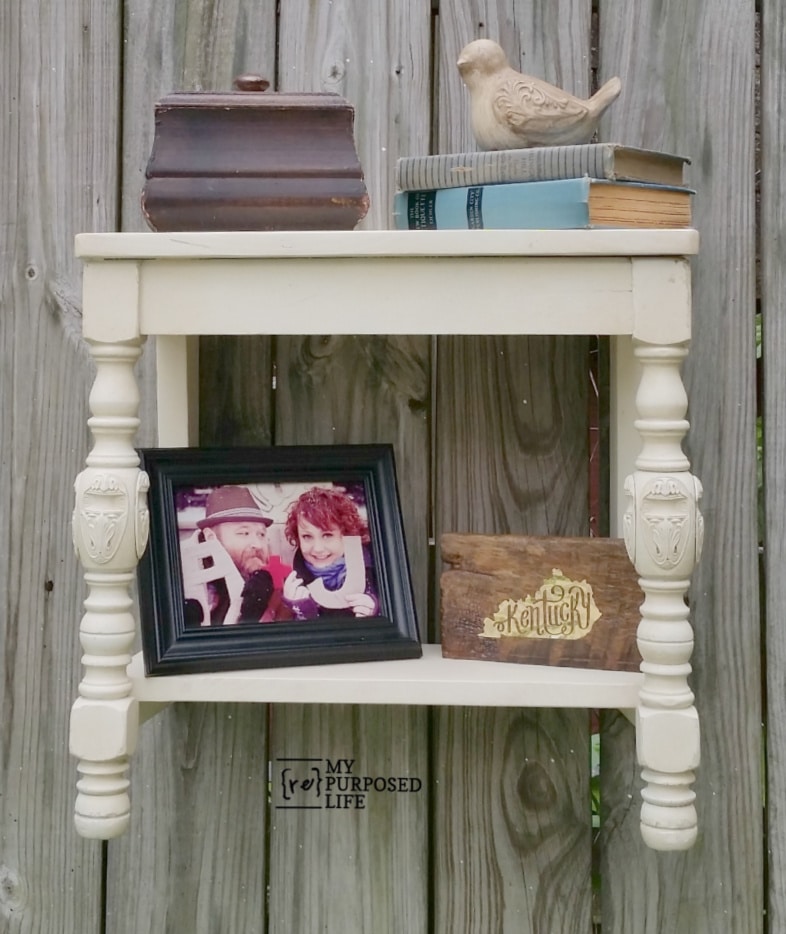
In case you are wondering what happened to the other half of the chair, I made a wall shelf out of the bottom and the back legs I cut off the chair.
So, with one $2.50 chair, I got two easy projects. Did I mention how much I LOVE chair projects?
What have you made out of a chair lately?
gail
See one of my first and all-time favorite chair projects here
Oh my! I love this! And the shelf you made from the legs is so clever! Nothing goes to waste. I love that! Great job!
Thanks so much Janet, I appreciate your comment more than you know!
gail
You have started some thing with these chairs
thanks you so much
Hello Gail
Thank you for so much info. I enjoy looking it all of your projects
Thanks for sharing.
That was beautiful. Will really look nice with necklaces hanging off of it, if that is what you made it for. Or just what ever you want to hang from it, Love the way you done the bottom of the chair. You had some great idea’s when you bought that chair.
Wow that is really impressive, I thought at first you were remodelling a chair by taking a rack and replacing the back of the chair with that but as I read and went through the right picture sequence I understood your brilliance. This is a really amazing DIY and brings new life.
Thank you Sophie for your sweet comment. I love making things out of old chairs because I really never met a chair I didn’t love!
I hope you find more projects on My Repurposed Life to inspire you.
gail
i am looking for a chair to use for a project. i know i will find one soon. LOVE both your projects!
I have many a chair and I always just paint and recover, paint and recover 🙂 I love your chair projects and it’s high time I do something different!
A link and we didn’t even provide the hardware! Thanks so much! I’ll look forward to hearing from you soon!