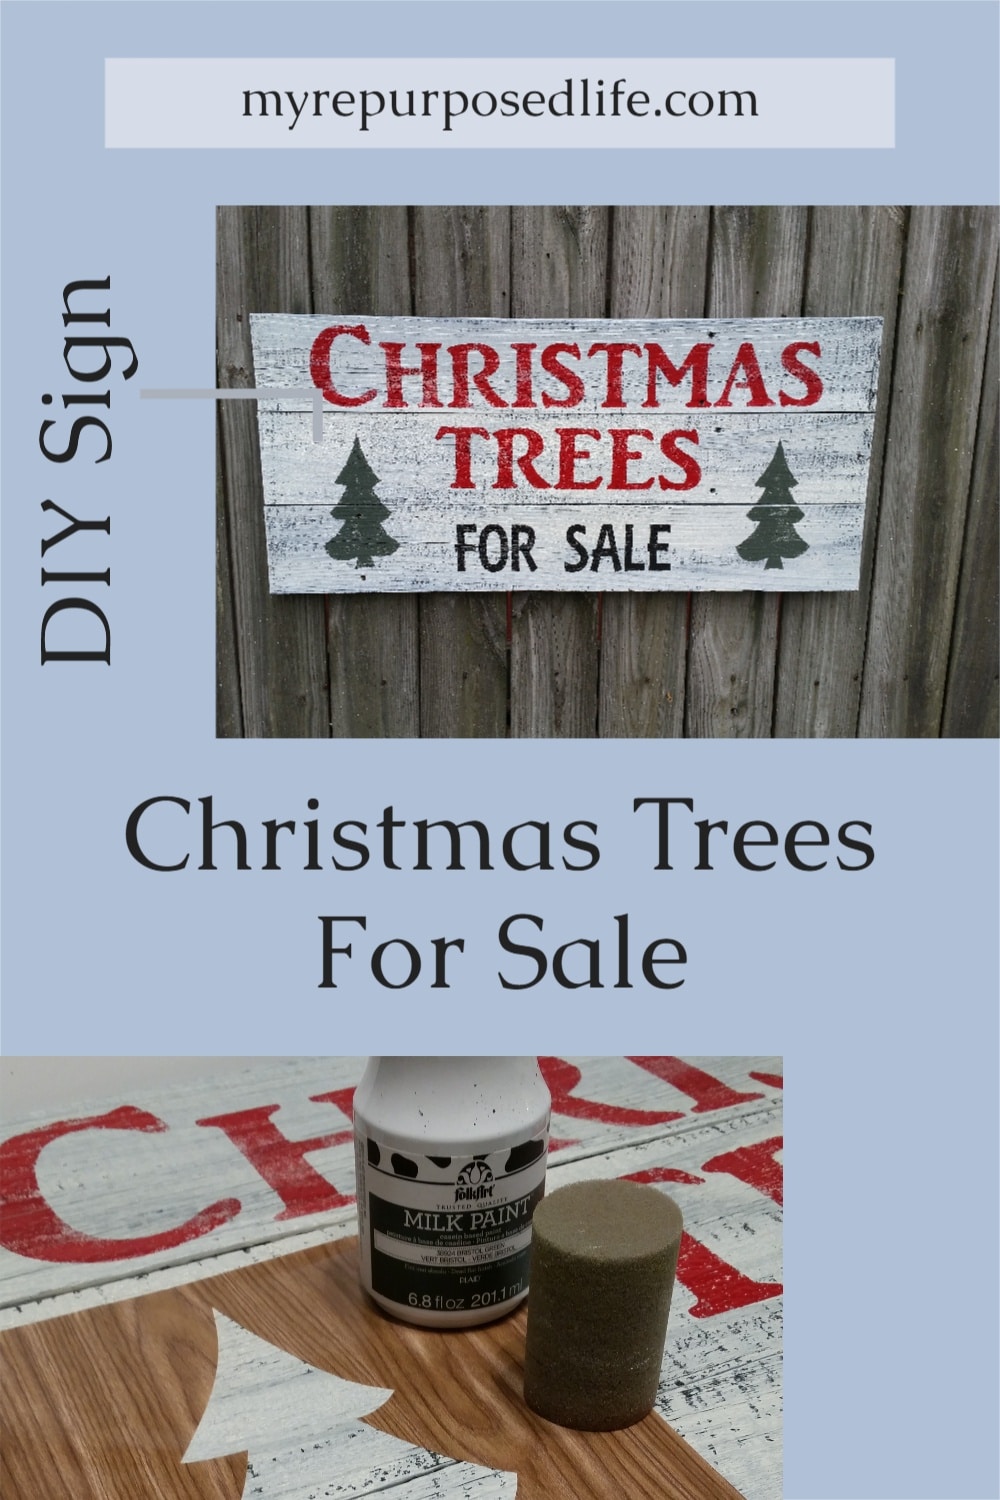
Christmas Trees For Sale Sign
As an Amazon Associate, I earn from qualifying purchases.
If you love Christmas decor that feels a little nostalgic and a lot charming, a “Christmas Trees for Sale” sign is such a fun way to set the scene. It gives you that cozy, old-time tree lot vibe without leaving your living room. This is the kind of project that adds personality to your holiday decorating and looks right at home on a porch, in an entry, or tucked into a festive vignette.
How to Make a Weathered Christmas Sign
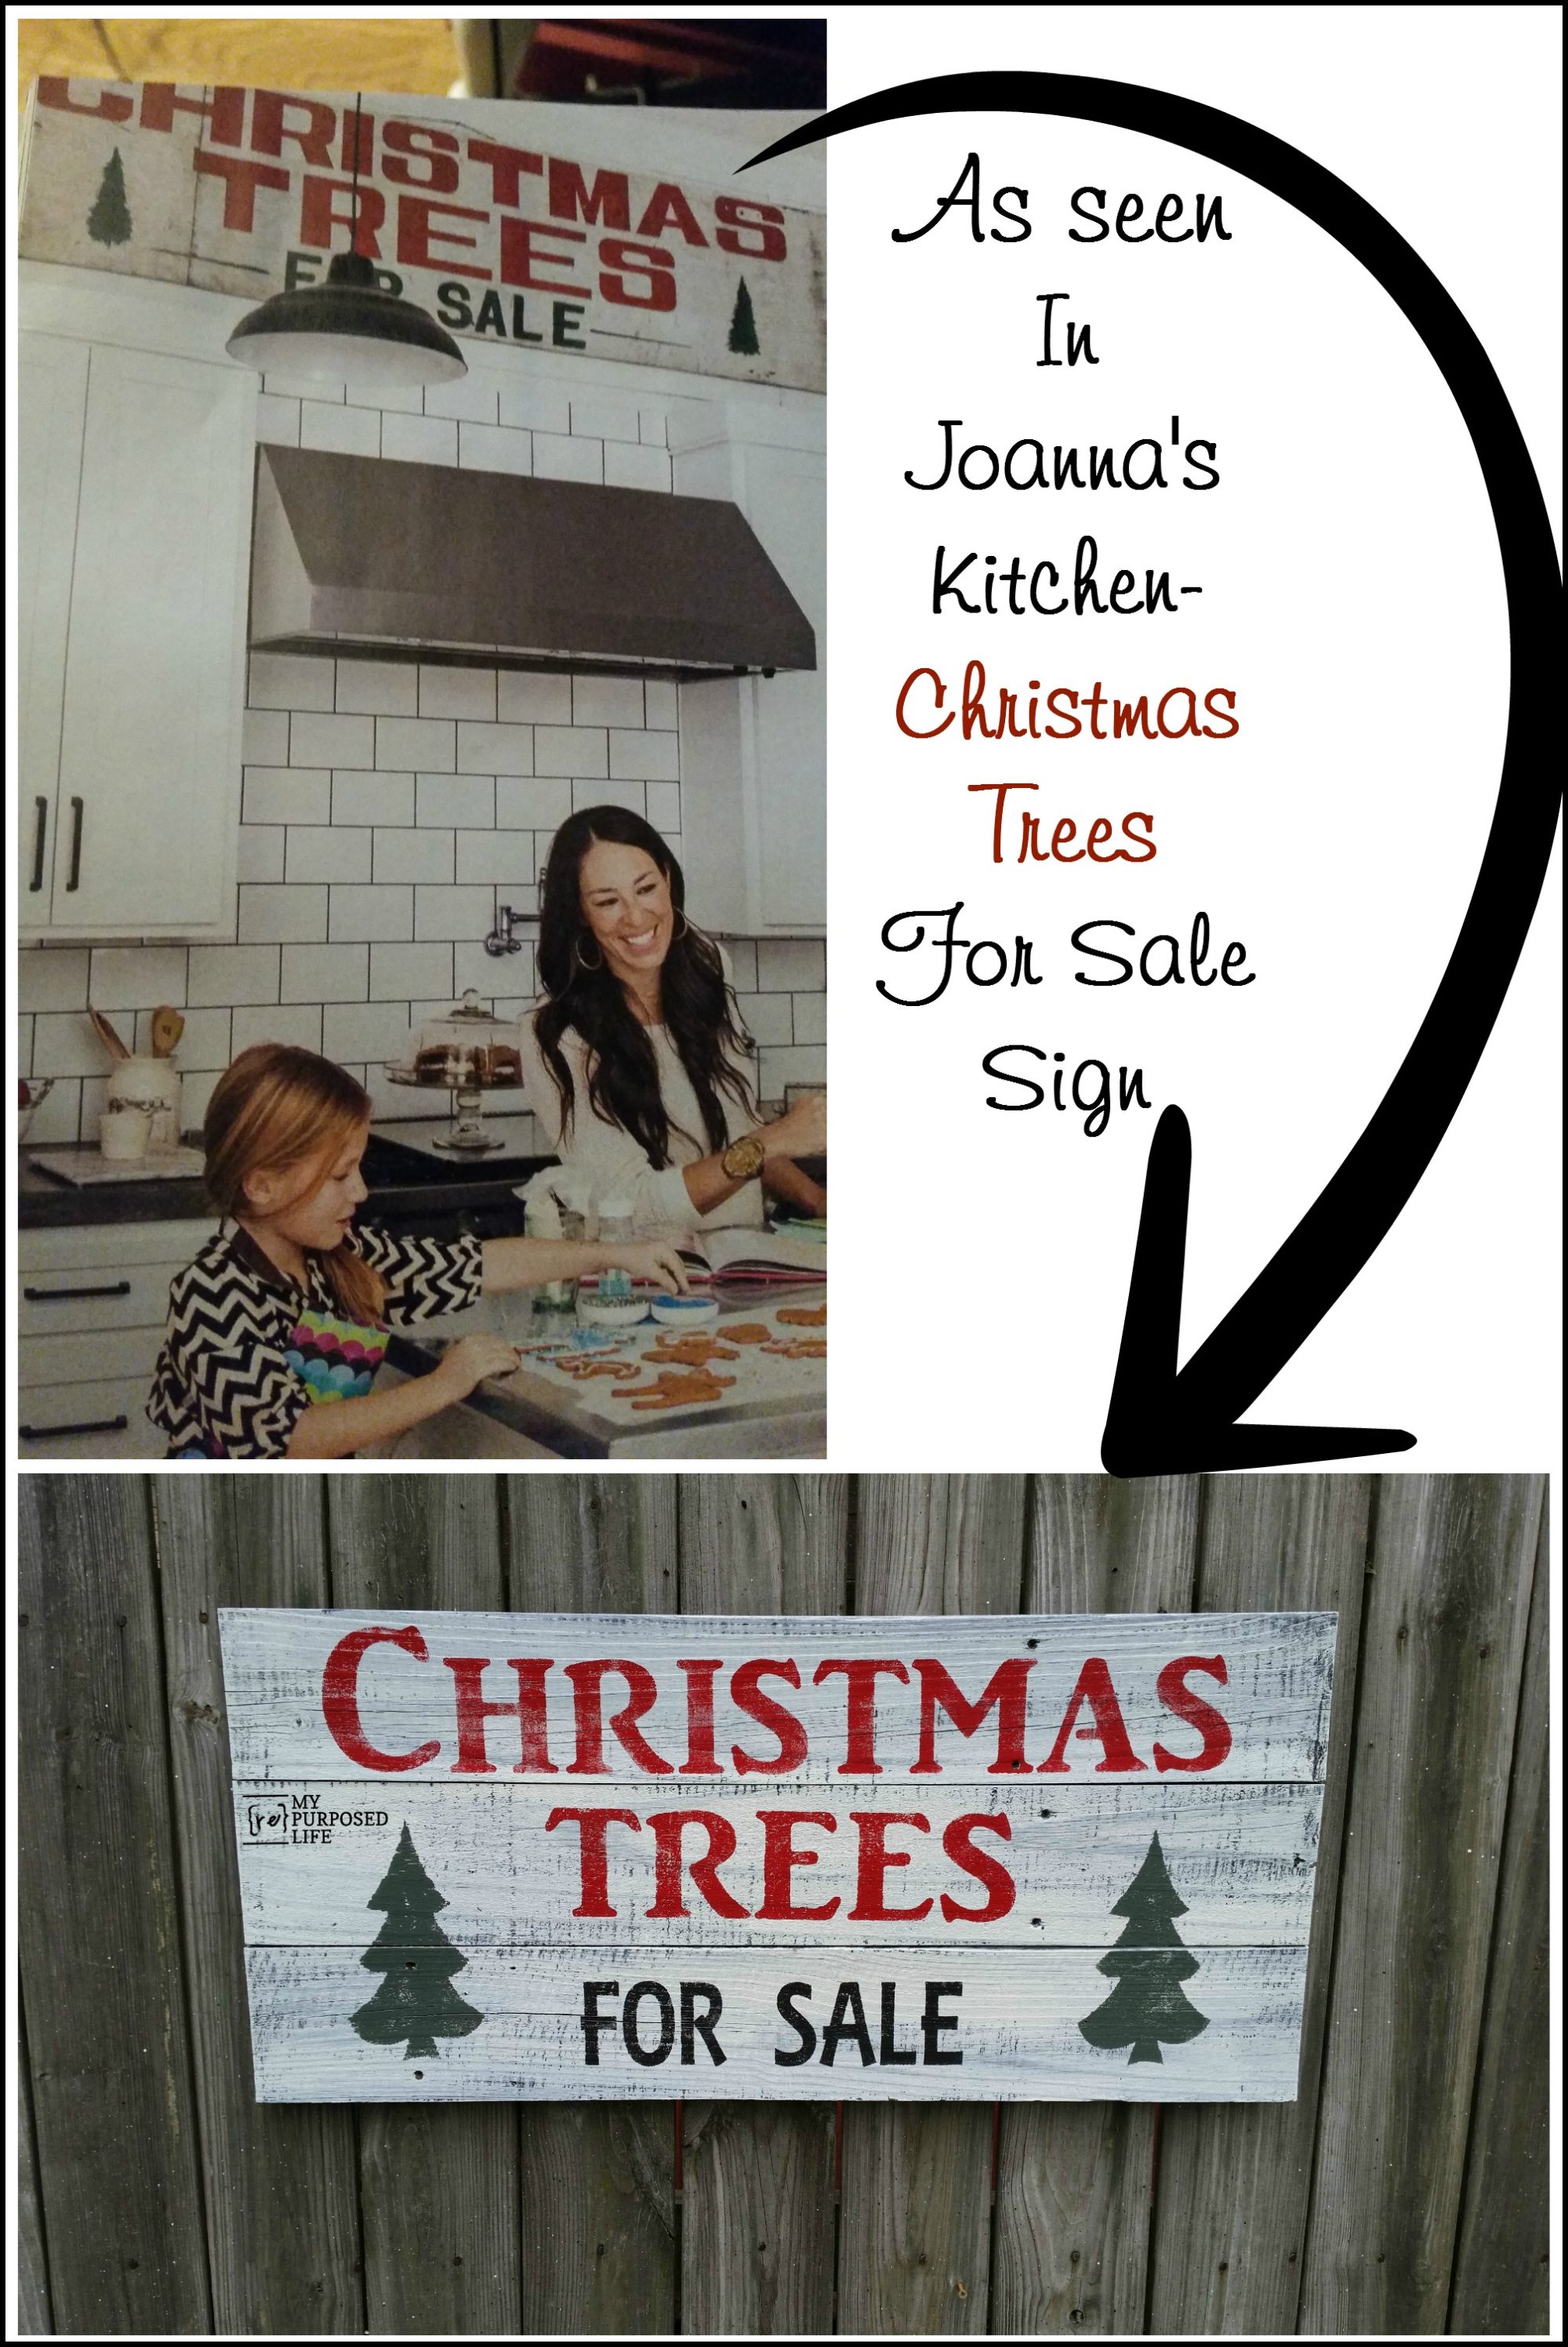
While perusing some magazines, I saw a picture of Joanna Gaines’ kitchen during the holidays and fell in love with the Christmas Trees For Sale sign. I filed it away in my memory, snapped a picture with my phone, and uploaded it to a private Pinterest board.
Singer Sewing Machine Project
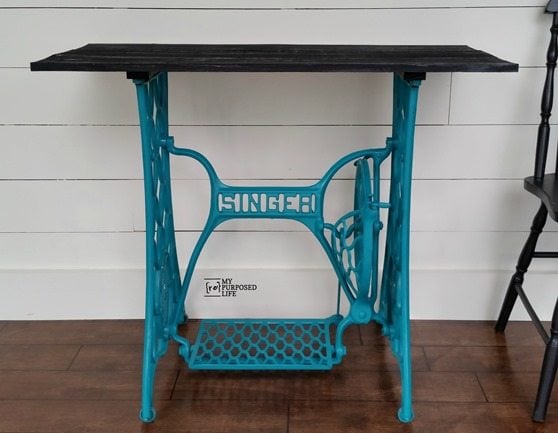
While I was reworking an old Singer treadle sewing machine table, I realized that the top I was removing would be PERFECT for this Christmas Trees For Sale sign!
Visit the My Repurposed Life Amazon Store to shop my favorite items.
How to Whitewash Dark Wood
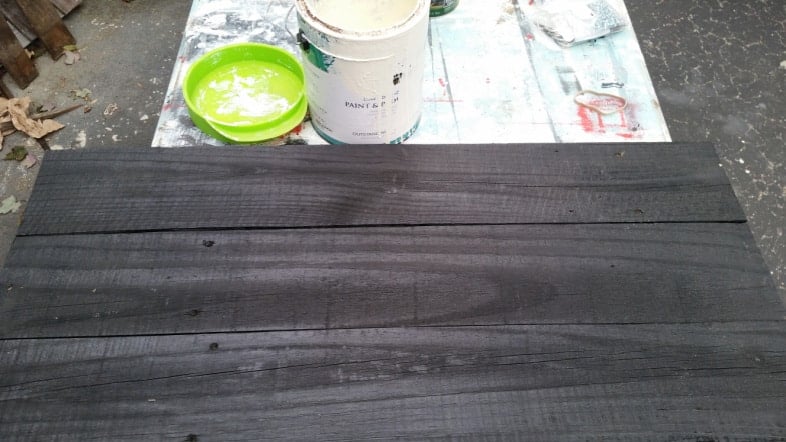
The original finish on these boards is Minwax Gel Stain. I liked that the “sign” was black, so I got out my whitewash paint can. While getting ready for Glendale, I had a nearly empty can of paint. I added some water and used it on multiple projects, including the stools and benches in the Glendale post. Grabbing the bucket whenever I wanted to dry brush or whitewash was nice.
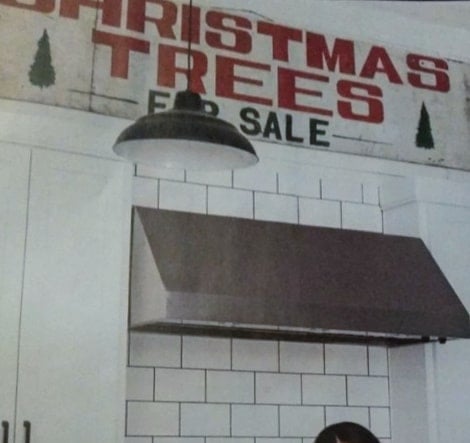
This is my inspiration photo of the kitchen sign.
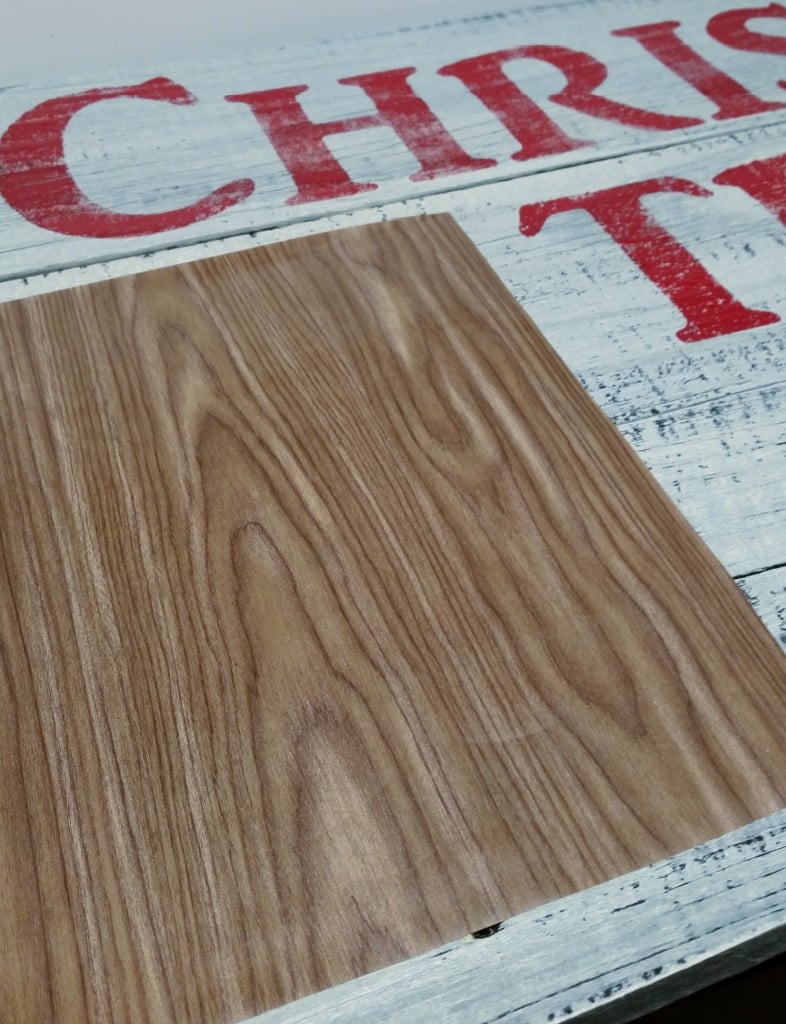
Using Contact Paper as a Stencil
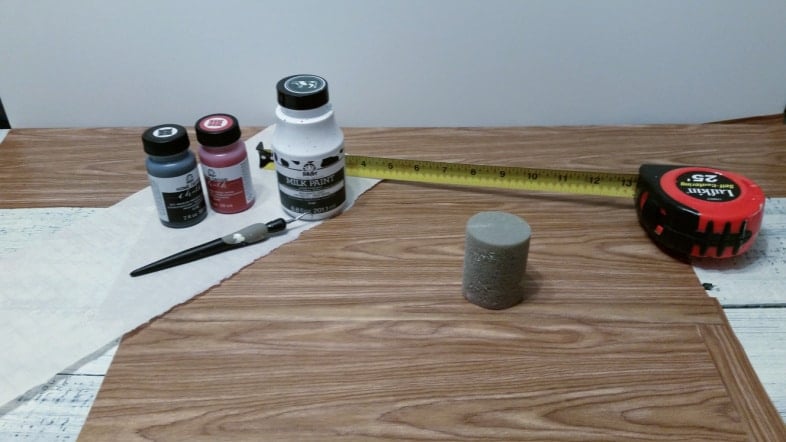
Working from the bottom up, I applied the contact paper stencils I made with my Silhouette Portrait. It’s essential to use the bottom stencil first—you’ll see why in a minute. I gathered my paints to mimic the sign that inspired me.
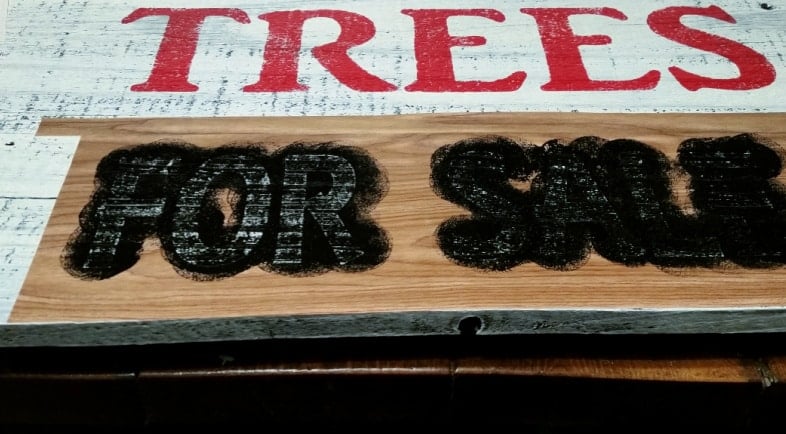
Weed the Contact Paper Stencil
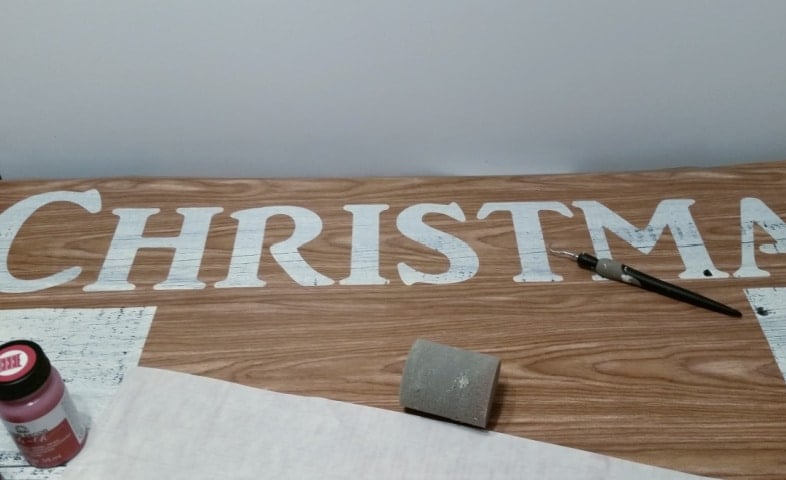
First, I began weeding the top stencil so I could paint it with my foam pouncer. I use these for all of my signs.
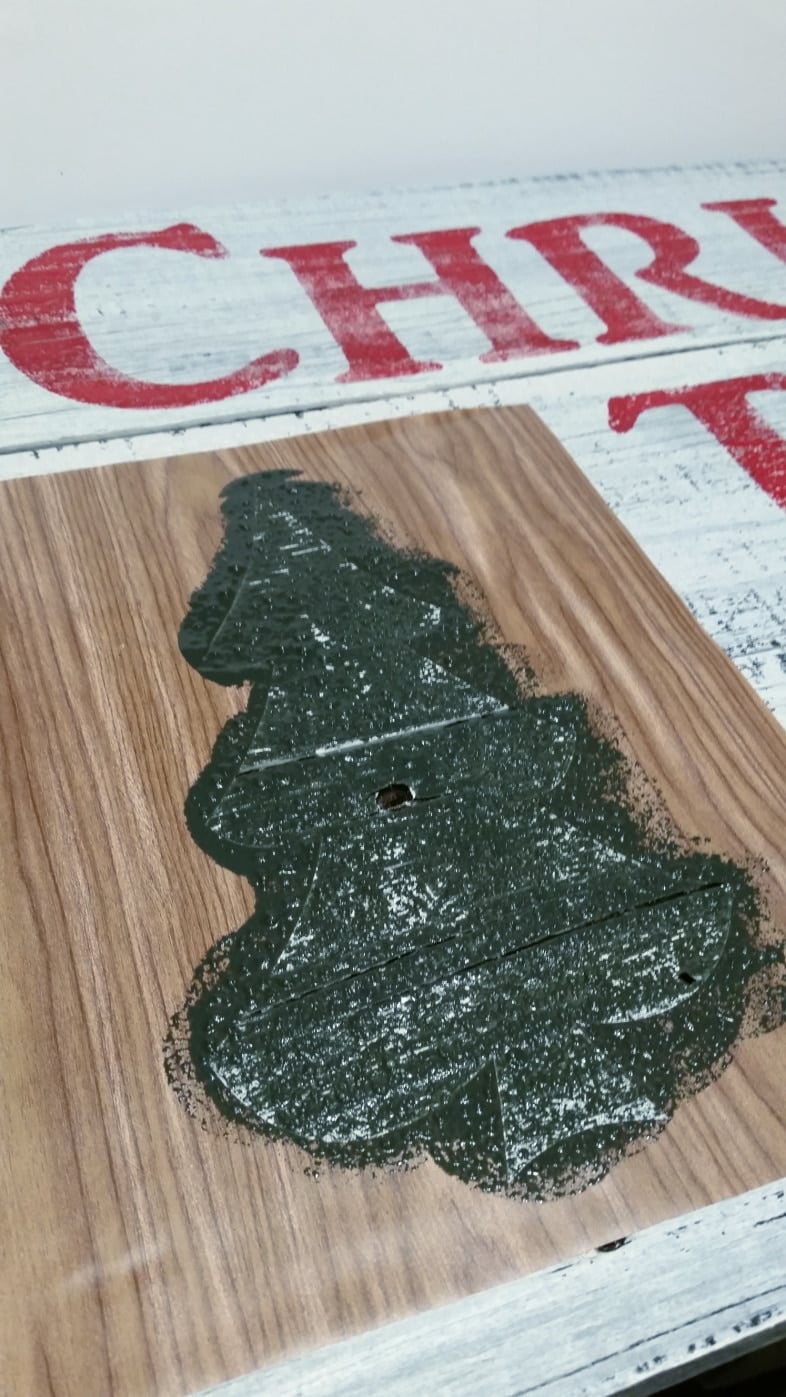
Stencil the Christmas Trees For Sale Sign With a Foam Pouncer
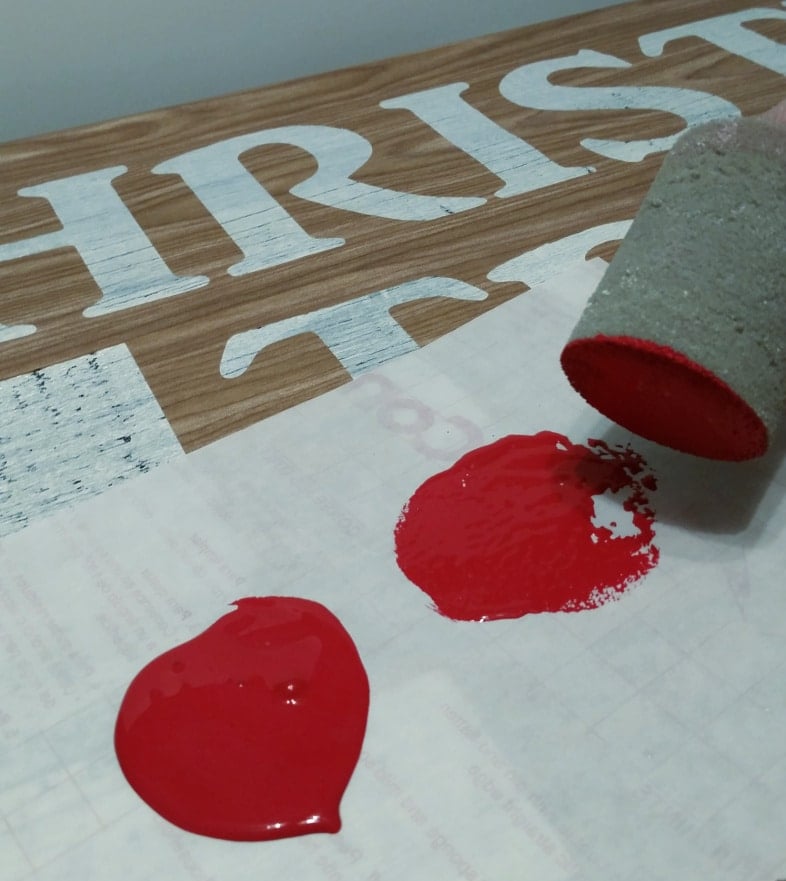
I poured out a little puddle of red on a scrap piece of contact paper backing, dipped my pouncer in it, and dabbed off the extra.
Because I wanted my sign to look vintage, I didn’t do full coverage with the red paint.
Remove the Contact Paper Stencil
I found it best to remove the contact paper stencil before it dries, so I needed to apply my stencils starting at the bottom. Each stencil slightly overlaps the next, and because this was the last stencil put in place, it was quickly removed without disturbing the others.
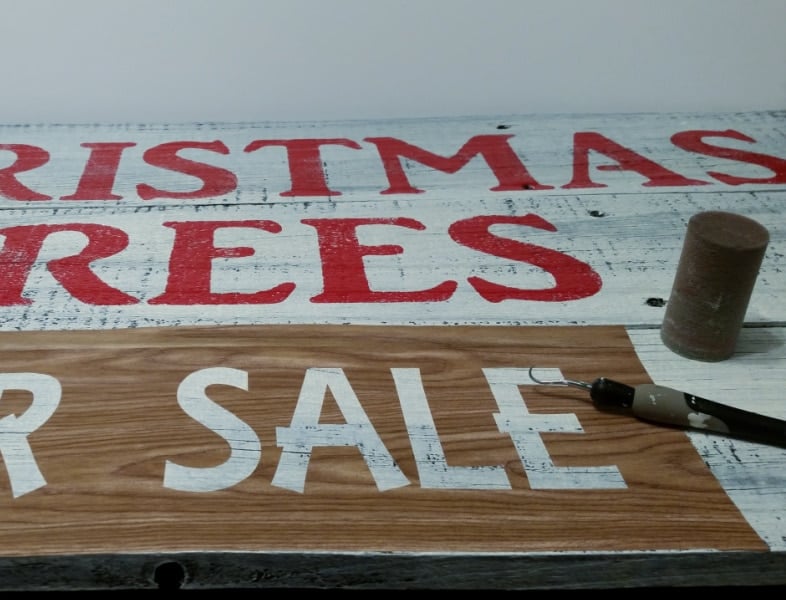
Next up, I weeded the FOR SALE stencil with my hook tool.
Again, I didn’t do full coverage with the paint.
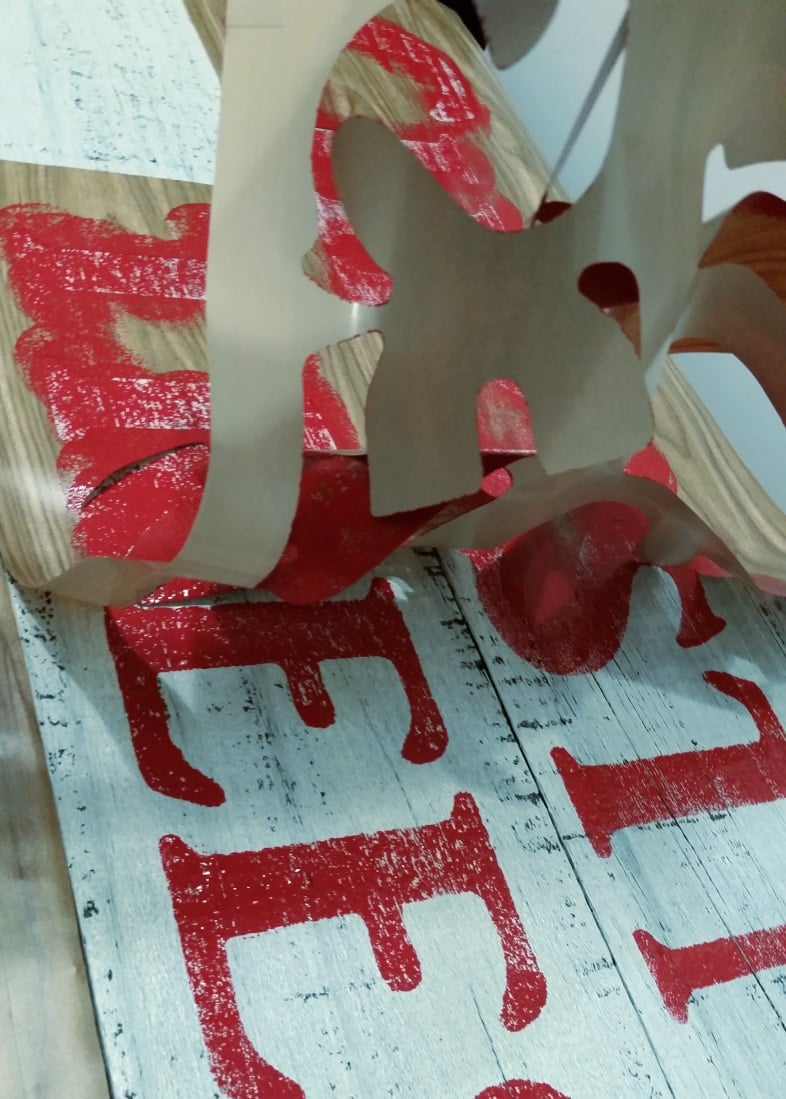
Add Christmas Trees to Either Side
I always do my stencils by placing the stencil on the sign and then weeding the contact paper.
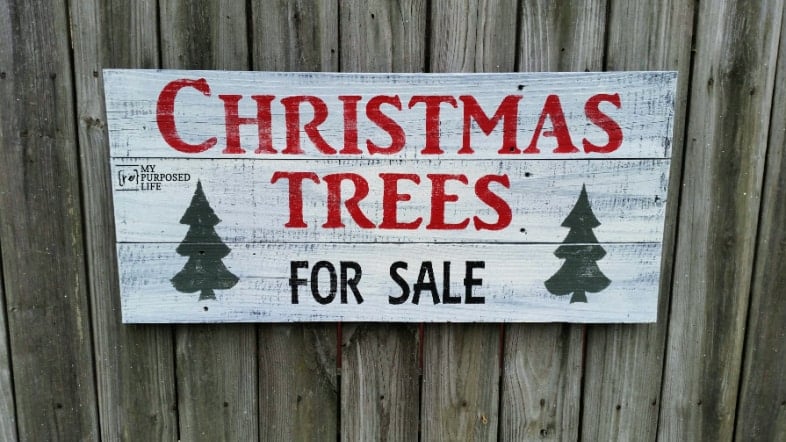
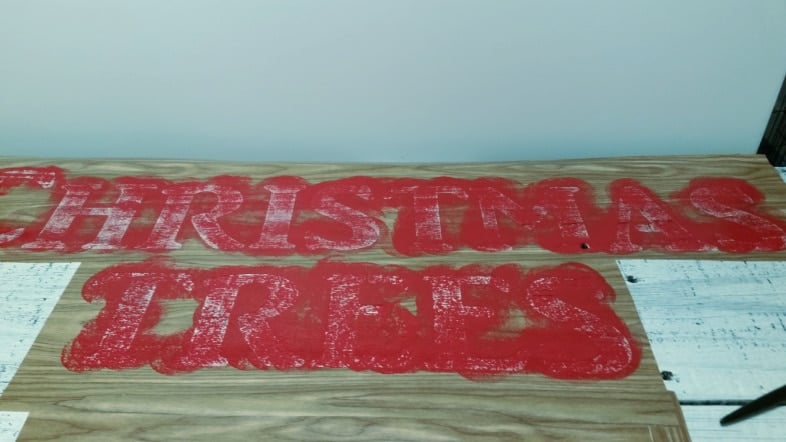
I’m getting giddy at this point, as the Christmas Trees For Sale sign is coming together!
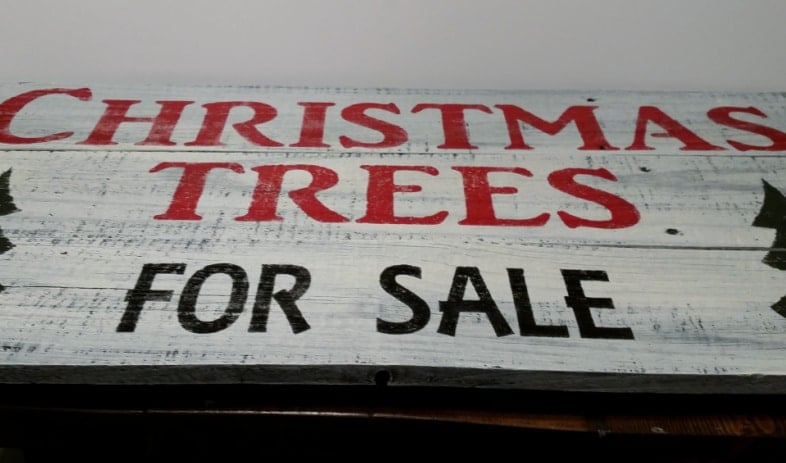
See? Isn’t it perfectly wonderful?
I love it! The Christmas Trees For Sale Sign went with me to Glendale, but I didn’t find a home. I brought it home, but didn’t take it to the Vendors’ Village booth because I think I may want to keep it!
This Christmas Trees for Sale sign is one of those simple projects that delivers big seasonal style. It brings in that classic holiday market feel and pairs beautifully with greenery, baskets, lanterns, or a small stack of wrapped packages. If you are looking for a quick way to add warmth and character to your Christmas decor, this one is an easy win and a piece you will be happy to pull out year after year.
Have you been making any Christmas crafts?
gail
Related Content:
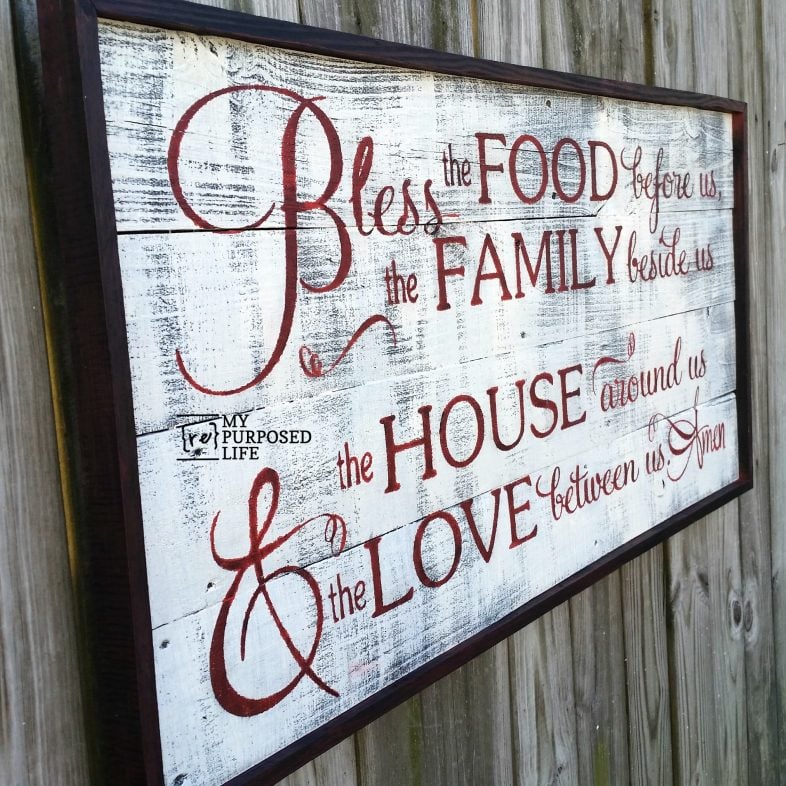
If you like, you can add a frame to your Christmas Trees For Sale sign as I did for this Bless The Food Before Us sign.
I love it! What does “weeding the contact paper” mean? Thank you!
Mary,
“Weeding” is when you remove the parts of the stencil (contact paper) that you won’t be needing. I’m so happy you love my sign!
Happy Crafting!
gail
sooo cool !! where did you get the dauber?
I call it a foam pouncer in the post. I buy them on Amazon, they are from Martha Stewart. I LOVE them for all my stenciling projects. I’ve been using them for years.
thanks for the comment!
gail
Super cute!! I want one in my kitchen now!!
Thanks Katie! I love making signs, especially out of reclaimed materials.
gail
That is an awesome sign. Will have to put in my memory.
What Fonts did you use?
I don’t have a stencil maker so I’ll need to get someone to make me the stencil.
Janet,
I used the font AR Julian (Christmas Trees) and AR Essence (For Sale).
I hope that helps.
gail
that is so awesome! i don’t remember seeing it at Glendale! can’t believe someone didn’t snatch it up! glad you are thinking about keeping it for your mantel.
Nova,
It was on the truck for most of the day. Honestly, I don’t remember if it ever made it off the truck. 🙂 I now have it on my mantel. It makes me smile. 🙂
gail
Love it Gail! I’ve had my eye on that sign for some time myself… ❤️
And yeah… keep it!
Thanks for stopping by to check out my Christmas Trees For Sale Donna! It was such a fun and easy project.
gail
Love it! Very cute knock off. 🙂
Great job on the sign! Love it.
Thank you Virgina! I can’t wait to put it on my mantel. 🙂
gail
What does the term “weeding” mean? I love your sign and your sharing on how you made it.
Ginger
Great question!
Weeding is the process of “picking” the letters out of a stencil, or the extra vinyl off your project if you’re actually using the letters that you cut out.
I hope that helps explain it.
gail
I love this Gail! I just might have to make one too! One question about the contact paper stencil, what settings do you use on your Silhouette to cut the contact paper? Thanks!
Hi Jeanie,
I use speed 10, and thickness 2 or 3 and a blade setting of one. As the blade dulls, I make adjustments accordingly. Hope this helps!
gail