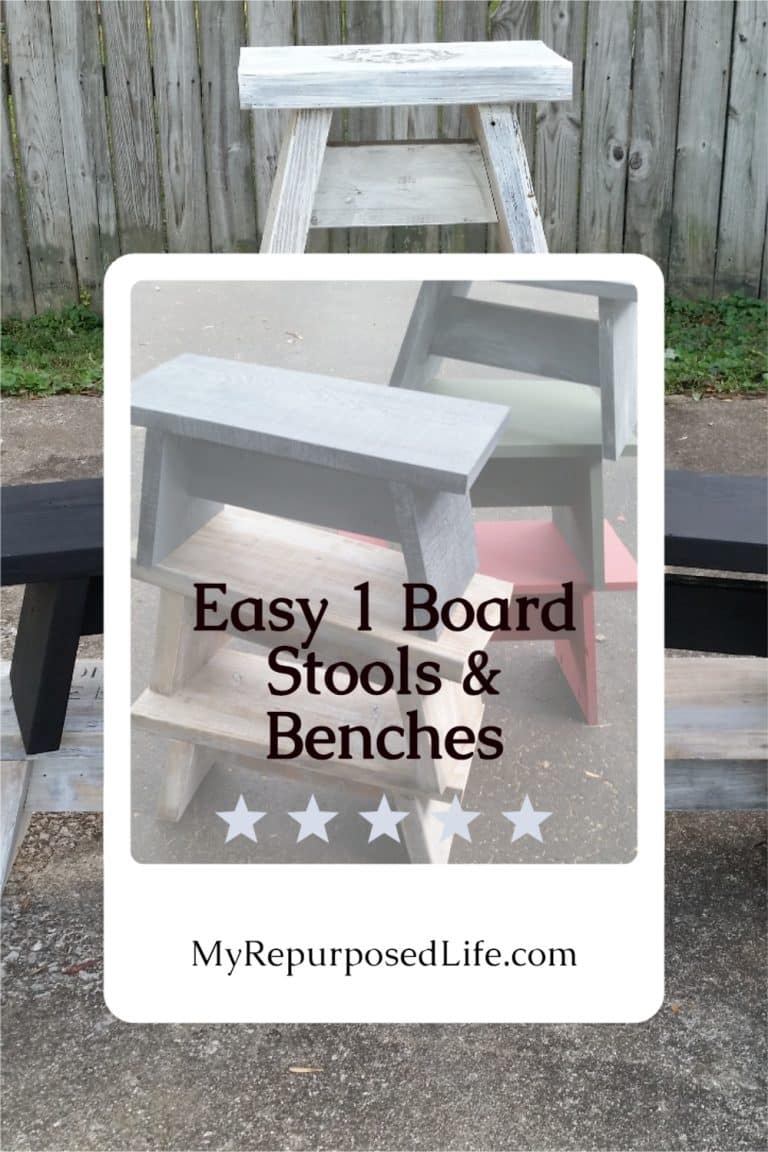
One Board Stools And Benches | Easy Tutorial
As an Amazon Associate, I earn from qualifying purchases.

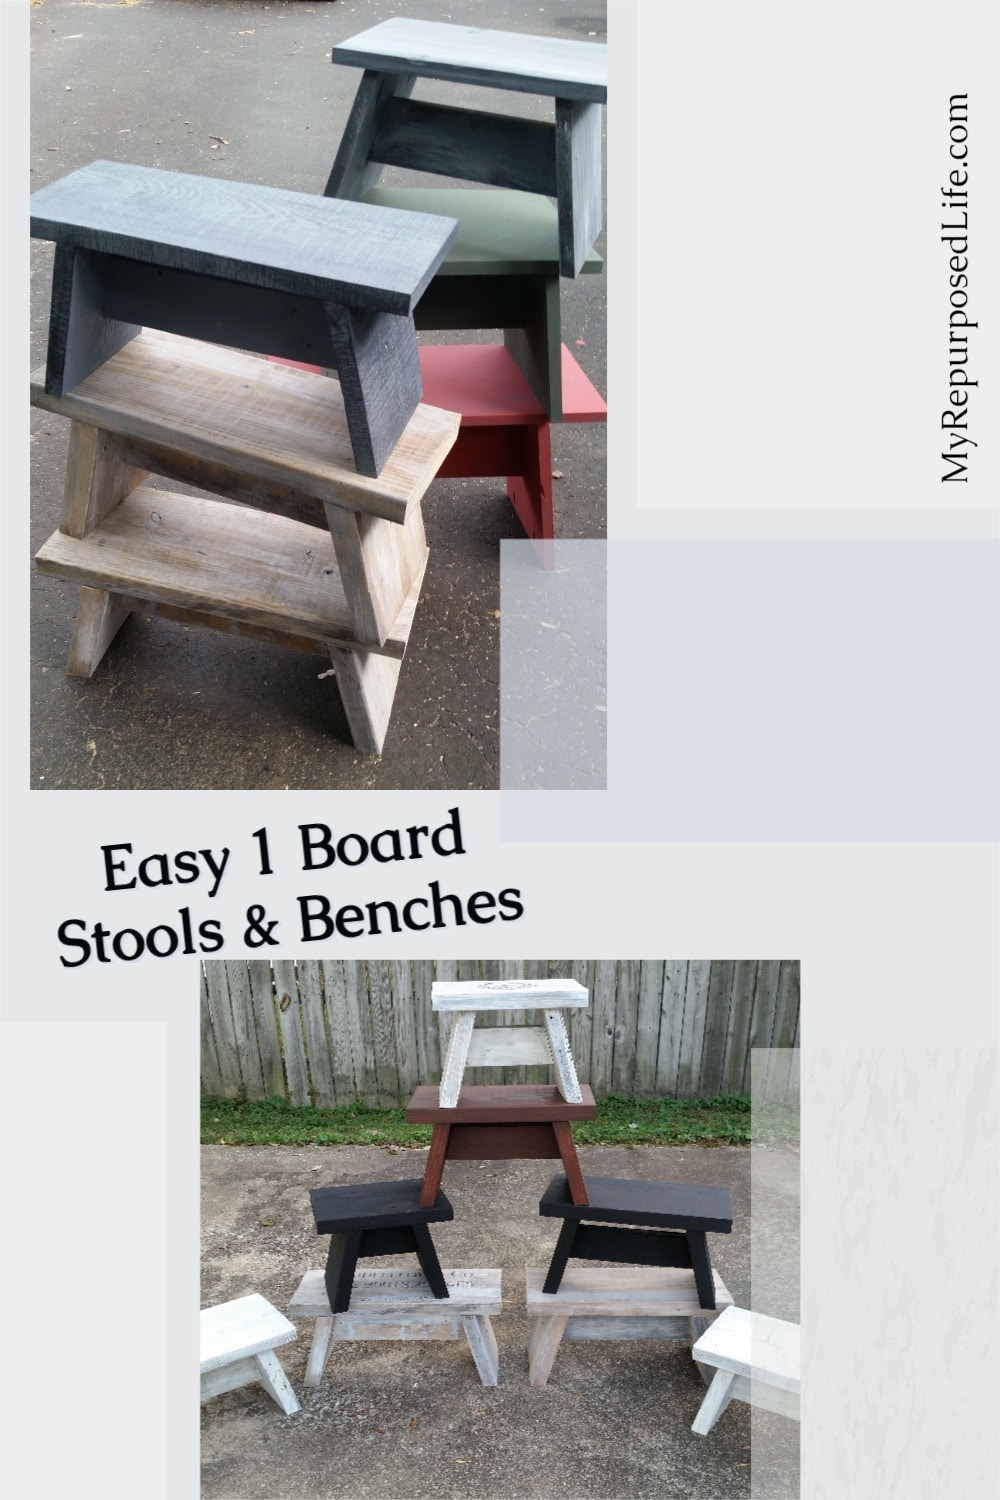
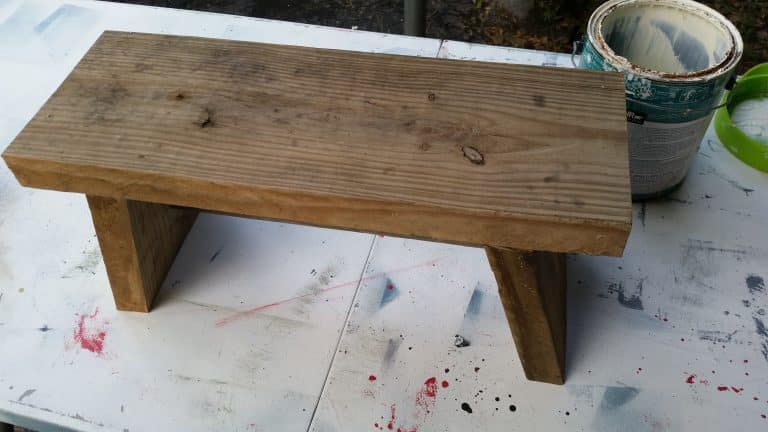
If you need a quick little step stool for the top cabinet, a short bench for the grandkids, or an extra spot to park your bum, this one-board build is about as simple as it gets. I made a batch of these easy one-board stools and benches from bargain boards and scrap lumber, then sped things up by assembling them with pocket holes. You can adjust the size to fit whatever board you have on hand, making this a perfect “use what you’ve got” project.
Cheap Lumber Bargains
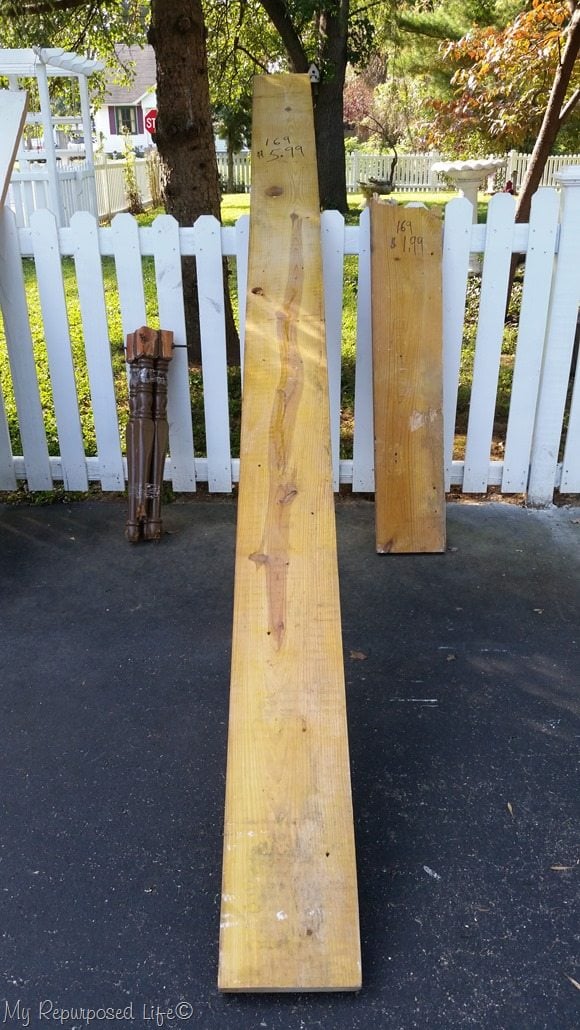
Do you remember these boards I picked up at Vendors’ Village? They were perfect for some of these stools and benches.
I made these stools and benches like the one board project stool I made a few months ago. I let the size of the boards determine the size of the stool/bench.

In addition, I have a lot of scrap pieces left over from 1×8’s. You can see them on the top shelf. This is an old picture, but they were still available three years later.
Visit the My Repurposed Life Amazon Store to shop my favorite items.
Easy One Board Stools assembled using pocket holes
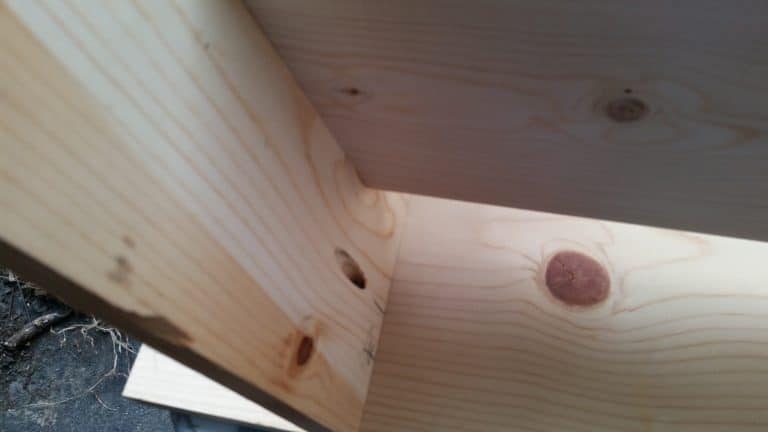
The difference between these stools and the one-board project stool is how I attached the legs to the top. I used screws on the original project, but to make these stools/benches go faster, I used my Kreg Jig and pocket hole screws.
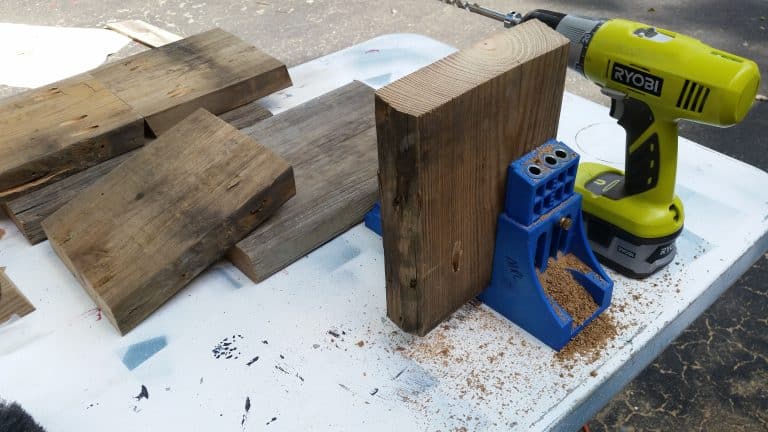
I worked on an assembly line, cutting, drilling, and assembling boards.
Wood screws and Gorilla wood glue are the best options to secure the middle brace.
I used those 1×8 scrap pieces and some odds-and-ends scrap pieces of 2x6s. The length of my boards determined the size of the small benches. I’m a use-what-you-got kind of girl.
Assorted Painting Options
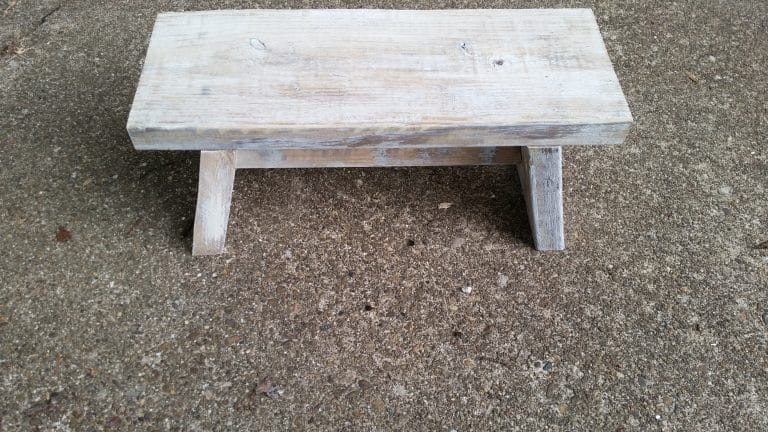
I whitewashed the 2×8 stools/benches like the original one-board project stool. The legs on these stools are about 8 1/4″, which makes them almost 10″ off the ground.
See complete directions for cutting these stools in my One Board Project Stool article.

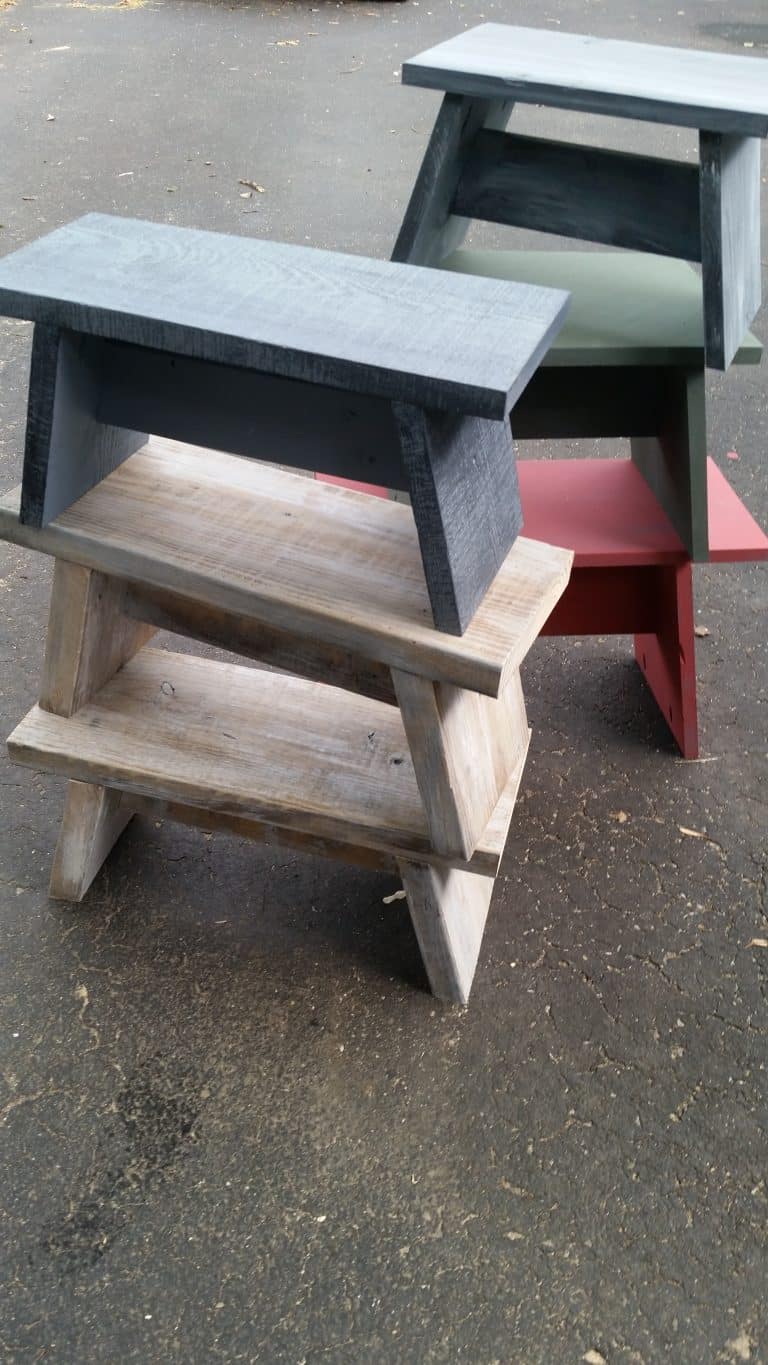
I painted a gray primer coat on all of the 1x stools. I’m preparing to paint the one in the foreground.

These are three stools/benches after the gray primer and various topcoats.
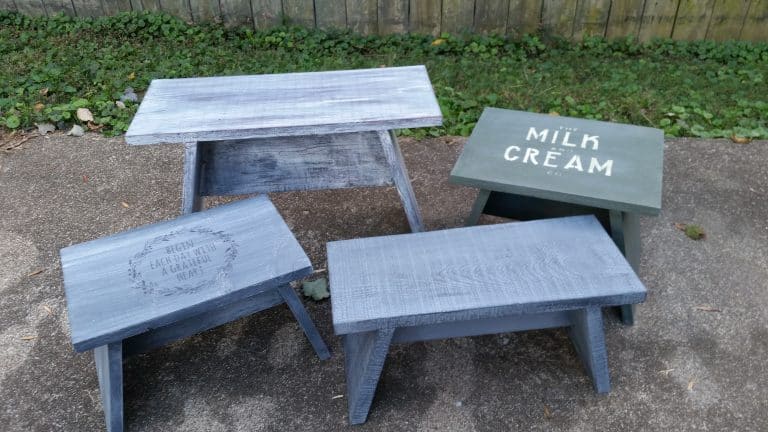
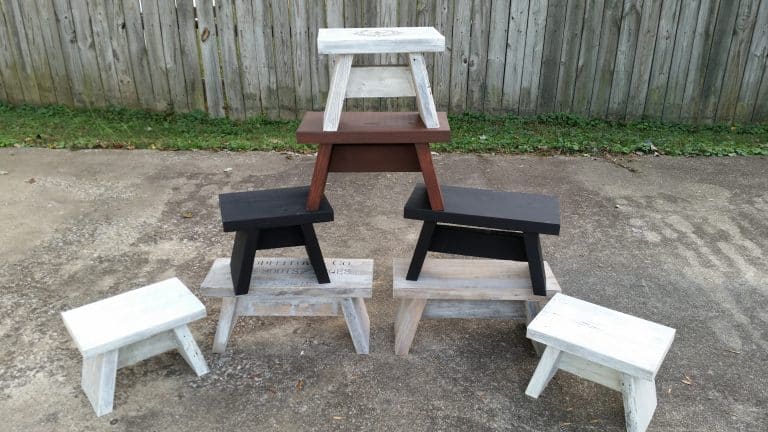
One Board Stools-All Shapes, Sizes, and Colors
The whitewashed stools are on the left, with a rough-sawn board bench on top. I used the rough-sawn boards years ago when I built this shutter bookshelf. I love how the paint took to the rough wood.
TIP! Whitewash the stools with thinned-down latex paint. Use the hose to remove some paint if your coverage is too heavy.
NOTE: you can see how I secured the screw through the leg into the middle brace on that bench. (top left)
I used one of Angie’s Stencils for this small green stool made of 1x’s.
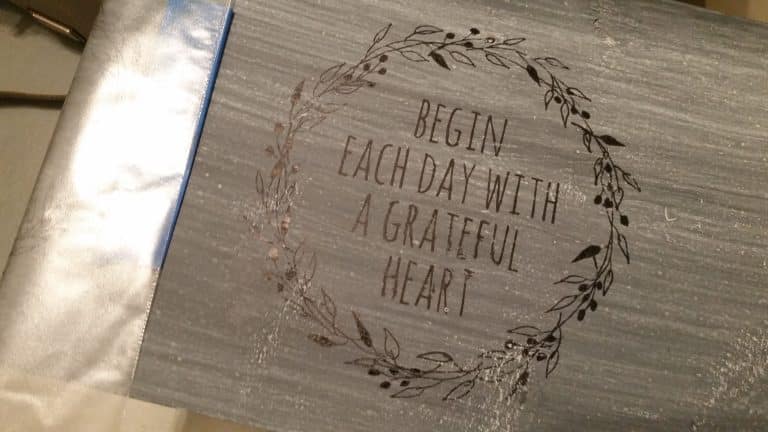
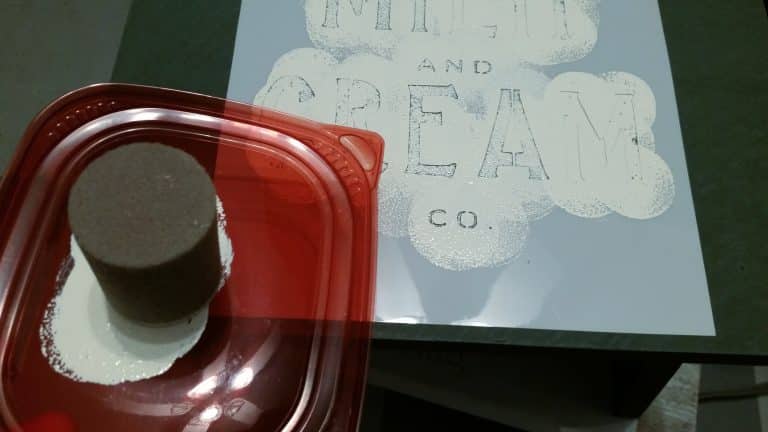
I used a binder sheet on this stool to print a reversed image, then rubbed it on the stool.
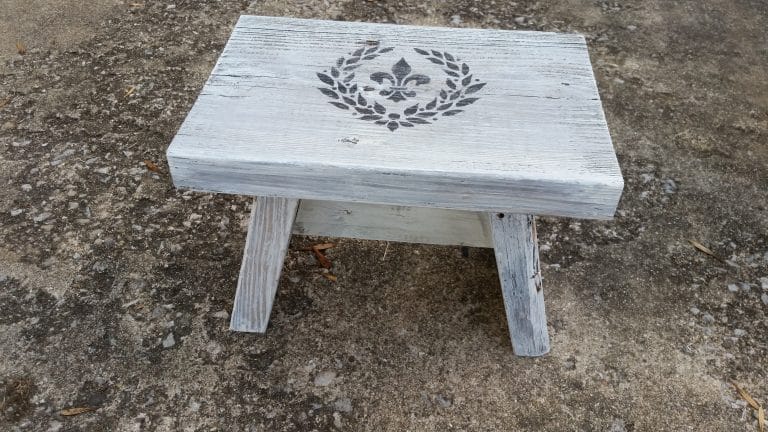
A fleur-de-lis stencil was used on this whitewashed easy step stool.
These are the stools/benches I made with 1x boards.
And these are the ones I made using 2x lumber.
They are in my booth at Vendors’ Village, ready to go to a new home.
I kept my original stool for personal use. I love how versatile these stools and benches are!
gail
Vey cute – and multifunctional !!
Thanks
How much do you sell the benches for in your booth?
These small one board stools are marked at $20.
Where or how can I purchase one? Is there a link ?
I’m sorry, Maria, they are no longer for sale. They’ve all found new homes. I’m in Louisville KY.
gail
Hi, LOVE the benches! Can you tell me what the angle of the cut is on the top and bottom of the legs. Thanks.
Cindy,
I apologize for not making it more clear that the full instructions for the cutting process can be found here: https://www.myrepurposedlife.com/small-step-stool-easy-one-board-project/
One article was more about the building, with the other article focusing on the painting and stenciling. 🙂
gail
the stools are adorable way better than the plastic crap my grandsons have now, and i am hoping if i do nothing my emails from you will stay the same lol i am not a nerd xx
Who can’t use a stool in many places in their home? I’ll bet that these will sell quickly in your booth, Gail.
So cute! I love the stencils on the top, and the white washed look! How is your venders village going? I wish I had a place like that to sell my stuff!
The booth is going okay, some months are better than others. It’s a hit and miss as to what people want to buy. I was there over the weekend, and it was crazy busy, but I didn’t sell anything either day. I guess most people are like me and you, looking for junk to fix up!
gail
Do you have a tutorial for the binder sheet transfer? From your caption, it sounds as if its similar to a scrapbook rub-on decoration.
P.S. The stools are so cute. 🙂
Reply
Thank you Jen!
I meant to link to the blog that inspired me to do the binder sleeve transfer, but forgot. I had to search pinterest for it, and now there is a link to the tutorial under the image. I tried it a second and third time with no luck. The first time I did it was on this stool and it was perfectly wonderful, but I couldn’t get it to work again, and I never figured out why. I believe it was a printer setting or ink problem. Good luck if you try it!
gail