Clipboard Stand and More
As an Amazon Associate, I earn from qualifying purchases.

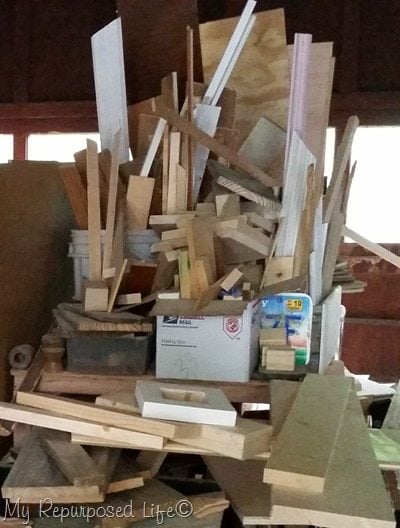 When you build as much as I do, you tend to collect a lot of scrap wood. I rarely throw anything out. After I cleaned the garage out in the Spring, all of these pieces were organized and neatly stowed away, so it was easy to find the perfect 2×4’s.
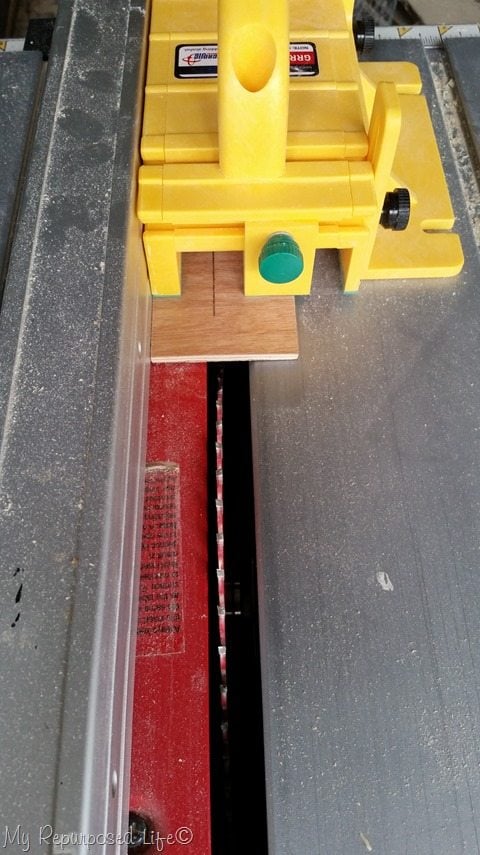 This handy little thingy is called a Micro Jig Gripper. I first saw it in Pretty Handy Girl’s clipboard holder tutorial. As soon as I saw Brittany’s clipboard stand, I loved it and knew I had to make some out of my bazillions of 2×4 scraps. I followed Brittany’s instructions and set my saw at 15% angle. Of course I was having so much fun on the saw, I forgot to take any pictures of me using it with the 2×4’s. But I also used it with some thin plywood.
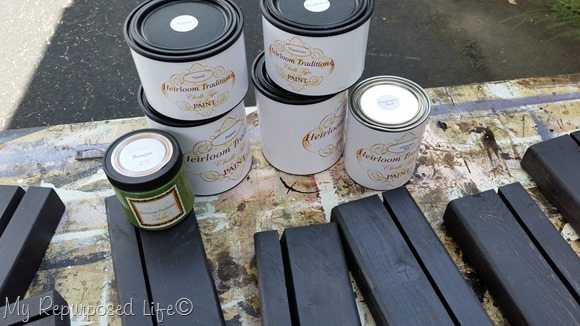 I painted all of the stands black with some diy chalky paint primer, then gathered some Heirloom Traditions paint colors to do some dry brushing over the black 2×4 clipboard stands.
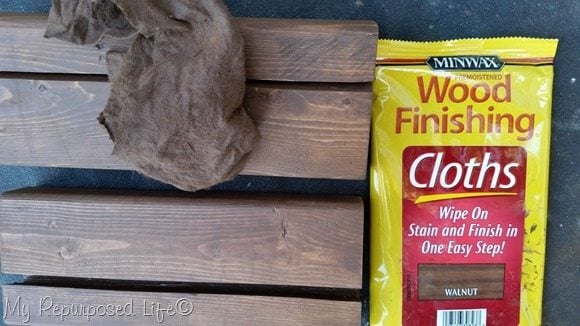 I also used some Minwax Wood Finishing Cloths in Walnut to stain some of the clipboard stands. It doesn’t get any easier than this!
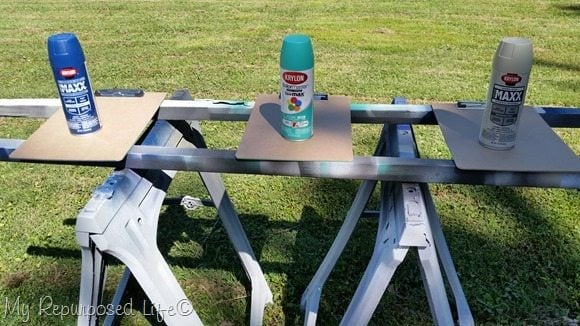 I ordered some clipboards online and spray painted them fun colors from Krylon.
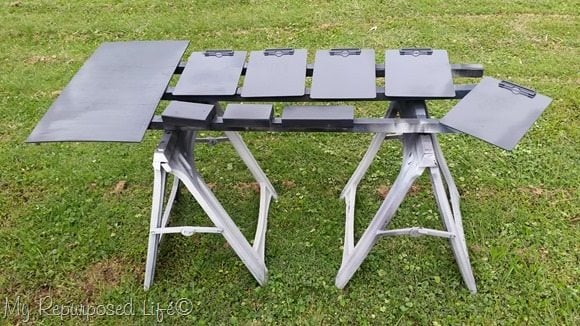 I painted some of the clipboards with some chalkboard paint using my Homeright Finish Max.
TIP: when painting these clipboards with any paint, sand the spot where you remove the sticker, and sand lightly in between coats of any paint. The material becomes a little hairy ones it gets wet with paint. Lightly sanding gives a really smooth surface. You will notice I painted the clip on all of the clipboards.
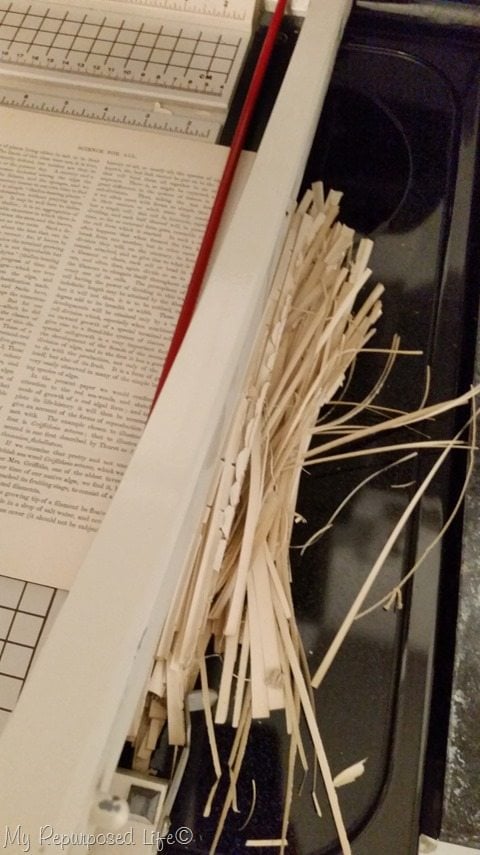 I bought a vintage science book on Ebay and trimmed up the pages with my gynormous paper cutter.
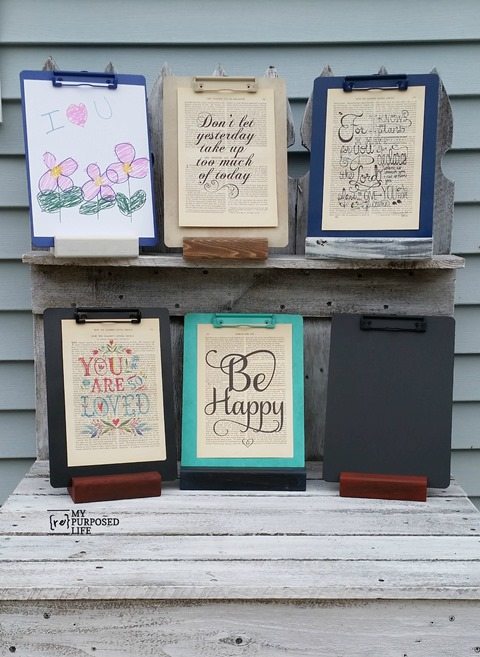
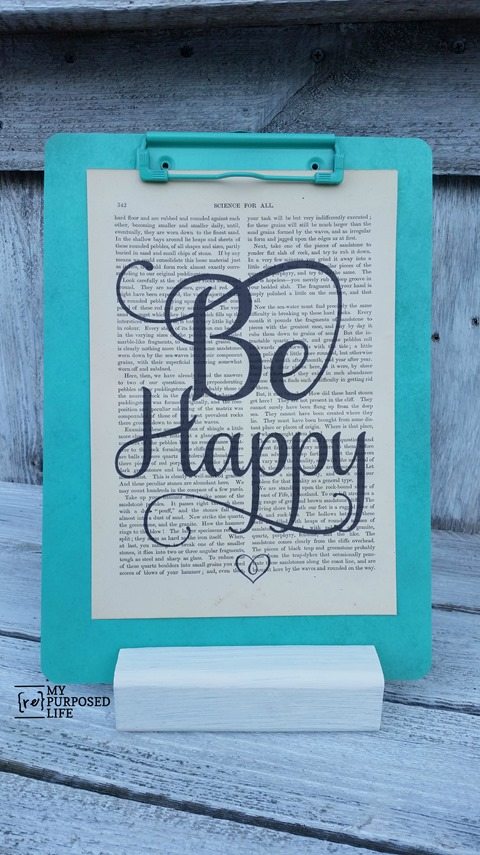 I put the paper through my printer and voila! Great little artwork, and the perfect way to display it.

I have made a variety of stands and artwork. I think these clipboards would be fabulous all over the house, including the kitchen, living room and hallway. Members of the family could leave notes or cards. The chalkboard clipboard has endless possibilities.
In the kitchen, the clipboard could hold notes, recipes or grocery lists.
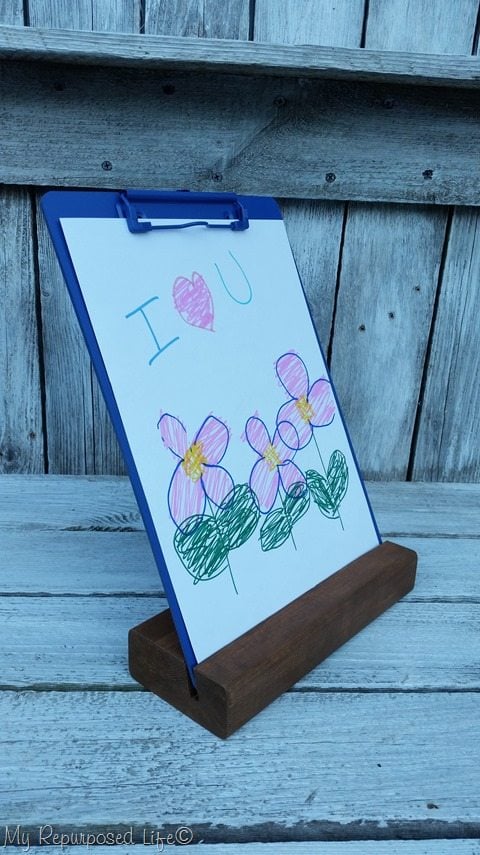 Think about all the papers your kiddos bring home from school. They could easily switch out today’s paper for the last one displayed.
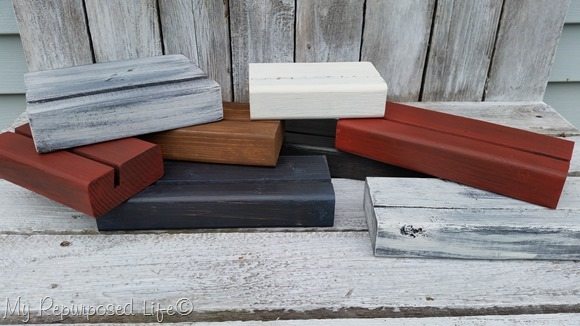 You may notice some are wider than others. As I said, I used my 2×4 scraps to make these handy clipboard holders. I think I actually like the narrow stands better. I ran a few of them through the saw several times, moving the fence slightly to make the groove wider to allow them to hold tablets.
This was another fun and easy project that helped me use up scraps from my wood pile! They were pretty popular last week at Glendale 2015.
Where would you use one of these?
gail
ps speaking of Brittany from Pretty Handy Girl, I did a guest post on her blog yesterday, you should check it out!
Related Content: Make Your Own Clipboard

These would be great for displaying Photographs. We all get photos from family and friends in addition to the gazillion we can all afford to take now that we don’t have to pay for film. You could cut mats to make them all fit the clipboard. Just think: an ever-changing rogues gallery of our friends and family!
Gail
yes! they would work great for that Gail. I like your idea. I was thinking about giving them to my family as Christmas gifts this year.
thanks for stopping by and taking the time to leave a comment on the clipboard stands
gail
Good idea! Us that sew and have to keep up with rulers could use them to store our rulers in, I could prop my tablet in it w/o the cover on (which covers my speaker) to make more volume.
These are so awesome!! I need several, and I have plenty of scrap. I love that gripper tool too, I want one…oh wait I guess I need a table saw first! ha ha! I also really love how you printed on the book pages, so cleaver!
Nice job Gail!
But you ALWAYS do a nice job on everything you touch!
I giggled at your “having so much fun on the saw, I forgot to take any pictures of me using it!”
No surprise there–me too! Power tools are power–power is FUN!
Catherine
My husband used our scrap 2×4 years ago to make those same stands but we used them to hold cards for my Aunt and her friends. We put 2 slots for two rows. Then our grandkids came along and used them because they had little hands.
I would say you should make some card holders for kids- my Dad made some I still use today and my Grandkids love them for playing Crazy 8 and Go Fish because their hands are too small to hold all the card- same idea as above but more slots– I love your ideas .
Susan,
Card holders are a great idea. I suppose since I’m in an in-between stage–no little kids or grandkids, I’m out of the mode of thinking that way!
gail
I love these! I would love to make them for teacher’s gifts. Where can I find the sayings you printed on the paper?
I would love to do these for teachers’ gifts. Where can I find the sayings you printed on the paper?
Tracey,
They are images a friend shared with me, I’m sorry but I wouldn’t feel right in passing them along.
Oh I gotta make some of these! I certainly have enough wood scraps! Pinned!
Gail, your creativity and artistry know no bounds. 🙂 Brilliant!!
This is a cool idea, especially that it doesn’t cost a penny to make. Beside using it for displaying price tags, I can see it of great use at a backyard barbeque with friends, such as writing a menu. In addition, this can be useful for keeping score when playing backyard games. Many, many uses…