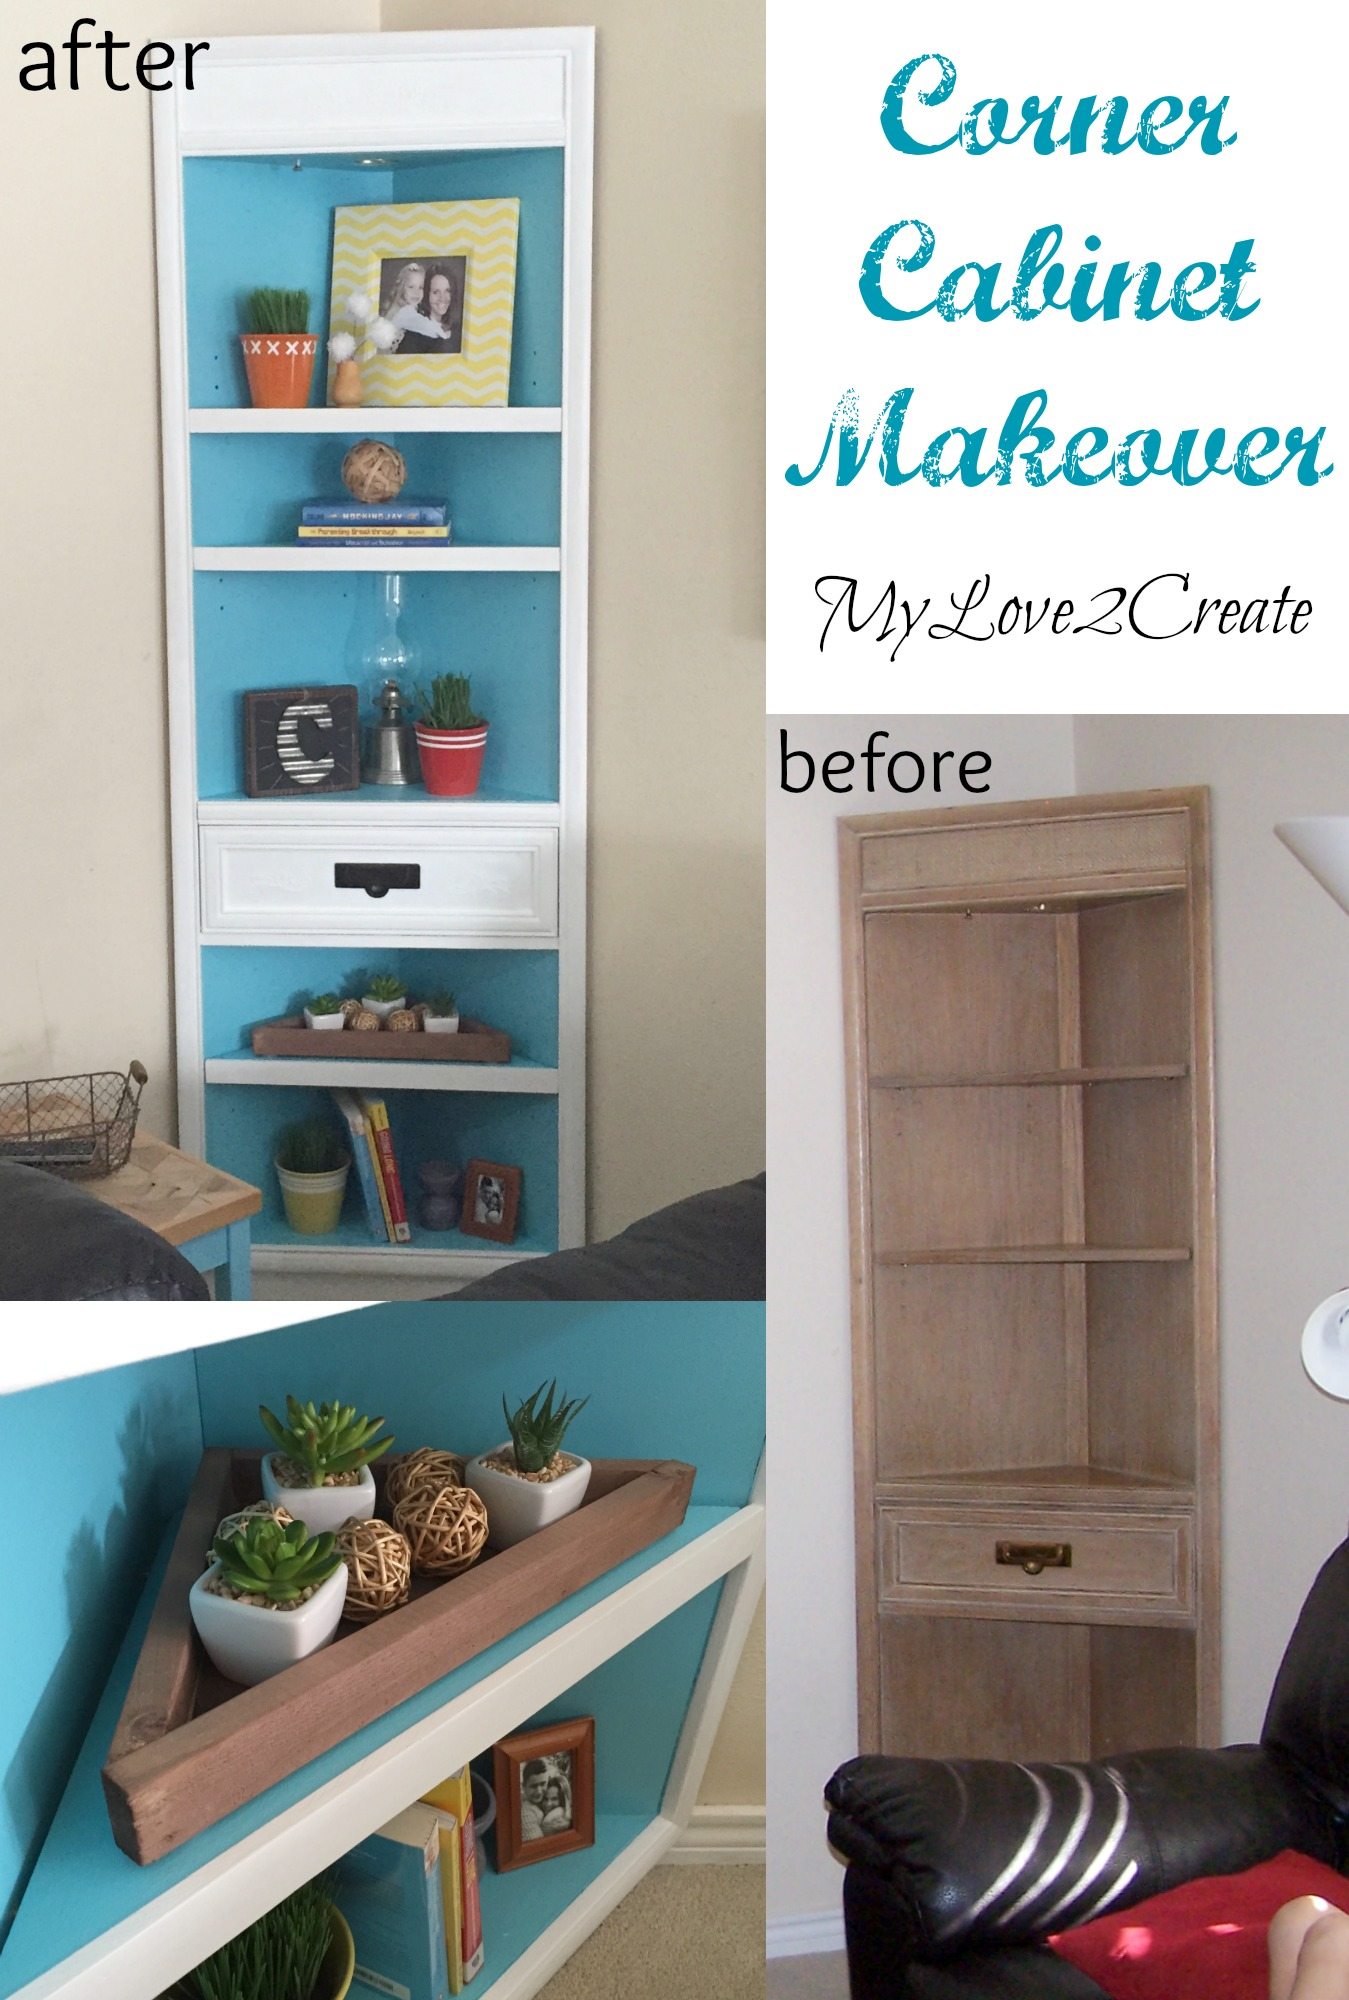
Well, today I am sharing such a project. I am happy to announce, after (over) three years, my Corner Cabinet Makeover is finally complete!
Why did I wait so long to do this corner cabinet makeover? Why?
I actually know the answer…it is because I am a very indecisive person. If I can’t decide…I don’t do anything. Nice.
Let me fill you in on the details. When we moved to Colorado 4 1/2 years ago I began finding things on Craig’s list to help furnish our home.
Being the cheap person that I am I always checked the free section just in case. One day I scored this corner cabinet for free.
Corner Cabinet Makeover
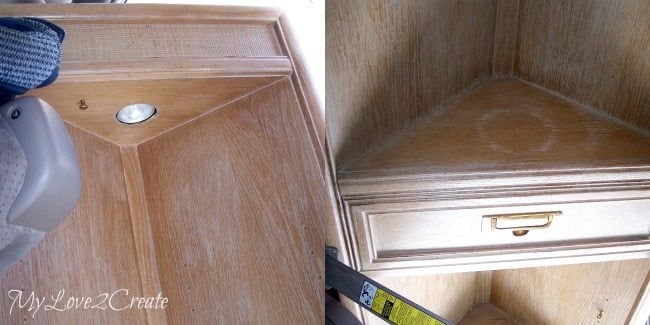
It had been living outside in the elements for a long time, the finish was completely gone and the wood was starting to get damaged.
These shots were taken in my van when I picked it up, in the rain.
Paint with Primer
So, I am not sure how long it was in our house before I finally decided to prime the cabinet. I didn’t know much about refinishing furniture at the time and I have to admit I did a pretty sloppy job. As I remember, I used an oil based Kilz primer from the Restore and I remember barely having enough.
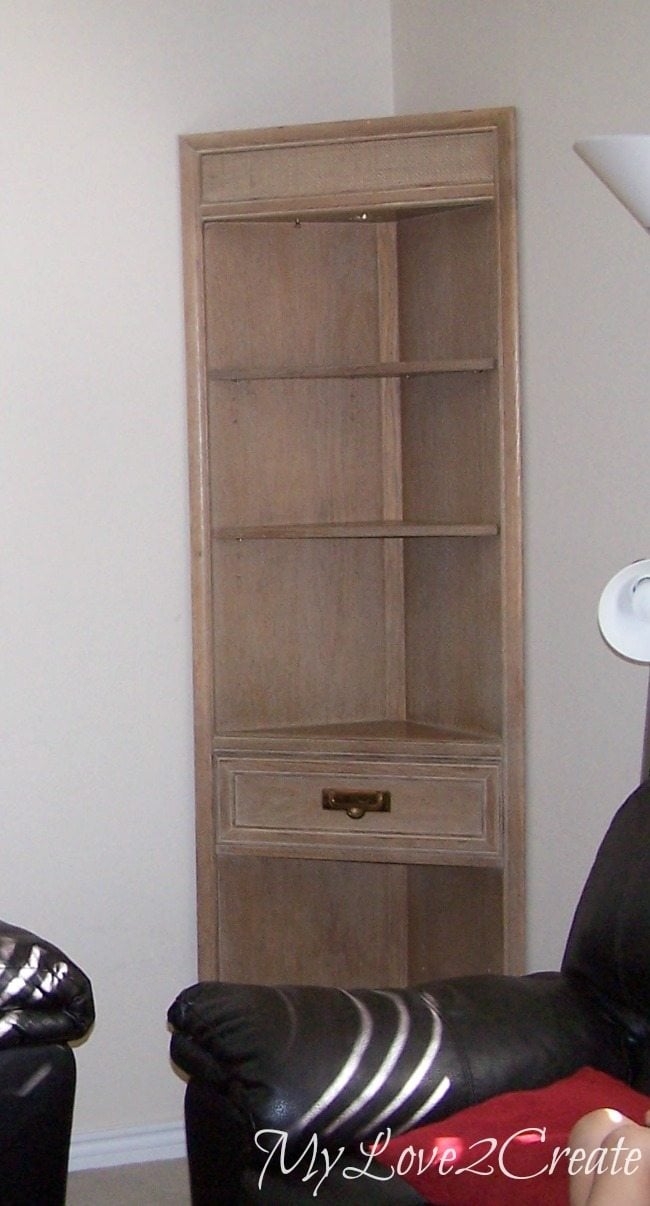
I had no idea what I was doing or what color I wanted to paint the cabinet, so I just brought it back inside and put it in the corner. It has been there ever since, looking sad and pathetic.
Add a shelf to corner cabinet
When I started blogging a year or so later I thought, “Maybe I will finish that cabinet”. I cut another shelf since it needed three but only came with two. I even primed it with some oops paint, you can see it is a different color. Then I had to decide what color to paint it again…and I moved on to something else.
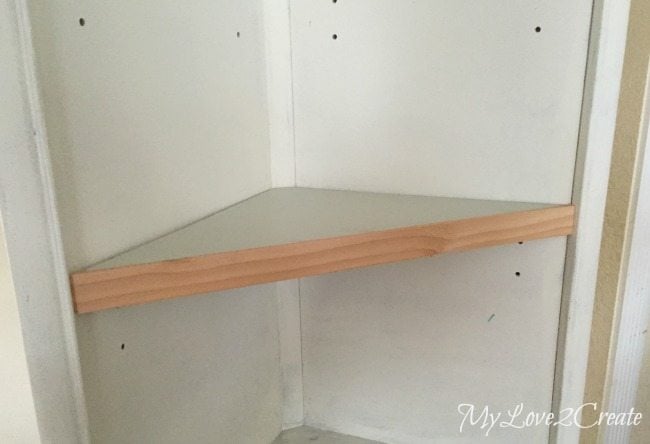
The photo above was just taken this week when I finally decided that enough was enough! This corner cabinet makeover was going to happen! The shelves looked unfinished to me, so I cut some scrap lath boards as trim for the front, the above is just a dry fit to see how it looks.
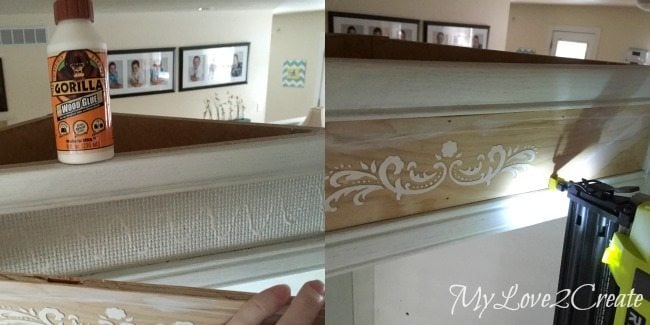
I also wasn’t digging the weird mesh looking top part so I grabbed a scrap piece of 1/2 inch plywood and cut it to size. Then I simply glued and nailed it in place.
But wait? That scrap piece did not come with a decal…
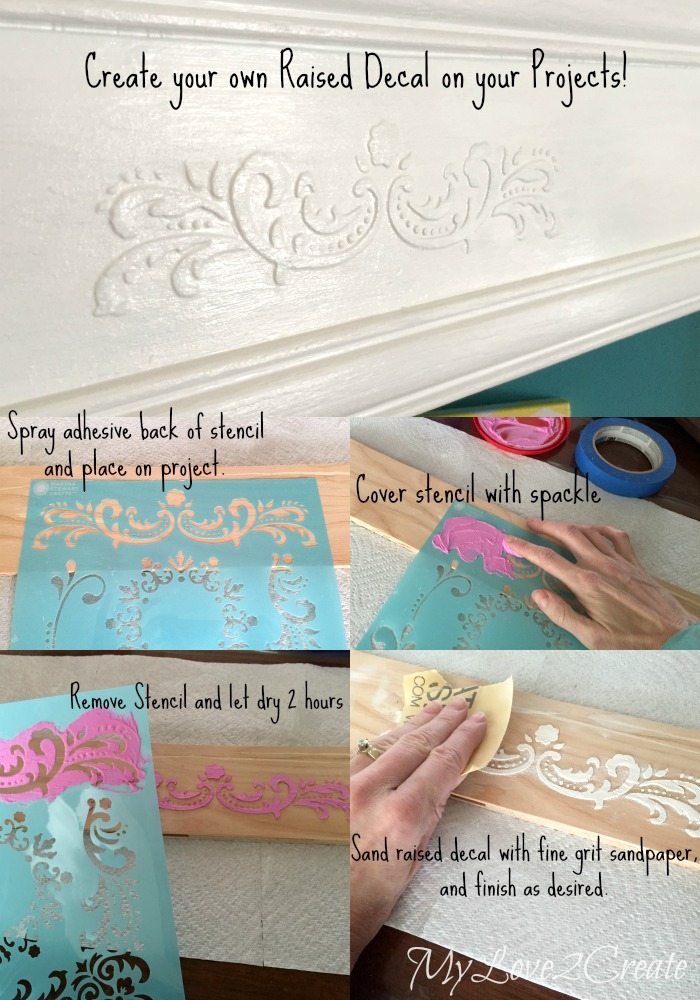
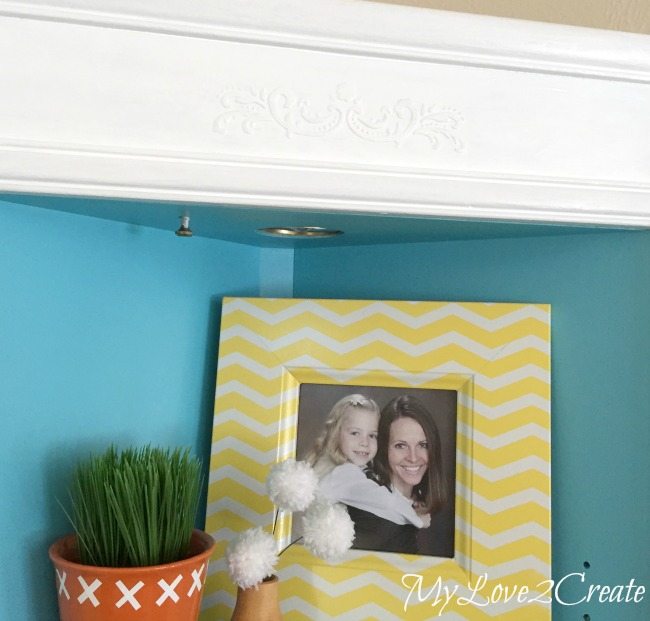
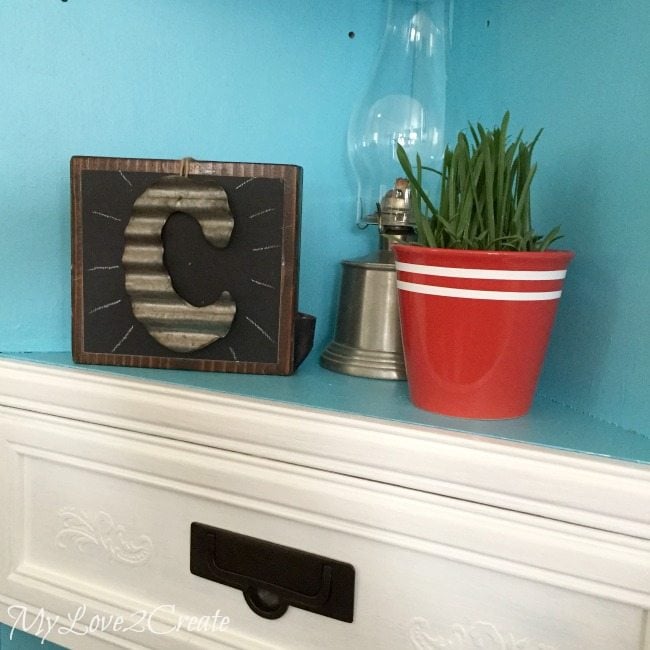
How to make a raised stencil
I made it! I came across Sweet Pickin’s Raised Stencil Tutorial a few weeks ago and have been aching to try it. Funny thing is…when I pulled out my stencils to do it I realized that I had the exact same stencil she used in her tutorial. Crazy!
This was really simple to do and you can bet I will be doing it again! It was helpful to use spray adhesive to attach the stencil. I used my finger to cover it with spackle, since I didn’t have a flexible putty knife. Then I carefully lifted the stencil off and let it dry for two hours (this spackle is pink when wet and white when dry). I made sure to wash the stencil right away and the excess spackle came off easily. Then when it was done drying, I used my 400 grit sand paper (you could use a 220 grit as well) and carefully sanded it smooth to get rid of the higher areas.
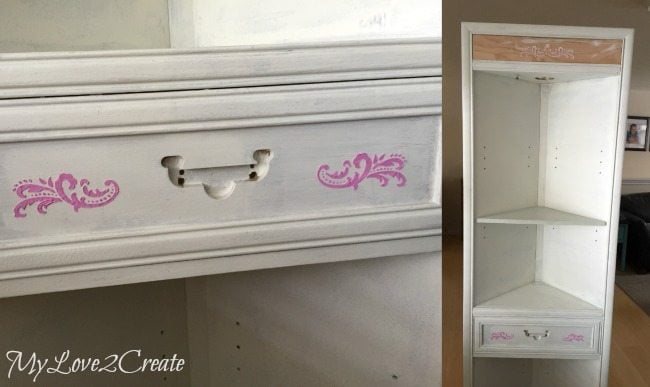
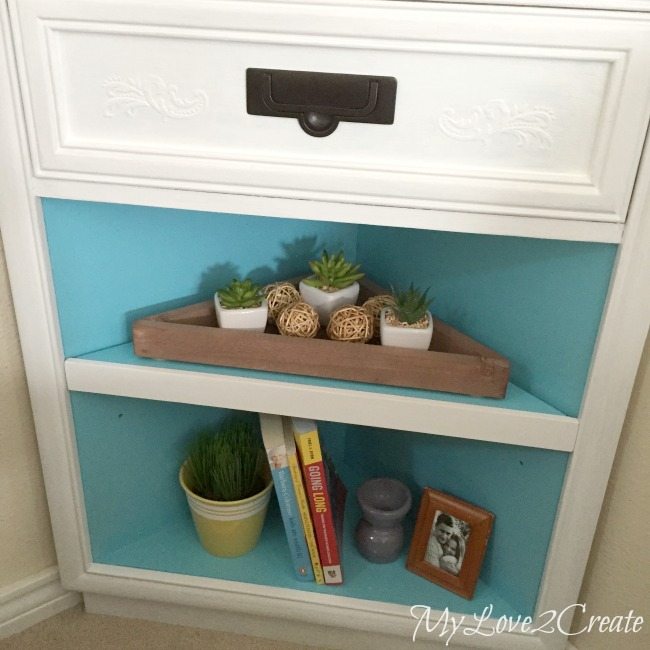
Add spackle stencil to drawer
I also did it on the faux drawer too. Fun and easy!
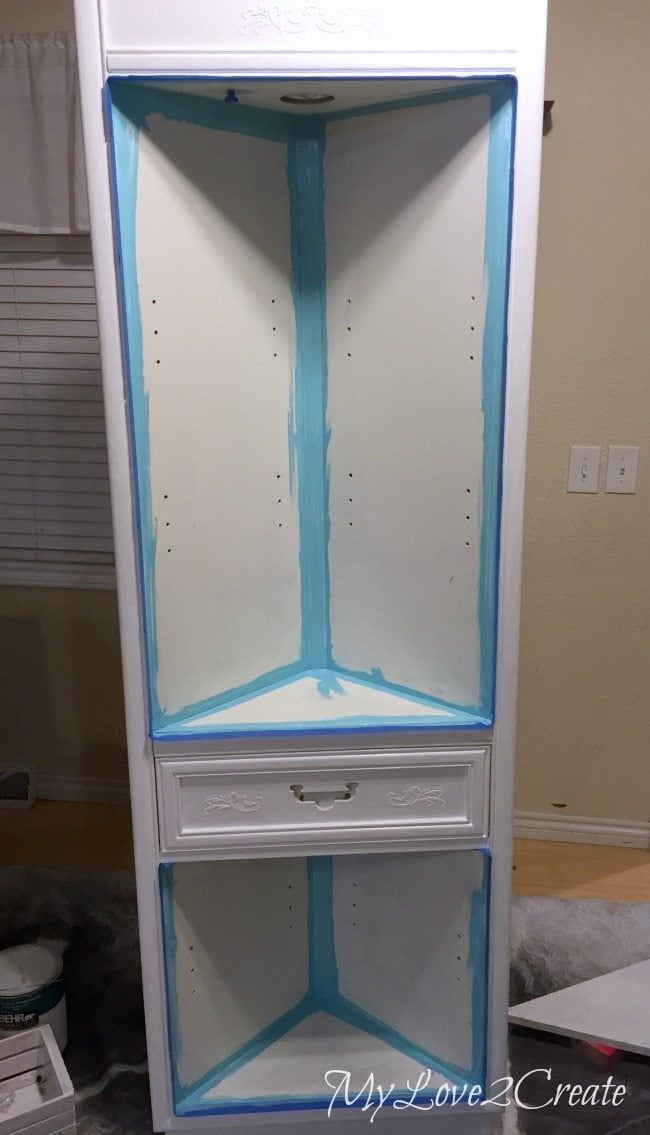
Paint corner cabinet blue
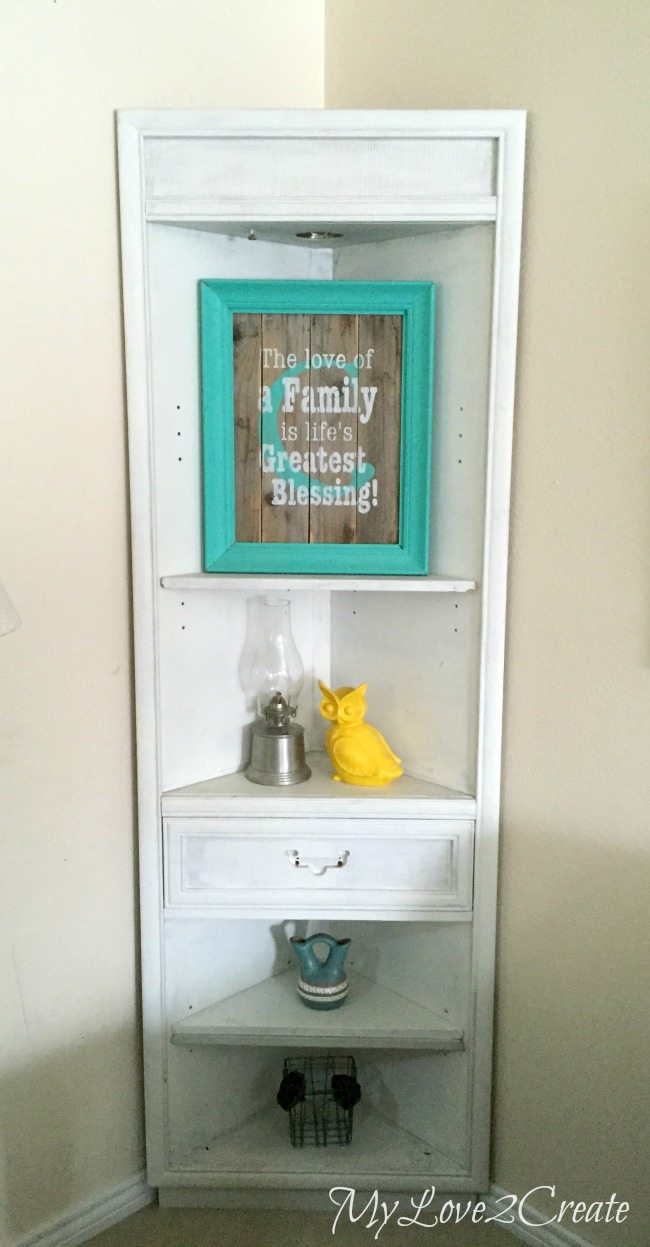
It seemed like a two toned effect was in order, all the trim was painted with 2 coats of white. I painted right over my raised decals with no problems. Since I wanted the inside to be a fun pop of color, so I just picked my favorite color (actual color is Glidden Pacific Coast, and I used a sample jar size) Seriously, I should have done that years ago!
I painted the edges with a foam brush and then used a foam roller for the rest. I made sure to do the shelves as well.
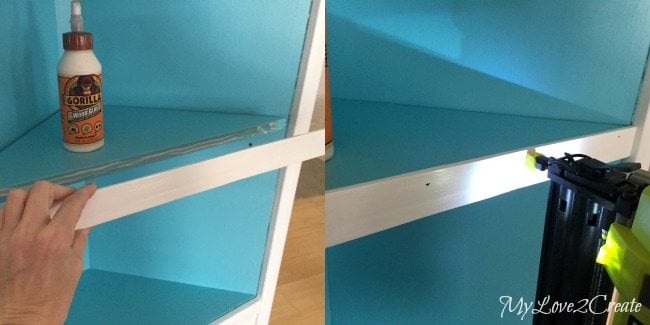
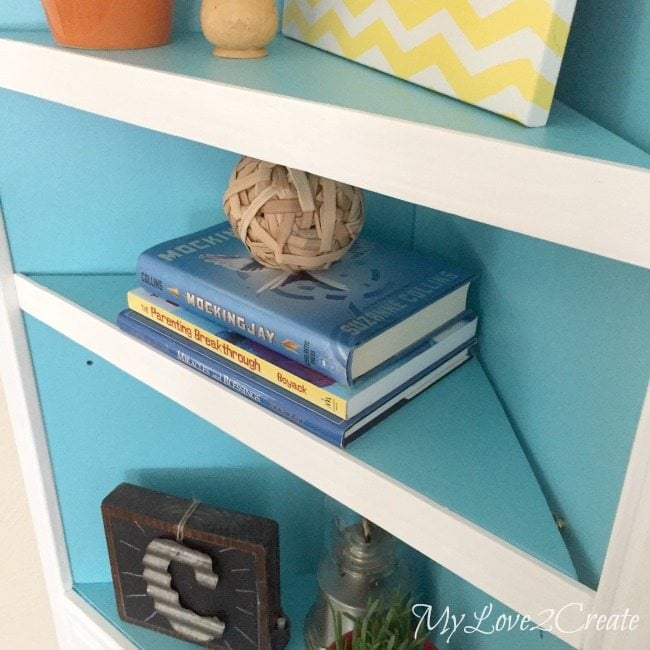
Add trim to corner cabinet
When the paint dried I added the now painted lath boards to the front of the shelves with Gorilla wood glue and finish nails. Then I filled the holes and touched up with paint.
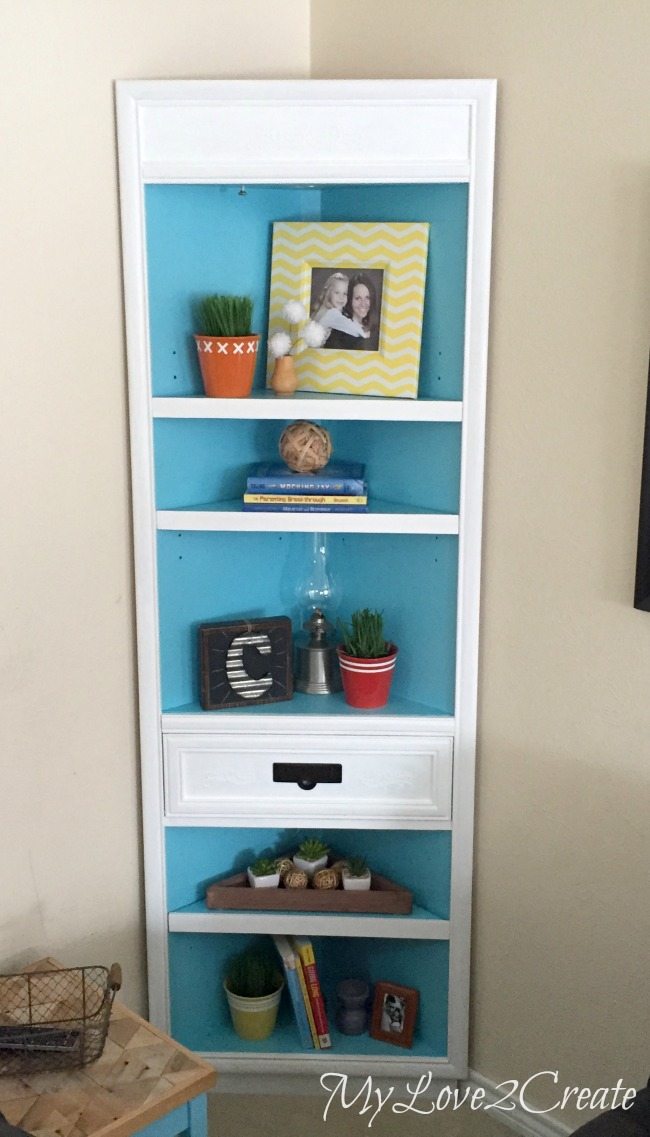
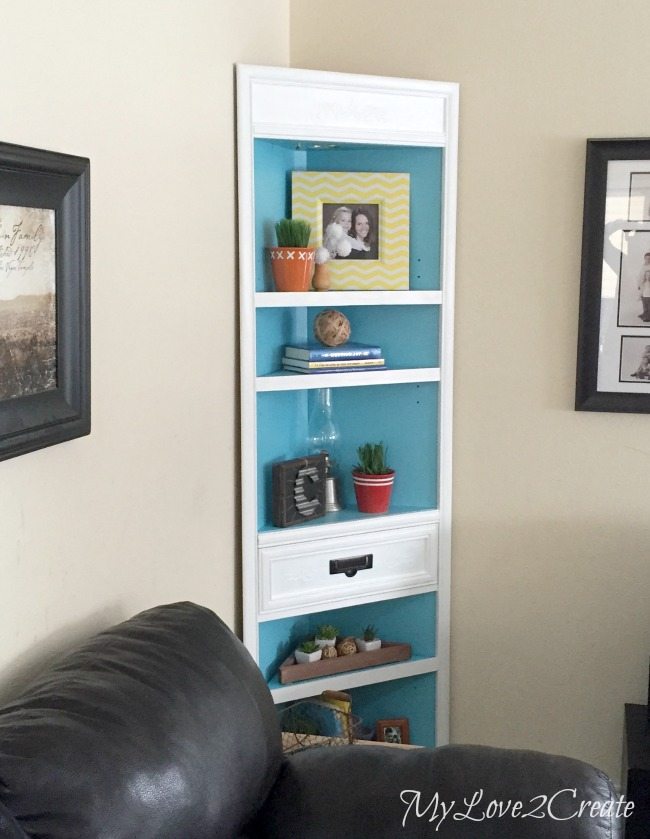
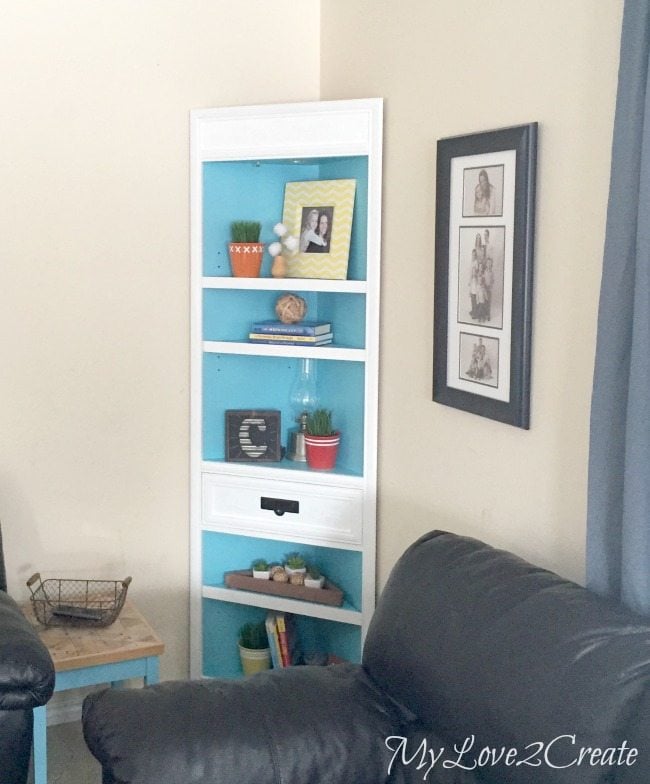
Calling this corner cabinet makeover d.o.n.e.
Do you love the stencil?
Over three years to do a few hours of work on this corner cabinet makeover. Seriously?! We are loving it though, and I am so happy to have some fun color in my living room! I actually just grabbed my pallet top table for pictures, but I might keep it there.
Adding color will make you smile
Now, to address the decals. In all reality they obviously would look best if they were highlighted with glaze or wax and distressed. But I knew if I did this it would change the the color of the white and I wanted white. In real life they show up quite nicely (not from clear across the room) and I am happy with it. On camera they hardly show up at all. If I had tinted the spackle I could have distressed them to show up better, but I didn’t. So think about those things if you are going to try your decals…just FYI. 🙂
If you like the frame above (made out of moulding) I stole it from my Halloween Spider Craft that I made a few years back, I think this is a better use for it. Oh, and that light on top of the cabinet actually works!
Update hardware with paint
I forgot to mention that “years” ago, when I primed the cabinet I also painted the faux drawer handle with oil rubbed bronze spray paint. Let me tell you, I spent a good hour or so looking for this dang handle. After a few years of things getting moved around I had to search for it! I am glad I found it.
I am loving the white trim on the shelves, it adds a nice finishing touch to the corner cabinet. Since I nailed the trim directly to the shelves they are still removable, so I can change them up if needed.
It was interesting trying to style this because the shelves are so small. I built the little triangle tray for my small succulents so they had something to sit in, they look better that way. 🙂
Now this little corner is looking much happier!
It is also giving me an itch to just jump in and make decisions sooner, if I can paint it once I can always paint it again. Right!? I guess I need to stop thinking of my choices as being final “set in stone” actions. I can always change it up if I don’t like it and things will look better in the meantime. A good lesson for me to learn, even if it took almost 4 years. 🙂
Now get up and go finish that project you have been putting off! I promise you will feel better if you do!
Mindi is a wife, mother, runner, dancer, and a lover of all things fun and DIY.
A few years ago she discovered blogs and fell in love with the idea that she could do things she had always dreamed of doing. Like build furniture from pallets, and make cool projects for her home.... Mindi was inspired by other bloggers that empowered her to create.
Mindi decided to give back and possibly reach someone out there that has a desire to create like herself. She believes we all have that desire in some form or another, and we all DO create in our own way, every day. Whether it be crafty or not, even creating happiness in others is a gift that many share.
Mindi loves to learn and use that knowledge to make beautiful and useful things for her home.
2 Comments
Mindi,
I love the new look of your corner cabinet. I’ve been wanting to try that raised stenciling….I always get so busy trying to finish projects that I forget to embellish them. LOL
That little triangle tray is sooo darn cute. The succulents look really great in it.


Mindi,
I love the new look of your corner cabinet. I’ve been wanting to try that raised stenciling….I always get so busy trying to finish projects that I forget to embellish them. LOL
That little triangle tray is sooo darn cute. The succulents look really great in it.
beautiful job my friend!
gail
Wow, what a difference it looks great.