Craft Show Checkout Station
As an Amazon Associate, I earn from qualifying purchases.
I made a craft show checkout station for Glendale! I’ve never really needed one before, but having help this year (cousin Terry) I thought it might be confusing for customers—not knowing who to pay. Not to mention that I’m constantly digging for bags, tissue paper, etc.
Now, you might think “I don’t do craft shows, so why would I need to see this tutorial”. I’ll tell ya why! It’s a simple build and can be used for many different applications—like a potting bench or outdoor entertainment center.
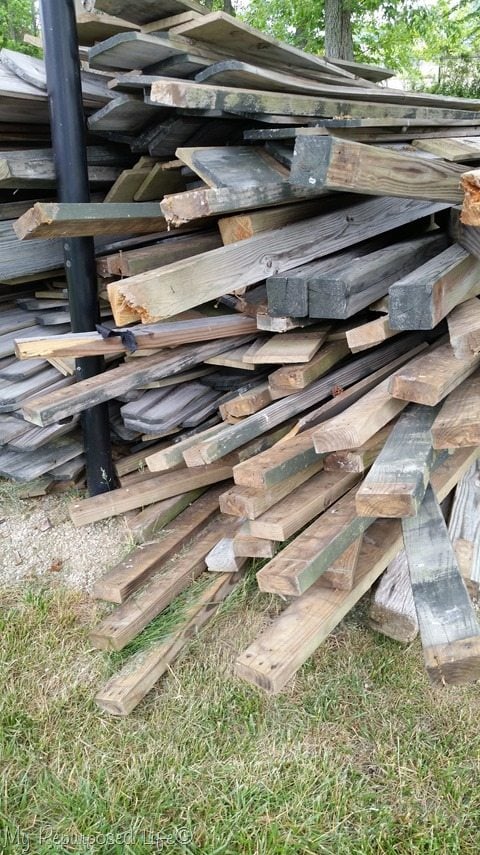 A few months ago I was the recipient of all of this awesome weathered fence wood.
Simple 2×4 construction
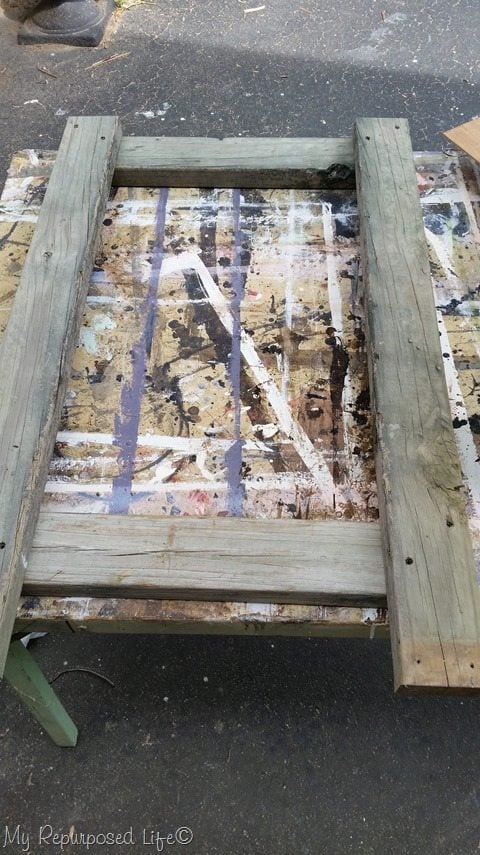 I used some of the weathered 2×4’s to build the frame of the station, making 2 of these pieces.
Connect front and back sections with a brace on either side
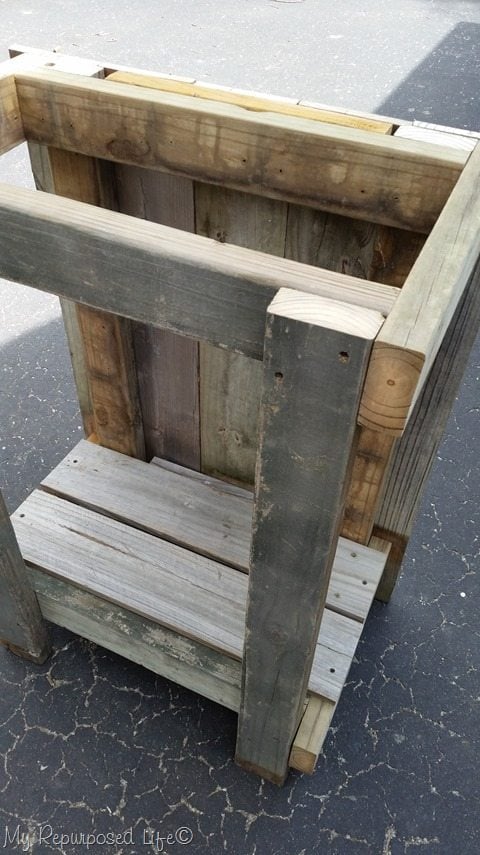 That gave me a front and a back. I added a side brace to the top and the bottom, some fence boards for a lower shelf, and started adding more fence boards to the front.
*this post contains affiliate links*
Cover the craft show checkout station with fence boards
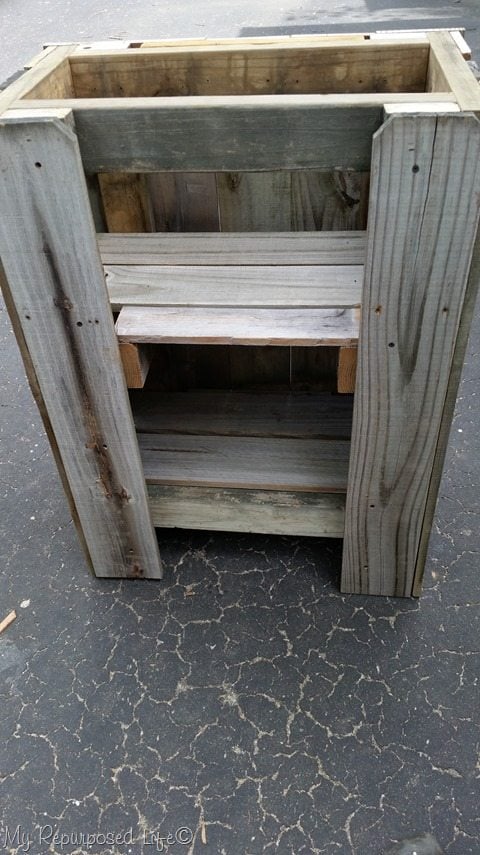 As I was enclosing it, I realized that an additional shelf would be helpful.
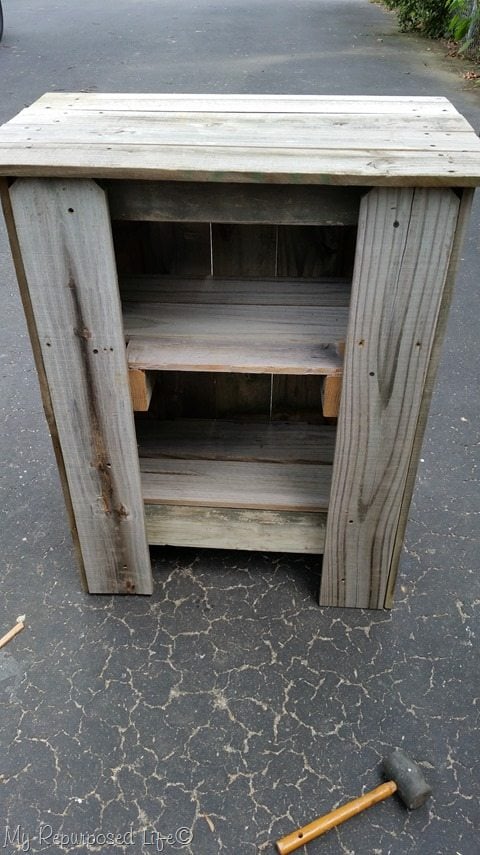 There was nothing left to do but add the top. I did have to rip a couple of the fence boards to get them to fit properly front to back.
Craft show checkout station | surface for customers’ transactions
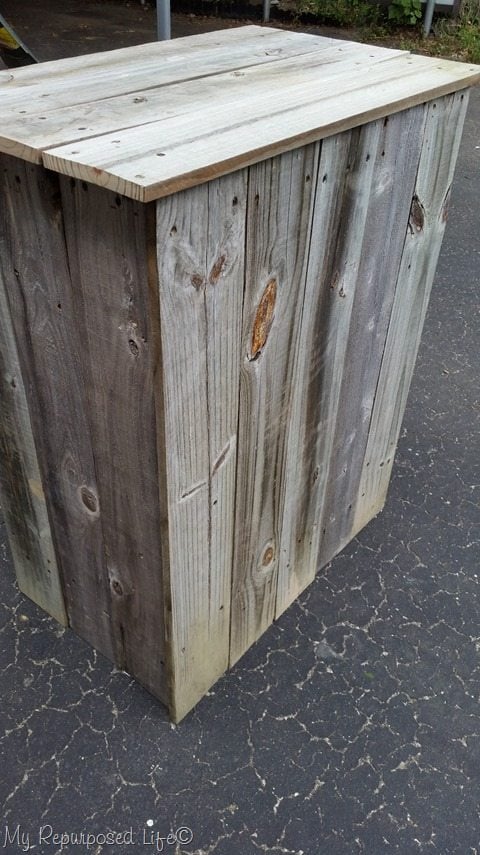 Don’t you love it in all it’s rusticness (yeah, totally made up that word). I designed it to be tall enough that we can comfortably stand at it and take money, and wrap products. We were able to tuck our stuff away on the lower shelf, and use the other shelf to hold items needed to check out.
Add extras to aid in a smooth customer experience
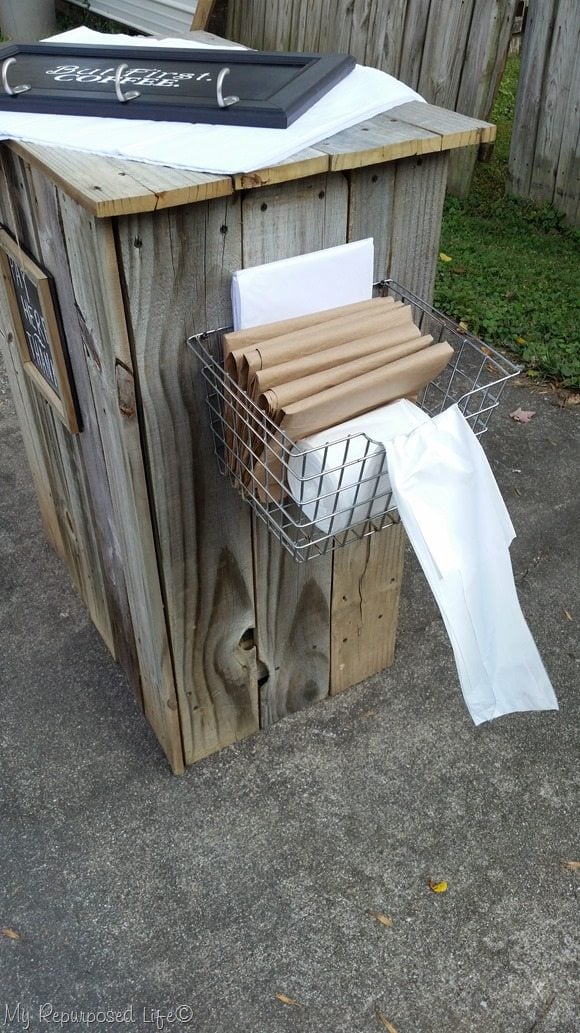 I added my 25 cent metal basket to the side for holding paper and some large bags.
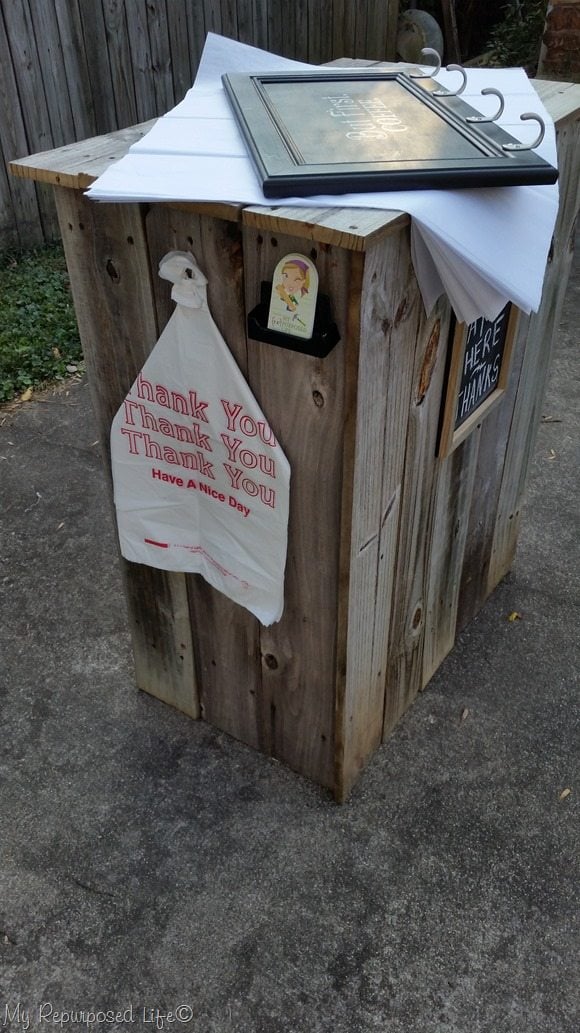

Hanging small thank you bags on the side made it very convenient while people were checking out. I also added a little biz card holder on the side.
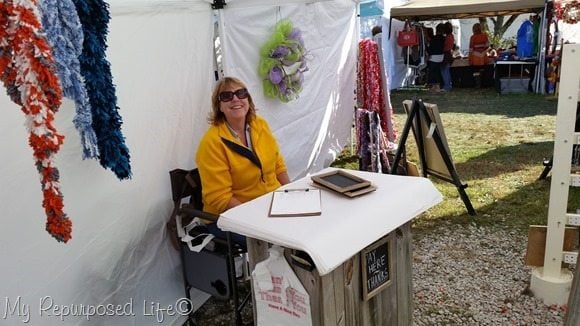 Here is the checkout stand in action—in our mostly empty booth! The checkout station worked so well. It was perfect for wrapping items and cashing out customers. You can see more details in my post Glendale 2015.
I suppose I’ll be storing this diy craft show checkout stand in the carport so I can use it again the next time—possibly for the Spring show.
Do you love making projects out of reclaimed wood as much as I do?
gail
Related Content Craft Show Display


This is a great tutorial. I love it, have been looking for the perfect check out stand for displaying at art/craft shows.
Thank you Cindy! I’m glad you found this useful.
gail
Hi Gail:
I just stumbled across this post and am thanking my lucky stars. I’ve been looking for something just like this and I have enough lumber in the wood shop to build it.
Would you mind sharing the dimensions? That would be awesome.
Thanks!
Great! Happy you found My Repurposed Life!
Since it’s 5 boards wide, and three deep, that would make it 27.5 x 16.5. As far as height, just make it a comfortable height for you to sit or stand. 🙂
hope that helps! It’s packed away in the shed and I don’t want to crawl in there to measure. heheheh
gail
Gail this is awesome! Love it!
Debbie
This is great, Gail! I was just eying a section of fence that has been propped up against the garage for two years, fencing nothing in, but getting that gorgeous weathered grey…now I’m inspired. I see a podium / book stand, rustic and raw!
Very clever and most importantly, efficient. Love the little business card holder! Well done!
YES! That looks perfect, it really matches your style. I have plans to make something similar for my shop.