Craftsman Style Door Trim for Interior Doors
As an Amazon Associate, I earn from qualifying purchases.
I never really thought about craftsman style door trim for my interior doors until I got my new laminate floors. I’m so happy with the way the floors look that as we were putting down the new baseboard, I decided to cut the baseboard short in order to allow the chunkier door trim. It did look a little funny for a few weeks with the baseboard not reaching the original door frames. But I just overlooked it. ![]()
Materials for Craftstman style trim
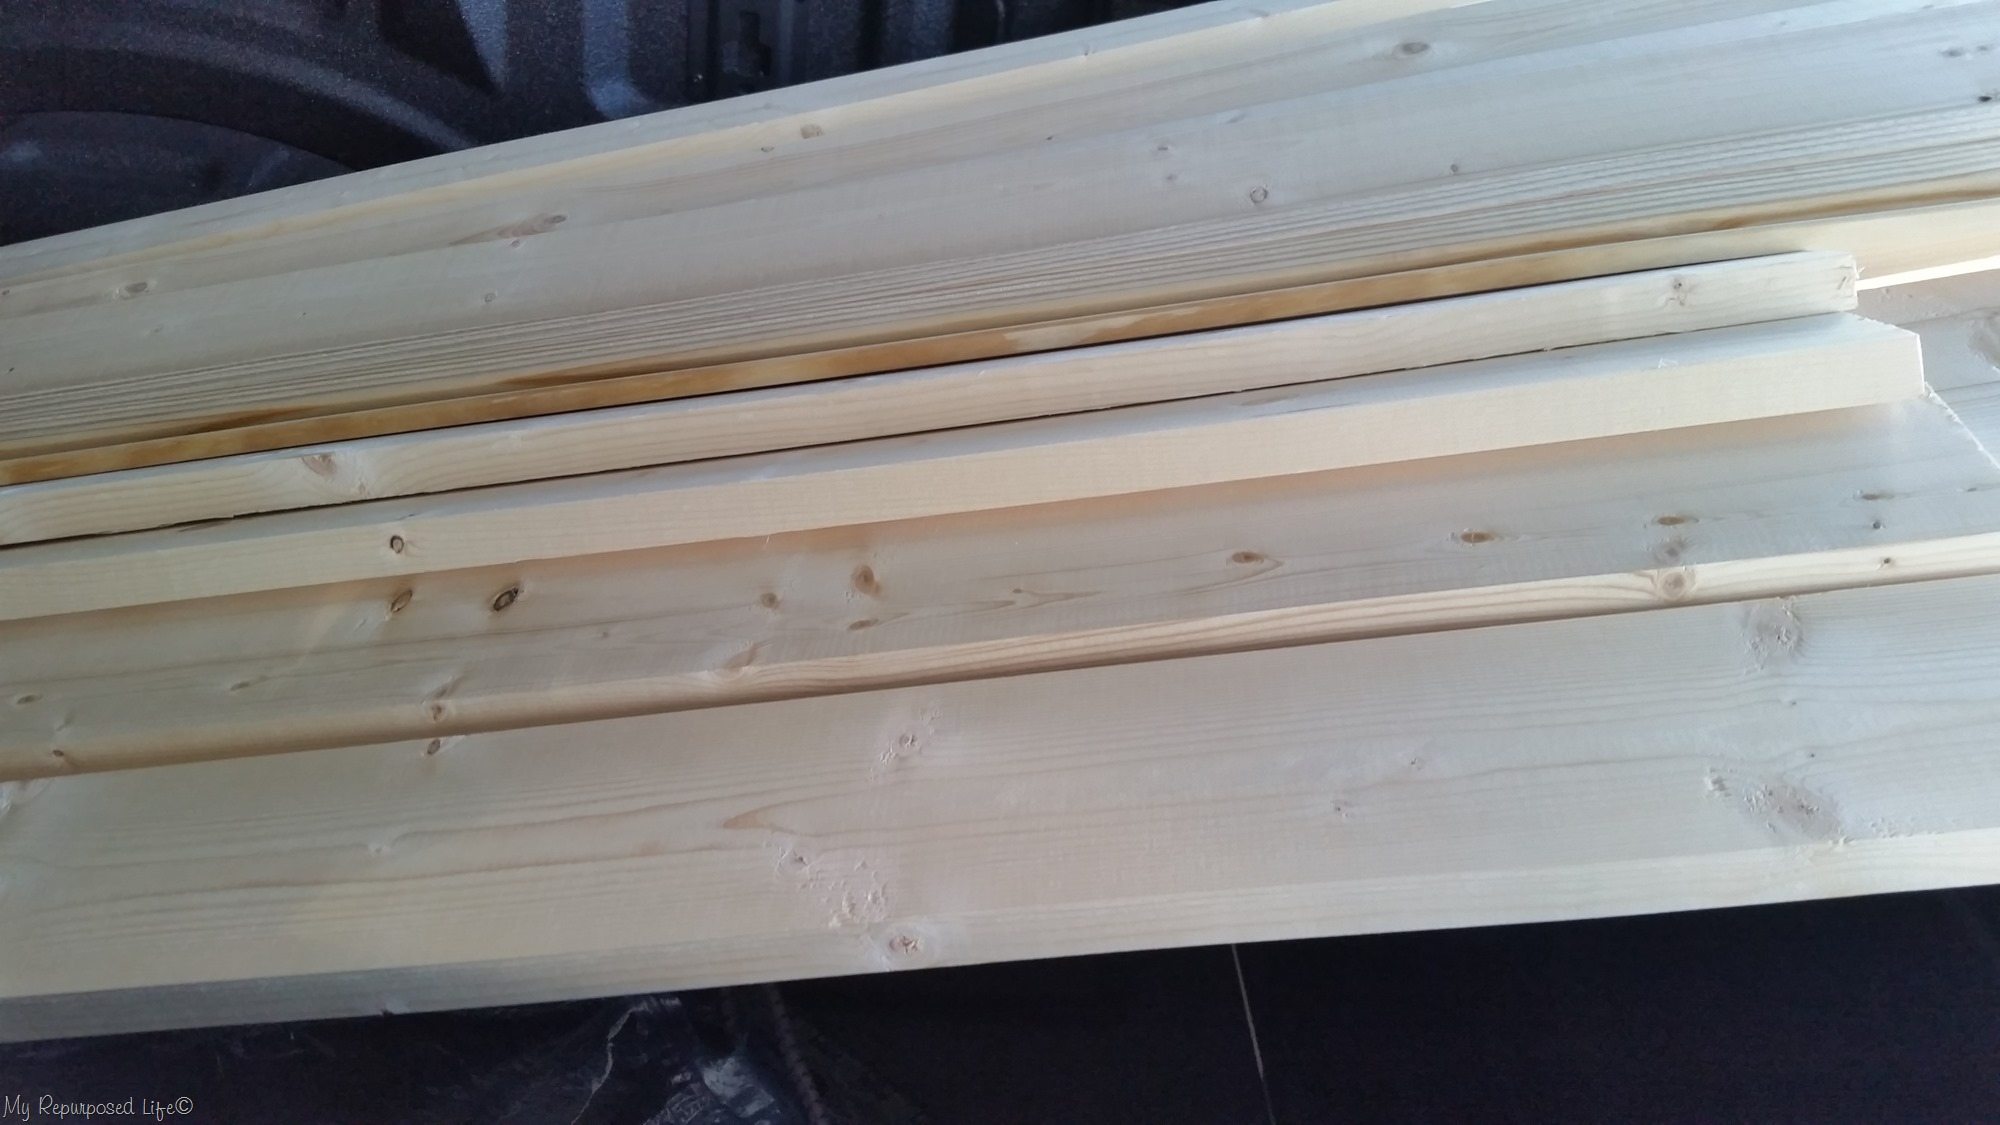
I made a trip to the store to pick up a bunch of 1×4’s, and stop pine. See receipt below.

I bought 8 footers for the sides of the doors and 6 footers for the header pieces. The smaller 1×4 bed slats were ripped on the table saw to be used as the top of the header. The stop was the lower portion of the header. It will all make more sense as you see the details. This was enough for 3 doors inside and outside.
Can I Shellac boards to cover knots?
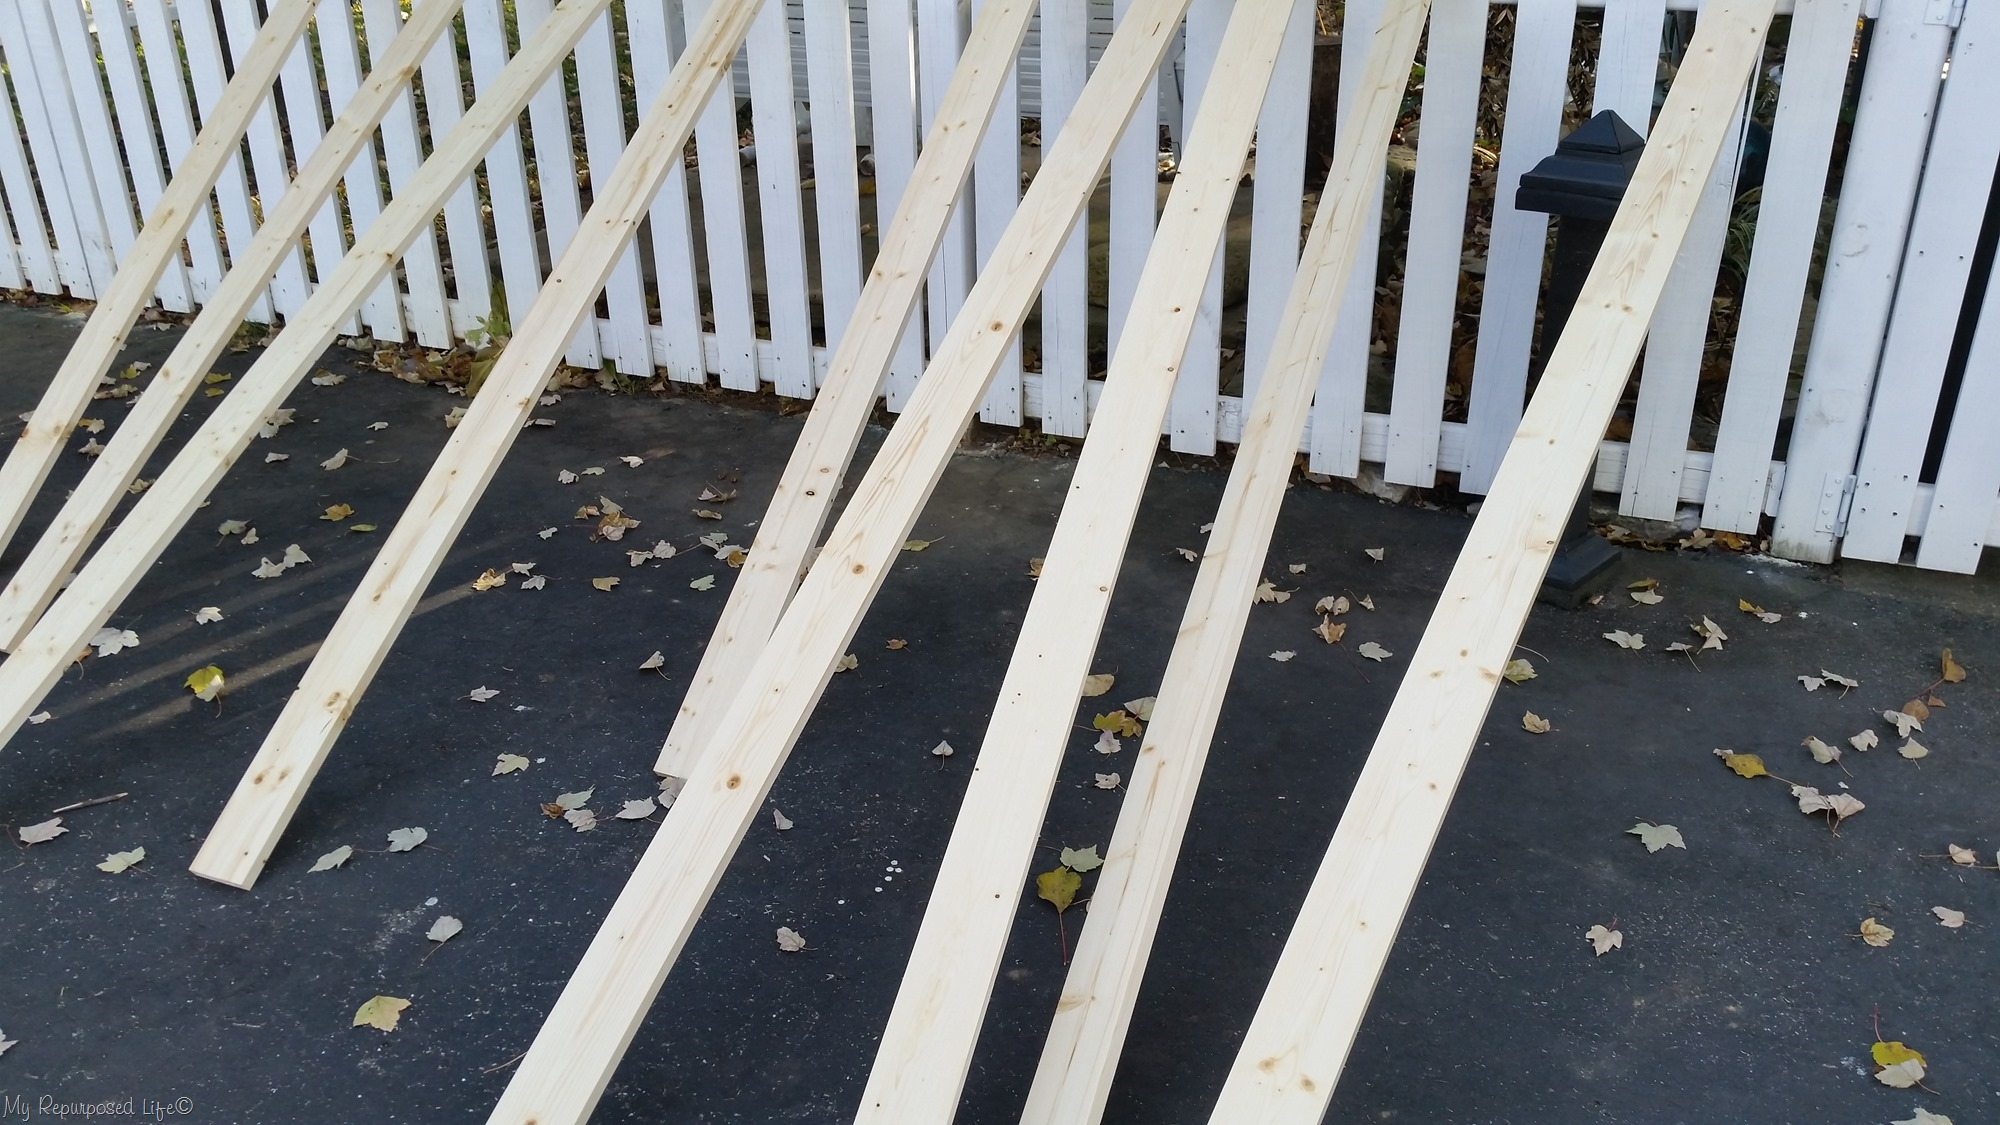
Because the boards had a lot of knots in them, the first thing I did was give them a couple of quick coats of shellac to seal the knots. I’m not sure it really helped all that much.
Creative drying option for painted lumber
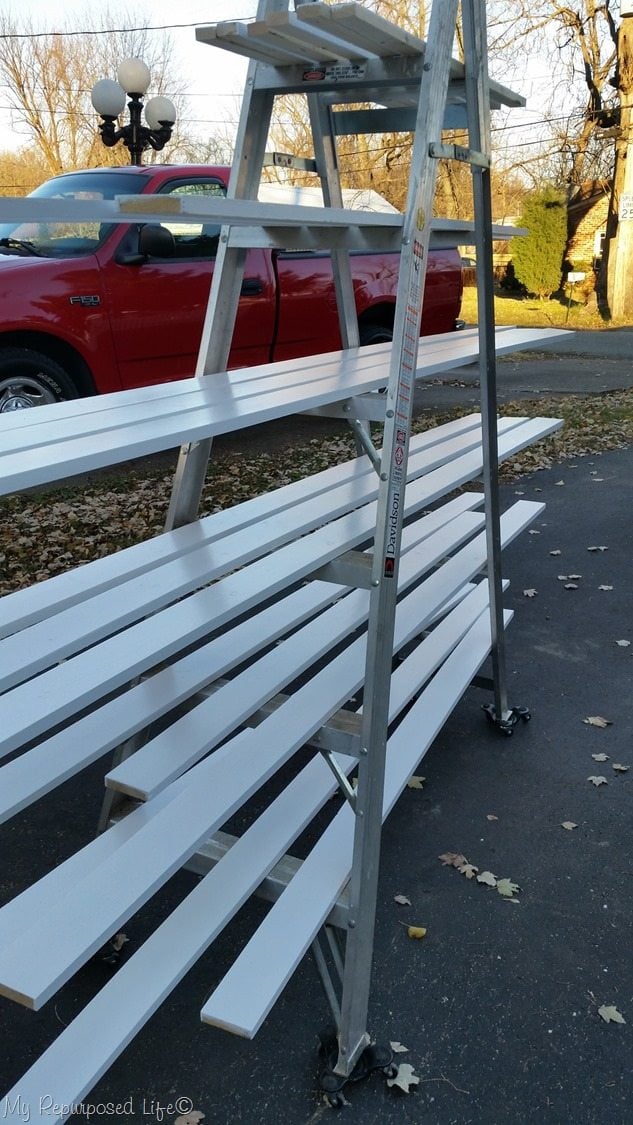 Drying lengths of wet painted boards can be challenging. I set up my ladder and utilized all the rungs to hold the boards.
*this post contains affiliate links, read more here*
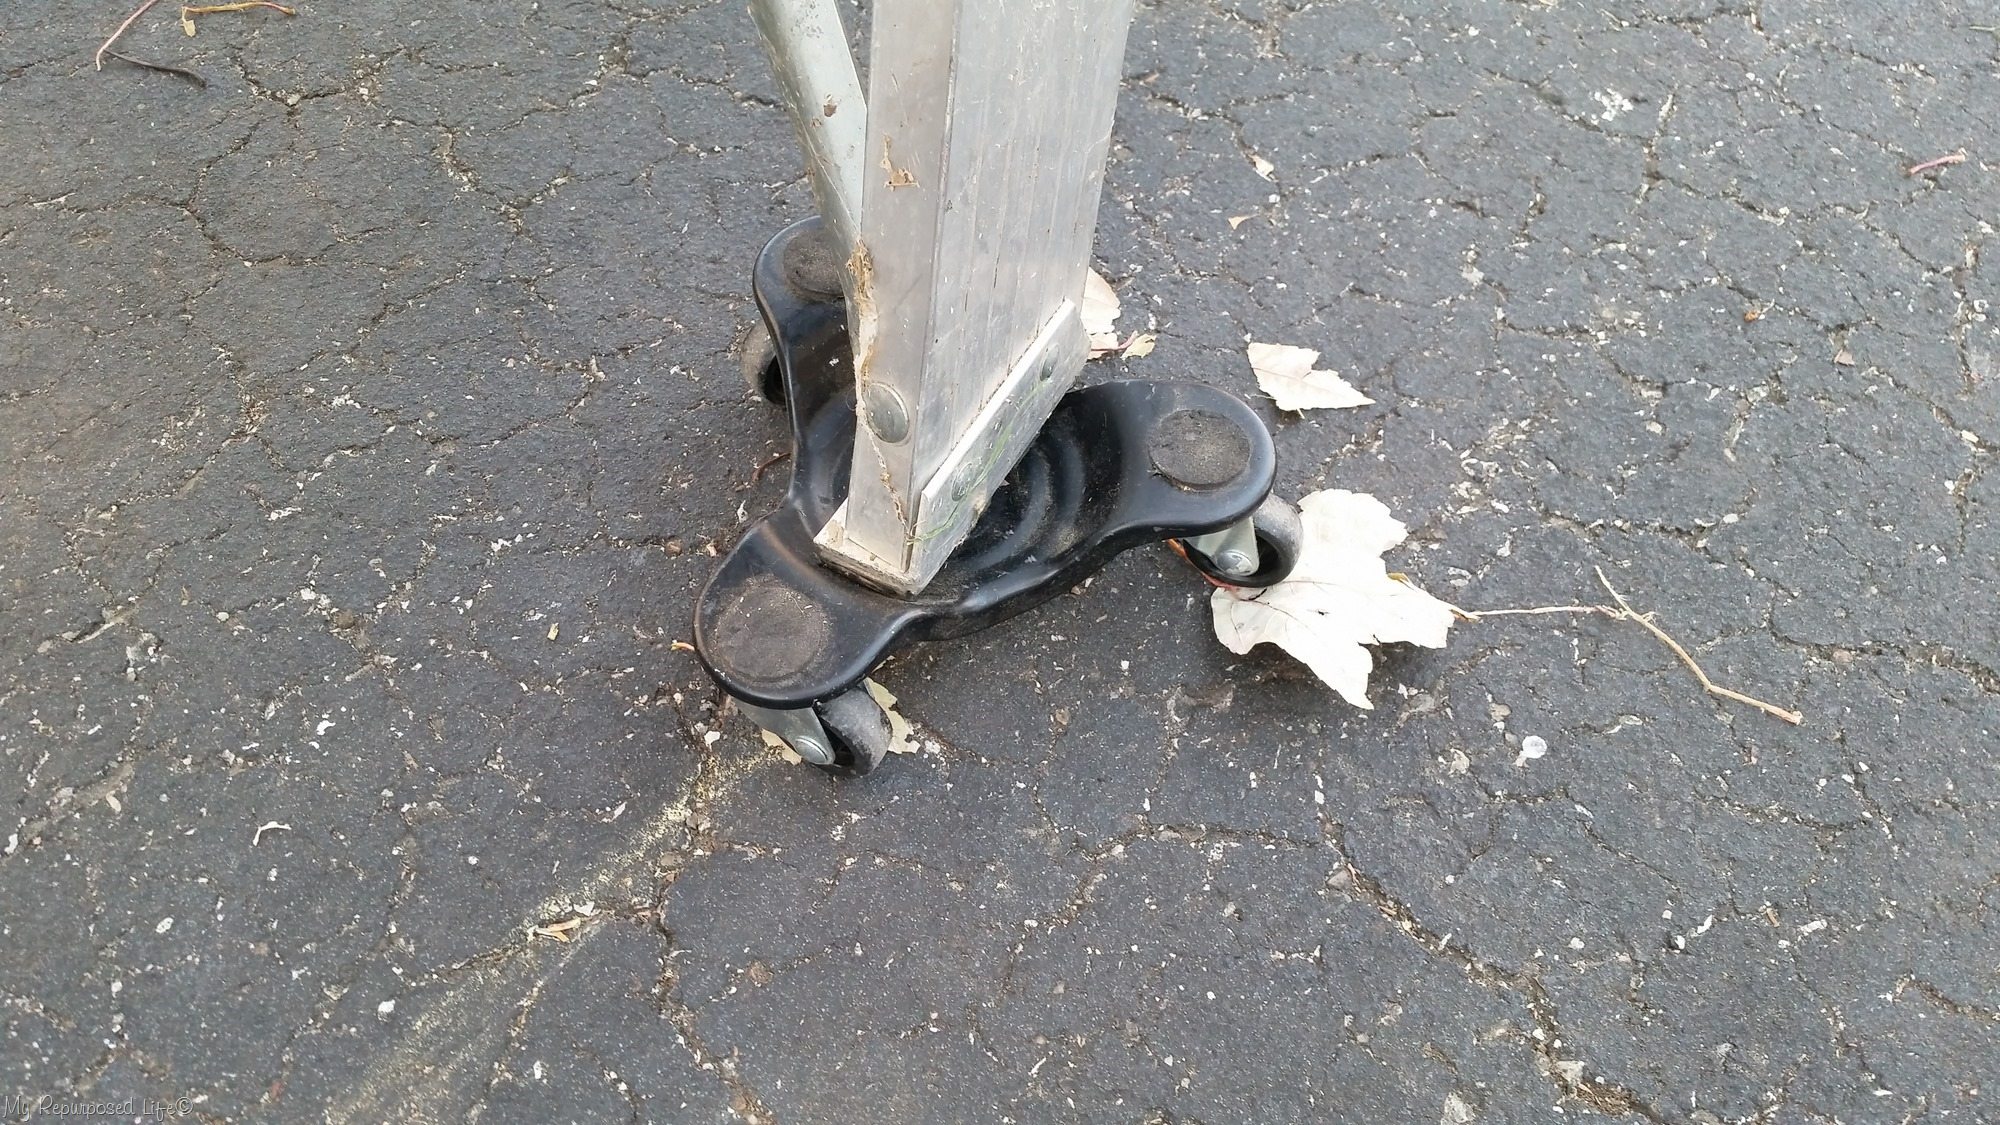
I used these little furniture mover wheels under the legs of the ladder to make it mobile.
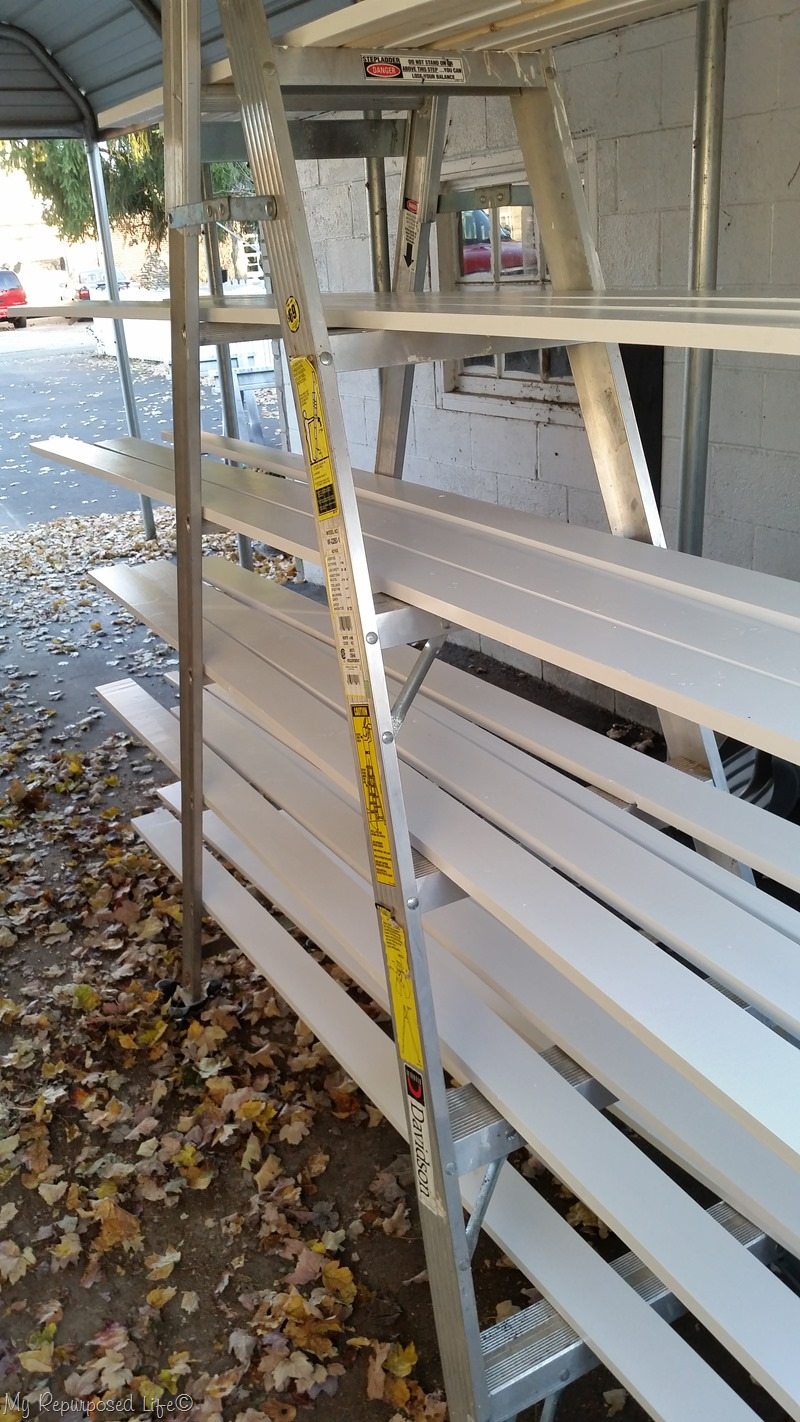
The days were warm, but the nights were very cold. I put a total of 4 coats of paint on each board. All the coats were semi-gloss. Each day I had to roll the ladder into the carport. The ladder and the boards were much too heavy to navigate without the little wheels.
Allow painted lumber to cure indoors
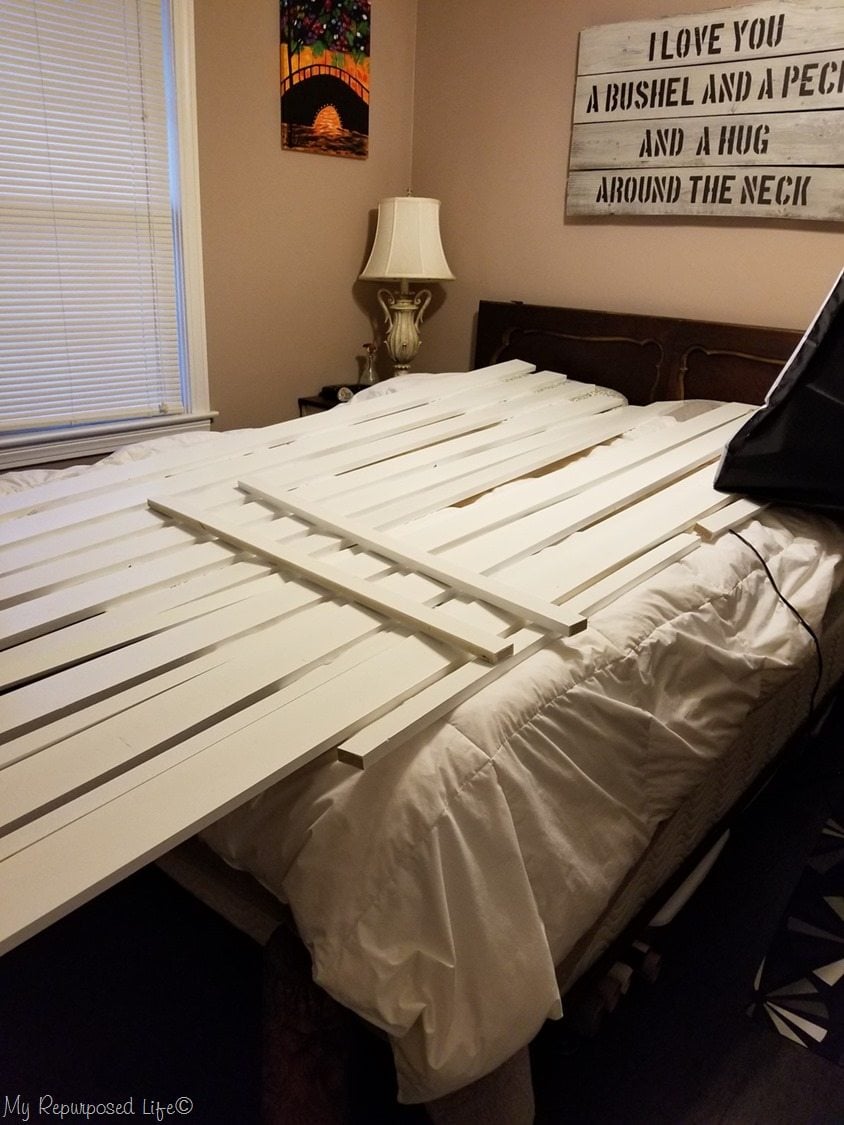
Because it was so cold, I needed to bring all the boards in to let them acclimate to the indoors. The guestroom was piled up for about a week. Then… it was a week before Christmas and it was crunch time.
Prepare to hang new craftsman style trim
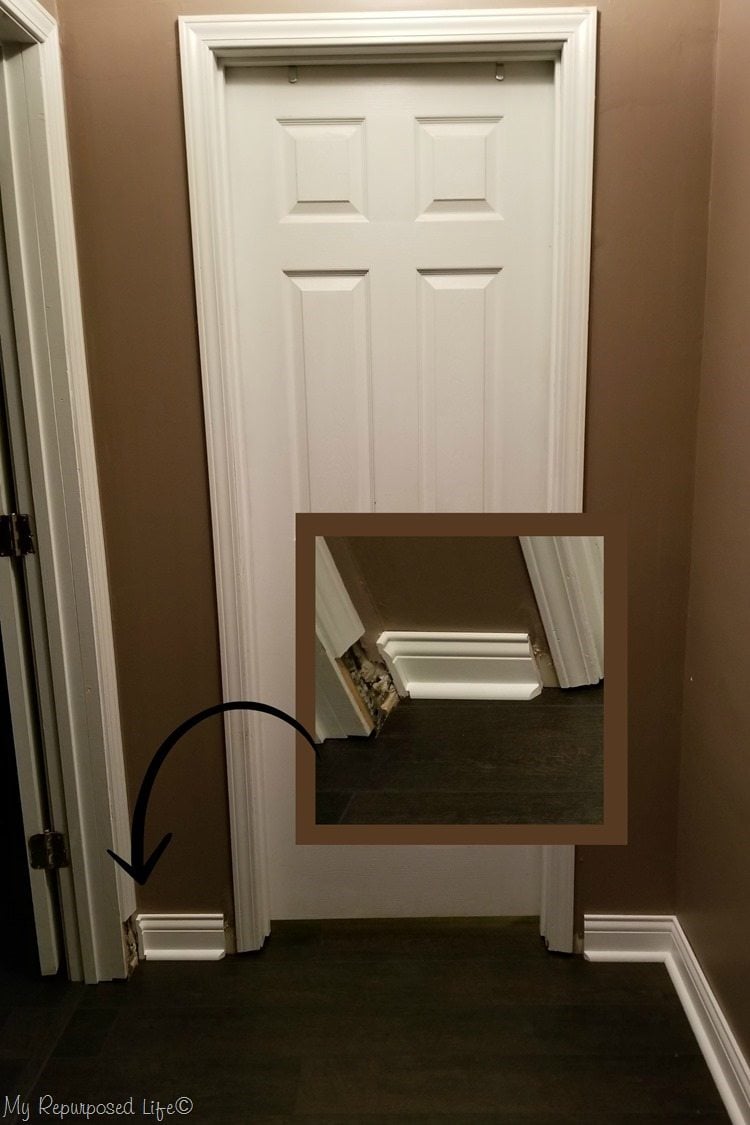
This is how the baseboard looked while Jamie and Andy were here for Thanksgiving. When Rodney and I put the baseboard down we he measured so there would be room for the wider chunkier craftsman style trim. Look at that pitiful plaster that crumbles whenever it’s disturbed!
Plaster mishap
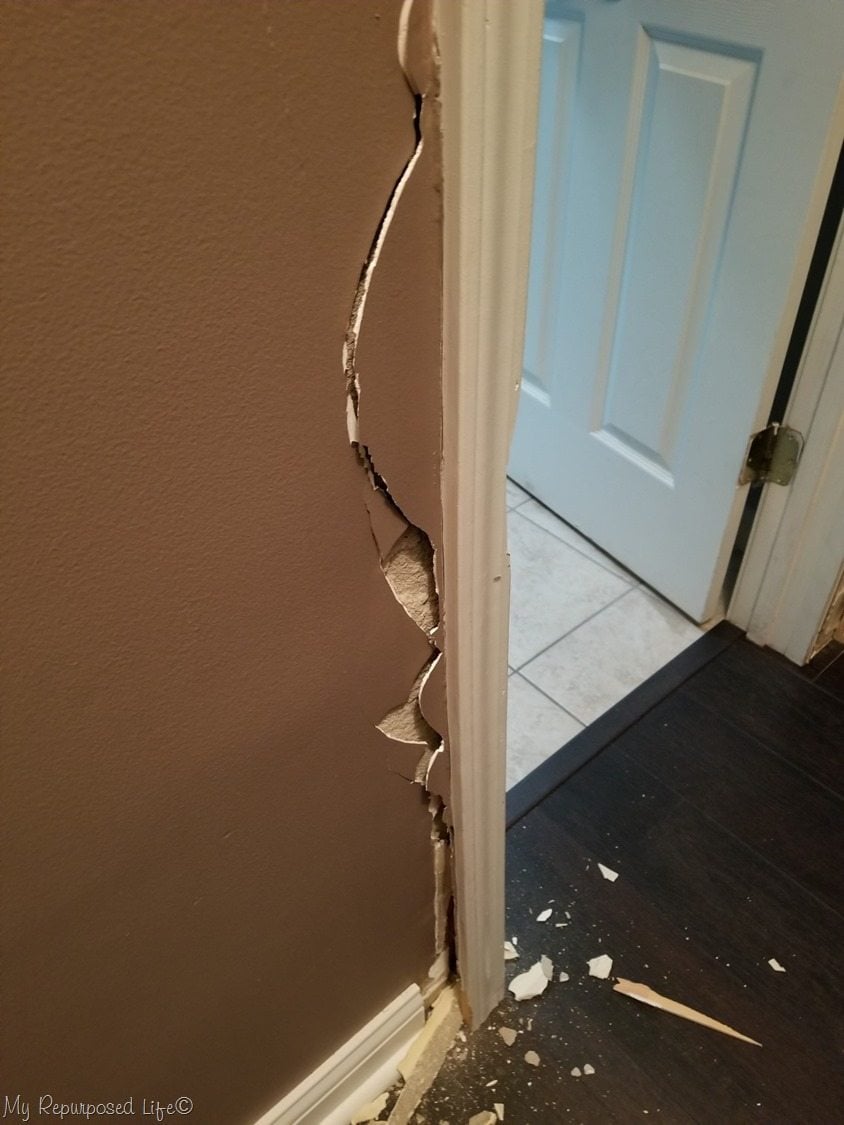
Speaking of crumbling plaster! Yikes what the heck happened here?
Prevent plaster mishap by scoring with utility knife
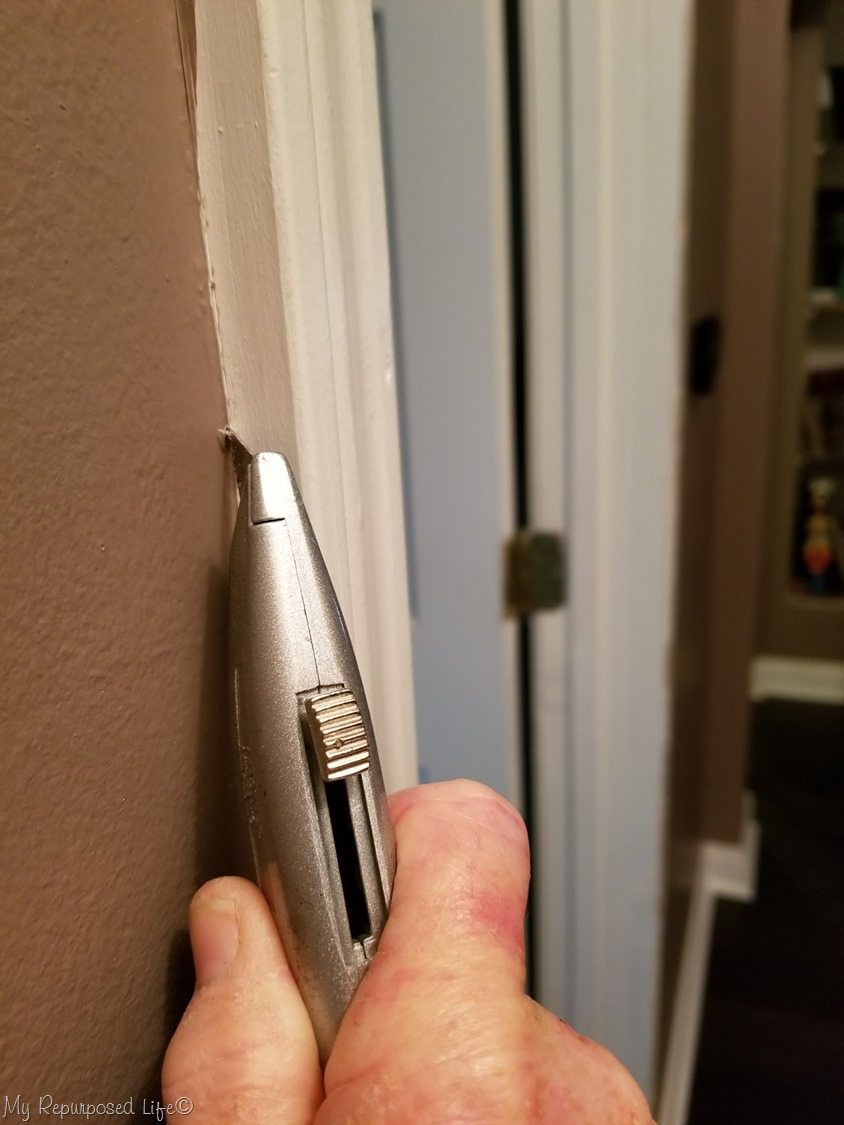
I promise I scored it with a utility knife. But there was so much caulk, apparently I didn’t get through all the layers. I was prying on the inside of the door trim. I heard the plaster crumbling, but I had no idea it was THAT bad. What a mess!
How to install Craftsman Style Door Trim
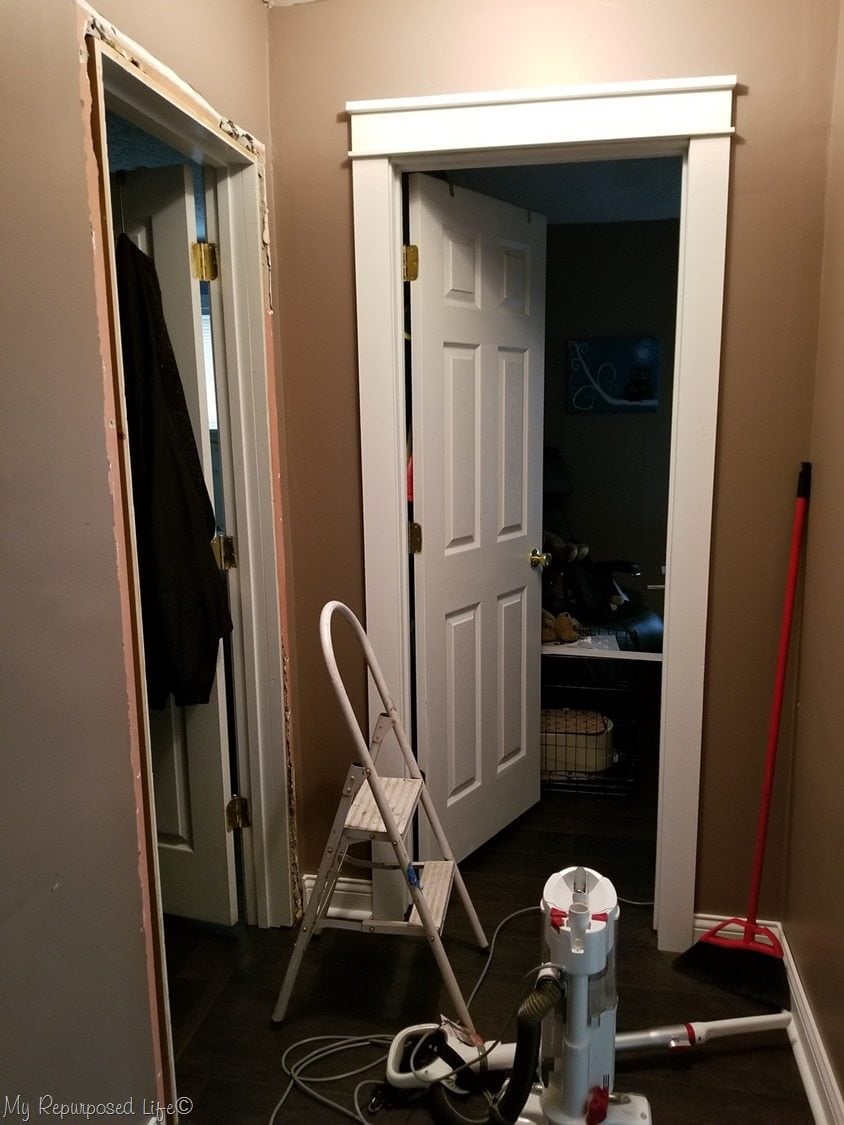
Needless to say, I did heavy duty scoring on all of the other pieces of door trim. On the left is the master bedroom (I hate calling it that, since there is no mr). Straight on is the guest room. To the right (not visible) is the bathroom door that crumbled so much.
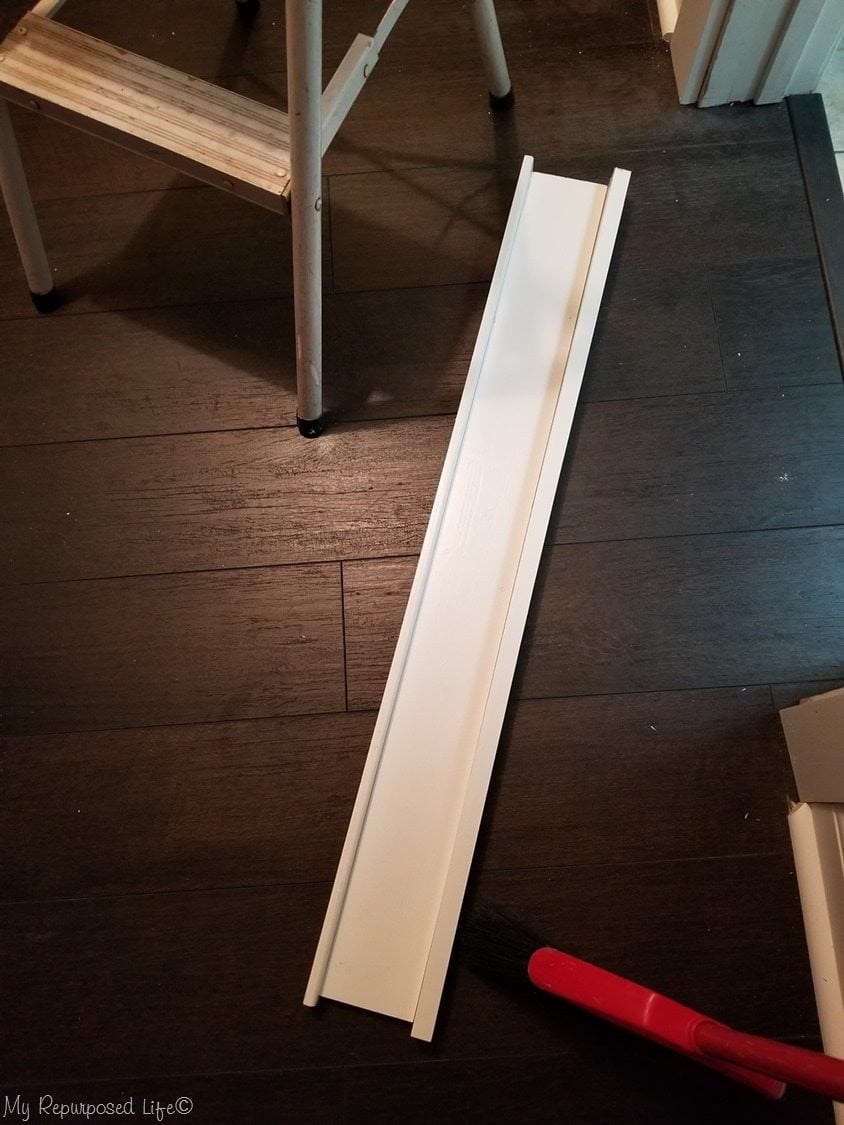
This is the header for the bathroom. I assembled the headers on the floor and then installed them after they were touched up with paint.
Touch up paint
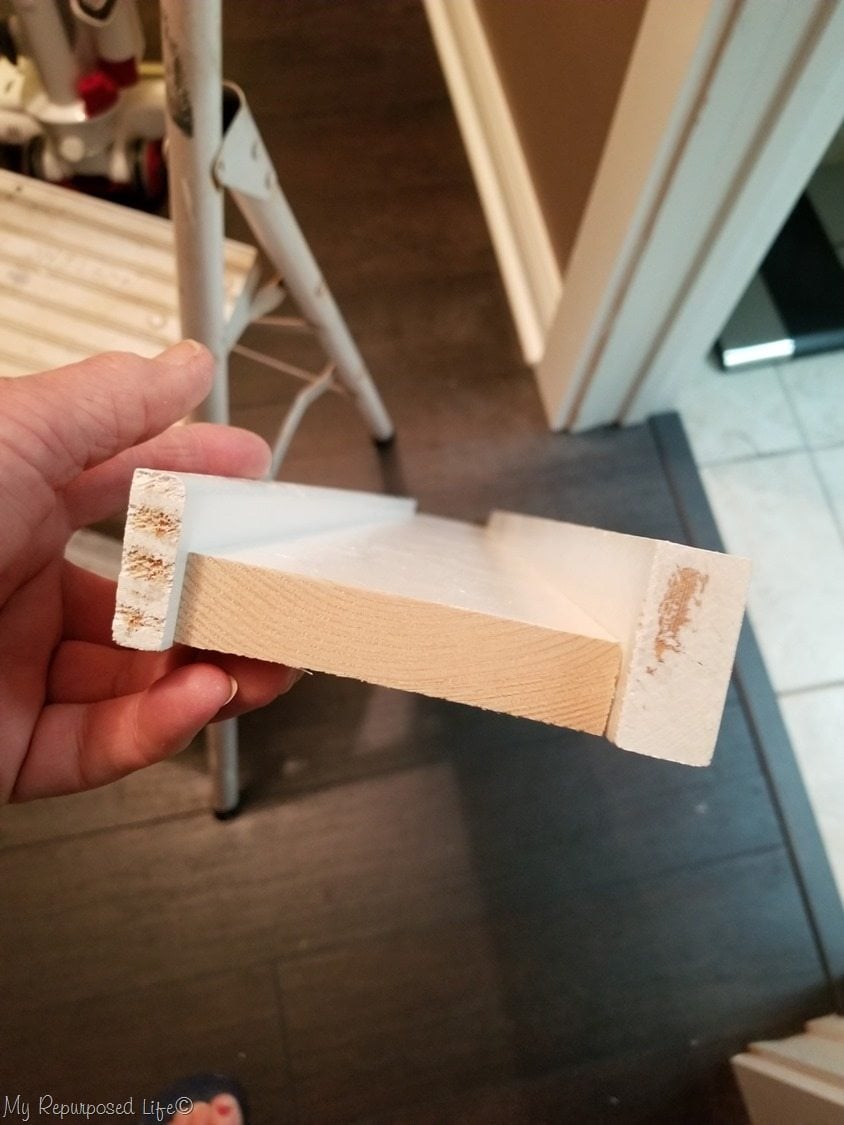
See? I had pre-painted the boards, but cutting them to make the headers left unpainted surfaces. TIP: cut off the rough sawn edge of each board before making your cut. These edges are difficult to paint.
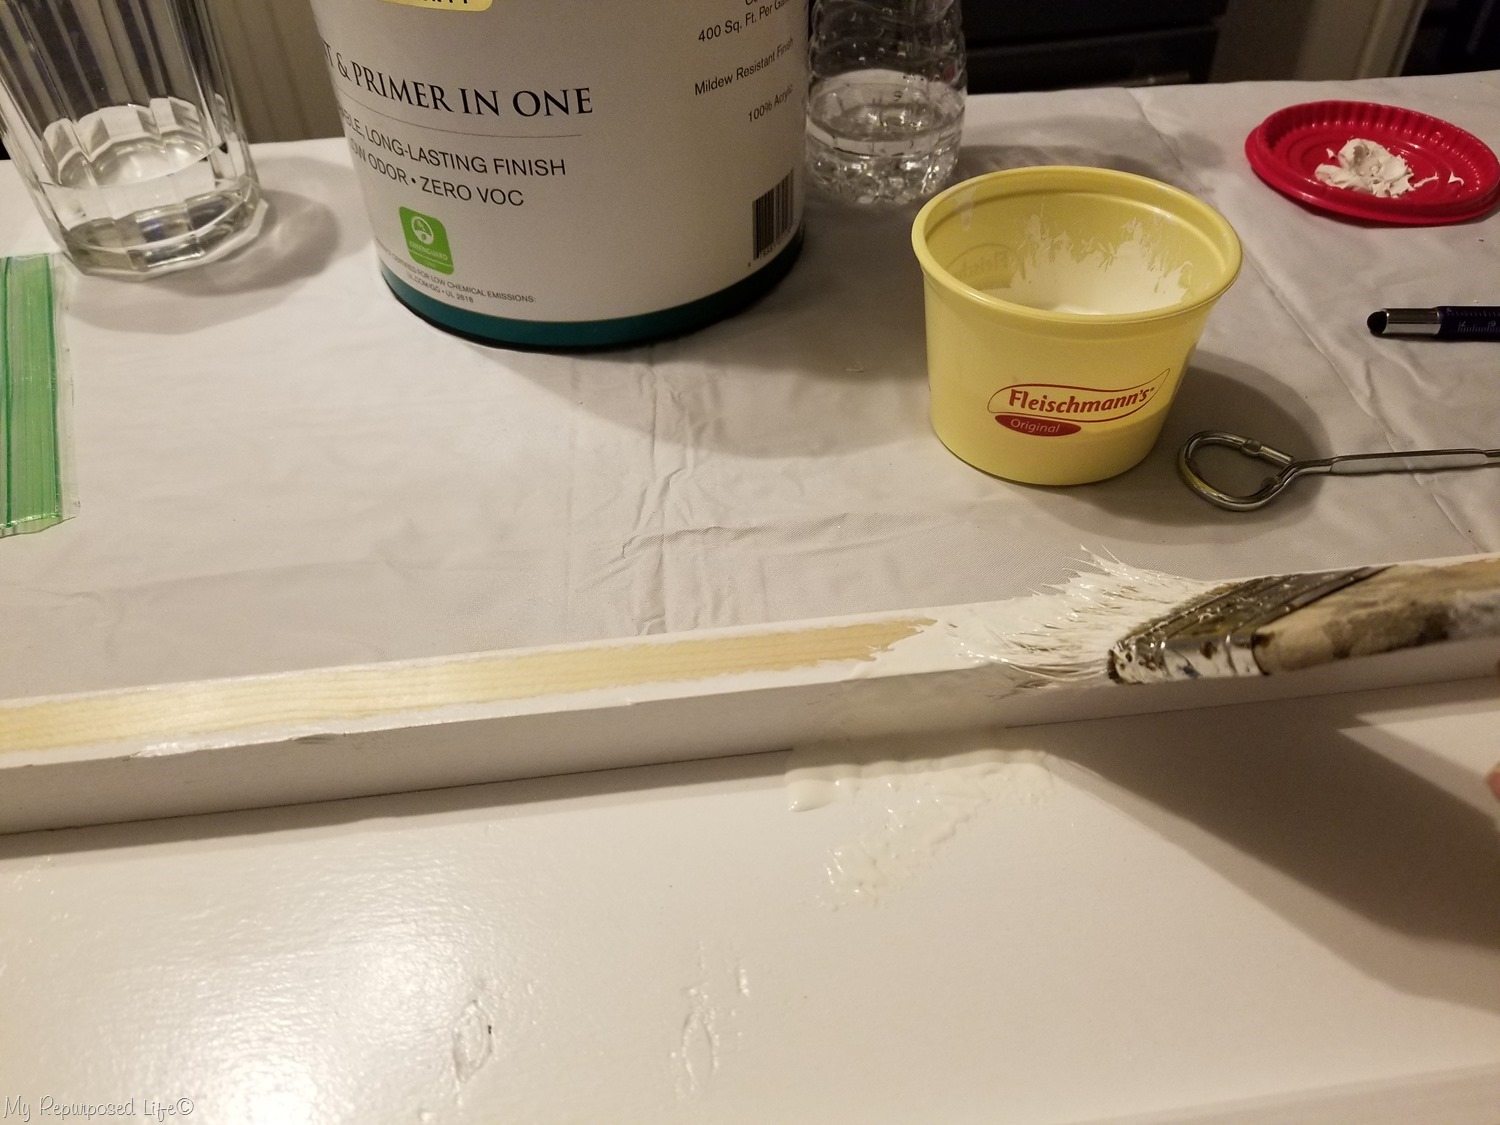
On one of the headers, I decided to use a raw edge and had to paint it. For quick and easy touch ups like this I use cheap chip brushes. I know a lot of people use these as “throw away” brushes, but not me! I use them for months. They improve with age. You can see this one’s been in use awhile.
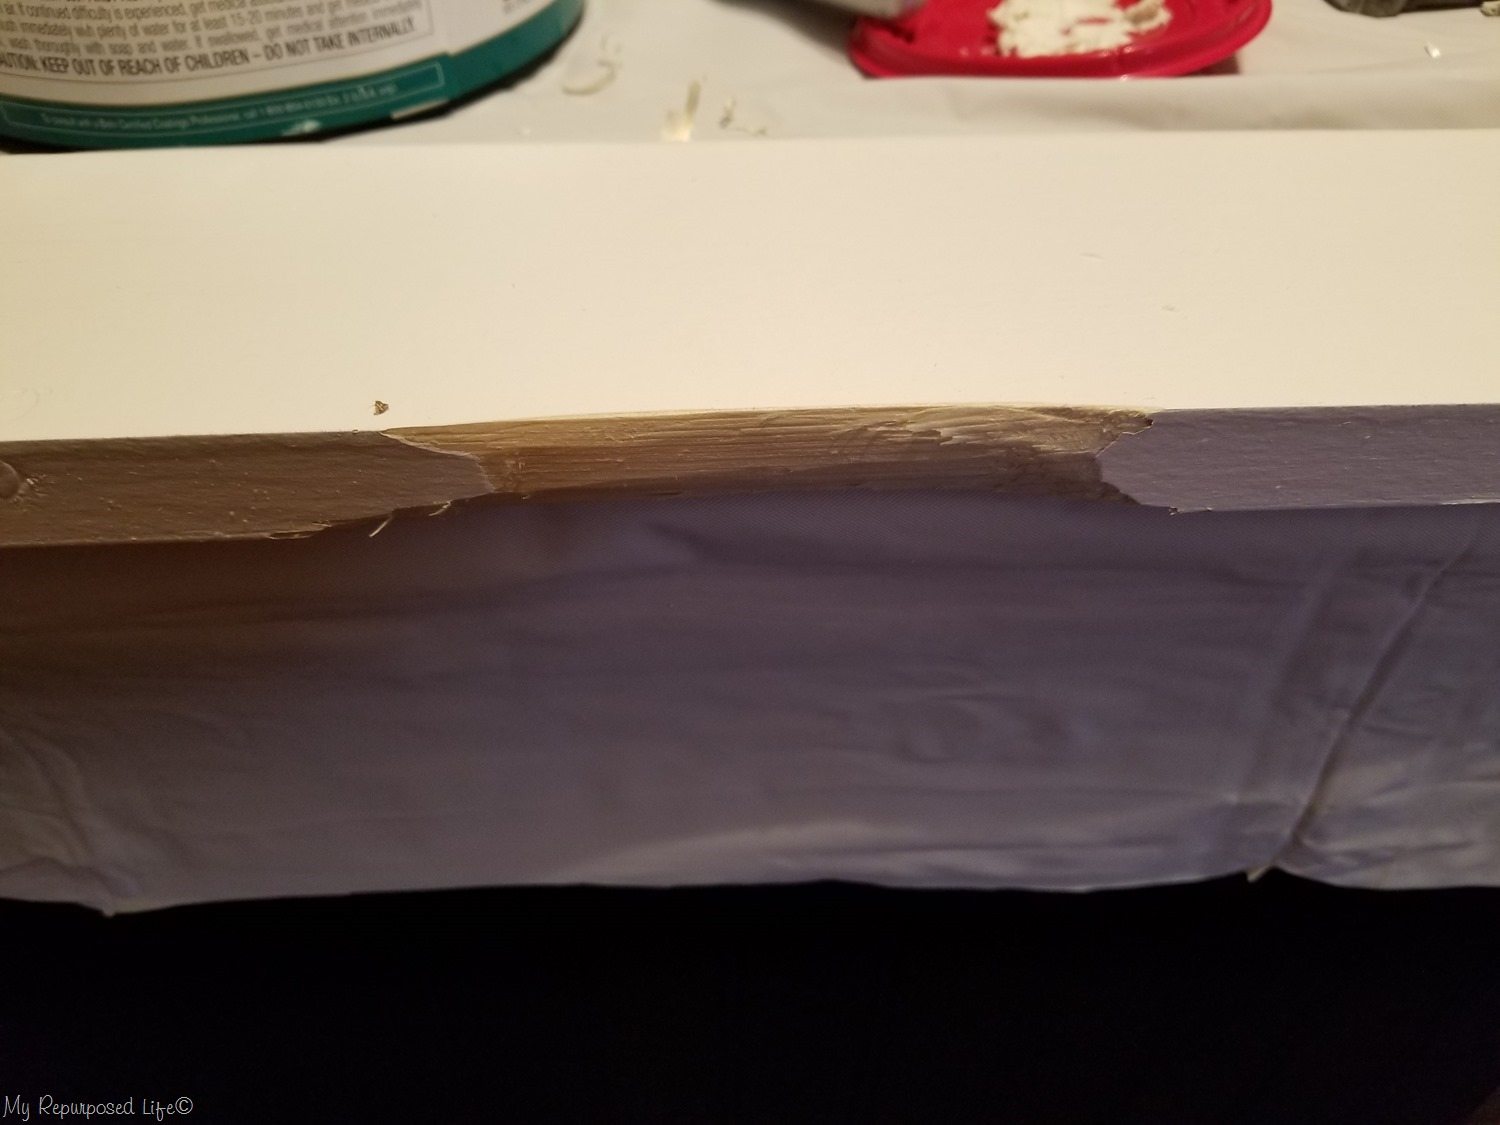
On the inside of the door, the wider craftsman trim interfered with the hinges. I used a utility knife to whittle the board.
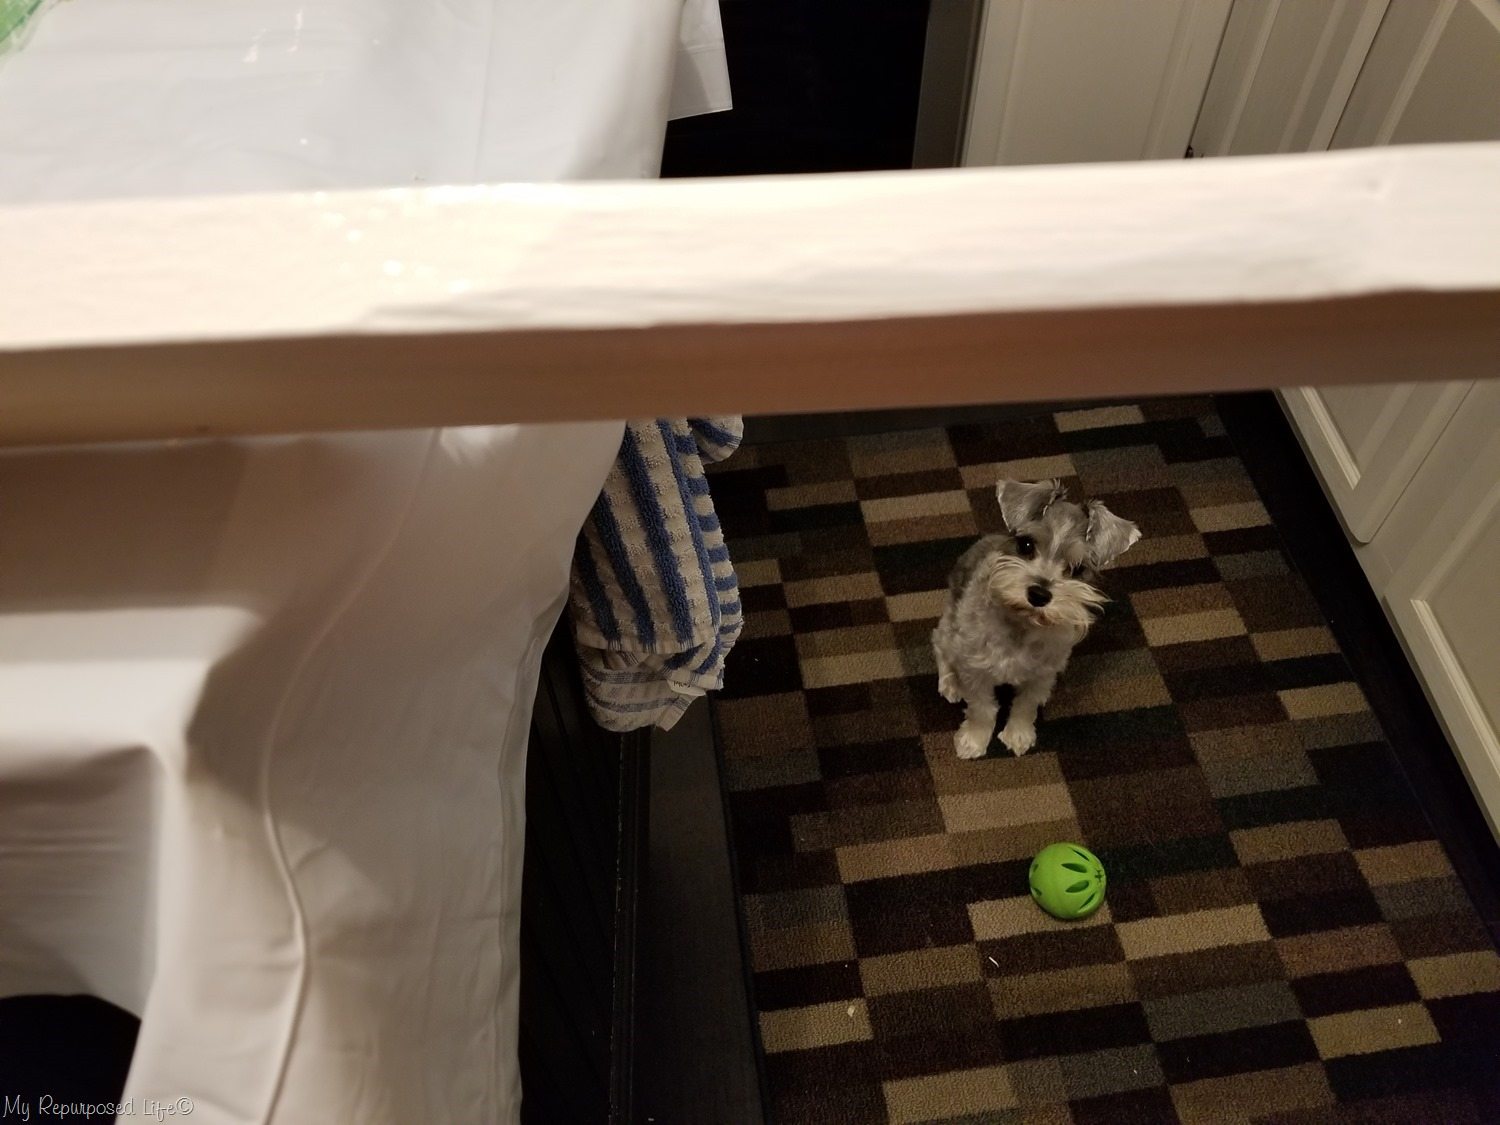
This is the same board after it was sanded and painted. My little Lulu Mae thinks it was time to take a break to go outside and “throw ball”. We did. Who could resist that pitiful look?
Assemble Craftsman Style Trim
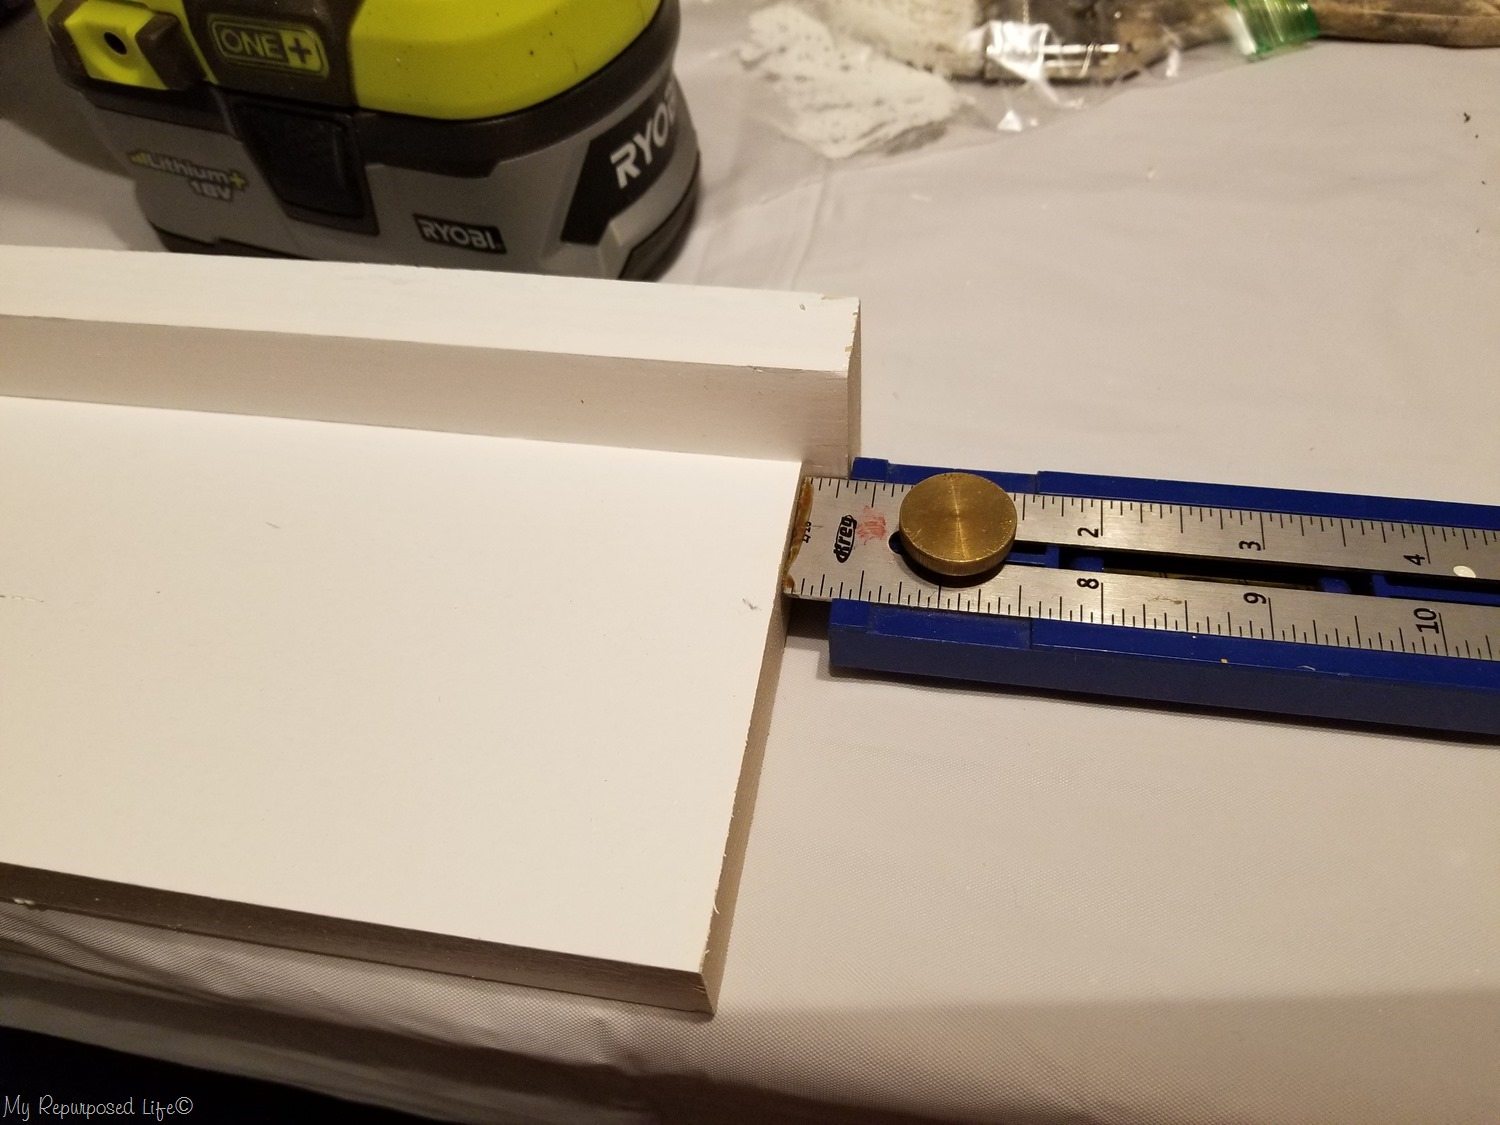
This is how I put the header together. I used my kreg multi-mark tool to get all the headers to match.
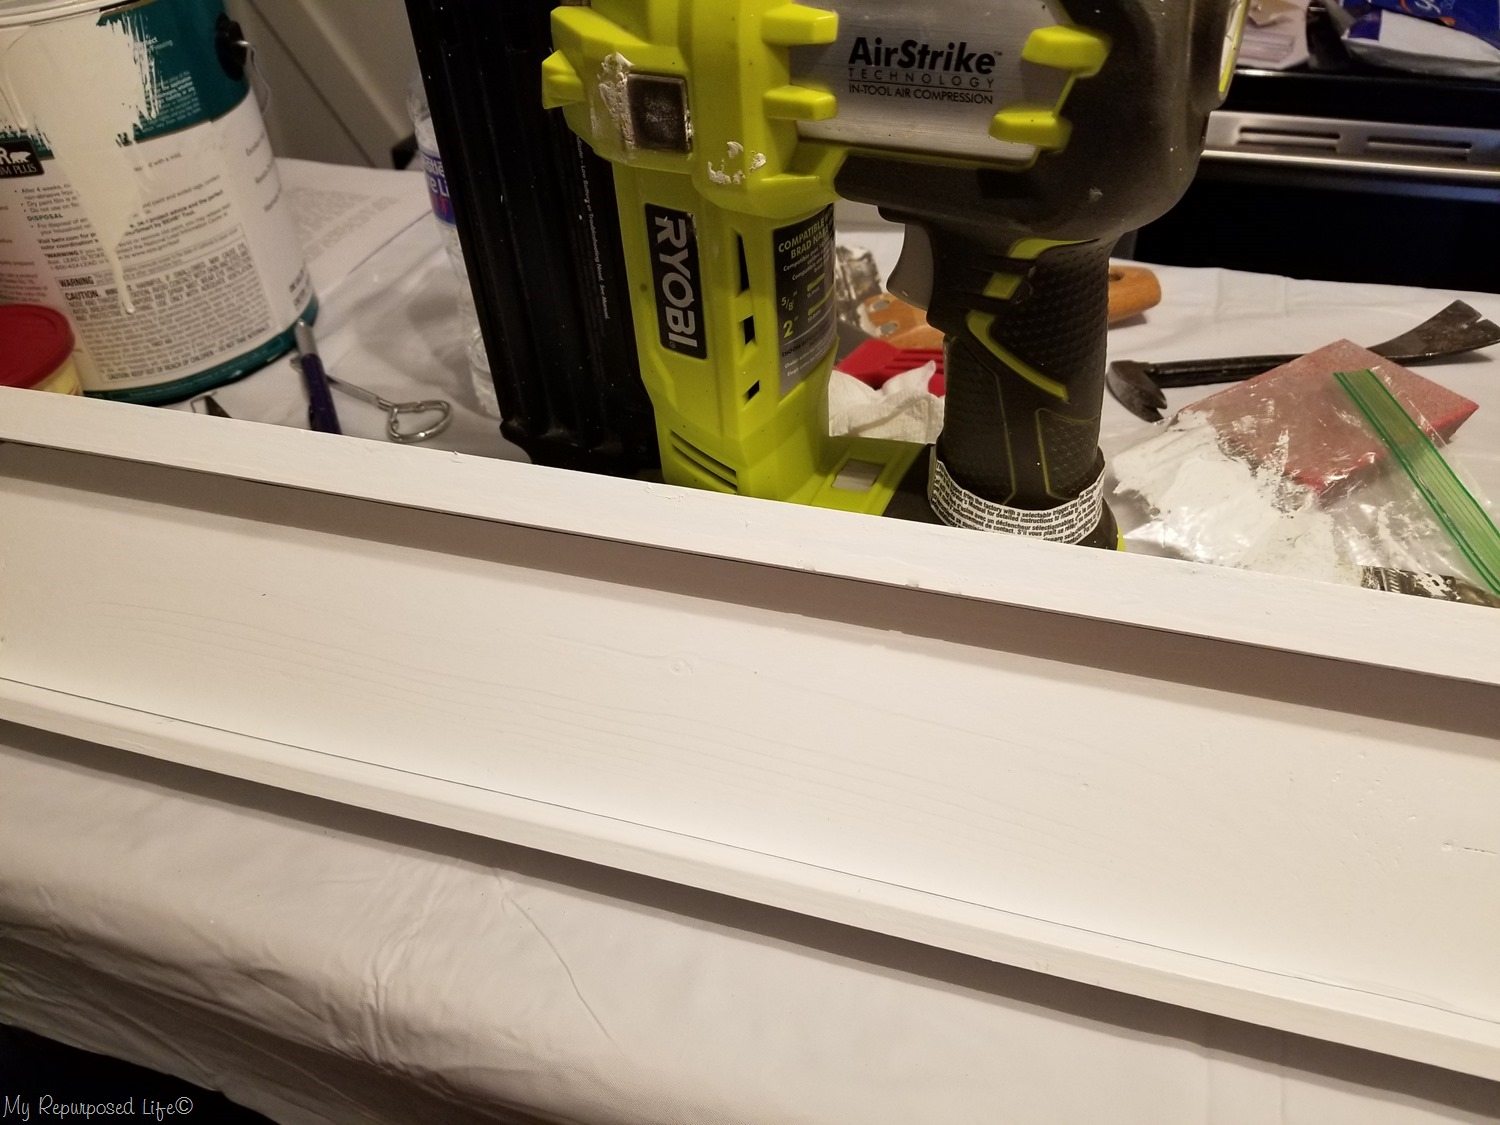
My nail gun made this job go very quickly. I used it to assemble the headers and to secure all the trim to the wall. I’m working on the kitchen island. I made it at a comfortable height so I can do projects like this without stooping over.
Patch plaster mishap
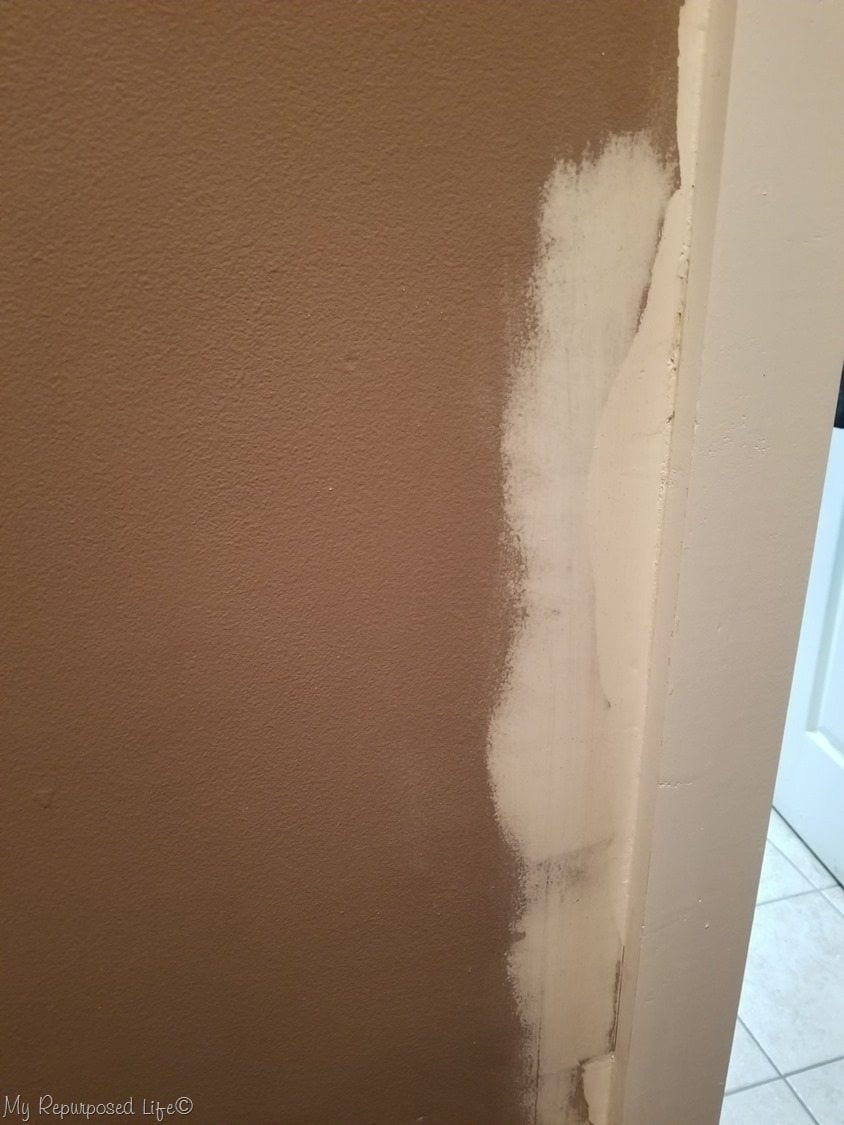
Here is the lovely patch job on the crumbled wall. After this last coat set up, I used a damp cloth to wipe away the drywall mud. Wet sanding drywall is so much better when you don’t want the dust everywhere. The damp rag got rid of all the thin layers of mud, leaving just the part that needed patching.
I even found the original paint in the craft room and was able to touch up the paint. I do plan to repaint with a more neutral color later in the spring. I’m so over this color!
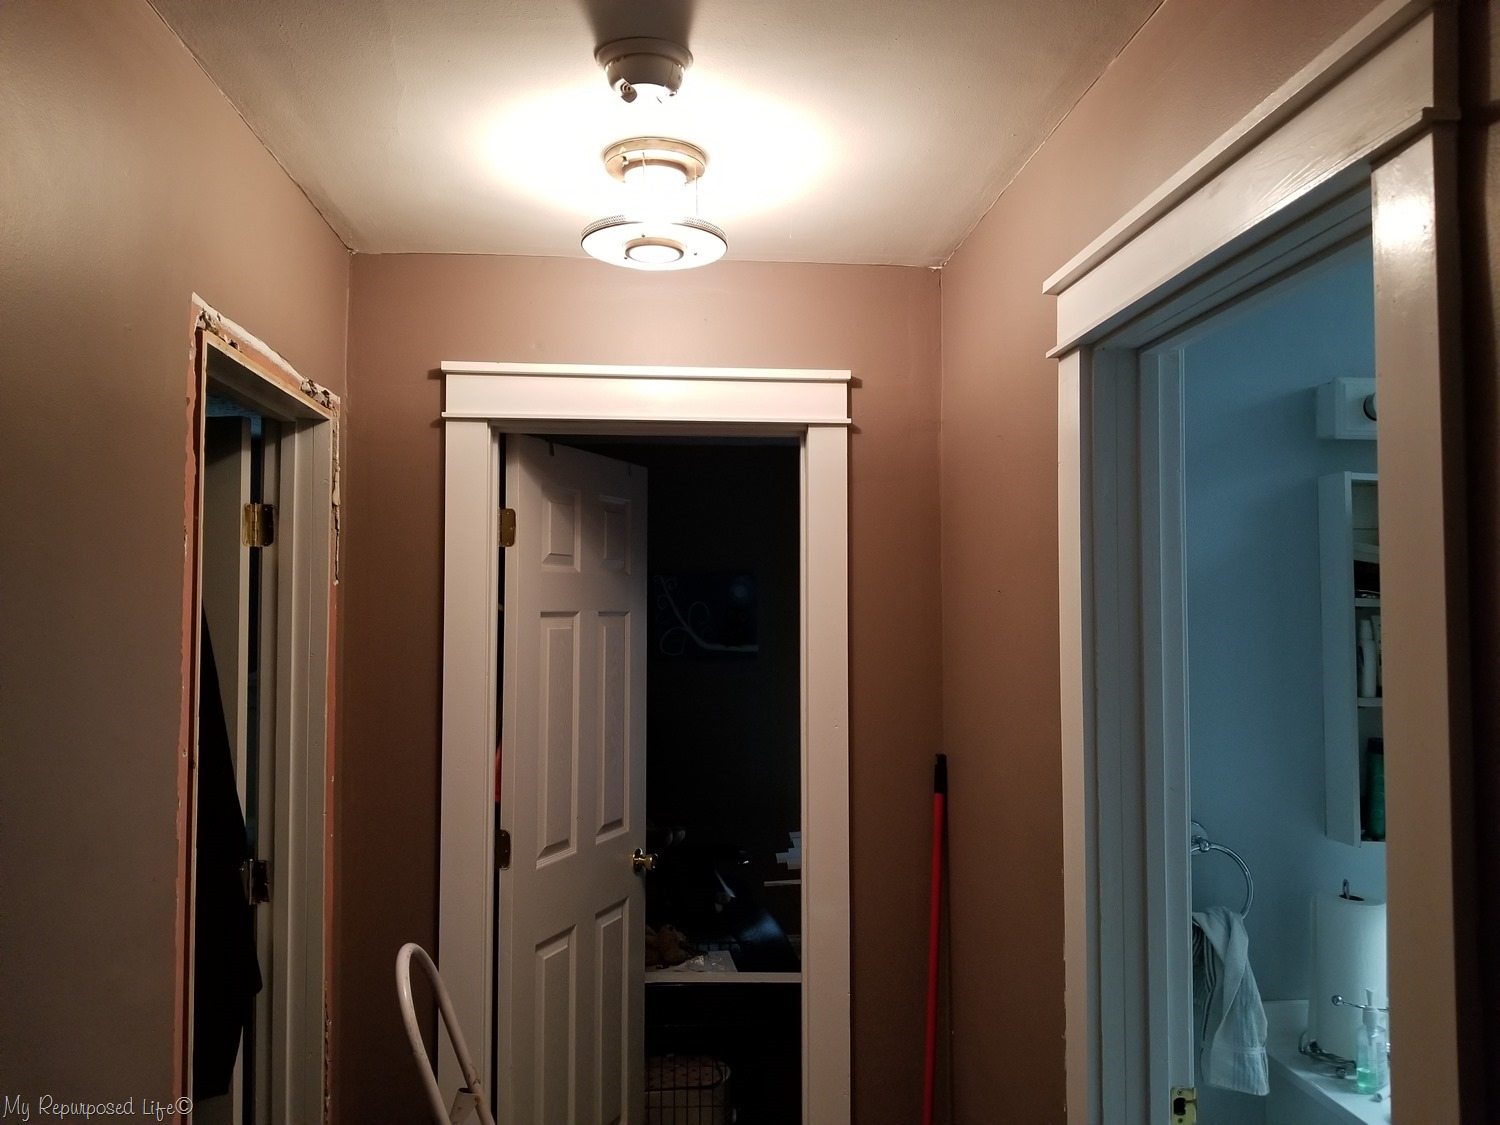
Aren’t you so jealous of my 1950’s light fixture? I’ve been in this house for 42 years, you would think I would have changed everything out by now. There are still a few original things hanging in there. Truth in blogging. After doing the first doorway with the new craftsman style trim, I wasn’t loving it. For a couple of days I was asking myself why I spent all this time and money on doing this project that didn’t really need to be done? I had made a decision on a whim, but after the baseboard was down I was committed to going through with it.
It took about a week for me to say “I love it”. When my daughter Jamie arrived for Christmas, I wasn’t home. When I arrived I asked her “did you notice the hallway”? She did not. After flipping the light on she said she loved it too!!! It’s a small difference that most of my friends and family won’t even notice, but I’m glad I did it now. Thanks to Thrifty Decor Chick for the inspiration on this project.
I still have the inside of the master bedroom and the inside of the bathroom to do. The trim has not been removed, the original trim is still in place. I will probably do them when I work on the bedroom closet makeover.
What do you think? Should I have left well enough alone? Or do you love the new chunky craftsman style door trim?
gail


Trust me I would notice! I love love love it!! I even love the wall color but I’m over that too…life changes and we move on! Lulu Mae Is precious! My fur baby does the same to me with the toys at the most inconvenient times of course…lol. Keep moving on and I think you will totally love the new you look!
Awww, thanks Shirley!
The color has worked well for me, but it’s been years-I’m ready for a change. Lulu loves to watch me work, no matter where I am. But yep, sometimes she just insists I take a break. 🙂
Still more projects to do . . .
gail
I Love the new trim! I know that I would notice it right away…I am not fond of the usual/common bumpy trim everyone seems to have. You did a fantastic job!
I’m sorry about the wall patch. When we had our windows changed a couple years ago a similar thing happened around a door and a window…so frustrating!
Thanks so much for stopping by Claudine! I suppose it’s the small changes on the grand scale that make the difference, right?
Stay warm!
gail
Lulu Mae is just the cutest. What a little sweetheart.
Suzanne,
Thank you so much! Can you tell she’s rotten? She LOVES chasing that ball in the yard! She sure has made my days brighter.
gail
I’m going to be removing some cove moulding around a ceiling, so this tip might come in handy. I love Lulu, too.
love it! it gives the doorways a nice look.
Thanks!! I still need to do those inside doorways. But for now, it’s all about the Clean Up Your Act challenge! Once I get the basement done, I can work on some more projects. 🙂 Including finishing the trim. I’ll be able to trim the boards in the warm basement instead of the freezing garage. Bonus! I get more steps registered on my fitbit. lol
gail
Gail, I love the new trim. It really changes the look of the hallway. I admire your bravery in taking on such a challenge! Our home has the orange shellac woodwork, also, but I cannot bring myself to replace or paint it. It seems to fit the 50s ranch style of the house.
And I have that exact light fixture in my foyer! Can’t bring myself to change that out either, LOL!
Susan
That is hilarious that you have the same light fixture! I am so happy I changed out the orange wood trim, and now the orange floors are gone. I’ve been here 42 years and I was just so over it all. 🙂
How long have you been in your home?
gail
The house was built in, I think, 1958-59. When we remodeled the kitchen, some of the cabinets had a manufacture date of 1958, others 1959. We purchased it in 1985 and plan to stay as long as we can. We are inBluefield, WV–not too far from you!
I suppose my house was built around the same time-maybe a few years earlier. My neighbor actually built the house. Their kids were small and are now on either side of 70. It’s fun to live in a home that has so much history. This house has been added to, changed up and remodeled so much over it’s time.
gail
I love the Craftsman-style trim. I wish I could do it in my own house. Maybe a little at a time…
That’s how it needs to happen in most cases Fonda, a little at a time. . .
Love it! I can appreciate all your hard work to make such a “minor” change. I’m still trying to decide if it will fit in my beach cottage.
Thank you Kristin!
Yeah, I have no idea about decor in a beach cottage. I don’t even know about decor here in my own home. I just (mostly) do what I love. 😉
lots of luck figuring out what you wan to do.
gail
I like it! But you scared me there for a minute. I’m considering hardwoods all over my house either the exception of the Mistress bedroom cause I like a warm floor in winter. My whole house has stained trim and I think, after much deliberation, that I will stick with it, but beef up the baseboards that are worn plum out!
But all in good time cause the popcorn ceilings are going first. Next weekend I’ll start with the smallest room-the guest bath.
Terri,
I too had wood baseboard and popcorn throughout the house. Years ago, right after I started blogging I got rid of 99.9% of the orange shellac wood trim. Replacing baseboard, and painting window trim. I was so happy THAT was gone. I can’t remove the popcorn because I know why it’s there, we actually HAD it done. The ceilings were a mess. I recently planked my kitchen ceiling to get rid of the popcorn. I’ll be sharing that next month. The rest of the popcorn? I don’t know yet….
I bought two IKEA throw rugs for my bedroom. A runner for beside the bed and a larger one for the foot of the bed/closet area. My feet don’t hit the floor till I get to the hallway. I LOVE the throw rugs. I also have on in the living room that I got from IKEA.
good luck with that popcorn ceiling. Keep me posted on Facebook with pics! 🙂
gail
I love it. I love when there is wide baseboards and trim. That was so much work, but well worth it. Our new home was built in 1972. And it’s been added on to. So things like this will have to be admired in your house.
On a good note I found a shelf for the artroom just have to paint it, and hang it. Yay!
I like the new trim! I think it looks cleaner and more modern, somehow, compared to the old trim. Nice work! I reuse my chip brushes too, though for weeks instead of months. Glad to hear that they keep improving with age.
Thanks Dottie! I suppose I will love it even more once I get the paint color changed. 🙂
gail