How to Lay Laminate Floating Floors
As an Amazon Associate, I earn from qualifying purchases.
Did you know I am working with Maytag® and recently got all new appliances? That started a snowball effect with home improvement projects around here. Today I’m going to share my top 10 tips for installing laminate floating floors. After installing them in four rooms and a hall, I’ve learned a lot along the way. I first installed floors years ago in Jamie’s little house, and haven’t done it since. This was a big job and I didn’t do all those rooms by myself. My neighbor Rodney was right there every step of the way, doing the measuring and cutting.
*This post may contain affiliate links which won’t change your price but will share some commission. Read more here. *
Tip 1
Remove any existing carpet or tack strips

Most of the carpet had already been removed in recent years. There was still carpet in the master bedroom closet. Useful tools for a job like this are a small pry bar , hammer, vice grips, pillow, or foam for kneeling, and a small garbage can to hold debris as you go along.
Tip 2
Do you need to lay a subfloor under your laminate floating floor?

The original hardwood floors in most of the house were in good shape and we were able to lay the floor without putting down a subfloor (thin plywood).
Tip 3
Change Saw Blades

If you have a decent blade on your saw, it will NOT be worth anything when you get finished cutting laminate flooring. I had a relatively new blade on my compound miter saw and switched it out with an older blade.

In most cases you will also be using a table saw for rip cuts, change that blade too.
Tip 4
Acclimate flooring

When you buy your laminate floating floor, bring it in to the house so that it can acclimate to the temperature. Find an out of the way spot where you won’t trip over it for a few days.
Tip 5
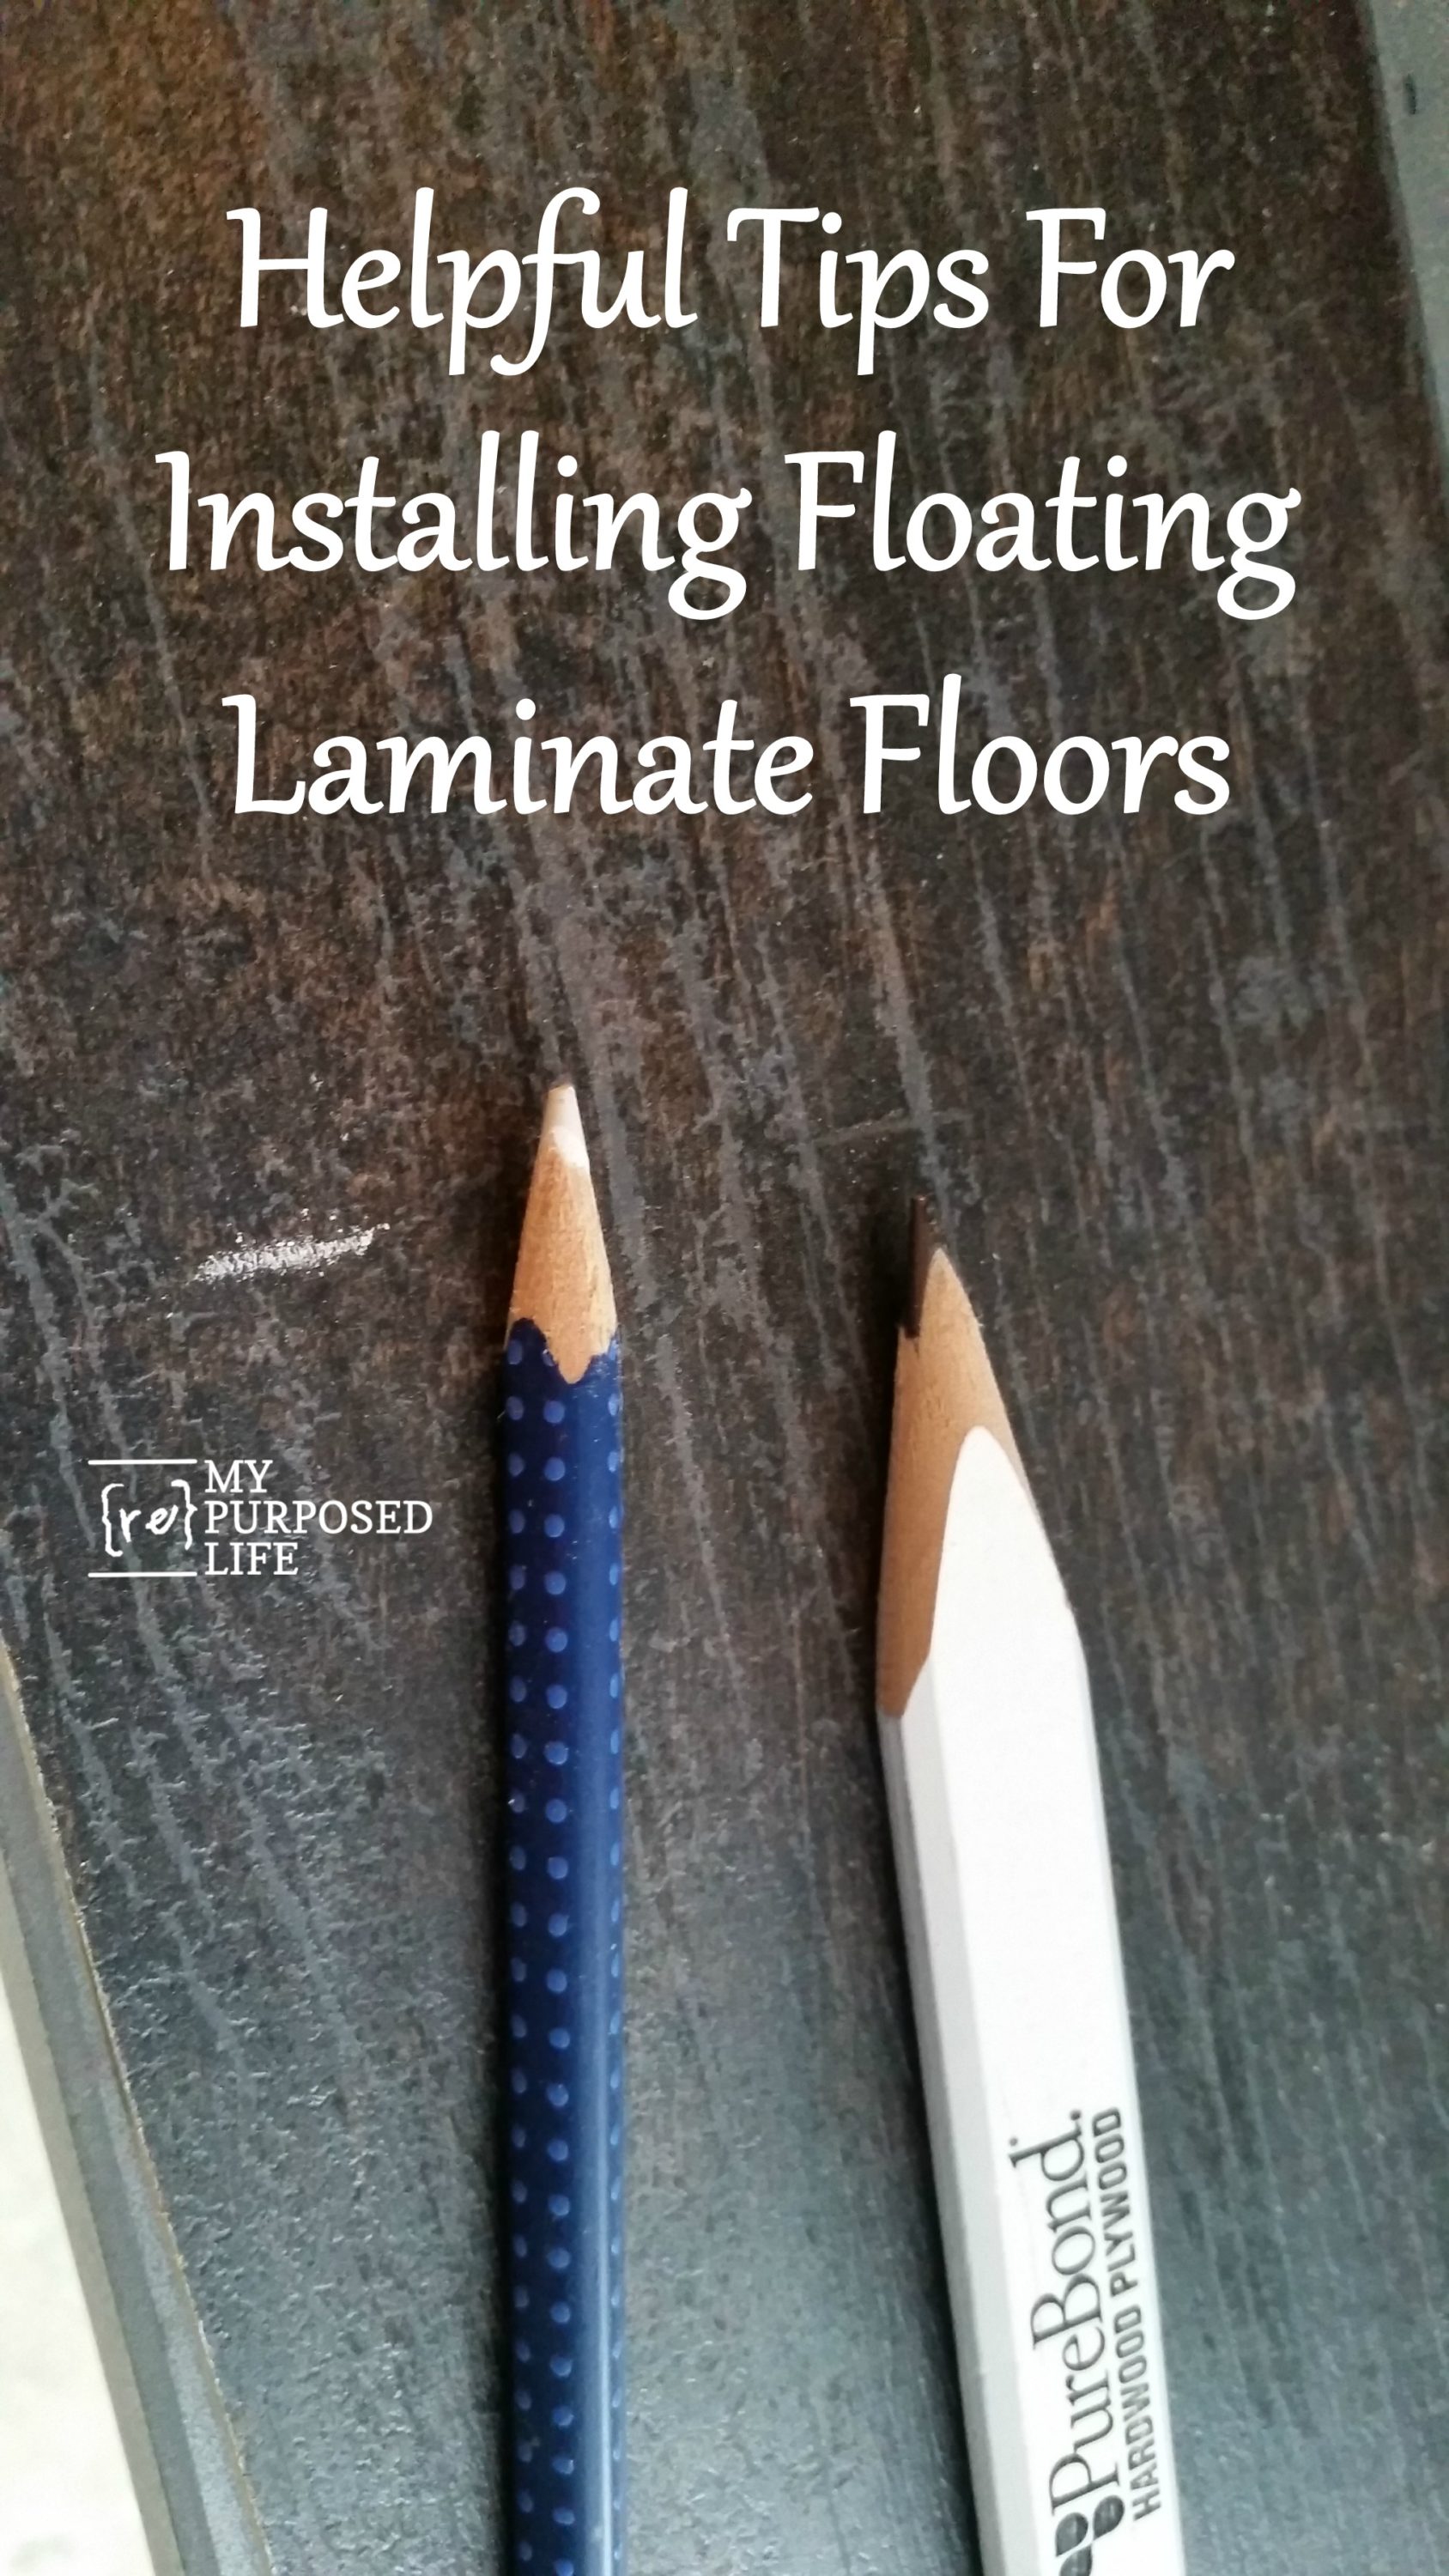
Mark your cuts

Using a white chalk pencil was helpful in marking the cut lines on this dark laminate flooring. In this photo you can see that the pencil mark is very difficult to see.
Tip 6
Dust off your boards

After making cuts to your laminate flooring use a small dust brush to remove saw dust before bringing it into the house.
Tip 7
Move large furniture to one side of the room

I removed all the small furniture pieces from the room and shifted the large pieces to the other side of the room to get started.
Tip 8
Remove baseboard and vents

Removing baseboard and vents prior to laying the floating floor will make the job easier. It is recommended that you leave 1/4” between the wall and the floor.
Tip 9
Clean as you go

You want to make sure there is no debris under your floating floor. Sweep or use a dust mop to clean up as you go.
Tip 10
Temporarily hold laminate floating floors in place

A small scrap piece of wood was used to hold the floors in place at the transition areas in between rooms.
Tip 11
Roll out underlayment

Some laminate floating flooring has underlayment attached. Mine did not. Roll out underlayment trimming around corners with scissors or a utility knife. As you can see, there is a “right side up”.
Tip 12
Click and Lock Laminate Floating Floors

The flooring I used is from Home Depot. I love the color and how it has a rough sawn look to it. It is a “click and lock”. We found it was best to slide it back and forth in the groove, lower once, lower twice and click the end joint in place.
Tip 13
Tapping Block

If you notice a tiny crack, you may need to tap the floor into place (lock it). Do NOT tap on the floor. Use a scrap piece of wood or even a scrap piece of flooring and gently tap the floor into place. This only happened on rare occasions, typically when the original floor had a flaw such as a raised area.
It’s difficult to say how long this job laminate floating floors job may take you. In general it took a little more than half a day per room. The guest room, the last room we did is quite small. We removed the carpet and tack strip, cleaned and laid the floor all in one day. I was surprised it went so quickly, but elated to call the floor done!

I still need to do the baseboards. The floor doesn’t photograph very well. It looks so much prettier in person.
Nightstands Repurposed into Chest

I was in the process of putting the living room back together and Lulu Mae was wondering where her pet ramp was so she could get on the couch. I’ll be sharing more pictures after everything is done. Who would have thought that getting new appliances could cause so many changes and home improvements?
There is still a lot to do, but I’m just taking baby steps trying to get the most important projects done before Christmas! A huge thank you to Rodney for his patience, and his family for “making due” without him lately!
Do you find that home improvement projects seem to snowball into way more than you expected?
gail
If you prefer the look of refinished floors, you might want to read How To Stain Vintage Hardwood Floors.
See the latest Small Updates | Big Change
Hi! Live the dark color too and I’m in the process of redoing my floors right now so hoping you answer fast lol! No pressure! When were you able to move your furniture pieces on top of the the laminate after laying it? We have everything shoved to one half the room and we’re going to just move everything over to finish the other half but read online you have to let the floor settle anywhere from 24 hrs to FOUR days! Did you put your furniture on it right away and if so have you noticed any squeaking or issues due to this? Thanks in advance for any reply or advice.
Paula
I did not wait at all for furniture. But mine is floating…. not glued
Sorry for the delayed response. Major computer issues. Working on an older computer that I don’t normally use while mine is being worked on.
gail
I would consider engineered wood to cover a ruined oak floor, but I would not put laminate over hardwood floors that are in good shape.
Brette,
My floors were in need of repair and refinishing. There were stains, bad patch jobs and missing planks. Plus as I mentioned I don’t like narrow planks. 🙂
The laminate seems to be the perfect solution for my home and my budget.
gail
Gail,
They do look beautiful. My concern is the durability. My daughter has it in her home. It’s 3 years old, and the wear lines are getting very obvious. Where the dining room chair are, there are definite wear a few places down to the press board under the photo on top. My daughter has lovely taste and I know it was the most expensive laminate she could find. On the other hand we put in engineered wood in our old home 10 years ago. When we moved it still looked brand new. Neither laminated or engineered wood can be refinished, but it floats if you hate it, if it doesn’t hold up, if it goes out of style and the oak underneath is still there
Jennie,
I’m sure these floors will outlast me. You are right, the best thing about using laminate floating floors is they don’t harm the original floor in any way should someone want to patch and refinish my old flooring down the road. I love everything about the floor so far-except how much I have to sweep! lol
gail
I really hate that you covered up your “old” flooring to put on laminate. I would give just about anything to have the oak flooring from our previous house and what I grew up with. We have vinyl laminate, and it isn’t worth a doo-hickie. We didn’t put it in; the previous owner did. Yuck! We’re hoping to make all the floors concrete, because our house is situated on a slab. So, hopefully a skim coat ought to do it. But, that’s a few years down the line.
Fonda,
I can appreciate your feelings. Here’s how I fee about original oak flooring. It’s too narrow and too orange. I prefer dark, wide planks that are dull. The laminate flooring checked all of those boxes for me. 🙂
I refinished original floors once and said “never again”. It’s too much work and not what I wanted. In addition, this old house has been changed up so much there would have been a lot of patching to do to undo the horrible patch job others did when they tore out closets and walls. 🙂
I suppose I should have mentioned all of this in the above post, eh?
I wish you lots of luck with your concrete floors don the road. 😉
take care!!
gail
Your floor looks beautiful!
ps. Will you share Rodney? 🙂