Farmhouse Window Cupboard
As an Amazon Associate, I earn from qualifying purchases.
It’s been a long time in coming, and I hate to break the news to you, but this farmhouse window cupboard is still not finished.
") Do you notice that something is missing? I don’t have any drawer pulls.
Do you notice that something is missing? I don’t have any drawer pulls.
Okay, let’s back up a little. In case you missed the beginning, check out this post: Tall Cupboard with Repurposed Window Pt 1
I asked you to guess what this lumber was—no one figured it out. Well, would you believe it was from a water bed that has been stored in the furthest corner of the basement for years?
Designing a Farmhouse Window Cupboard
") This is the design stage, trying to figure out all the math using the repurposed windows.
This is the design stage, trying to figure out all the math using the repurposed windows.
Assembling Window Cupboard
") It looks like I’m well on my way, but I still did some re-designing after this picture. So, I replaced the middle piece that separates the drawers.
It looks like I’m well on my way, but I still did some re-designing after this picture. So, I replaced the middle piece that separates the drawers.
Add Bead Board for Farmhouse Style
") I wanted this cupboard to resemble an old farmhouse cupboard rather than some shabby chic cabinet. I opted for some of the bead board for the back.
I wanted this cupboard to resemble an old farmhouse cupboard rather than some shabby chic cabinet. I opted for some of the bead board for the back.
") In this picture you can see that I have replaced the drawer separator with a thinner slightly smaller piece. The other piece made the windows/doors fit a little too tight.
In this picture you can see that I have replaced the drawer separator with a thinner slightly smaller piece. The other piece made the windows/doors fit a little too tight.
Removing Glaze from Window
") The windows had some bad putty. I removed said putty and replaced it with spackling. (drywall mud) Since this window will not be out in the weather, and I didn’t have any glazing compound, I went with what I had on hand. (don’t I always?)
The windows had some bad putty. I removed said putty and replaced it with spackling. (drywall mud) Since this window will not be out in the weather, and I didn’t have any glazing compound, I went with what I had on hand. (don’t I always?)
Paint Window Cupboard
") The cabinet was painted Crisp Linen White, then I went over it with a wash of Cyprus Grass, both from Glidden.
The cabinet was painted Crisp Linen White, then I went over it with a wash of Cyprus Grass, both from Glidden.
Shelf Placement for Cupboard
") I lined the shelves up with the panes in the glass of the windows.
I lined the shelves up with the panes in the glass of the windows.
") In the upper and lower section I made a shelf that is removable in case someone has “tall” items to display.
In the upper and lower section I made a shelf that is removable in case someone has “tall” items to display.
") You can see the DIY drawers by clicking that link.
You can see the DIY drawers by clicking that link.

 Upper shelf removed, lower shelf in place.
 You can see I used a primitive method of drawer guides instead of modern sliders.
Removable Shelves in Cupboard
 I think the removable shelves will be handy for the new owner.
") I used the original hardware on the windows.
I used the original hardware on the windows.
") Do you like the two-toned look? How about the hardware? Do you think I should have made it more shabby chic, or are you in to “farmhouse”?
Do you like the two-toned look? How about the hardware? Do you think I should have made it more shabby chic, or are you in to “farmhouse”?
I’m hoping I can find some drawer pulls that match. If I can’t, I suppose I’ll buy 4 that match and remove the two I already have installed.
edited to add: I took some updated pictures of this cupboard recently.
DIY Farmhouse Window Cupboard


![]()
This cupboard was purchased to hold a collection of quilts.
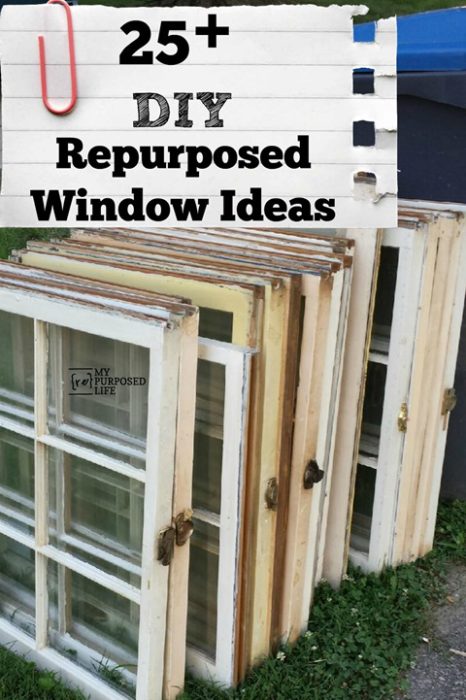
See more DIY Repurposed Window Ideas Here.
gail
Please save & share on Pinterest!
sharing here: Vintage Inspiration Link Party
Hi Gail, I love the colors, the reuse of the windows, the shelves all lined up, the bead board in the back. I’m confused by the width of the drawers. They’re wider than the windows and my eye keeps going right there. A space between the drawers and less over lap on the side maybe? Honestly, it would be adorable with some 1930 style handles and hinges. Instead of the 1960s shed models. But finding hinges that fit and swing correctly is a pain in the neck. Those I’d sand down, and paint white like the piece has been there since the 1930s
Jennie,
I am so hinge challenged! I struggle with getting them on, and making them work right AND getting them straight! This piece found a new home a long time ago. I even delivered it. The lady was going to put her quilts in it.
gail
Sheer genius! I love your creativity and imagination.
love the 2 tone! it’s beautiful!
You never cease to amaze me Gail I think you could build a house from scratch. Thanks for sharing at the Vintage Inspiration Party.
Oh Gail! Beautiful piece! Well done!
I’ve so been looking for a cabinet to put in my very very small bathroom for more storage for towels & things this is perfect love it going to have to find some windows thank you for sharing.
Yay! so happy to have inspired you! The lady who bought it, is going to use it to store quilts. 🙂
gail
So happy to see you at the Impossibilities party!
Linda
This comment has been removed by the author.
I am so impressed! Wow and wow and wow! And I love that you found a new (and much better) life for an old waterbed …
… would you ever consider sharing at our multi-blog “Imagine the Impossibilities” link party? I think everyone would really enjoy it as much as I …
Here’s the link: http://www.itallstartedwithpaint.com/2012/01/imagine-impossibilities-2012-link-party.html
We stay live until Friday midnight (CST). Hope to see you at the party!
Linda
itallstartedwithpaint@gmail.com
A great finished project once again. Looks really good two toned. That was a beast of a project, but you finished it! That will be a great storage/display piece for someone. Great job.
Great job! It’s fun to see what can evolve from two windows. For some reason this piece tells me it wants some scroll work pieces on it 🙂
-Stefanie
2ndChanceCreations.etsy.com
Oh wow Gail, amazingly beautiful, so well constructed. Woman, you can build! Thanks for sharing.