Repurposed Cutting Board iPad Stand | Chalkboard | Key Rack
As an Amazon Associate, I earn from qualifying purchases.
Originally this was going to be a key rack, but soon I realized this repurposed cutting board was multi-purpose! Think chalkboard, iPad stand and more! Let’s see how this cutting board chalkboard came about.
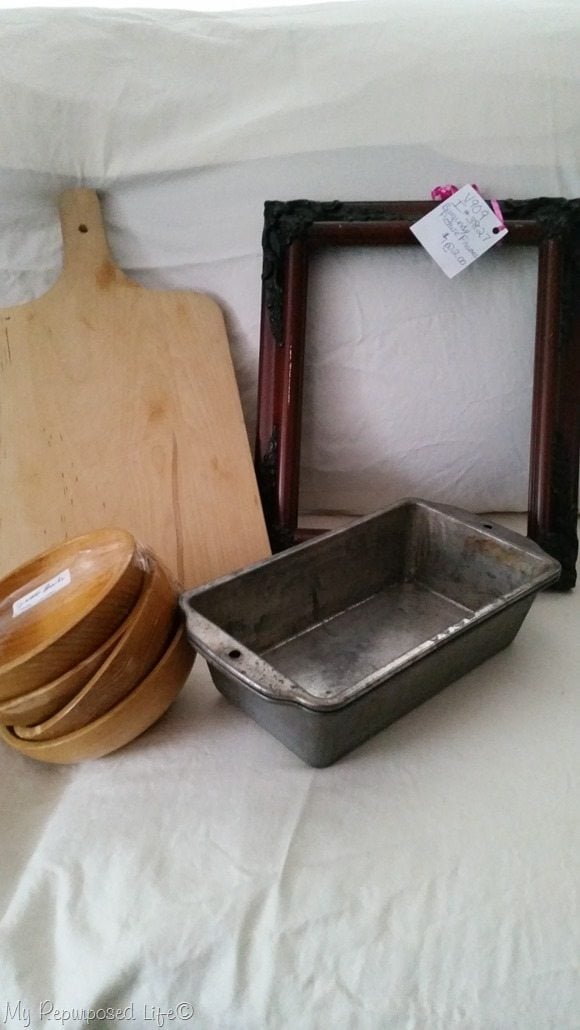 When I found this great deal on a vintage cutting board for about a buck at Vendors’ Village, I knew I would find a great use for it. You can see my loaf pan planter with twisted wire handle here.
*this post contains affiliate links*
Sand thrift store cutting board
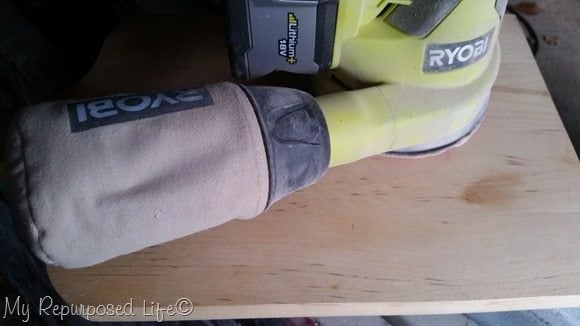 Because someone had the audacity to actually cut something on this wooden cutting board, I needed to take it outside to do some light sanding with my orbital sander.
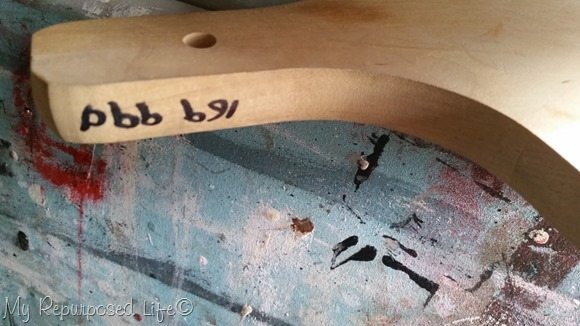 I also had to sand the sharpie price marks off the side of the board.
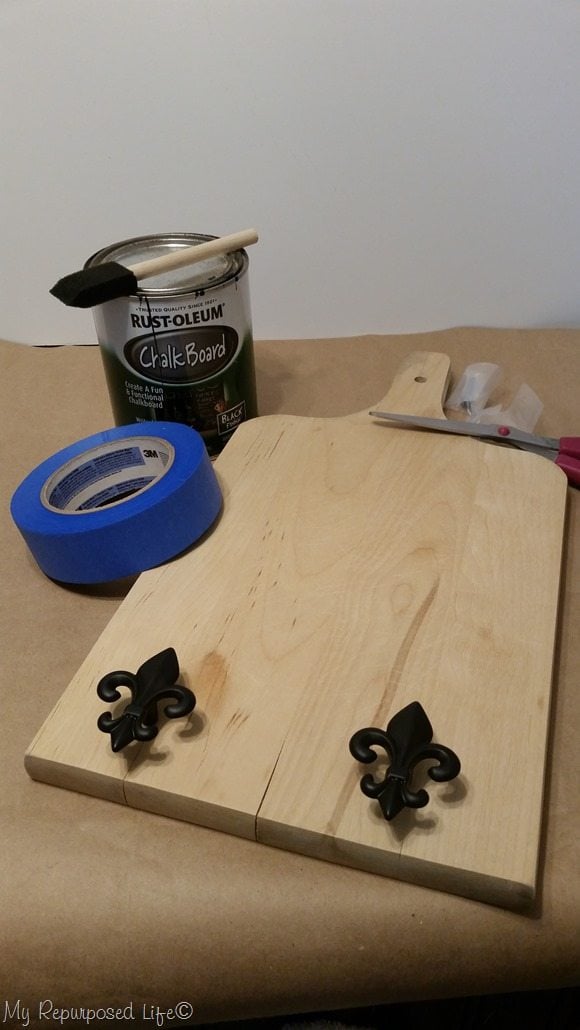 It was time to figure out what this cutting board wanted to be. I got these awesome fleur-de-lis cabinet pulls at D. Lawless Hardware. Little did I know how perfect they would be for the alternative use of this great repurposed cutting board chalkboard!
But first, let’s make it double as a chalkboard.
Using painter’s tape, paint the surface with chalkboard paint
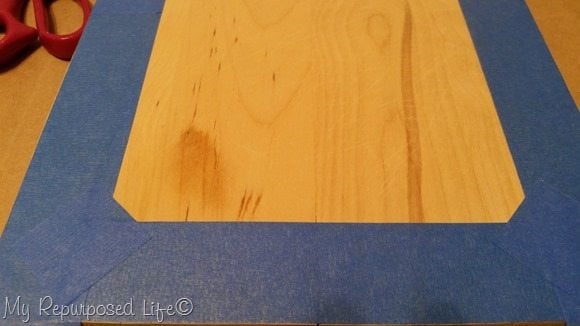 I taped off the pattern to resemble a picture held in place with those old photo corners.
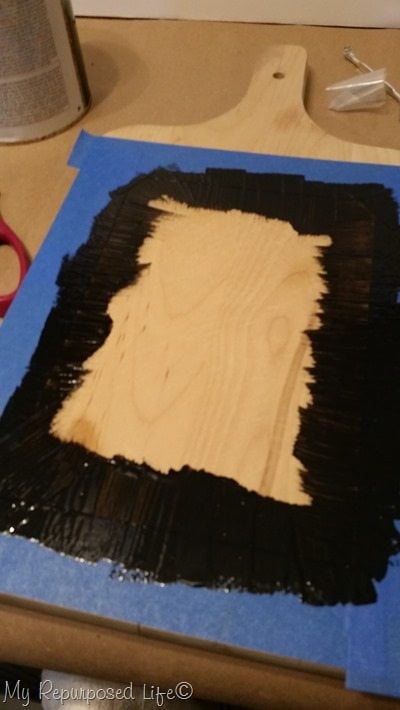 Using a foam brush I sort of sealed the edges of the tape painting from the outside in to help prevent bleeding.
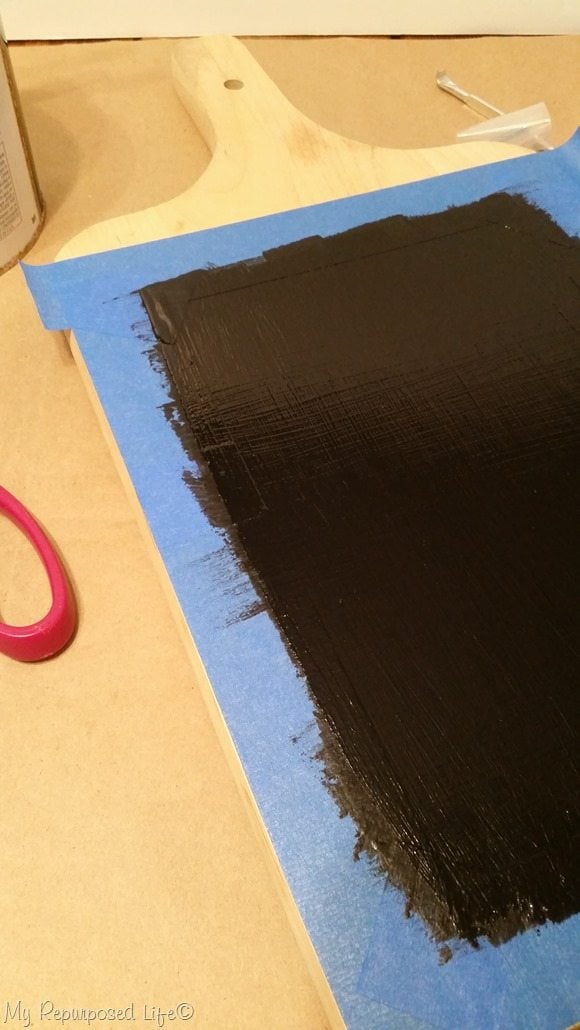
After that dried slightly, I applied a full coat of chalkboard paint. Because I’m an impatient diy’er, I used the hair dryer to dry two coats of the chalkboard paint. Do you take those sort of shortcuts? Are you an impatient crafter?
I removed the tape before the third coat dried on the cutting board chalkboard.
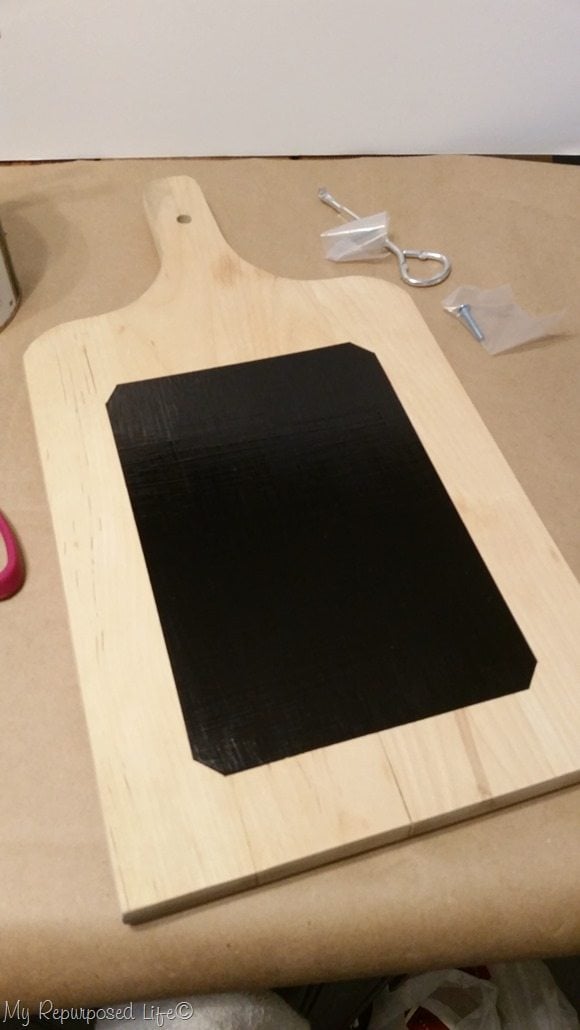 It’s a really simple pattern, but I think the photograph corners really makes a difference in the final look.
Prepare to install hooks on the Cutting Board Chalkboard
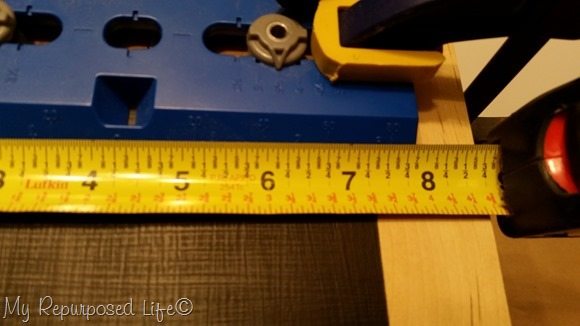 Using my self centering tape measure I can easily see that the Kreg Cabinet Hardware Jig needs to be centered at 4 3/8. I use quick clamps to hold the jig in place.
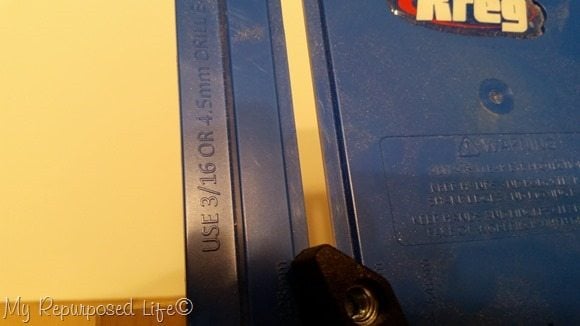 It reminds me that I need to use a 3/16” bit to drill the holes.
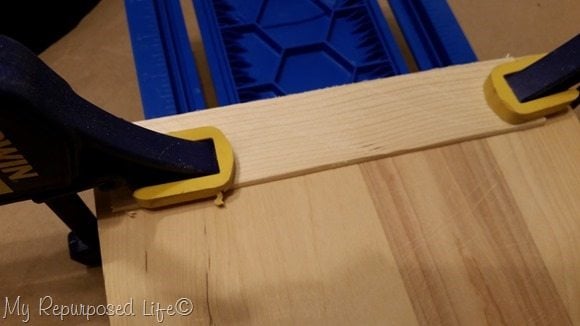 On the back of the cutting board I placed a very thin piece of scrap wood to prevent tear out when drilling. This is something I’ve known for a long time that works. However, I’ve never put it to the test with such a thin piece of wood. This is actually thinner than a paint stick. So, keep that in mind when you want to drill good clean holes.
How to drill clean holes
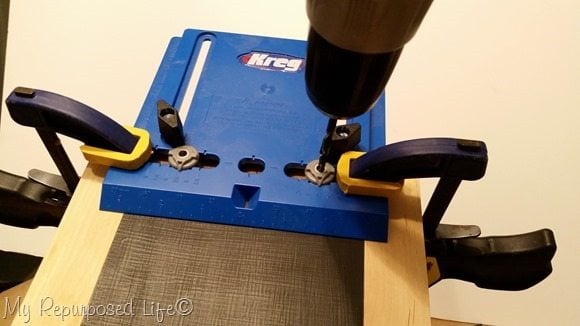 I drilled through the drill guides on the cabinet door hardware jig.
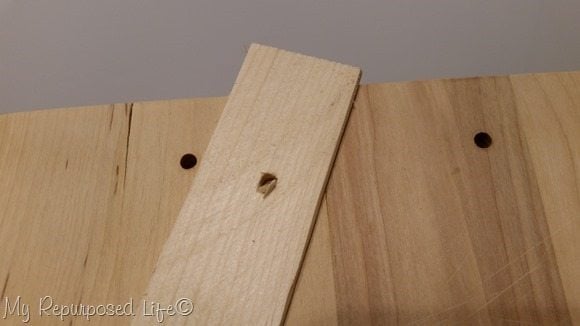 This is the back. Notice the tear out on the thin scrap wood, and how clean the holes are on the back of the cutting board chalkboard. Voila!
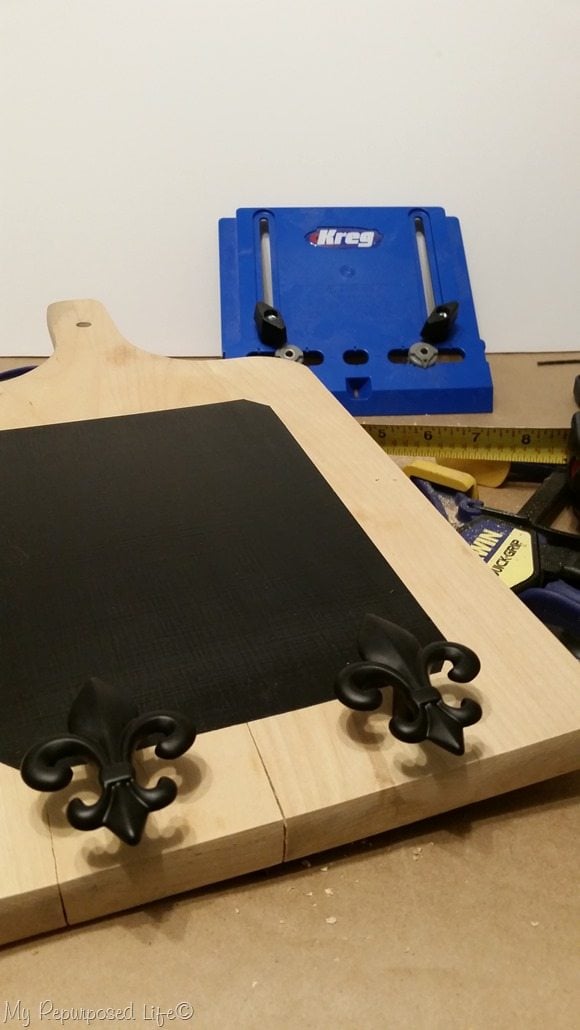 The fleur-de-lis cabinet pulls were so easy to install.
Could this double as an iPad stand?
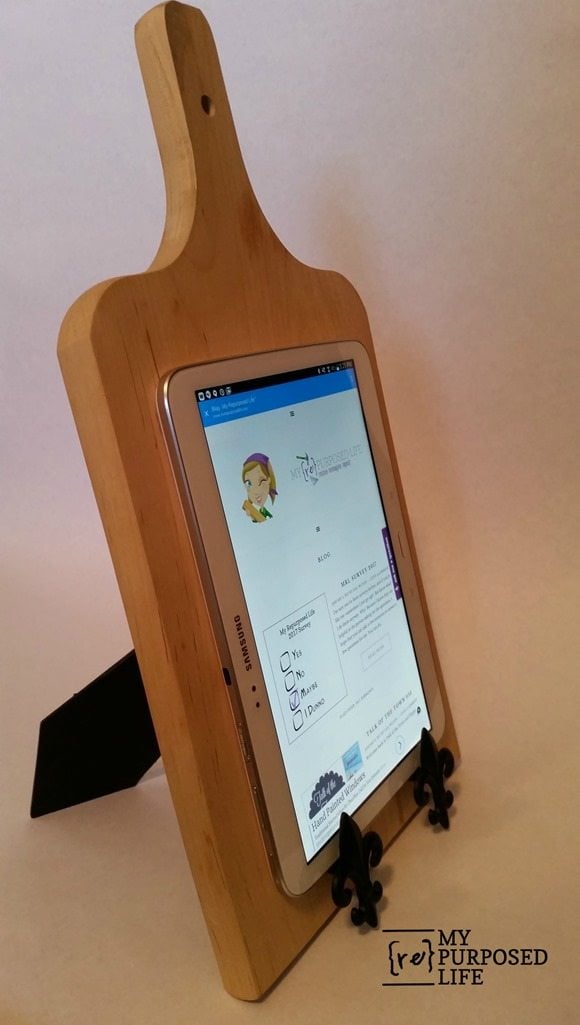
This is were I realize “I’m a genius”! Do you remember my easy iPad stand? I used a Scrabble tile holder in order to allow a cookbook, tablet or iPad to rest on the cutting board. As soon as I saw the cabinet pulls attached (which I planned to use as a key rack) Instantly I realized they would perfectly hold a tablet or cookbook!!!!
I intend(ed) to hang the key rack on the wall, but just in case I ever need another stand for a cookbook or tablet, I commenced to finishing it off similar to the original iPad stand.
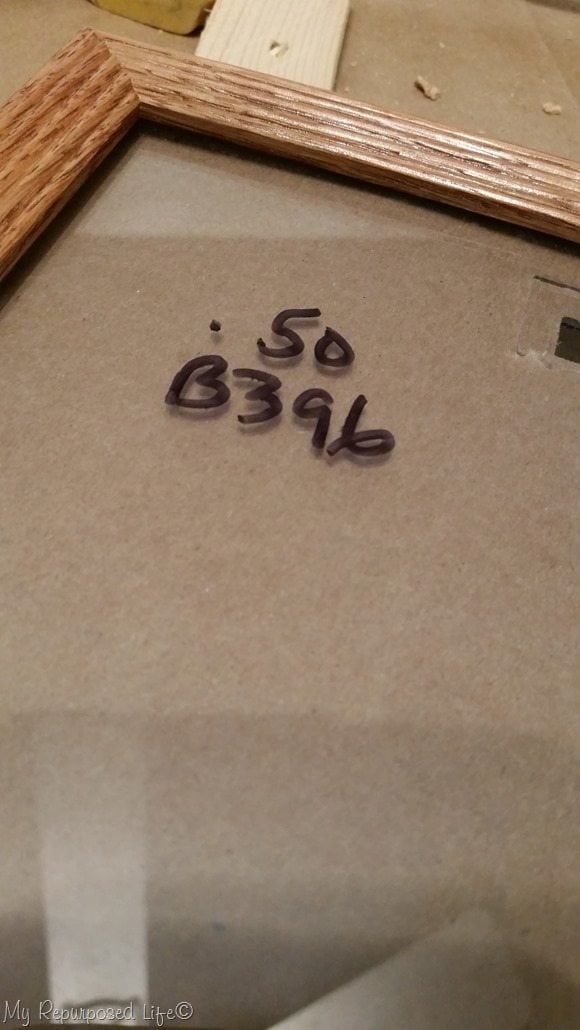 I pick up cheap thrift store frames whenever I see a good deal. Several of these were picked up from Joey’s booth for 50 cents each! Only the easel was needed.
Secure thrift store picture frame easel
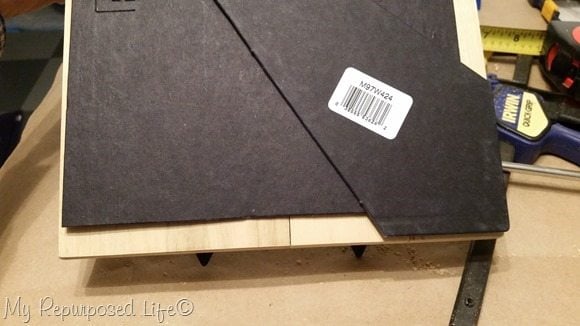 You might be inclined to line up the bottom of the easel back with the bottom of the cutting board. However, remember I want to hang this on the wall. If I did line it up that way, the fold out portion of the easel would hang below the cutting board visible to the world. You may notice that I have the resting part of the easel lined up with the bottom right edge of the cutting board chalkboard to keep that from happening.
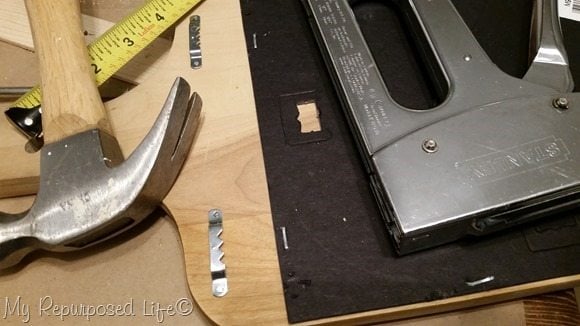 To make this project very versatile, I added saw tooth hangers so I can hang this on the wall, and I used my staple gun to attach the easel back to the cutting board in case I want to use it on the counter as a chalkboard or tablet stand. NOTE: You could also use a hot glue gun.
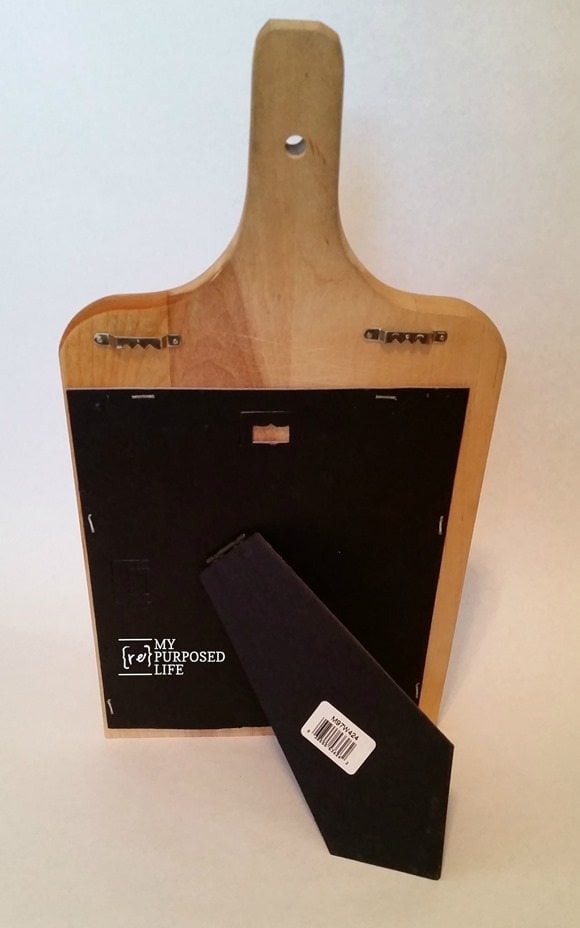
This is how it stands up, and the flap will easily lay flat for storage in a drawer or hanging on the wall.
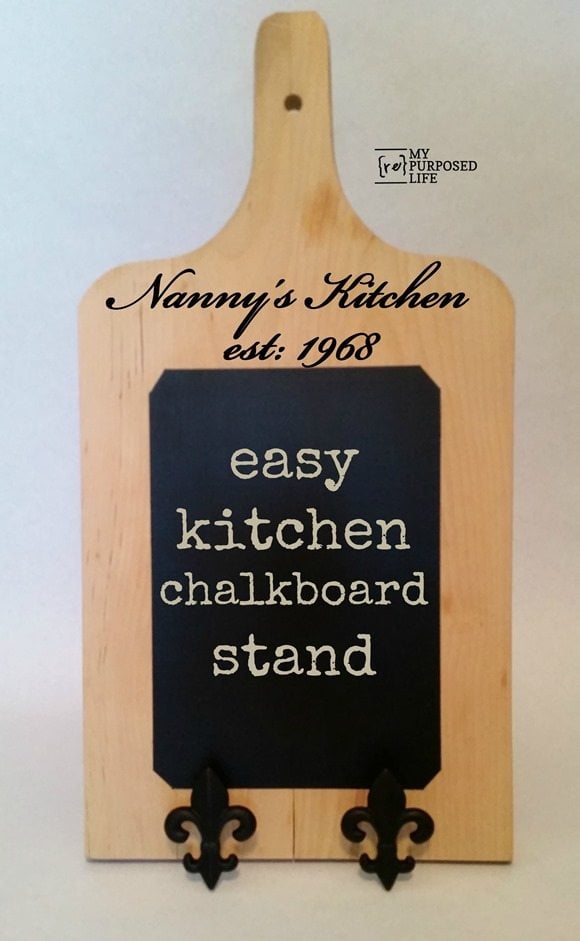
The chalkboard is handy, and there is room above it for customization.
See how perfectly the fleur-de-lis cabinet pulls hold the tablet! A cookbook on the small side would also rest here.
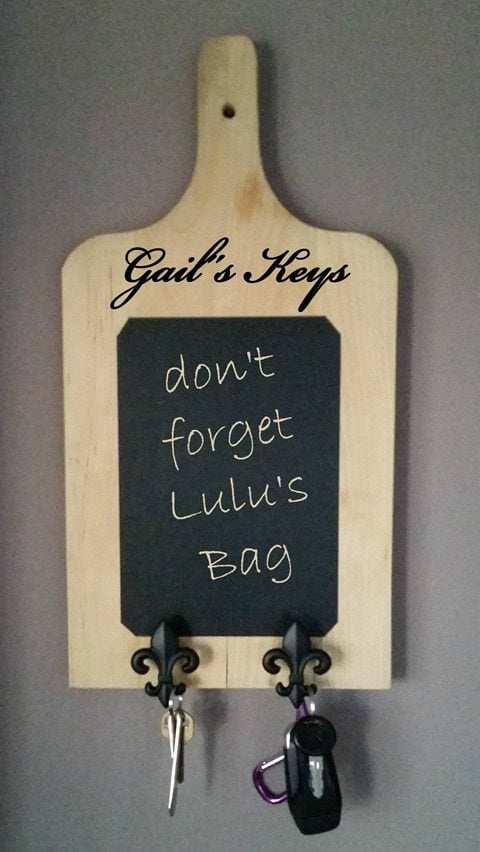 It works well as a key rack, but to be honest, I like it a lot better resting on a counter for a tablet or cook book.
PIN IT!
If you ever come across a cutting board, or if you cut one yourself, you really should try the picture frame easel trick—it works so great!
gail

Hi Gail! What a cool stand you made! Just brilliant! I’m coming over by way of Talk of the Town. Thanks for hosting!
Thank you so much Crissy for your comment on my iPad stand. Welcome to Talk of the Town!
gail
This is such a cute idea, Gail!
Thank you Meari. I truly appreciate you stopping by and taking the time to leave a comment!
gail
Great job Gail.I’m always impressed with you conception to finish projects.Looking forward for the next✌️
Thanks neighbor! 🙂 I do LOVE what I do!
gail
that is a really good idea. i dont see many cutting boards at the thrift store, but will keep an eye out for one for sure now.
Absolutely love this!! Love that you can use it in different ways and that it will stand or hang, very versitle! I do, however, have a question. Why did you not center the easel on the back?
Shirley,
As I mentioned in the post “You might be inclined to line up the bottom of the easel back with the bottom of the cutting board. However, remember I want to hang this on the wall. If I did line it up that way, the fold out portion of the easel would hang below the cutting board visible to the world. You may notice that I have the resting part of the easel lined up with the bottom right edge of the cutting board to keep that from happening.”
The same goes for if I had centered it. Hanging on the wall would not be an option because the easel would be visible.
Hope that helps!
gail
This is super cool. Very thoughtfully done!
Thank you!
Such a grand idea. Making good support the charge portal in tablet!!! Love it!
Nice job Gail! I love the fleur de lis knobs as an ipad holder, great idea 🙂
Thanks Susan!
It was a fluke! 🙂 I have a few more of those-gotta find the perfect use for them.
gail
I agree! You ARE a genius. Now you’ve got my mind going! I LOVE this! (((HUGS)))
Thank you! I gave my first one away…. I’m not sure I can give this one away. 🙂
gail