Damaged Furniture Repair | Nightstand
As an Amazon Associate, I earn from qualifying purchases.
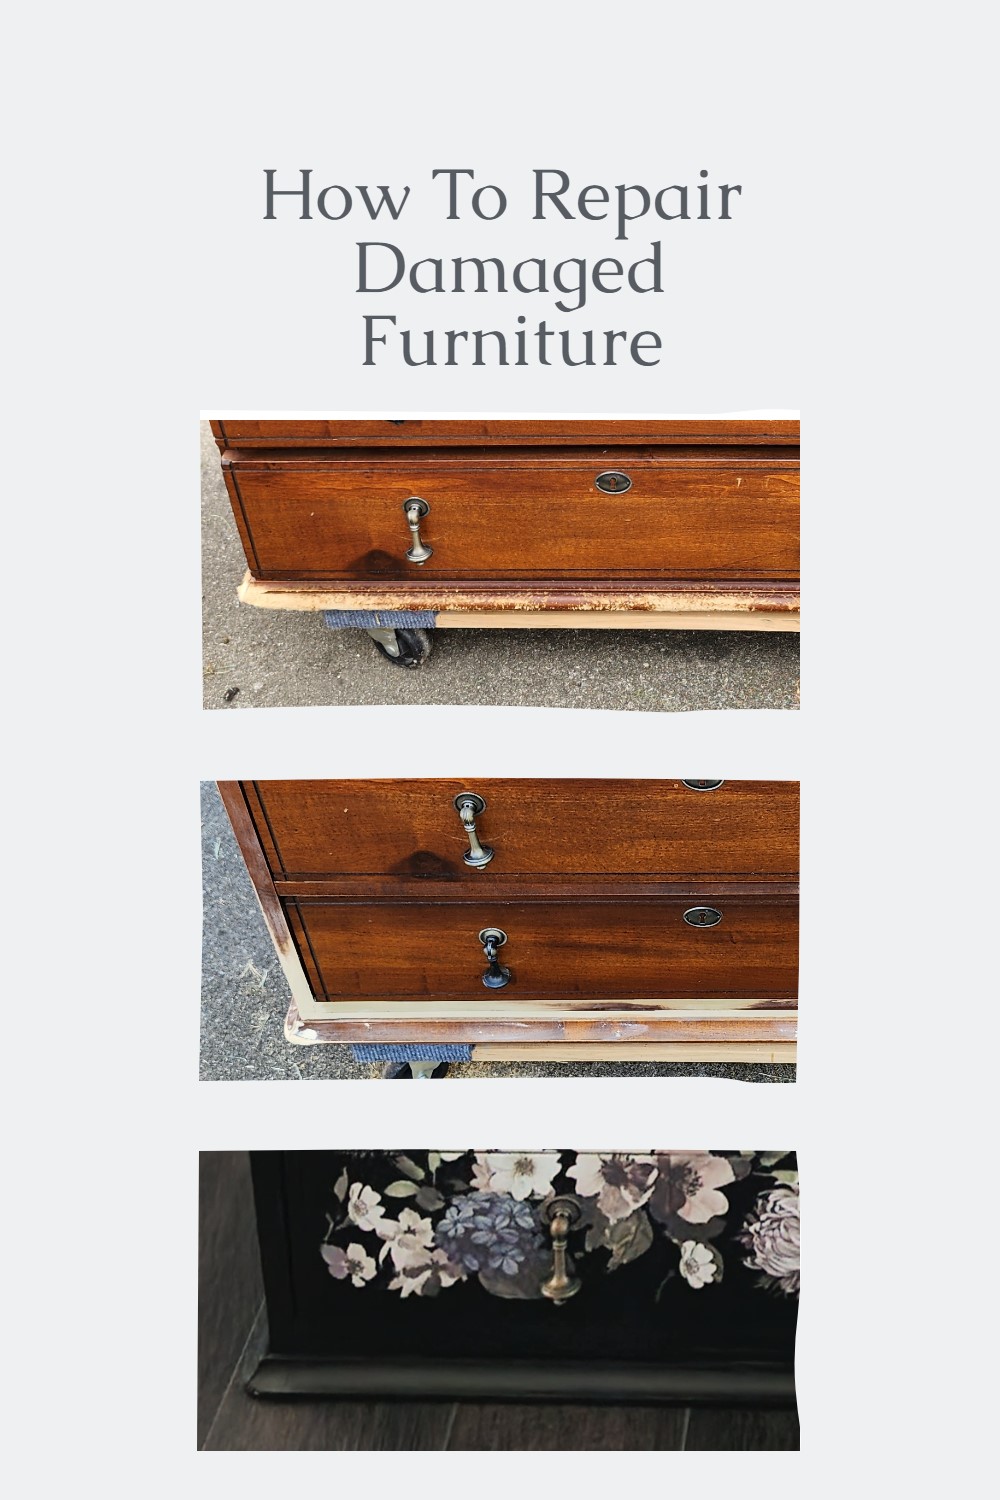
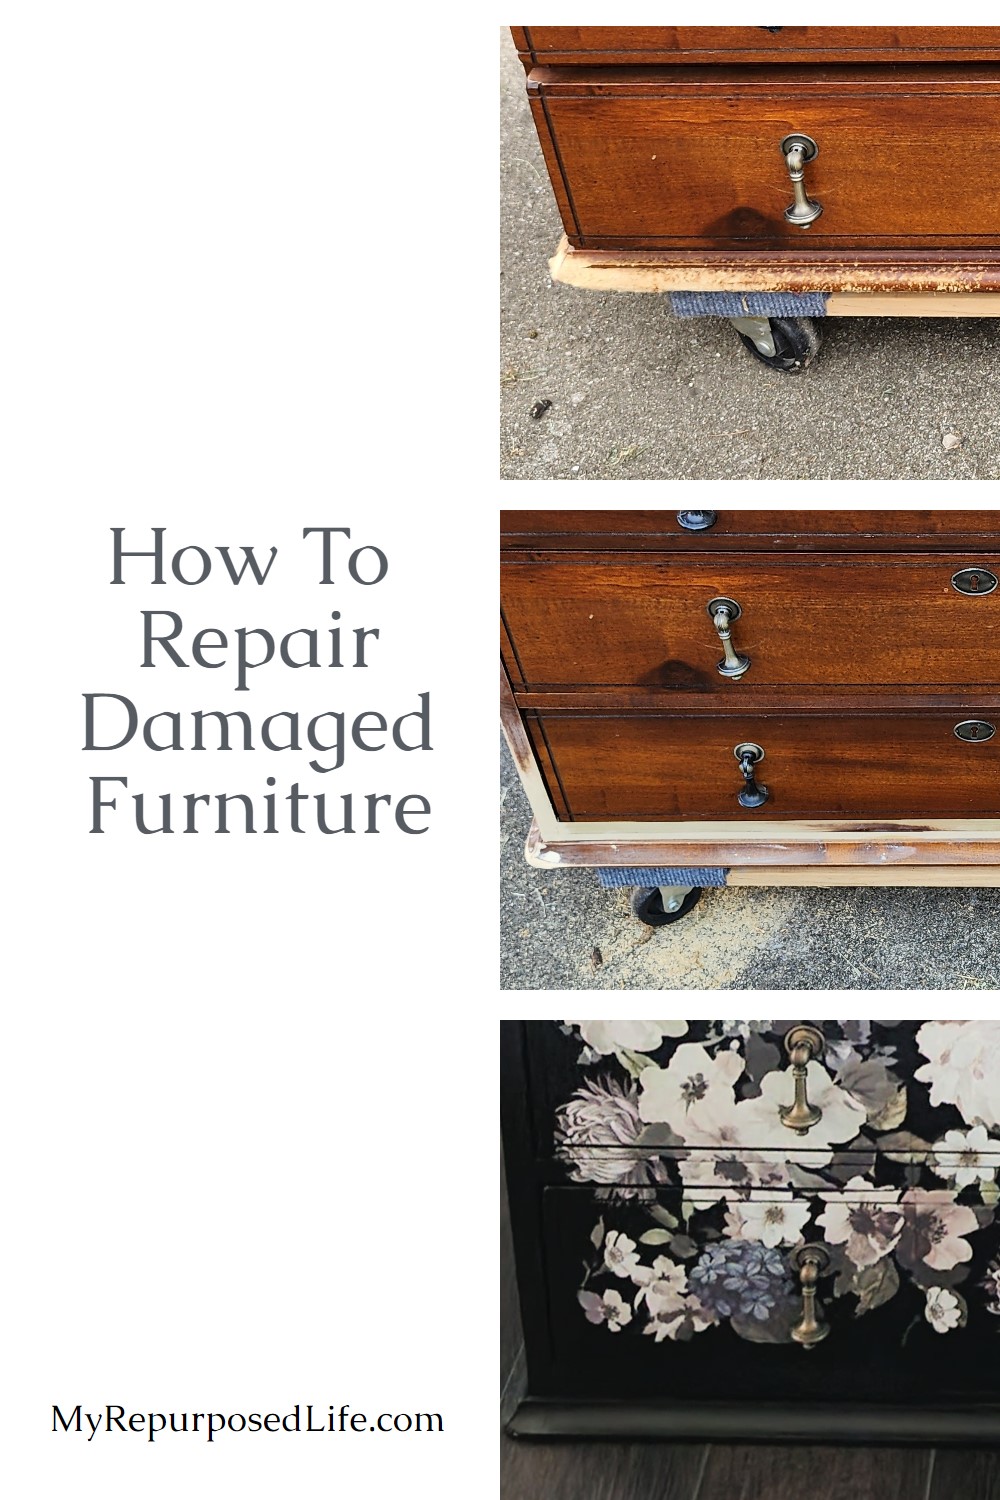
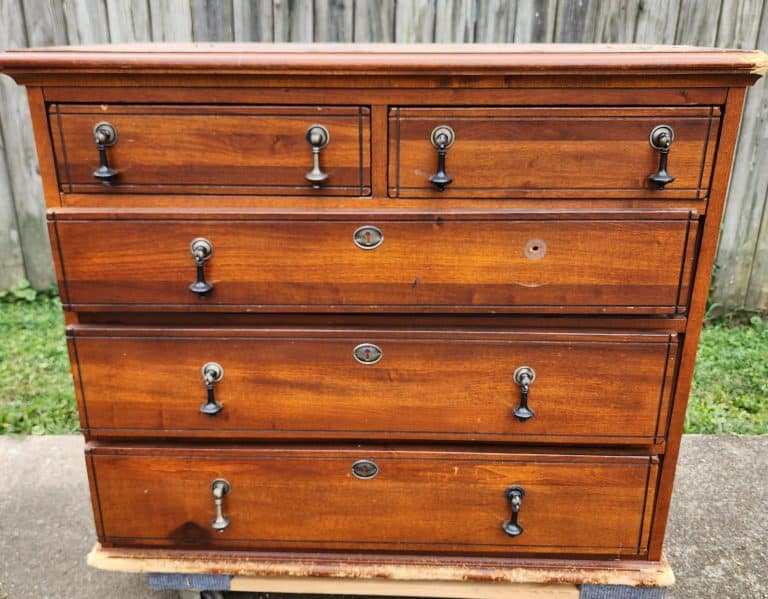
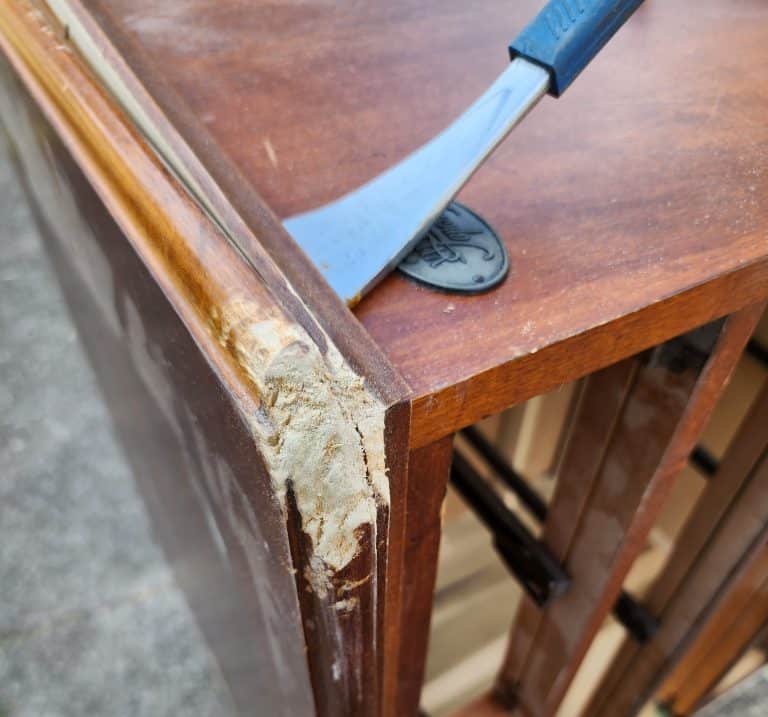
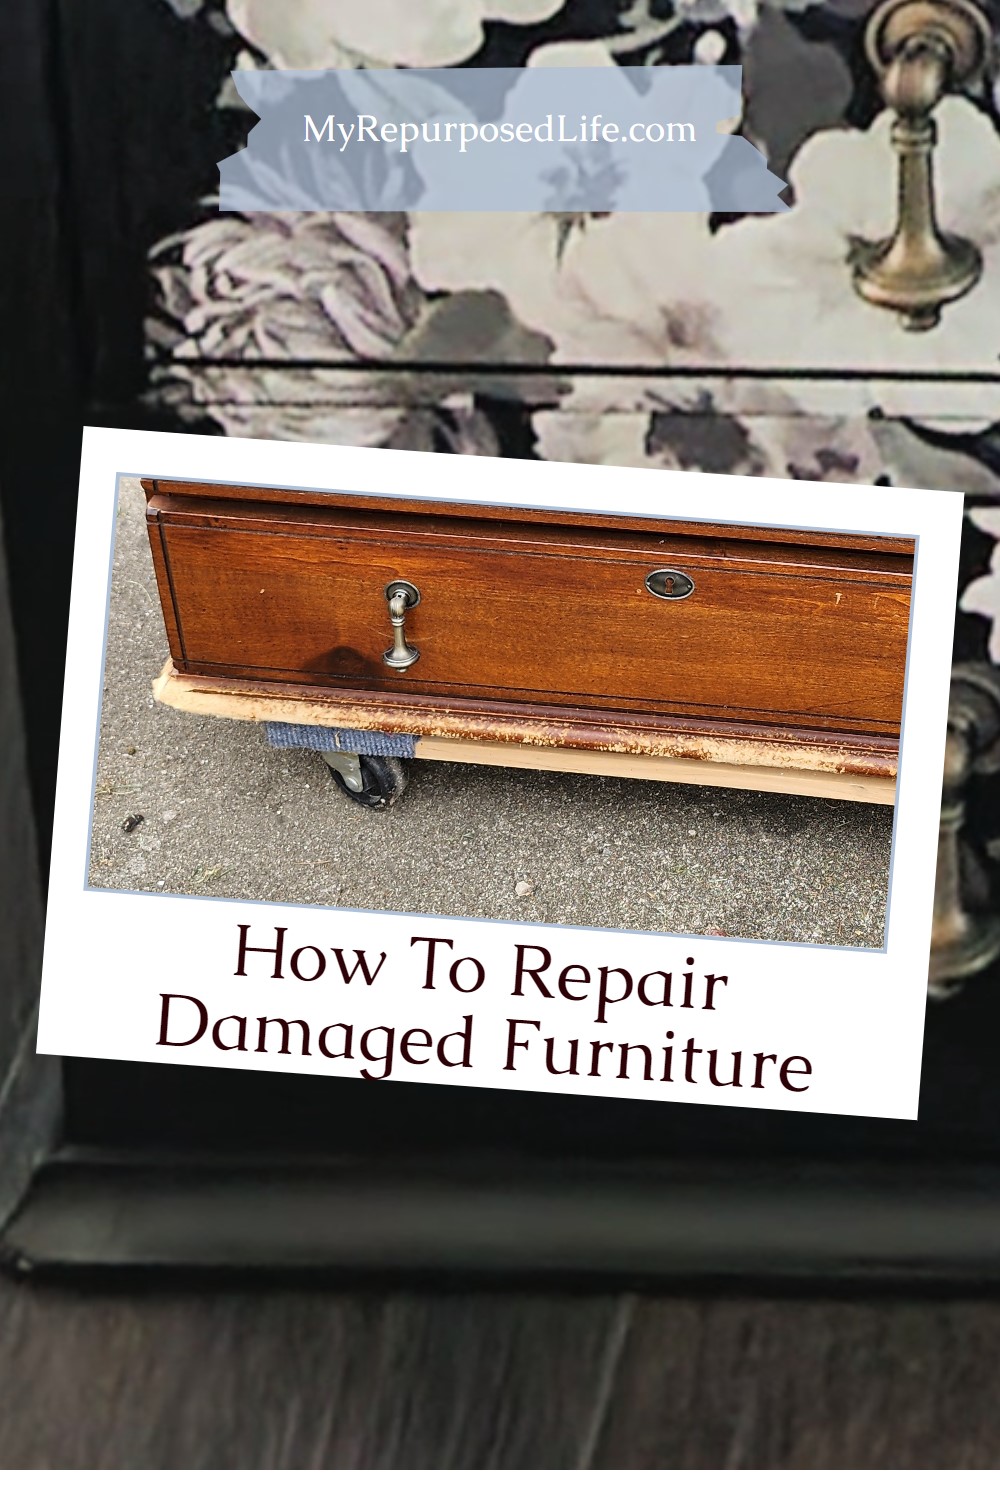
I will show you how to repair damaged furniture. However, it gets worse before it gets better. Many of you know I’m not afraid to take a saw to a piece of furniture to change it or repurpose it. That is not the case here. The family dog severely damaged this large nightstand or small chest.
The Dog Chewed up the Nightstand
This damaged furniture was basically beyond my skill set. I’ve never used a product like Bondo, something a professional would use to repair such damage.
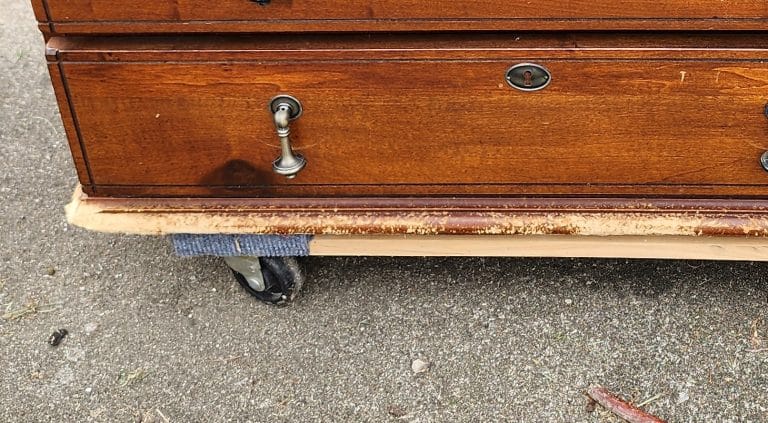
Other than the chewed wood, the chest was in excellent condition.
Use a Reciprocating Saw to Cut Away Damaged Wood
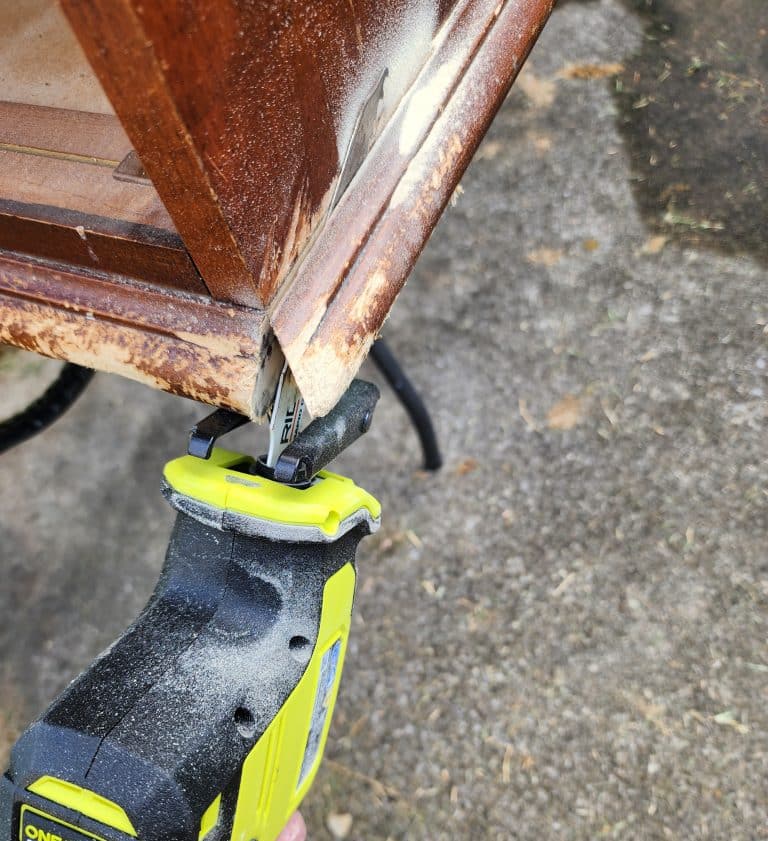
After examining the bottom of the chest, I realized the only way to deal with the damaged furniture was to cut it. Initially, I hoped to remove the trim and cut it on the table saw. I could not separate it, so I used a reciprocating saw.
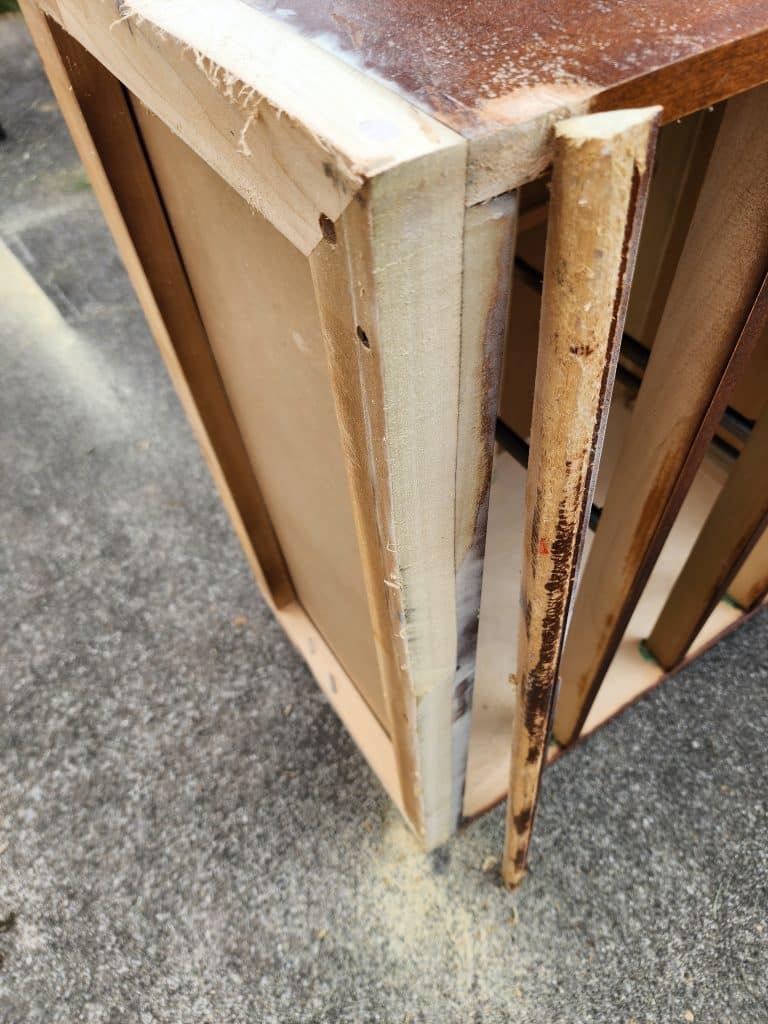
I continued working my way around the bottom of the chest of drawers with the saw.
The saw was difficult to control, and some cuts were somewhat wavy.
Using a Rasp
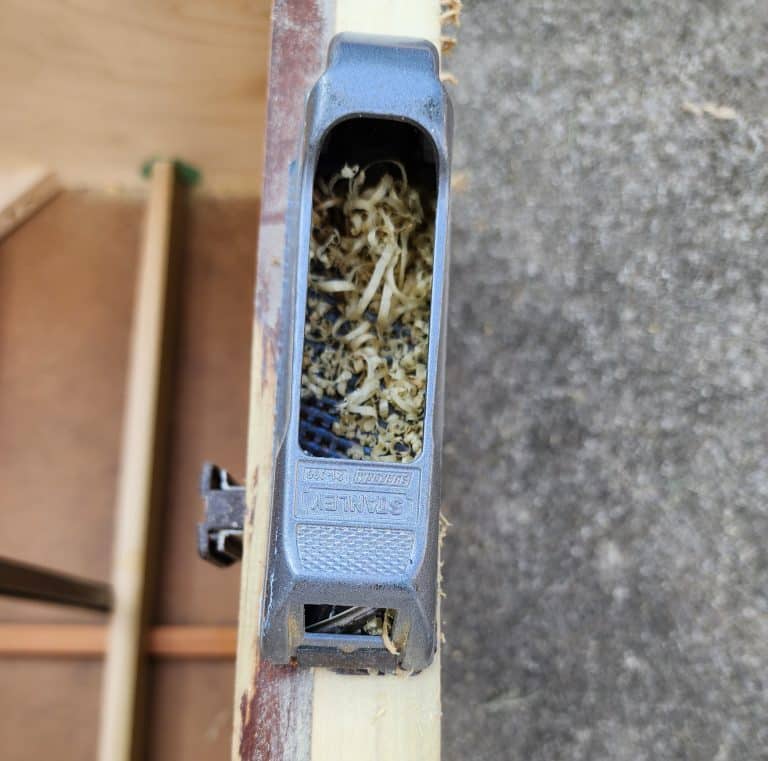
I used a rasp and an orbital sander to deal with the uneven areas. (See below).
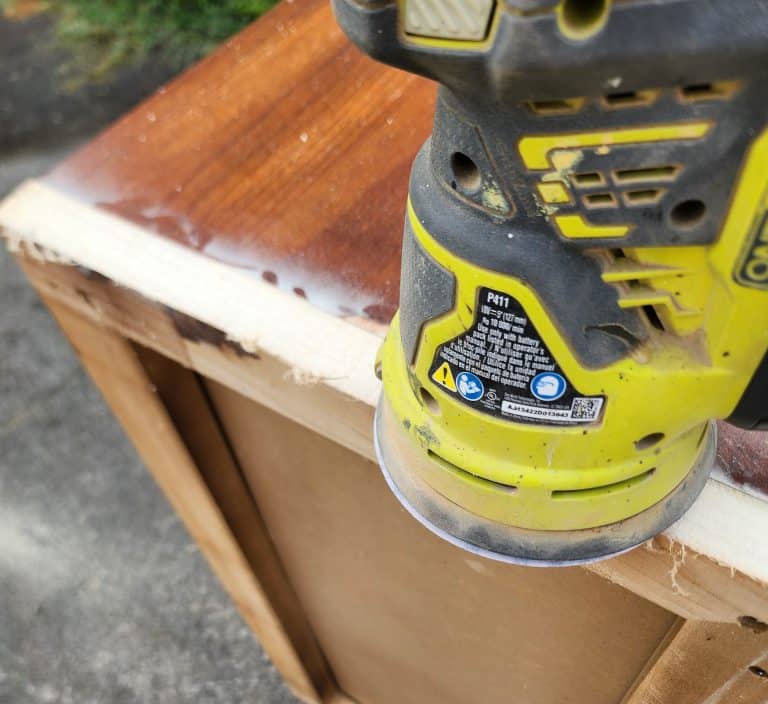
The tools made the cuts look a little better. But it was about to get much worse.
Repairing Damaged Furniture | Nightstand
The top was severely damaged as well. I removed the trim with the pry bar and set it aside in case I could use it later.
Visit the My Repurposed Life Amazon Store to shop my favorite items.
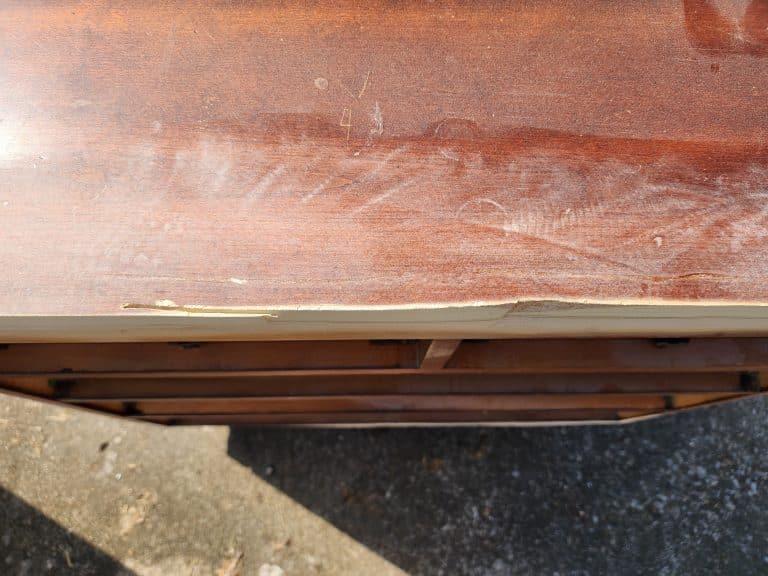
Uh oh! Sawing the top turned out a lot worse than the bottom. As you can see, this is the front of the furniture. Can this chest of drawers be saved?
Trim Molding
I generally buy random molding from my friend John to keep on hand. It’s been a while since I’ve added trim, and I needed to be precise to have enough for the chest tabletop. The piece was marked where the short end would be cut at a 45° angle.
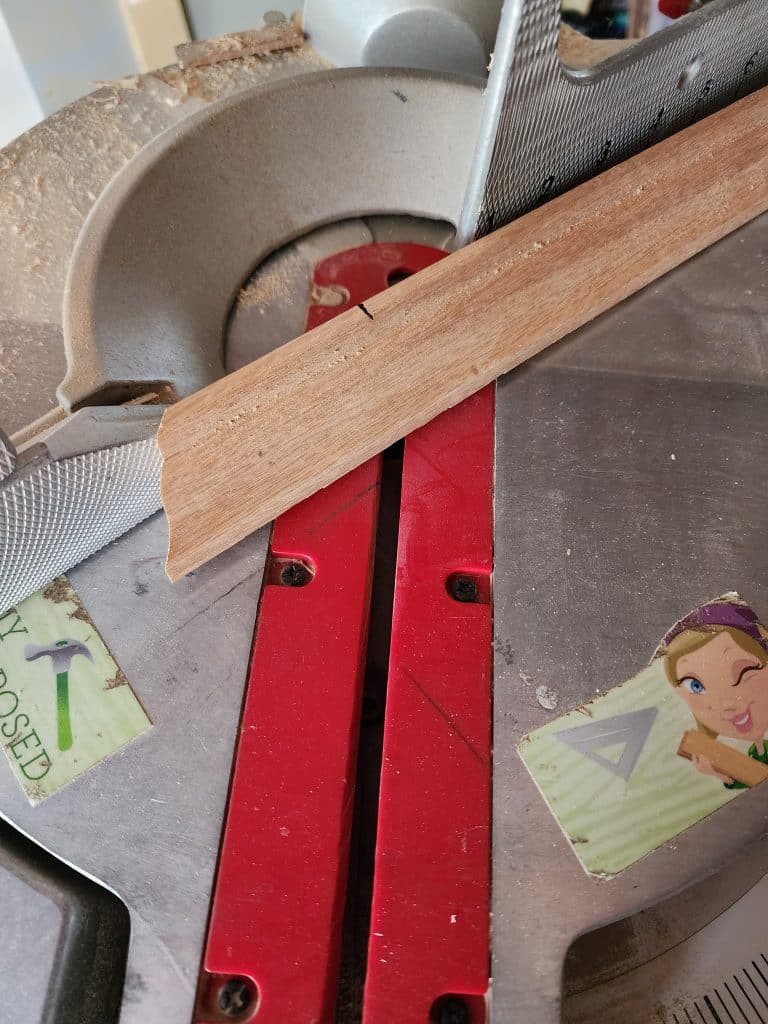
All of the trim was cut on the compound miter saw.
Salvaging the Poorly Cut Tabletop
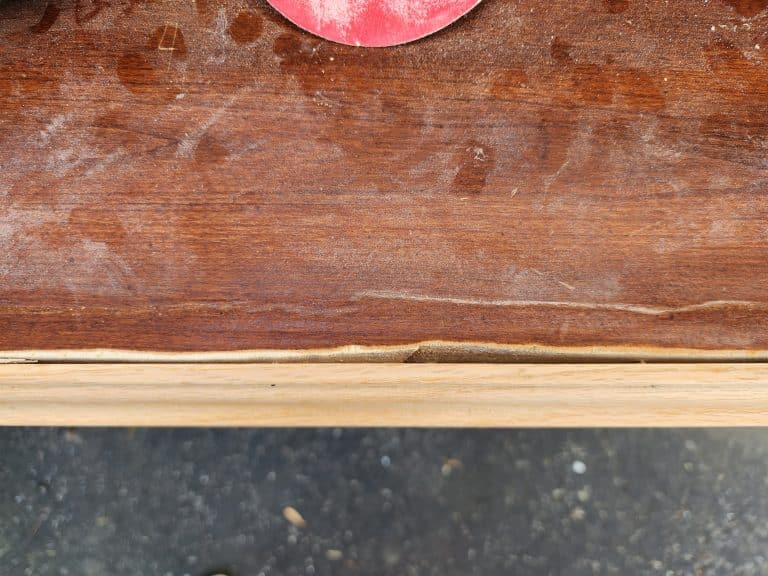
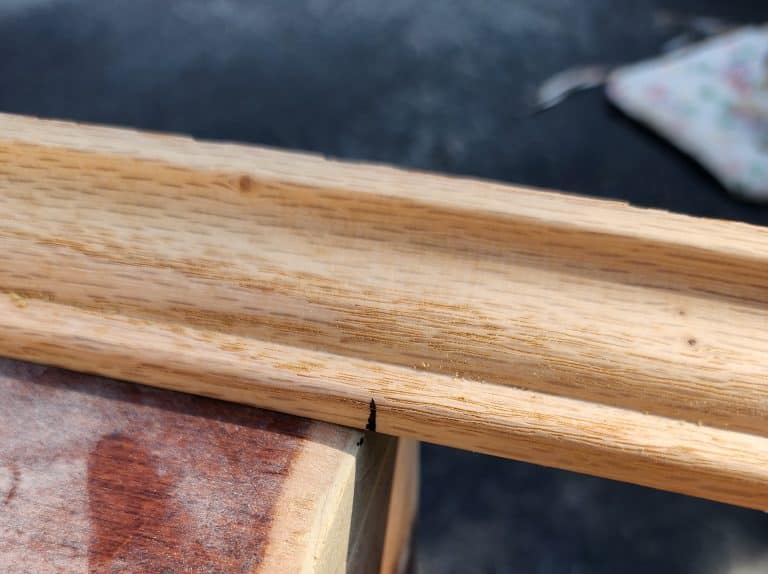
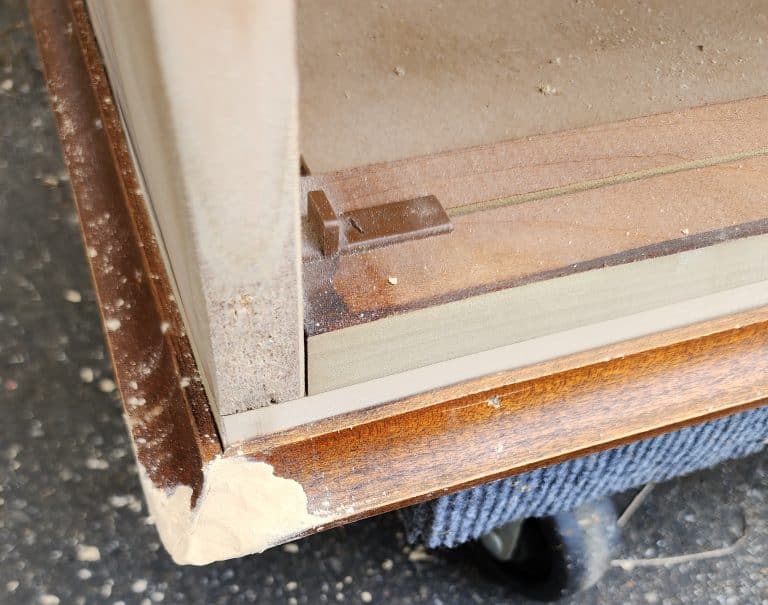
Whoa! That’s a big gap between the tabletop and the trim molding.
Secure Trim | Begin Patching
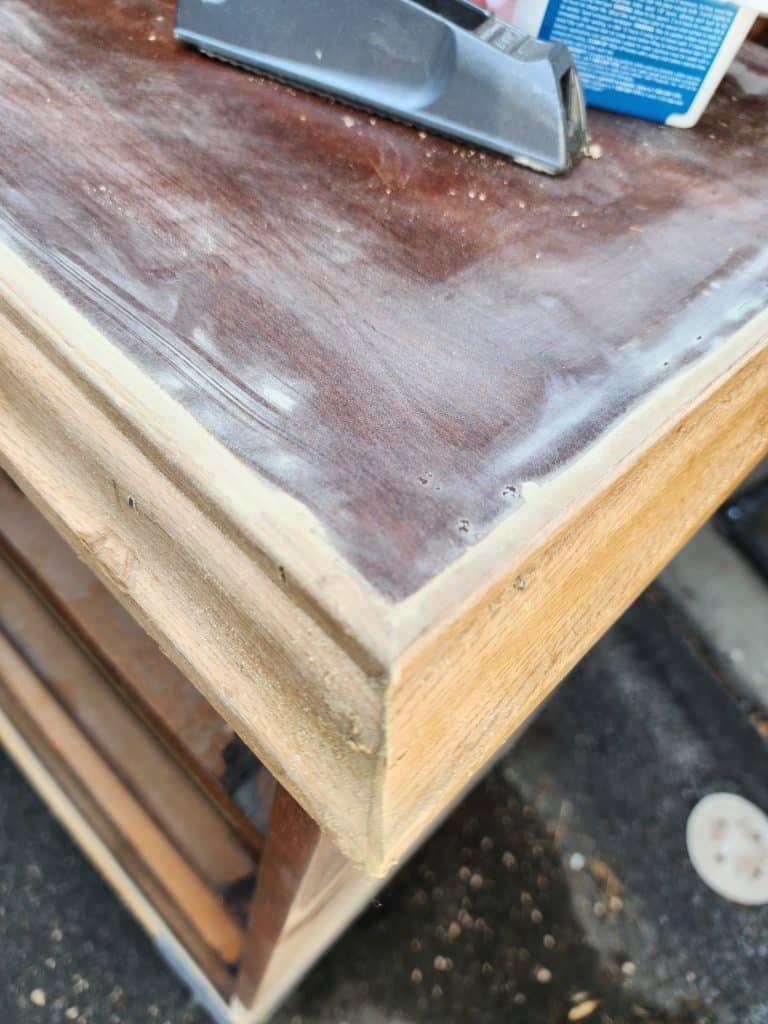
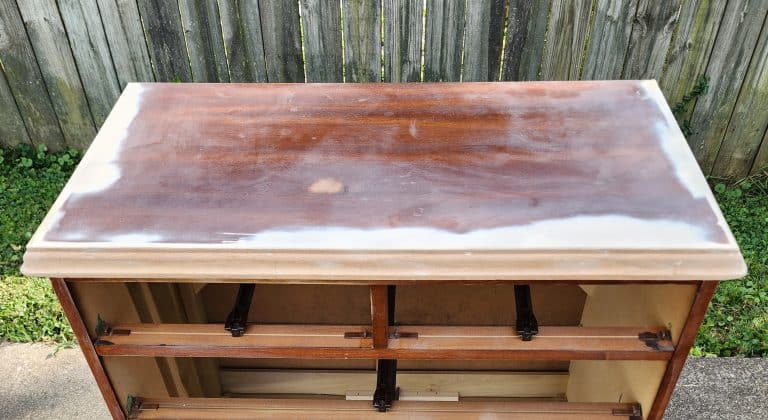
The trim on the tabletop was glued and secured with a brad nail gun. At this point, you can see I have begun adding wood filler to fix the gap of the uneven tabletop.
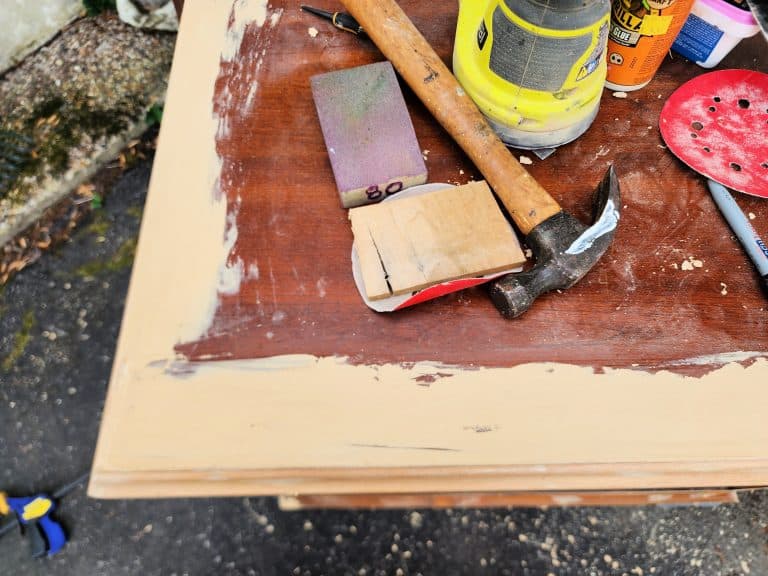
All in all, I made three passes at patching the gaps. It’s like doing drywall, extending each pass a little wider. I allowed each coat of patch to dry thoroughly before doing another pass.
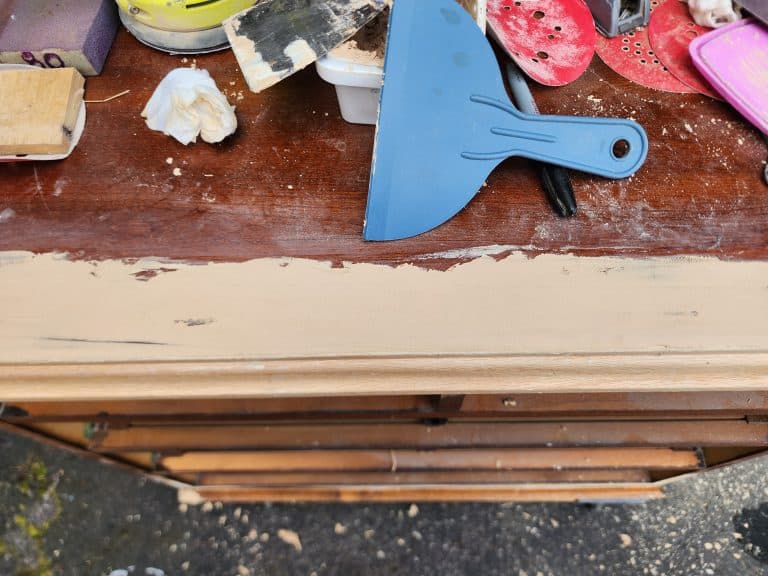
A wide putty knife made the wide pass of wood filler easy.
Add Trim to the Bottom of the Nightstand
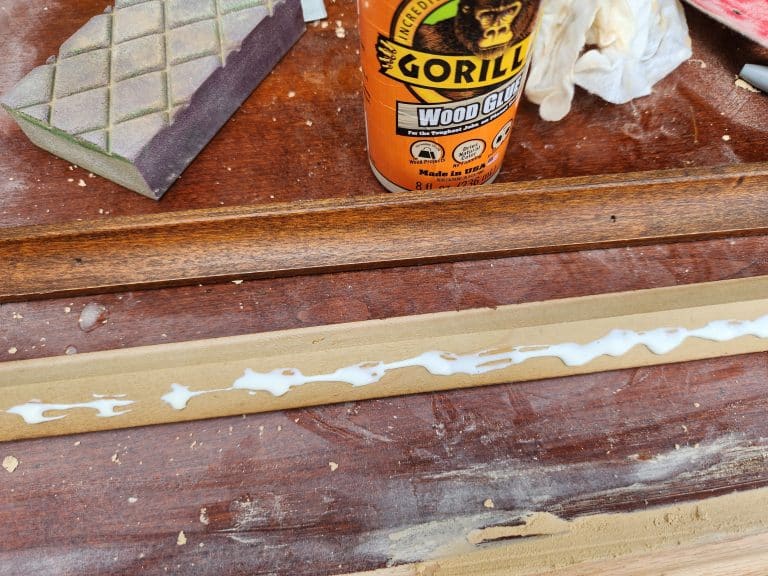
Now, I needed to cover up the butcher job on the bottom. Luckily, I could use the trim I pried from the tabletop. Wood glue and brad nails secure the bottom trim.
The damaged furniture is getting closer to being done.
Some residual damage left from the pup needed to be patched on the bottom trim.
Related Content: How to Repair a Headboard
Voila! The damage from the dog is no longer visible, nor is the butcher job of the saw.
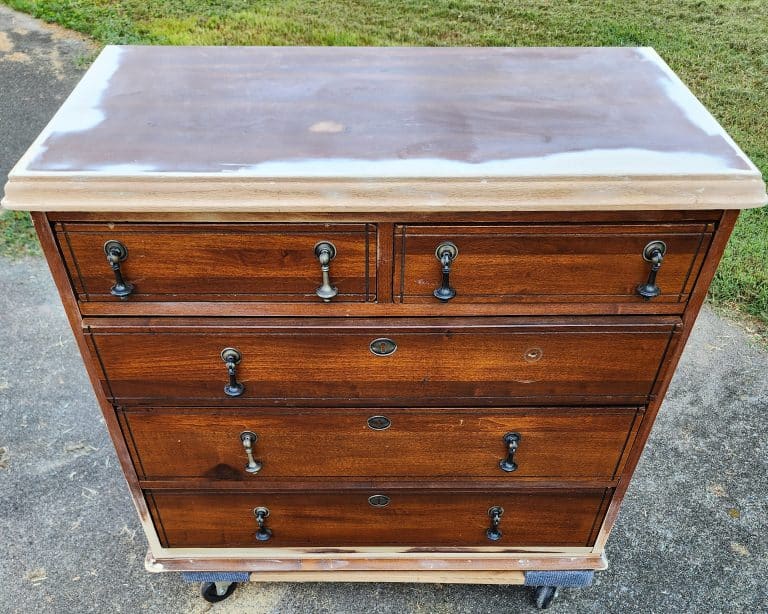
The repaired chest of drawers is ready for paint. There was a point where I didn’t think this damaged furniture could be saved.
The paint makeover is part of our monthly Furniture Fixer Upper project. You will be amazed at how she looks after paint and more! See the Furniture Transfer Nightstand Makeover.
Hi Gail! Wow! This chest looked like so much work! I have the exact same chest that I am wanting to work on. I have not discovered the secret of getting the drawers to release! If you are able to tell me, I would love to know how you got them out!
Janet,
I remember they were very difficult to get out, but I can’t remember how they were removed. Drawers can be so tricky.
gail