Decoupage Basket | Hydrangea Napkins
As an Amazon Associate, I earn from qualifying purchases.
Are you looking to give an old basket a fresh, charming makeover? You can transform a tired, forgotten basket into a beautiful decor piece with just a few hydrangea-themed napkins and some decoupage magic. Whether you use it for storage, display, or even as a gift basket, this project is an easy and affordable way to add a touch of cottage-style charm to your home!
This fun decoupage basket was made using hydrangea napkins. Small beverage napkins were applied to a woven basket to decorate it for a new accessory and home decor! Sometimes, doing crafts makes me a little nervous, but I like to mix things up a little like I’m doing with this decoupage project.
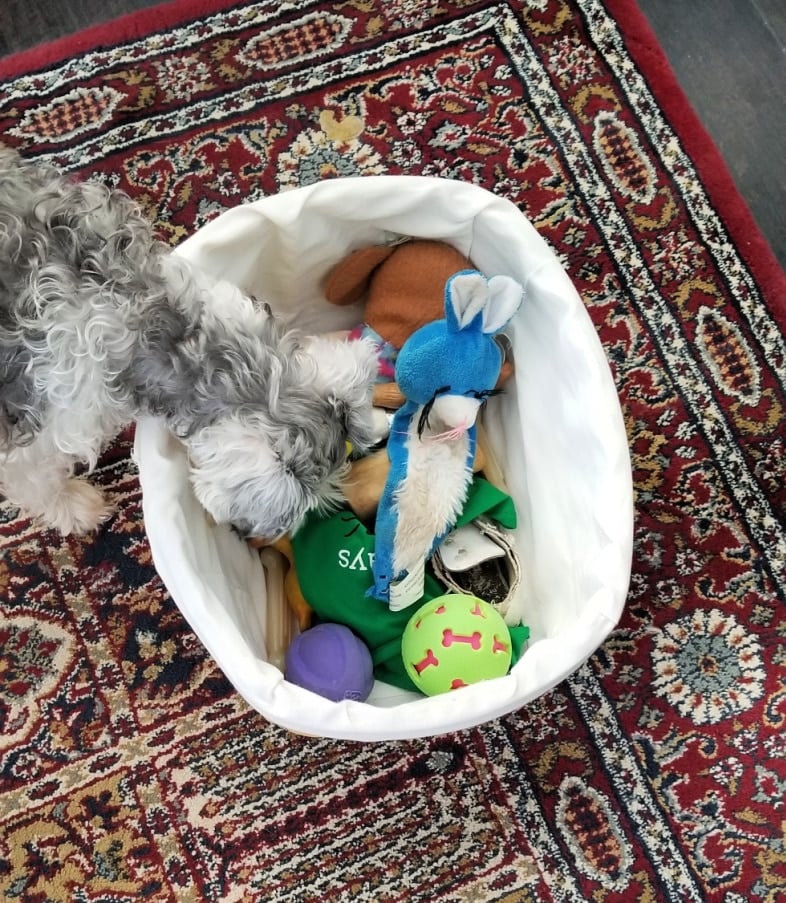
This small woven basket held Lulu Mae’s dog toys. But it was time for it to get a makeover! My friend Jeanie from Create and Babble decoupaged a picnic basket years ago, and it’s been on my to-do list since then. Let’s get on with the tutorial, shall we?
Related Content: More Fun Decoupage Projects
Paint Woven Basket Before Doing Napkin Decoupage
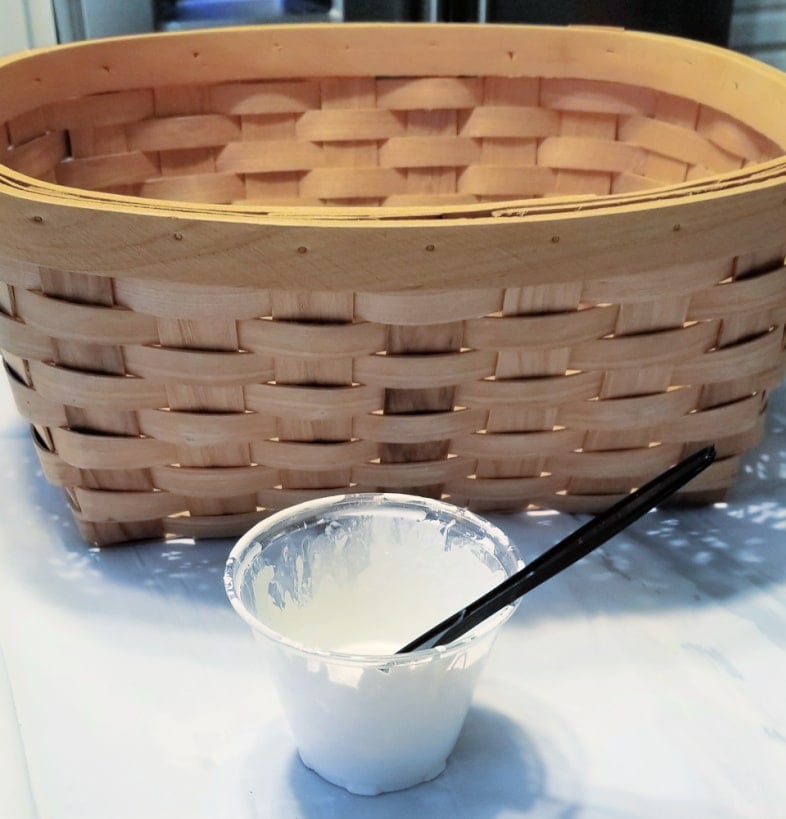
Using a small chip brush and leftover diy, chalky paint primer, the small woven basket got a coat of primer paint.
Related Content: Basket Makeover with a Leather Belt
First, I thinned the paint a little to make it go further. I painted the entire basket, inside and outside.
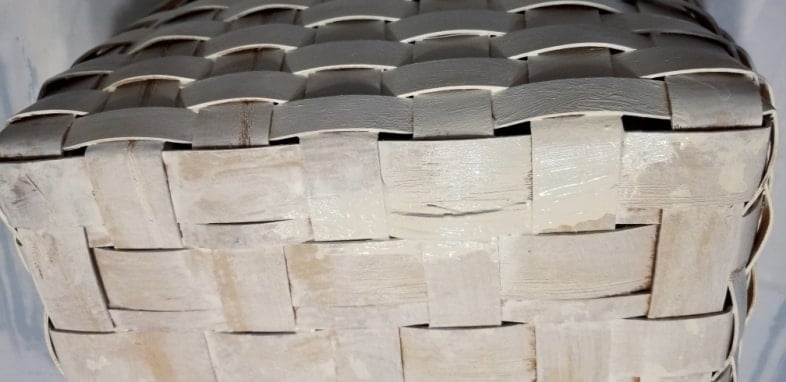
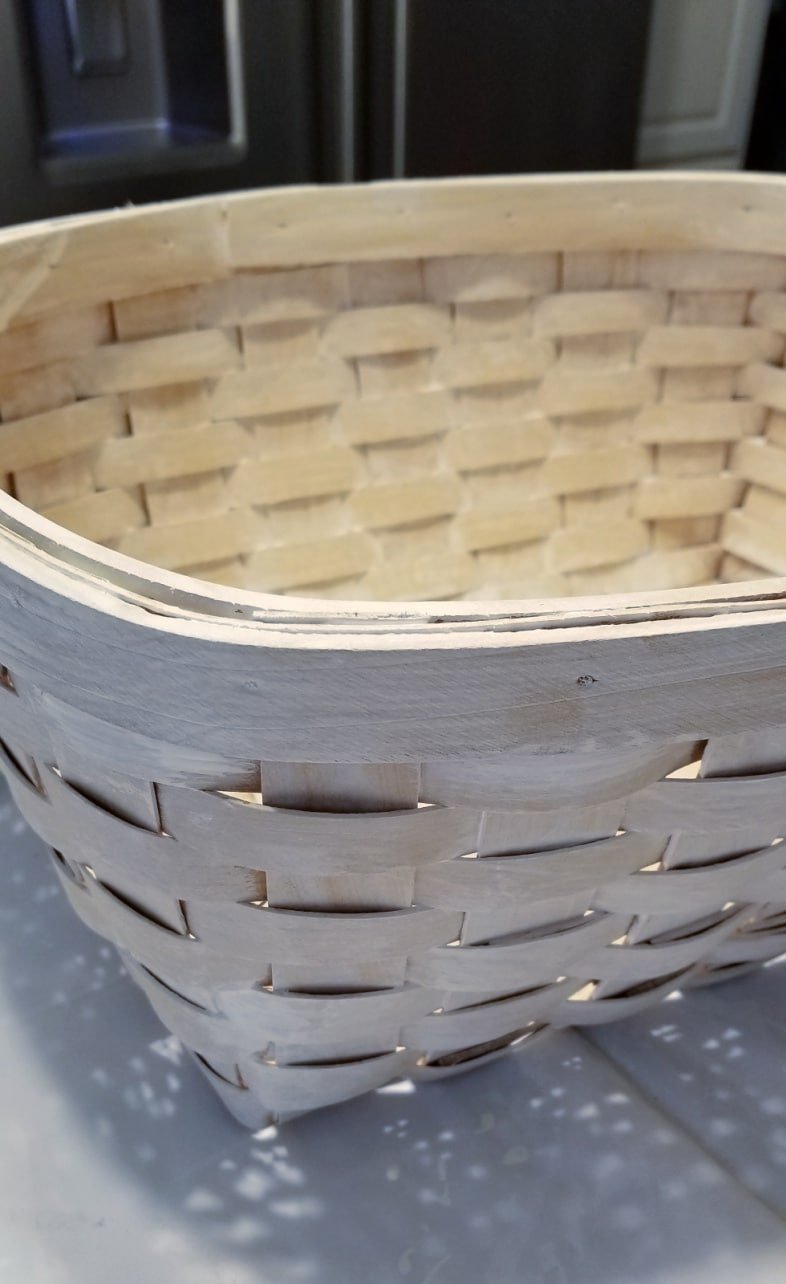
This is the second coat of Heirloom Traditions paint (Buttermilk).
How To Tear A Napkin For Decoupaging

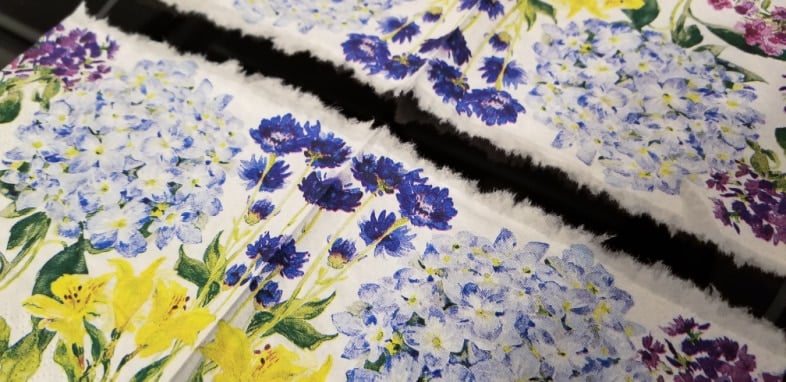
What kind of napkin do you use for decoupage? Beautiful paper napkins! These pretty hydrangea napkins were purchased on Amazon. I have also used napkins from the dollar store; they have some stunning designs. After you open the napkins, it’s obvious where you will need to divide them. Wet the paper napkin to tear it for decoupage easily.
Because I only needed a straight line, I used a thin paintbrush dipped in water. You can use an aqua brush if you have an intricate pattern that needs to be torn. The aqua brush will allow you to follow a pattern. You will be surprised how easy the napkin is to tear once it is wet.
It’s incredible how the tear perfectly follows the wet line!
Separate Three-ply Napkins
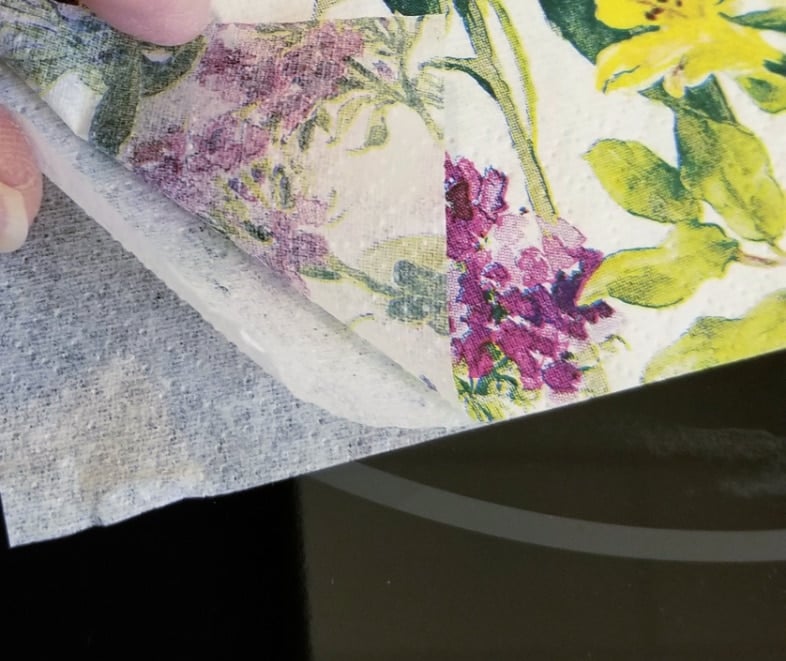
What is more challenging? Separating the three-ply napkin. You will only use one ply, making your decoupage napkin very thin.
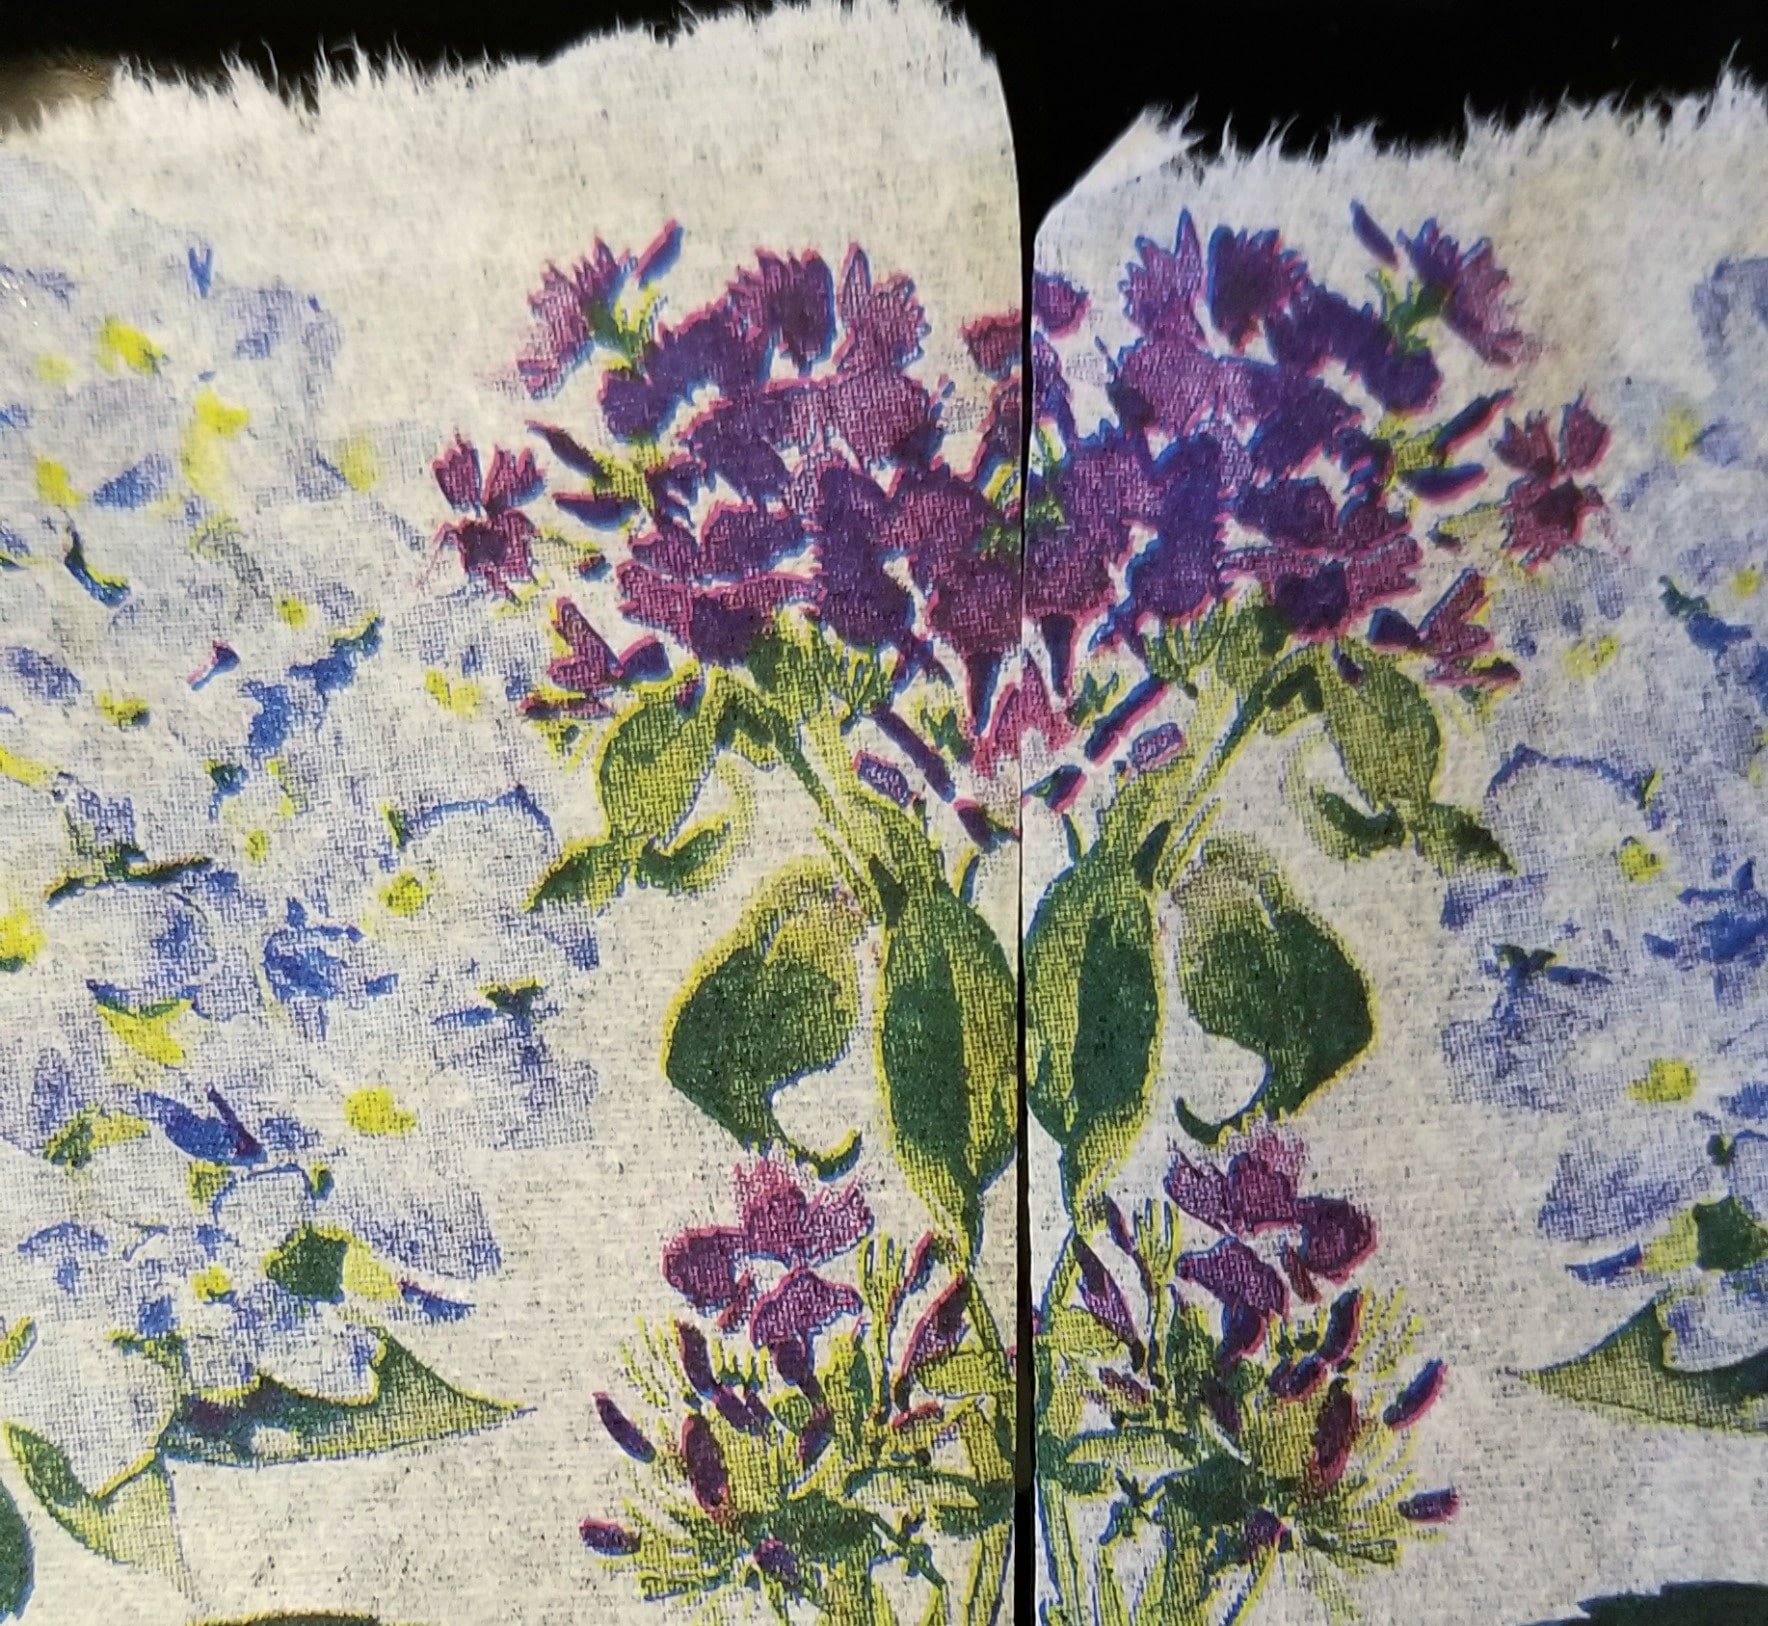
Butting up the two halves I tore apart, you can see that the pattern repeats. The beverage napkins were the perfect size for the woven basket.
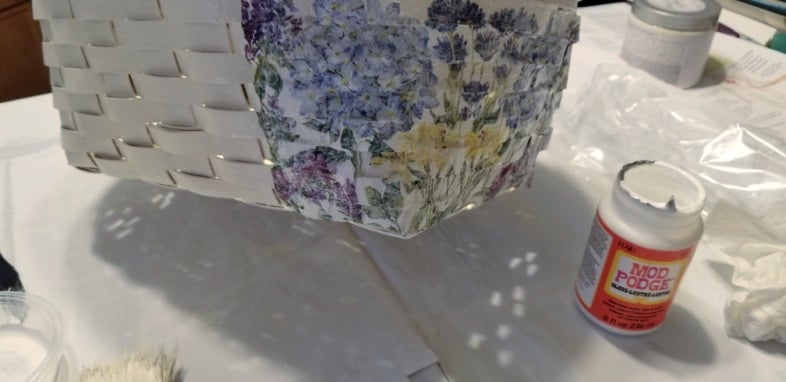
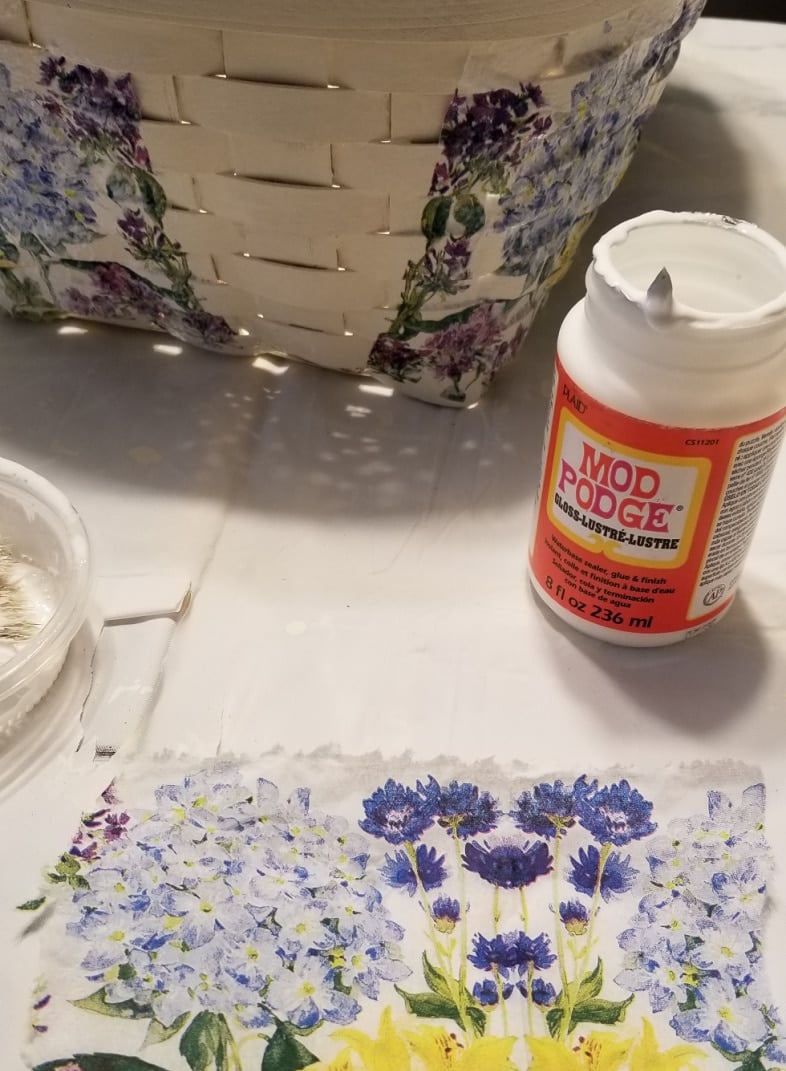
The Mod Podge I used was a glossy sheen. I applied a coat of Mod Podge medium to the basket. Then I laid the thin napkin on the basket and applied another light coat of the Mod Podge.
The “Dab Technique” Works Best For Napkin Decoupage Basket
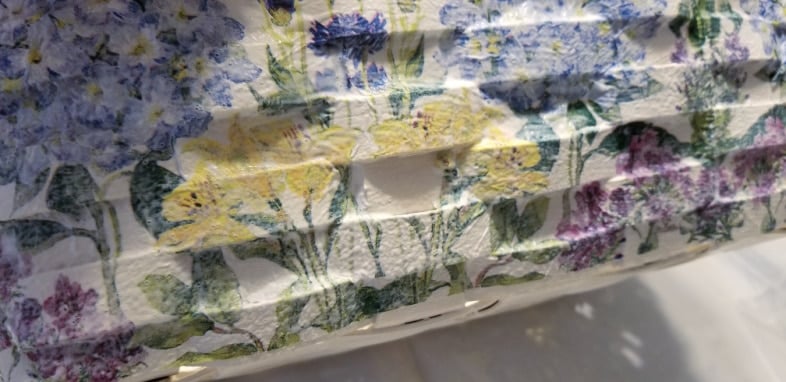
Do you see the missing yellow flower right in the center of this image? It was torn, so stippling or dabbing the decoupage medium works better than brushing it on. I should have used a little saran wrap to help smooth it. Of course, it helps to have patience.

I used a small section of yellow flowers to patch the torn napkin area. You may notice a few bubbles but aren’t too noticeable in the end project.
How To Match The Pattern On The Decoupage Basket
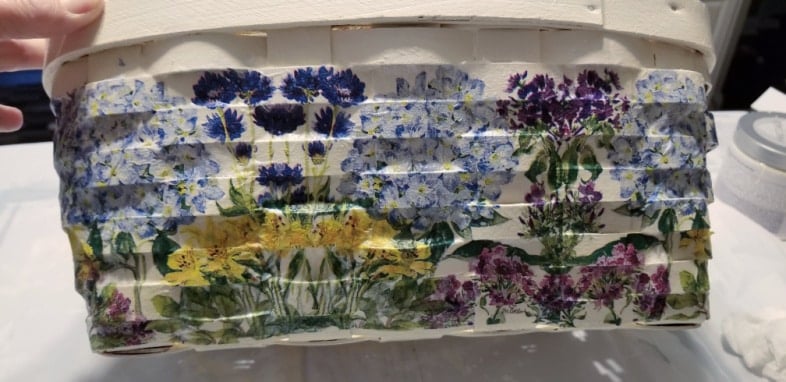
Where the napkins ended around each corner, I used a small piece of napkin to bring it all together. Complete the basket following these steps. Mod Podge, place napkin, dab more Mod Podge onto napkin. I think I’ll get better with a bit of practice. Placement is relatively easy with such a busy pattern.
Allow Decoupage To Dry: Apply More Layers To Seal And Protect
Following the directions on the decoupage medium, I allowed the decoupage glue to dry before re-coating. Applying several coats will help protect the basket.
Do you love the decoupage basket as much as I do? I even know where the seams are and the patched yellow flower. But they are so hard to find.
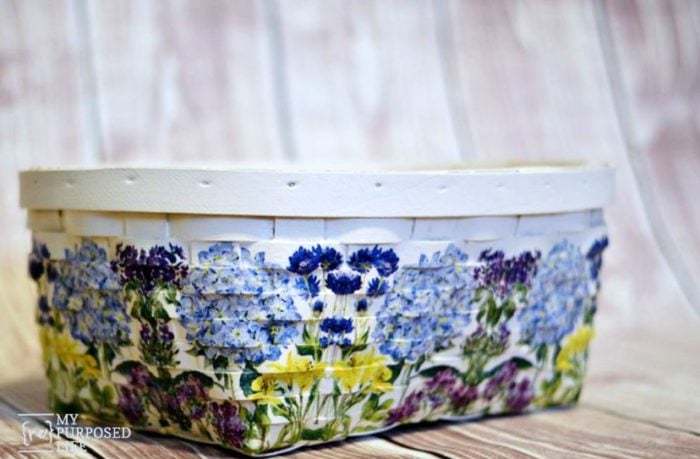
I think it’s too pretty to hold Lulu Mae’s toys now, right?


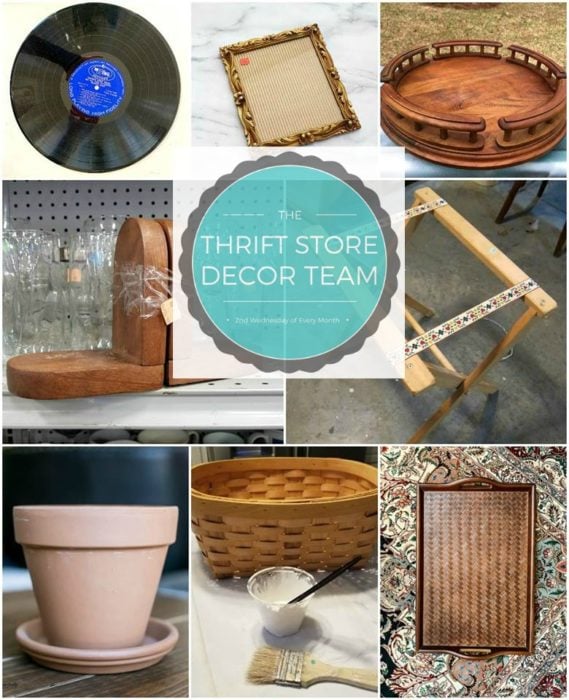
Vinyl Record Bowl My Uncommon Slice of Suburbia
DIY Earring Holder House of Hawthornes
Lazy Susan Thrift Store Makeover Refresh Restyle
Vintage Farmhouse Decor with Architectural Salvage Sadie Seasongoods
Folding Tray Table Stand Table Petticoat Junktion
DIY Aged Terracotta Pot Domestically Speaking
Decoupage Basket | Hydrangea Napkins My Repurposed Life
Vintage Tray Makeover Our Southern Home
If you love it as much as I do, please pin it? Then, after you pin it, please hop over to see what my friends did this month with their thrift store finds!
gail
I love to do decoupage, as it relaxes me. This basket is really beautiful with the flowered napkins decoupaged on it. I have several projects that I need to get started on. Thanks for the inspiration!!!
Donna Marie,
Have fun!I like to decoupage too! I love how much it changes a project, adding color and depth.
gail
To each his own, I always say. I really just like wood whether it be baskets or tables, dressers, etc.
I decoupaged a small box to use to put in some jewelry I had made. However, I did an experiment. I did not separate the napkin but decoupaged the entire napkin to the box. It felt like fine linen. I was so surprised and the person receiving the gift loved it. It took several coats of Mod Podge but worth it.
Helen,
Wow! That’s awesome, thank you so much for sharing that with us. I’ll definitely have to give that a try!
gail
So beautiful..a must try project..if it only looks half as beautiful as yours, I’ll be thrilled! Thanks so much for this great idea.
Ohhh, thank you so much Mary Ann! I’m so in love with how this basket turned out! I love, love, love those napkins. They make me smile. 🙂
gail