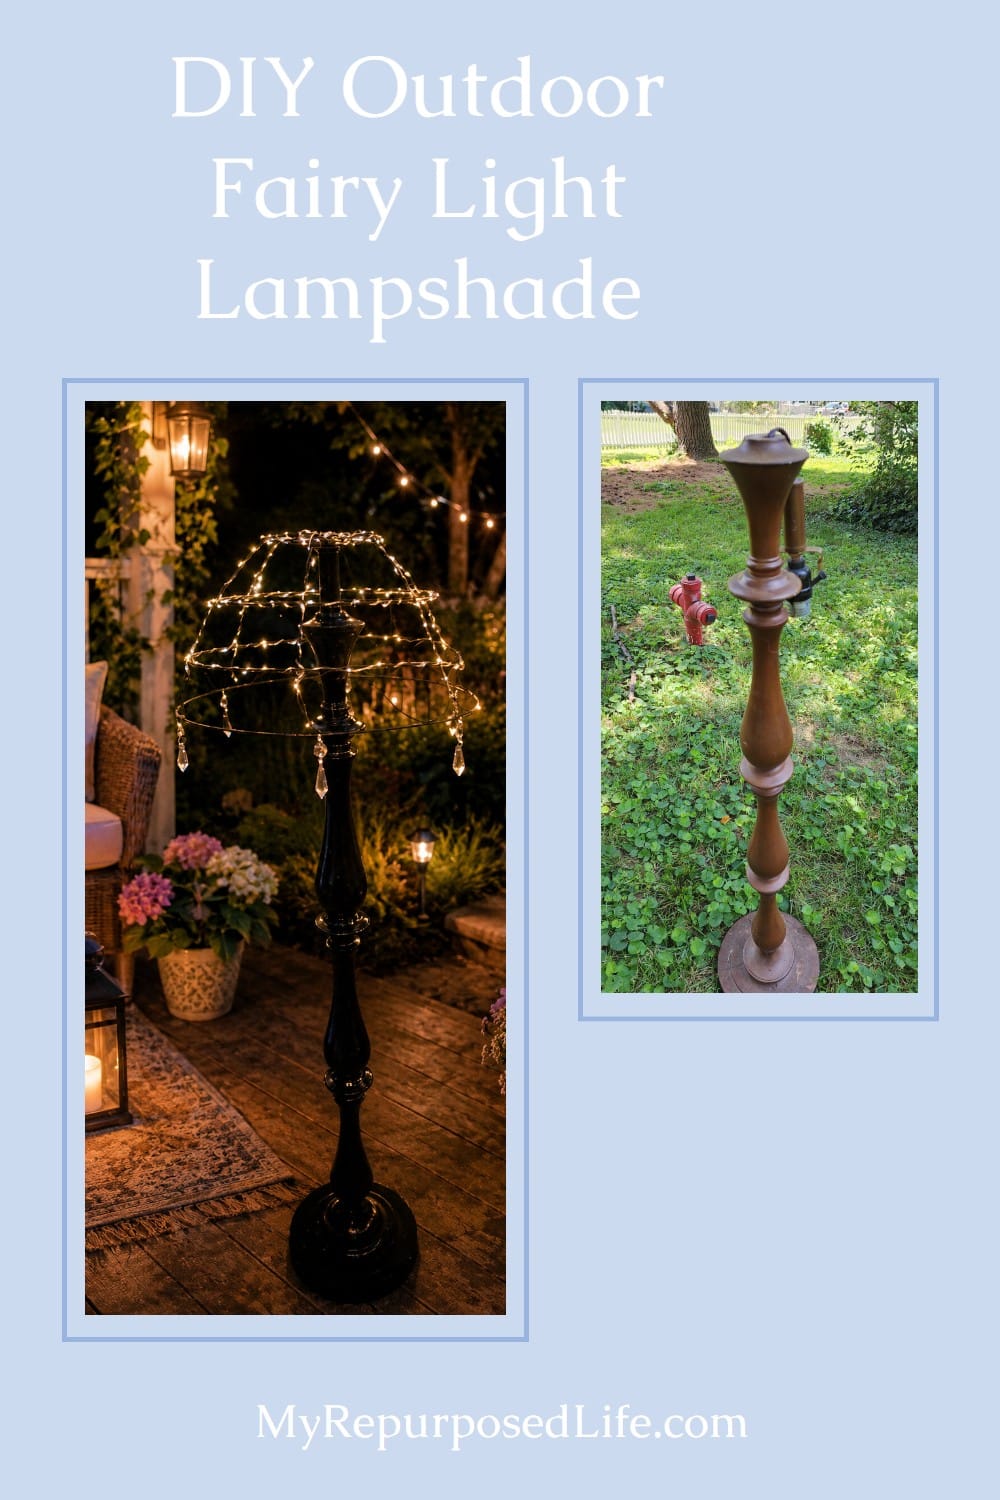
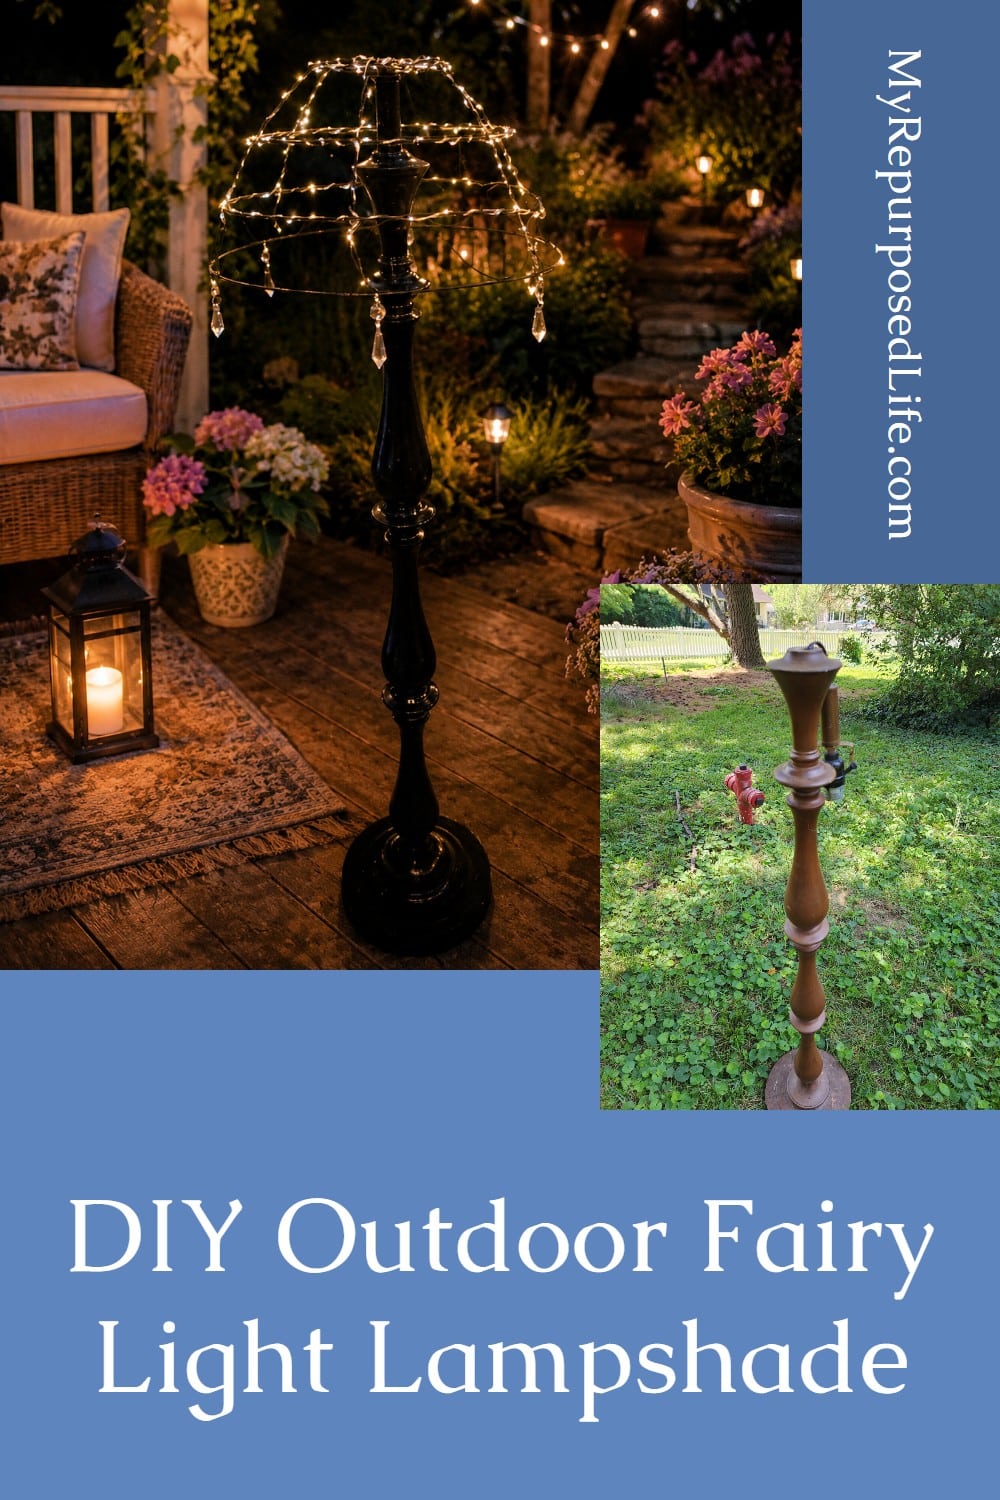
Fairy Light Lampshade With an Upcycled Lamp Base
As an Amazon Associate, I earn from qualifying purchases.

I kept seeing those pretty fairy light lampshades all over Pinterest, but every time I clicked, I came up short on an actual how-to. That usually means it’s time to figure it out myself. I started with a smaller lamp base, thinking it would be just right, but that turned into a quick project fail. Plan B was a taller floor lamp base, and that ended up being the better choice for this glowing outdoor light feature.
We’ll begin with the project that didn’t work, as it has more in-progress pictures.
Thrift Store Lamp and Wire Basket
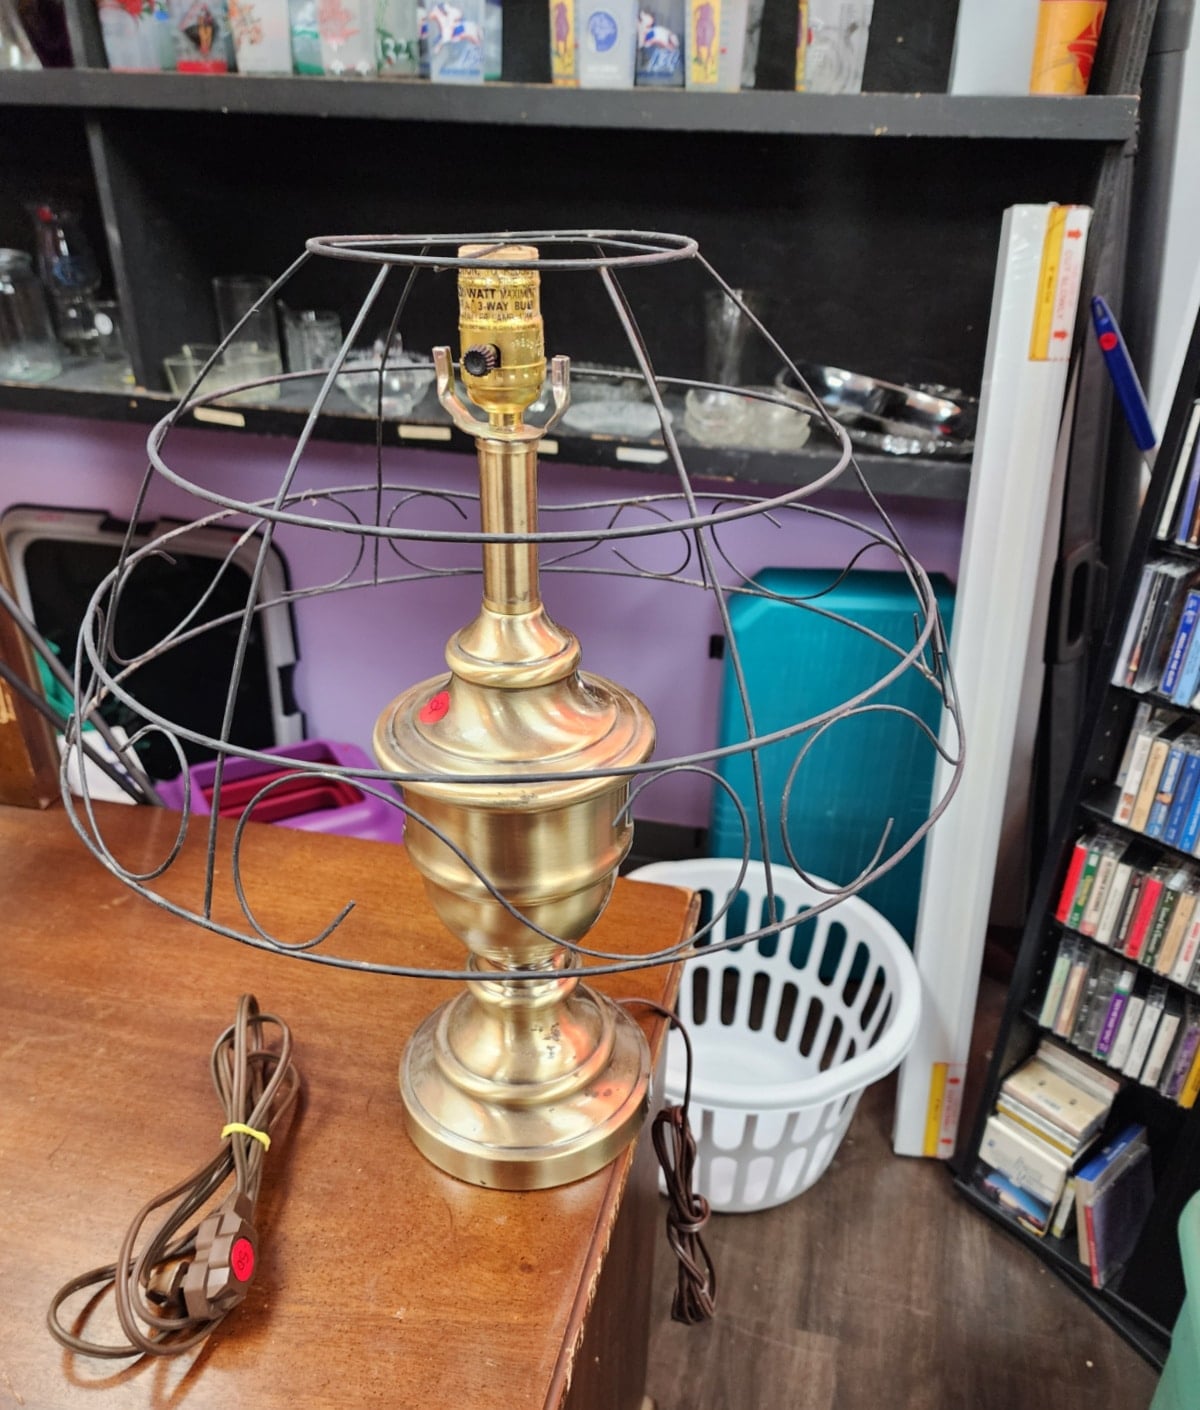
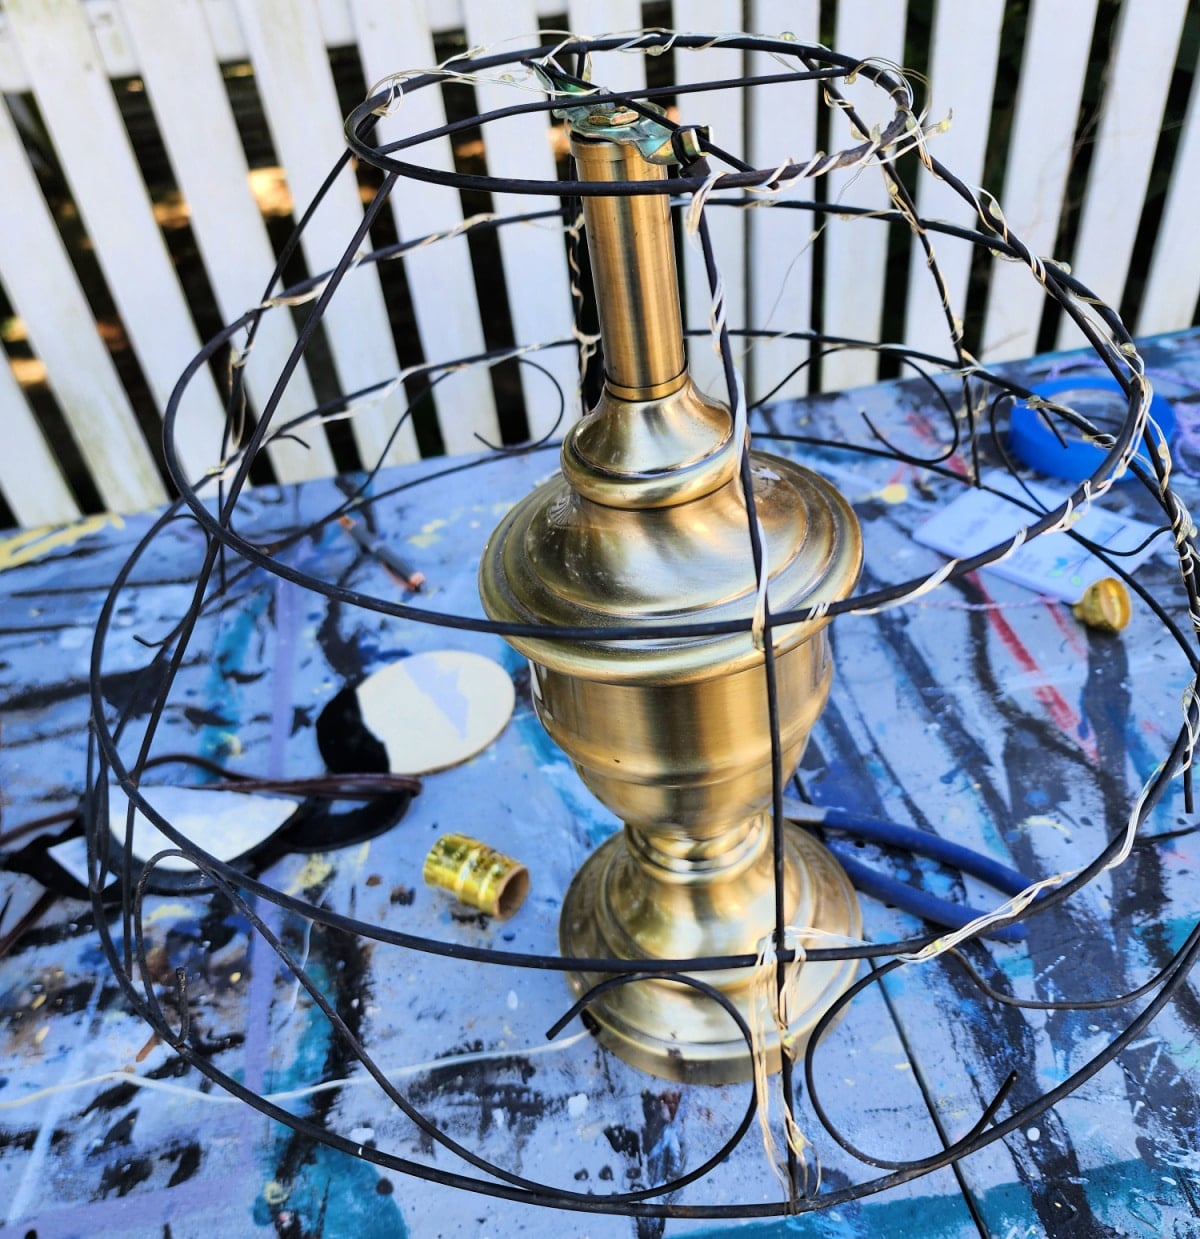
The thrift store lamp was $2, and the wire basket that I placed atop the base was for its photo op. This was about two months ago. Originally, I thought I might cover the wire basket (lampshade) with fabric, rope, or twine.

It’s the second Wednesday of the month, where a bunch of awesome creatives get together to share our thrift store projects. See more details at the end of this article.
Garden Fairy Light Lampshade
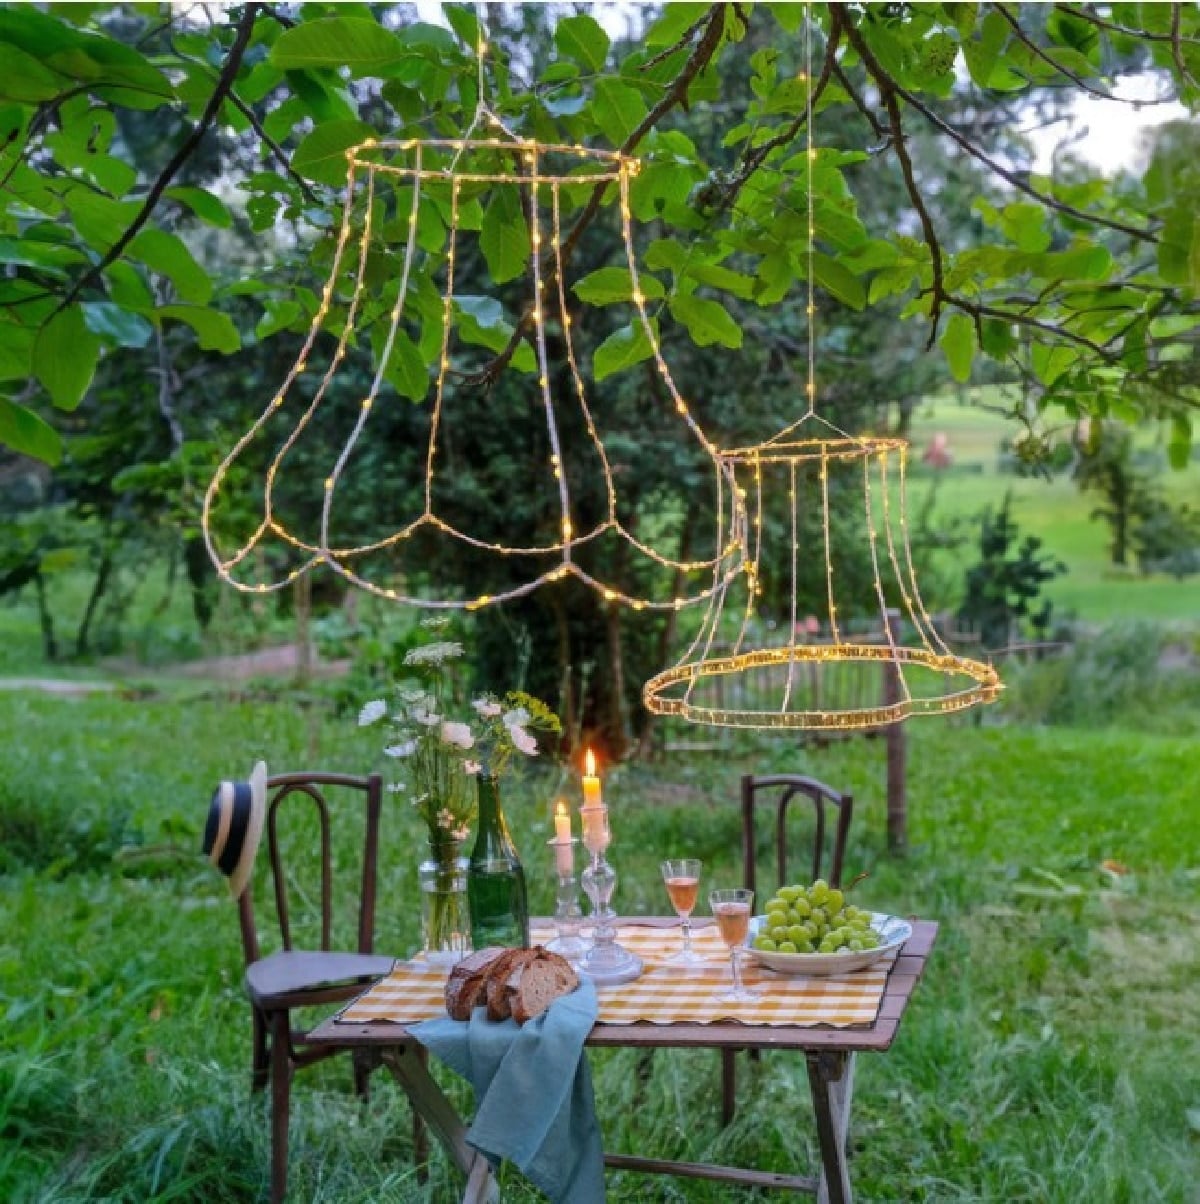
While searching on Pinterest, I saw these images over and over. There were no links to any of the pins. As I’m writing this article, I ran an image search and found that these $99 shades are sold out at Twinkling Tree. After continuing to search online, I was unable to find a DIY tutorial. (As mentioned above).
A few months ago, I tried to do another fairy light project and kept running into issues with the placement of the lights. Hopefully, I can explain how to make a fairy light lampshade with my DIY instructions.
Designing Your Solar Light Lampshade
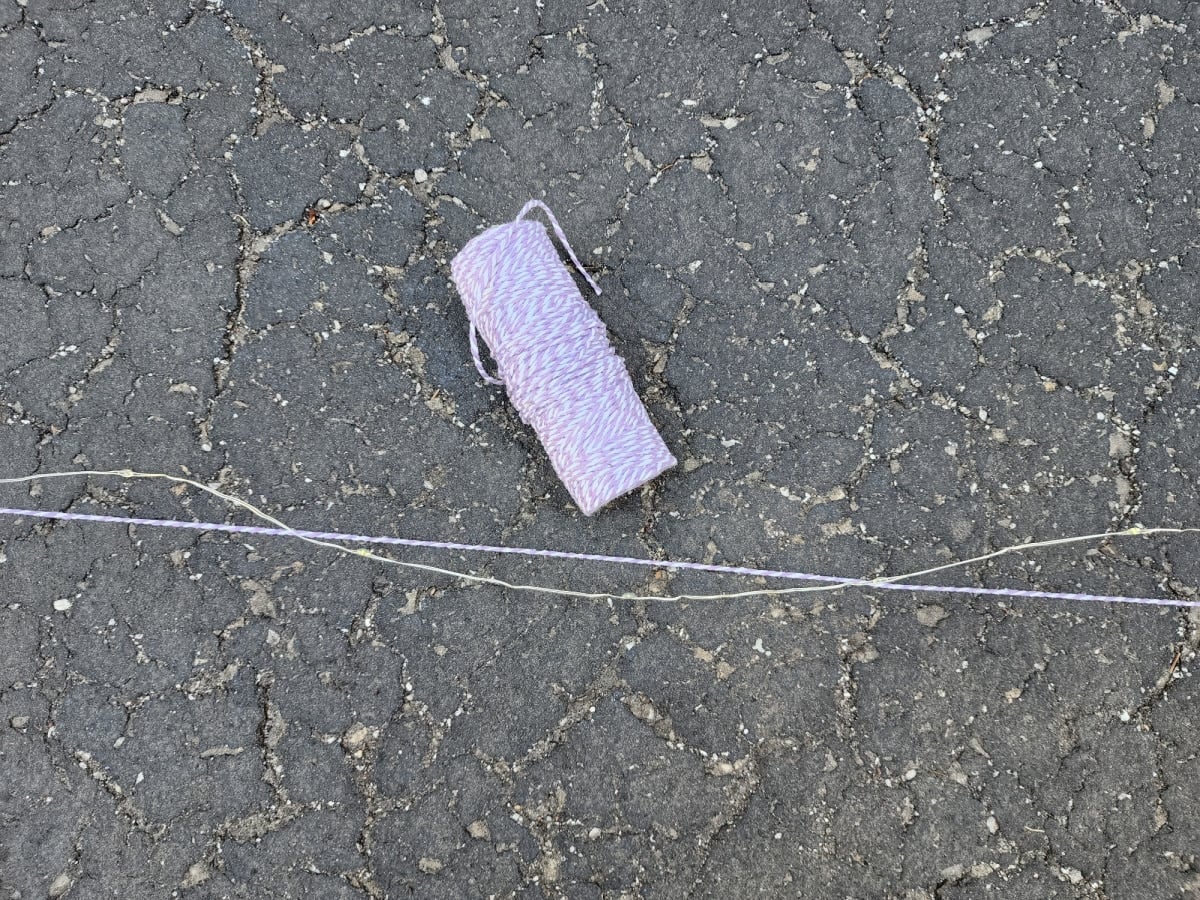
I used baker’s twine to help design my new outdoor fairy light decor project. Using the twine to work out the kinks was better than risking messing up the wired solar light string. My Dazzle Bright Solar String Lights were purchased on Amazon. The length of the lights was 39.4 inches, so I cut my twine accordingly.
I folded the twine into six equal lengths because my particular “lampshade,” aka wire basket, has six sections.
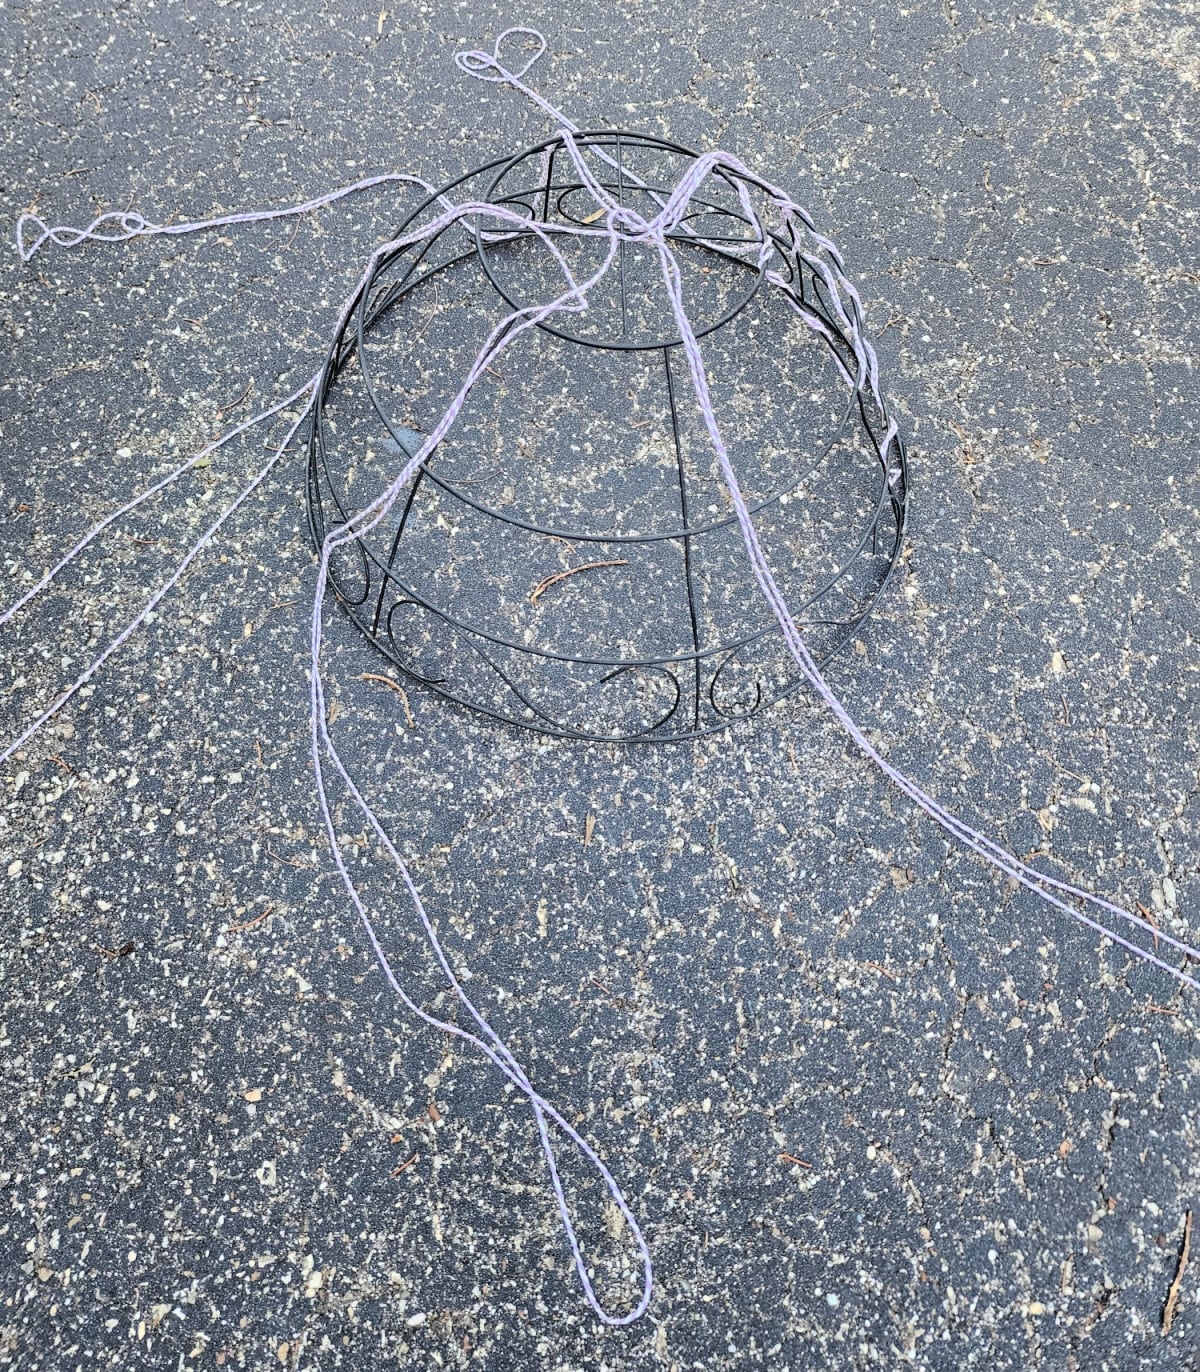
I know this may be confusing, but wrapping solar fairy lights will be easier with a plan. In the image above, notice one section is already completed, and I realized I should show you how I did this. The wired lights will be doubled, similar to the way the twine looks in the photo.
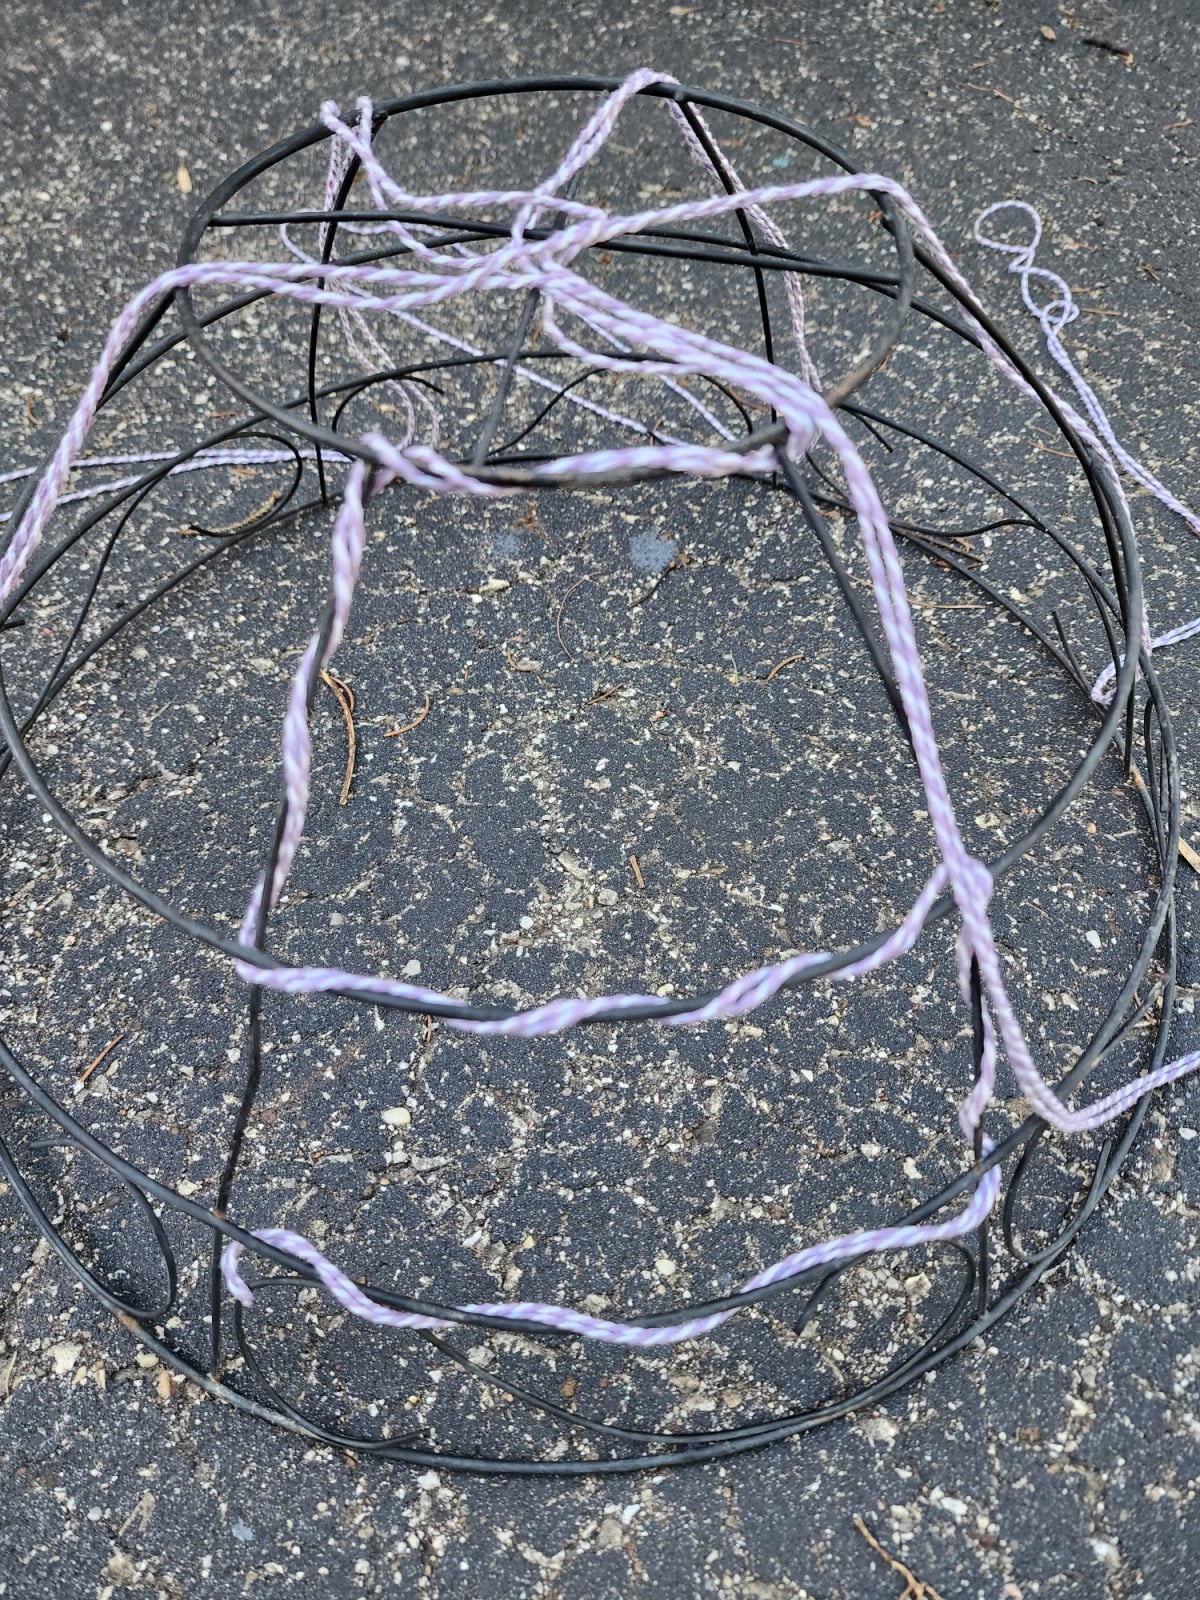
In this photo, you can see my pattern developing. This pattern will be followed on the entire wire basket lampshade fairy lights project.
Starting at the top, it wraps to the left, down one section, turns to the right, then goes down, and finally back to the left.
Note the straight twine dangling down on the right side. That will be the last section completed as I work my way around the basket.
How to Dismantle the Wiring on a Lamp
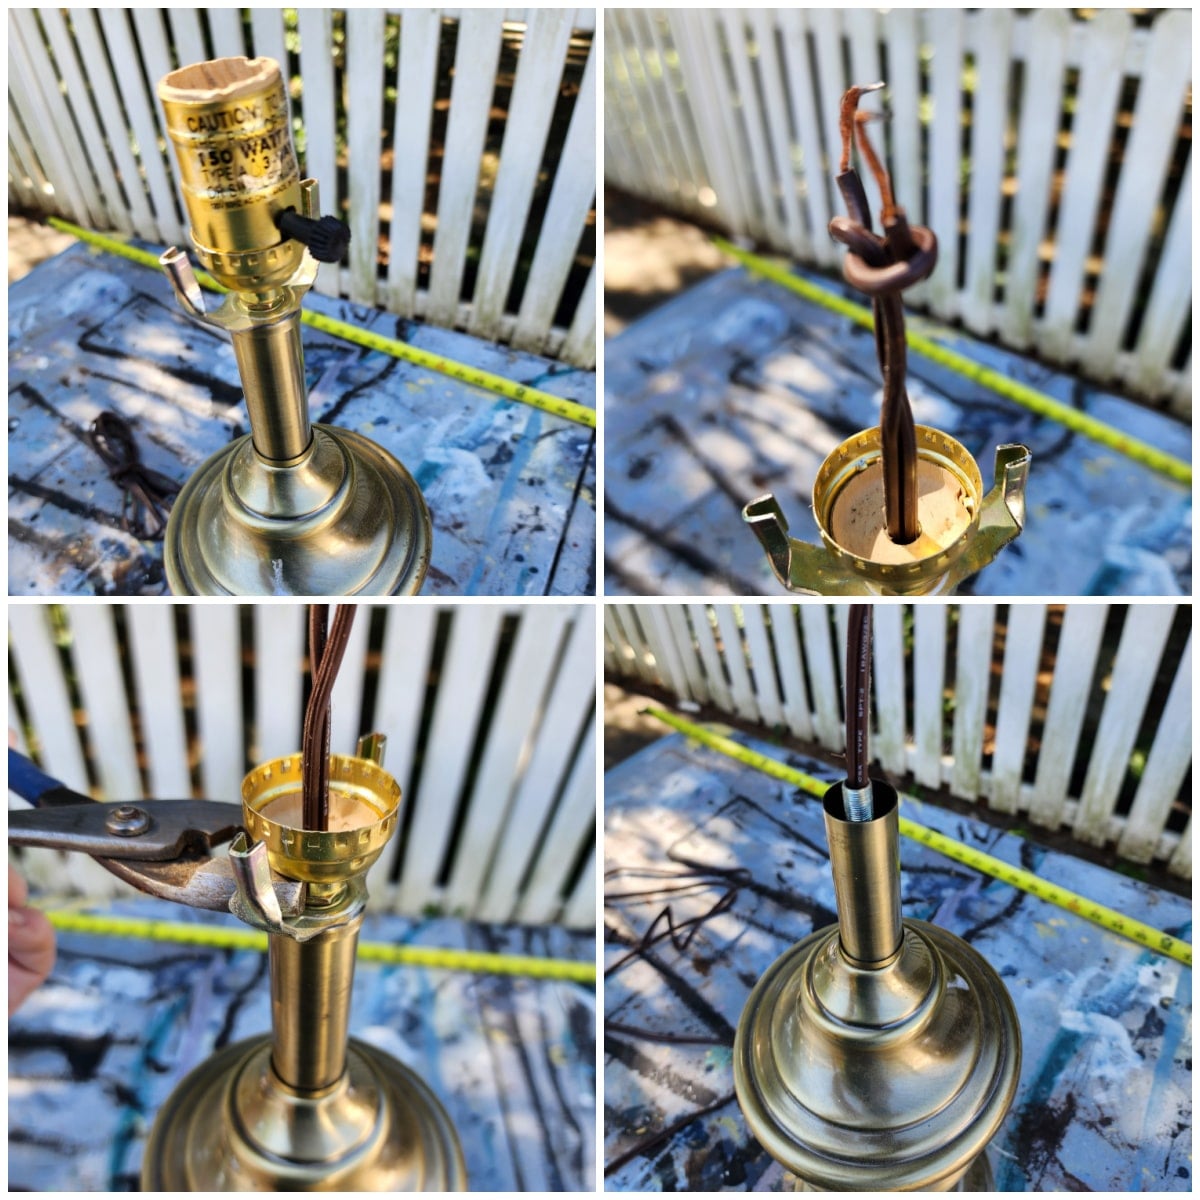
Before moving forward with the garden fairy light lampshade, the lamp base must be gutted.
- Twist and remove the lamp socket
- Remove the electrician’s knot in the wiring.
- You may need pliers to remove the nut holding the “saddle” or “harp holder”.
- Set aside the “saddle” and the nut that holds it on for reassembly.
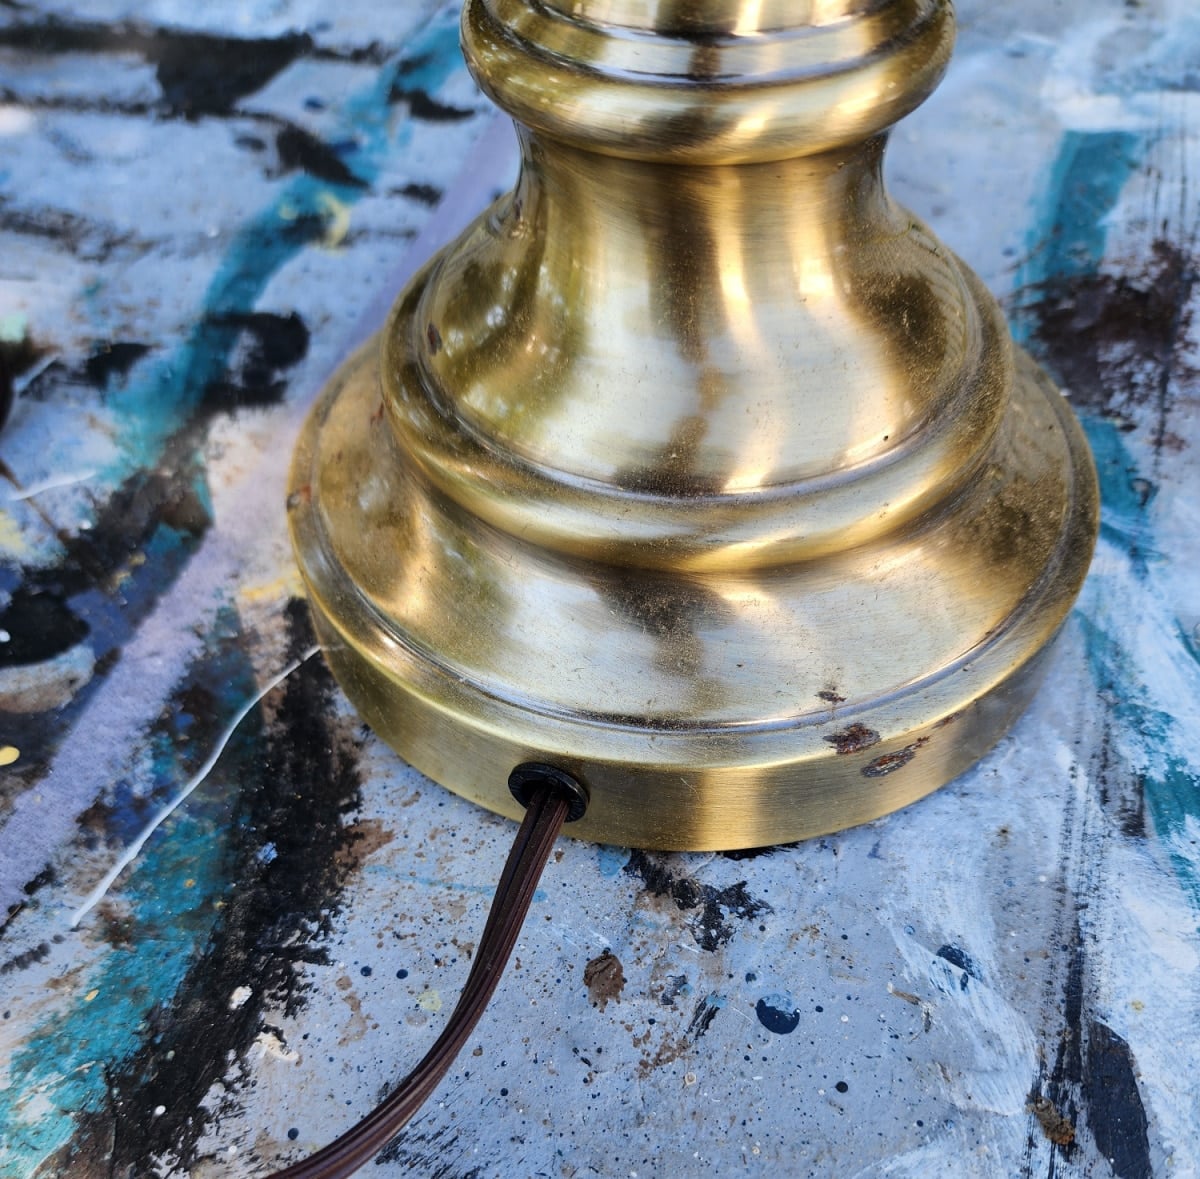
- Finally, remove the cord from the lamp base. See image below.
I would recommend saving the cord and socket if you plan to use them for another thrift store lamp.
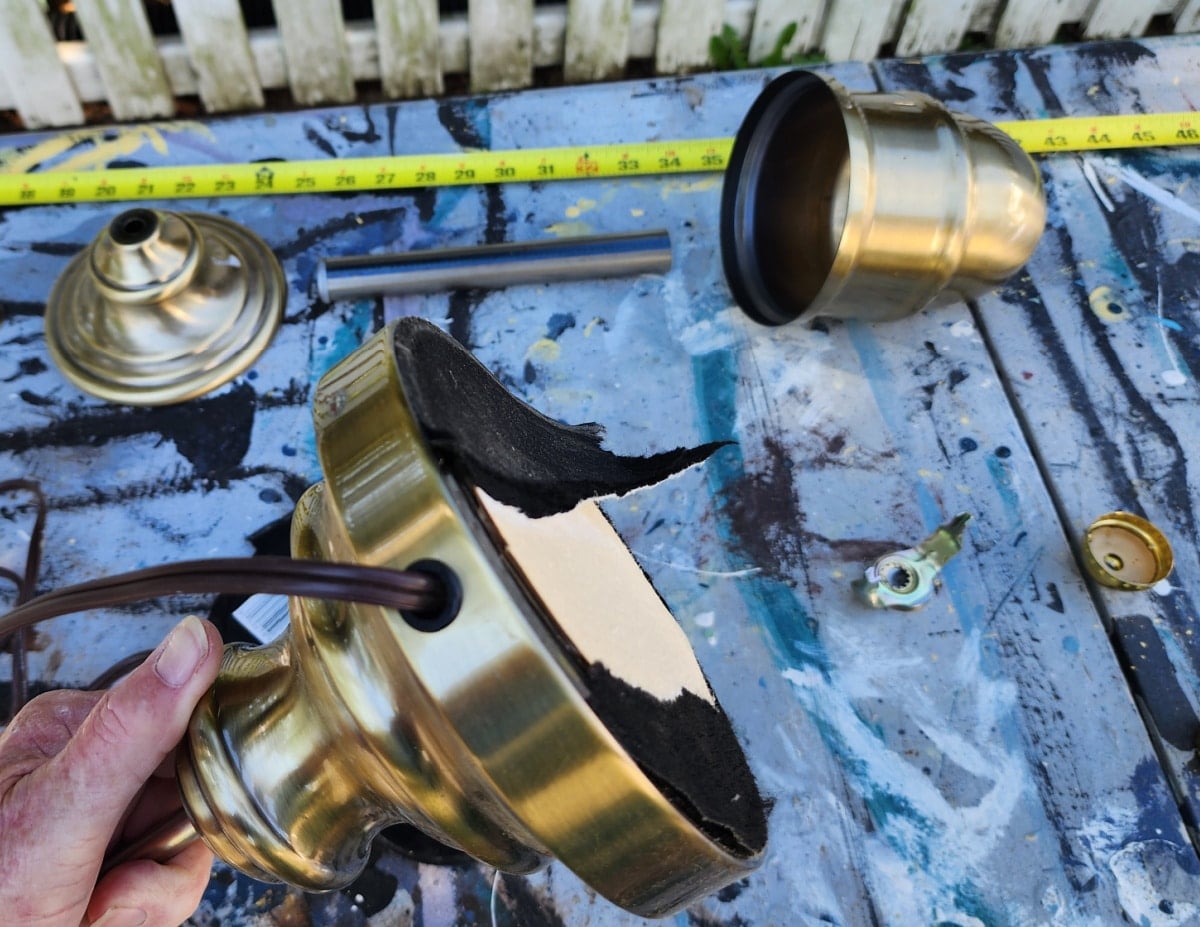
The bottom of the lamp base had to be removed in order to thread the fairy lights into the lamp.
Dismantle Lamp Base | Wire With Fairy Lights
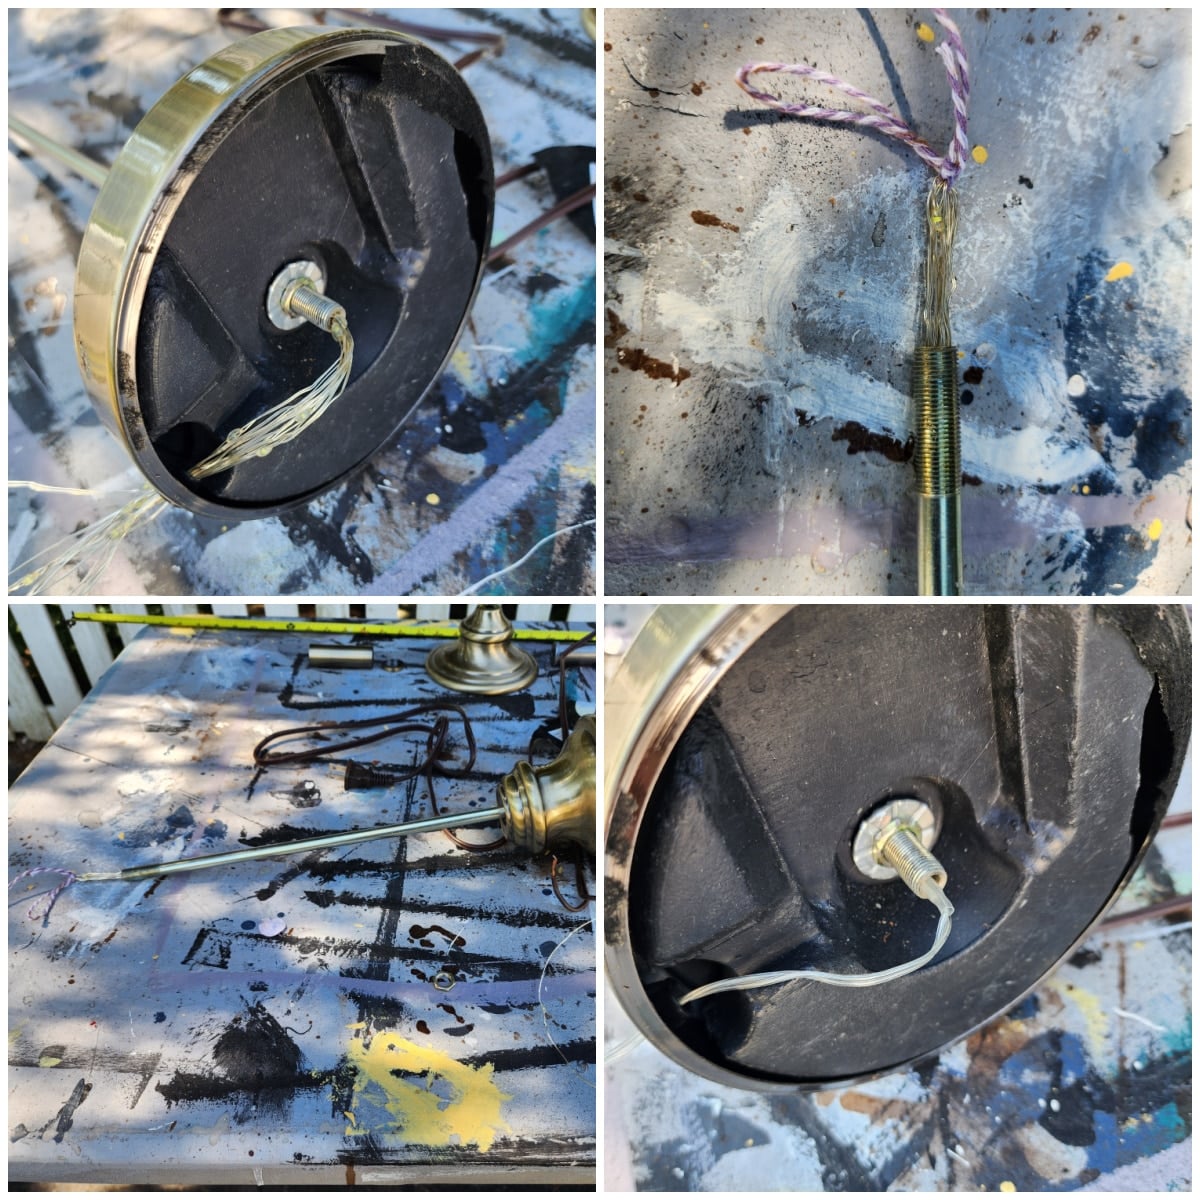
Because I folded the twine, I also folded the wire on the fairy lights in order to thread them through the lamp base. I tied a piece of twine to the folded lights. The twine fell out of the threaded pipe, okay.
If you use a single light strand and cut the plug off the cord, you can secure the wired light to the cord and pull it through. Later, I will show you a different lamp base and how I did it.
How to Secure the Wire Basket Lampshade
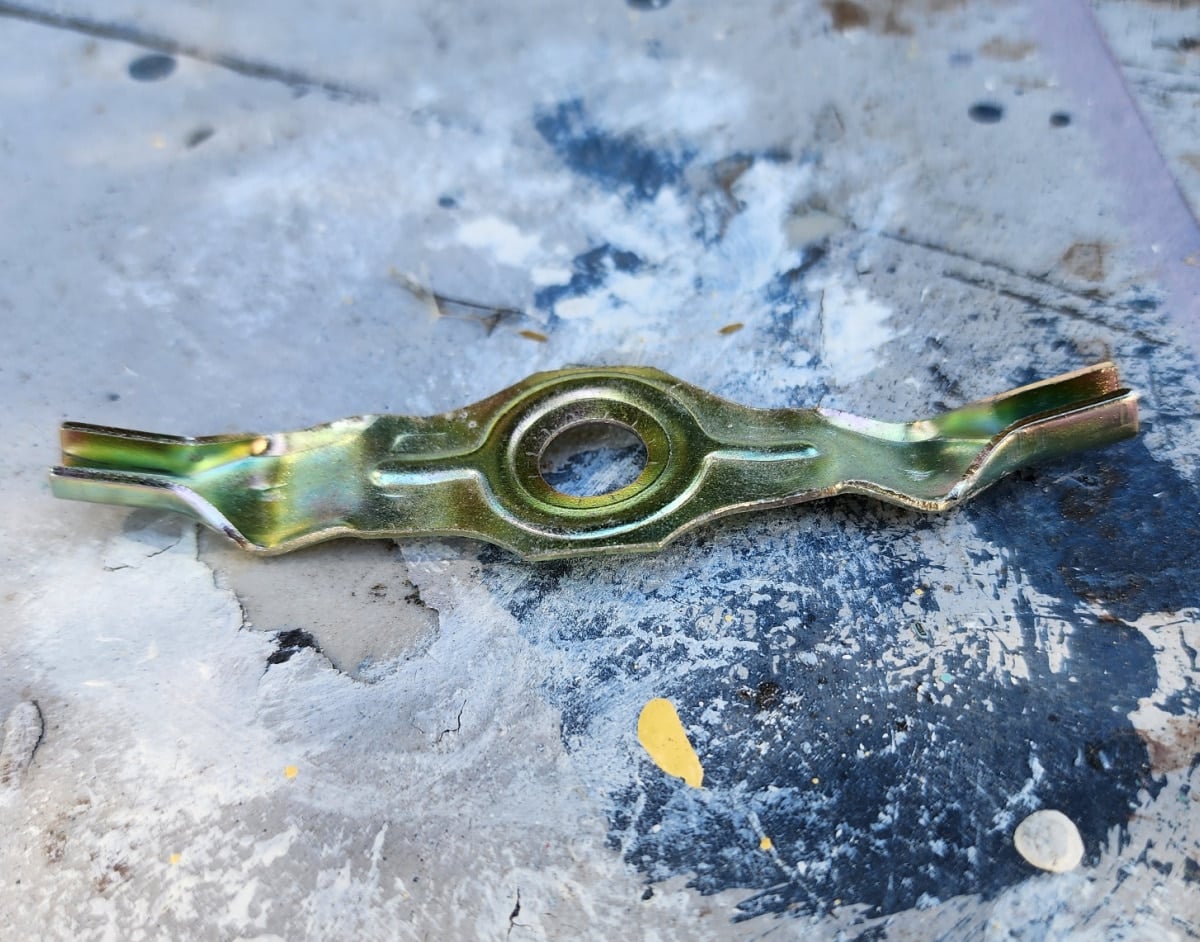
Because I’m not using a real lampshade but a wire basket, I need a way to hold the basket in place on the top of the lamp base. I used two sets of pliers to flatten the harp holder. You can see in the photo above that the wire basket will rest in the inset of the harp holder (saddle).
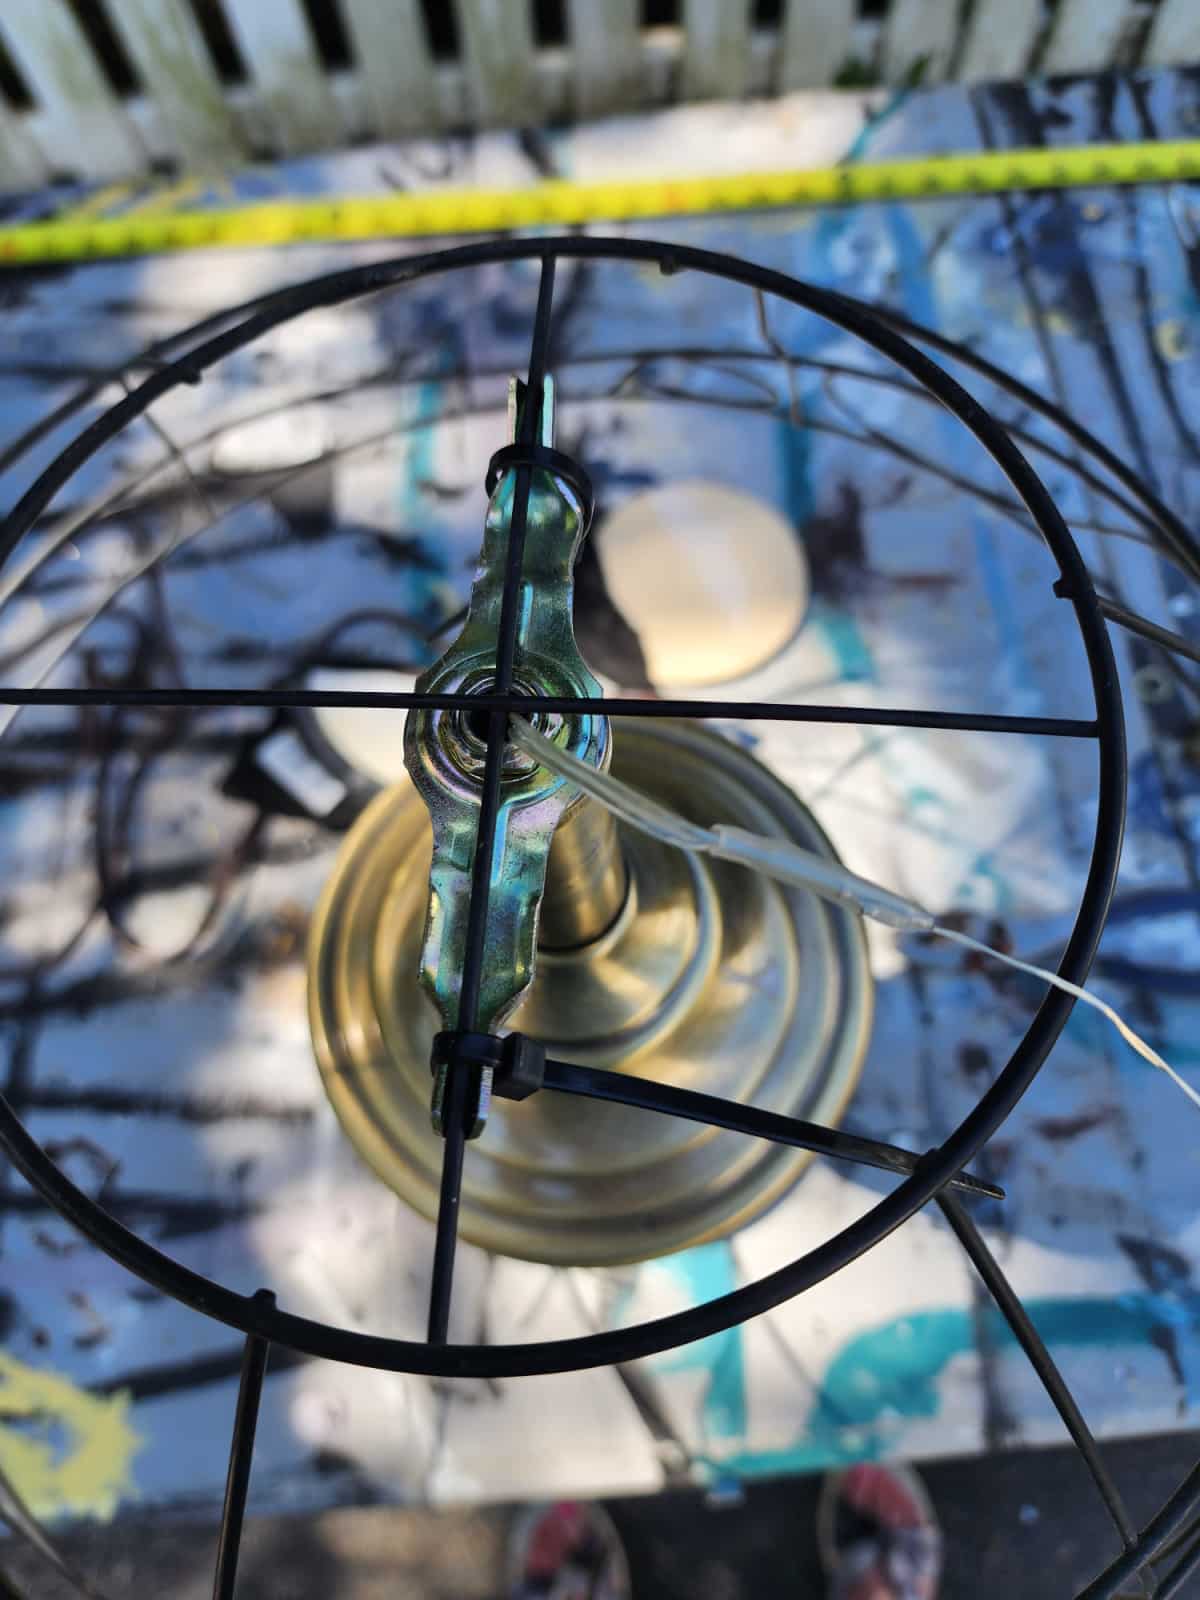
Small zip ties were used to hold the wire basket to the flattened-out harp holder. Trim the long tail from the zip tie.
Following the pattern determined with the twine, the folded wires are wrapped around the wired basket.
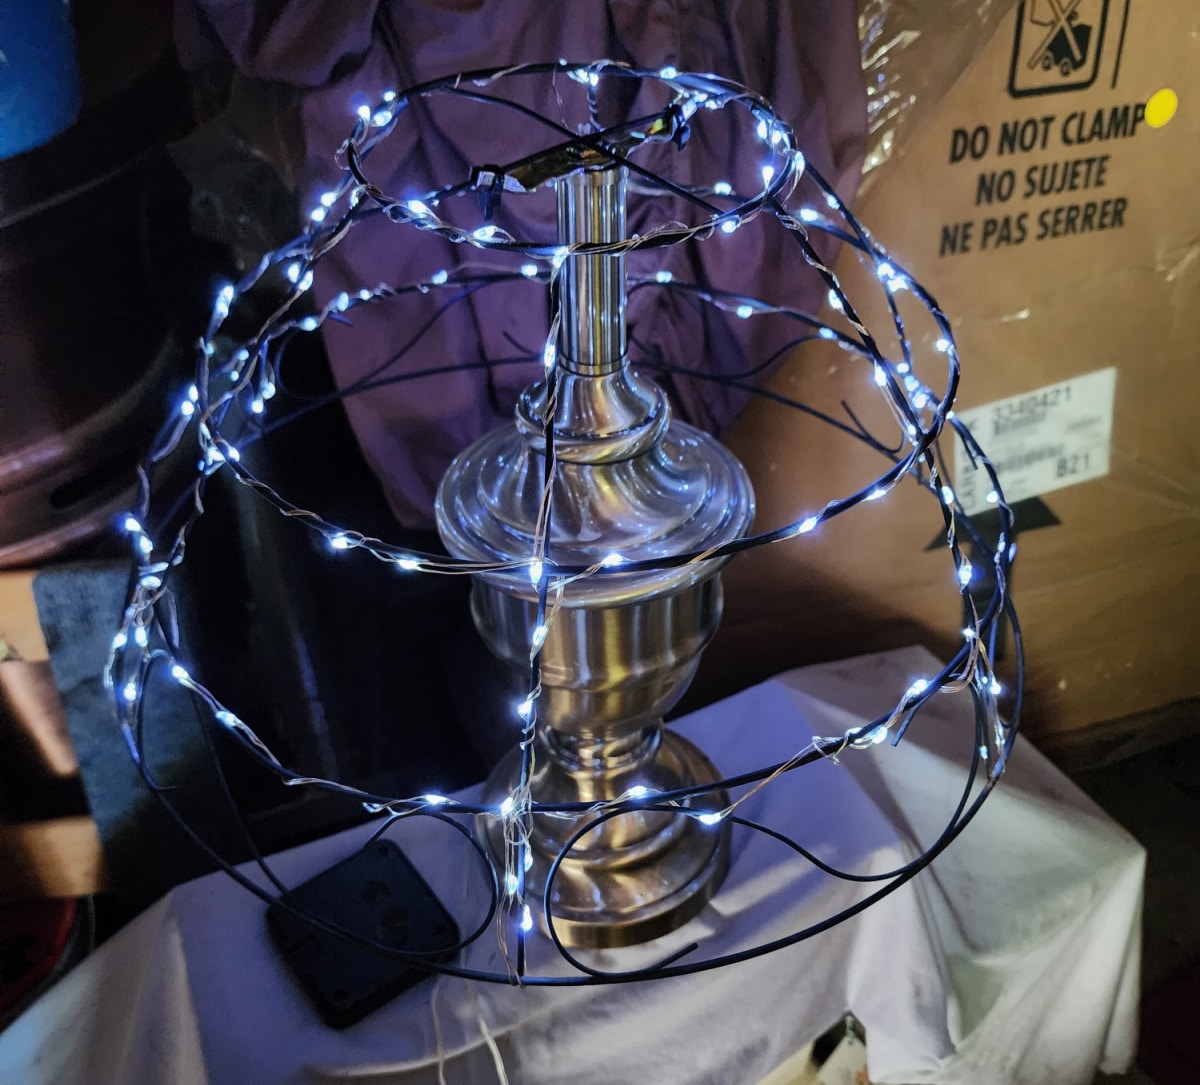
After wiring the outdoor fairy light lampshade, I took it to a storage garage and closed the door to see how the lights worked.
Embellish the Fairy Light Lampshade
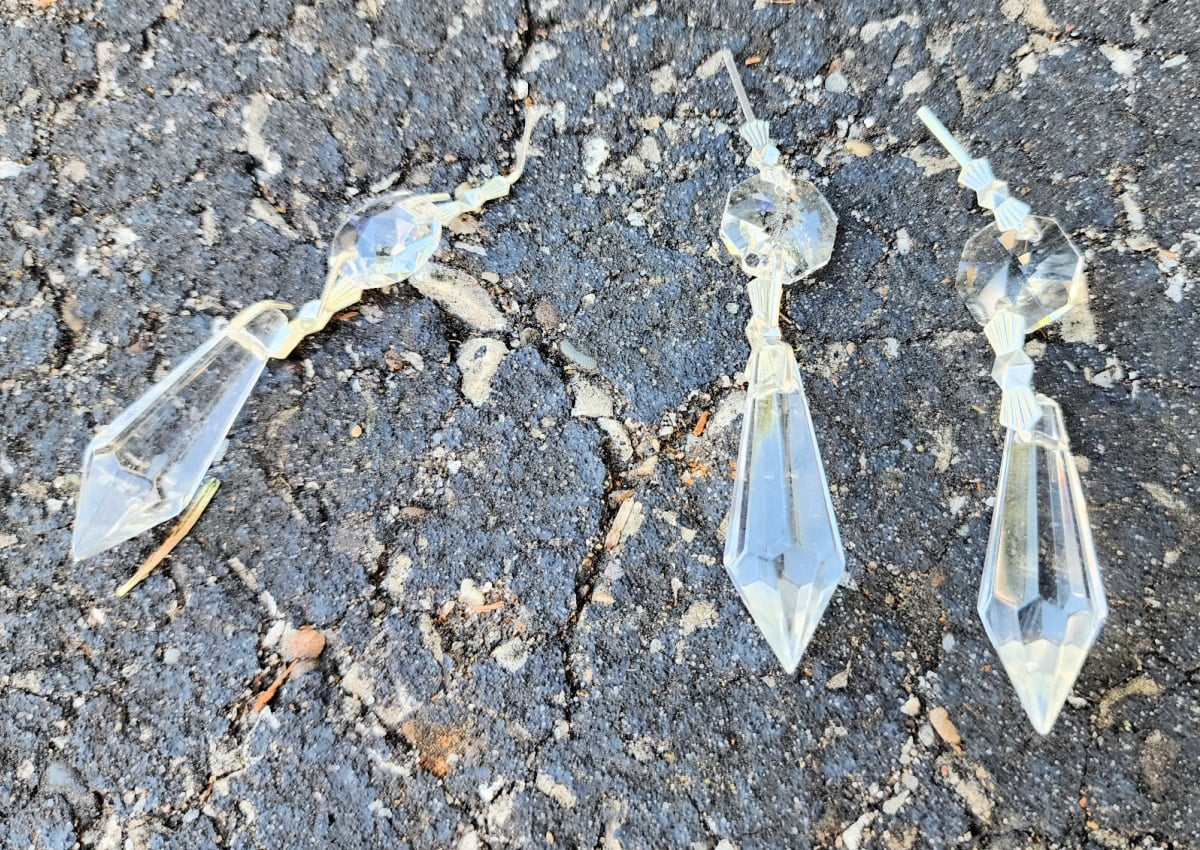
I had some shiny glass prisms leftover from when I made my Sparkling DIY Outdoor Suncatchers, so I decided to embellish the bottom ring of the wire basket I’m using as the lampshade.
Project Fail?
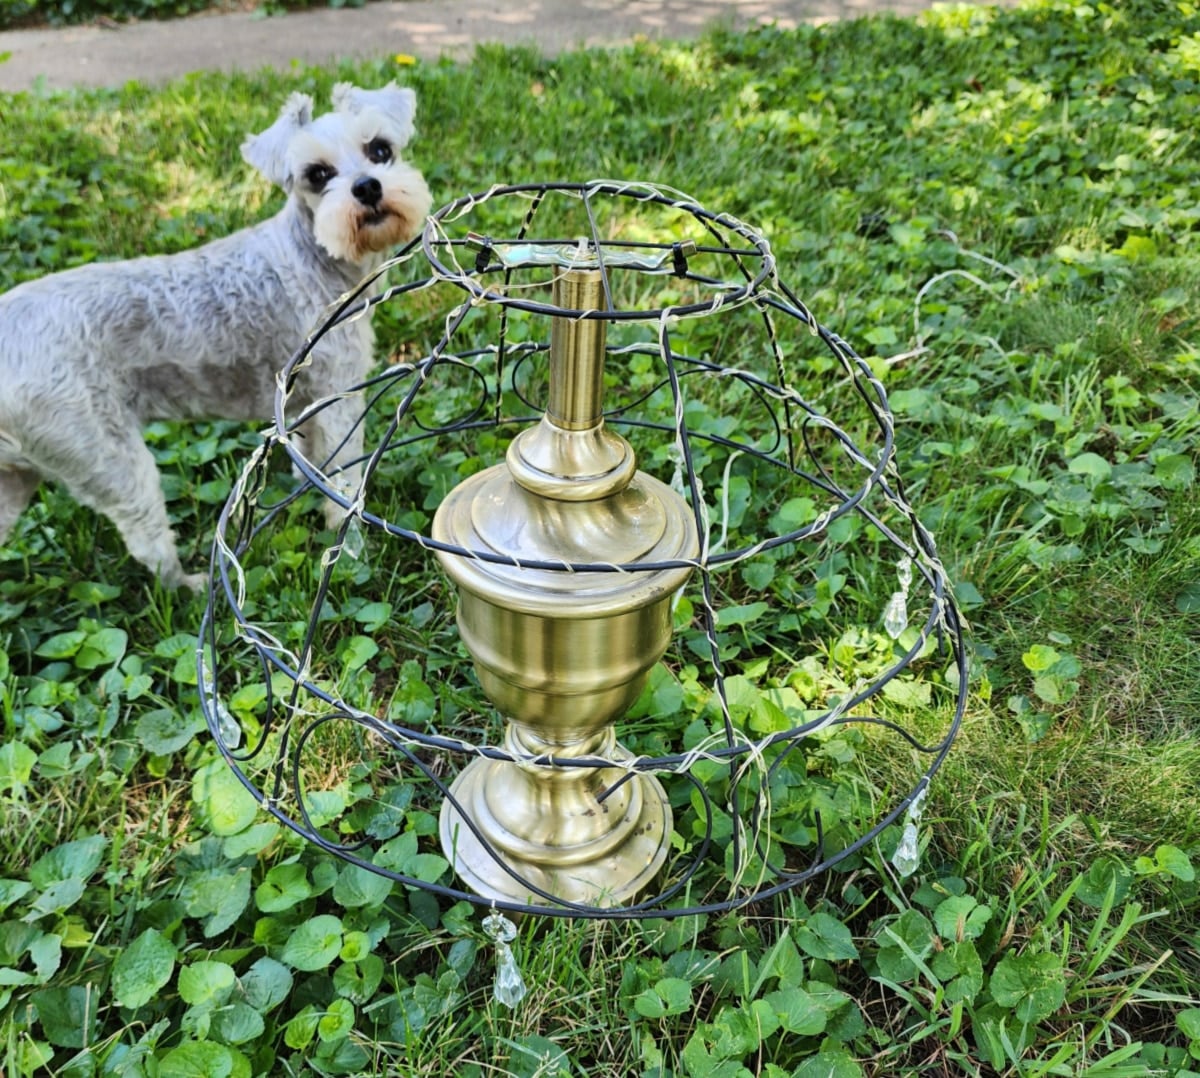
I was so busy working on my DIY outdoor lampshade lights that I didn’t notice the ratio is so off! You probably noticed it in the pictures from the beginning. I should have checked my photos.
Now, it’s on to that plan B I mentioned earlier.
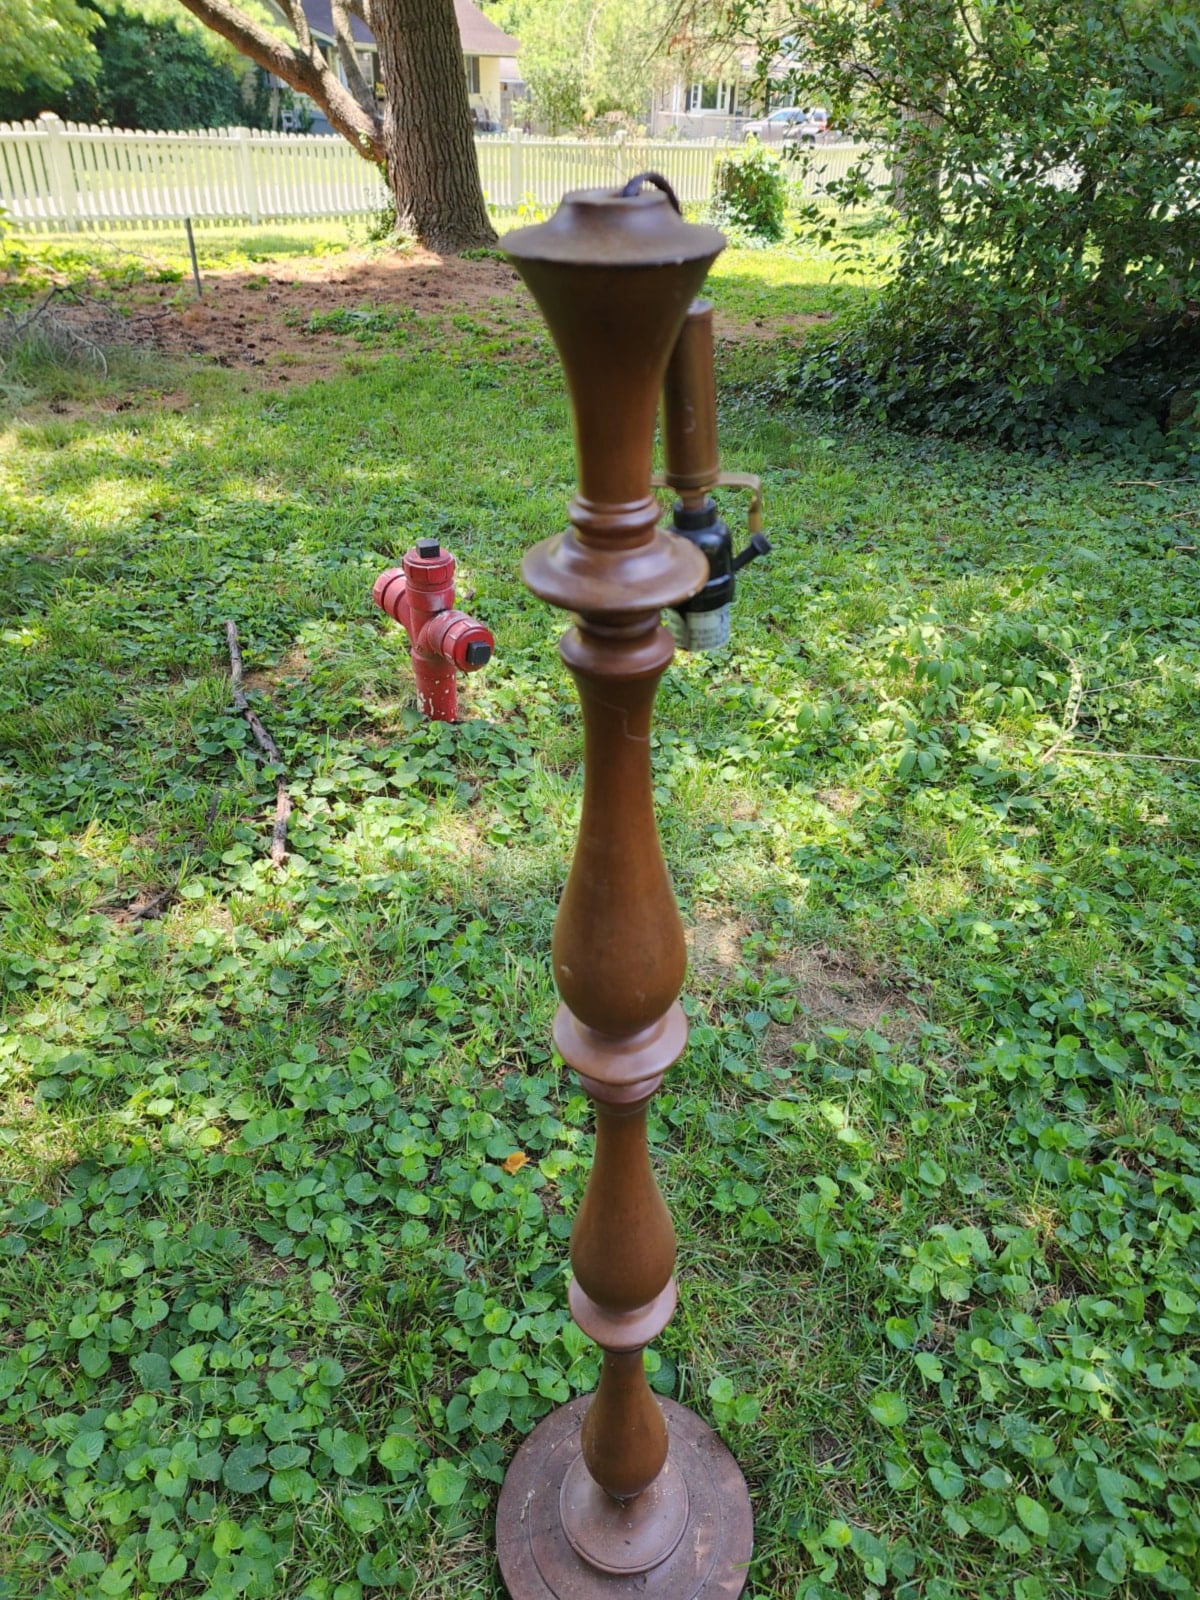
I found this thrift store floor lamp in the garage, thinking the large wire basket lampshade would work better given its size.
Follow the link to see the PVC fire hydrant tutorial.
Prepare the Floor Lamp to Make a Better Fairy Light Feature
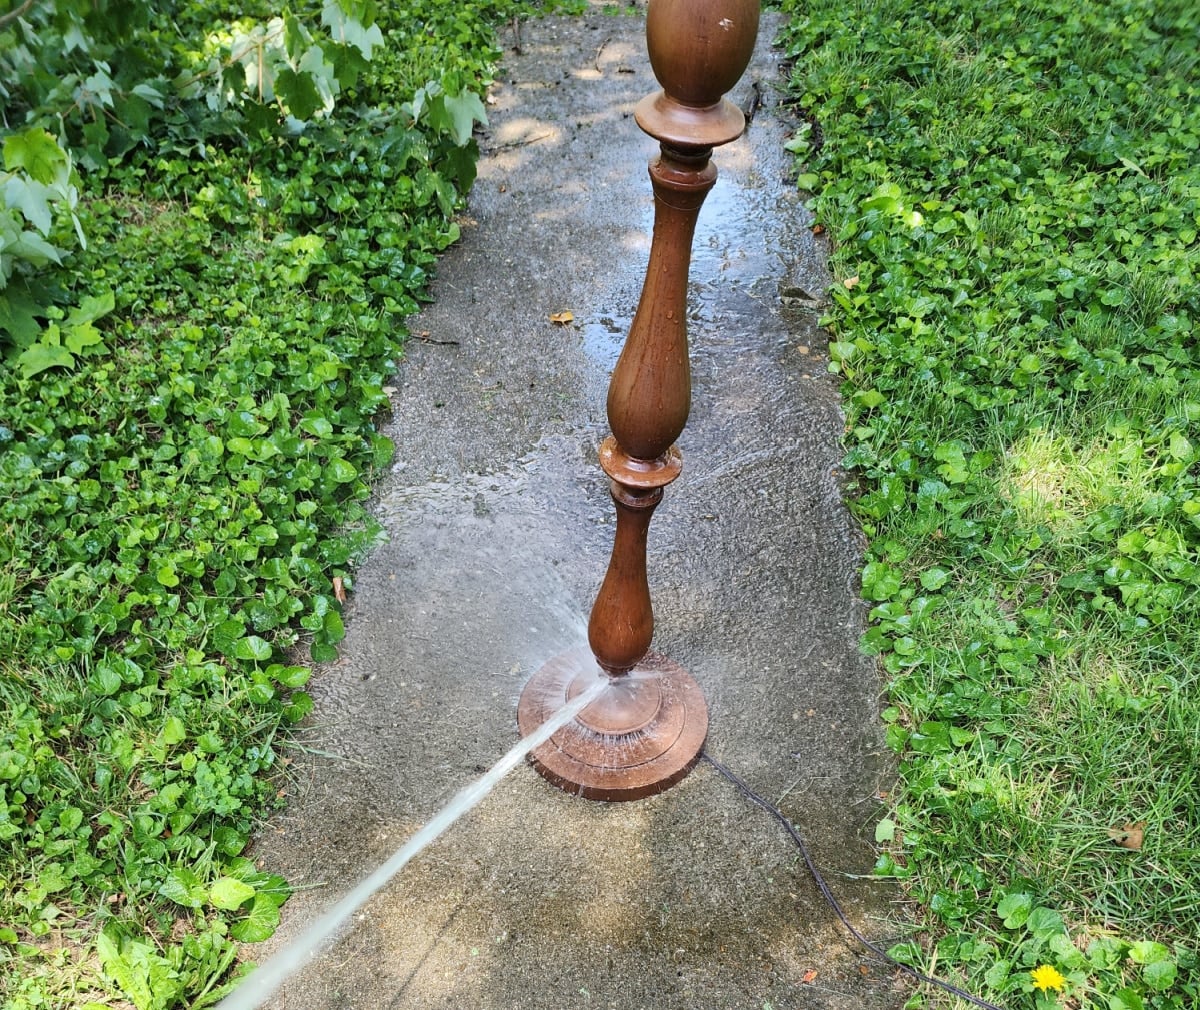
This lamp was very dirty, so a good blast with the garden hose was in order.
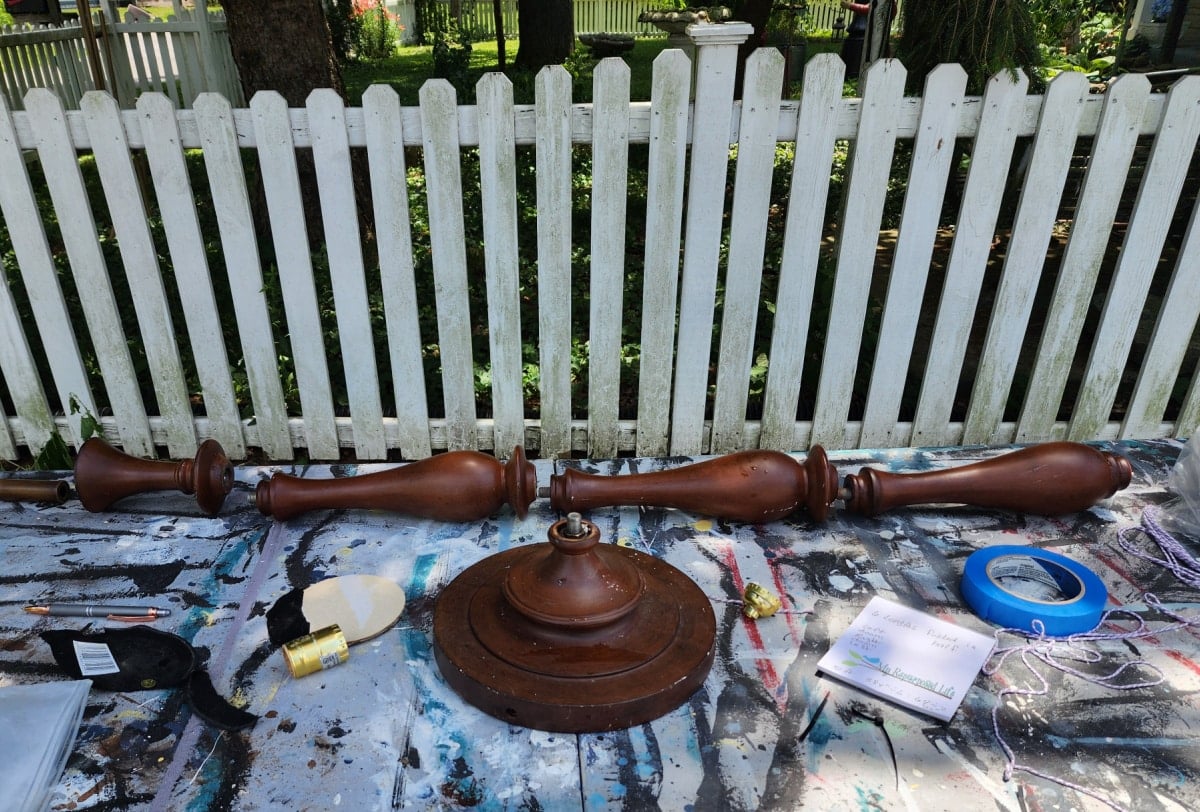
Start at the top and unscrew all the pieces, including the socket and harp holder, down to the lamp base. (See tips above)
I learned a few things from working on the first one, let’s call it the prototype. So I will give you my best tips that will hopefully help you with any scenarios you may encounter.
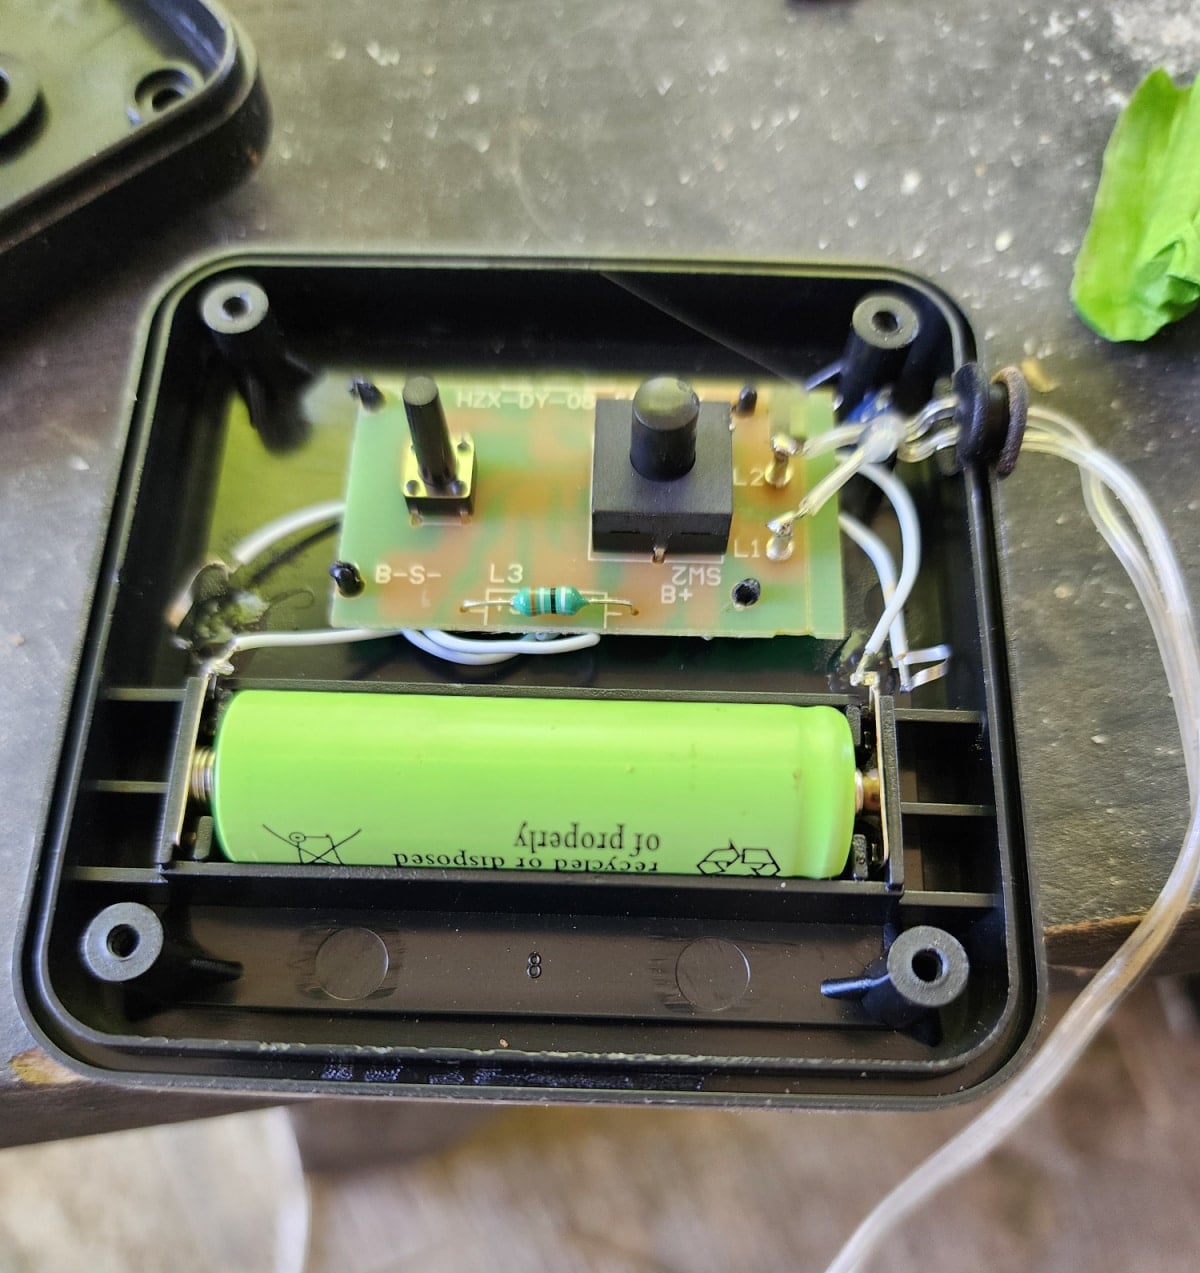
After opening up the solar panel of the fairy lights, I was disappointed to see that the wires are sordered on. That means that in order to thread the wires through the base of the floor lamp, the entire string of lights will need to be removed from the shade/basket, only to be replaced later.
Pro tip: Keep your fairy lights in a straight line at all times. Remove all twirls and curls that the line naturally wants to do. While removing the wire from the basket, I let it pile up, and it took forever to untangle the mess.
Thread a Single Strand of Fairy Lights Through Floor Lamp Parts
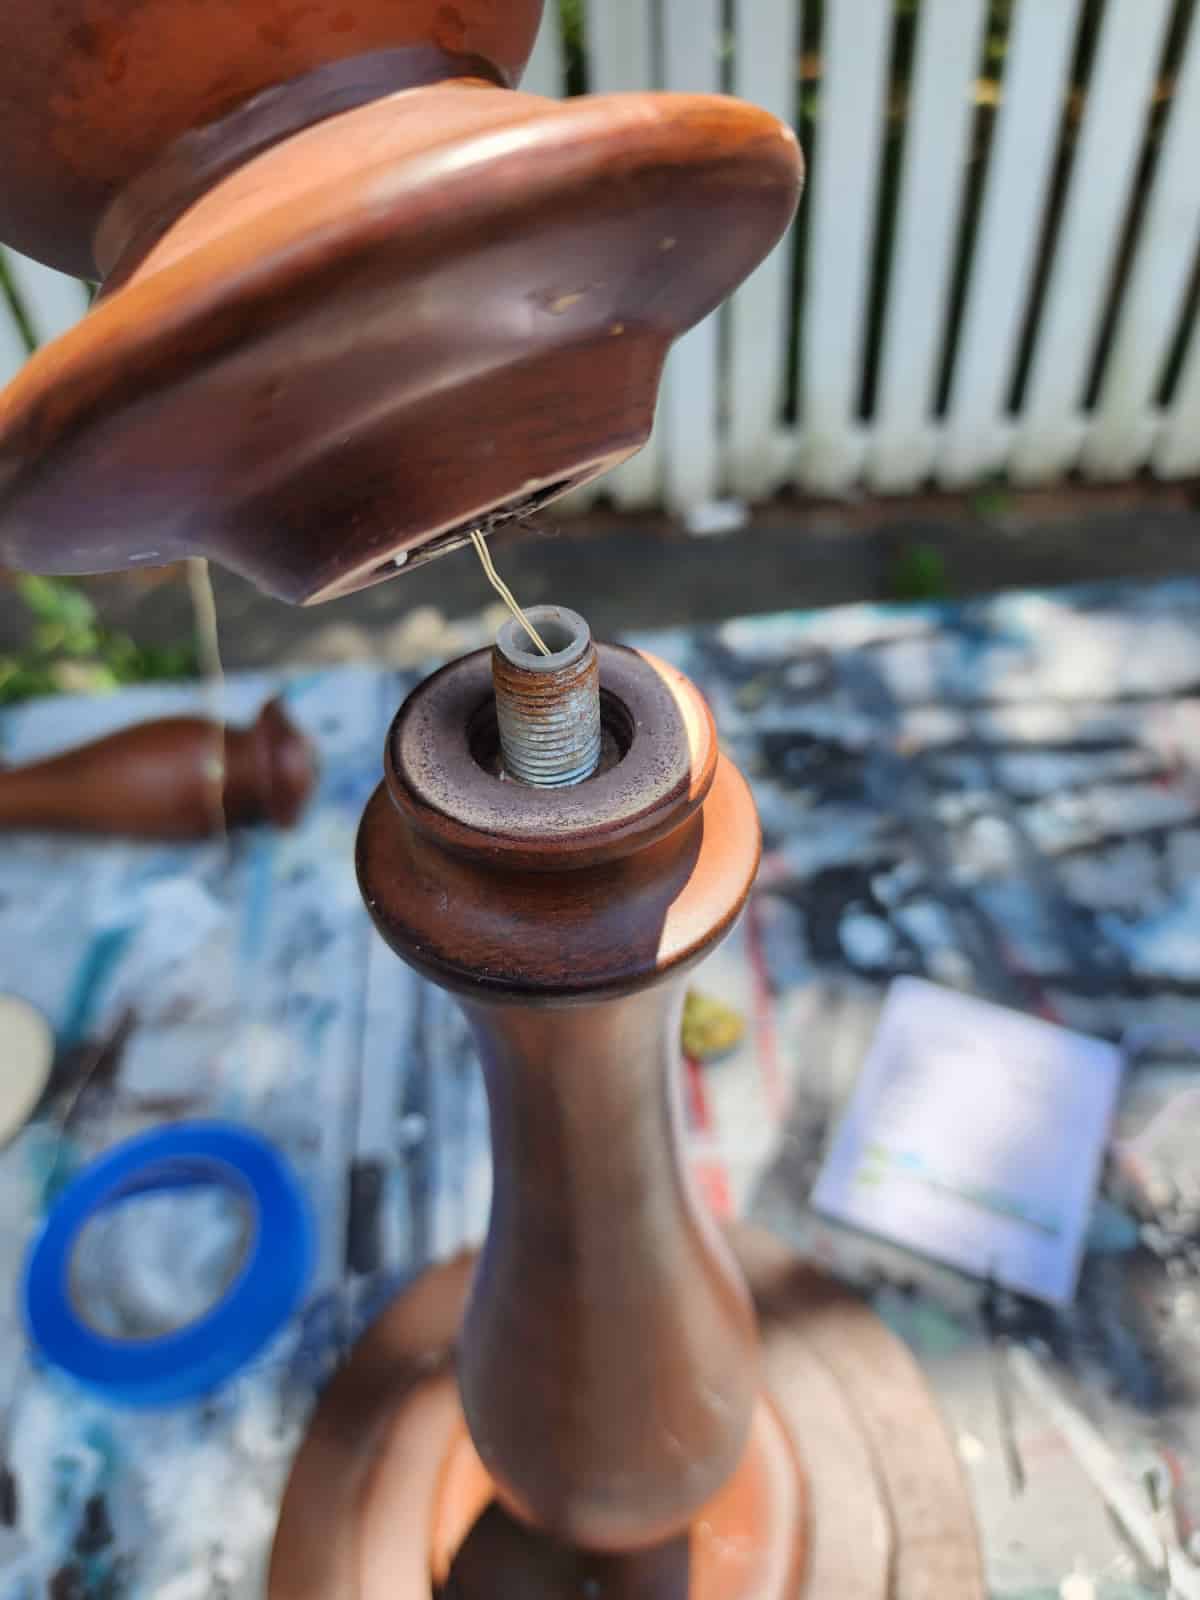
I started at the base with a single strand of the fairy lights and threaded them one by one through all the parts as I reassembled the floor lamp.
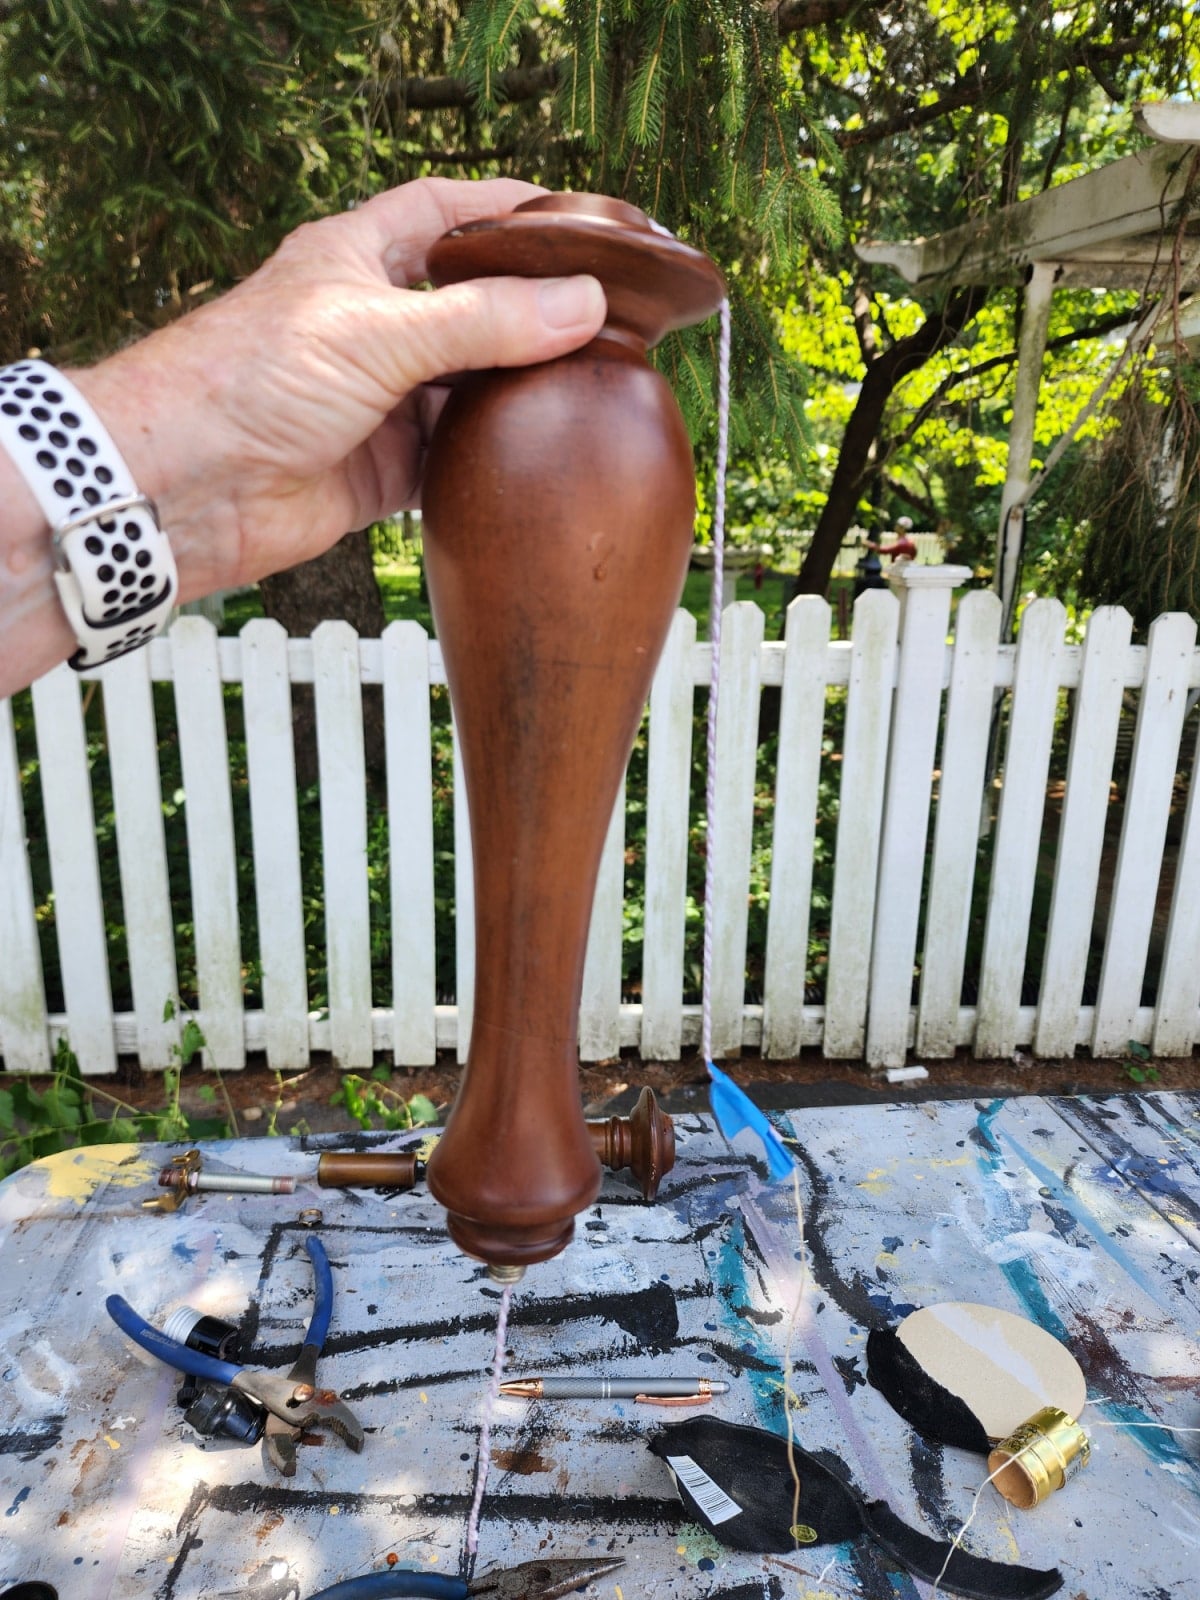
A long piece of twine was taped to the very end of the wired lights. I was amazed at how much easier the twine went through the all-thread pipe than the wire lights did. Gravity did all the work. After the end was through, each piece was reassembled and tightened.
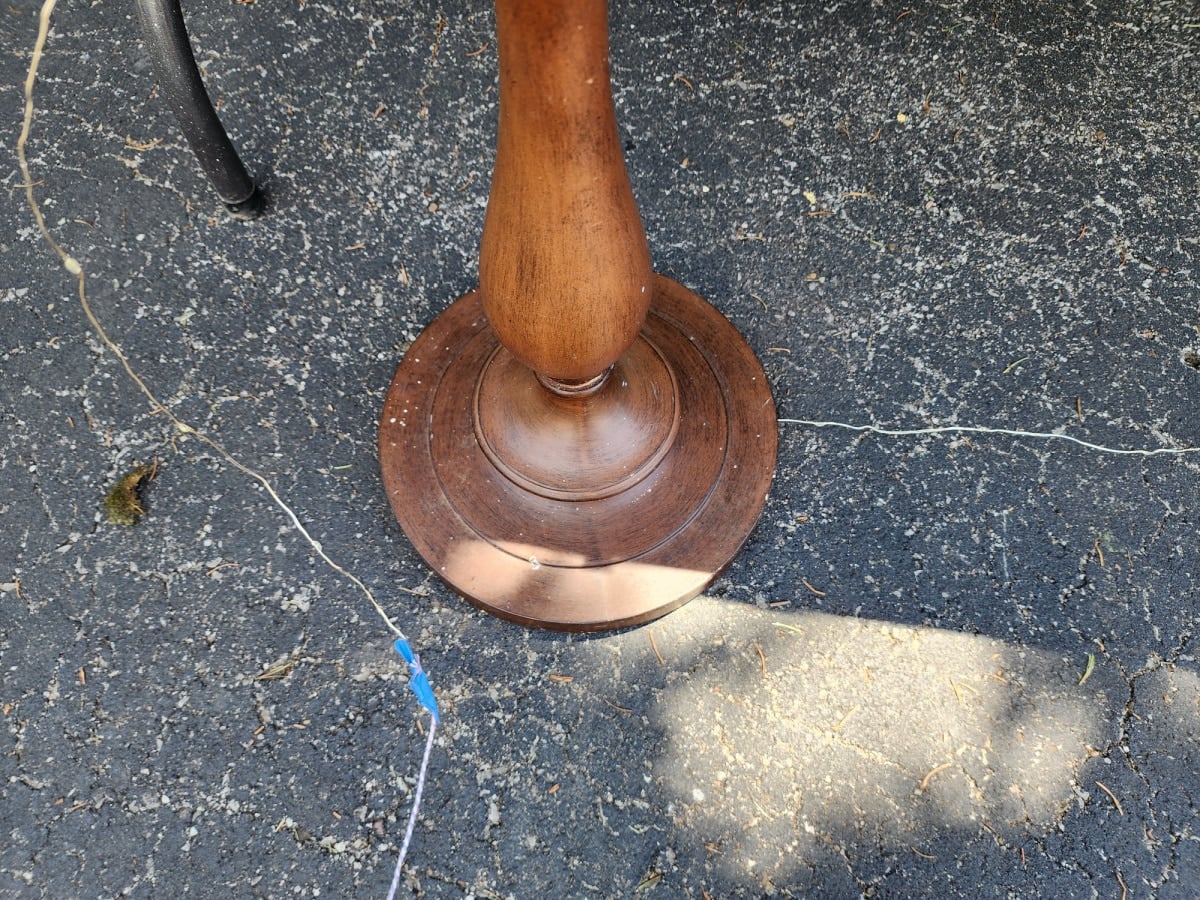
The string of lights travels the same path as the original wiring (cord). Not shown: Carefully pull the entire string of lights through the lamp base until the plastic lead portion exits the top of the floor lamp. I laid the lamp down on the table to do this.
Pro tip: Periodically check that your lights are still working by turning the solar panel upside down.
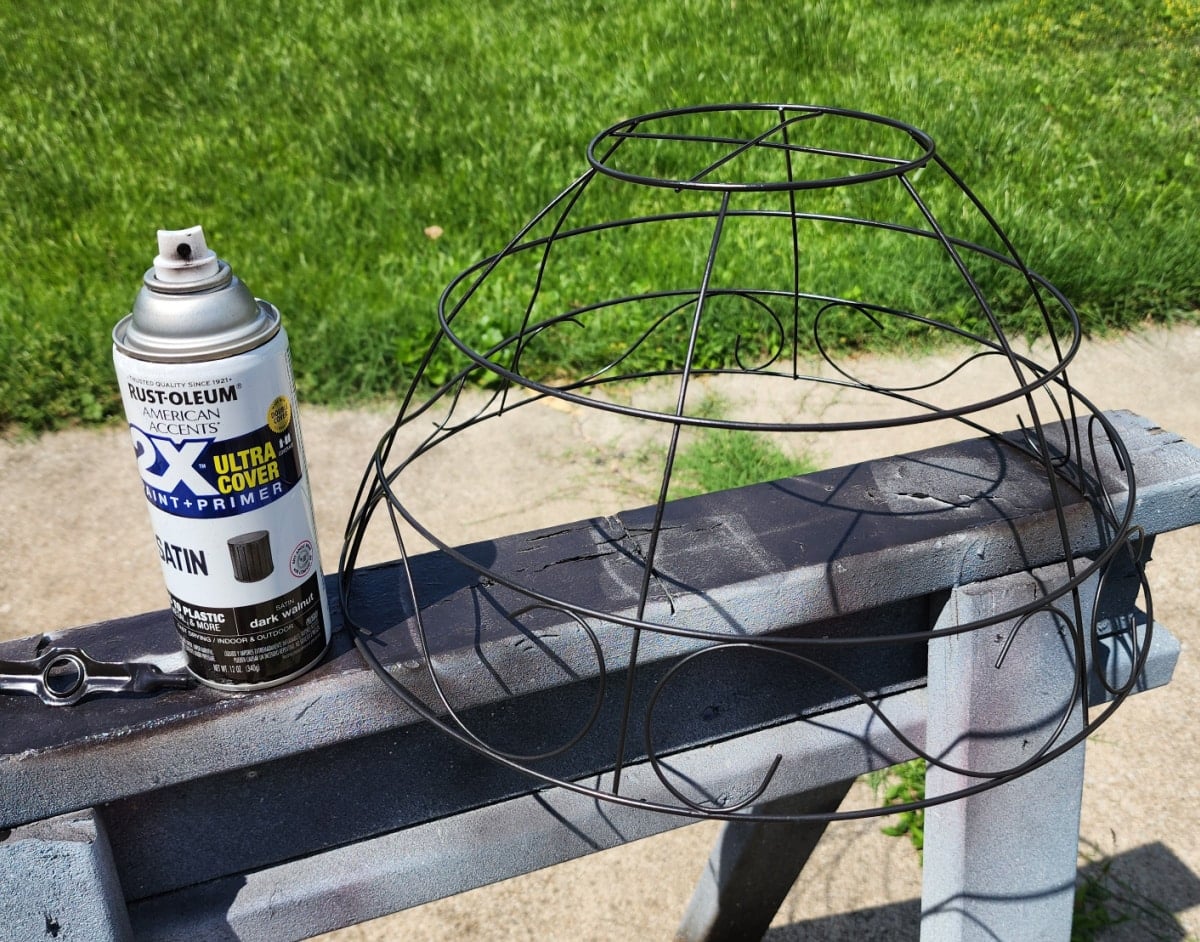
Give Lamp and Basket a Refresh With New Paint
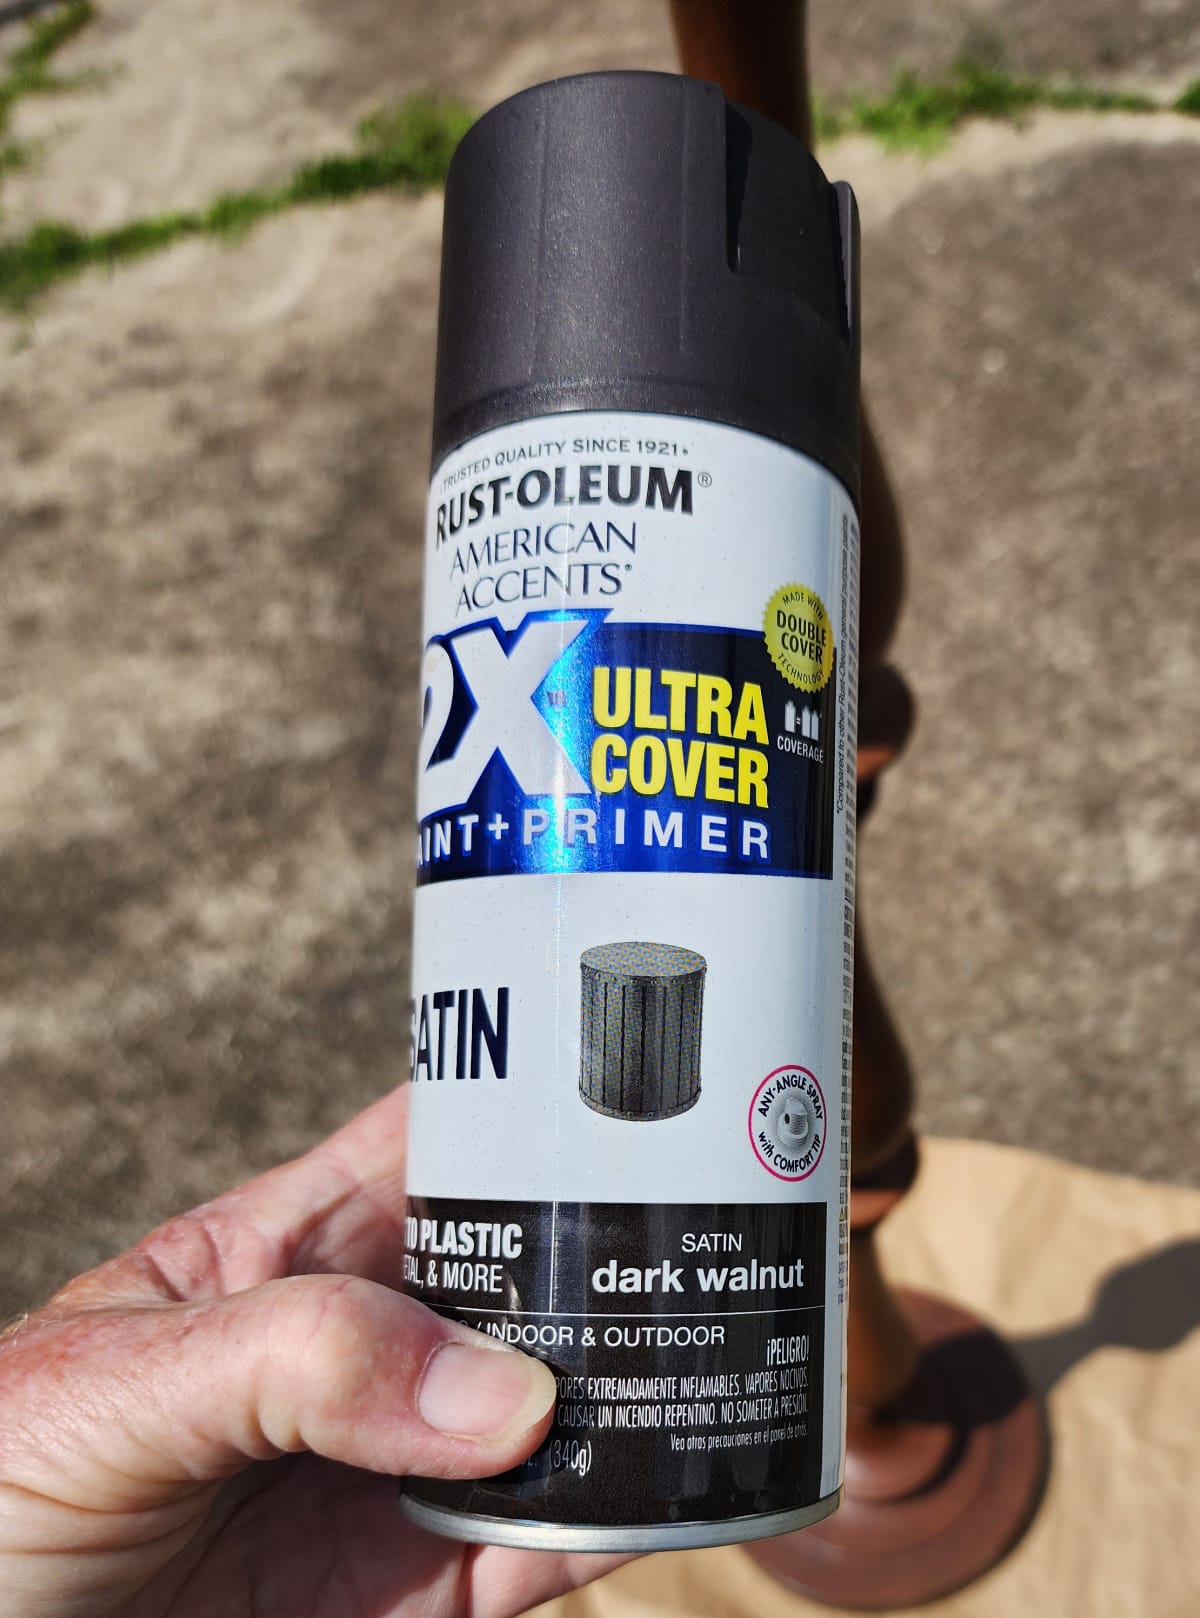
While in the basement, I chose a “black” spray paint, only to find out that it was actually “dark walnut”. But in the end, I think the color is perfect.
Pro tip: If you choose to spray-paint your lamp base, you may want to do it before threading 39.4 ft of fairy lights through it.
I painted the wire basket used as a fairy-light lampshade the same color. Did you notice the harp holder? I sprayed it and the nut to match as well.
Wrapping Fairy Lights Around a Lampshade
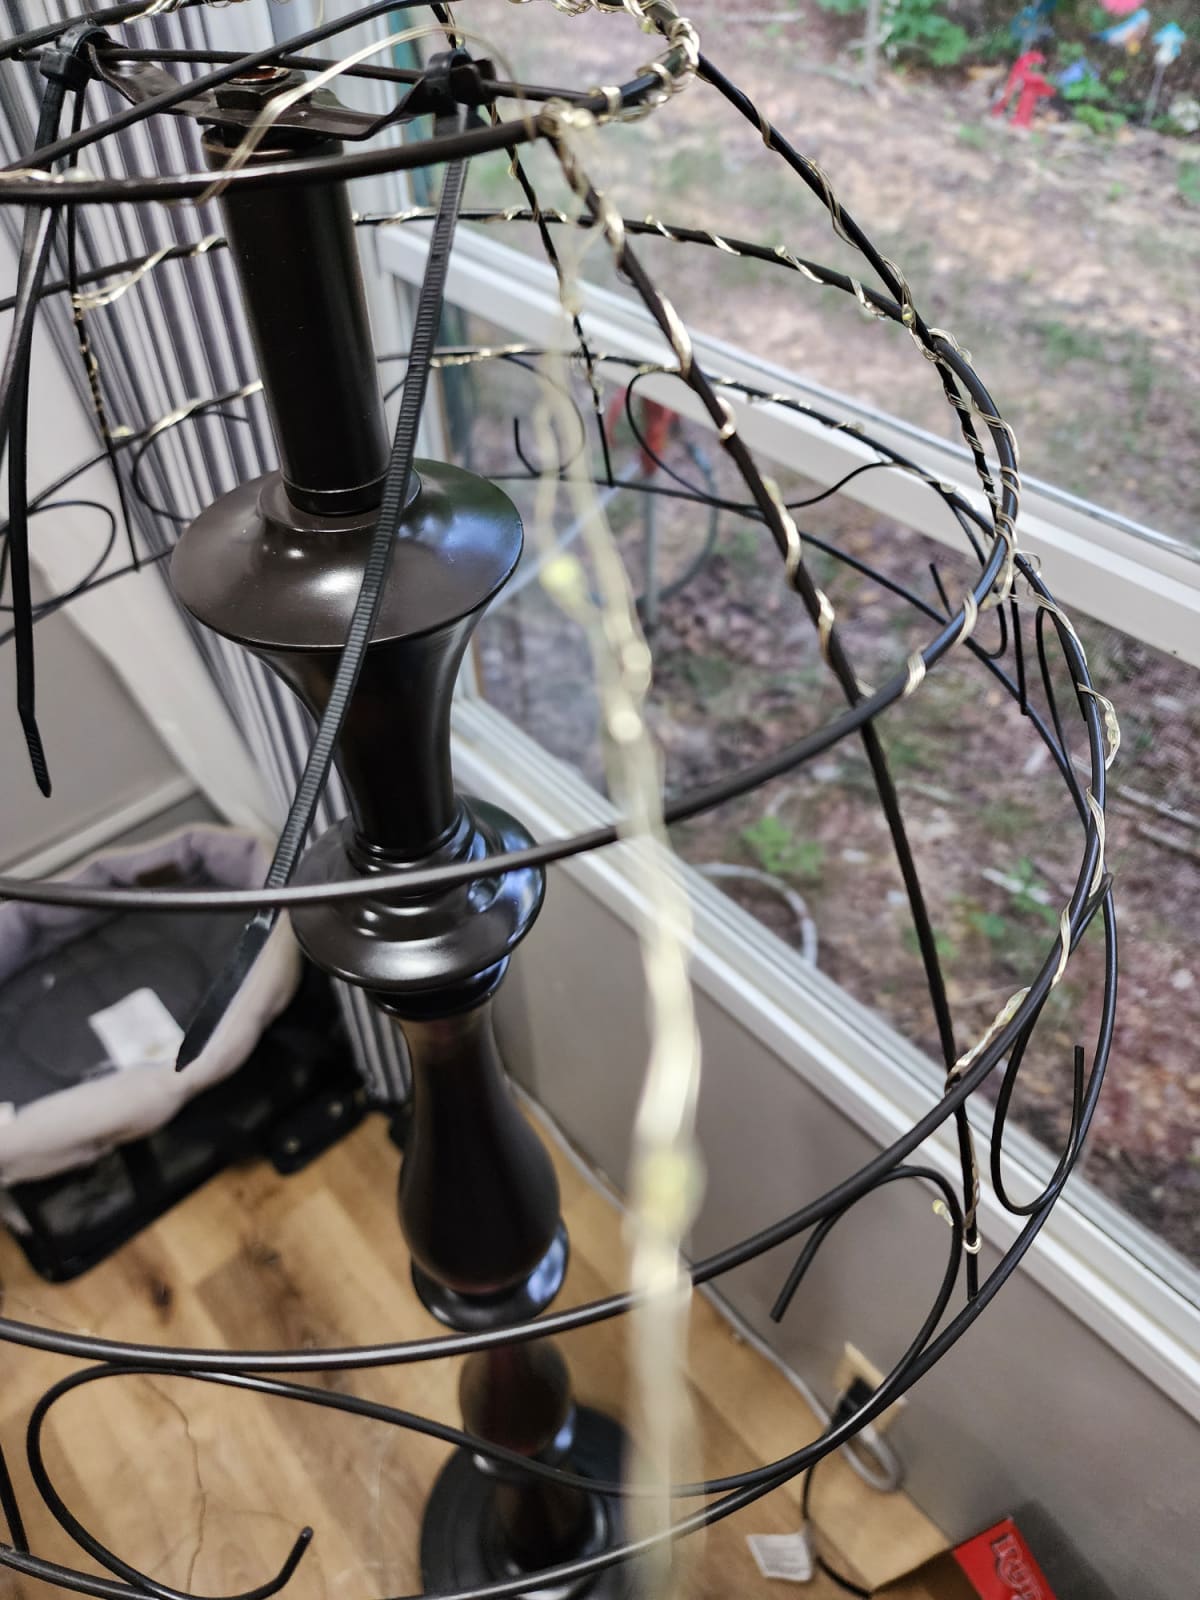
The harp holder and zip ties are back in place on the wire basket used as a lampshade frame. In the photo, I’m in the process of following the same pattern as before.
What you don’t see:
The single-strand fairy light is strung throughout the entire kitchen, living room, and bedroom at The Hideaway.
For each section, I did the following:
- Measured 30″ and made a soft fold.
- Twisted or wound that 30″ section to join the wires to make a single wire, spacing the lights so they don’t line up right next to each other.
- The very long end is then at the top of the shade.
- Allow a short portion of the single wire to run along the top of the shade as you start wrapping the double wire around it.
- Doing this allows the entire long strand of lights to be at the next section for you to fold, twist, wrap, and repeat.
Your measurements will depend on the design you determine with string or twine.
Close-up Photo of Wrapping Fairy Lights on a Lampshade

There are several things going on in this photo of fairy lights wrapped around a lampshade frame. Note the following:
- Scissors Snipping the tails off the zip ties.
- The single wire is intertwined with the double wire on the top rim of the lampshade.
- Because the 30″ section was folded, the fairy lights appear closer together, which is important on a small project like this.
- The “wrap” looks like it has four wires because if you look closely at a regular set of fairy lights, you will see there are actually two wires.
- This is where the wrap starts and ends, so you can see where the lead wire exits the lamp.
Glass Prisms Embellish the Fairy Lampshade
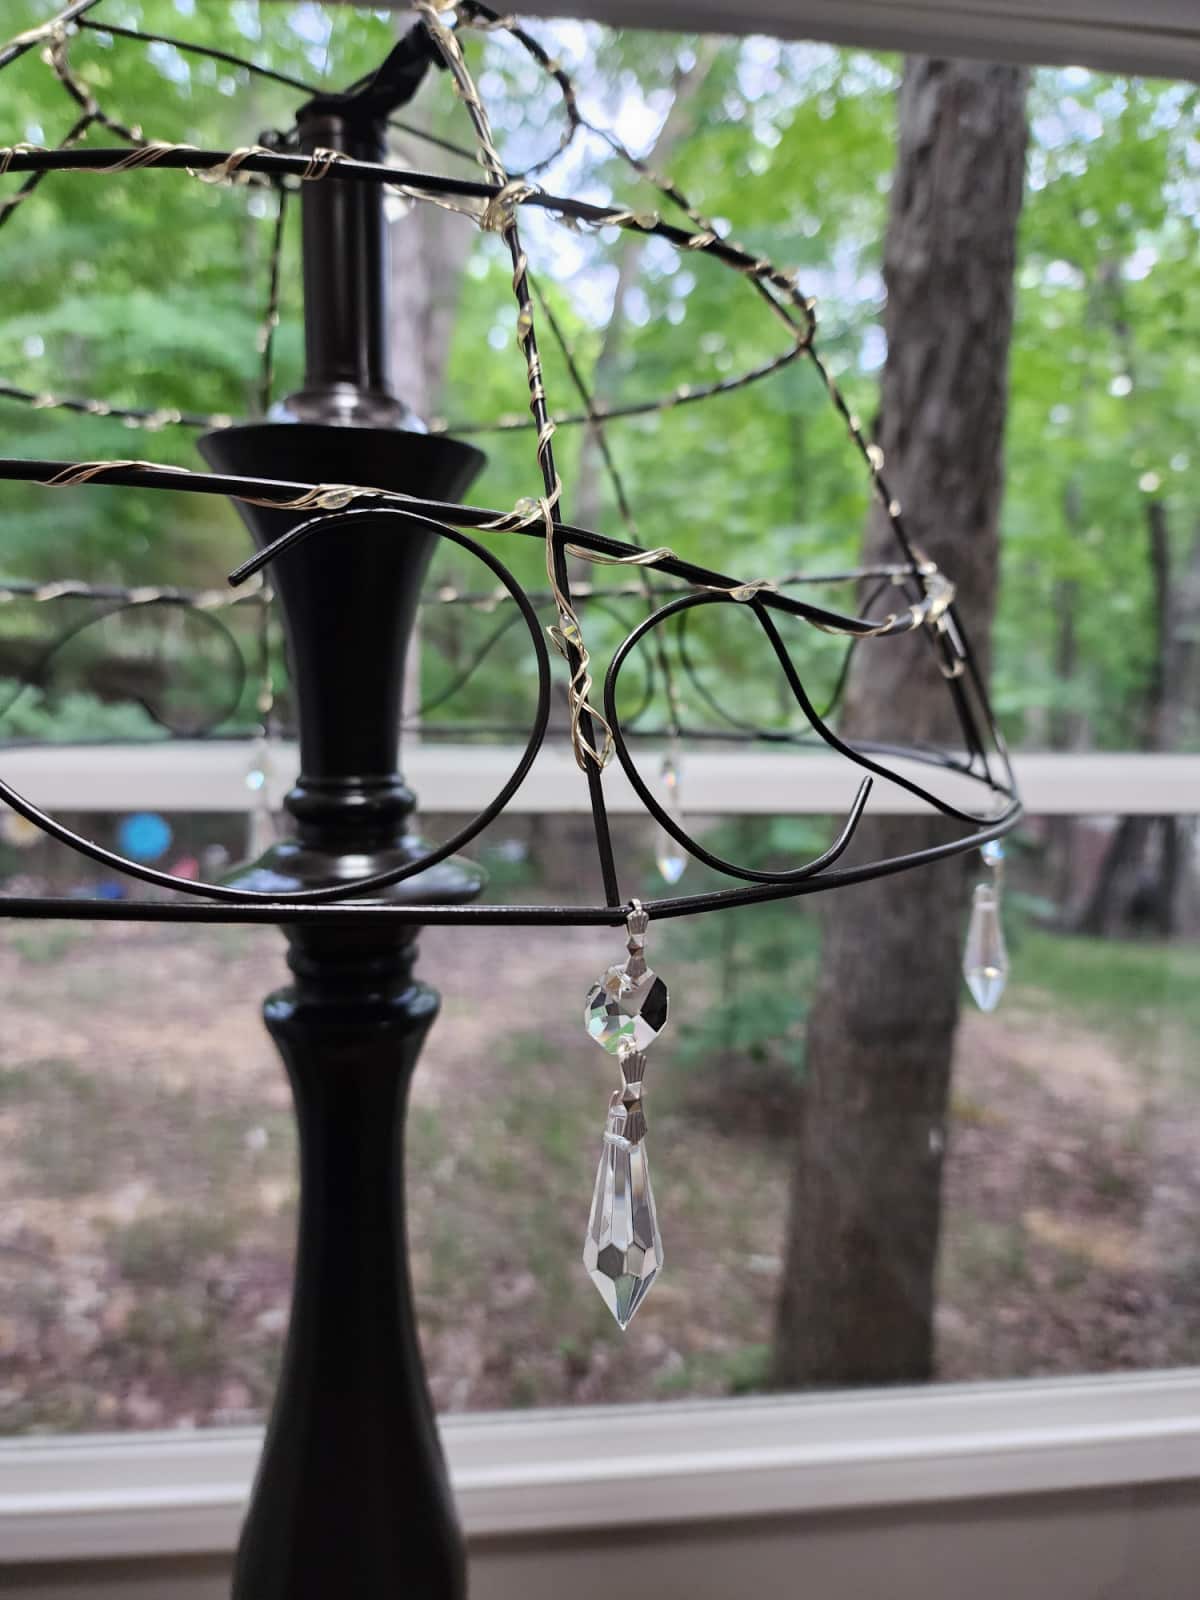
I chose to use the glass prisms as on the prototype.
DIY Garden Light From an Old Floor Lamp
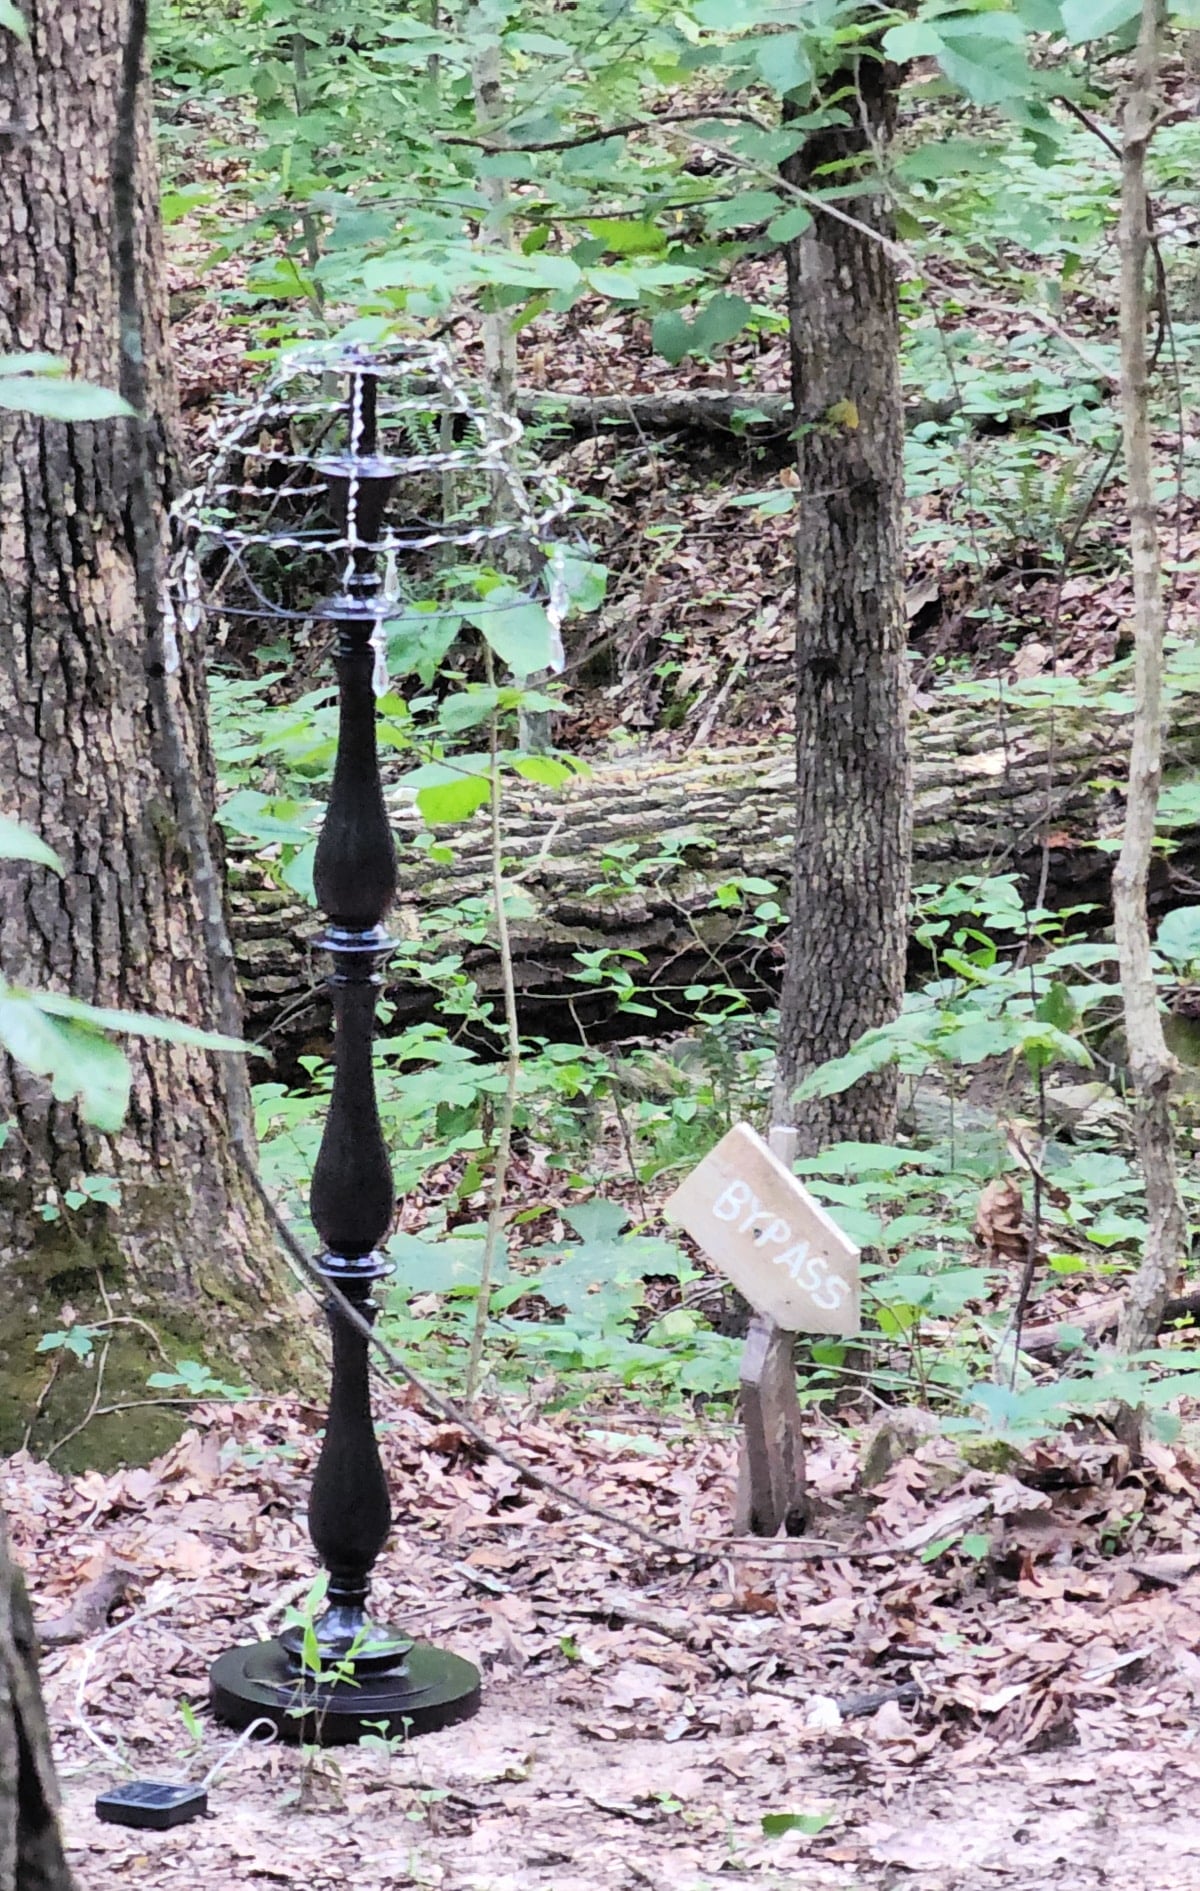
This isn’t the best photo, but it’s the only one I could find where you can actually see the solar panel. Because the lamp is so tall, the “cord” is only about 20-24″ long. I was excited to see that it can be tucked up under the base to be hidden at night. Of course, it has to be out during daylight hours to charge. However, these lights don’t need full sun to charge.
It was upside down in my truck all day, so it didn’t charge enough for the lights to be bright or last very long. I only had one night before I headed home.
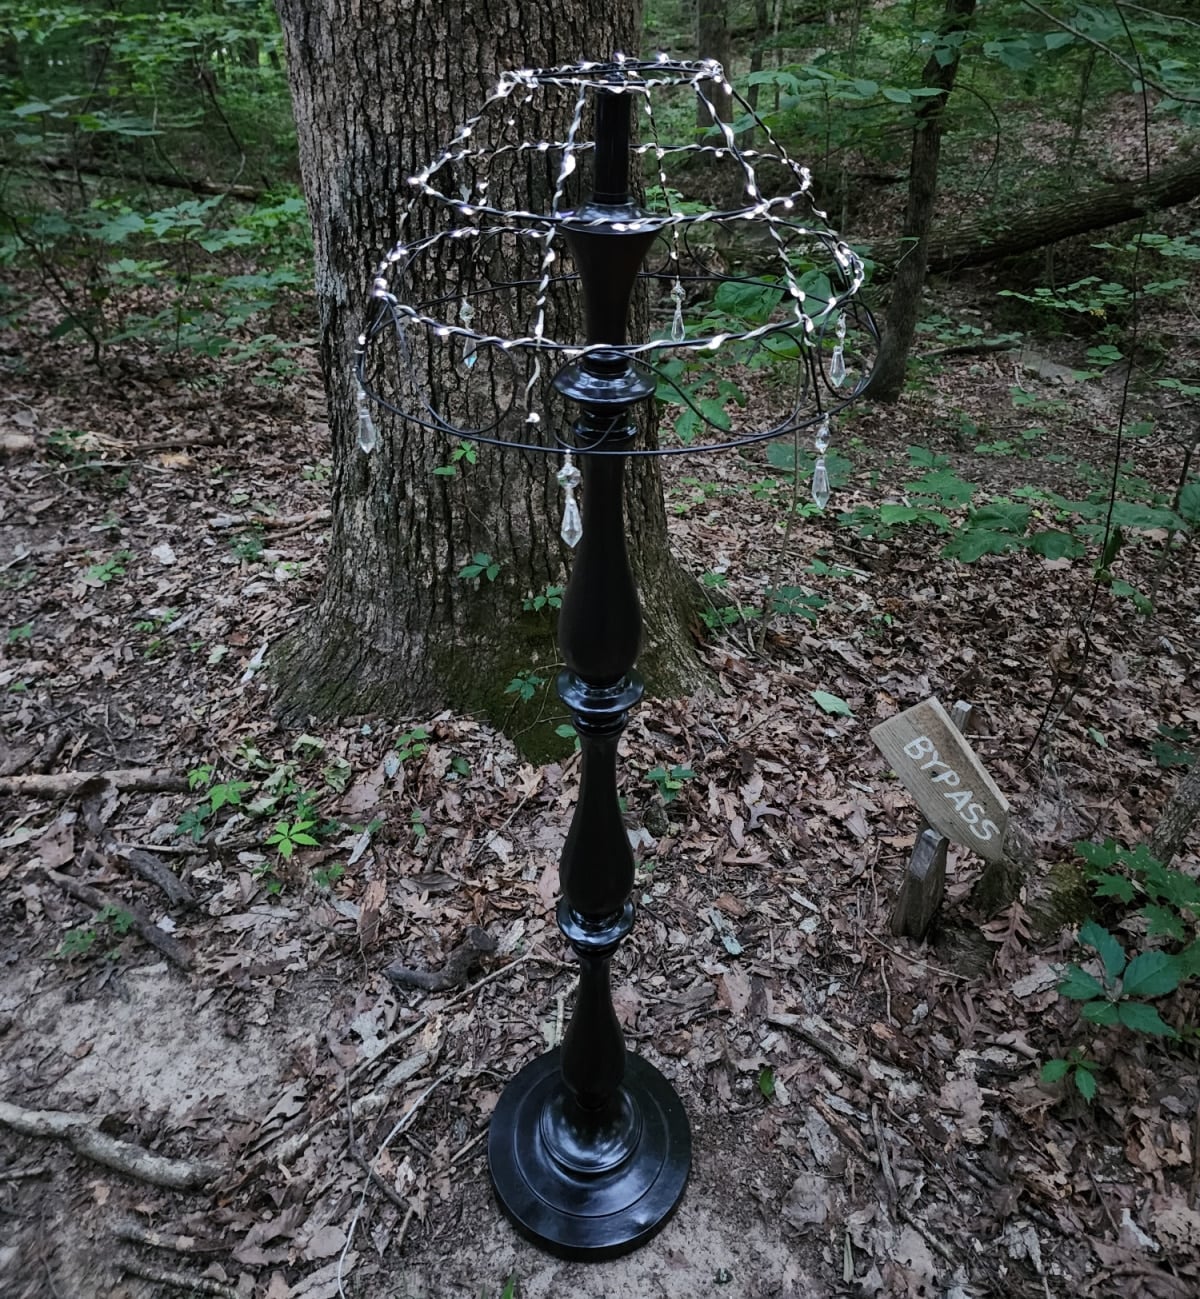
We have four acres at The Hideaway, but it’s nearly impossible to find anyplace that isn’t on a hill. This is at the lower end of the Hickory Trail.
Let’s look at an edited image of how this might look in a cozy backyard setting.
Solar Light Feature | Fairy Lights on a Lamp Shade

Do you love my outdoor fairy light lampshade as much as I do? Would you prefer it to be a pendant light feature, as in the inspiration photo above?
I would love for you to share this project with your friends before you dash off to see the other awesome projects below.
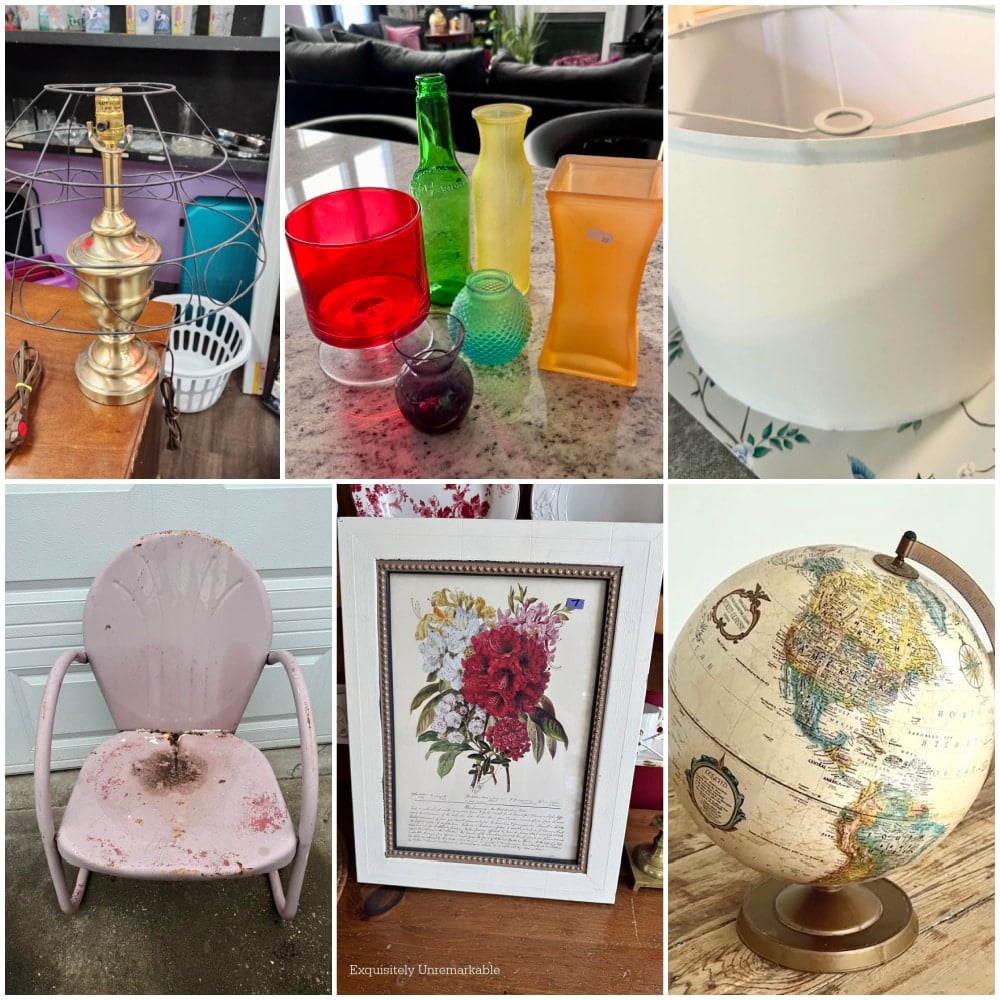
- Fairy Garden Light (you are here, thank you).
- Glass Rainbow Garden Tower
- Thrift Store Lampshade Makeover
- Refreshed Vintage Metal Patio Chair
- Thrifted Botanical Print Makeover
- DIY Upcycled Globe Light, Cloche, Pedestal Bowl and Paper Towel Stand

Gail, this outdoor fairy light is absolutely stunning! What a creative way to attach the lights it looks so pretty at night. Thanks for the inspiration.
Thanks so much Michelle. My motto is “never give up”. 🙂
gail
Oh my goodness, obsessed with how this turned out. What a magical way to repurpose a lampshade.
Thank you so much Michelle! I’m thrilled that you stopped by and left a comment!
happy crafting!
gail
I absolutely love it especially at night!! This gives me an idea thank you for the inspiration, Gail!
Yay Julie! I’m so happy I’ve inspired your creative juices. I can’t wait to see what you do.
gail
Gail, that is a very comprehensive tutorial! You certainly covered all the ins and outs. I love the tall lamp. The shade fit it perfectly. What a fabulous outcome. Now I want to make one for our covered porch!
Yes, it was definitely a LONG article. But I felt that I needed to be up front with what when wrong.
Please let me know if you end up trying this!
I would like to make a hanging fairy light with a regular naked lamp shade.
gail