Bench Makeover With Stripes
As an Amazon Associate, I earn from qualifying purchases.
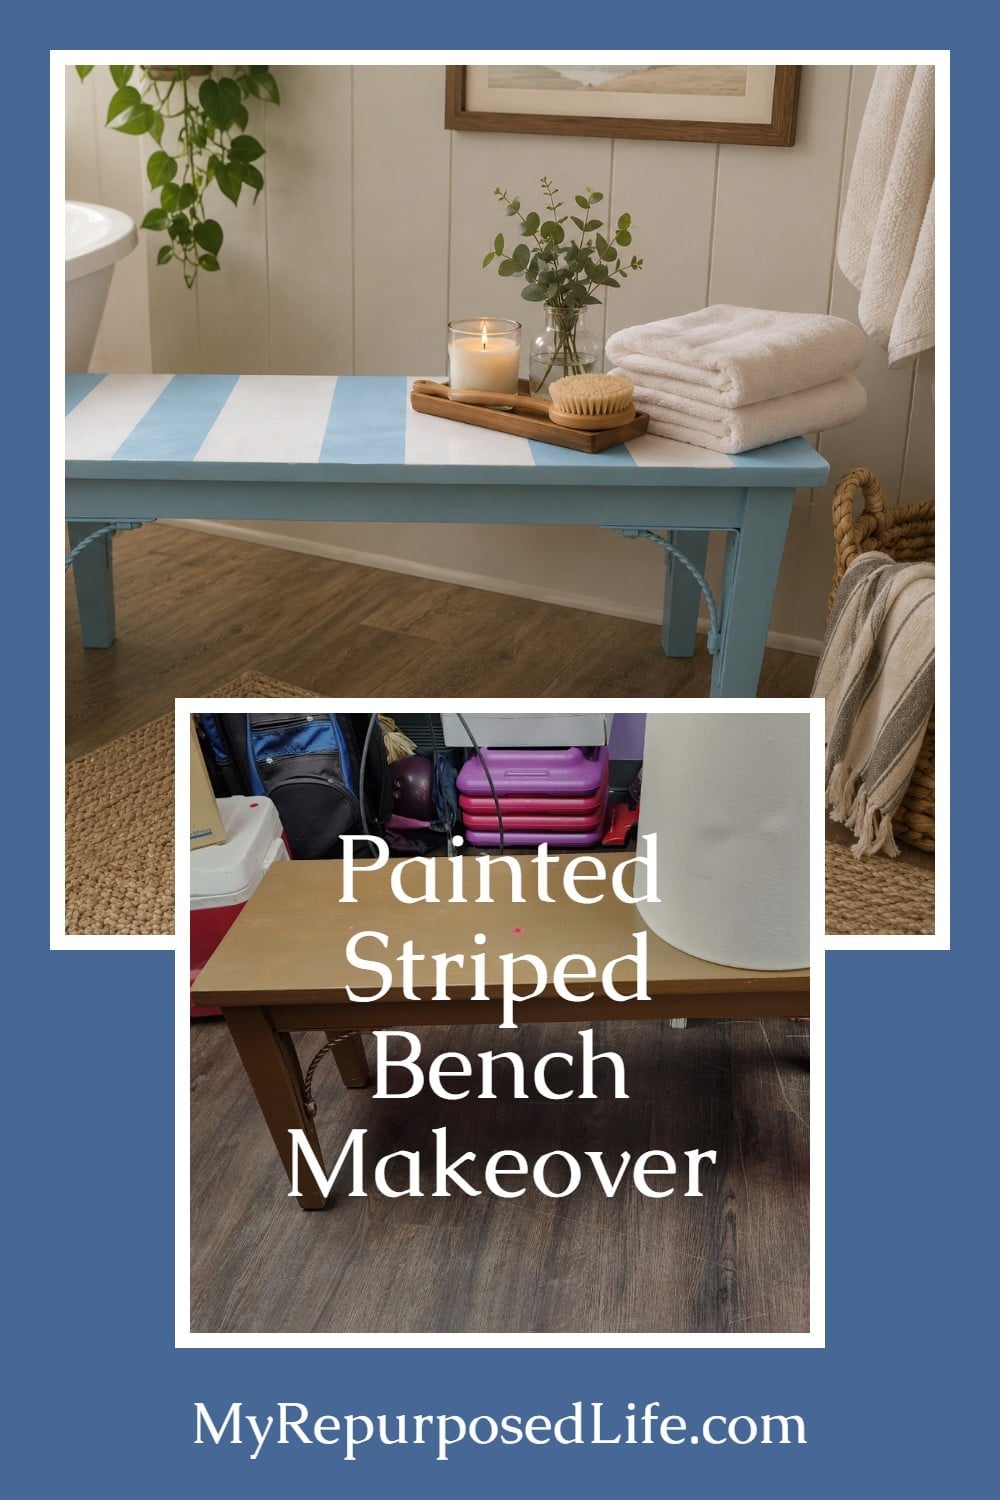
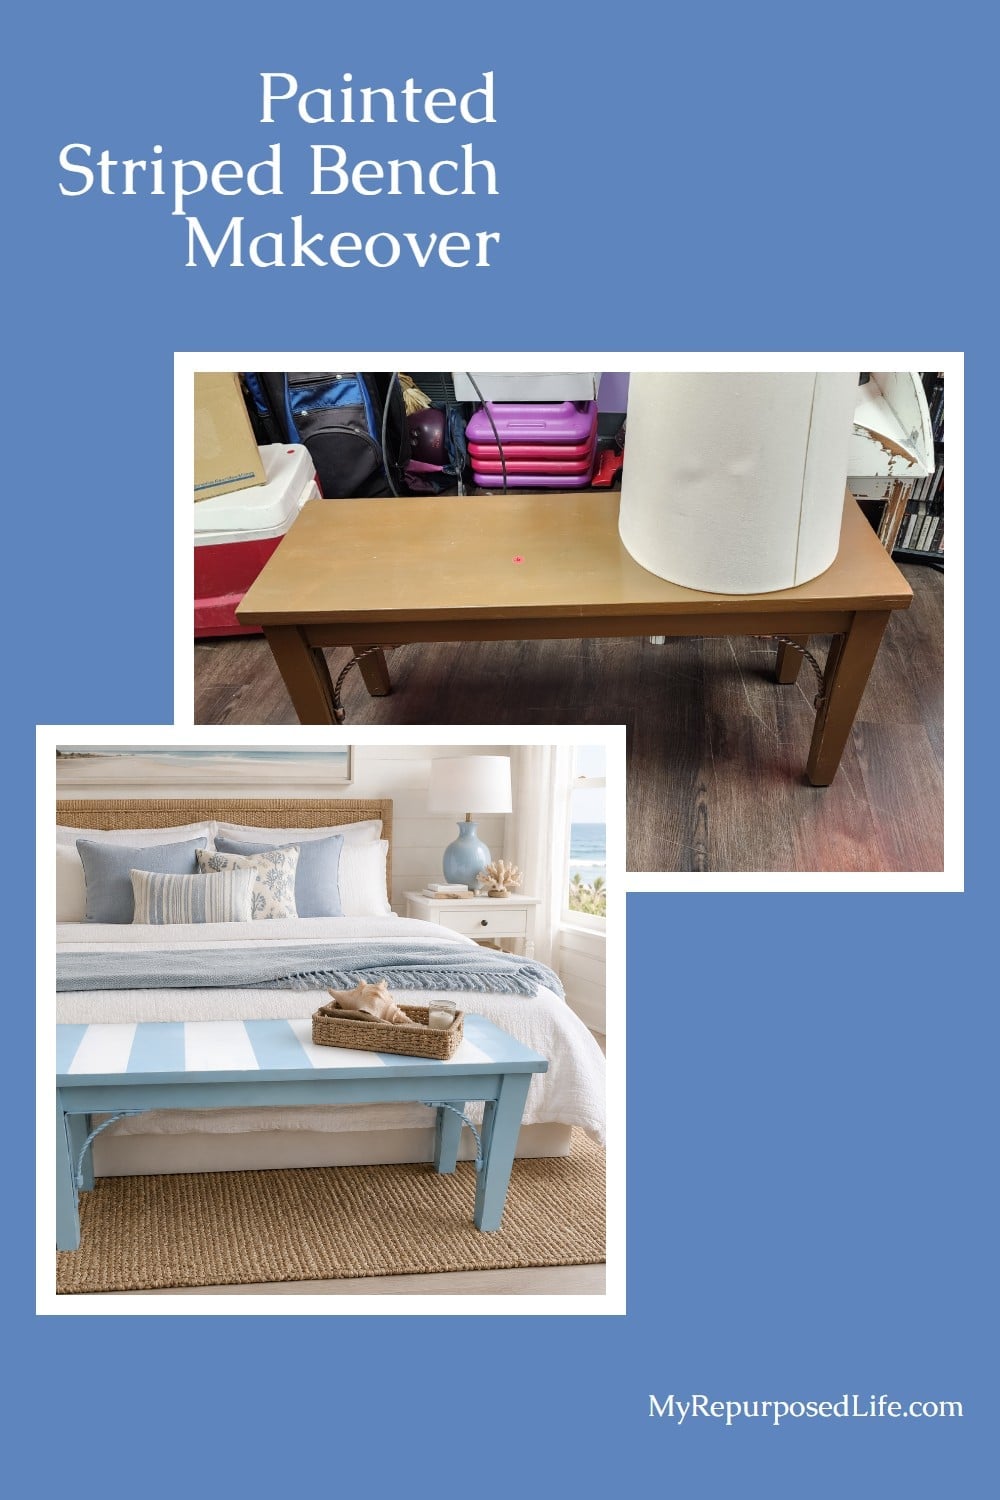
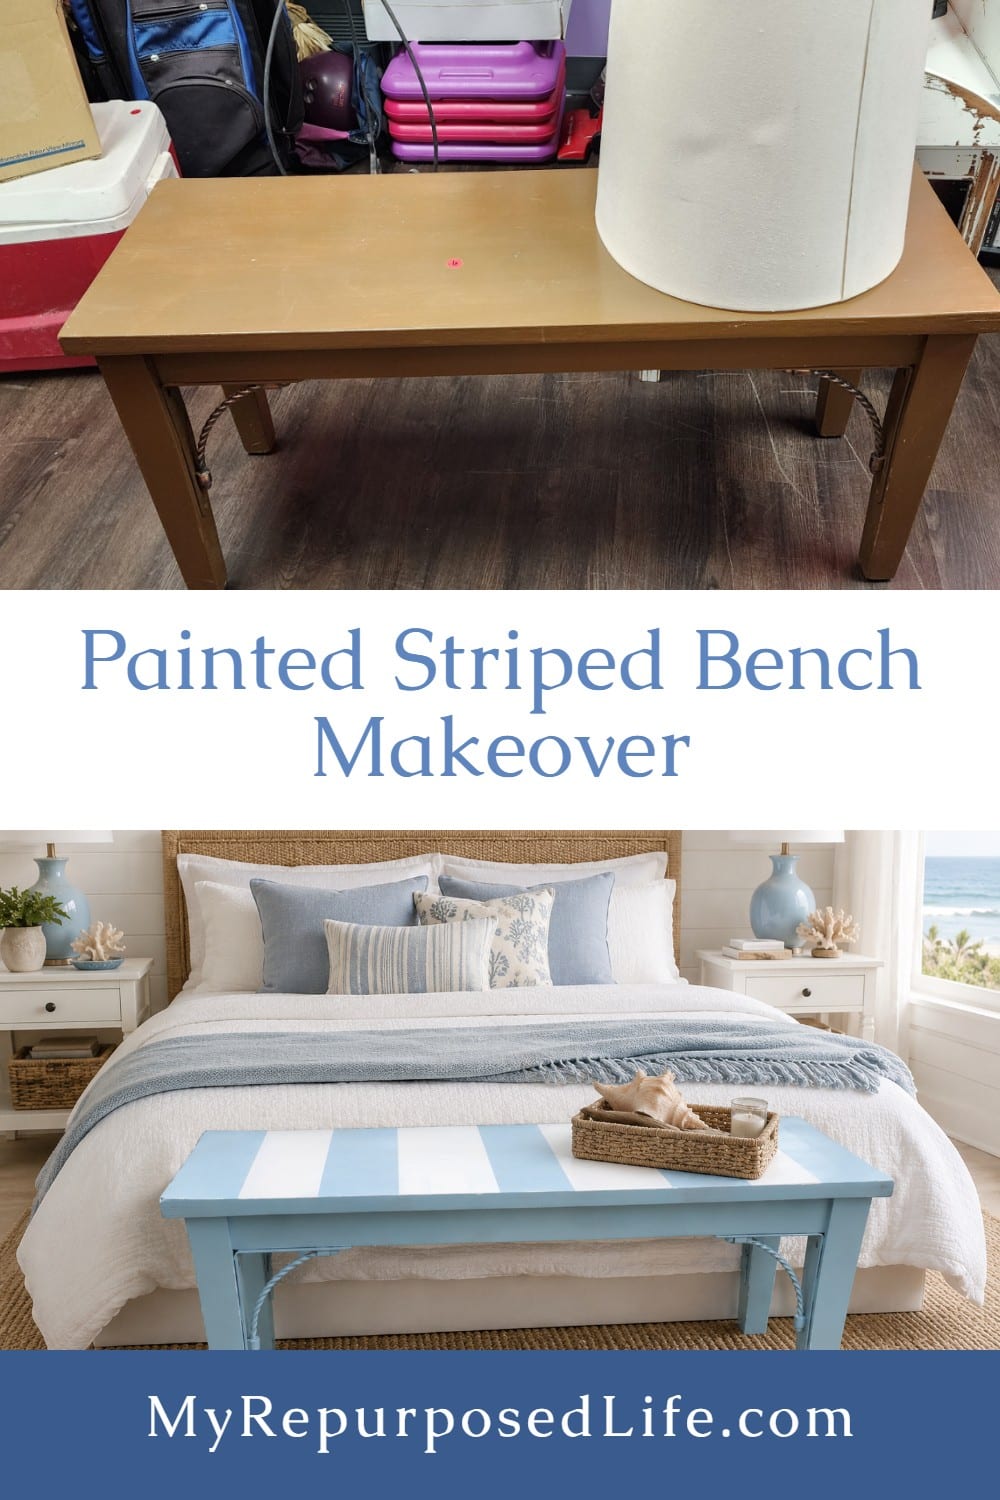
This brown thrift store bench had a simple shape, sturdy legs, and a little extra detail with those metal side brackets. It was perfectly usable as it was, but it didn’t have much personality. A fresh coat of blue paint and some wide white stripes gave it a whole new look without changing the bench itself. This painted striped bench makeover is a great example of how a basic piece of furniture can feel special with just paint, tape, and a little patience.
What sets this project aside from other projects you will find here on My Repurposed Life?
- Furniture Stripper
- Spray Paint
- Painting Stripes
I’m not an expert on any of these three things, so if you struggle with any of the three, maybe I can make you feel like you’re not alone.
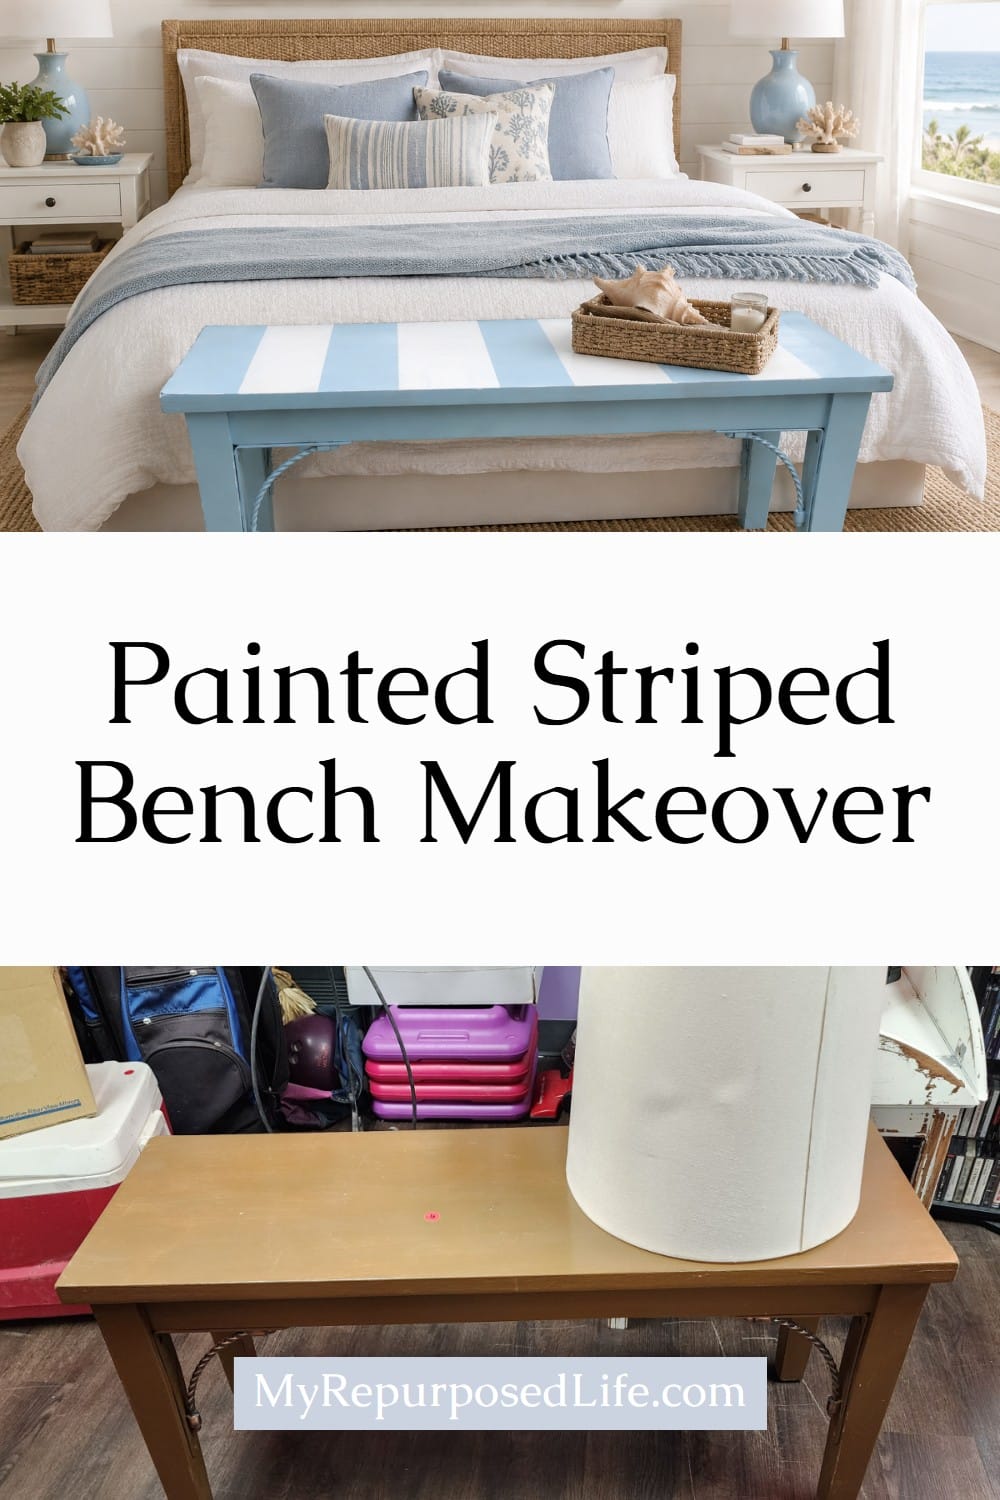
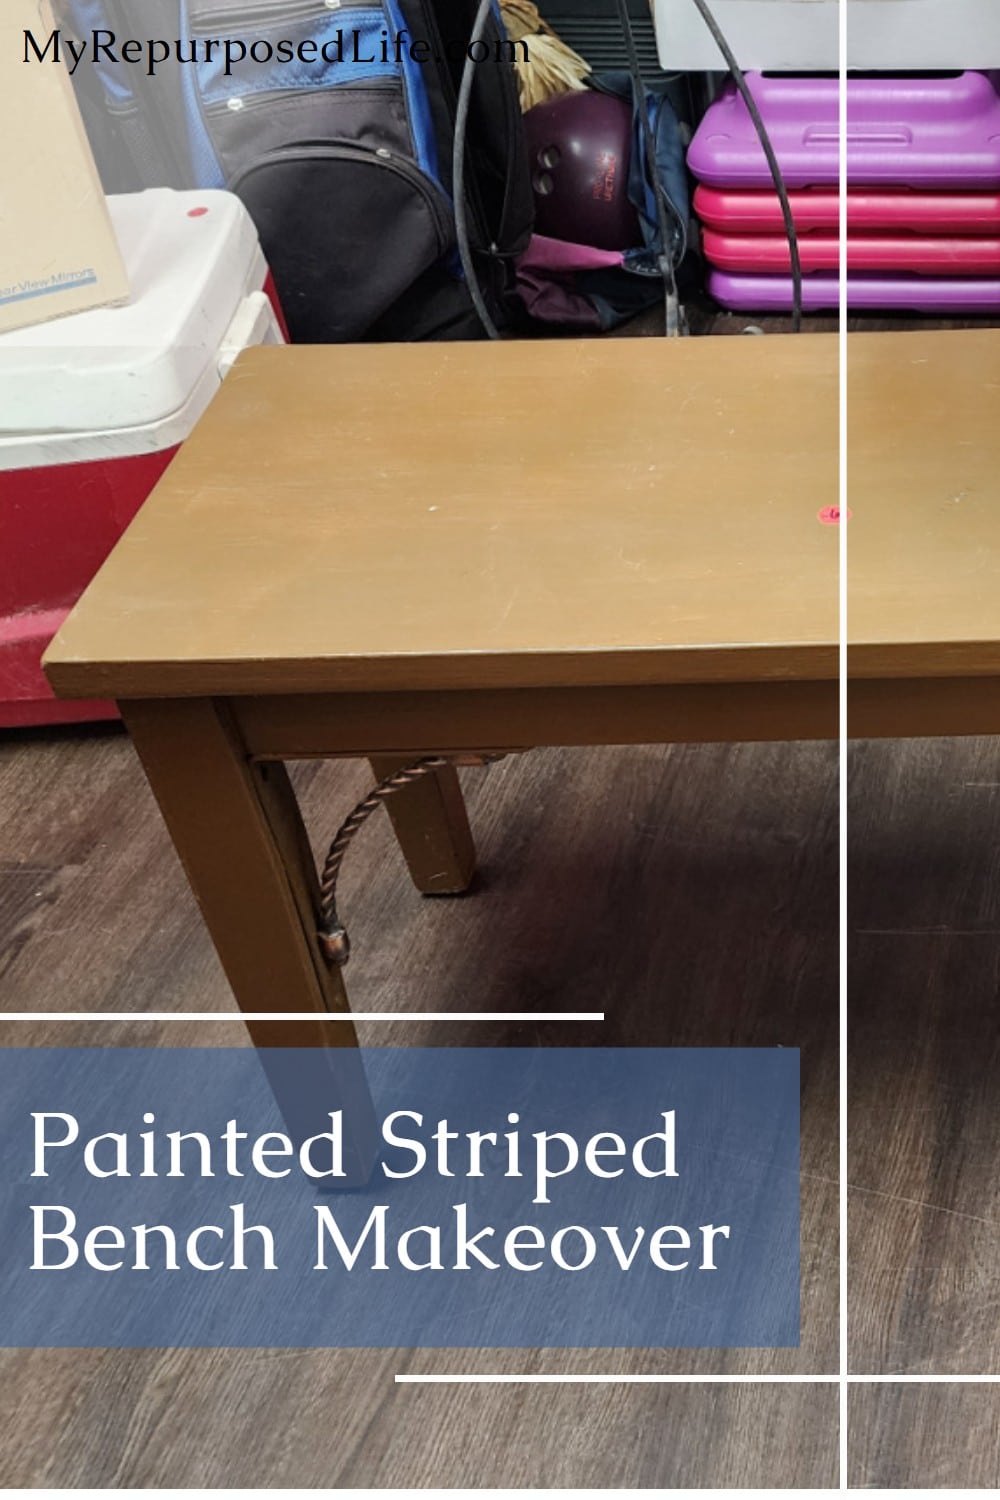
Brown Thrift Store Bench Before
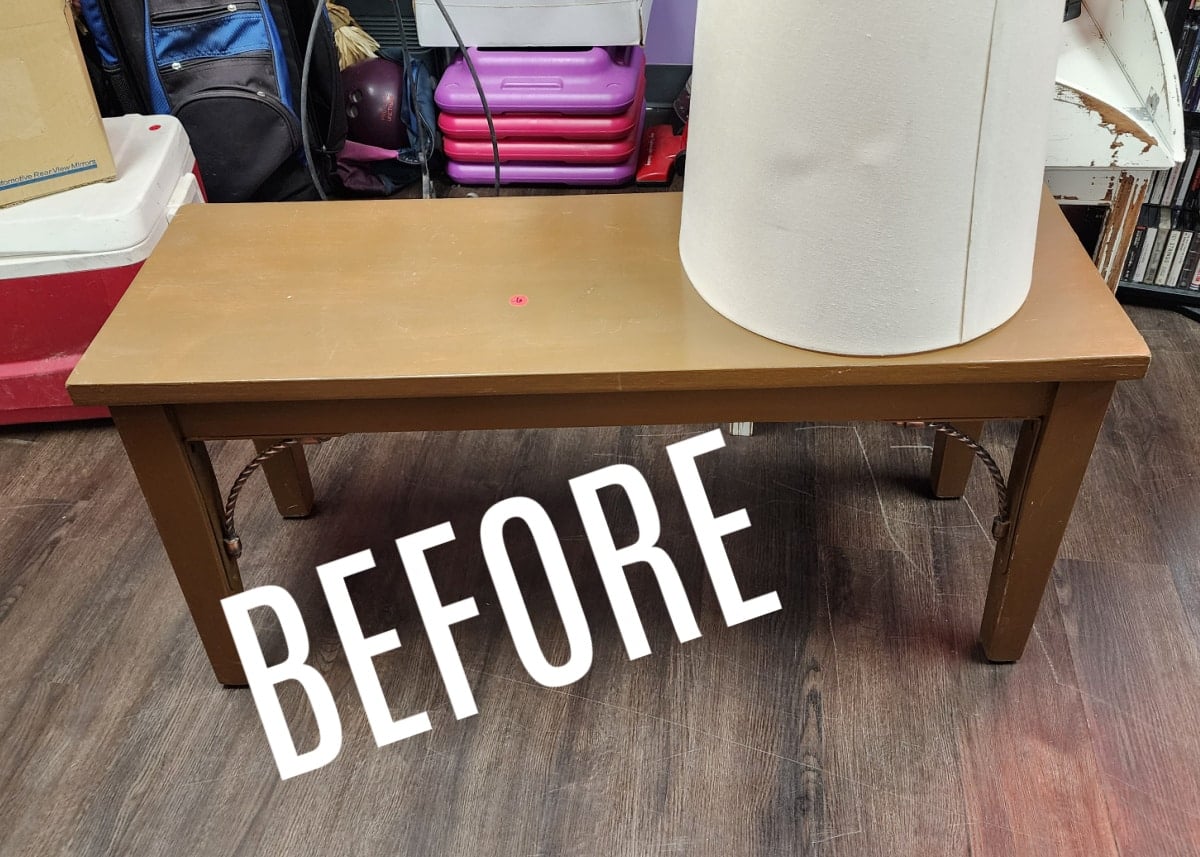
This $6 bench came from one of my favorite thrift stores, Shirley’s Way. They have a high turnover of their donations because their prices are so reasonable. The bench is heavy and very sturdy, making it versatile in any room of the house.
The Furniture Fixer Upper Tour is a monthly furniture makeover series featuring a small team of furniture-painting friends. Each month, we all start with a tired or thrifted piece and share how we clean it up, repair it, and give it a fresh new finish. After you check out this project, be sure to visit the links at the bottom of the post to see what the rest of the Furniture Fixer Upper team did with their finds.
Assess and Inspect Thrift Store Furniture
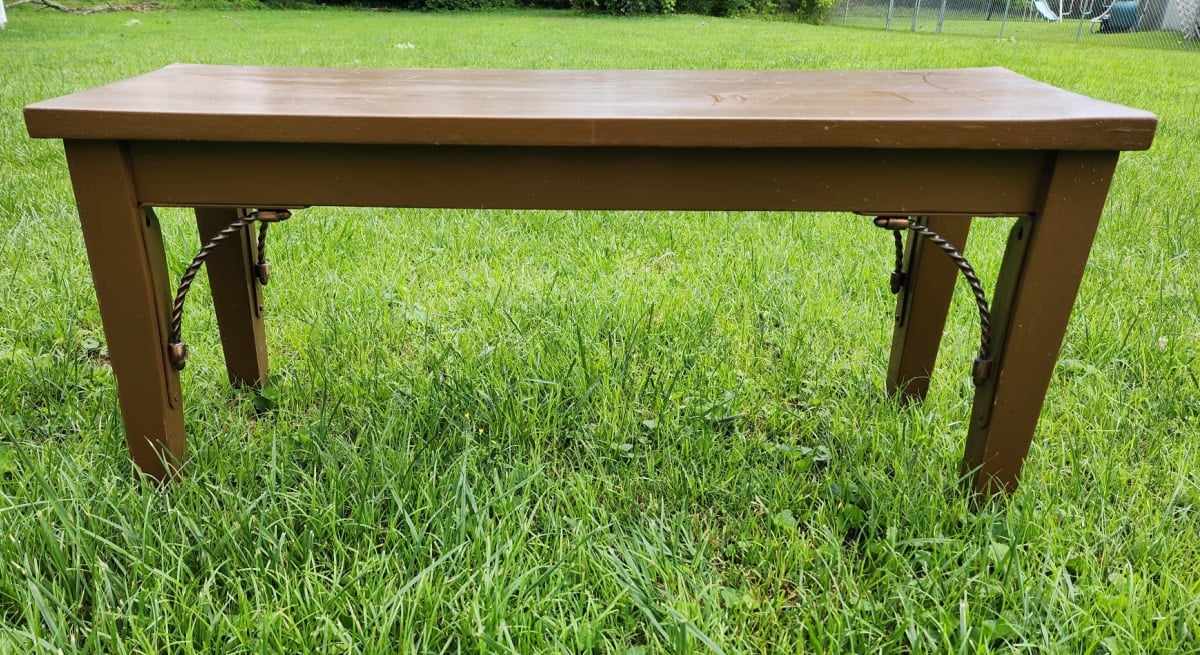
This photo shows how wonky the bench’s top is. It was difficult to tell whether the top of the bench was real wood or veneer over composite wood.
Sand the Bench Top
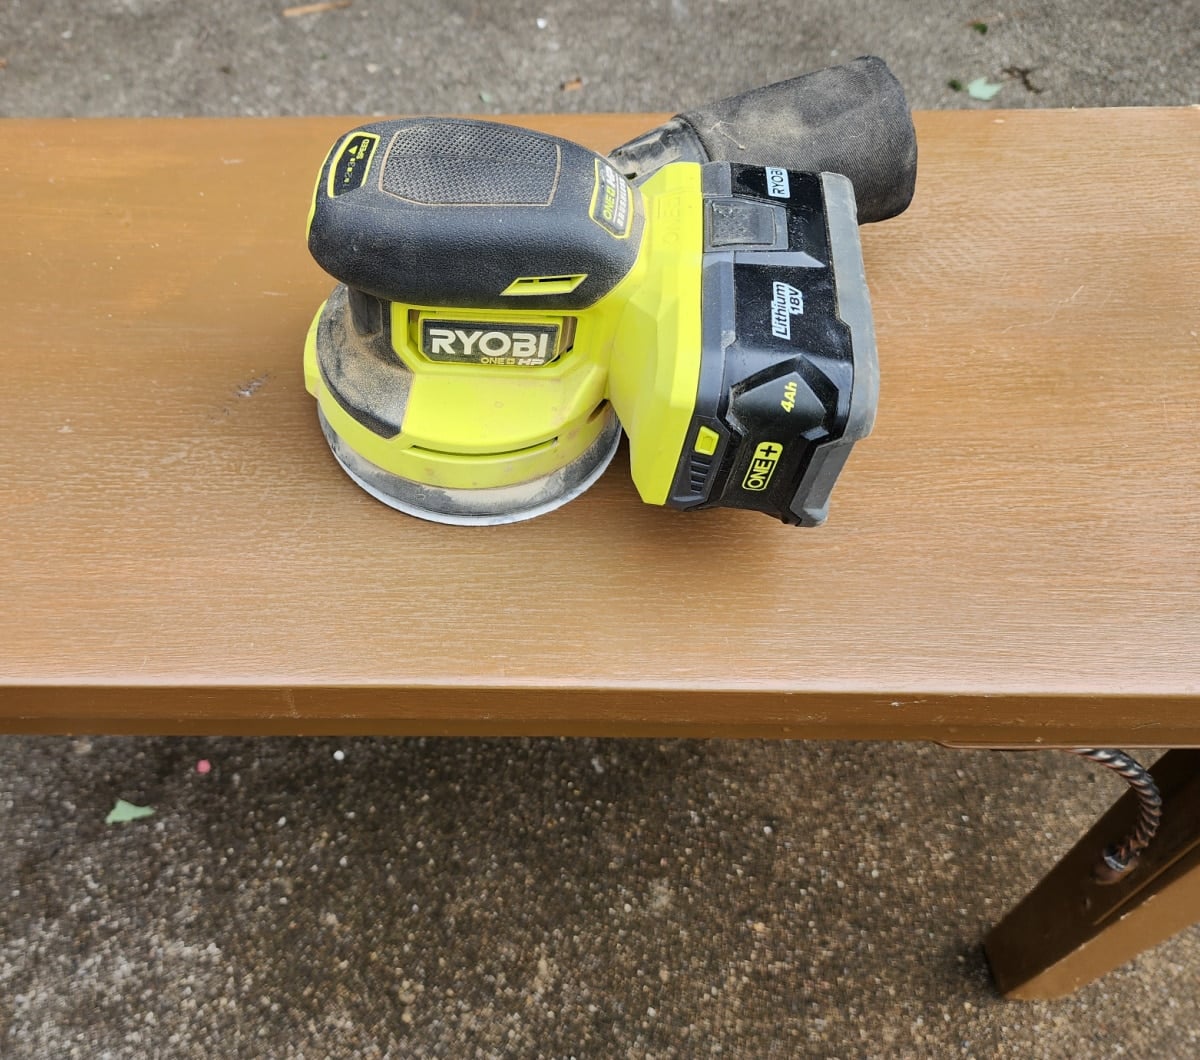
My first step for this bench makeover was to sand the bench top with an orbital sander. The bench had been painted, possibly with oil-based paint. The sandpaper was only picking up gunk from the paint. On to Plan B.
Strip the Paint From the Bench Top
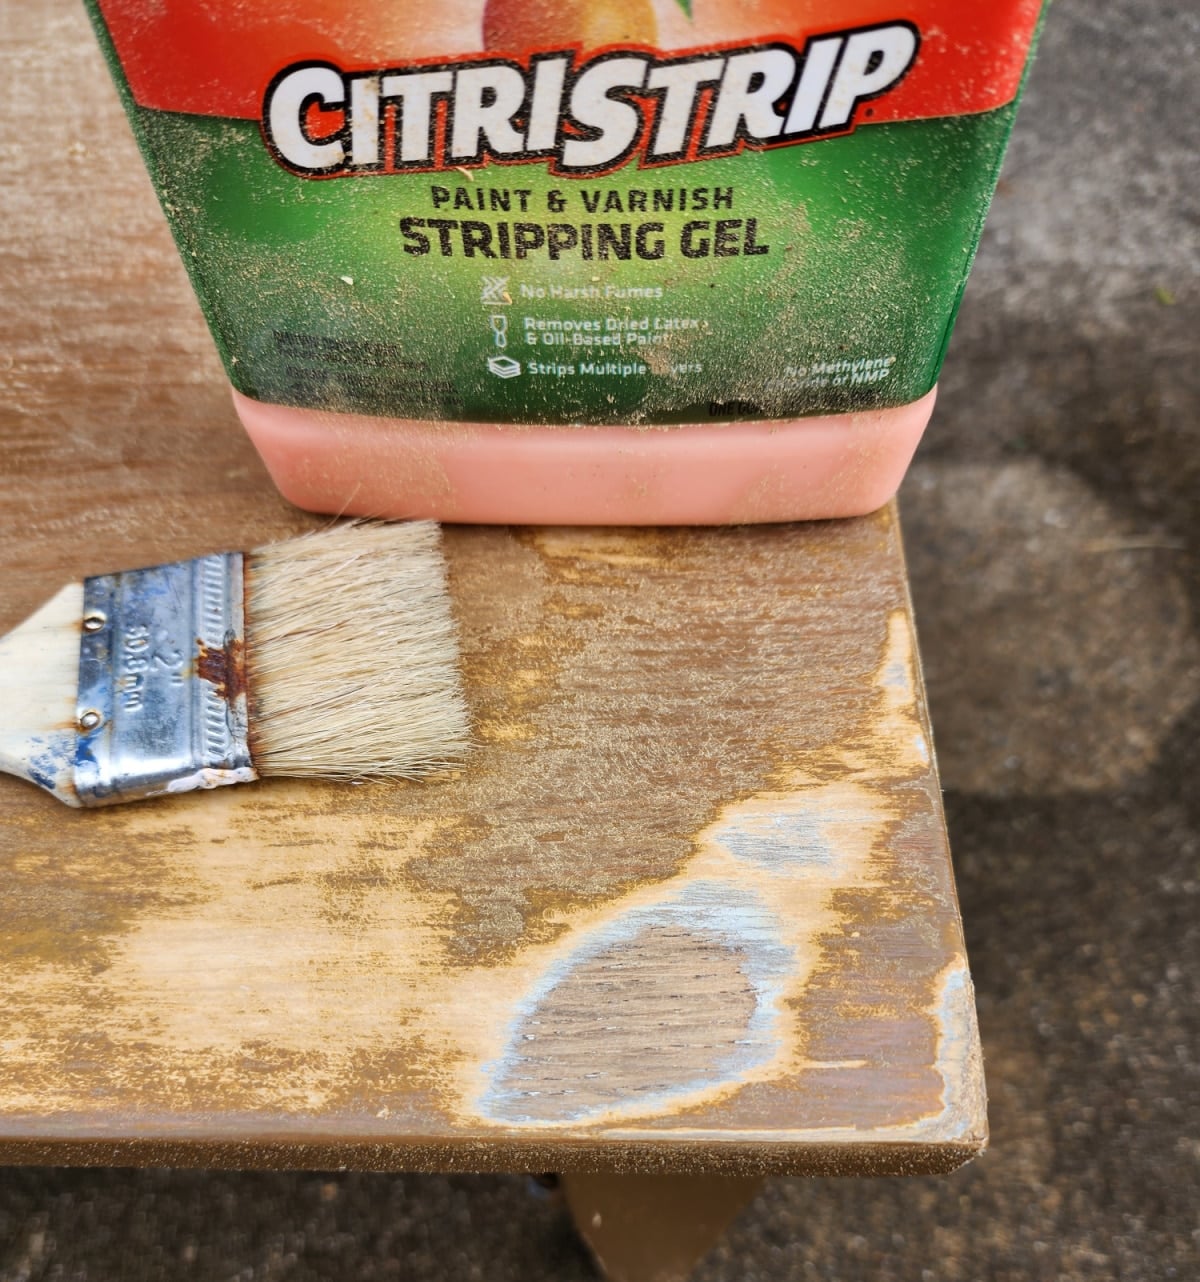
Stripping paint is not my first choice. However, I needed to “see” the wood under the paint. You can see some of the original wood peeking through after sanding. Citristrip is what I had on hand.
Apply Citristrip Furniture Stripping Gel
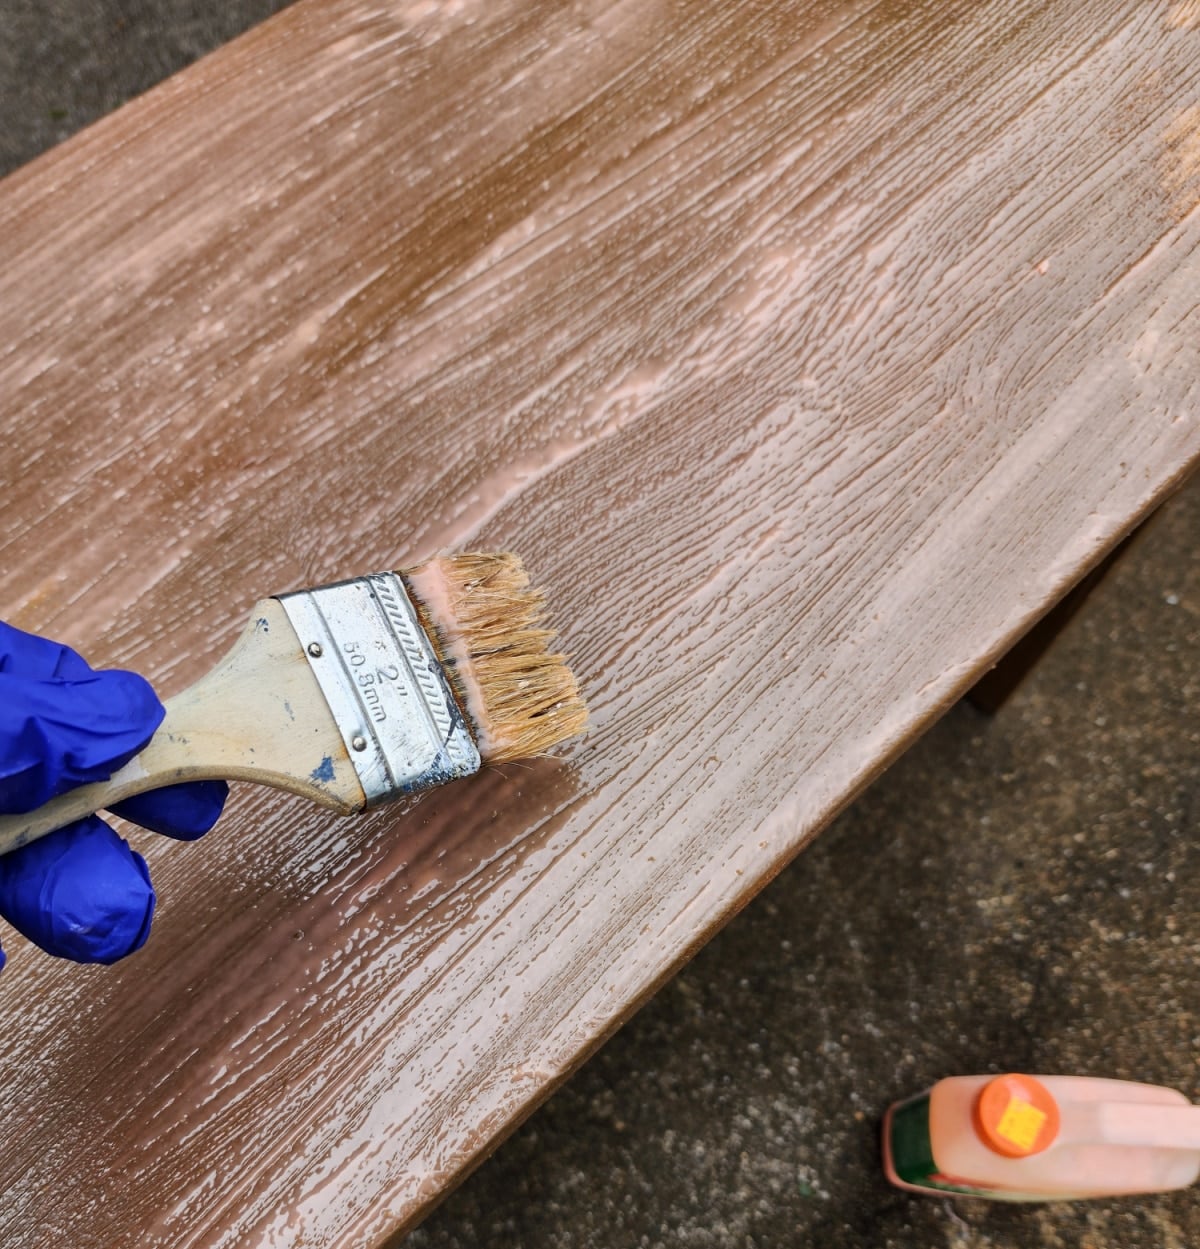
I used a cheap chip brush to apply the furniture stripper. I was working on another project, so I didn’t stick around to watch it develop.
Scrape Away the Top Layer of Paint
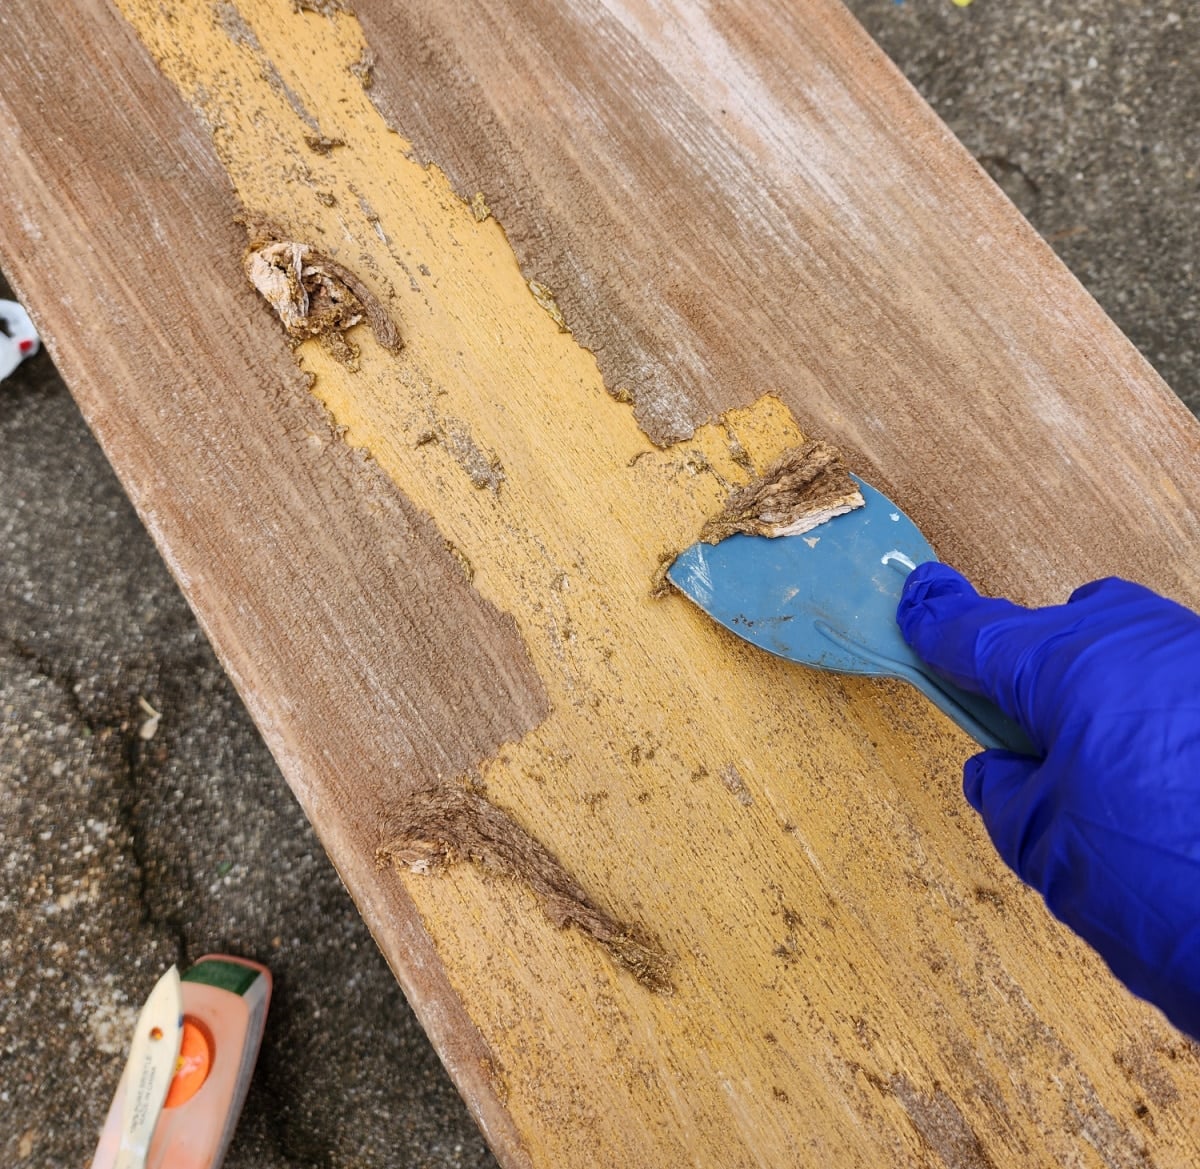
When I returned, the stripper had easily removed most of the top layer of paint. I used a plastic scraper to remove that layer.
Not shown, I had used mineral spirits and a rag to wipe away the first layer. I used a pot scrubber with the mineral spirits to rub a little harder.
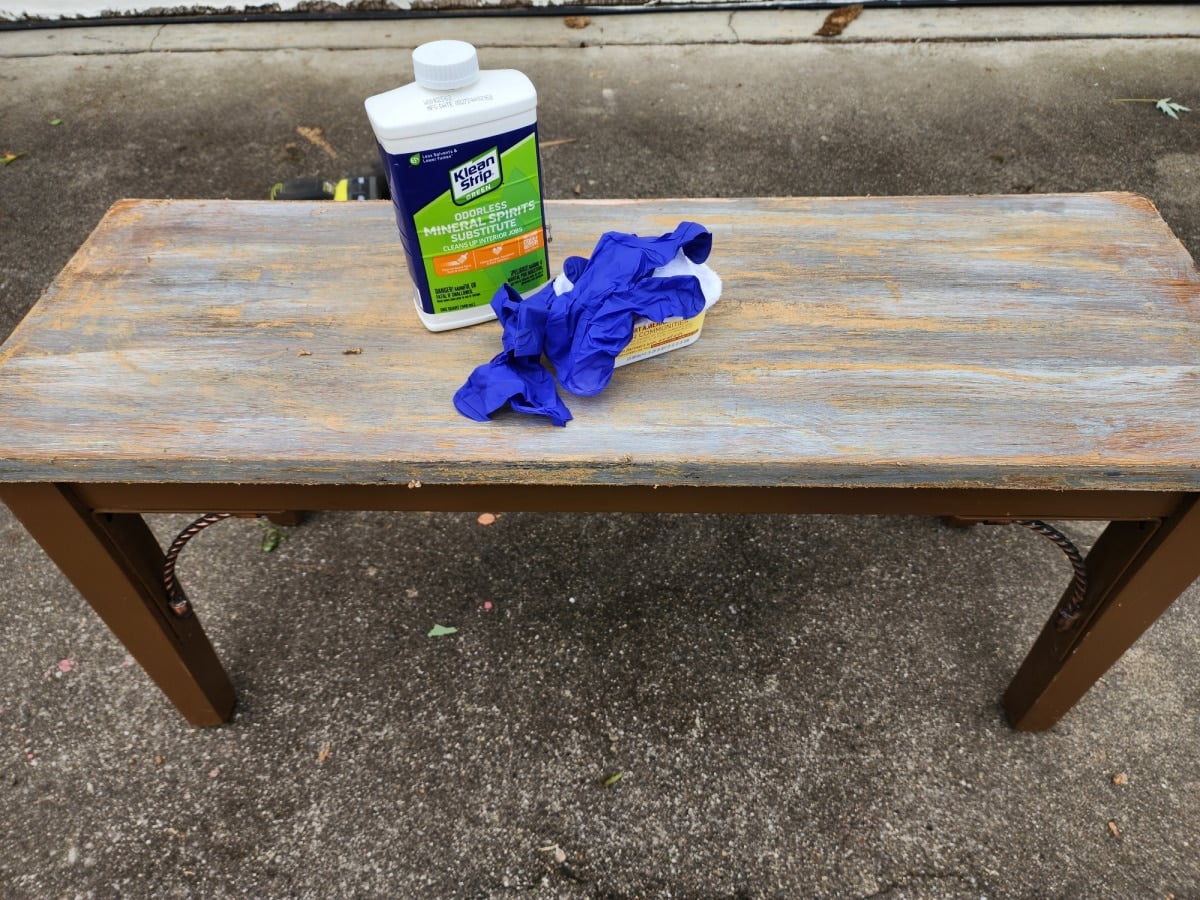
In the end, I applied one more layer of the Citristrip and cleaned again with the scrubber and another rag.
Save & Share this article on Pinterest
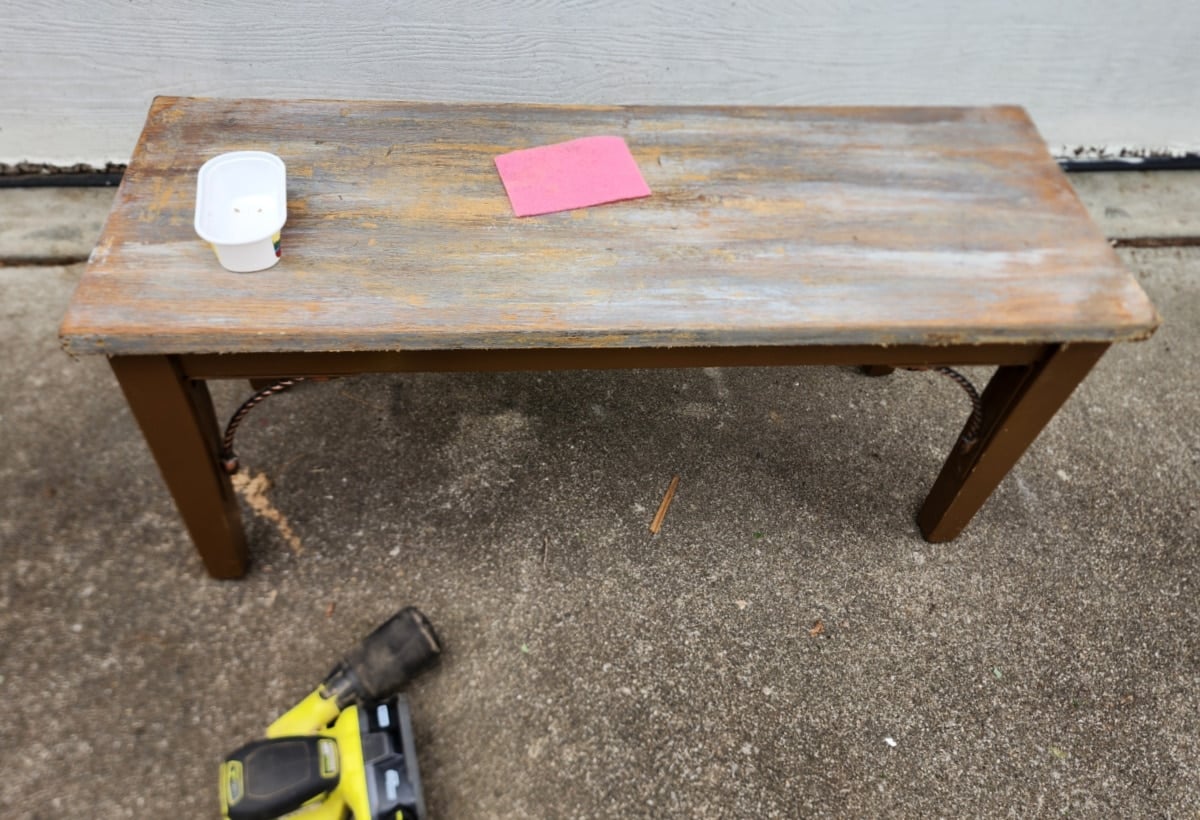
Sand the Underside of the Thrift Store Bench
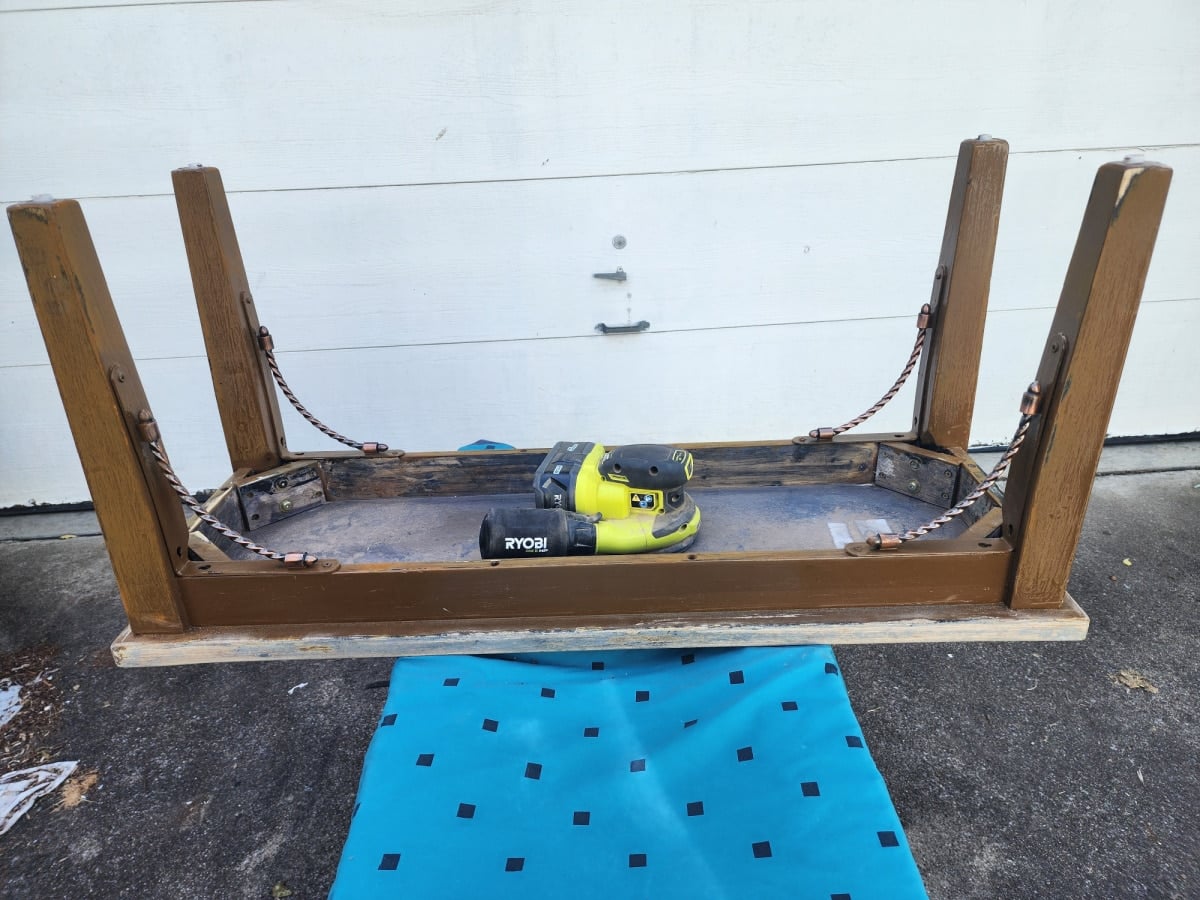
Because the underside looked so bad, I decided to sand, clean, and paint it.
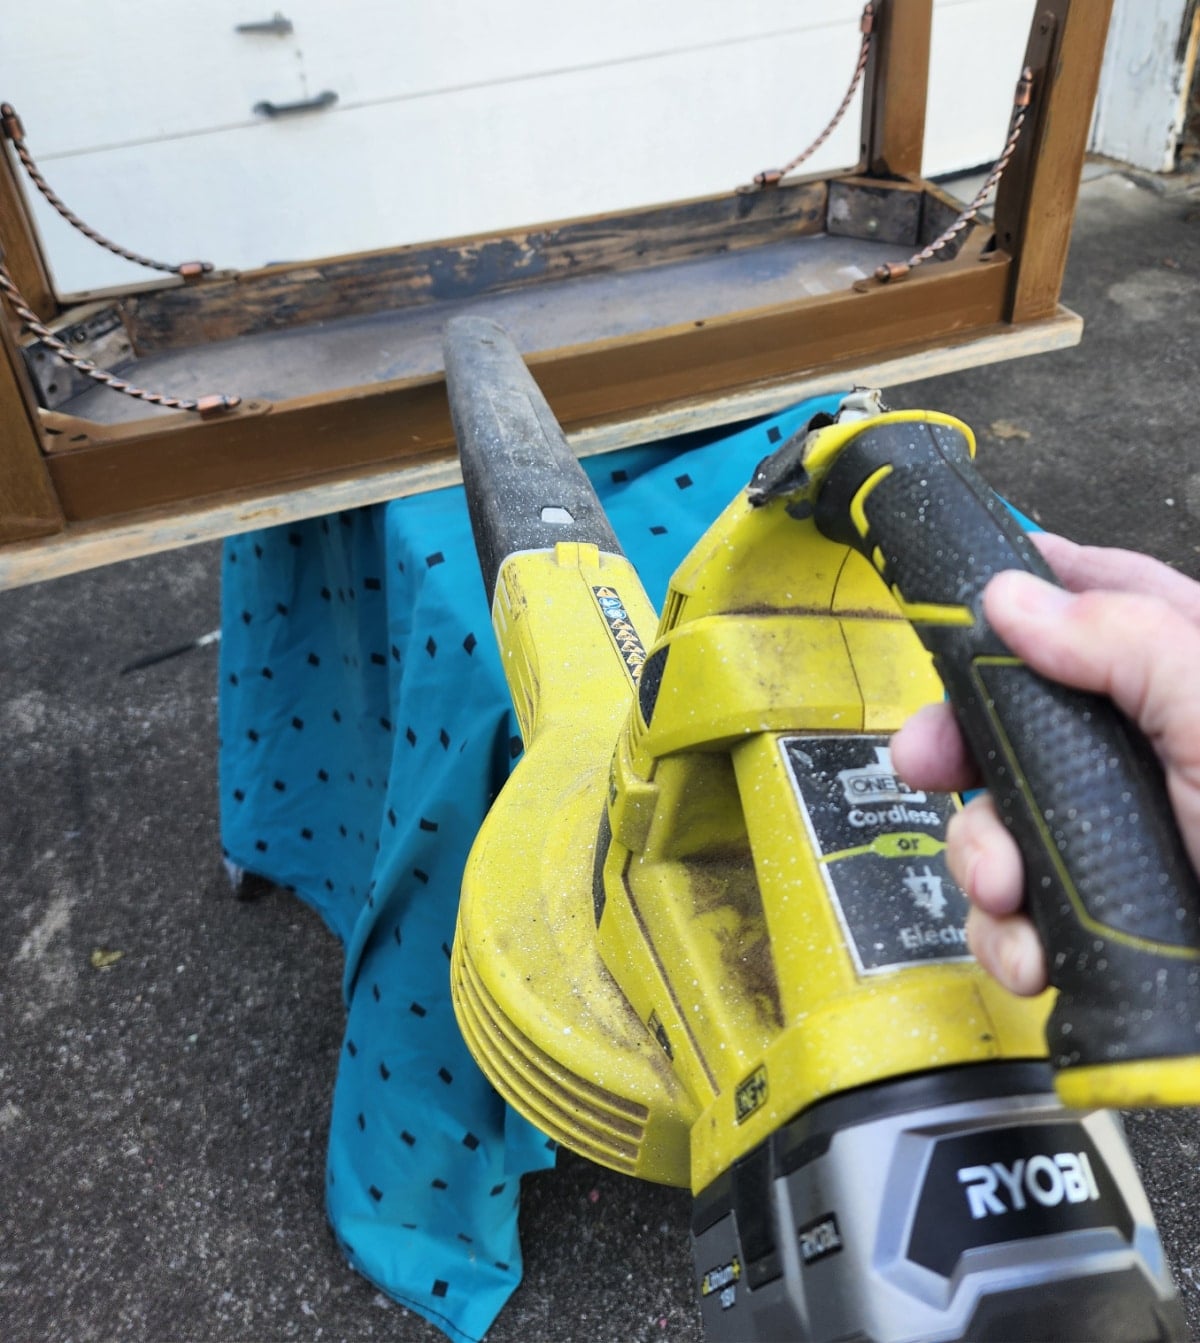
To remove the sanding debris and little bits and pieces of Citristip left behind, I used my leaf blower.
Clean Thrift Store Bench with Surface prep
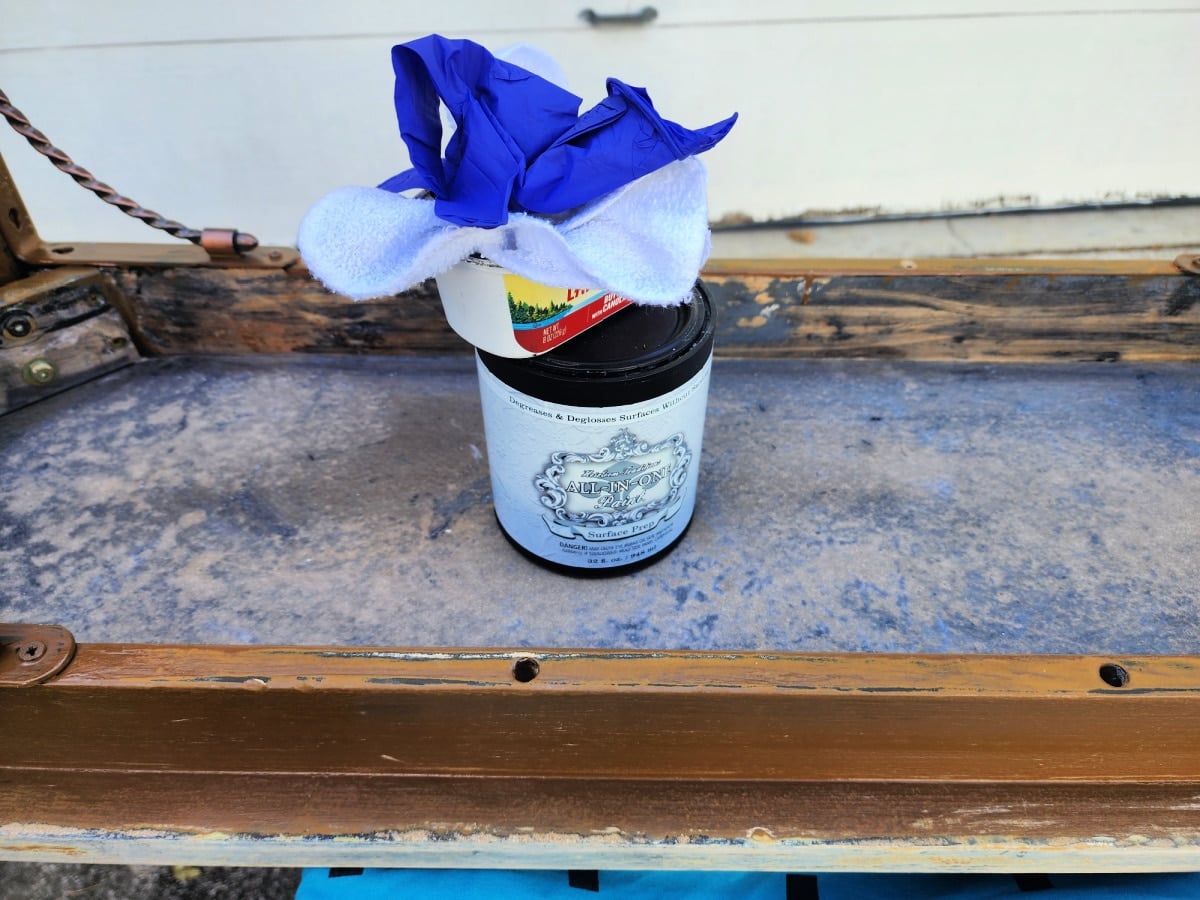
Although I scuff-sanded all the legs, I wanted the paint to adhere well, so I used HTP Surface Prep on all surfaces.
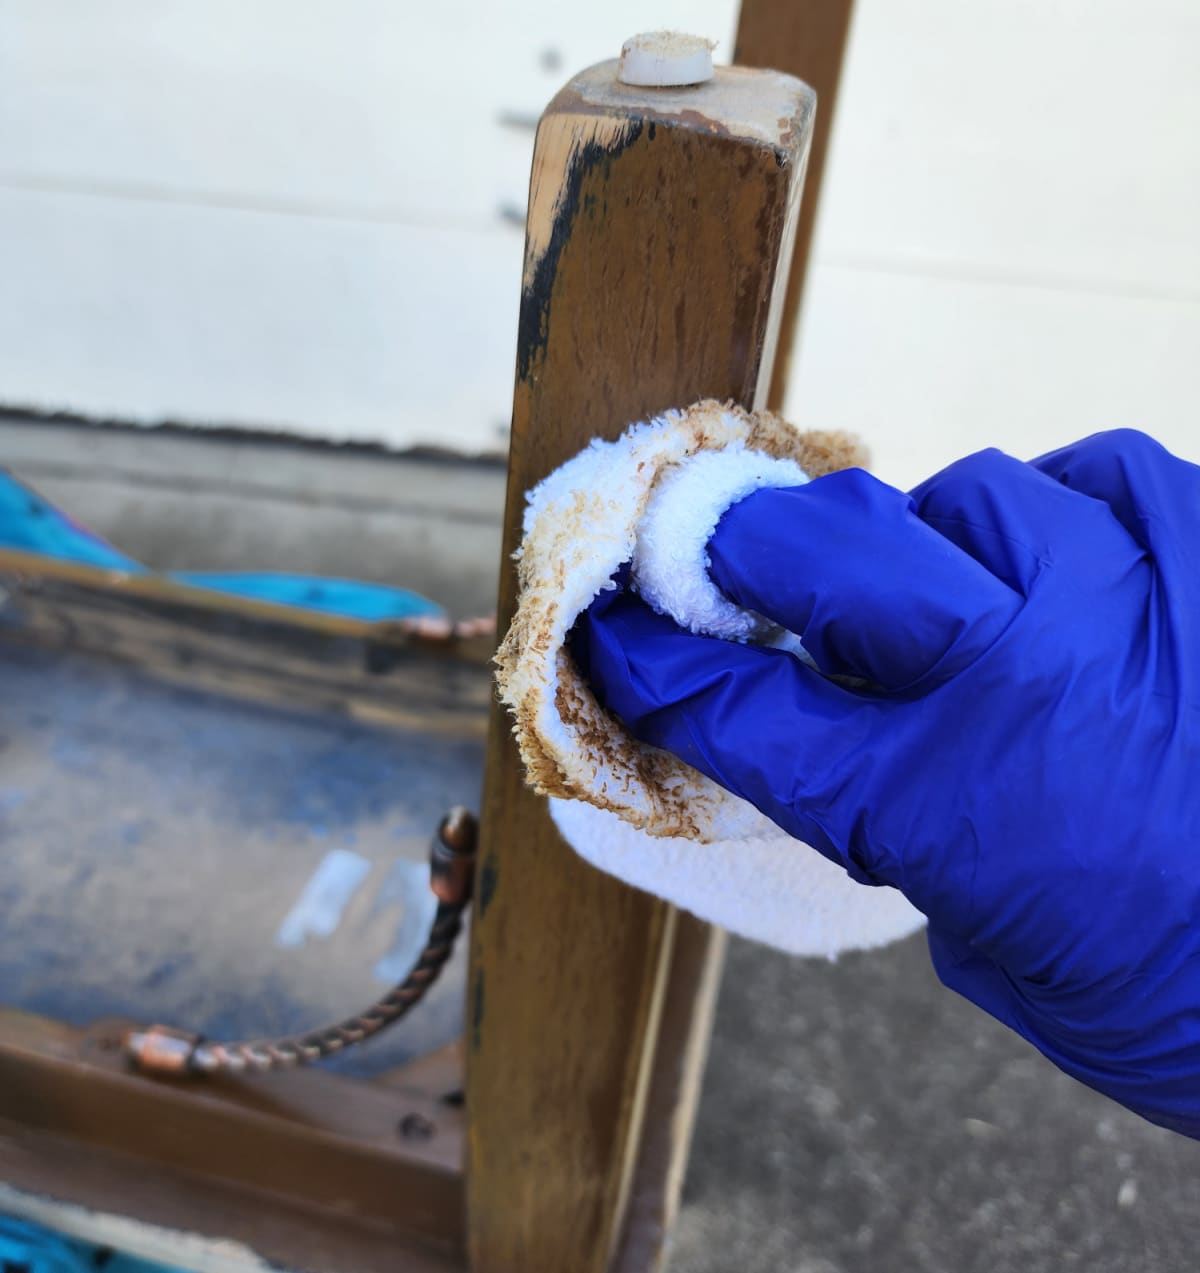
Typically, I would use a brush to apply the surface prep, then wipe it off with a rag. Because I don’t know what kind of wood this is, I didn’t want to risk getting it too wet. I poured some Surface Prep into a small container and dipped the rag in it. The only residue I removed was the sanded paint. The painted wooden bench was cleaner than I expected.
French Blue Spray Paint by Rust-Oleum.
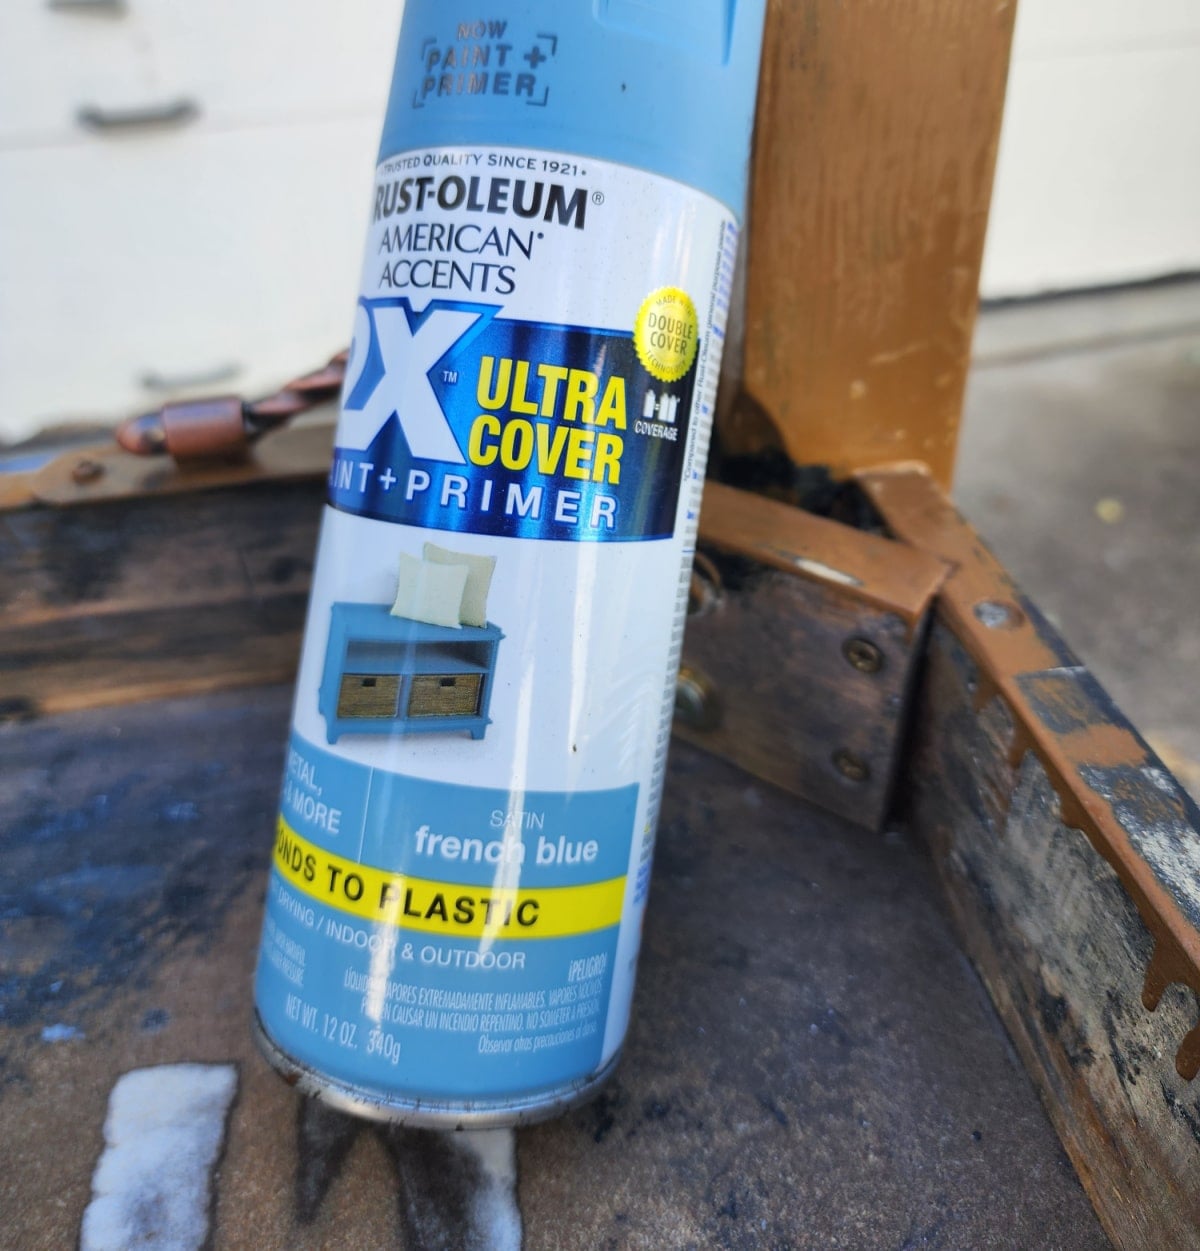
I truly had no idea what color I would be painting this thrift store bench until I went to my paint stash in the basement.
The plan had been to stain the top and paint the base on this DIY bench makeover. I was unsure how well the bench seat would hold up to staining, so I opted to spray-paint the entire bench blue. I can’t remember the last time I spray-painted furniture. These cans were purchased at a clearance store, so I had no idea if they would even work.
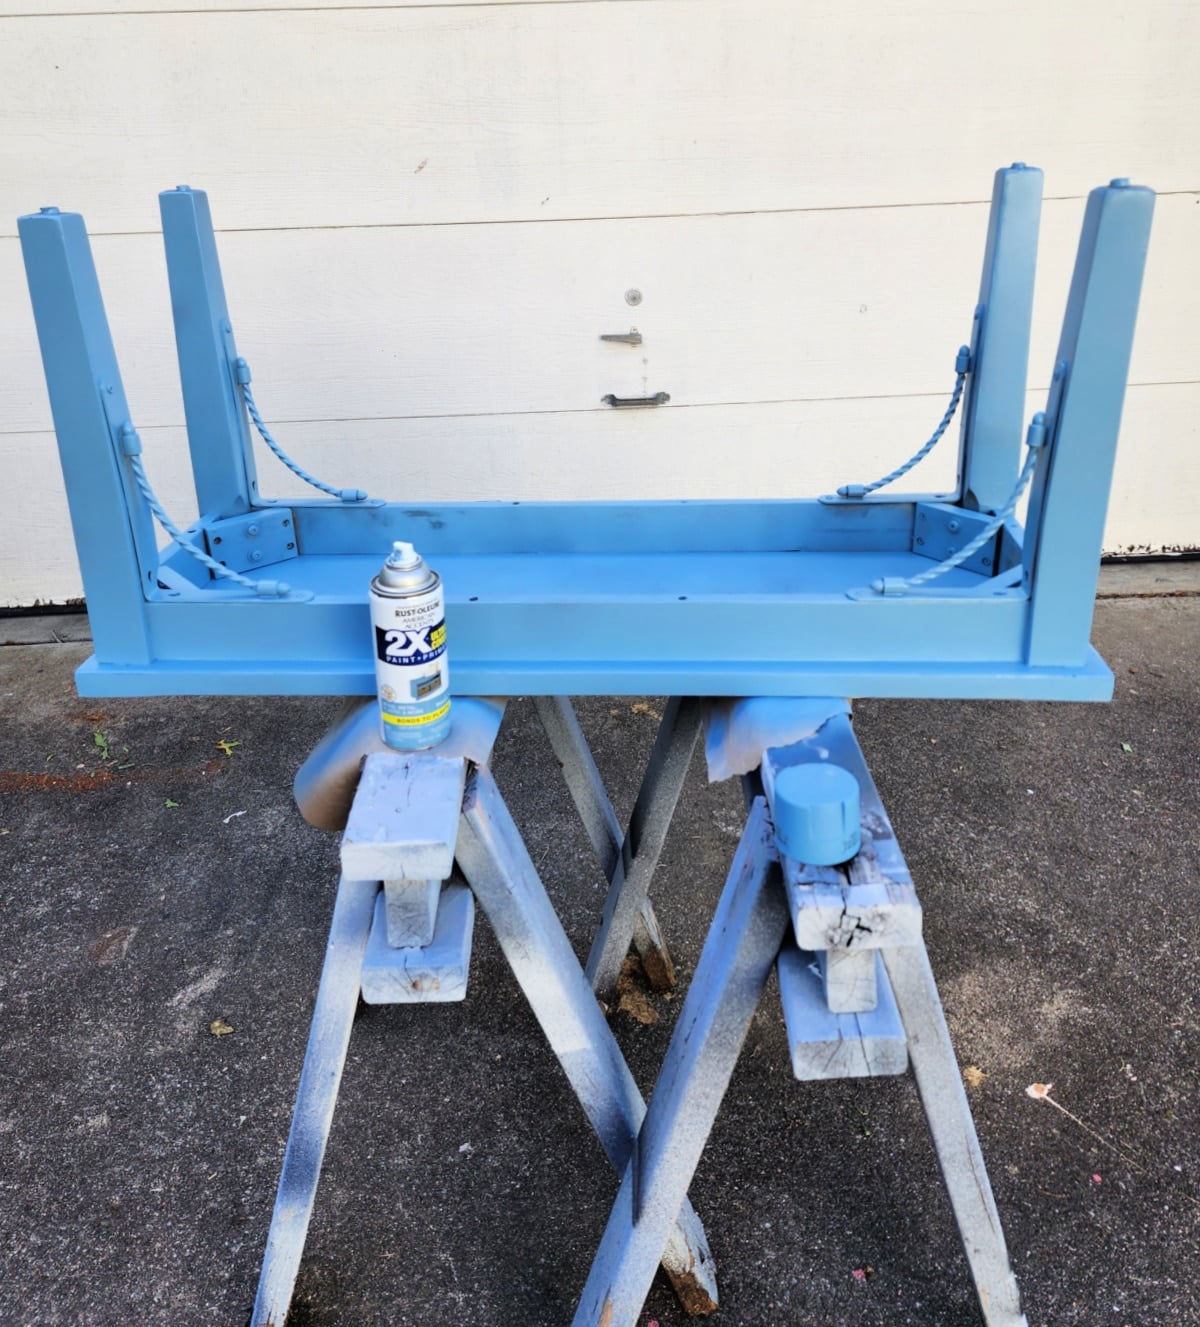
In this photo, you can see how well the first coat went on. Not perfect, but much faster than painting by hand, especially after all the time I spent stripping the bench seat.
Why didn’t I spray paint over the paint on the seat? First, I planned on staining. Secondly, I take great pride in getting a smooth finish on the tops of my furniture pieces.
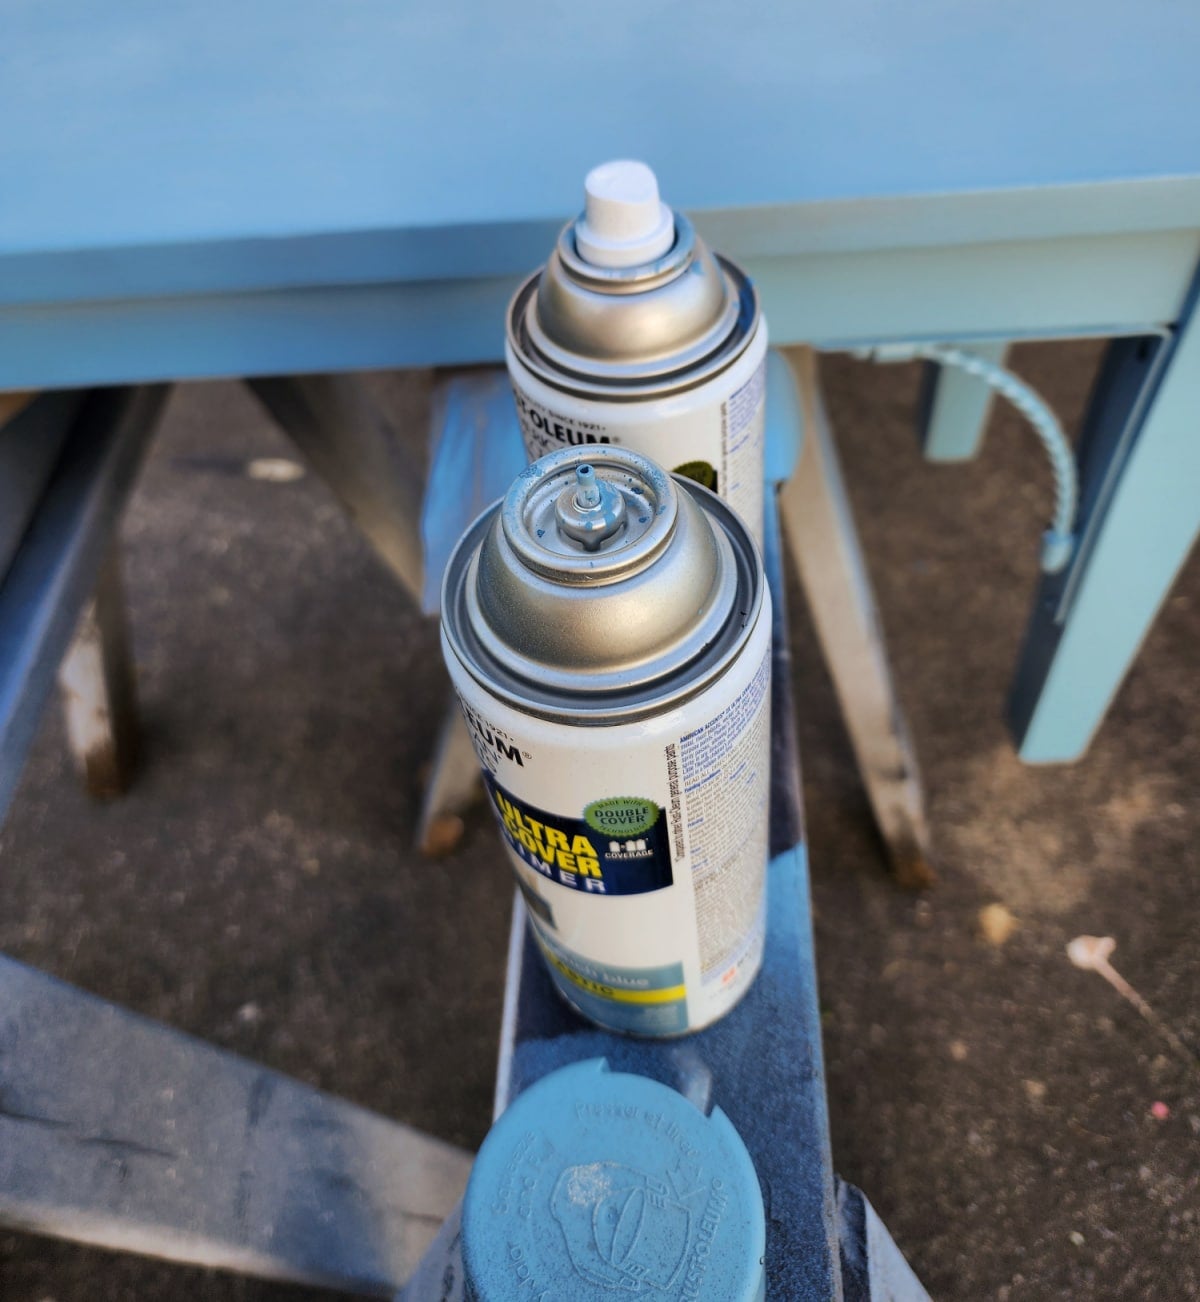
As it turned out, only one can of the spray paint worked. I tried to clear the nozzle, and it didn’t help. Then I decided to switch the nozzle from the empty can to the non-working can. It worked perfectly!
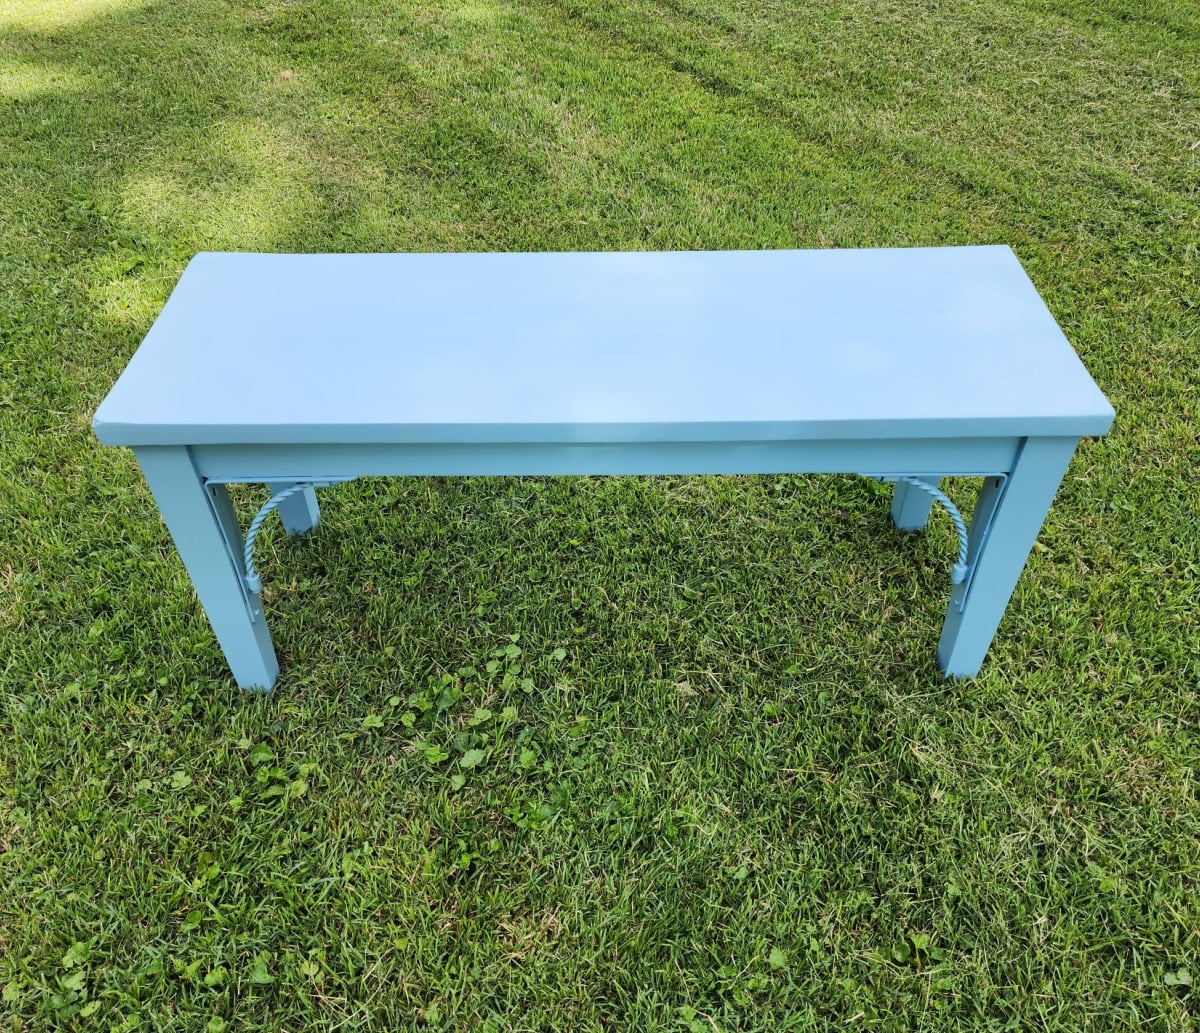
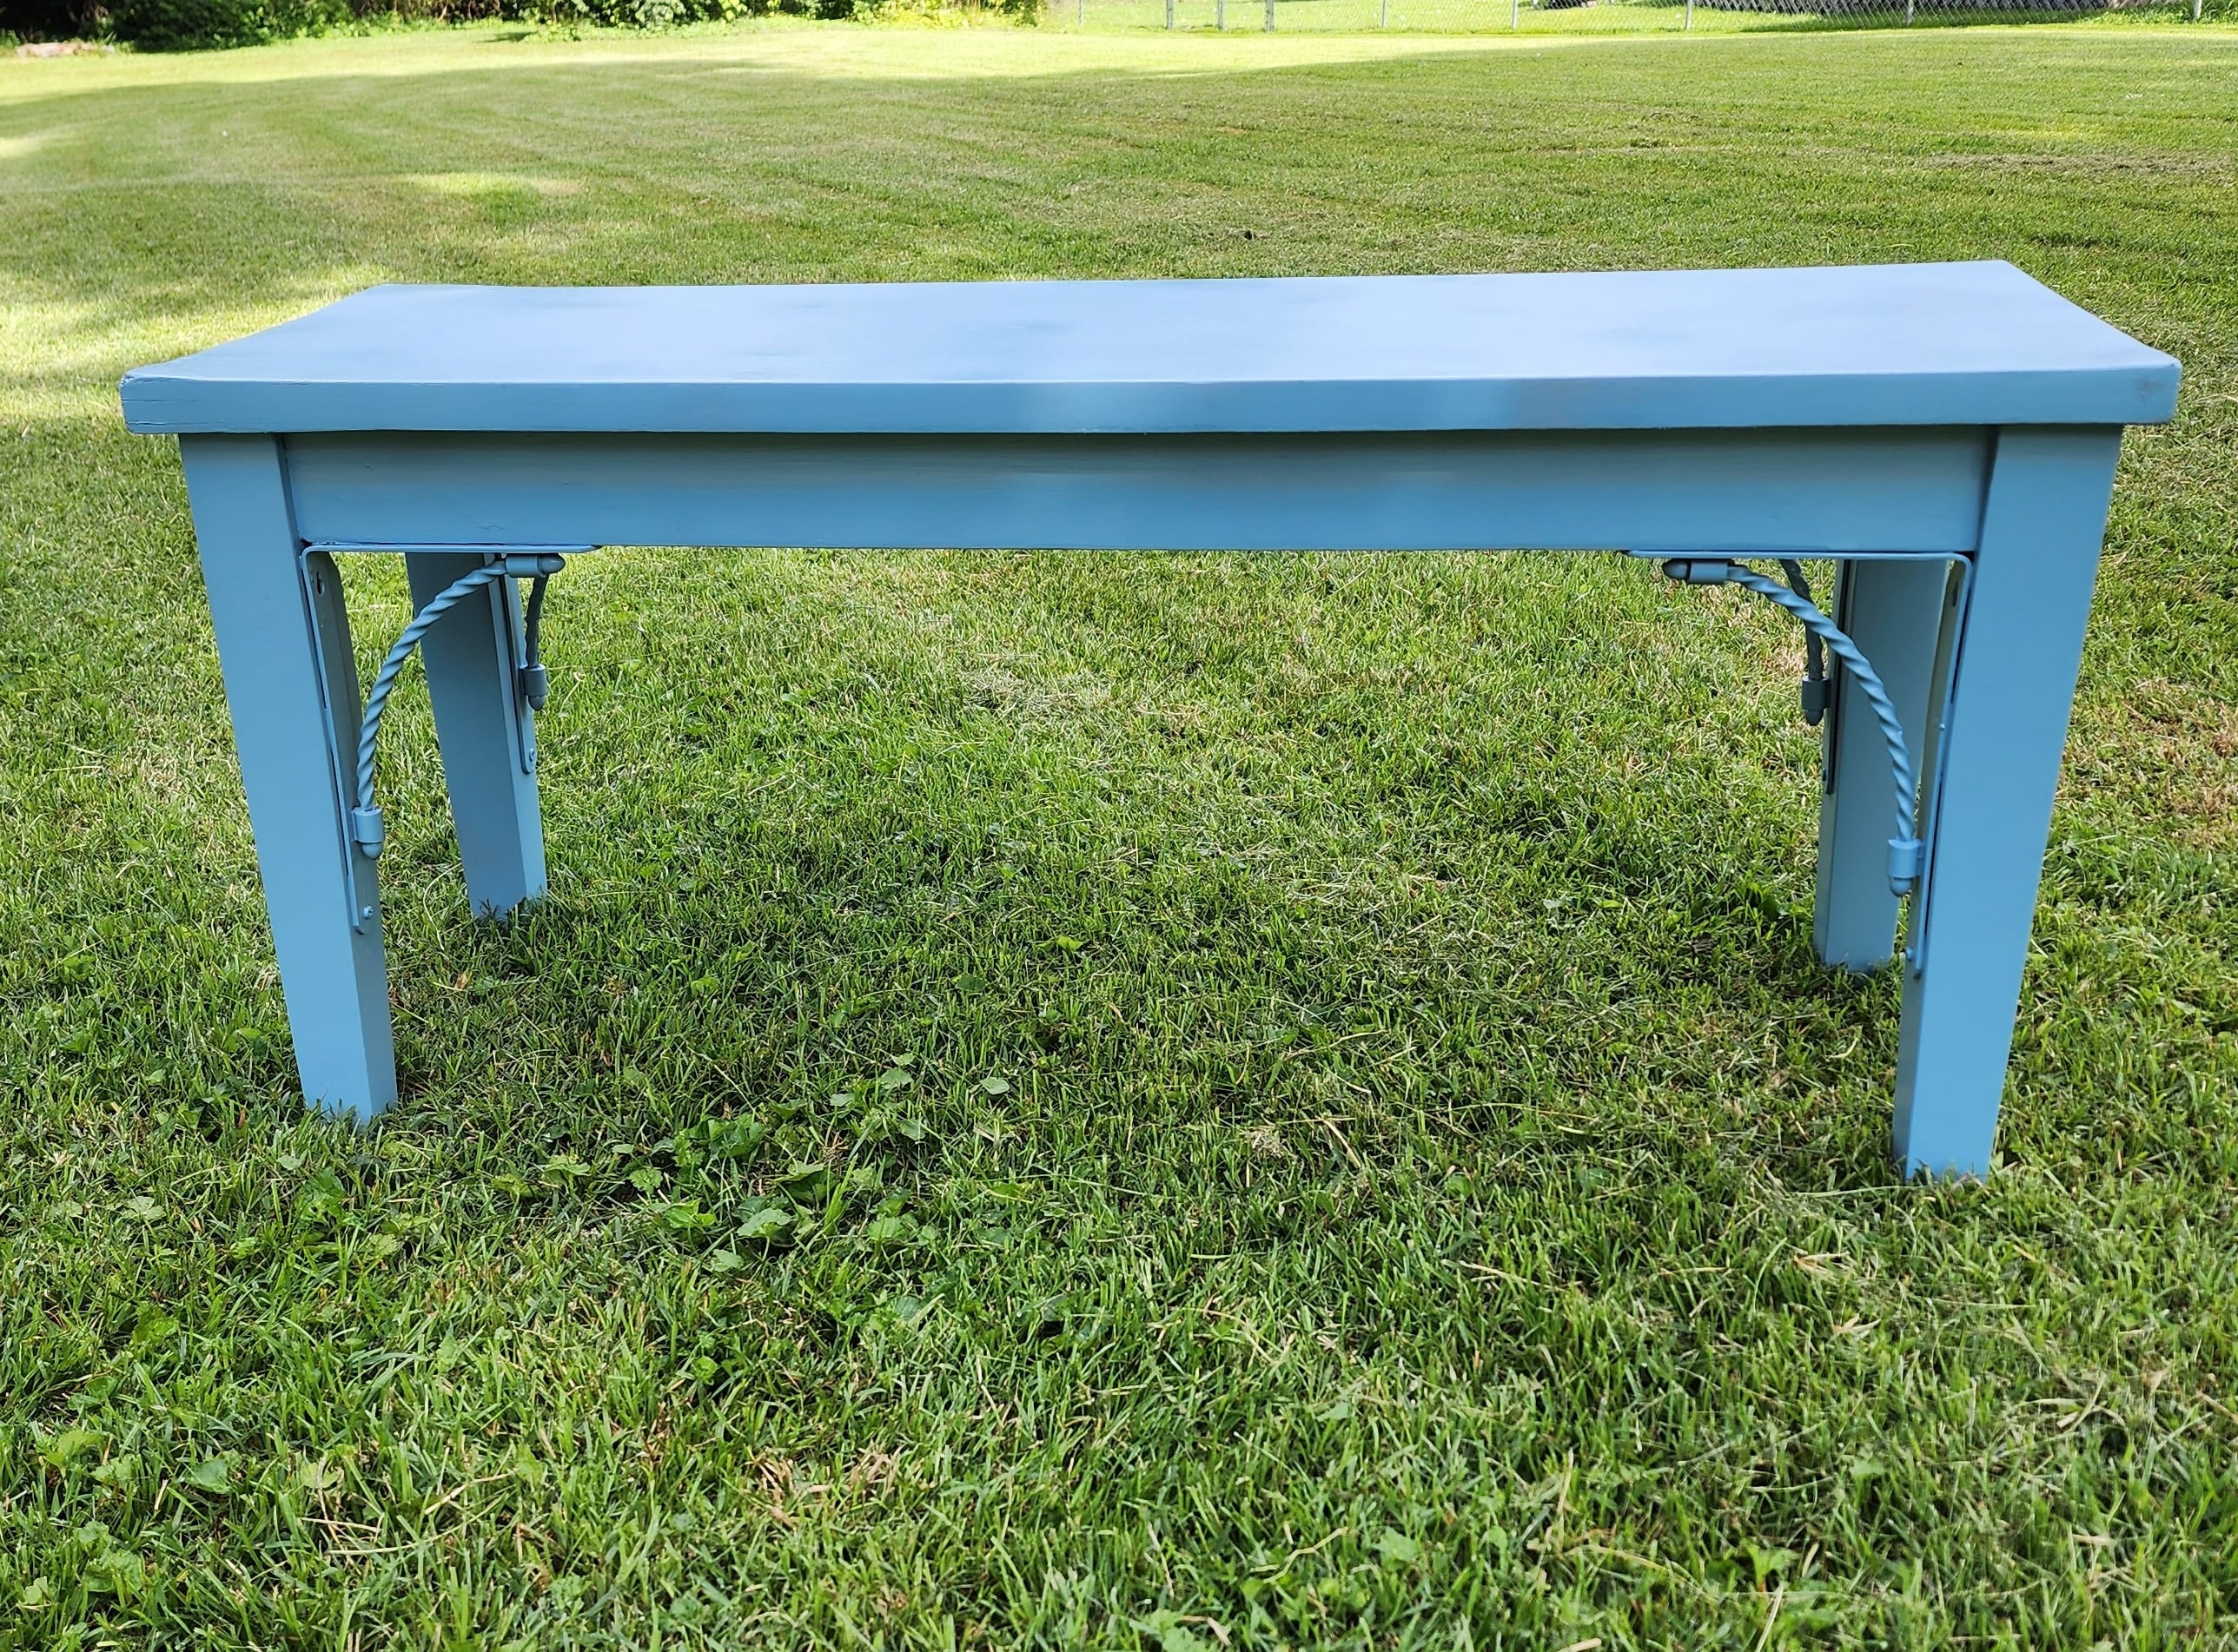
Blue Wooden Thrift Store Bench Makeover
As soon as I finished painting the bench blue, I had flashbacks of the Blue Piano Bench I painted. A nice woman bought it to place in a newly remodeled bathroom for her grandkids.
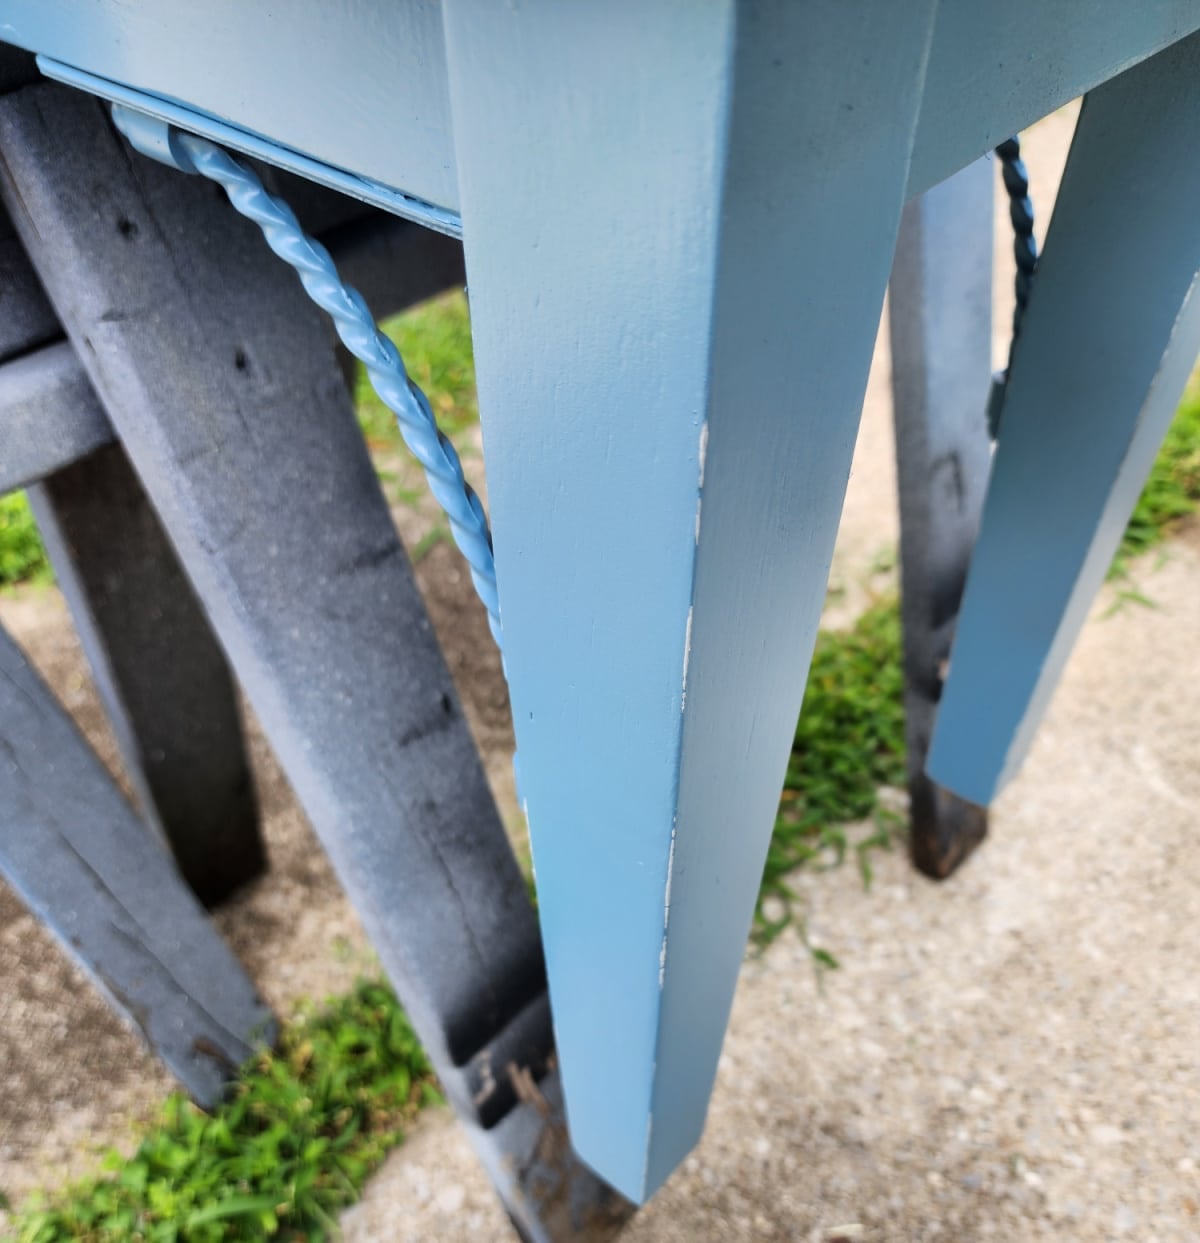
The corners are less than perfect. While I was sanding, I tried to round them slightly, but the veneer was missing, and the fibers were showing from the composite wood.
I think the large bench needs a little something; it measures 40 inches long! I would prefer doing a furniture transfer because it’s so easy. But after talking with a friend, we decided on stripes! Have I ever done stripes on any of my furniture projects? I can’t recall.
Prepare to Paint Stripes
I let the spray paint dry overnight.
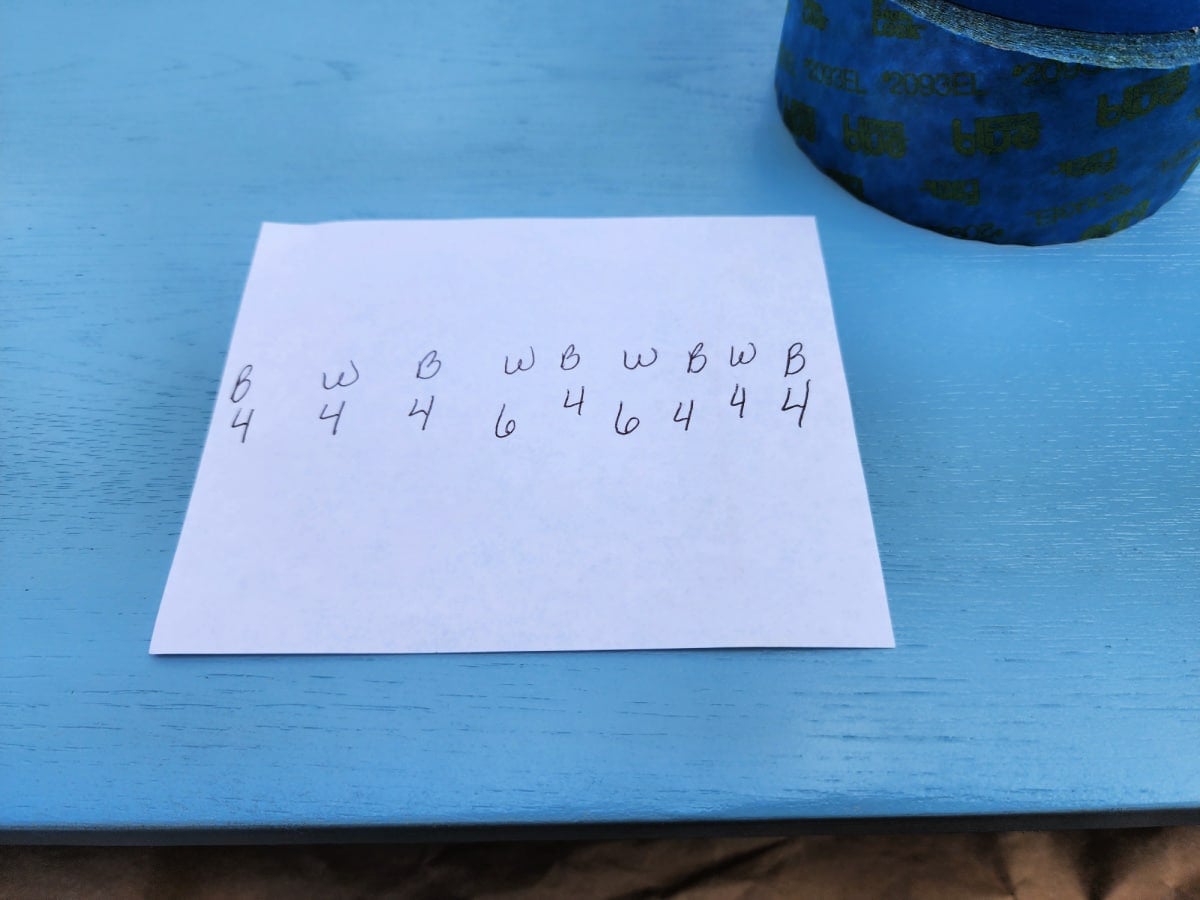
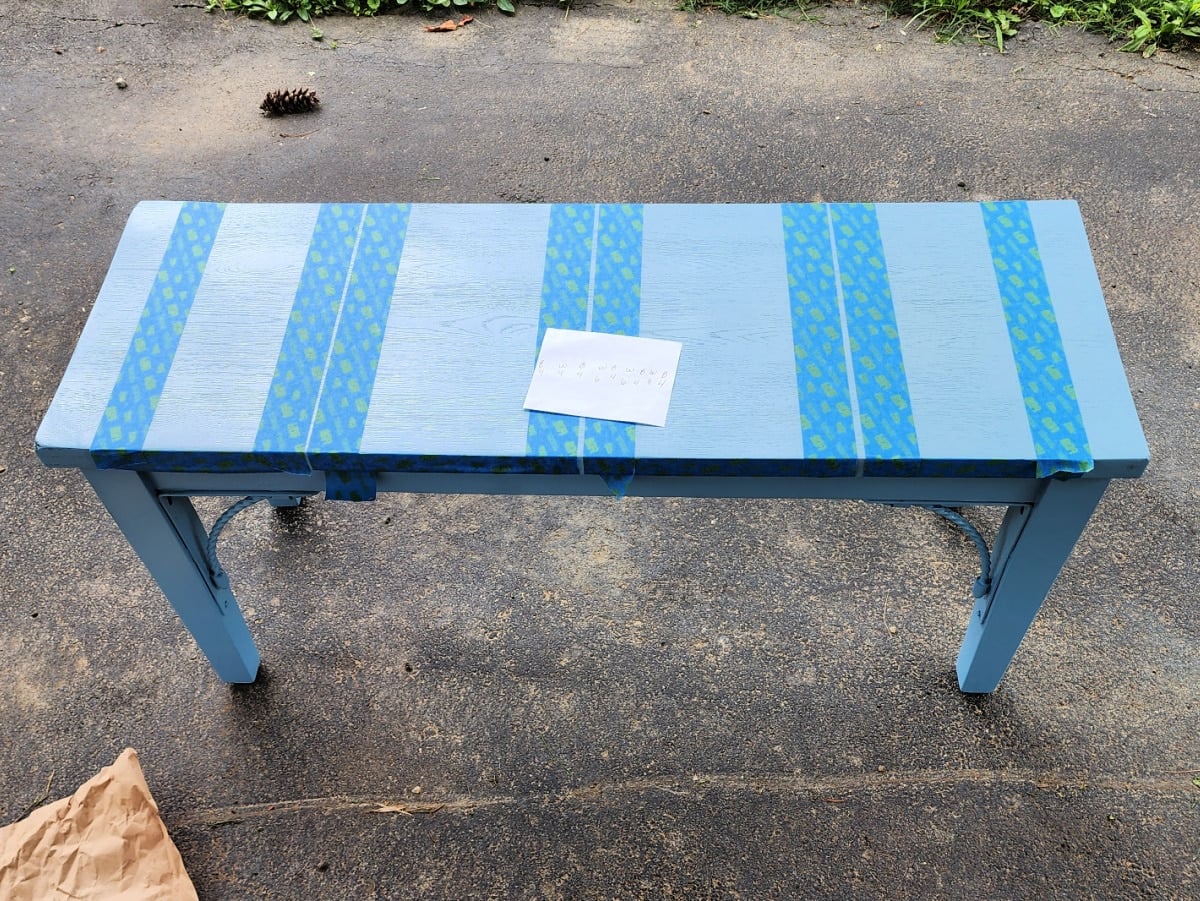
This is the pattern I’ll be following. Although the letters refer to “white” and “blue” paint, the stripes will actually be a very light gray, Coloseum from HTP All-in-One Paint. It’s the same paint I used on my Camper Cabinets and the Antique Triple Mirror Dresser. Can this paint be applied over spray paint? Let’s find out!
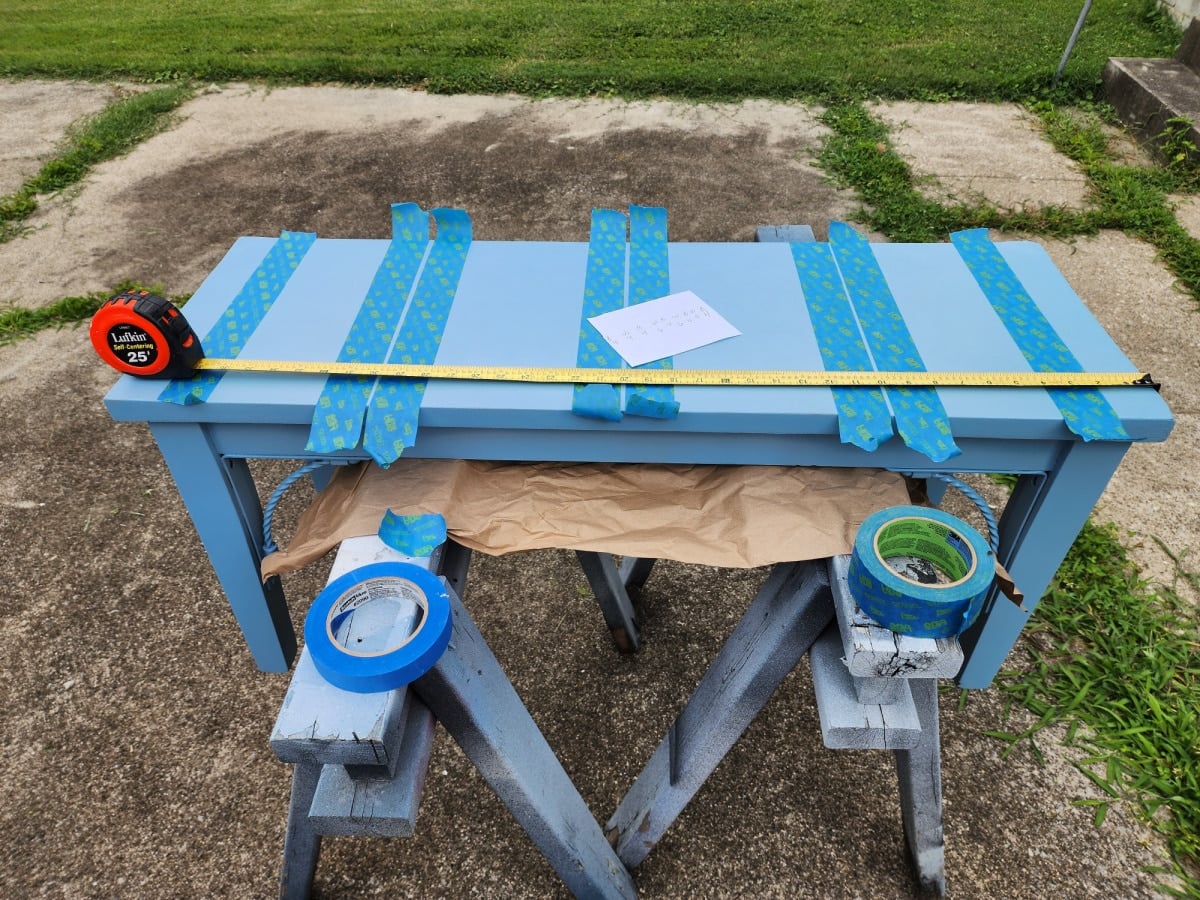
It was an odd weather day. I had to chase shade (heat index 97) and dodge raindrops. Resting the bench on the easy 2×4 sawhorses made taping the seat so much easier.
Following the pattern, I started on the left, placing the right edge of the painter’s tape four inches from the end. That will start me off with a blue stripe. Taping the stripes went quickly. After adding tape to the bench seat, I added tape along the edge where the white stripes would be painted to keep the edge clean.
Whenever I use painter’s tape, I worry about paint seepage. With regular projects, I always paint the base color over the edge of the tape. Will that work with spray paint?
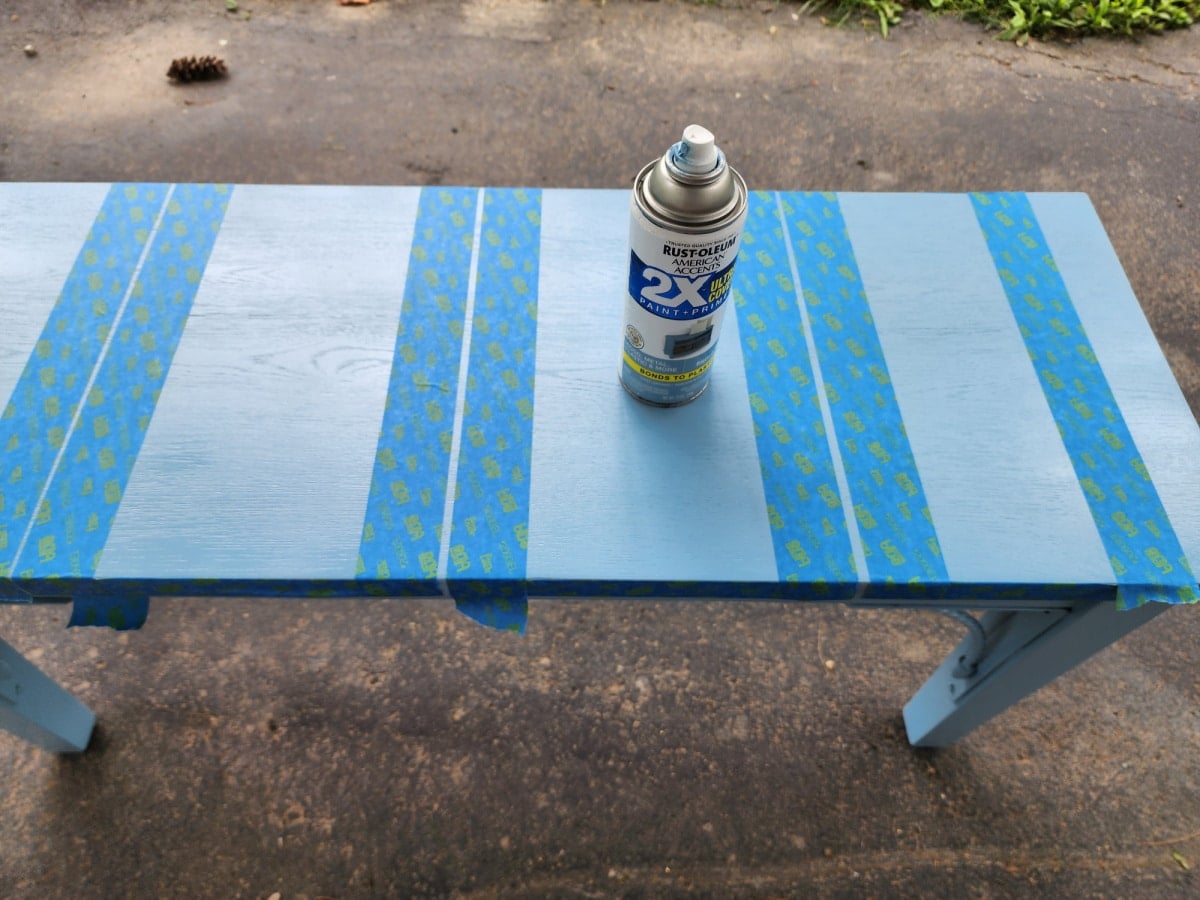
Let’s give it a try. I used the French Blue to paint the edges of the tape where I would be using the light gray paint.
Tip: Use a piece of tape to close up those small gaps before continuing.
Can You Use Regular Paint Over Spray Paint?
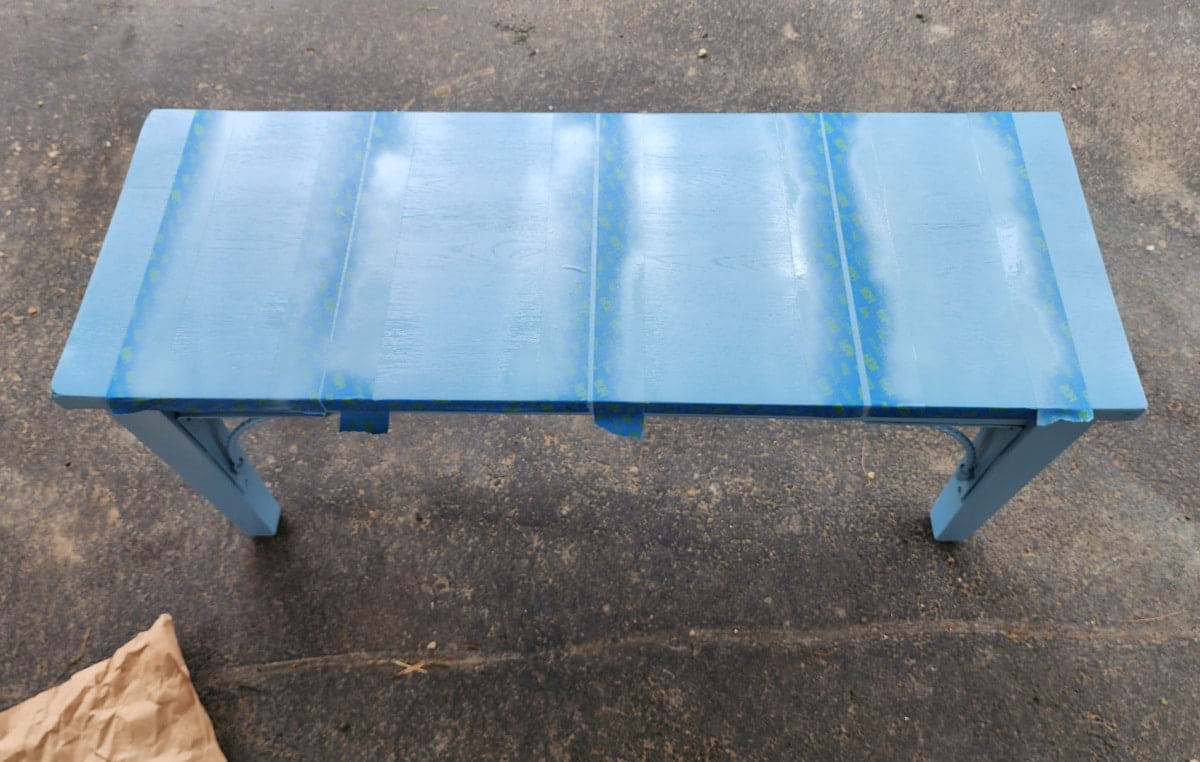
The paint looks a little shiny while it’s still wet. As I wait for it to dry, I gather the stuff I’ll need to paint the stripes.
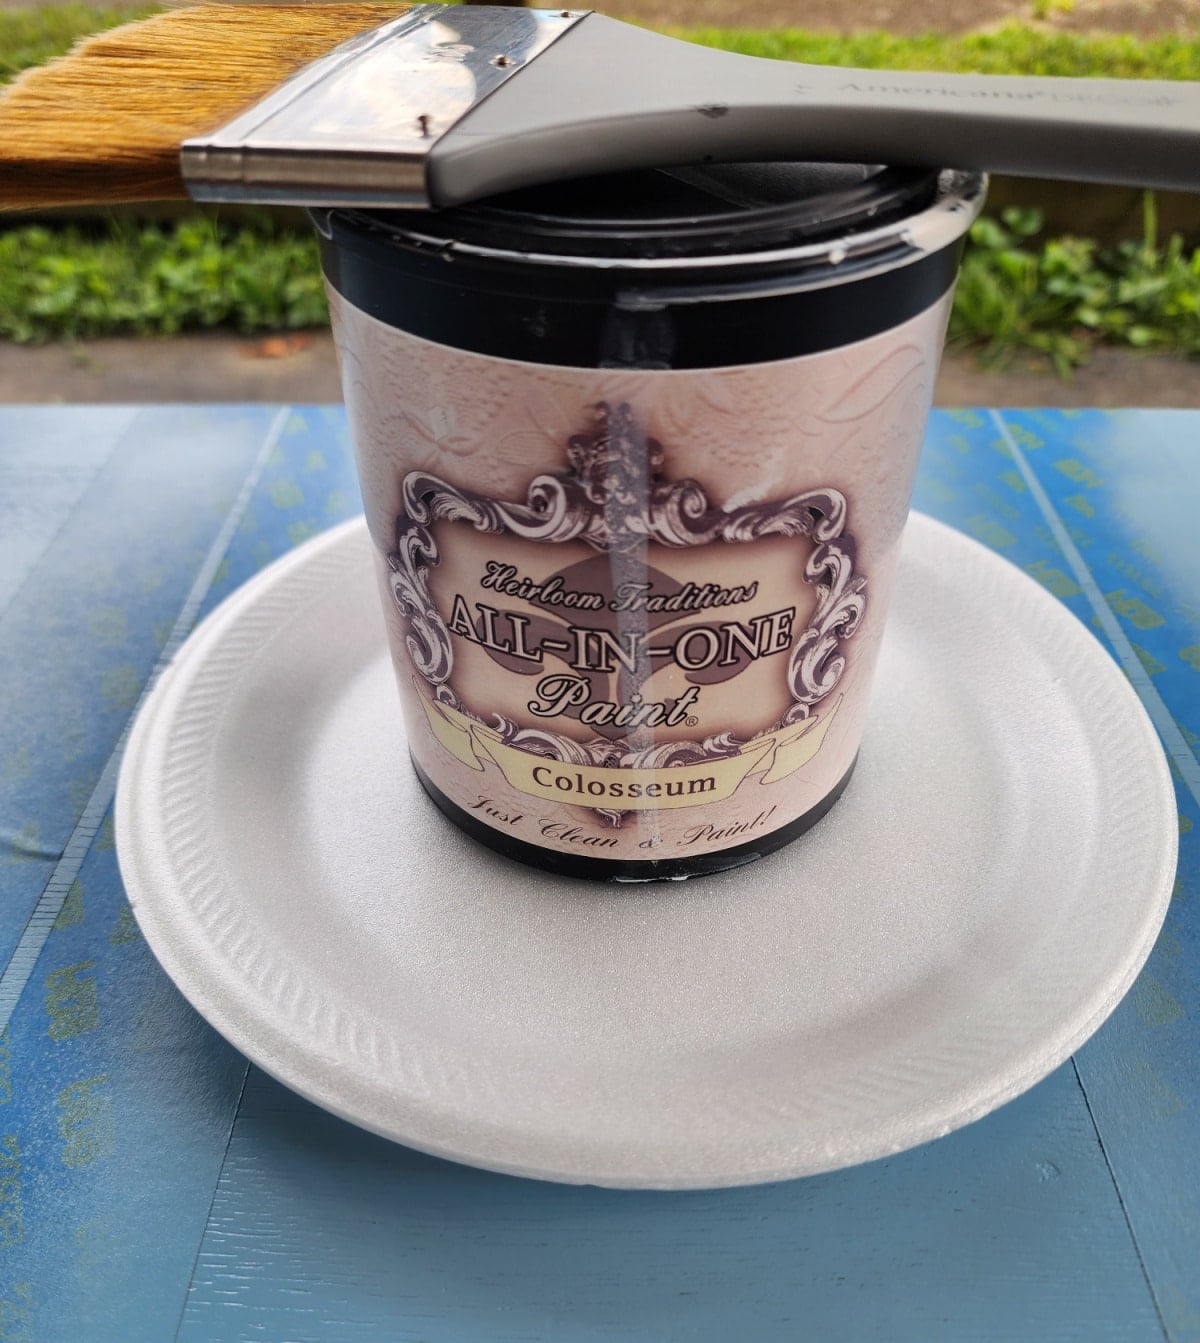
I’ll be pouring a small amount onto the styrofoam plate and using the wide paintbrush to paint the stripes for my bench makeover.
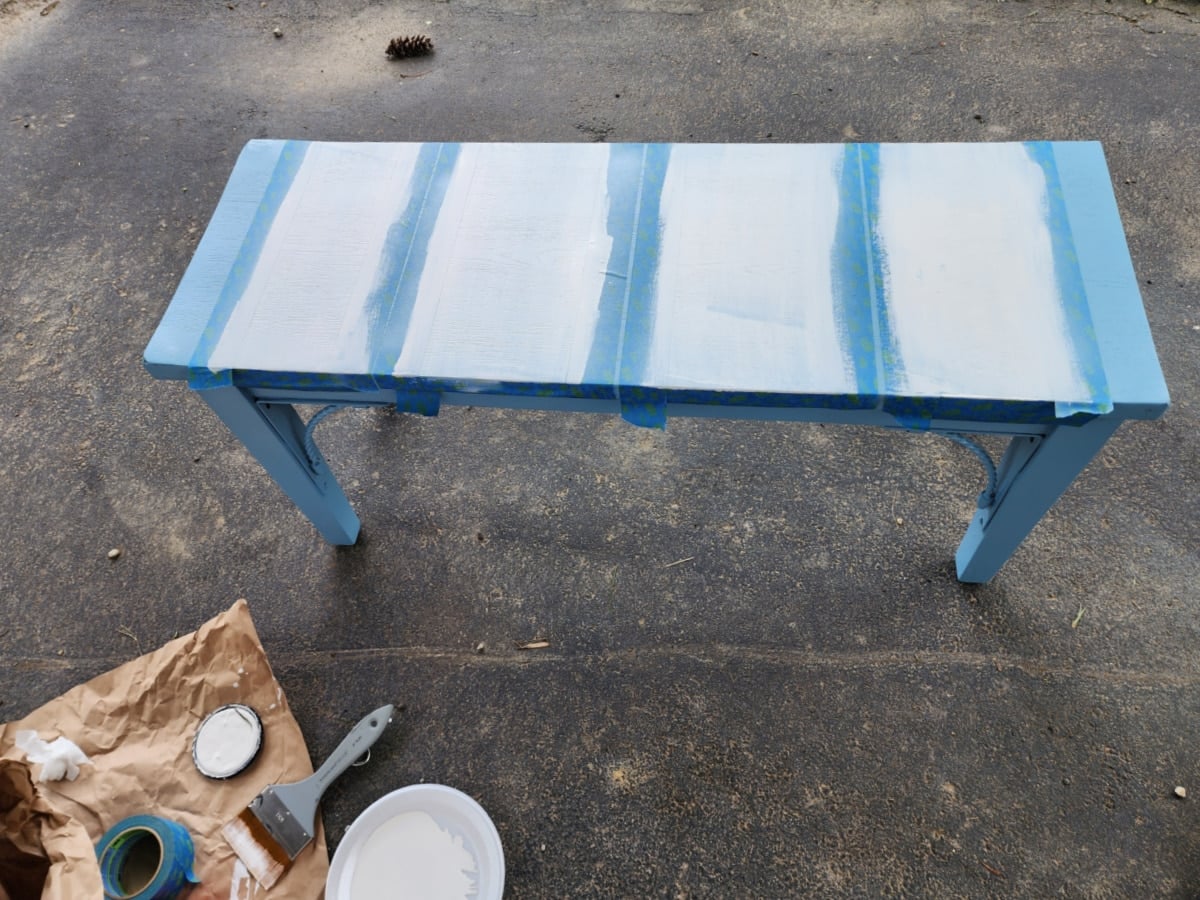
This is after the first coat. I’m under the carport to avoid a small rain shower.
It’s always recommended to remove painter’s tape before the paint dries. So, in this photo, the light gray paint is still wet.
Honestly, I was worried about applying the painter’s tape on the spray-painted bench. In addition, I wasn’t sure the HTP would adhere well enough to the spray paint. I’m happy to report that there were no issues.
Using a Layer Block
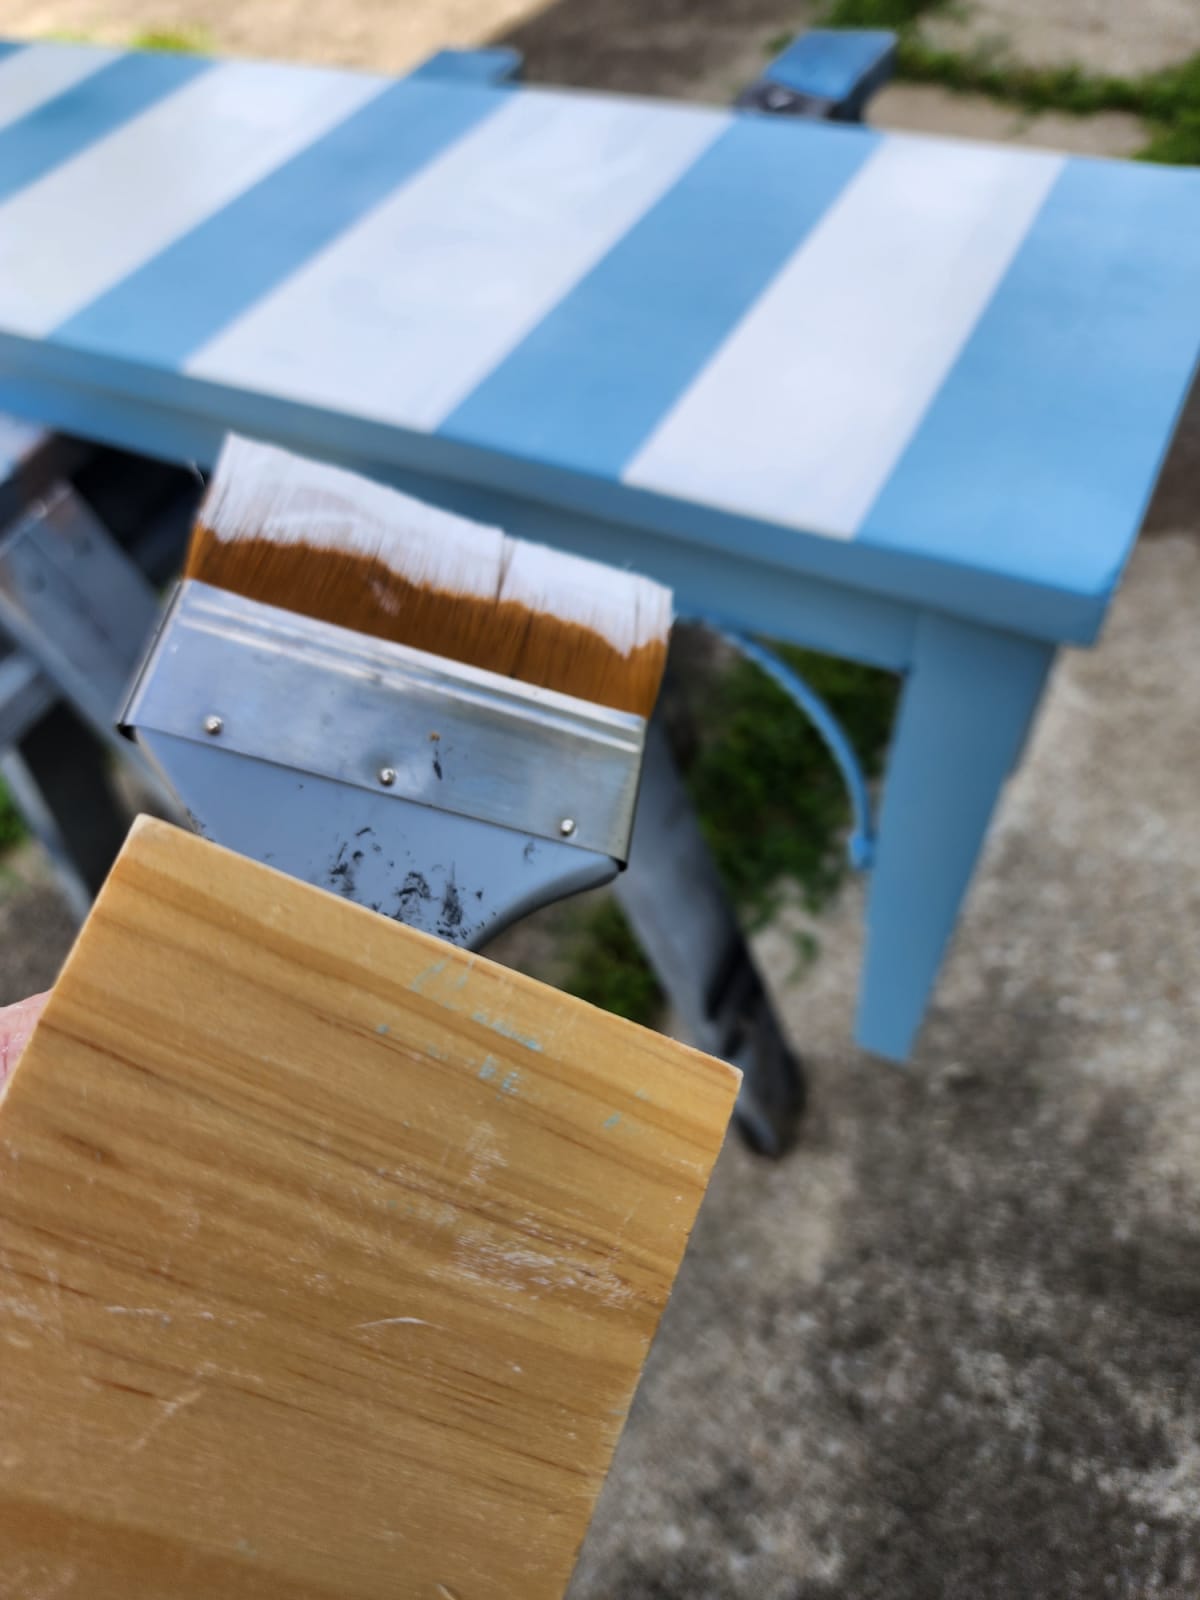
I wanted a lightly distressed look for this bench makeover. I got my layering block on Amazon, but you can make your own. If you do make your own, you may want to seal the block. I did notice that mine has a bit of a shine/sealer on it, which makes the paint transfer easily to your furniture project. I used the paint that was left on the brush to add just a bit to the block.
Everyone develops their own technique for using a layering block. For this project, I used a tap method instead of dragging the block along the edges.
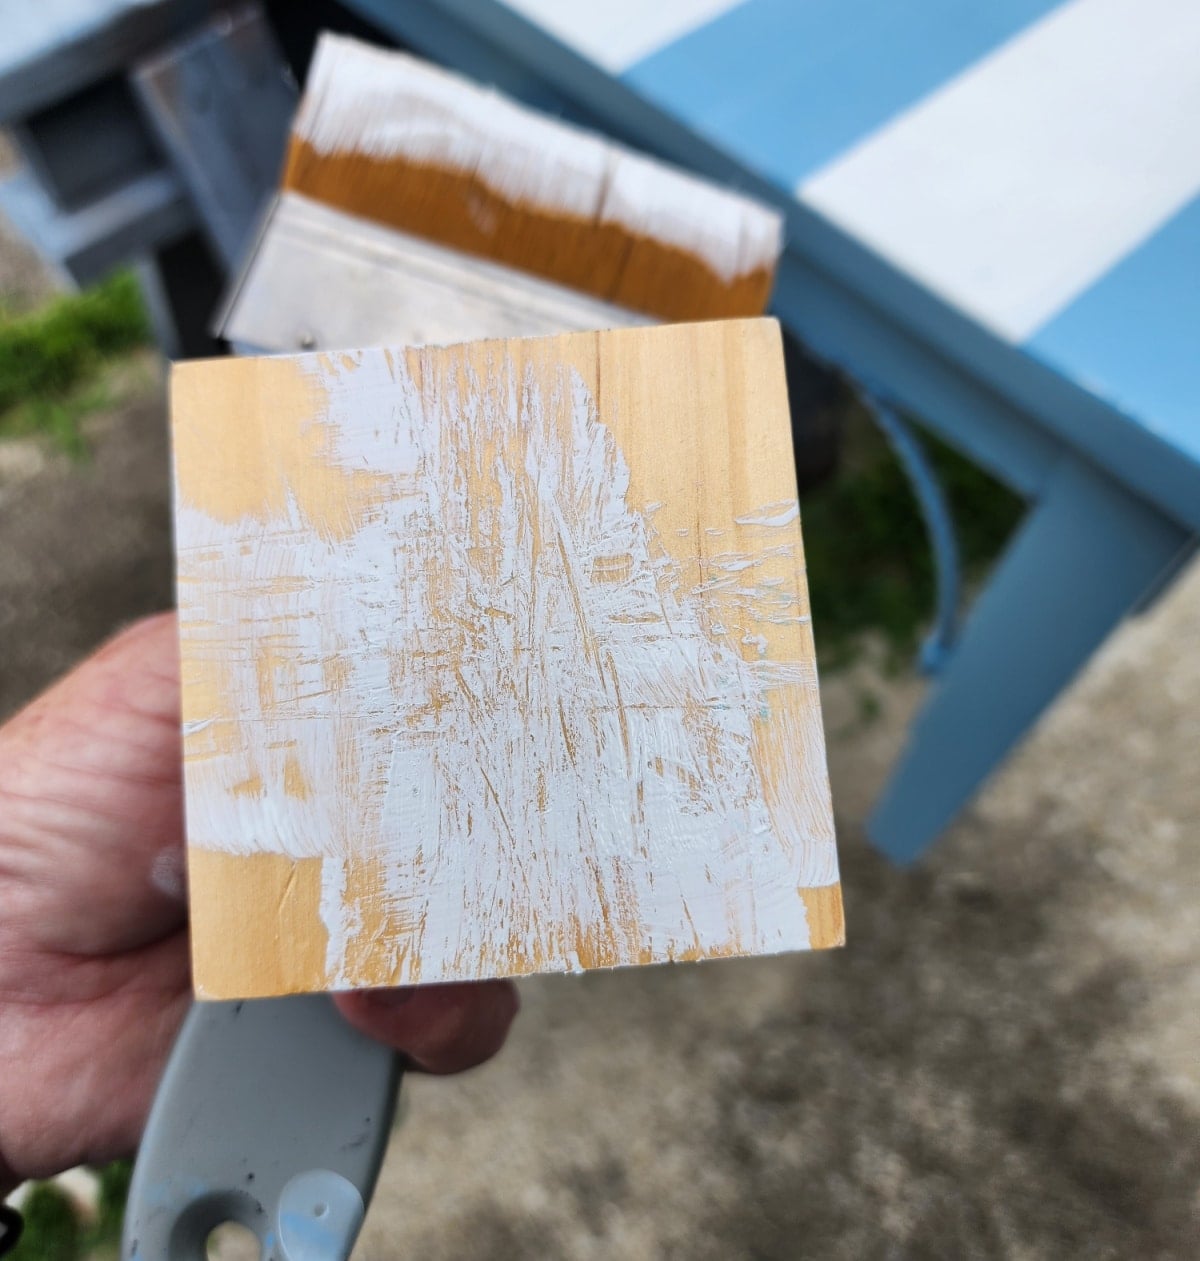
You can see in the photo that I actually used very little paint on my block to do the entire bench.
I love how it gives the hint of white paint that appears to come from under the blue paint.
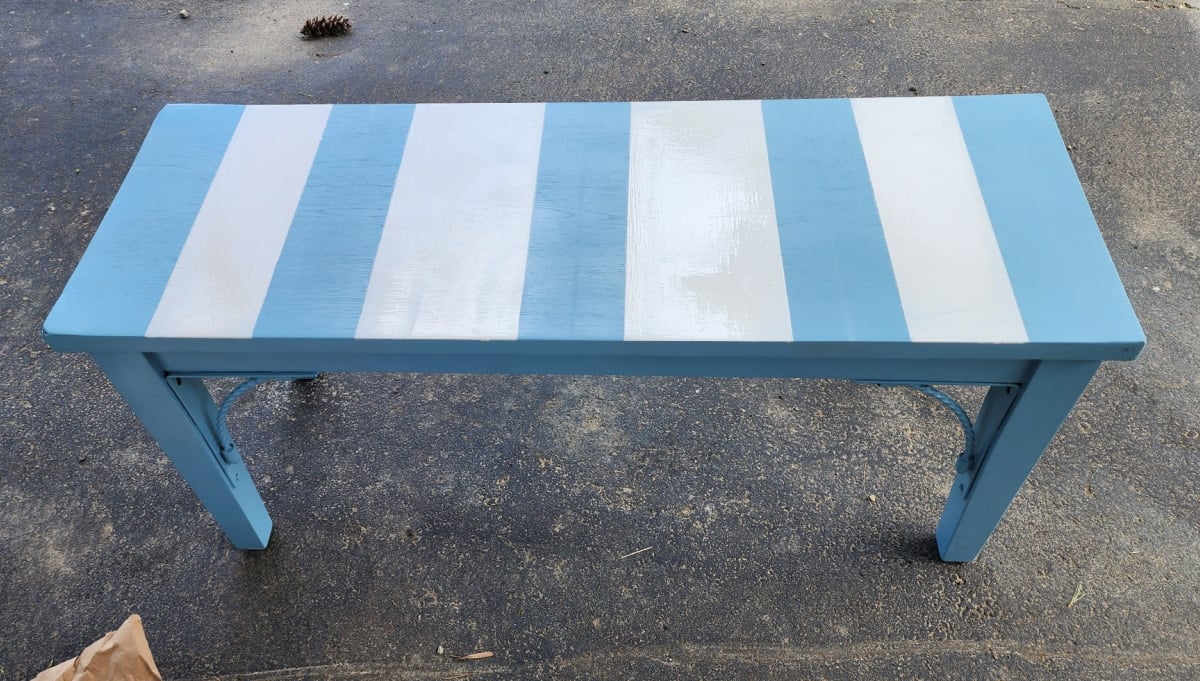
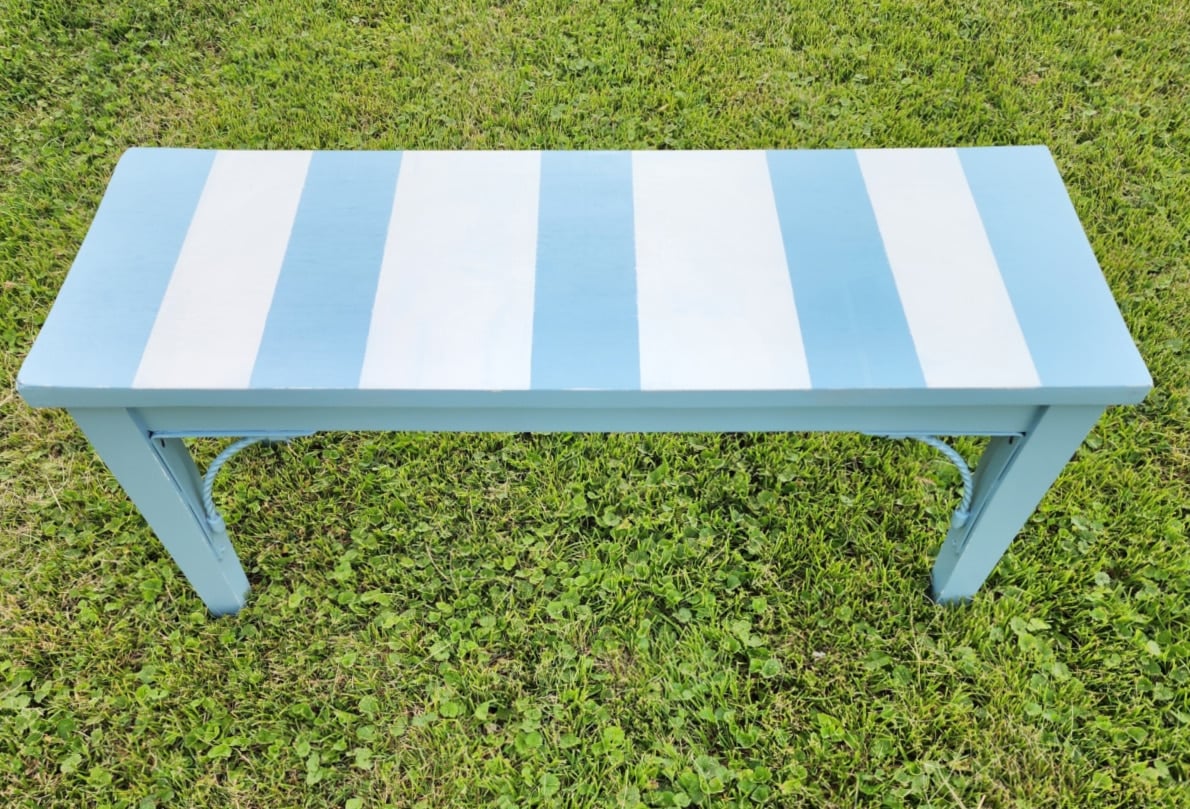
Bench Makeover With Stripes
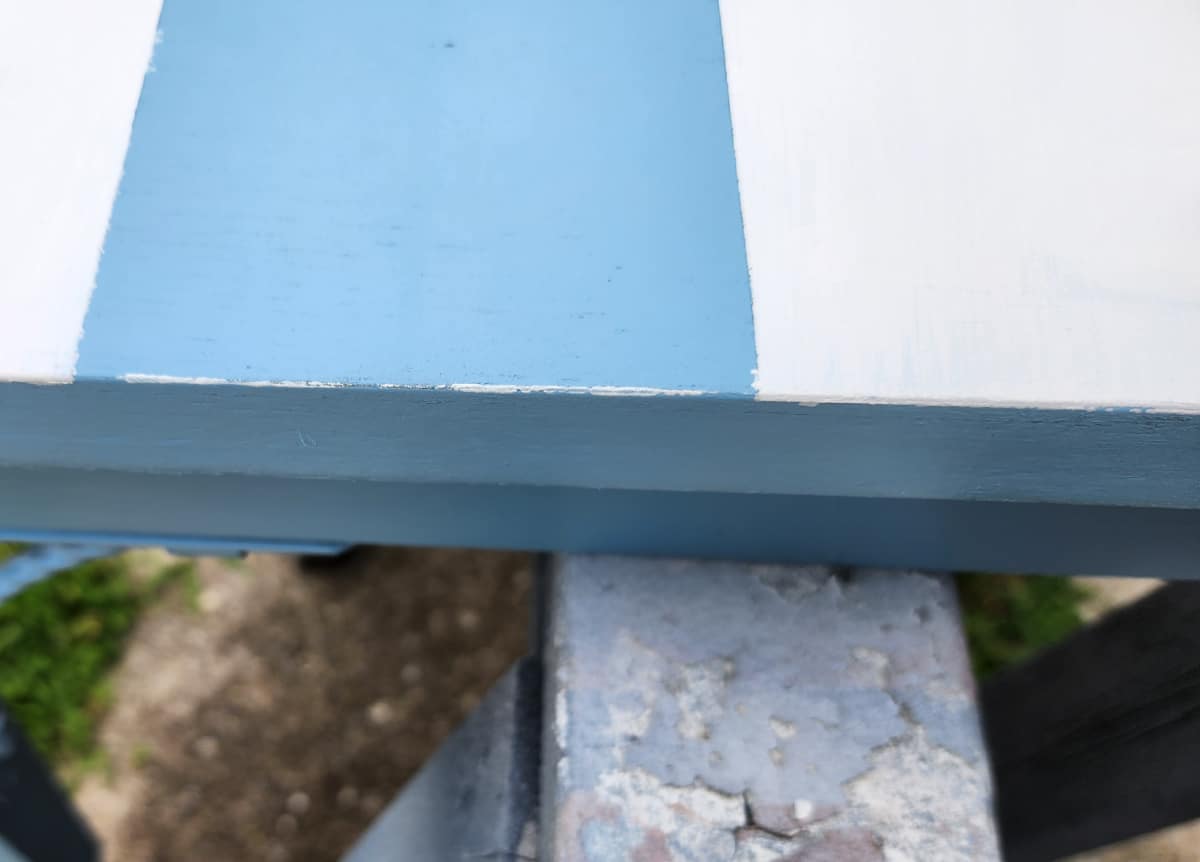
So, the HTP paint did work on the spray-painted bench seat. Did all my precautions to stop paint seepage work? Yes and no. In some places, the gray line is crisp–in other places, not so much.
In this photo, you can see the rough corner. I’m okay with how it turned out. It was definitely worth $6 because it is so sturdy.
Ways to Use a Small Bench Around Your Home
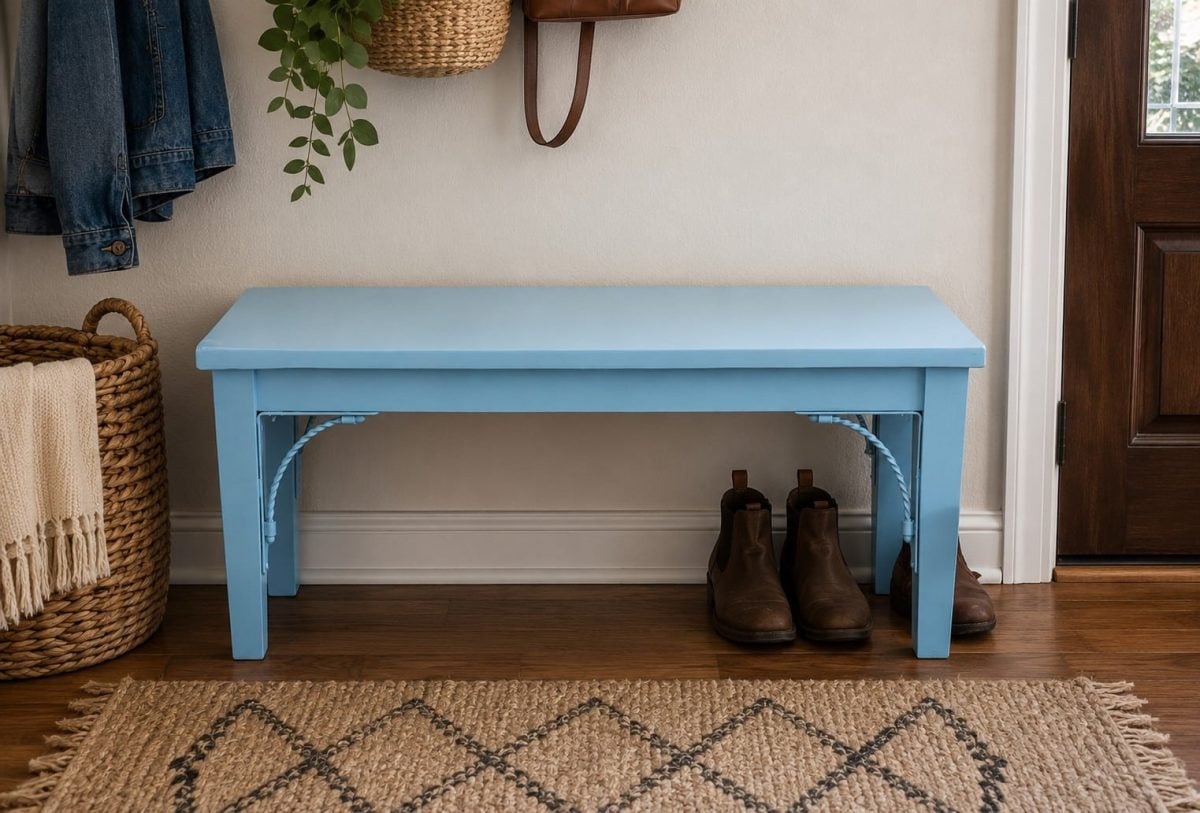
- Use a bench in an entryway as a convenient place to sit while putting on shoes.
- Place it at the foot of a bed for extra seating and a spot to set decorative pillows.
- Tuck baskets underneath for hidden storage in a mudroom or hallway.
- Style a bench on a covered porch with a few colorful throw pillows.
- Use it as extra seating when entertaining guests.
- Create a cozy reading nook by pairing a bench with a small side table and lamp.
- Place it beneath a window to create a charming window seat.
- Use it as a plant stand to display a collection of potted plants.
- Add it to a guest room as a luggage bench.
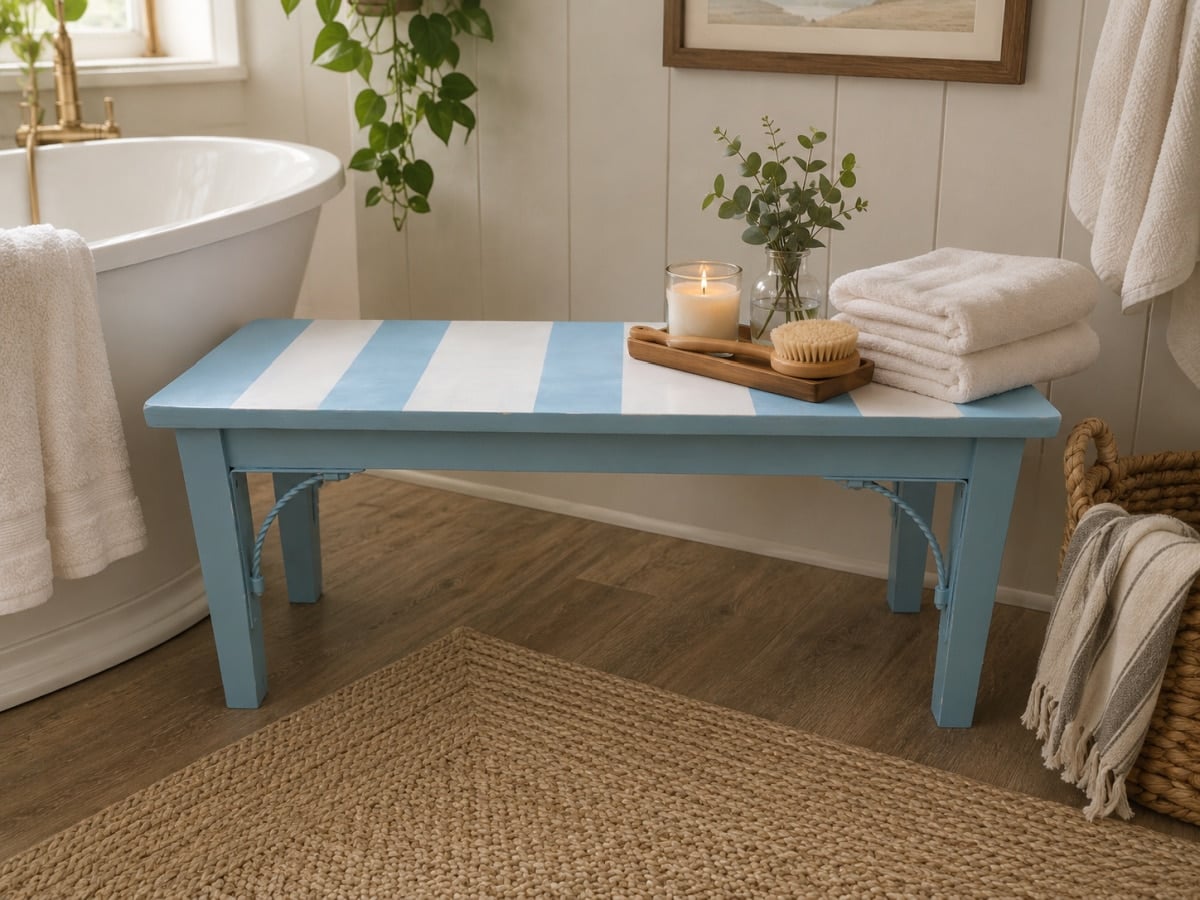
- Set it in a bathroom to hold folded towels and toiletries.
- Use it in a craft room for additional seating and storage.
- Place it near a fireplace for a cozy cottage-style accent.
- Use it as a display bench for seasonal décor.
- Add a cushion and use it as a dining bench in a breakfast nook.
- Place it at the end of a hallway to break up a long, narrow space.
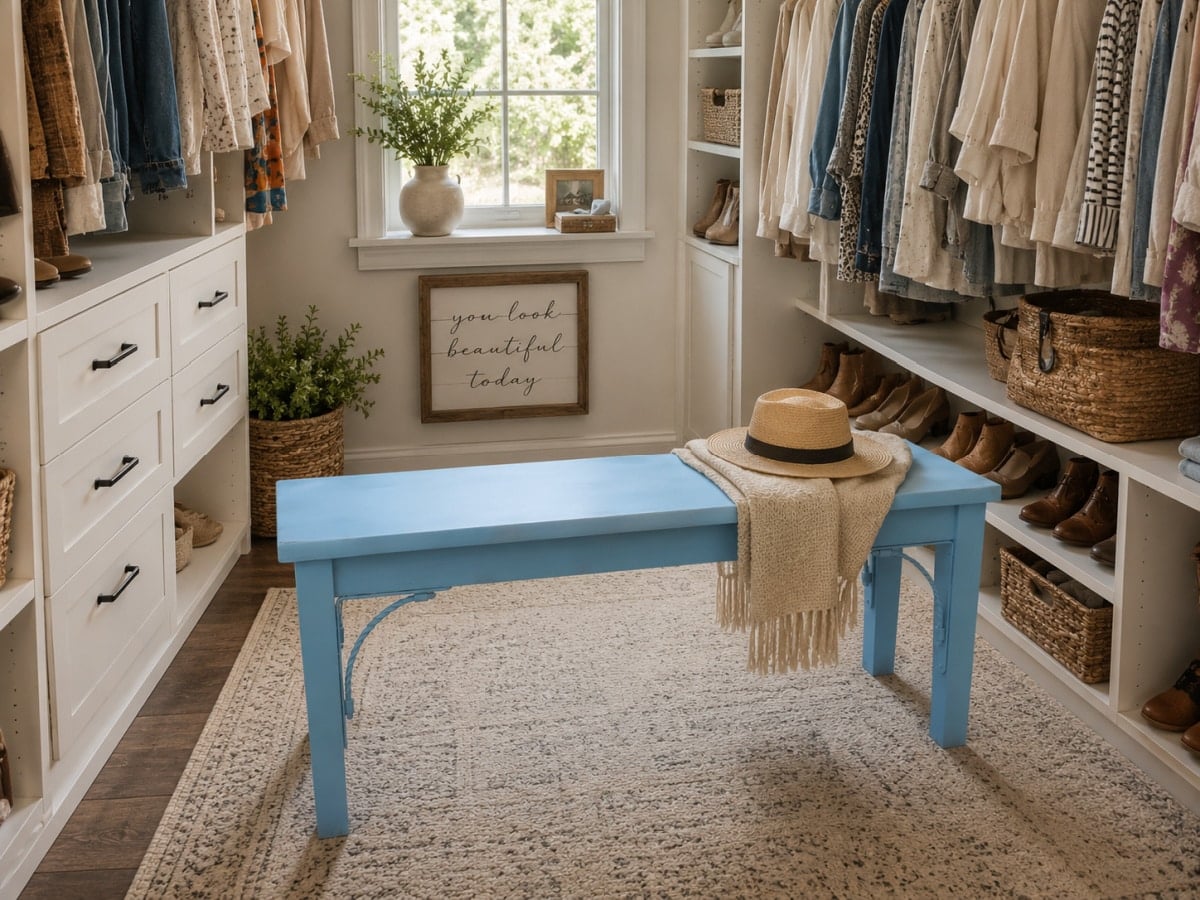
- Use a bench in a walk-in closet for seating while getting dressed.
- Create a pet perch by adding a washable cushion.
- Set it on a covered patio as casual outdoor seating.
- Use it as an alternative to a coffee table in a family room.
- Style it in a guest entry or Airbnb for a welcoming touch.
Styling Suggestion for a Bench Makeover Project
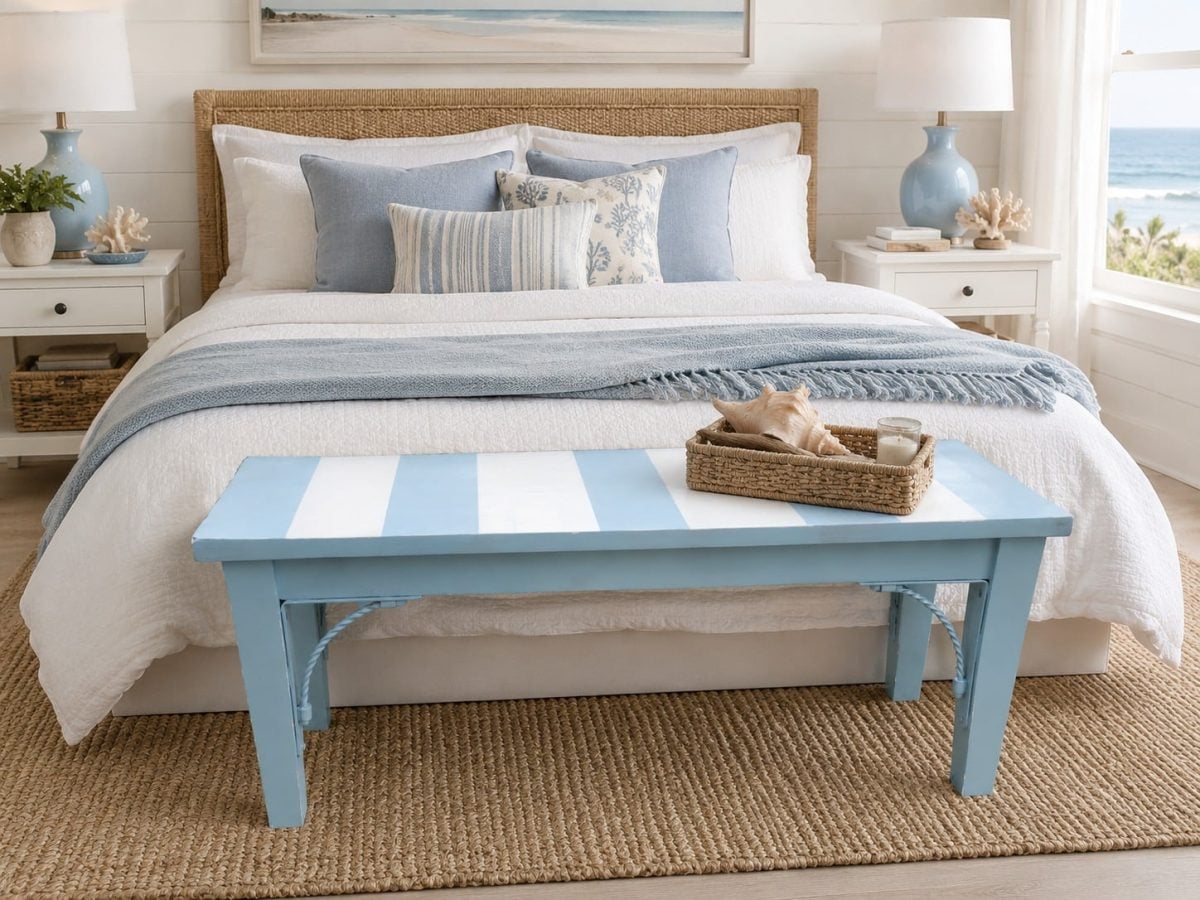
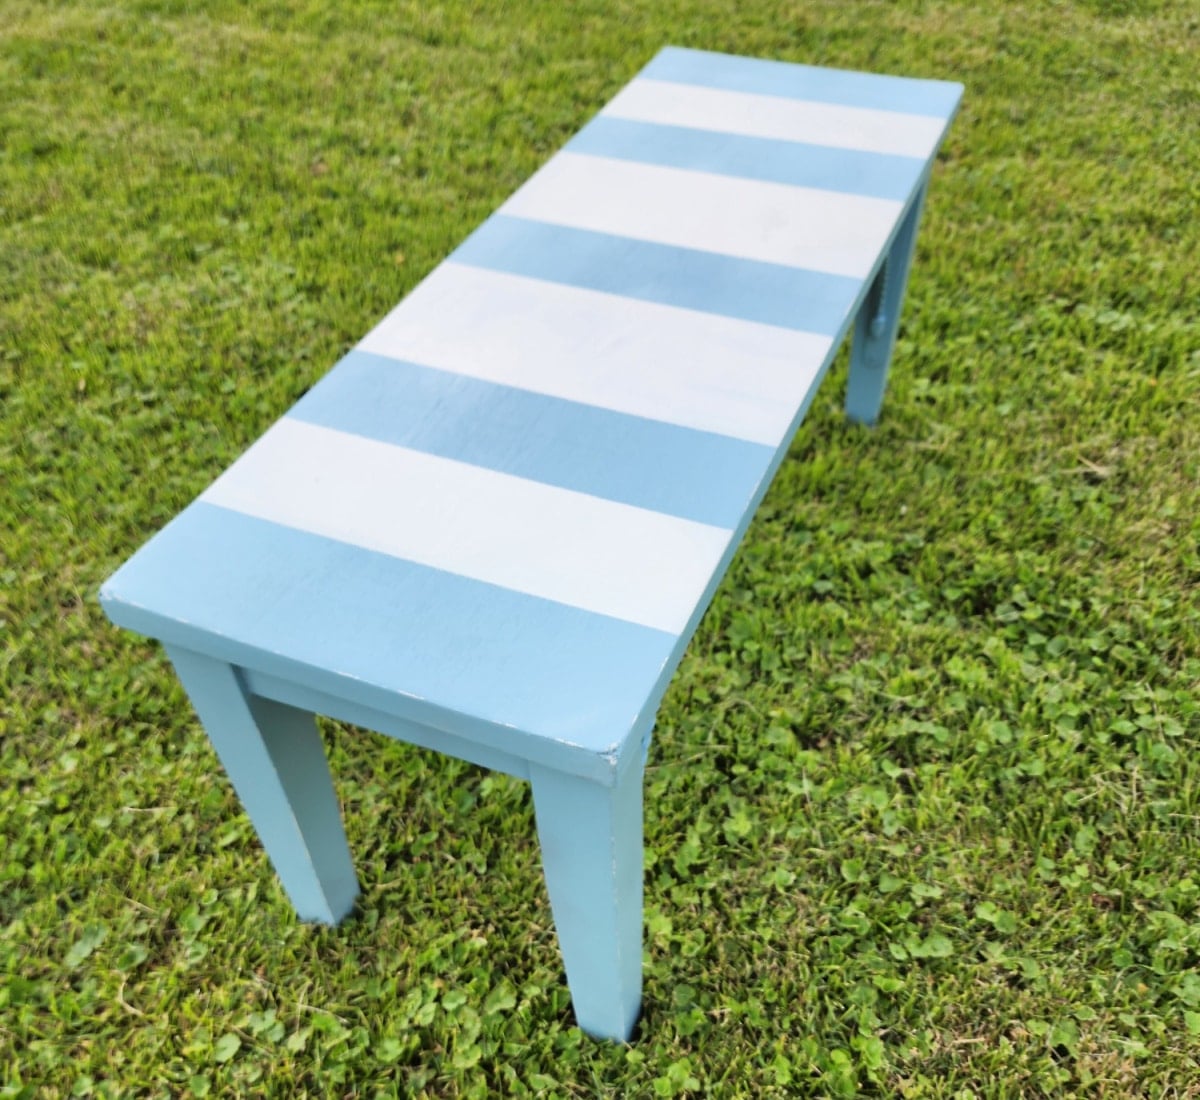
Wouldn’t it be perfect for your home on the beach?
I’m so happy with how this little bench turned out. The blue paint freshened it up, while the white stripes gave the plain top just enough interest. It would be cute at the end of a bed, in a walk-in closet, near an entryway, or even used as a luggage bench in a guest room. Never underestimate a simple thrift store bench. Sometimes all it needs is a little color and a fun painted detail.
Now, it’s time to see what the rest of the FFU team has been up to.
Fabulous Furniture Fixer Upper Projects
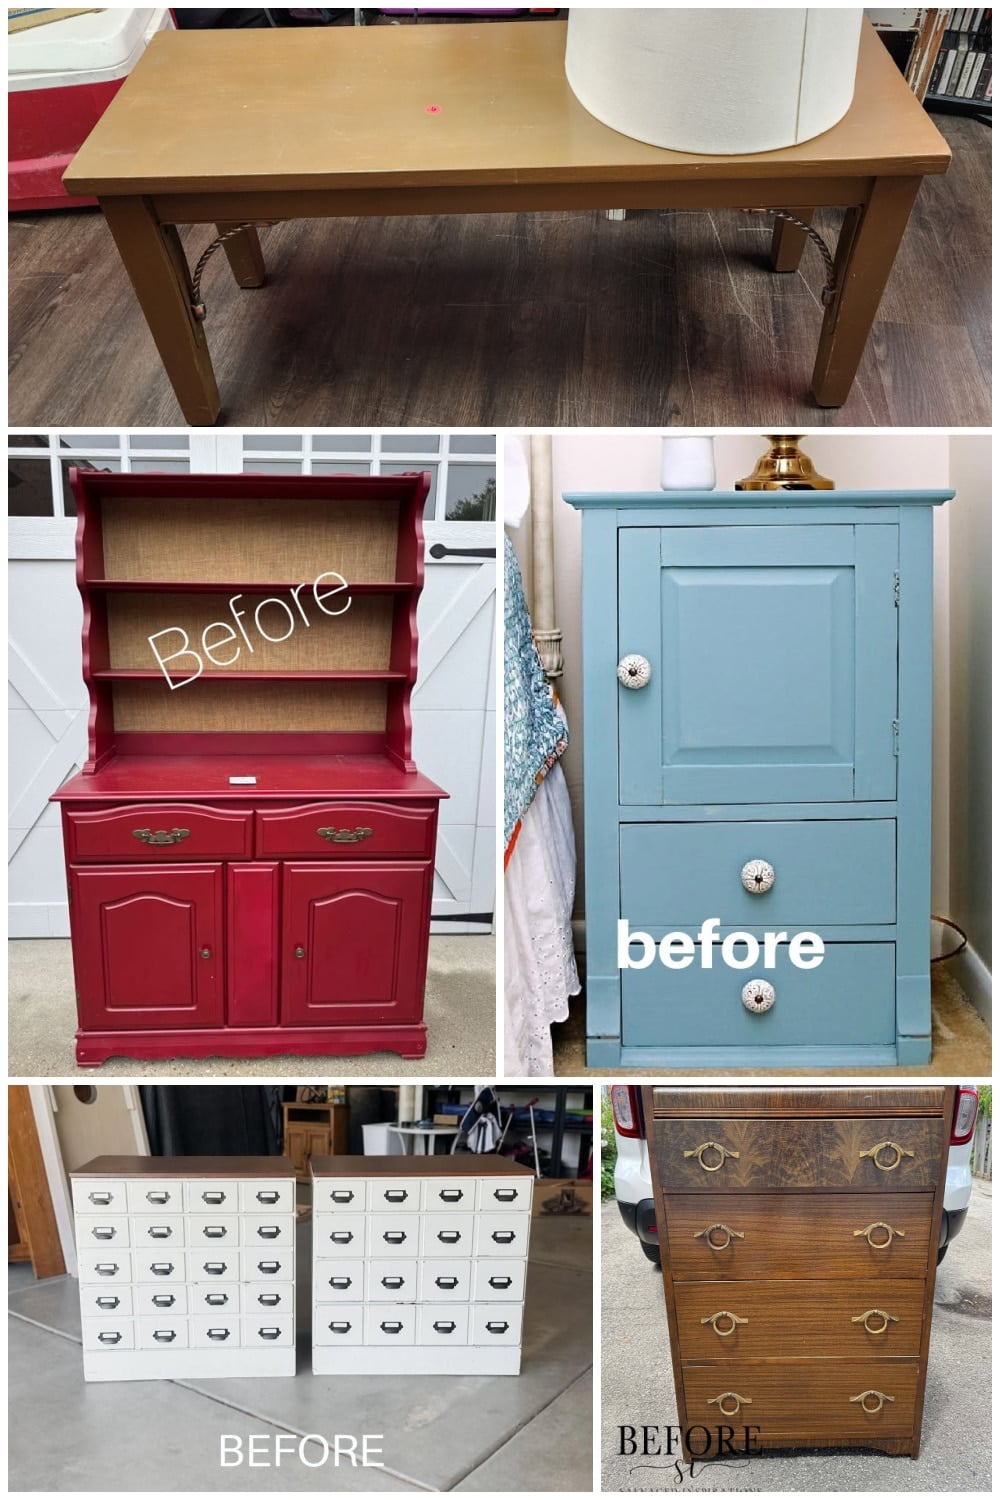
- Wooden Bench Makeover (You are here, thank you)
- Pretty Painted Hutch Makeover
- How to Paint Furniture For a Modern Look
- Old Nightstands Into Beautiful Furniture for My Bedroom Makeover
- Waterfall Dresser | Back to Basics Painted Furniture
Furniture Fixer Upper Tour Projects
If you love seeing old furniture get a second chance, be sure to visit more Furniture Fixer Upper Tour makeovers. Each project starts with good bones and ends with a fresh new story.
See more Furniture Fixer Upper makeovers here
You will find everything from small side tables to large statement pieces, all transformed by talented DIY bloggers who believe in saving furniture rather than replacing it.
Shirley’s Thrift store sounds awesome and the $6 price tag for this sturdy piece is amazing! I love the way you shared how to use it differently in all these settings – brilliant! Pinned XOXO