Decoupage Wooden Letters
As an Amazon Associate, I earn from qualifying purchases.

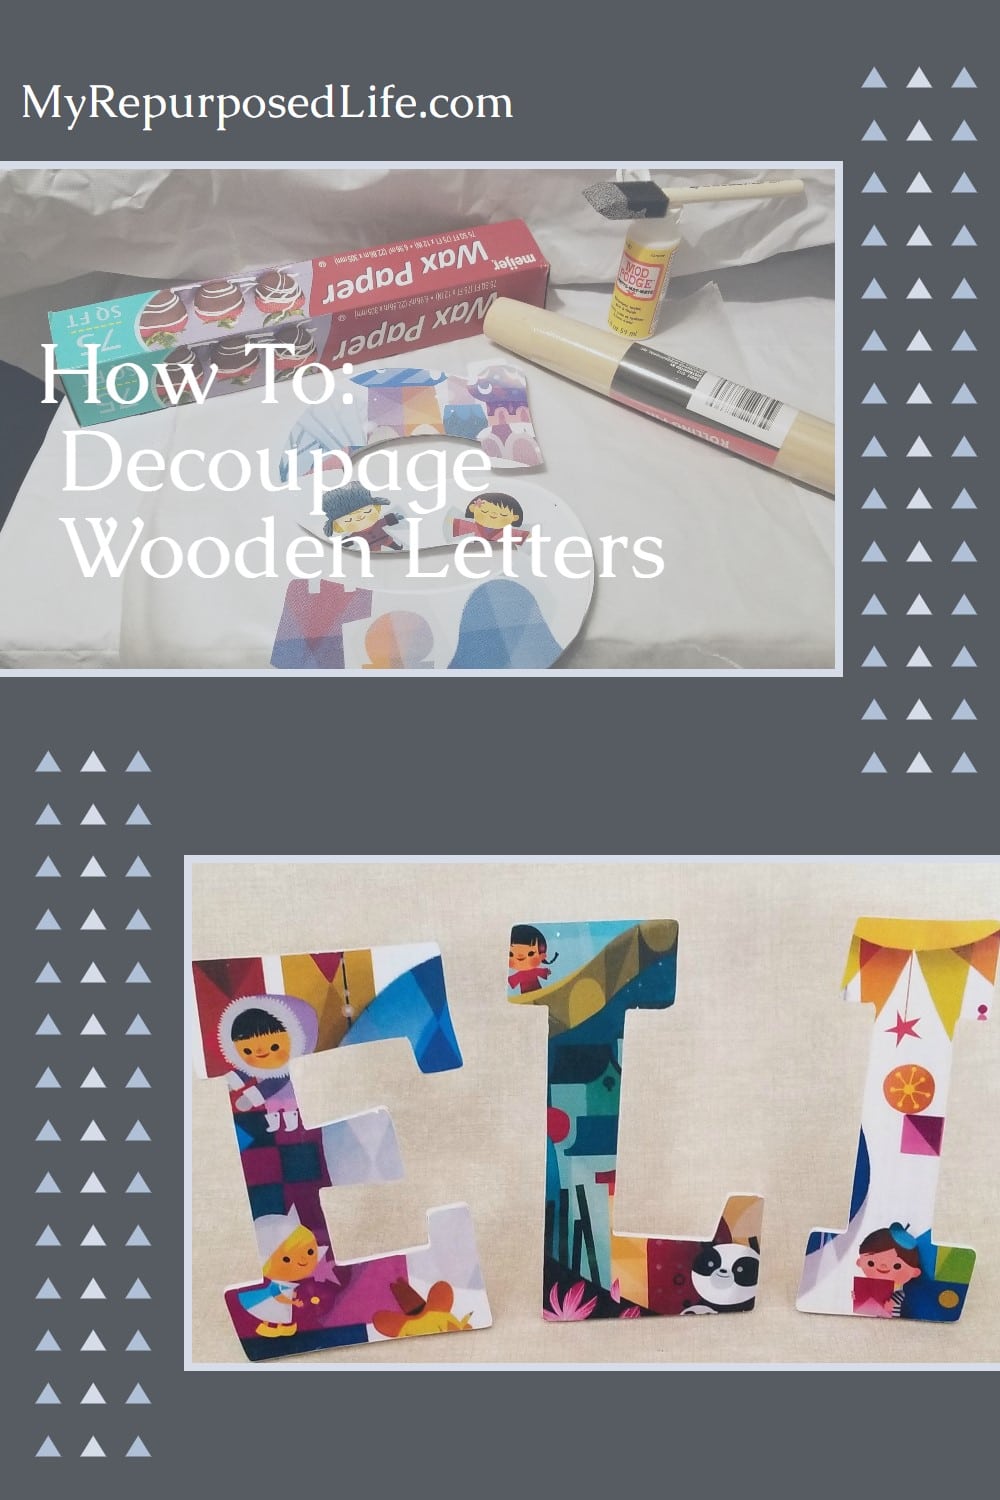
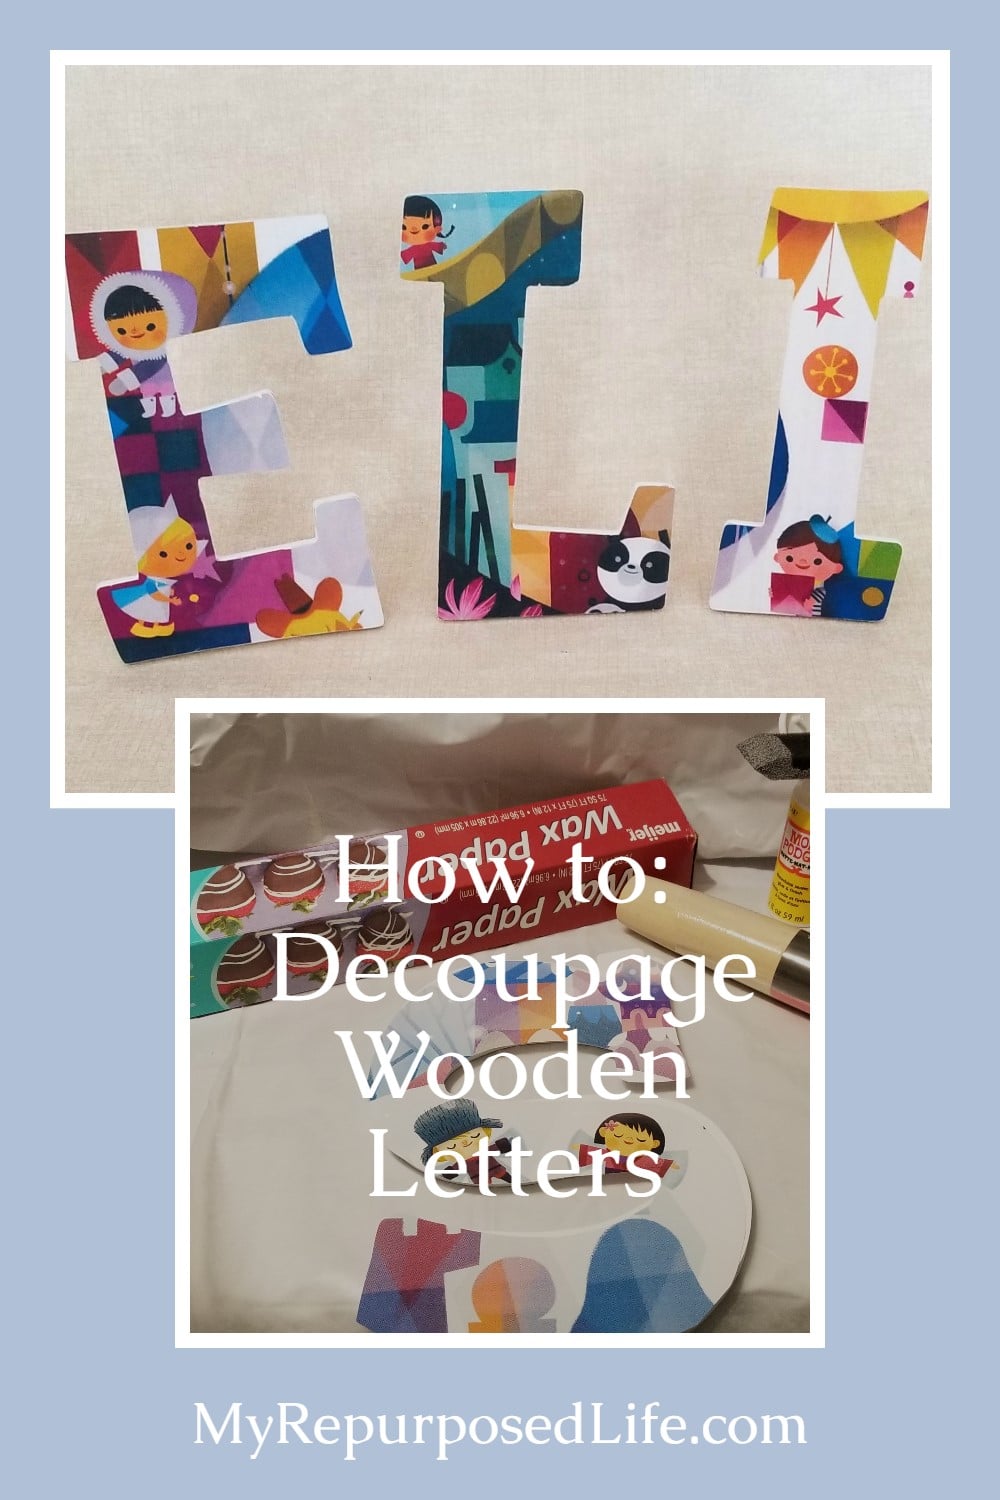
How to Decoupage Wooden Letters for a Baby Shower or Nursery.
Looking for a fun and easy way to personalize wooden letters? This simple decoupage project is the perfect solution! Whether you’re decorating a nursery, creating a baby shower gift, or adding a custom touch to a child’s room, you’ll love how easy it is to transform plain wood letters with scrapbook paper and Mod Podge. In this tutorial, I’ll show you step-by-step how to decoupage wooden letters—and even how to make them stand up for display!
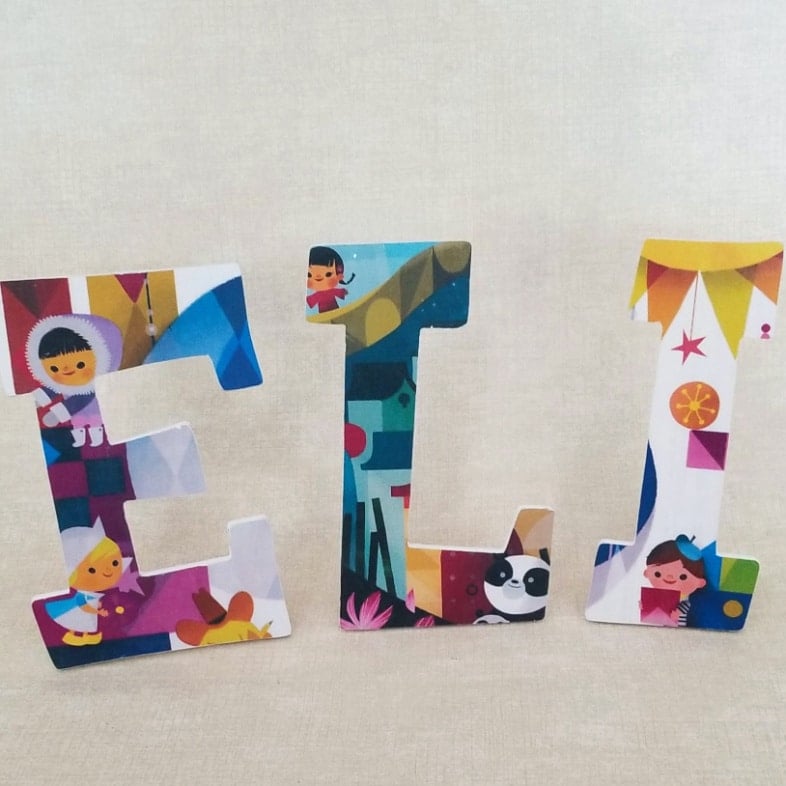
If you follow me on Facebook you probably know that I’m going to be a grandmother. Well, I guess I already am a grandmother; I just haven’t met my grandson yet. My daughter Jamie and her husband Andy have been on a journey to adopt. They were matched earlier this year and hope to travel to China in May. I’m helping out cousin Terry with a baby shower, so I’m putting together some decorations.
These decoupaged letters will be used at the shower, but I hope Jamie loves them enough to display them in Eli’s room or playroom. ![]()
Visit the My Repurposed Life Amazon Store to shop my favorite items.
Supplies for Decoupage Letters:
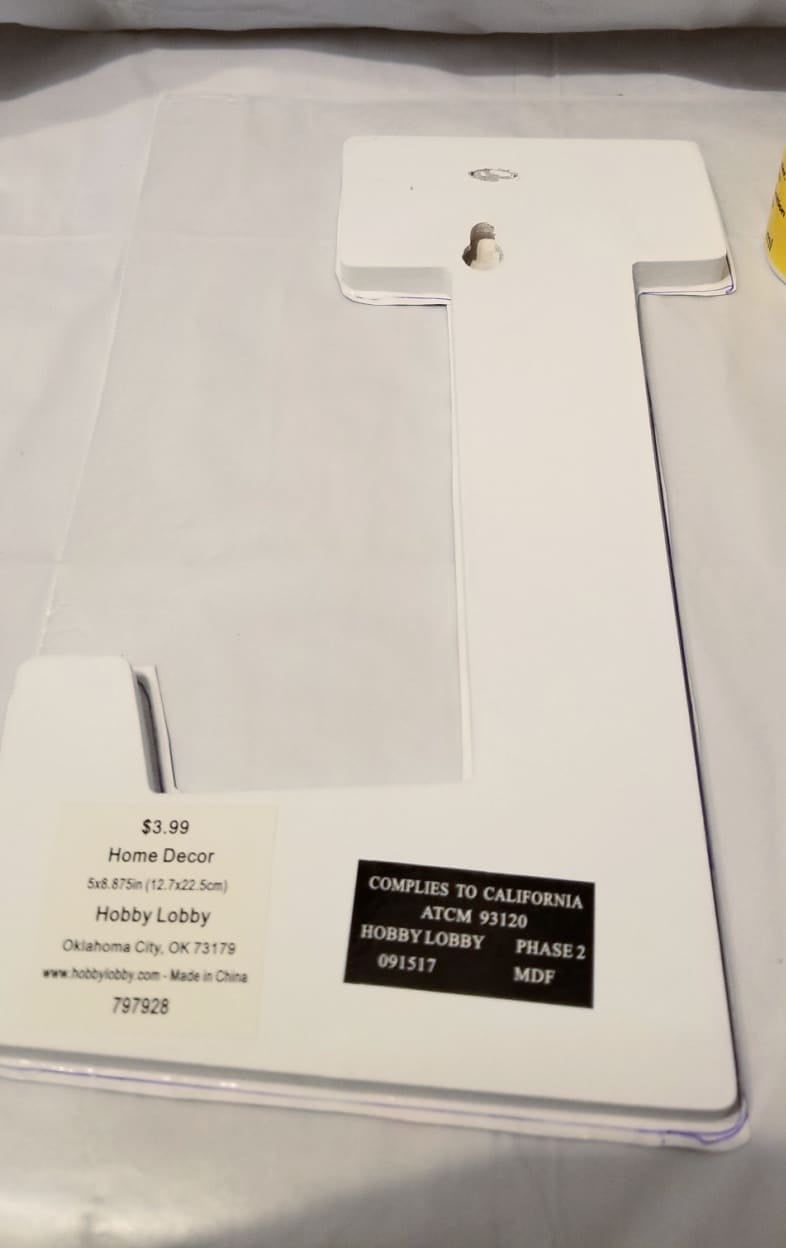
- Wooden Letters (I got mine on sale at Hobby Lobby)
- Presentation Paper
- Printer
- Mod Podge(I used Matte purchased at the Dollar Tree)
- Sponge Brush
- Rolling Pin
- Wax Paper
- Emery Boards
- Sand Paper
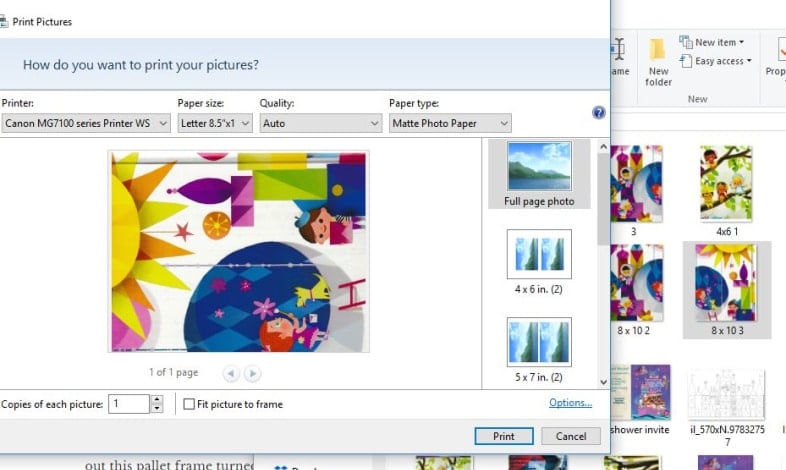
Getting the design just right was a little challenging. The theme for the shower is “It’s a Small World”. I bought Eli an It’s a Small World Book on Amazon. The book is so sweet, and I loved the pictures. I scanned a few pages on my scanner, then I had to get creative to get them the correct size. My letters were too tall for the print to be landscape. I cropped the images to the area that I thought might look best for each letter. The presentation paper is a little glossier and heavier than regular paper. I have an inkjet printer, nothing fancy.
Trace Letters On Paper
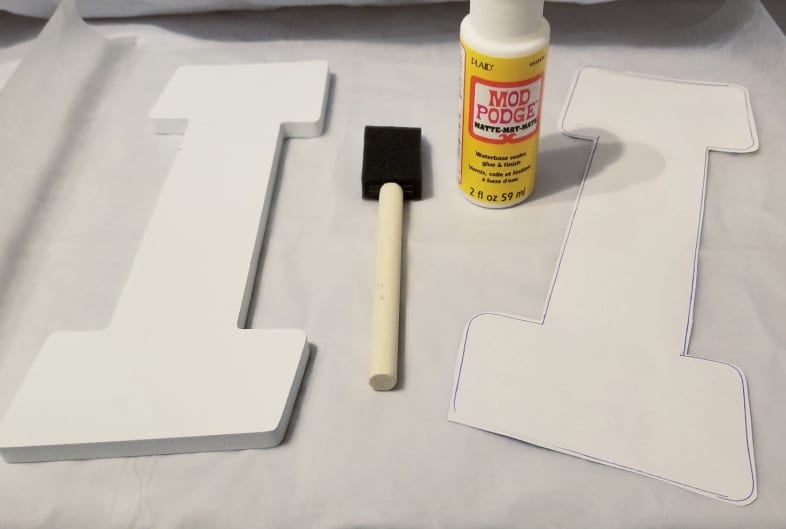
By holding the letters and the paper up to the light in the kitchen, I was able to manipulate the paper to get the desired image in the right place. Very carefully, I laid the paper and letter on the table and traced them, leaving a little space all around.
Apply Mod Podge to Wooden Letters

I highly recommend using Mod Podge in a squirt bottle. It is so easy to get it spread on the letter (and paper) this way. After squirting the Mod Podge, I used the sponge applicator to smooth out the Mod Podge. The key is to make sure you get it to the edge. I believe LESS is MORE in this case.
Apply Mod Podge to Paper
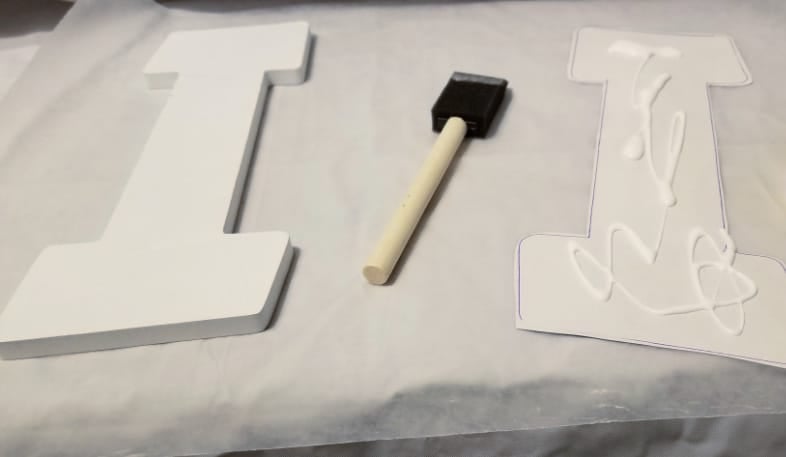
It’s helpful to also apply the Mod Podge on the back of the paper. I feel that putting it on the wood and the paper allows you some “wiggle room” to get the paper just where you want it.
Secure Paper to Wooden Letter

I applied the paper to the wooden letter, positioning it where I thought it should be.
Flip Wooden Decoupage Letter to Smooth Paper
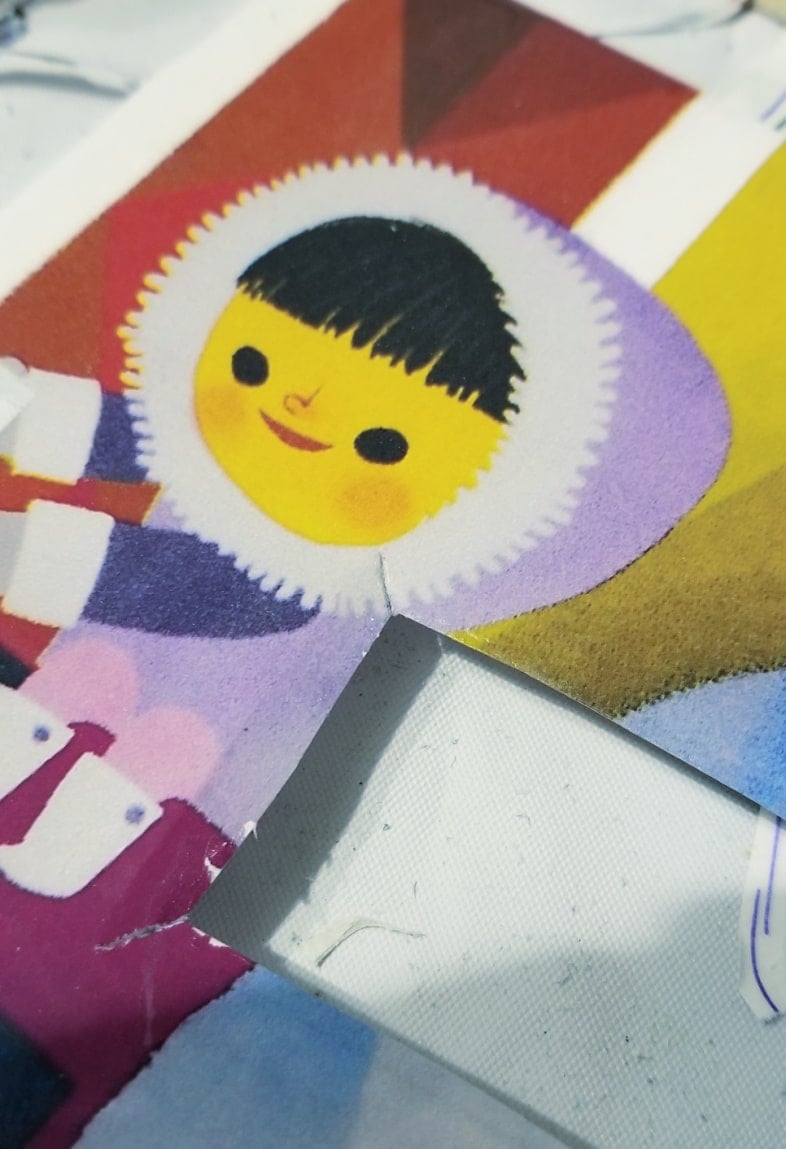
I found that turning the wooden letter over and pressing down slightly helped to make the paper smoother with fewer wrinkles and bubbles. It also makes the extra Mod Podge ooze out, which I wiped away. In this picture, you can see how I cut the paper a little larger than the wooden letter. I might suggest that you decide if you would rather deal with removing the extra paper, or fidget with a letter that might be a little “too close for comfort”.
Wooden Rolling Pin as a Brayer
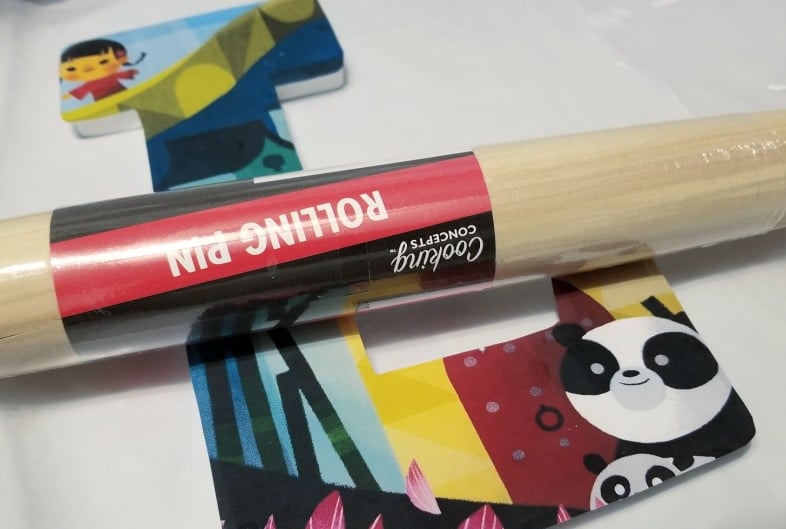
After allowing the decoupage medium to set up, I used a rolling pin (from the Dollar Store) as a brayer. This helped to smooth out the paper and make a little more glue ooze out. How long did I wait? I applied paper to one letter, set it aside, applied it to the next letter, then used the rolling pin to smooth out the first letter.
Snip Paper Corners
After the Mod Podge dried, I snipped all the joints/corners with scissors.
Sand Decoupage Letter Edges with Emery Board
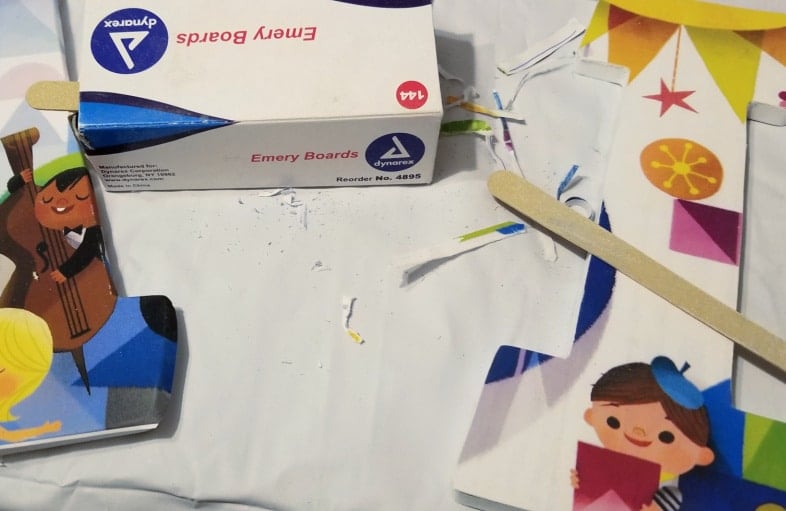
Emery boards are a great way to remove the excess paper around the decoupage wooden letters. On the left, you can see the overhang on the letter A. On the right, you can see how I’ve already filed away the excess paper with the emery board. It’s also helpful to remove any dried-on glue. You can see I buy them on Amazon by the box!
Seal Decoupage Wooden Letters with Mod Podge
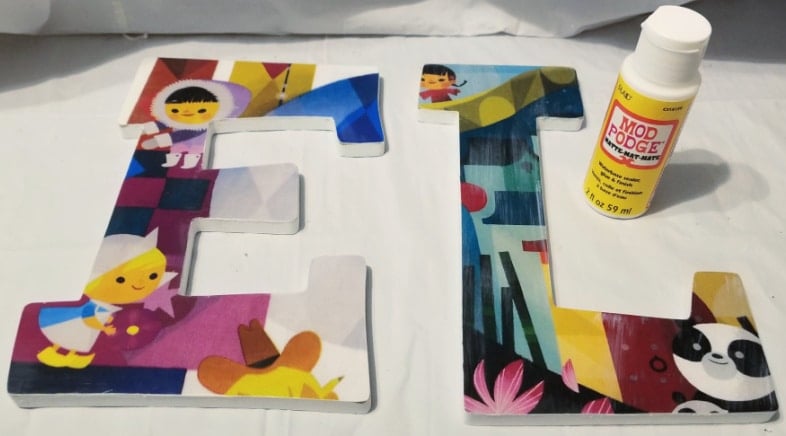
I allowed everything to dry thoroughly overnight and applied three light coats of Mod Podge to seal the paper.
Sand Decoupage Letters – Shine With Brown Craft Paper
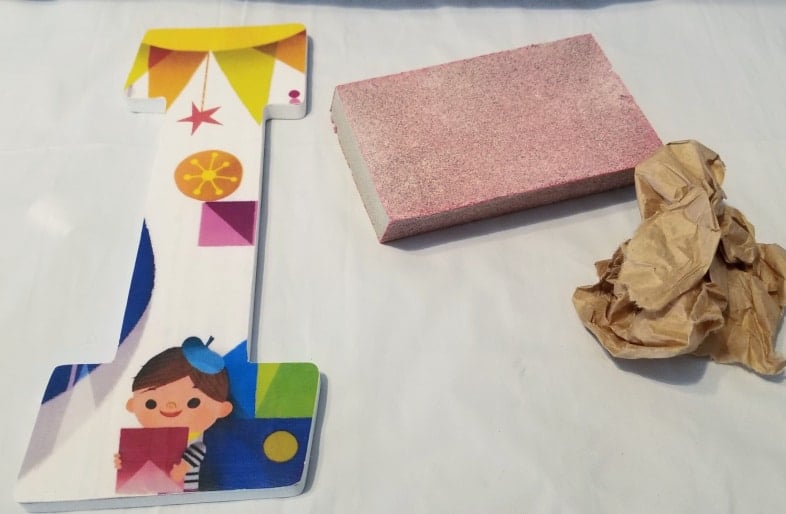
Use a sanding block to sand the wooden letters. Brown craft paper works well to burnish the finish to make it nice and smooth.
Make Stands for Decoupage Wooden Letters
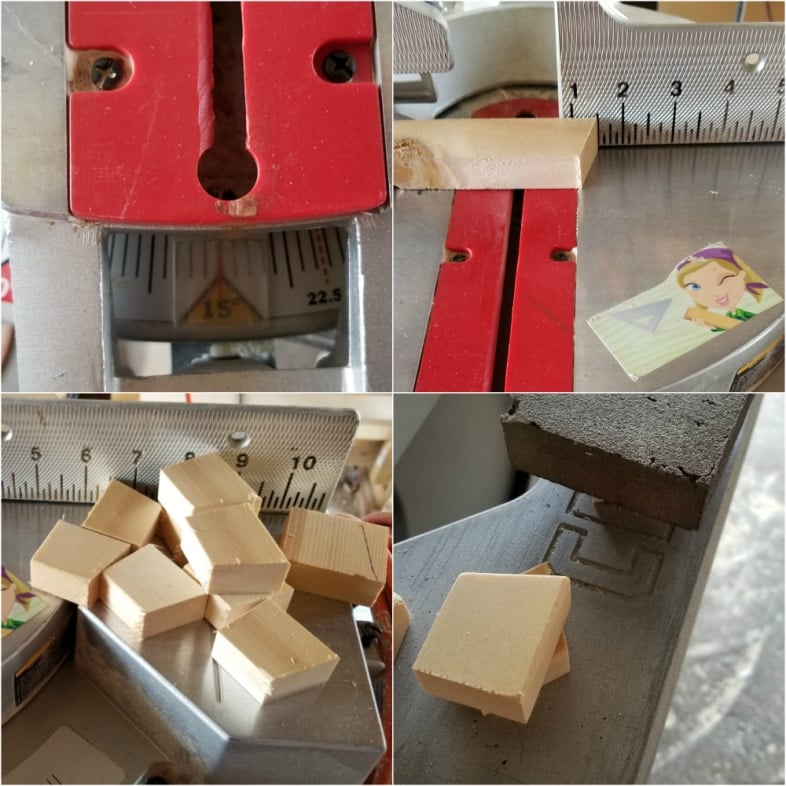
I used a scrap piece of wood to make small easels for the decoupage wooden letters.
- Cut end on a 15° angle
- Flip the board over, cut 1.5” (from the long end)
- Make ample easels (some letters take more than one)
- Sand easels
- Paint easels (not shown)
Tape the Small Easels to the Back of the Letters
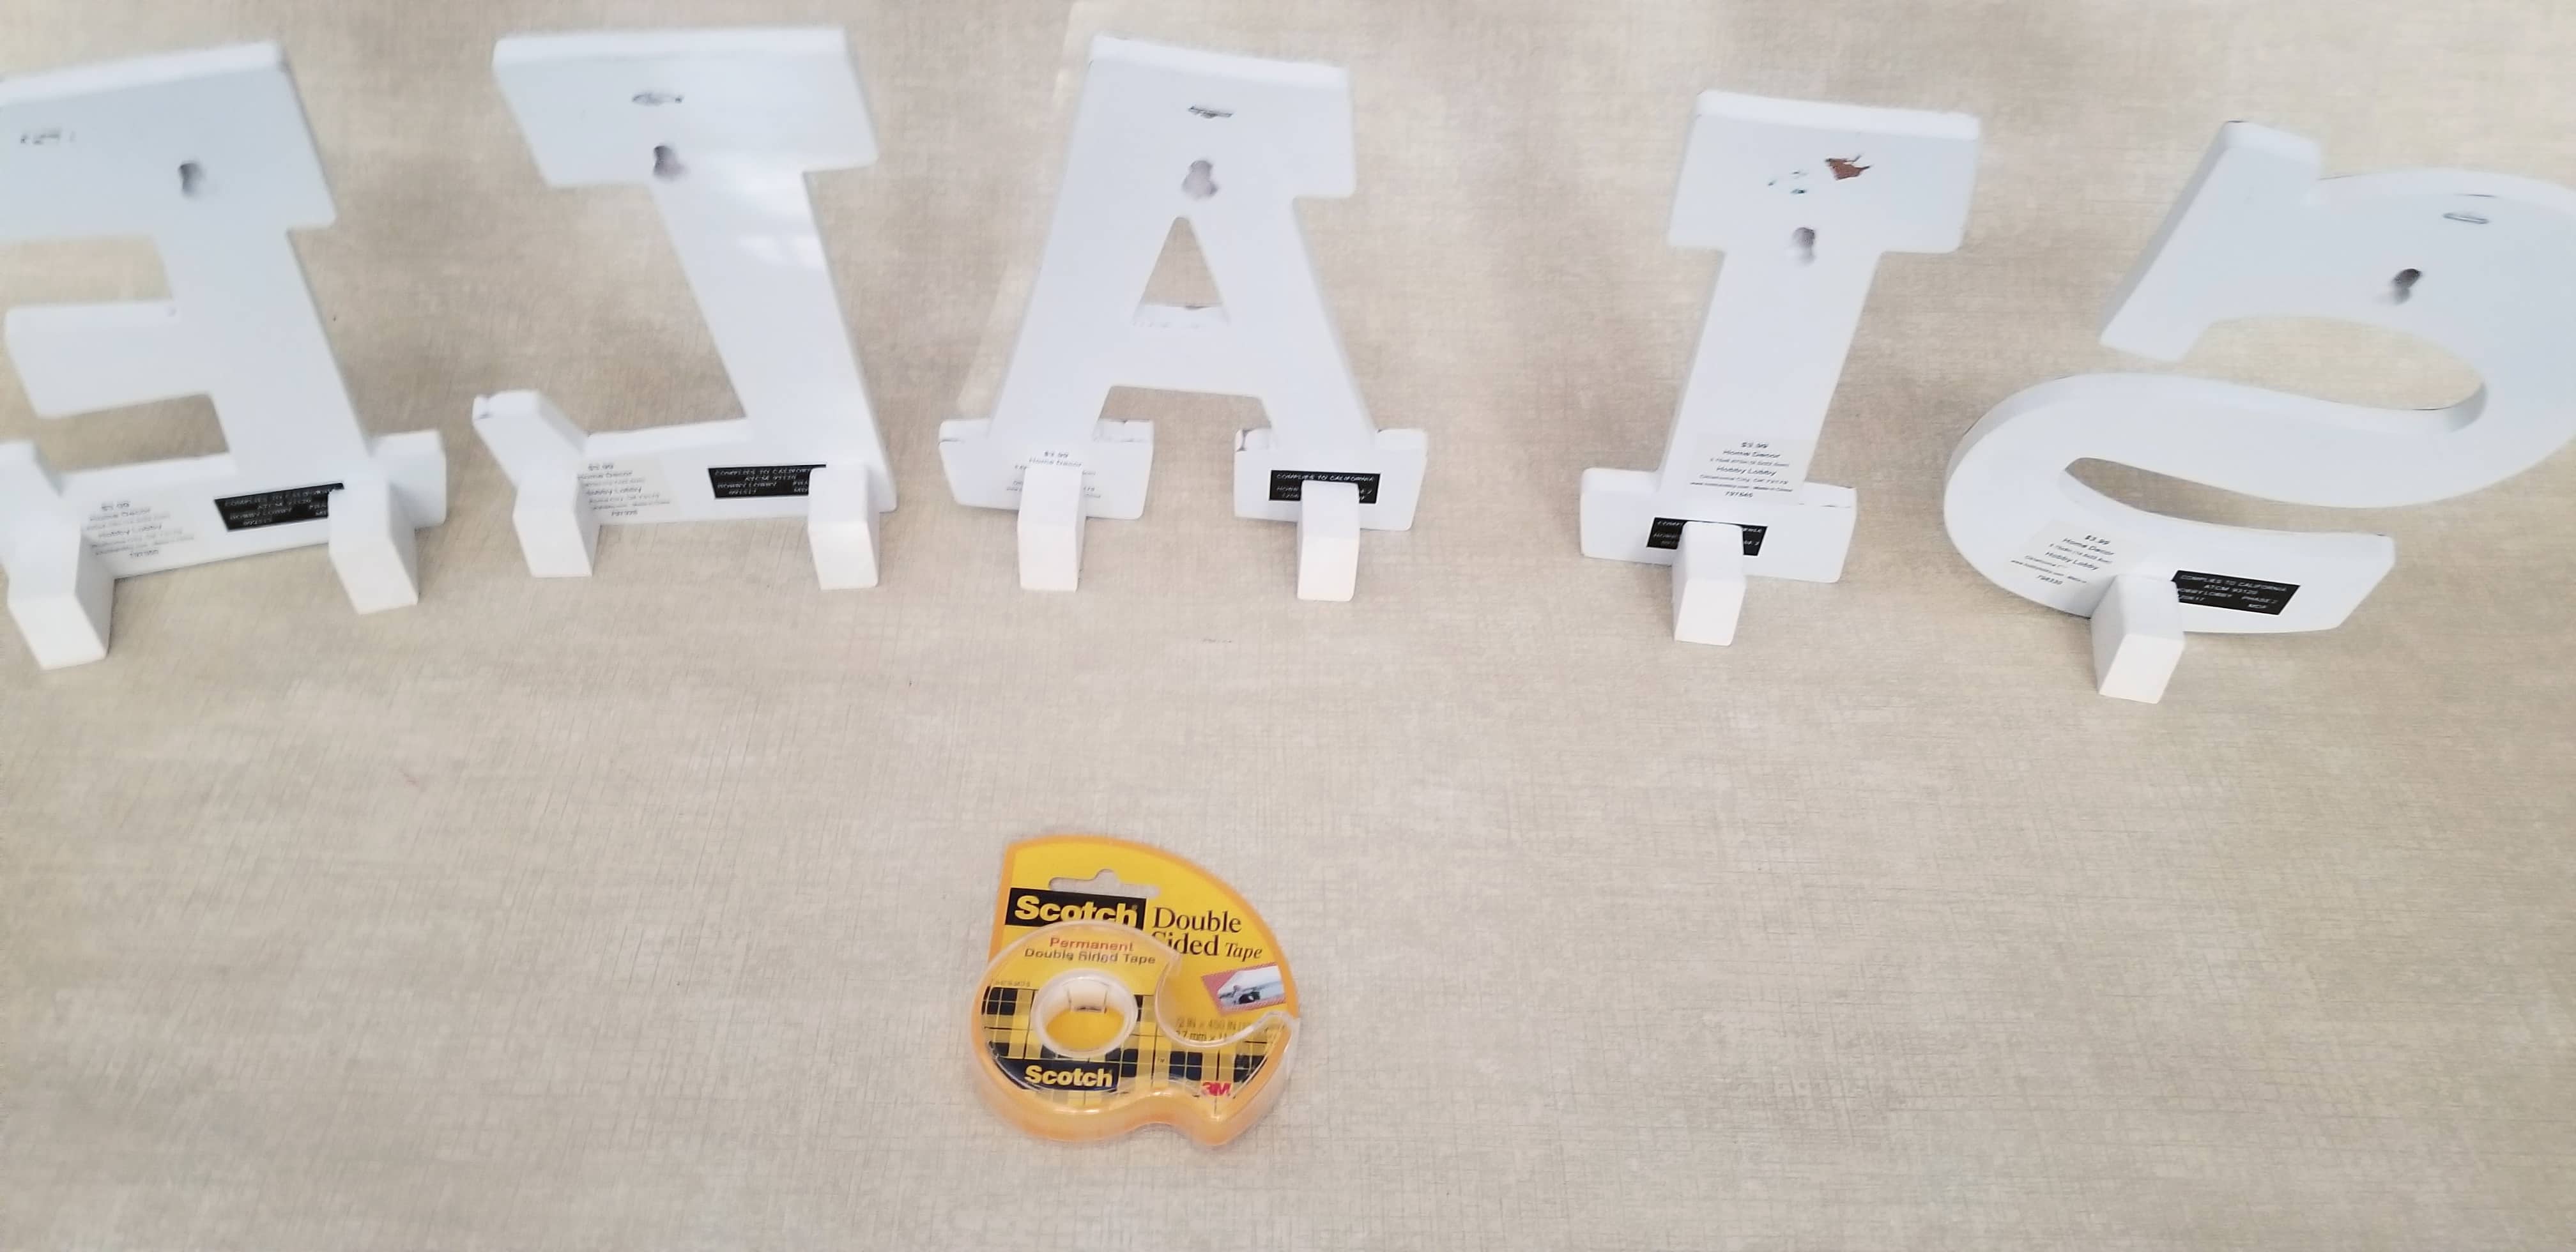
You can glue the easels if you plan to use this type of display permanently. I don’t know how Jamie might want to display her letters in Eli’s room, so I used double-stick tape as a temporary display option. I have been using these small wooden easels for displaying all sorts of small items in my home.
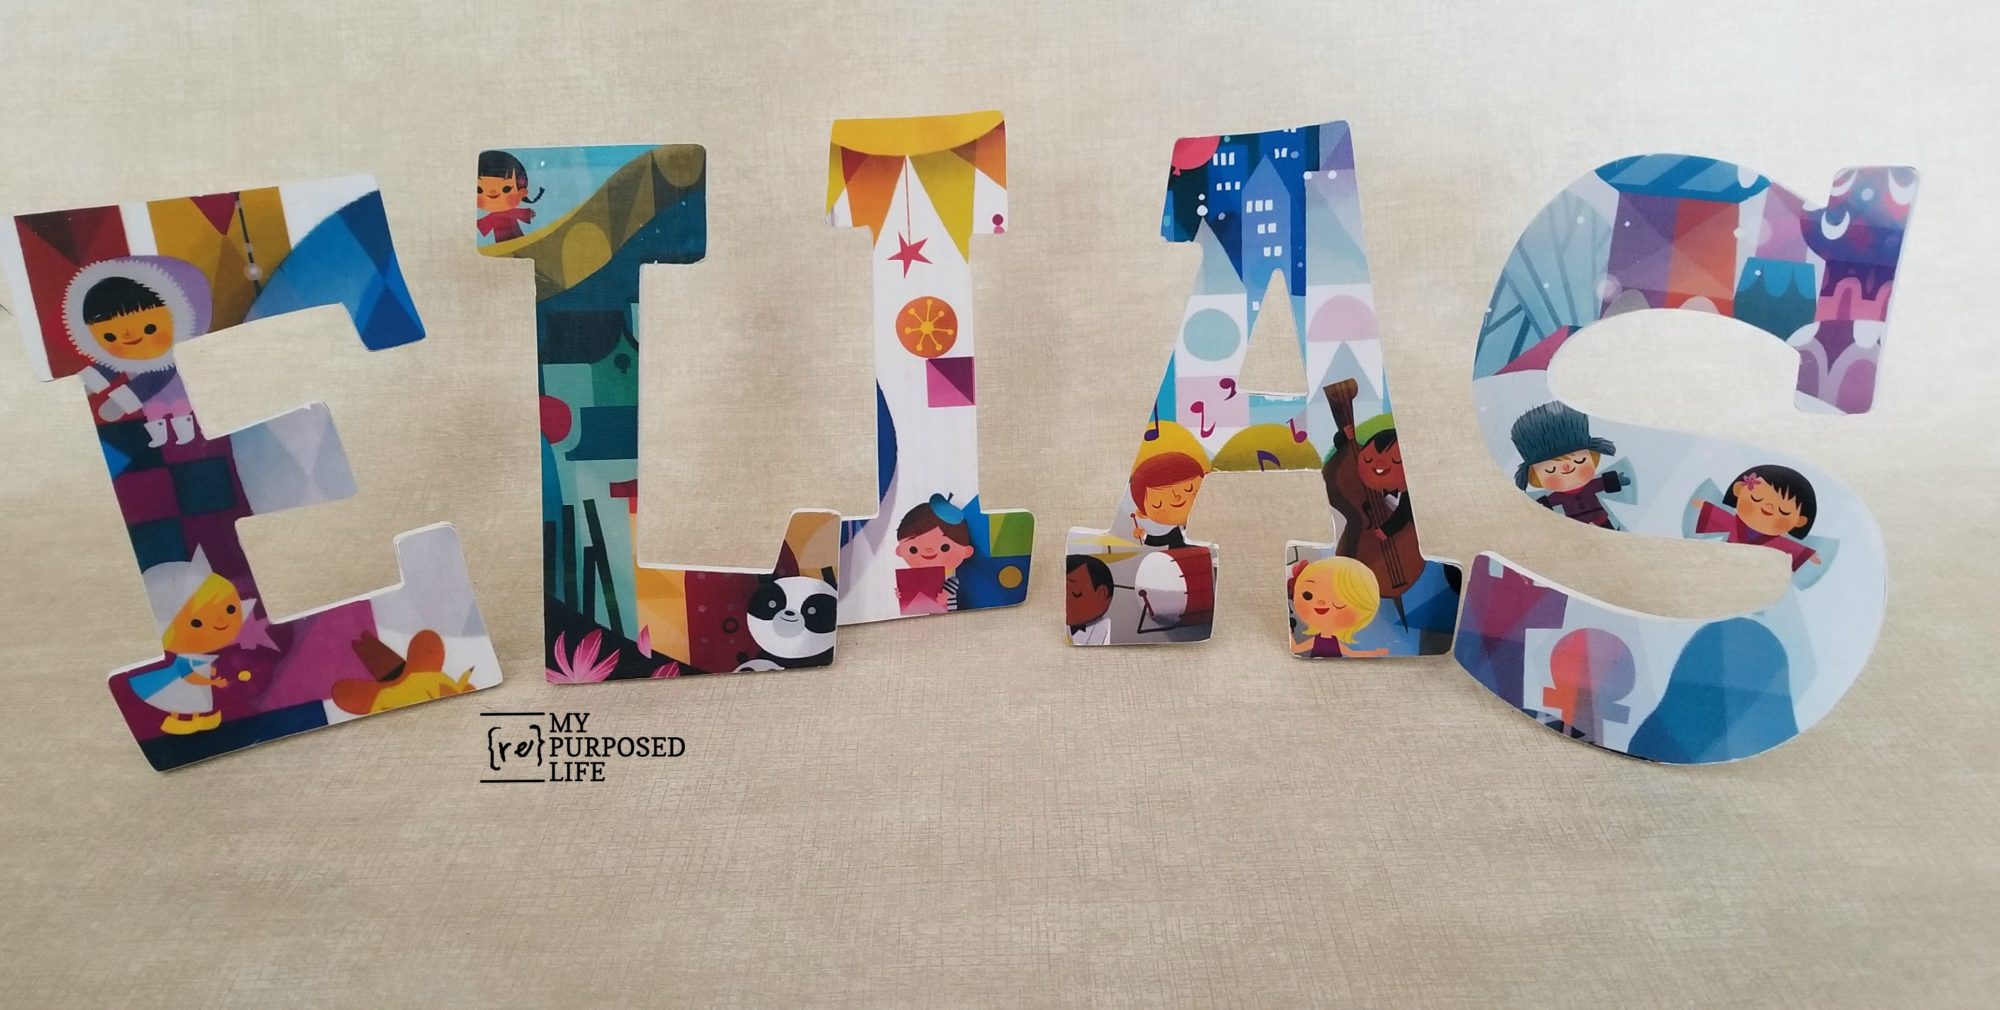
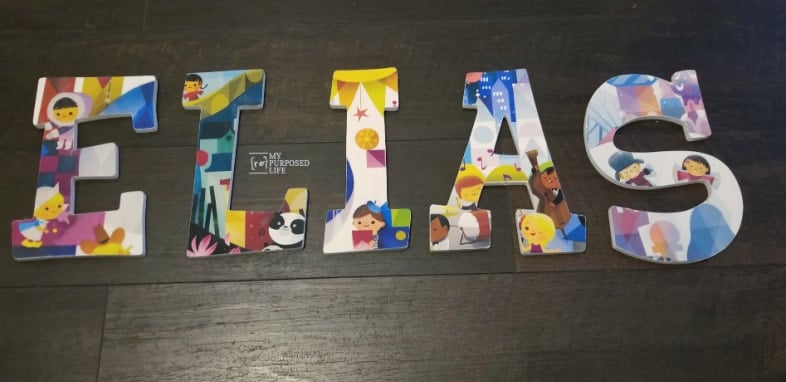
I LOVE the way the It’s a Small World decoupage letters turned out! I can’t wait to use them at the shower and then give them to Jamie and Andy to use in Eli’s room or playroom.
Do you have any tips for decoupaging wooden letters?
gail
edited to add:
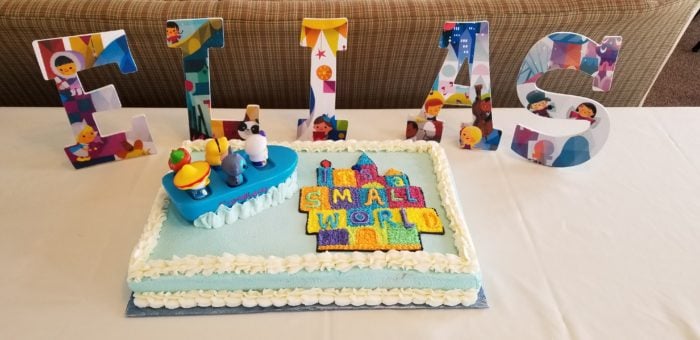
Here are the letters displayed on the cake table at Eli’s shower celebration!
Related content: Decoupage Scrap Wood
love the idea….gotta make 4 for my 4 grand boys……………and 10 grands……..
Awesome Rita! How blessed you are to have so many projects to make for those kiddos!
gail
love the way the letters turned out.
congratulations again.
Congratulations, I am so happy for you and your family. What a awesome job you did on this, I am sure your daughter will be proud to use these.
I love your project! Did you not have an issue with the ink jet printer ink smearing with application of the Mod Podge? I’ve read that the image has to be printed on a laser printer to avoid that. Does the presentation paper resolve that problem? Congratulations on becoming a grandmother!
Jenny,
Thanks for the congrats! I’m so excited!!
No, I didn’t have any trouble with smearing. Maybe it is because of the presentation paper? It’s a little thicker and feels so much smoother to the touch.
gail
Eli and his parents and relatives will love his name letters. What a sweet theme for the Eli Shower. He is such a gift from God. I’m so excited for you. You’re a Grandma!!!! Congratulations.
I’m a grandma! the best words ever! 😉
Thank you so much Jennie!
gail