DIY American Flag For Your Garden
As an Amazon Associate, I earn from qualifying purchases.
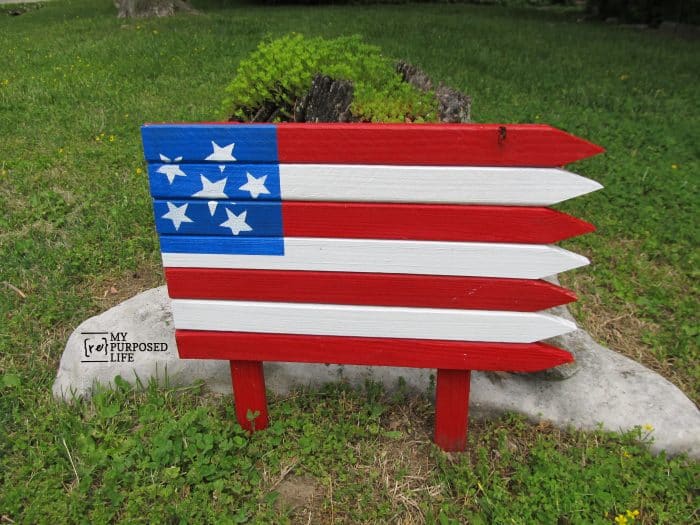
Looking for a patriotic project that’s easy, eye-catching, and doesn’t require a full workshop? This DIY American flag made from garden stakes is a clever way to show your stars and stripes—with nothing more than a drill and a little paint. Perfect for the 4th of July, Memorial Day, or any time you want to add a bit of red, white, and blue to your outdoor space!
I’m one of 12 bloggers doing a Power Tool Challenge using just one tool. This round, we’re using a DRILL. That’s it, only a drill. My DIY American Flag project doesn’t even need to be sawed!
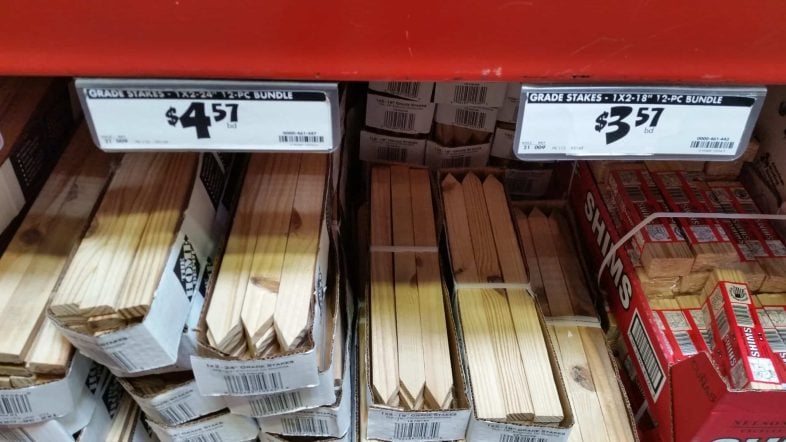
For my DIY American Flag project, I bought garden stakes. I picked these up at Home Depot—the ones on the right. They were $3.57 for 18” stakes, although they are more expensive now due to the age of this project.
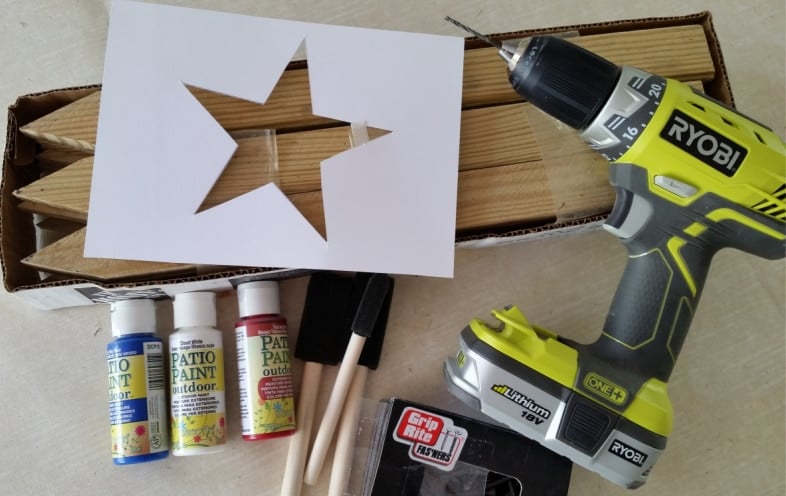
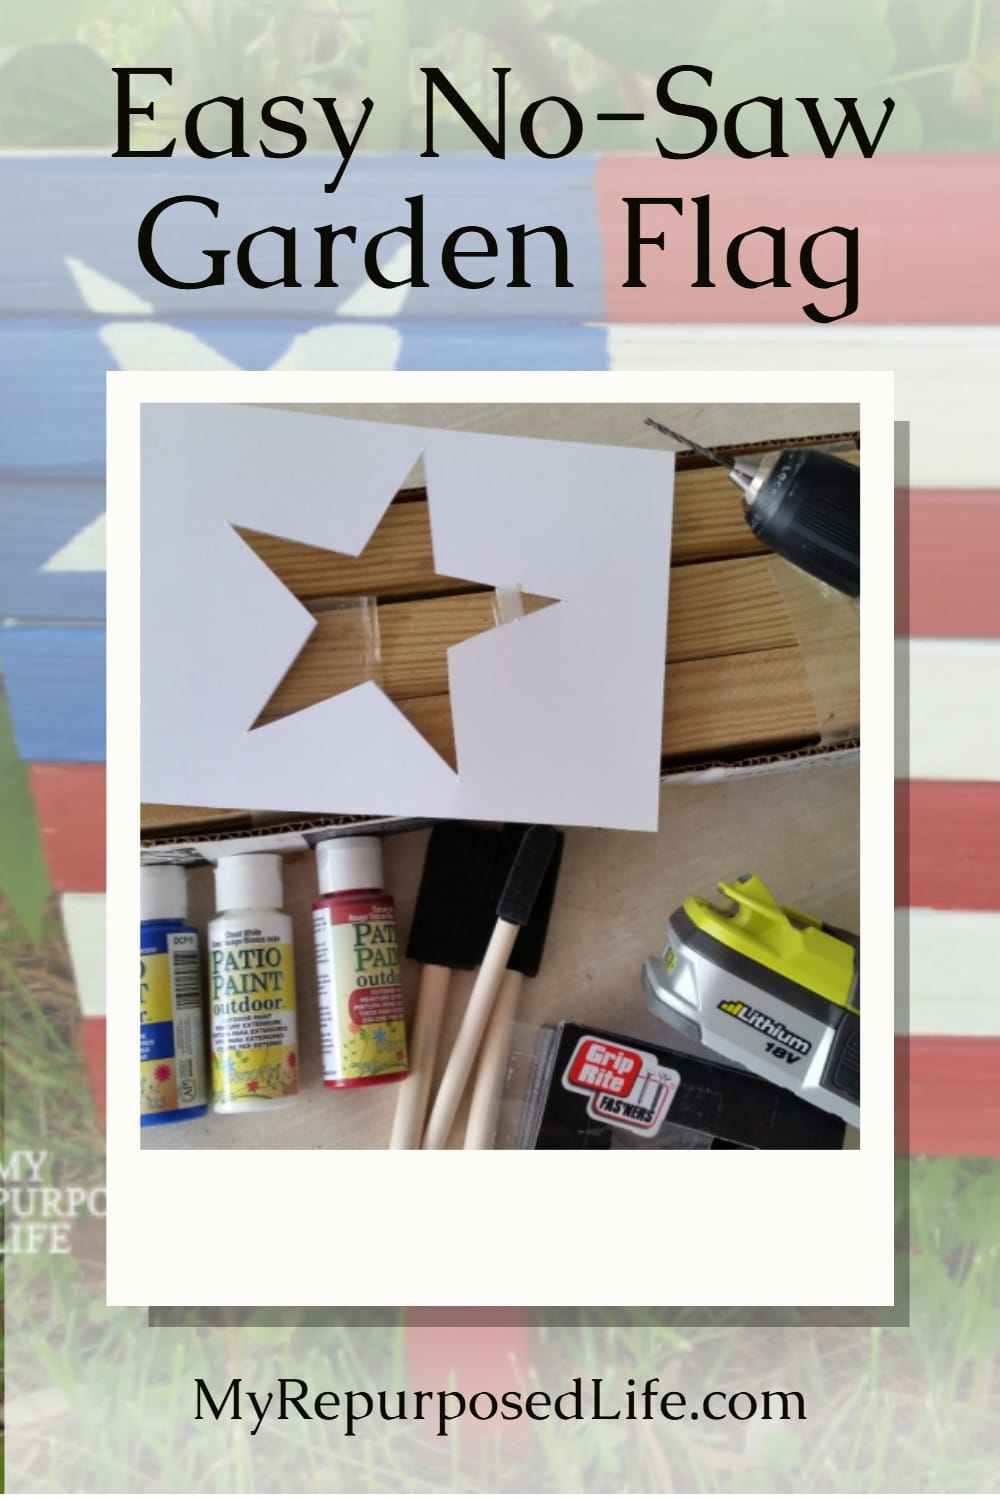
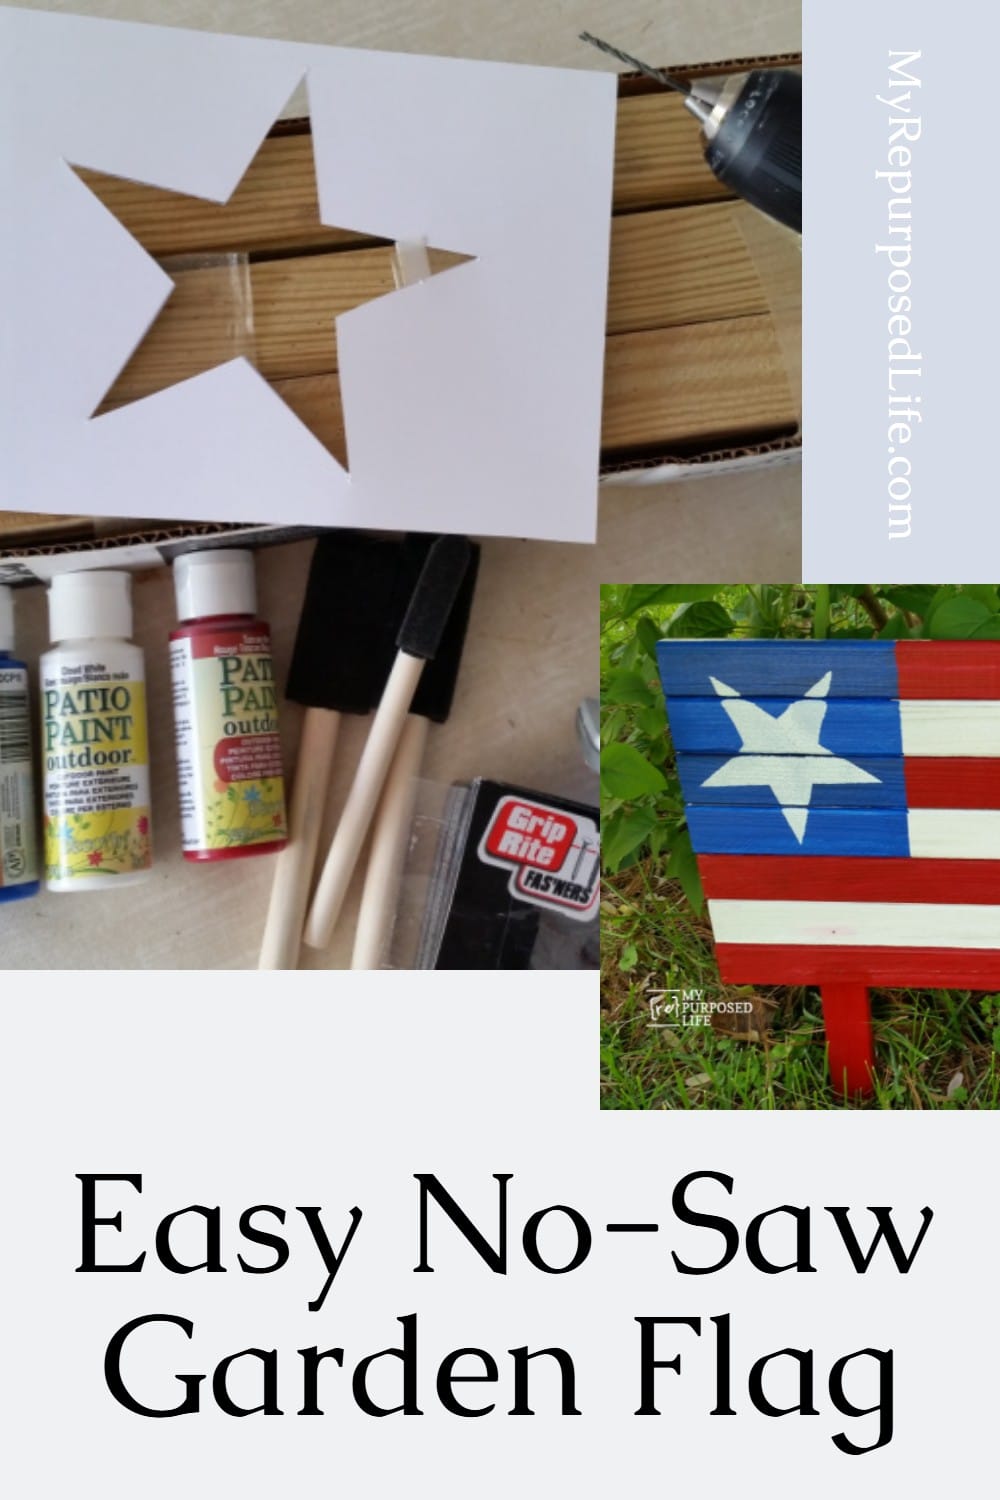
Materials to make a DIY American Flag
- 18” garden stakes
- Red, White, Blue DecoArt Patio Paints
- Foam brushes
- #6 1 1/4” fine thread screws
- 5/64 bit (for pilot hole). See this chart from Ana White
- Ryobi Cordless Drill
- Star pattern (I printed mine on my printer as though it were a 5×7)
- Tape Measure
- Painter’s Tape
- Foam Pouncer
Paint Six Garden Stakes Red
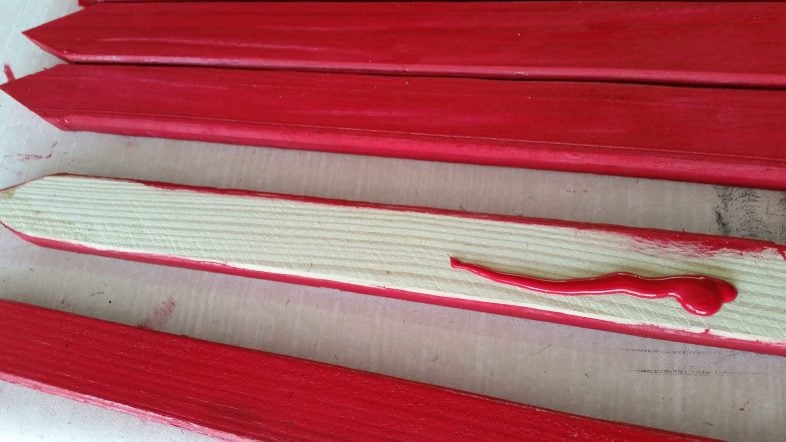
I arranged my garden stakes to get my pattern. Then, I got busy painting my stakes. For small projects like this, I always apply the paint to my project and then use a foam brush to spread it evenly. The Patio Paint dried quickly.
Paint Three Garden Stakes White

I did the same with the white garden stakes.
Do NOT Arrange Your Garden Stakes Like This
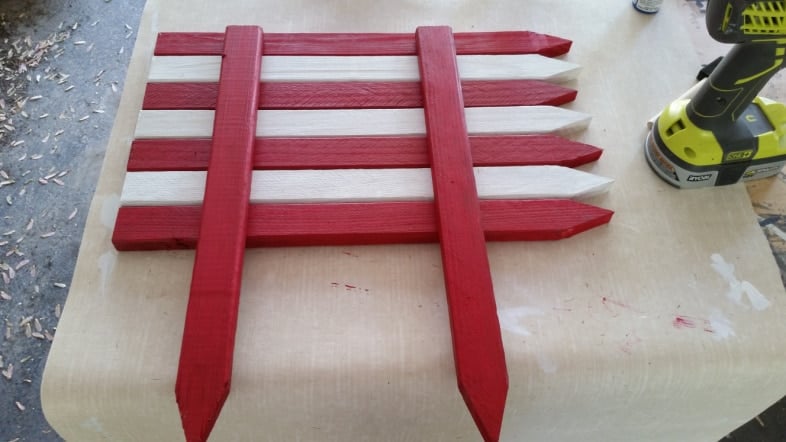
After the paint dried, I arranged the stakes to prepare for securing my screws. DO NOT arrange your stakes this way. When flipped over, the flag points the wrong way.
Drill Pilot Holes
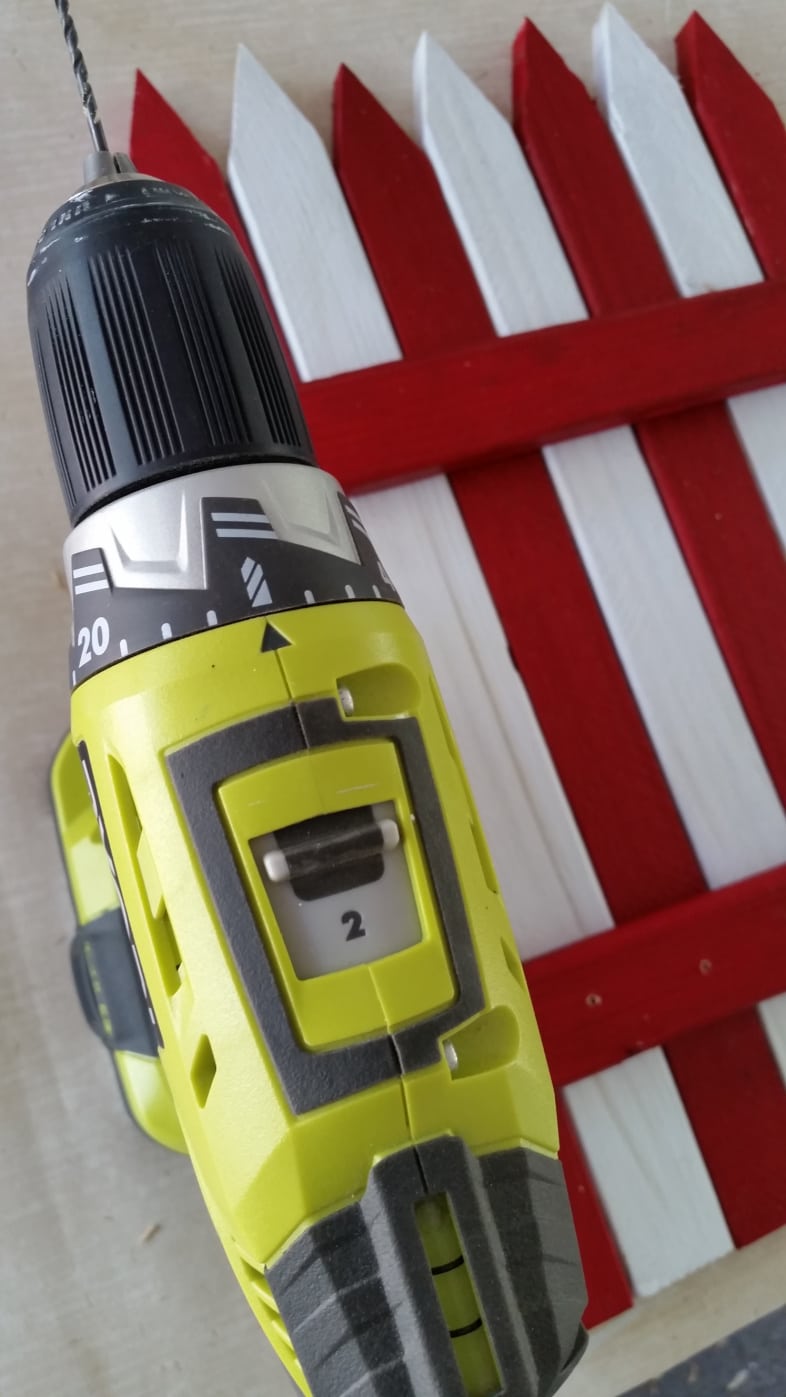
Drills have settings that allow you to switch between using a drill bit and a screw bit. When using a drill bit, set the torque control to the “drill” setting and the gear setting to 2. This gives you more power. Set the forward/reverse button to forward. Insert your drill bit and tighten the chuck. (back in the old days, you had to tighten this with a chuck key) Now, they are known as “keyless” chucks.
Drill the holes through the vertical stake into the horizontal stake, being careful not to go all the way through. You could use a piece of painter’s tape on the drill bit to gauge the depth. You can see that I have already drilled the pilot holes in the stakes that will secure all the boards together and become the stakes that hold my flag in the ground. If you don’t drill pilot holes, your screws may split the wood. There have been many times when I’ve tried to skip this step (due to being very impatient) and ended up regretting it. I’m fortunate enough to have several drills, so I often use one with the drill bit and the other with the screw bit. It really speeds up your work when you don’t have to switch back and forth constantly.
This is The Way to Arrange Your Garden Stakes
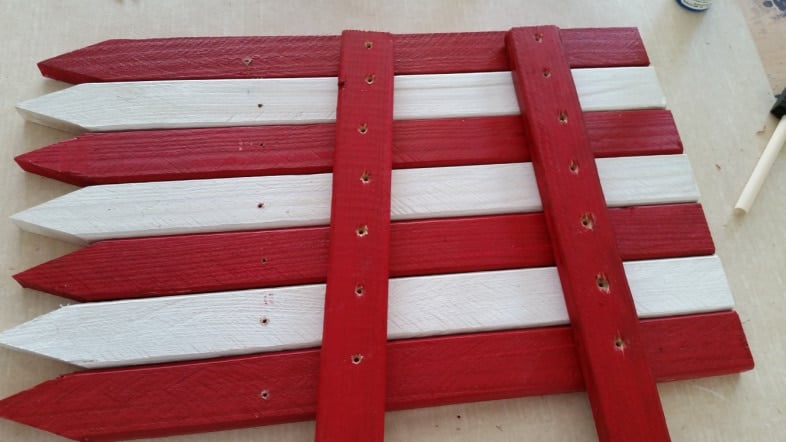
Okay, in this picture, you can see that I had already put my DIY American flag together, only to flip it over and see that my tips were pointing in the wrong direction. I had to disassemble it and reconfigure the stakes, then resecure the screws. If the screws are tightened too much, the tips may protrude through the front of your flag.
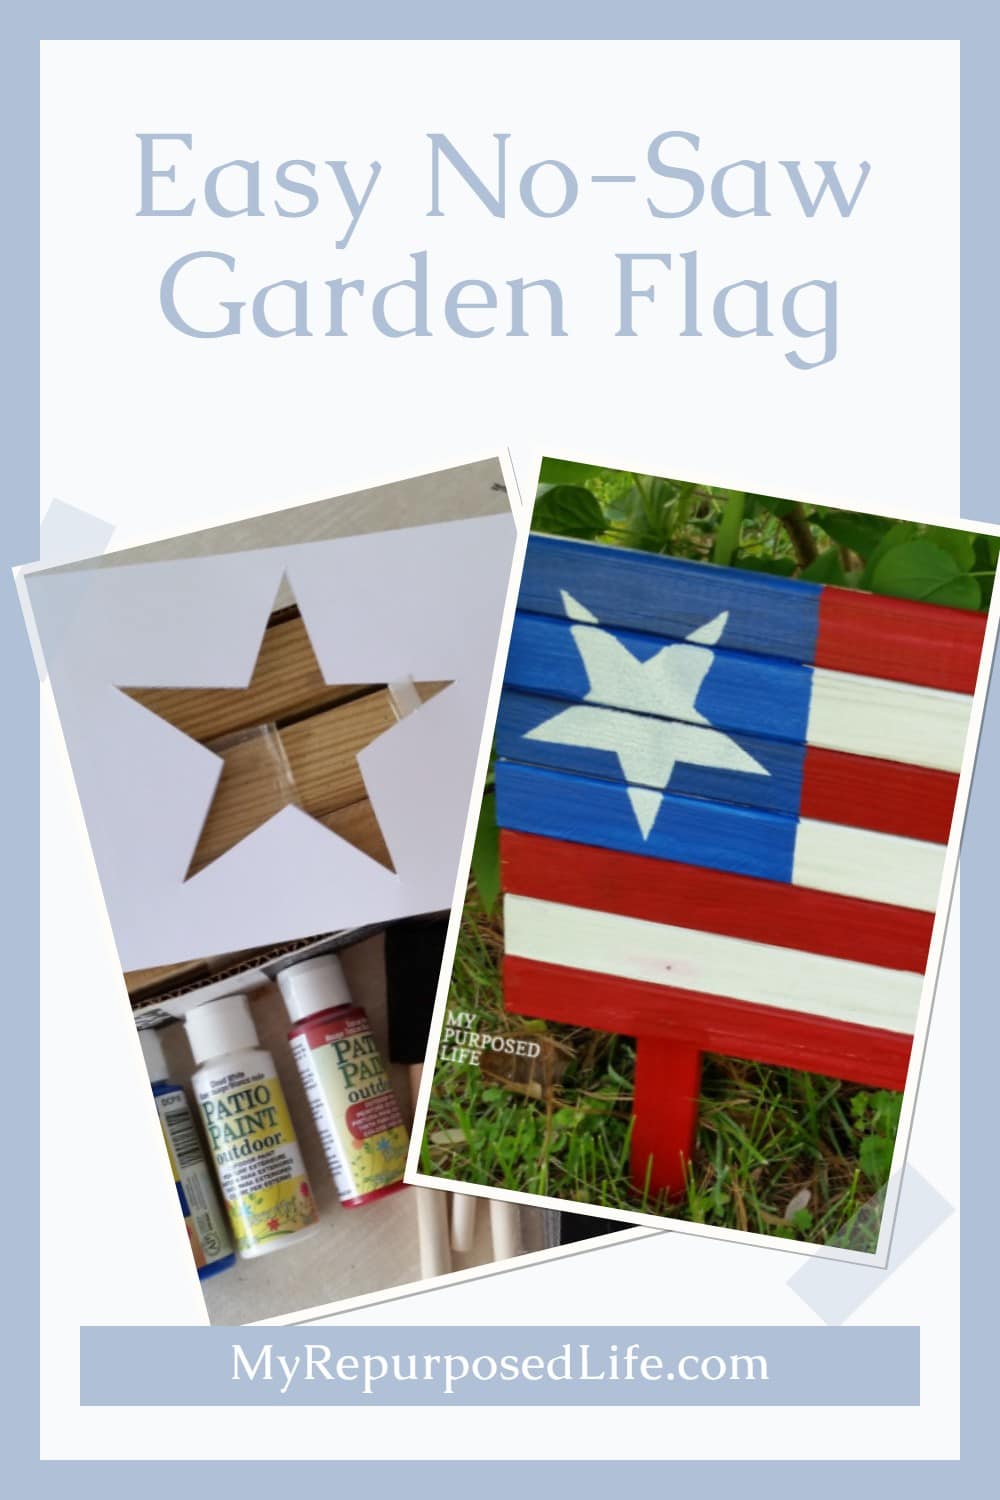
Stencil Star(s) on DIY American Flag

As I mentioned above, I printed my star using the 5×7 option on my printer. I measured off the area I needed for the star. I cut the star out with a pair of scissors. You could use a smaller star and make rows if you like.
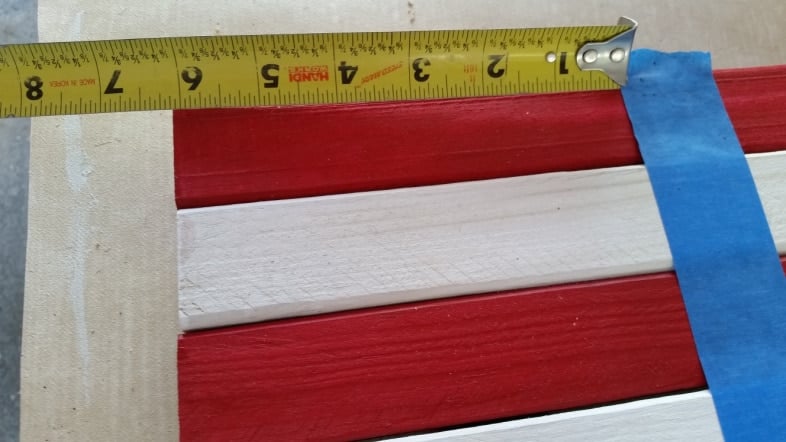
I made my area approximately 6×6.
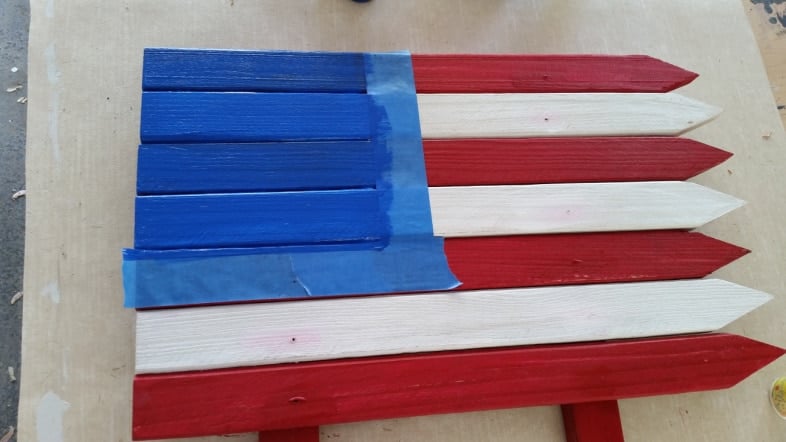
It’s best to remove your painter’s tape before the paint completely dries.
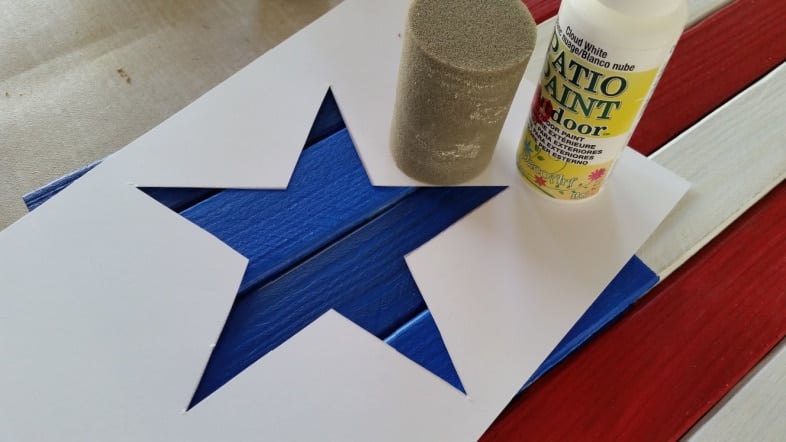
I do a lot of stenciling, and by far, my favorite method is using Martha Stewart foam pouncers. It works great to spread a small amount of paint on a piece of painter’s tape, then dab the pouncer and pounce away!
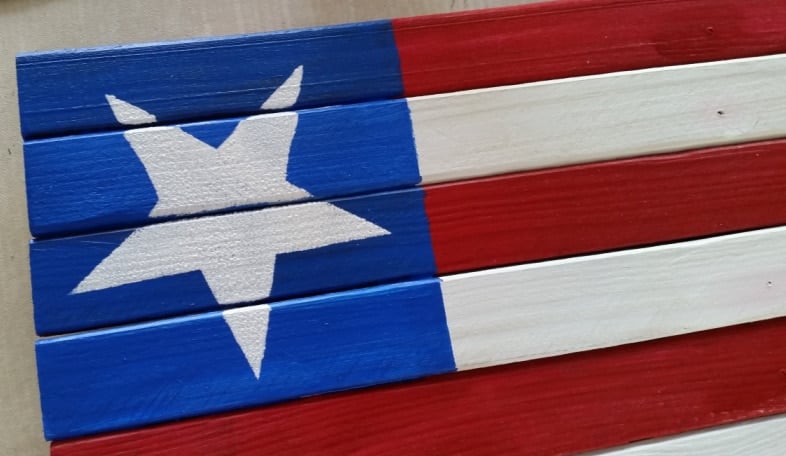
I chose to use one large star on this diy American flag. I’ve used other formations on previous projects (see below)
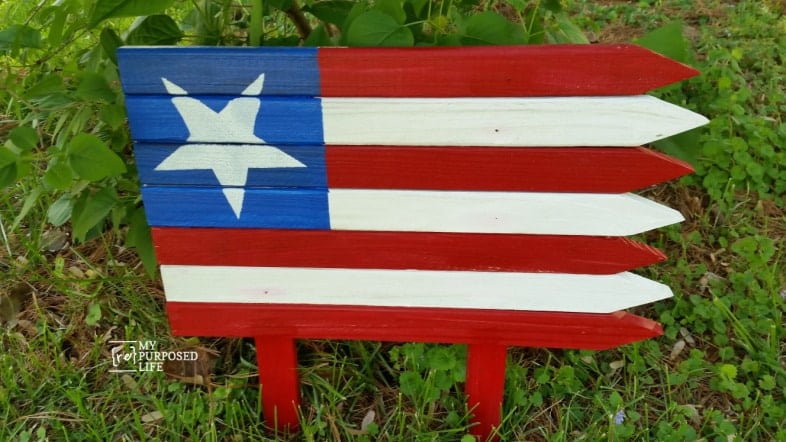

Here is the new flag in my flower garden. Currently, you can only see red Gerbera Daisies and white Petunias. The tiny little sprouts are hardy hibiscus plants. Since I took this picture, the sprouts aren’t so small! This is new and crisp-looking, but if you sanded it back a little, it would look a bit more rustic.
Another easy way to achieve a more weathered look is to dilute your paint and allow the wood to show through. For a primitive look, you could do a dark brown or black basecoat.
The flags below are made from the same type of fence but have their own star patterns. That’s the glory of DIY: you make it how YOU want it to be.

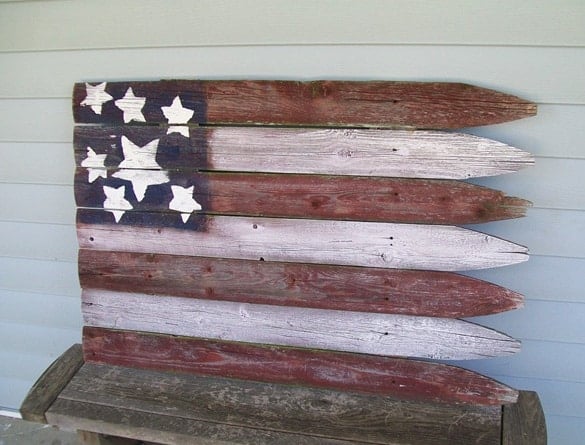
Easy Peasy flag from reclaimed fencing
Above are the other flags I’ve made out of reclaimed fencing and garden stakes.
Are you ready to see more great One Power Tool Challenge project ideas? Check out my friends’ fun projects below:
I hope you find some great projects to inspire you.
gail

That one star flag…that is the flag of Puerto Rico though. It is not the United States flag.
How cute is that?! Seriously love it and it’s perfect celebrating our nation’s birth. Great job, Gail!
Friend of mine had an old dresser that she gave me so I pulled the drawers out like a tier, threw potting soil in them and planted annuals. Could have done a much better job but it’s cute.
gail i love this it is cheap and easy thanks xx
This is awesome Gail!! I saw these fence pickets at the hardware store the other day and was thinking about how I could possibly use them… now I have an idea!!
Gail your flag is so cute, you always have the most creative projects!
I think your flag is do cute. Great idea. Thanks for sharing. 🏝🌞💜🇱🇷🇱🇷🇱🇷🇱🇷🇱🇷🇱🇷