DIY Chalkboard Easel using Cabinet Doors
As an Amazon Associate, I earn from qualifying purchases.
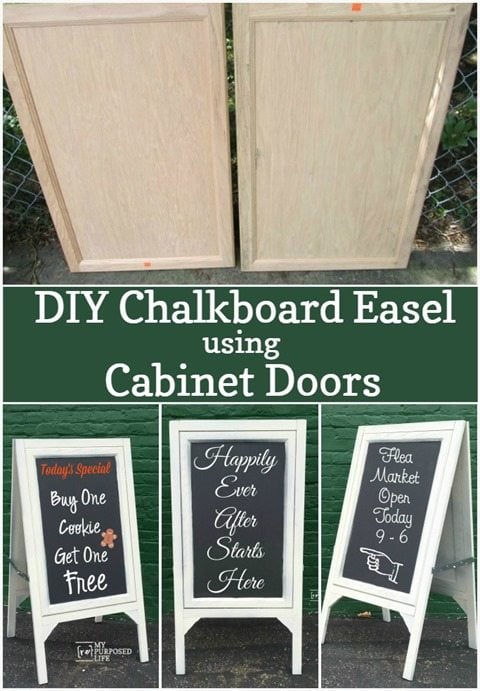
Do you love a great DIY chalkboard easel. I have made a couple of repurposed crib easels, but at this time I didn’t have any good crib ends. However, I did have extra cabinet doors in my stash!


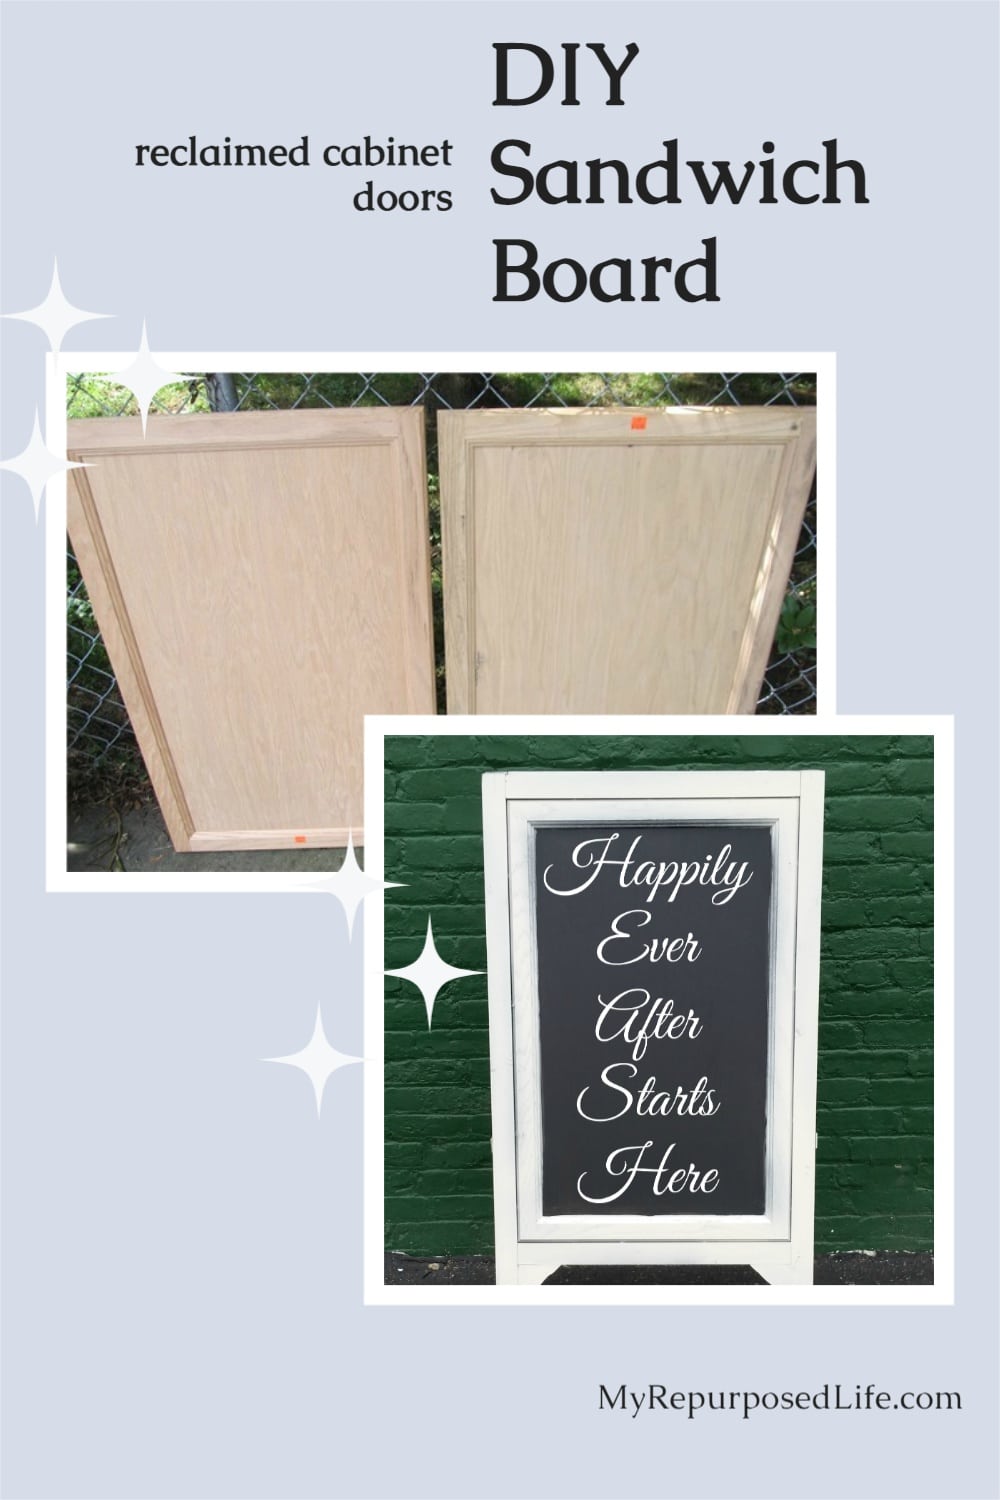
So, I have had these two matching oversized unfinished cabinet doors for over a year. Can’t you just imagine how great they would be for a chalkboard easel?
Frame out two identical cabinet doors

First, I ripped some 1x’s to frame out the doors and make legs. Wow! Is this going to be soooo easy and fun.
Using a Kreg Jig

I used my Kreg Jig to drill pocket holes to frame out the cabinet doors (chalkboards).
Need more details on using a Kreg Jig? See my article How to use a Kreg Jig Pocket Hole System

It’s difficult to tell from this picture, but there is a right and a wrong way to frame out these cabinet doors. The door on the left is the wrong way. I framed that one by laying the door flush on my work table and inserting the pocket hole screws. They ended up protruding through the doors. On the second one (on the right) I supported the 1x’s and secured the pocket hole screws into the meatier part of the door instead of the router part of the door. It’s really all about the routing on the cabinet door.
Patch and Paint

I patched and sanded the pocket holes and moved the chalkboard easel into the paint booth for the Finish Max treatment. (this is the back side)

This is after a chalky paint coat of black “primer”. I leaned them up on each other to see how they were going to look. You can see a little better in this picture that this side is the “right” way to frame out the cabinet door. See how the door extends beyond the frame?
For an aged look – add top coat

After the black undercoat dried, I sprayed a coat of an off white top coat.

Here’s the after. I added a lil’ somethin somethin—do you see it? Yep, I added some little corner pieces that I think really change the look of the chalkboard easel a lot.
I can’t find any pictures of how I made those corner pieces. Here’s what I did:
- cut four triangles off the end of a 1×4
- I used my nail gun to nail two sets of two triangles to each other
- I clamped each set into my work bench and simply started sanding down the center portion of each set, trying to get them to match as much as possible. Basically the orbital sander just whittled away and made a little dip in the wood.
Apply Chalkboard Paint

The weather turned cold and rainy, so I brought them in to give them a couple of coats of brush on chalkboard paint (in the kitchen)
That was the end of October. Finally in mid December I got around to finishing the project. What was the hold up? I was trying to find a “spreader” to allow the easel to open and close, similar to a ladder. I found an easel on Etsy that uses a spreader, but for the life of me I was unable to find a place to buy them online or in stores.
Attach hardware to chalkboard easel

Cousin Terry mentioned using some mending plates, so I picked these up at Home Depot.

I used 2” strap hinges because that’s what I had on hand—drilling pilot holes before securing the screws.

Excuse the blurry picture. You can see that I connected the mending plates in the middle with a bolt and a wing nut. I chose a wing nut so that it’s easily tightened for use and loosened for storage or portability.

It works pretty well as a spreader. (I recommend removing the stickers BEFORE you put it together) If you wanted a more rustic look, you could use rope or ribbon.

It’s not super sized, but quite large enough for many uses! The size would be determined by the size of your cabinet doors.

Have you made a great chalkboard lately? I just can’t seem to stop. ![]()
gail


There was a sale on cabinet doors at habitat one time when I went there so I have a healthy collection to choose from. This looks crazy cool! I can’t wait to be able to try this…thanks for the repurpose!
Lucky you to get a great deal on all those cabinet doors. They are one of my favorite items to repurpose!
gail
Gail, you’ve rocked the chalk! I love my cribs turned chalkboard easels, and I absolutely love the use of the cabinet doors. I’m featuring you in the “What’s YOUR Prodigal Piece?” link party tonight! :o)
When I saw this on facebook I knew you did something with it that had to do with chalkboard lol I love how they don’t even resemble a cabinet door. Amazing eye you have my friend. Love it.
This is very nice. You could even give this to me for Christmas. Bet your laughing out loud about now. (You) Say what, in your dreams I will. Well guess I’ll have to have hubby make me one. Merry Christmas. I don’t have a thing done for Christmas yet either…. no shopping no tree nothing….your not alone.
Stopped in to pin. I needed another reason not to pass up old cabinet doors.
Great easel—I need to make one of these for the next flea market I decide to do!
Catherine
Hi Gail! I like your easel, very much!!! and once again you’ve done a great job. Putting those mending plates together, like so, was a smart idea. I like your corner pieces, too! (Smiling)
I love the repurposing of the doors! The corner pieces really do add a nice touch.
The use of mending plates is genius! It’s got to be very sturdy and windproof.
Great repurposing project. I have turned old paintings, mirrors, silver platters and more into chalkboards. I have bought the clear chalkboard coat to try my hand at transforming a few quirky pieces as well as try it out on a few garden planter chairs so people can personalize for the seasons and holidays. Keep repurposing!! 🙂