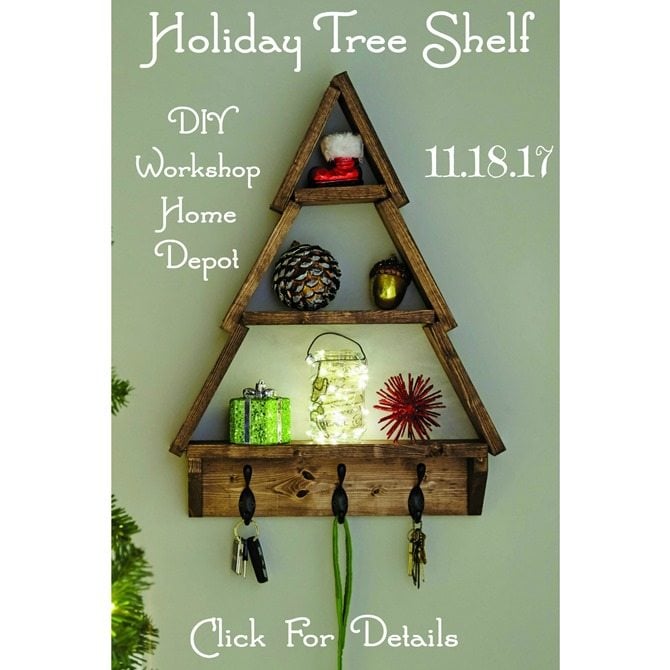
Are you ready to see my version of the Christmas Tree Shelf that you can learn how to make at the next Home Depot DIY Workshop? Last week I announced that I am working with Home Depot* to tell you all about their DIY Workshops. Now it's time to share MY project for our virtual party. Be sure to visit my friends (find links at the bottom of this post) to see their fabulous projects!
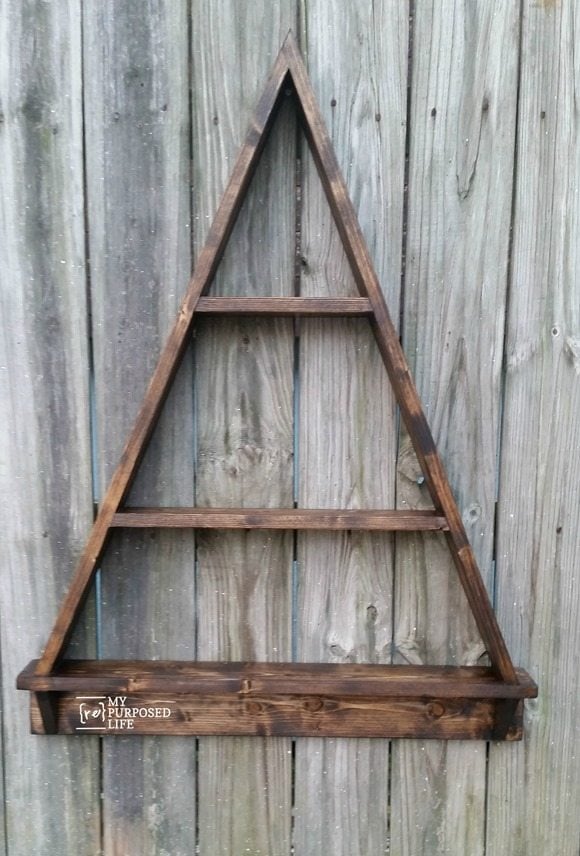
This was such a fun project using a lot of the tools I already use, and my favorite wood, 1x’s. In this case it was just 2 1x4’s. I changed up the Holiday Tree Shelf and I love how it turned out.
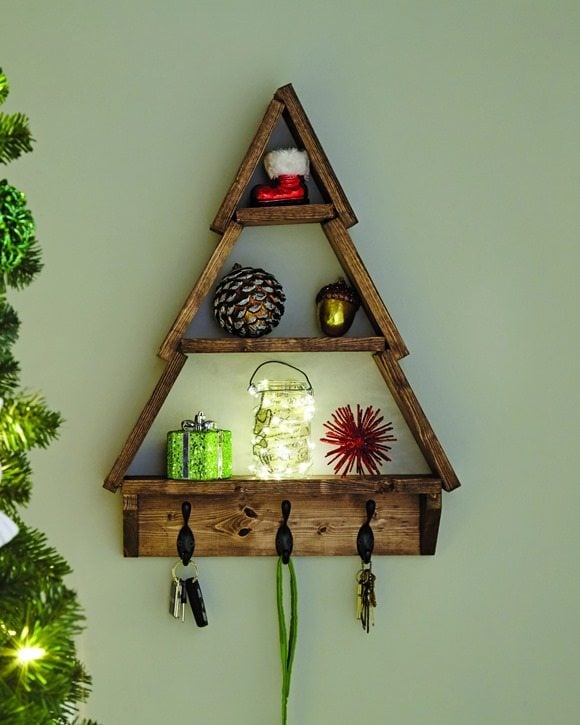
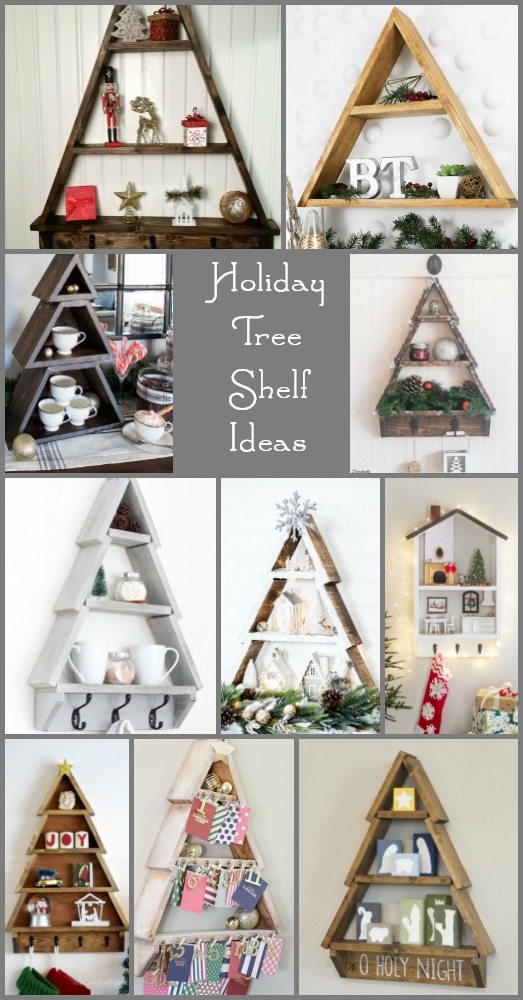
Here’s a reminder of what their tree looks like . . .
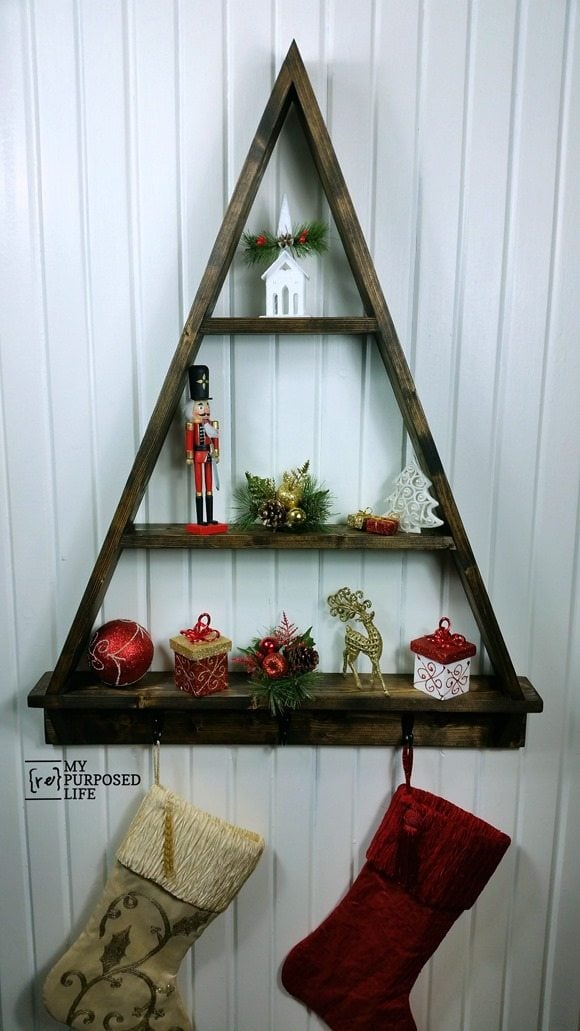
I wanted to challenge myself to see if I could make something more simple in build and with a more simple look. . . . .
Do you love my holiday tree shelf? Won't you please pin it?
What you will need to make my Holiday Tree Shelf:
- 1x4x6’ (2)
- Hooks
- Stain (soft rag)
- Tape Measure
- Saw (I used a miter saw, but you could even use a hand saw and miter box)
- Finish Nails
- Nail Gun (optional)
- Safety Glasses
- Hangers (I used d rings)
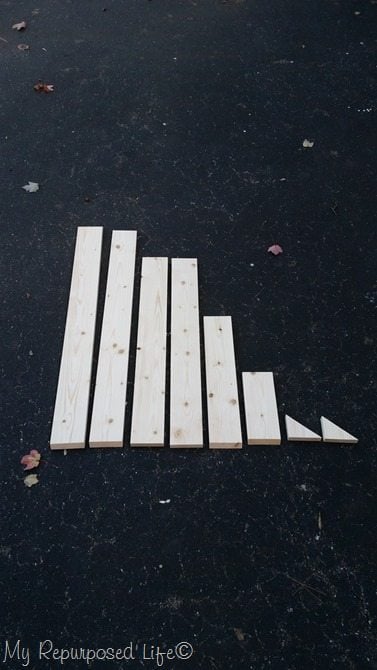
Cut List:
(see image below)
- 35 ⅞ cut on a 45° angle (right side)
- 34 ⅞ cut on a 45° angle (left side)
- 28 ½ (2) (bottom shelf and hook holder)
- 18 ¼ cut on a 22.5° (large shelf)
- 9 ¼ cut on a 22.5° (small shelf)
- 3 ½ x 2 ¾ triangle cut on 36° angle (bottom shelf bracket)
These are the only pieces you need! Simple, right?
Let’s get started!
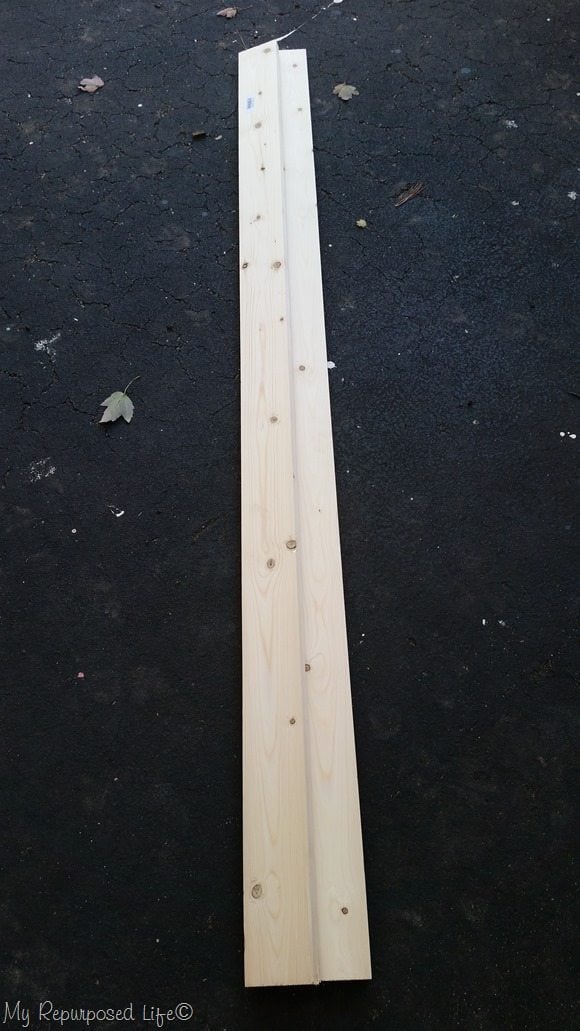
I purchased 2 1x4 by 6’ at my local Home Depot.
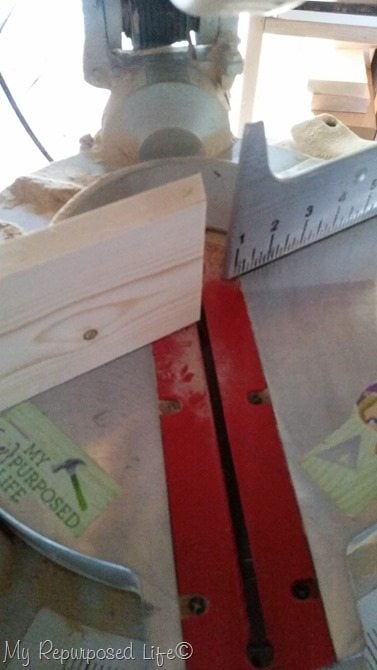
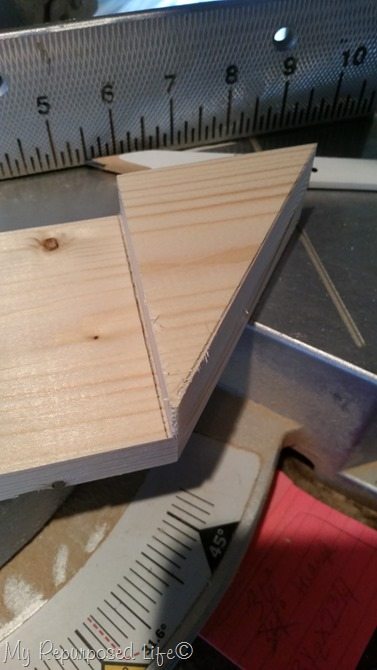
I cut the left and right side on a 45° angle.
The lower shelf and hook holder have straight cuts without angles.
After cutting the first bracket,I drew a pattern to cut the second bracket to match.
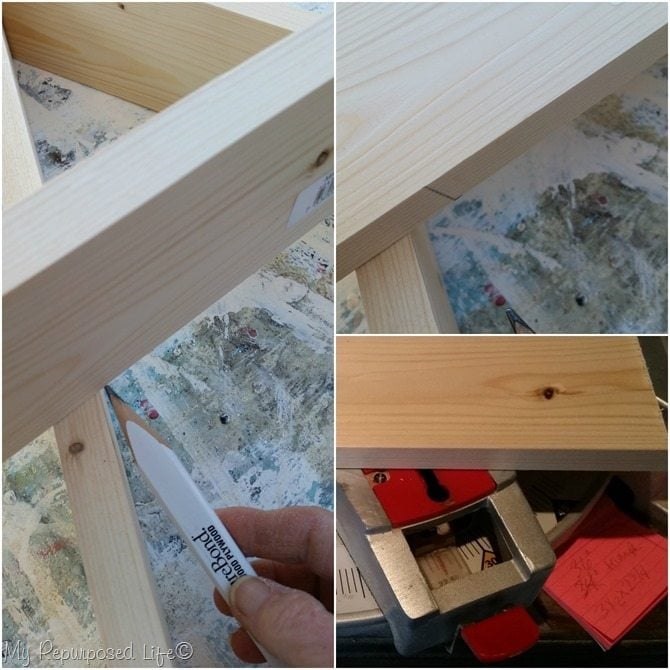
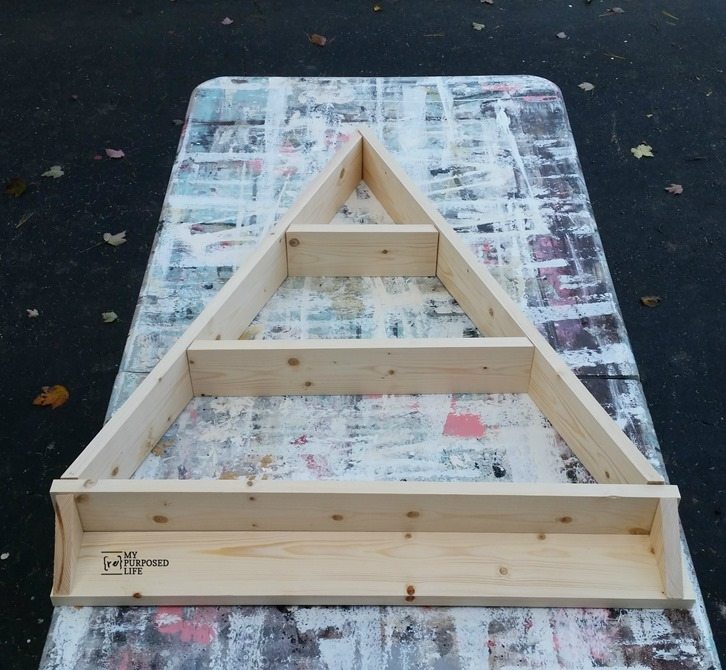
To get the proper angle and orientation I placed each of the upper and lower shelves on the (dry fit) tree shelf to draw a line. They were both cut on both ends at the 22.5° angle, the line is a visual to remind you which way to cut.
I had specific items I wanted to display so I made my shelves accordingly. This Holiday Tree Shelf is totally customizable to suit your décor needs.
This is the dry fit of my diy Christmas tree shelf. I love the simplicity of it! Not to mention it’s custom sized to my liking.
Assemble Christmas Tree Shelf
Step 1
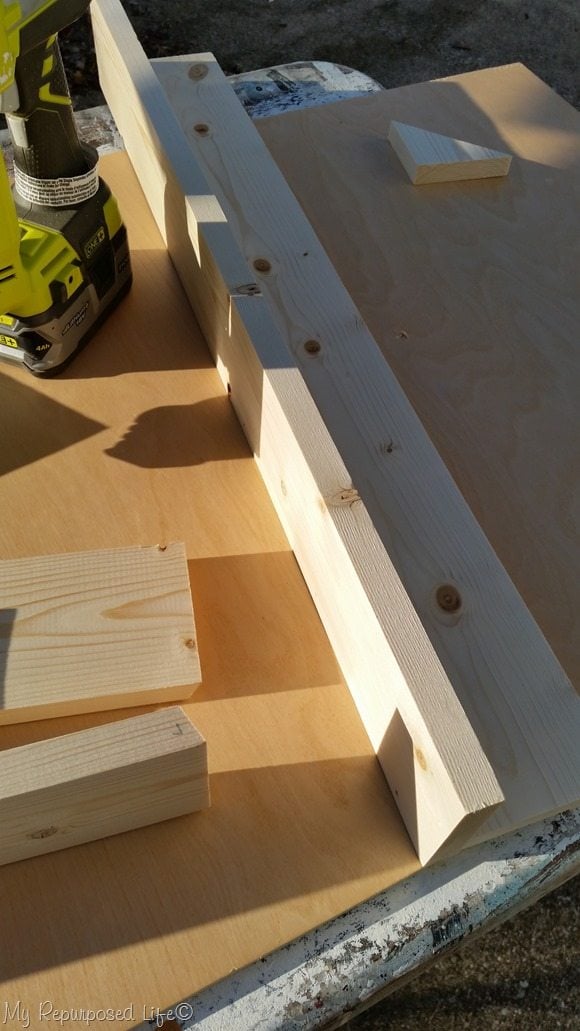
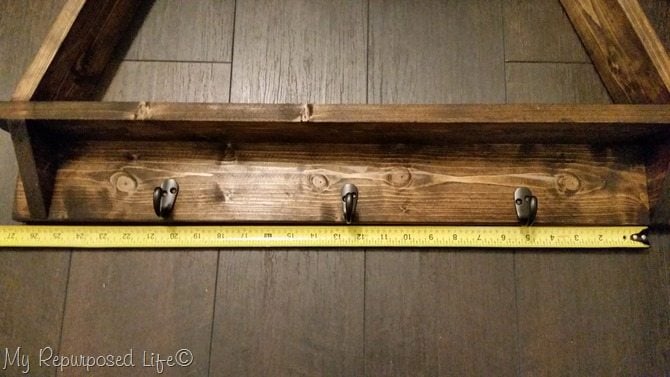
Attach bottom shelf and hook holder
Using my Airstrike Nail Gun and 1 ¼” finish nails I attached the bottom shelf to the board that holds the hooks.
Step 2
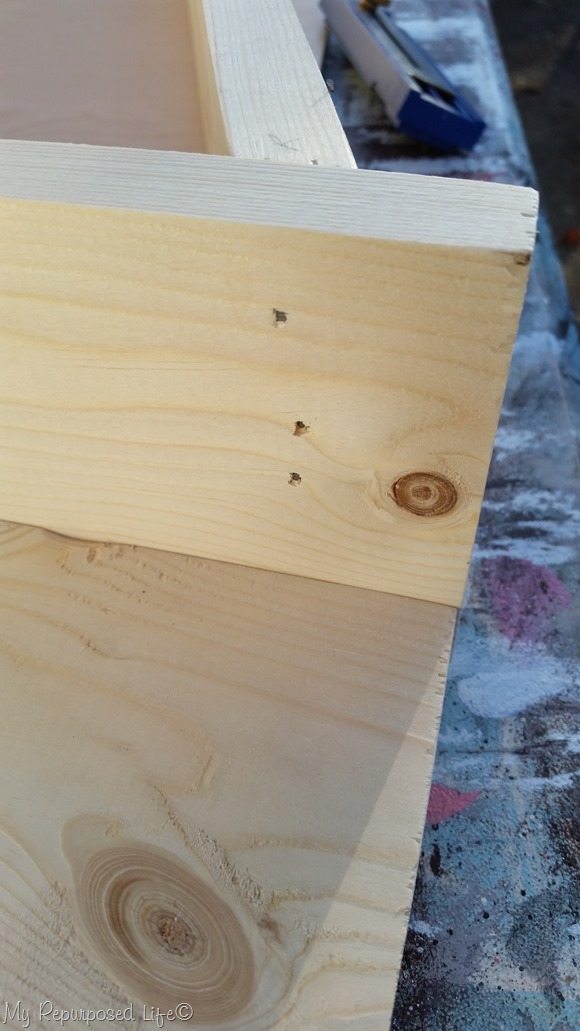
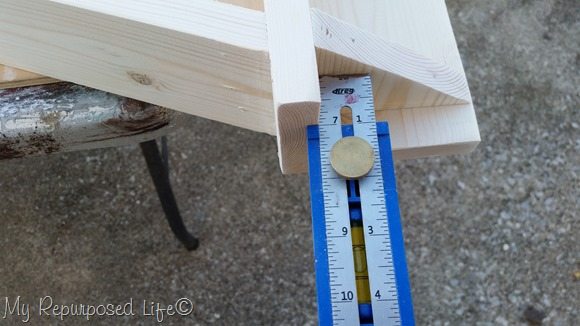
Attach left and right sides to the bottom shelf.
Step 3
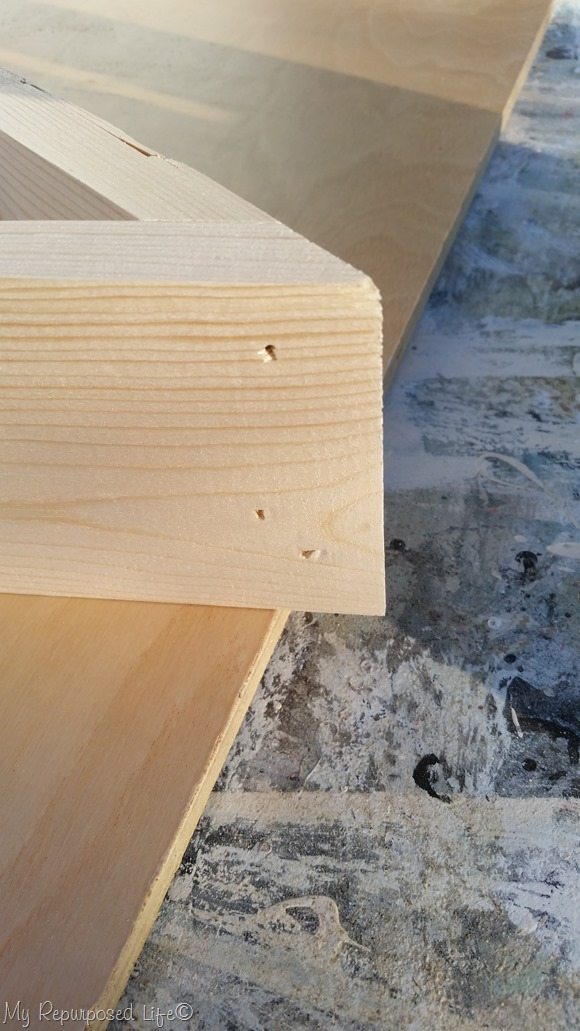
Attach the left and right side at the tree top.
Step 4
Attach bottom shelf brackets.
Step 5
Attach upper and lower shelves.
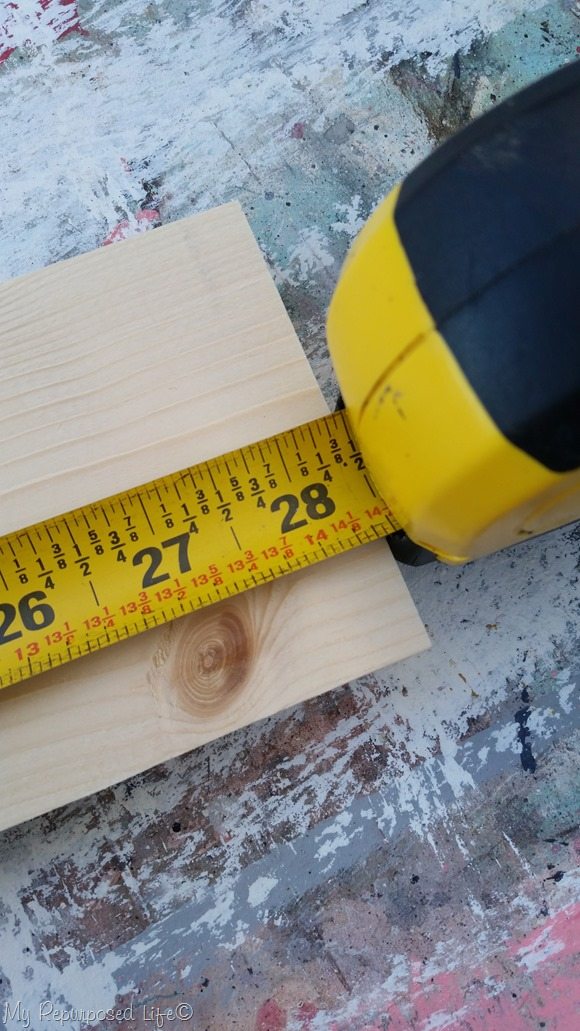
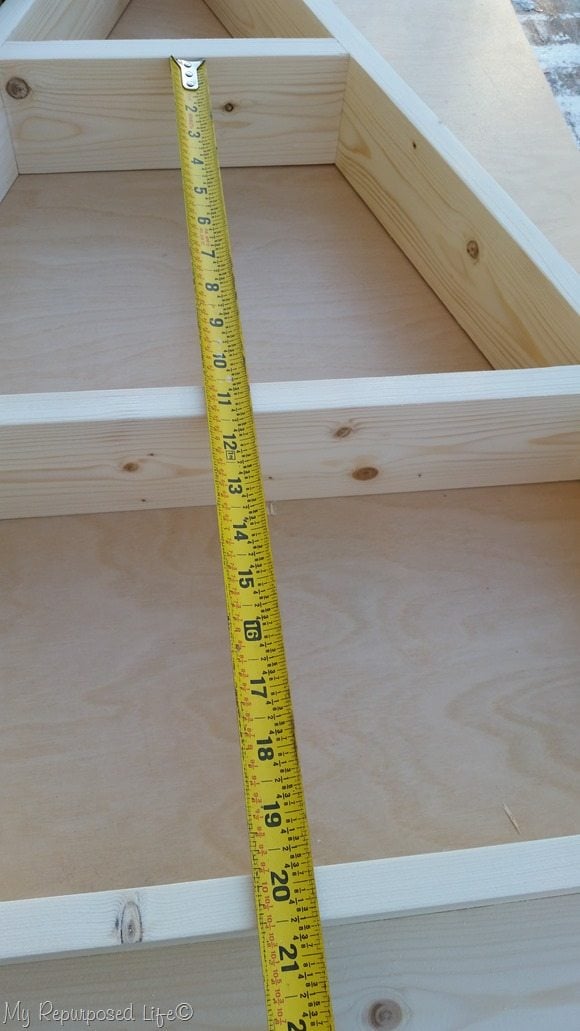
Measure on either side (from the bottom) to make sure your shelf is straight. This image shows the distance at which I customized my shelves.
Step 6
Stain or Paint Tree Shelf
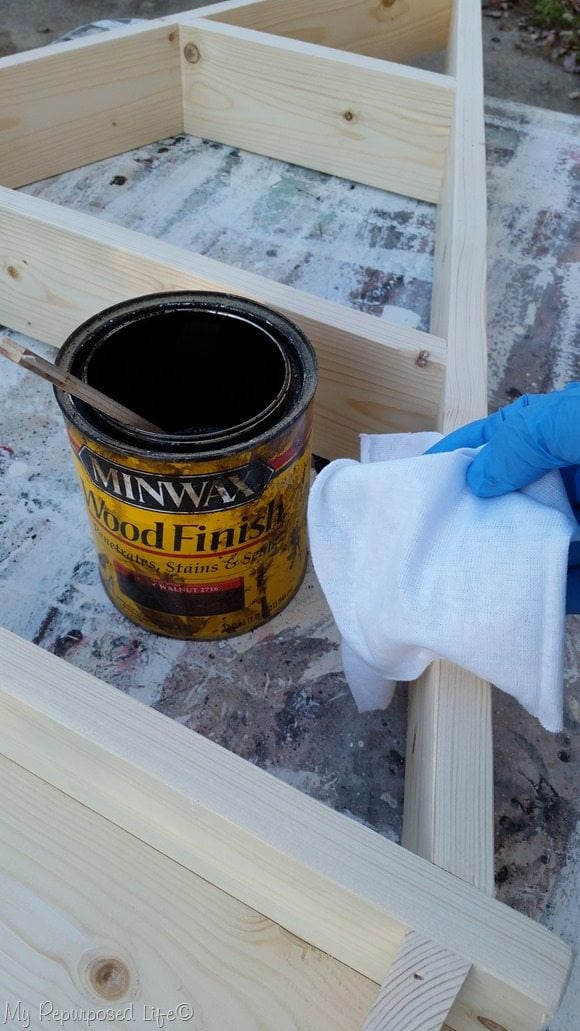
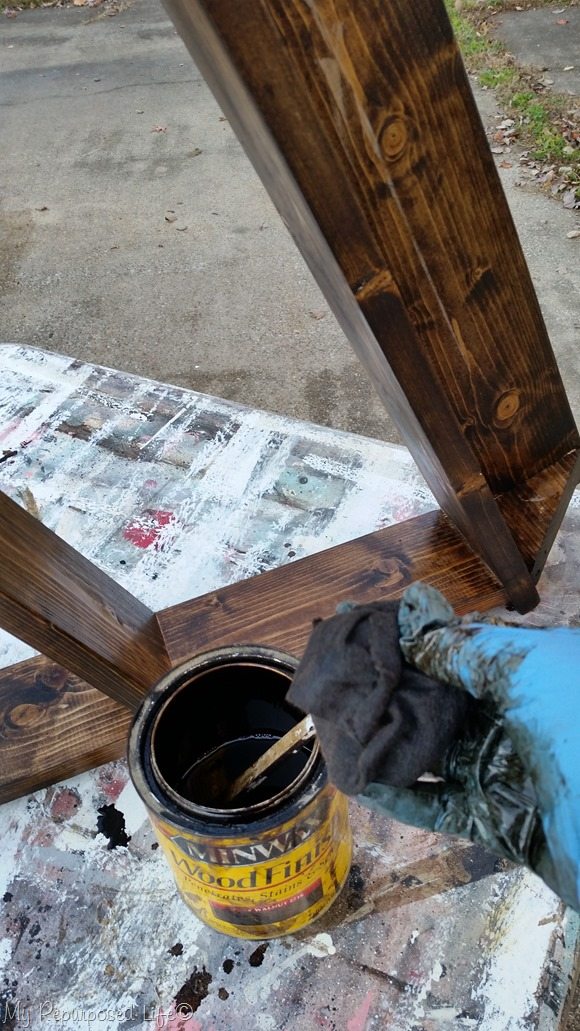
Apply stain with a soft cloth. I used dark walnut, applying a thin coat.
When applying stain, latex gloves are a must!
Step 7
Admire your new Holiday Tree Shelf
Admire your handy work and pat yourself on the back!
Step 8
Attach hooks
Step 9
Decorate
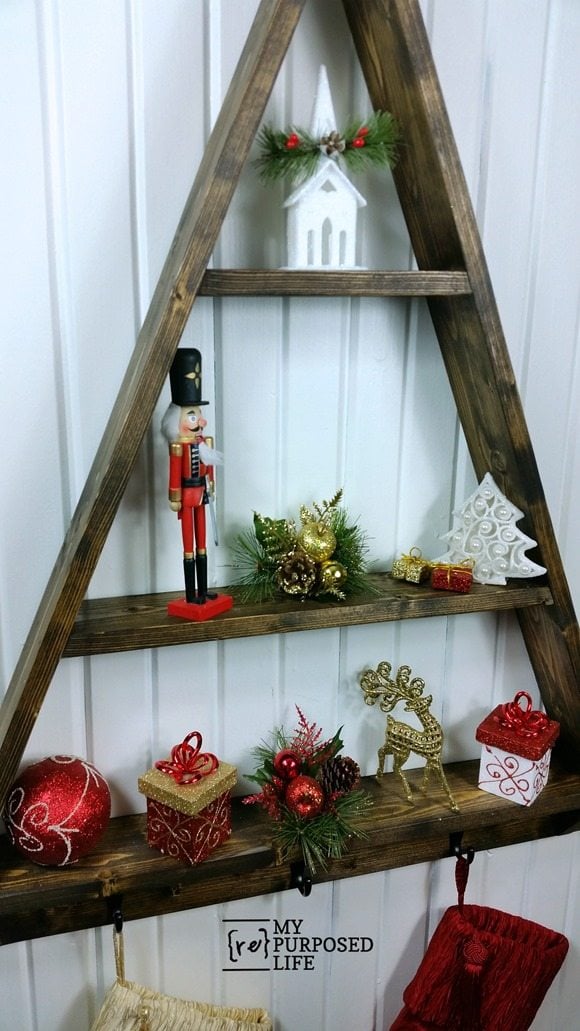
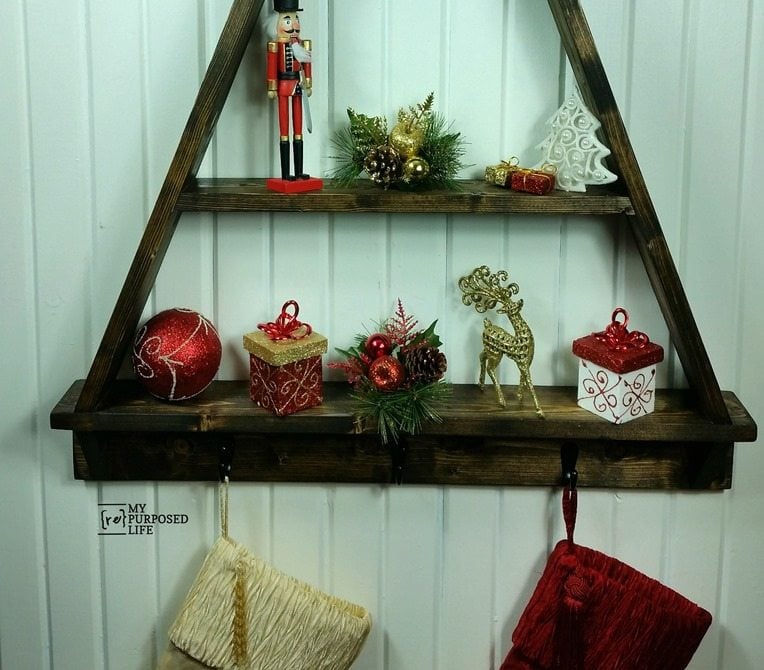
Use some of your favorite ornaments to decorate your wooden Christmas Tree shelf.
The hooks are perfect for hanging stockings. Hang this shelf in the bathroom, guest room, or kitchen and it will hold towels and more.
Let’s Keep it Real!
I know that sometimes power tools and diy can be intimidating and a little scary. I’ve been there, heck I’m still there sometimes. It’s natural to feel unsure and a little scared. The more you use tools the more comfortable you will be. The Home Depot is there to help you learn about tools and home improvement projects that you really can do yourself. Attend a DIY Workshop or a DIH workshop near you. If you’re a mom or a dad, sign the kiddos up for a Kids Workshop.
The next DIY Workshop is THIS Thursday evening. Make a date with someone you love or go by yourself and make some new friends that are loving and learning how to DIY.
If you have previously attended any workshop at The Home Depot and would like to provide feedback, please feel free to use this form. Your experience and response helps The Home Depot make the improvements you want to see.
Speaking of friends, please visit my friends by clicking on the links below to see their projects.
DIY Huntress | Inspiration for Moms | Domestically Speaking | Junque Cottage ||A Pumpkin and a Princess | Shades of Blue Interiors | The Creative Mom | The Turquoise Home | Make It Love It |
Don't forget, the DIY Workshop is Saturday, November 18 from 10:00 AM till 11:30 AM. You can get more details and sign up here.
gail
*The Home Depot partners with bloggers such as me for DIH Workshop program. As part of this program, I received compensation for my time. They did not tell me what to purchase or what to say about any product mentioned in these posts. The Home Depot believes that consumers and bloggers are to form their own opinions and share them in their own words. The Home Depot’s policies align with WOMMA Ethics Code, FTC guidelines and social media engagement recommendations
Gail Wilson is the author and mastermind behind My Repurposed Life. She is obsessed with finding potential in unexpected places and believes that with a little hard work and imagination, any old thing can be made useful again, including herself!
Gail reinvented herself during a midlife crisis and has found purpose again. She hopes you will find new ideas for old things and pick up a few tools along the way.
Stephanie Davis
Love this! My son wants to use this pattern to raise funds for schools in Haiti.he noticed the the bottom of the left and right sides isn't cut at an angle on the notes. Is this right or did you angle them and just not indicate that you had done so? Looking forward to watching him make these!
Gail Wilson
That's awesome Stephanie.
No, I don't think I angled them.
gail
Cynthia Chilson Finger
I like your simple design for the tree shelf, Gail! It reminds me of a church steeple! So many clever spins on Home Depot's original design. Great tutorial, as well. Hope you have a wonderful Thanksgiving!
Gail Wilson
Thank you so much Cynthia! This challenge always makes me nervous (to put my own spin on it) but I do love how it turned out!
Happy Thanksgiving to you and your family!
gail
Catherine
This is such a cute and fun idea~ I had to play with my own version too!
Posting on my blog soon!
Catherine
Gail Wilson
ohhhh can't wait to see it Catherine!
gail
Kimberly P
Gail I think your work is awesome. I get lots of inspiration from you and I really appreciate it. This is in no way meant as a criticism but maybe you haven't thought of it (I'm like that sometimes as I have a one track mind.) Your saw appears to be a compound miter so I am wondering why you don't bevel the cuts instead of standing the board on edge which is at least awkward if not a little dangerous. I have noticed this before but didn't want to be perceived as a buttinsky. However, I am hoping you will instead take it in the spirit of helpfulness in which it is meant.
Happy Thanksgiving!
Gail Wilson
Kimberly,
Great question! Yes, my saw is a compound miter saw, but I feel standing the board on it's side and cutting down puts less strain on the saw and the blade. I can tell just by the way the saw sounds as it cuts through the wood that it is easier on the blade. Is it the right way? I don't know. I don't feel the way I hold it to cut on an angle is dangerous.
I would never take your comment as criticism, or think you to be a buttinsky! 🙂 I appreciate your concern and now I have to google it to see which way most people do these simple cuts. 🙂
Thank you! Happy Thanksgiving to you and your family.
gail
girlfromwva
this looks wonderful! great job.
Jennie
I love it! Actually like it a lot more than the Home Depot one. I have so much Christmas stuff that needs putting out. But wouldn’t pictures of the grandbaby with Santa be cute. Gloves luckily come in different ingredients now. Latex is a natural rubber product, it gives you a tight fit and the best touch of all gloves, but many people are allergic to latex (like me). Nitrile gloves are more puncture resistant, are latex free and made of synthetic rubber. They still give a tight fit but a thicker glove, so touch isn’t as good (you can still pick up a dime though). Vinyl gloves are really made for food service. They don’t stretch much, giving a poor fit, are easily punctured, and really won’t work for anything with chemical use.