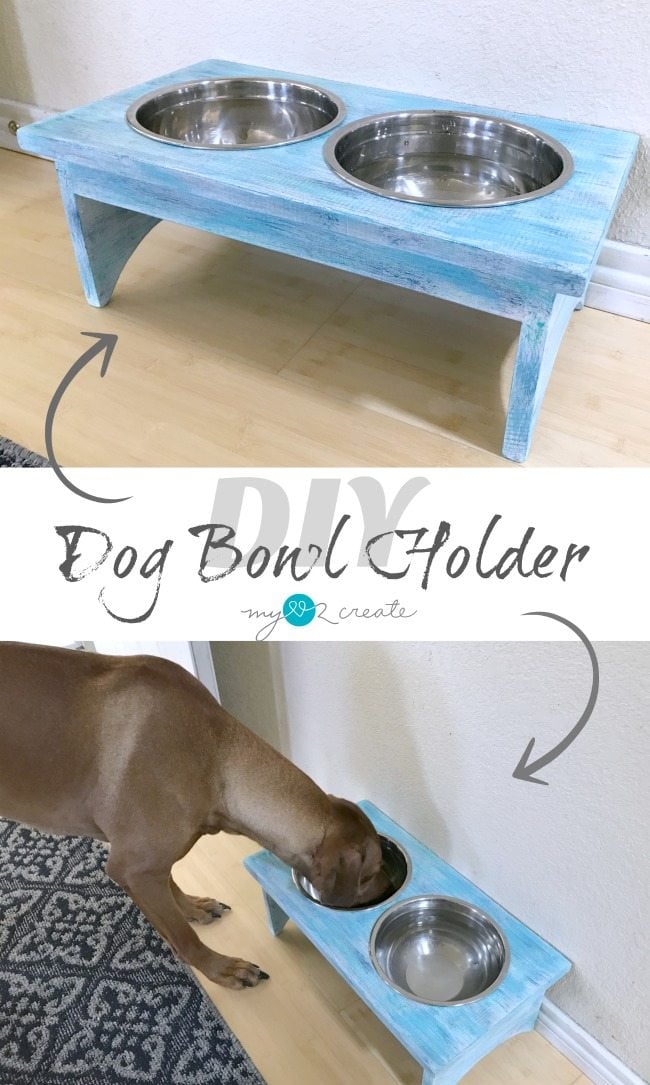
DIY Dog Bowl Holder
As an Amazon Associate, I earn from qualifying purchases.
I can’t tell you how long I have been wanting to make one of these!
I used up some scrap wood for this bowl stand, and so I spent nothing on this project. Why did I wait so long?! Ha, isn’t that how it always goes…
How to make a dog bowl holder
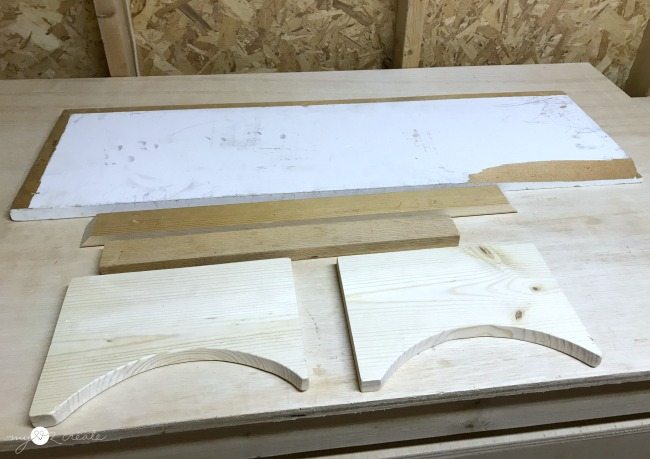
This is what I had to work with, a 1×12 old shelving board, some scrap 1×3 boards, and two boards (the ones with a semi-circle) left over from my 3 Drawer Storage Shelf. I had planned to use these on my shelf but liked it better without them. I knew I could eventually use them for something!
Trace and cut the materials
I realized they finally had their purpose!
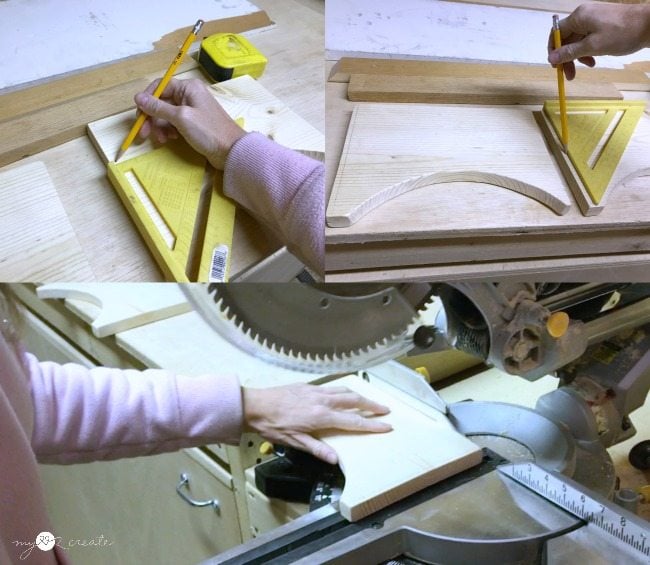
One end needed to be trimmed off to match the other side, so I measured and marked with my Speed Square and then cut off one side. These legs were cut from 1×8 boards. The semi circle was cut with a jig saw after tracing the shape with a bowl.
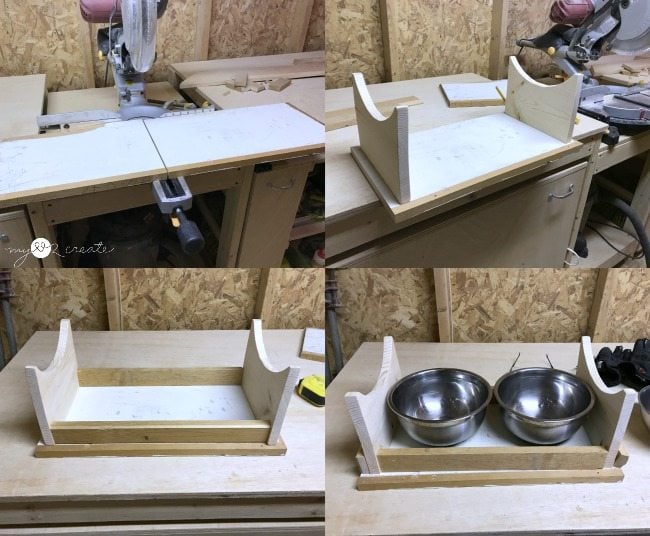
I measured my two dog bowls side by side In order to determine how long to cut my top board. I added 3 1/2” to it so I had room to attach my legs and have an over hang on the ends. You will need your own pet bowls in order to get the correct measurements.
I cut the 1×12 to that length (top left) of the two bowls. Then I did a dry fit with the legs (top right) and measured how long to cut my aprons out of my 1×3’s. (bottom left) I did a test fit with my bowls to make sure they would fit (bottom right).
Trace the dog bowls
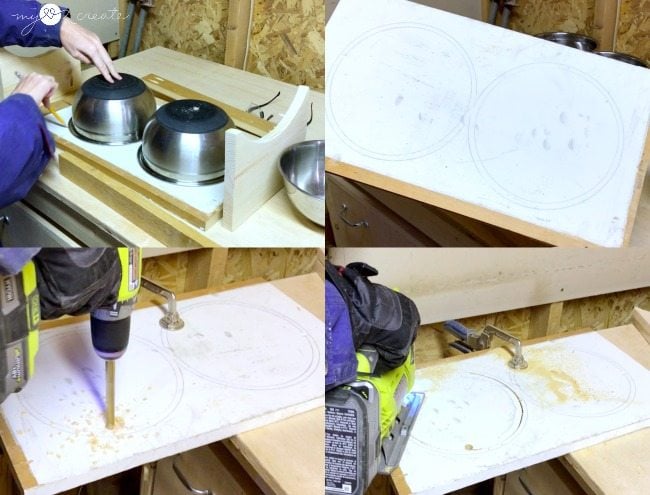
In order to cut out the holes for the bowls I traced them on the bottom side of the top board. After that, I used a smaller bowl (1/4” smaller) and traced it on the inside, this inside line is the line I needed to cut on. You cut on the inside circle, so the bowls have a lip to sit on when placed inside the cut out circles.
After clamping my board down, and drilling a hole for my jigsaw blade, I was ready to cut out the inner circles with my Jig Saw.
Assemble the diy dog bowl holder using pocket hole screws
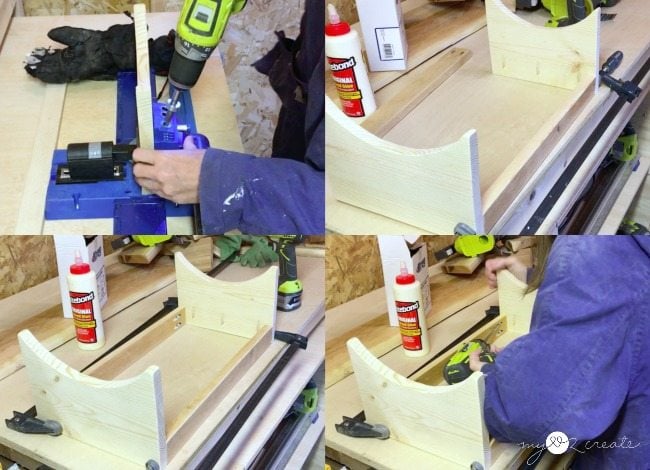
With all my pieces cut it was time to build! I started by drilling 3/4” pocket holes with my Kreg K5 Pocket-Hole Jig. I drilled two into each end of my 1×3 apron pieces, and three into my legs (make sure to mark 3/4” on each side of the leg boards. ped the apron pieces to the legs and attached them with 1 1/4” pocket hole screws.
Need more details on using a Kreg Jig? See my article How to use a Kreg Jig Pocket Hole System
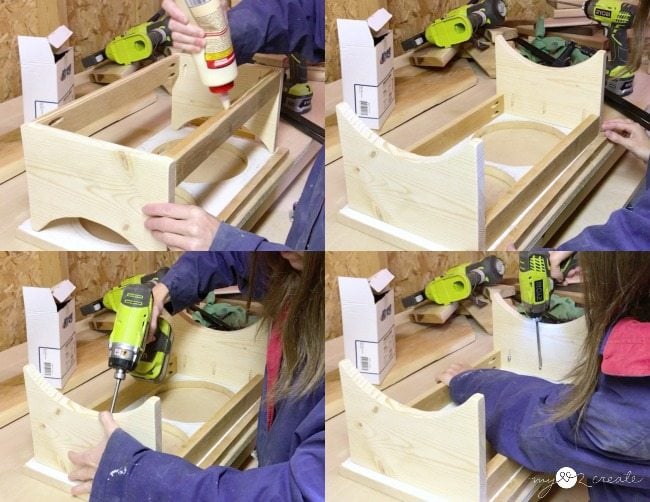
For attaching the top to the base I added glue and then flipped it over and centered it on the top board. Then I attached it with my pocket hole screws.
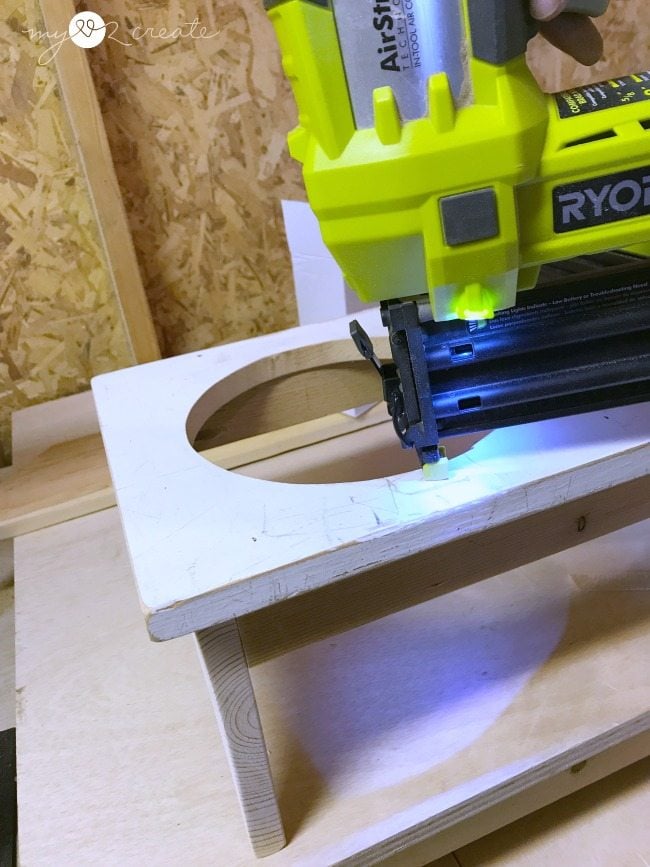
I forgot to drill some pocket holes in the apron pieces for attaching it to the top, so I just nailed from the top into the 1×3’s with 2” finish nails using my Nail Gun.
That is it for the build! I filled the holes with wood filler and sanded it smooth.
Paint the new dog bowl holder
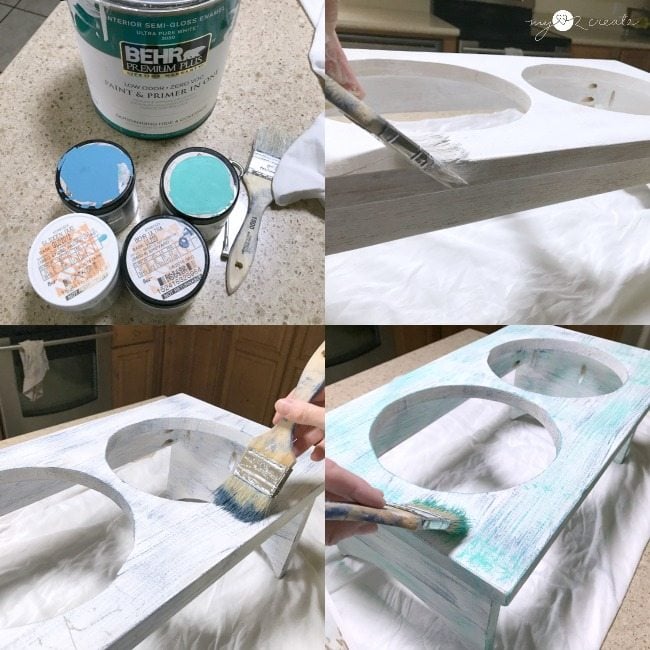
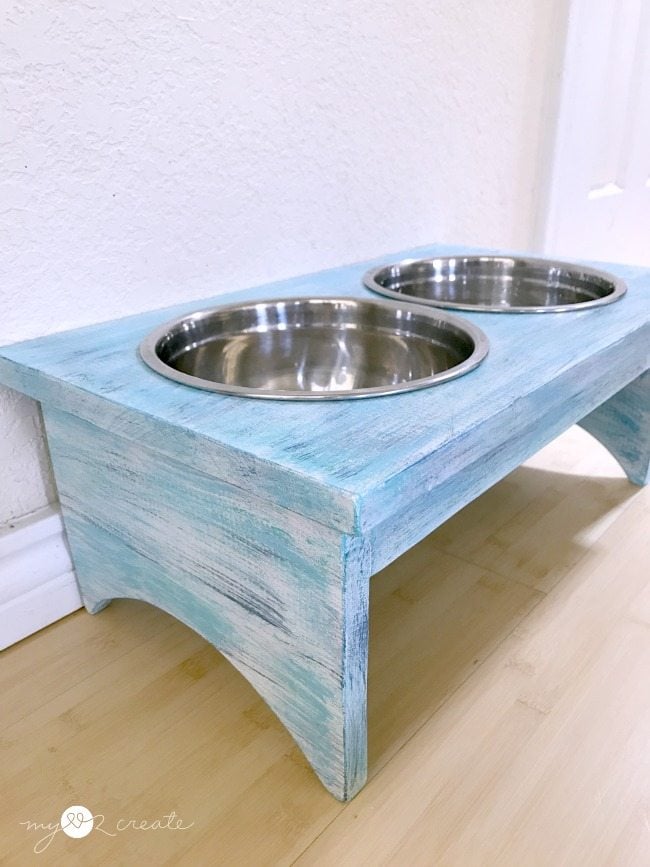
After some debate, I decided to do a multi color finish, sort of shabby chic style, using some sample paint colors that I liked and a white paint.
I didn’t do a nice paint job just mostly covering the wood.
Then I lightly dry brushed on the other colors one at a time. Sometimes I did more sometimes I did less. I would load a little paint on my brush and then unload most of it onto some newspaper before dragging it across my project. Have fun with it!
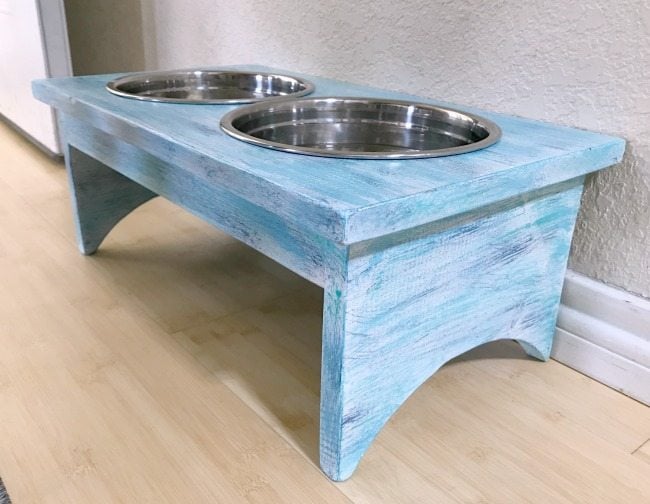
Kind of cool eh?! I sealed it with a clear gloss sealer, to protect it from water, cause my dog is a sloppy drinker!
It is the perfect size for Sunny’s bowls and I love how cute they look now, instead of just sitting the floor. That is too boring!
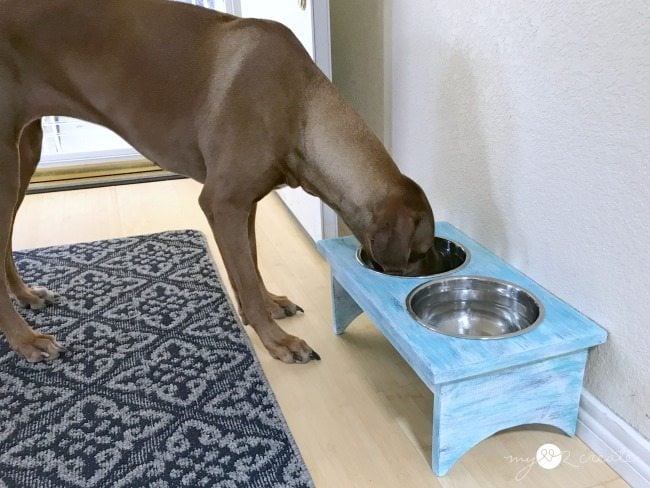
Sunny wasted no time trying it out, and she doesn’t have to bend down as far to eat now. Yay!
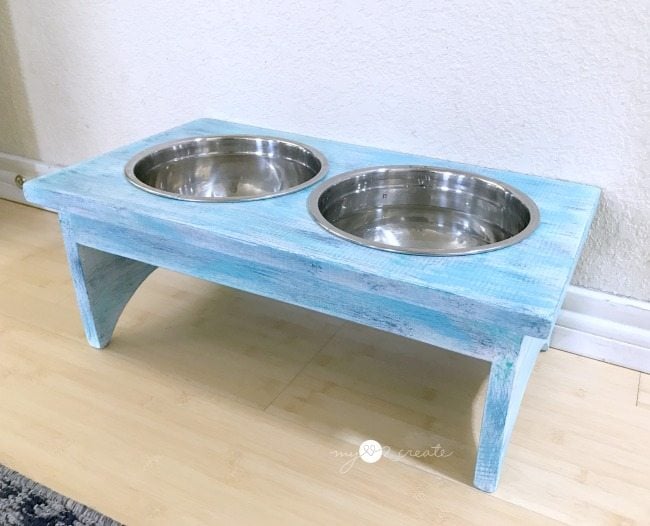
Honestly, I think this dog bowl holder would look great if it were stained.
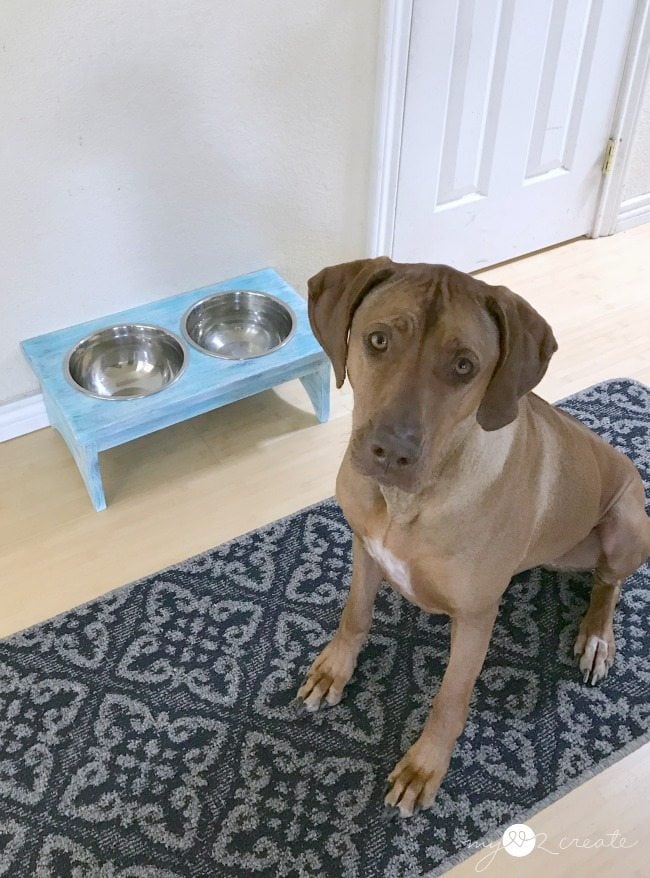
I think Sunny approves! Plus the colors match my kitchen decor, which is always a bonus!
So do you have a pet that needs a bowl holder? Grab some scraps and get to work!
If you haven’t seen Sunny’s dog crate made from a Crib… then you have to check it out!
Hugs!
Mindi
see more of Mindi’s posts on MRL here
This really looks cool. I am gonna try to make this for my doggos. Thanks for sharing.
That really is a great idea! I love DIY dog ideas and I’ll have to make one for my dog.
Thanks Anna! I hope you do make one for your dog, it is a fun and easy project!
Love this project. My Abby looks just like Sunny. So sweet. She has a raised bowl that I bought years ago. It was expensive but worth it for her not to have to strain her neck. I wish I had the plans back then, but now I can make a new one. Thanks so much.
Thank you Dee! Yes now you can make a new one for your sweet Abby!
Oh, Mindi–Sunny is soooo sweet! Look at that face! I love how easy you make this look! All large dogs need to have their bowls raised off the floor.
thanks for sharing here!
gail
Thank you Gail!! Poor Sunny has needed one for a long time, she loves it!
This is a great idea! My dog eats in the garage and I always have to locate his bowl because it has slipped under the shelves…it’s not a convenient set-up! Thanks for the how-to!
This would be very helpful to keep his bowl in one place, they do have a tendency to push the bowls around when they are eating! 🙂 Thanks!!