DIY Doll Dog Bed
As an Amazon Associate, I earn from qualifying purchases.
For this month’s Power Tool Challenge Theme REPURPOSED, I made a DIY Doll Dog Bed! Yep, this sweet pink bed is perfect for a small dog or for a girl to use as a doll bed. You know how happy I was to participate in this month’s theme! This month is a Reader Challenge, where YOU can participate as well. You have 2 weeks to share your project with us via a link party.
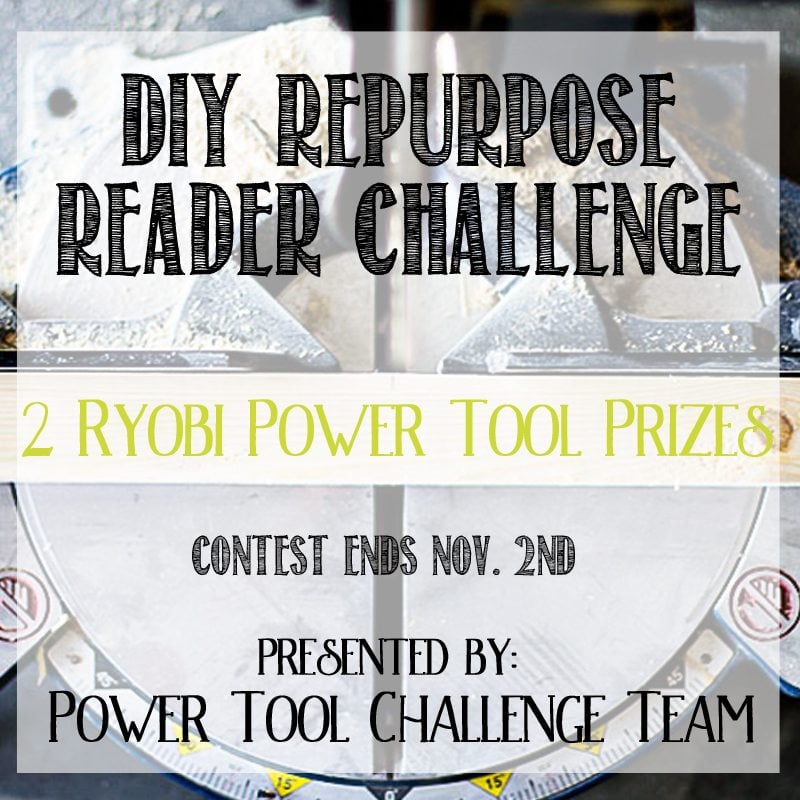 The Power Tool Challenge bloggers will vote on the projects, along with the Ryobi team to select one winner. But wait—there’s more! There will also be a random winner from all the projects shared.
DIY Dog Bed
I’ll give full details and rules below, but let’s take a look at my project….
As you probably know, I don’t have any small girls around to stage this sweet bed as a doll bed, so I had my loveable Lulu Mae model it as a dog bed. The pictures we took this day were so fun, but this was a bad day as we had to go to the emergency vet that night. Lulu Mae had a terrible reaction to one of her vaccinations and was in so much pain. She had a grooming appointment and was due for her shot so we had it all done in one visit. She was given a pain shot and a sedative at the ER and was much better the next day.
I’ve made other dog beds out of repurposed chairs. You may think this is an upside down table, and you’re close.
Thrift Store Legs

I made this cute diy doll/dog bed out of short table legs.
Rip Boards on Table Saw

I wanted the diy dog bed to have “feet” so I had to rip some boards to make them narrow enough to allow the skirt to not take up the entire width of the top of the table legs. (see image below)
*This post may contain affiliate links which won’t change your price but will share some commission., read more here*
Sand boards

I sanded all the pieces smooth with my orbital sander.
Drill Pocket Holes to Construct Dog Bed

To easily connect the sides (apron) to the legs I drilled pocket holes with my Kreg Jig. You can see I’m testing out an old chair piece that ended up becoming the headboard AND footboard of the DIY doll bed.
Attach sides to legs

I buy pocket hole screws on Amazon in a big box because I use them so often. I used my Kreg Multi-mark tool to make sure all the pieces were spaced the same. Here you can see that I’m leaving enough room to allow the diy doll bed to not rest on the floor.

I like to put the shortest ends together first whenever I’m making a “box” using Kreg Pocket Holes.
Basic Doll Bed Construction

This project came together very quickly and easily.
Embellish dog or doll bed

Now it’s time for some embellishments. After cutting the end pieces off of the chair piece (for the headboard) I realized they were perfect to use as the foot board of the diy dog bed.

Back to the Kreg Jig to make more pocket holes to attach the cute headboard. The image below will explain better how this came together.

I drilled the pocket holes going up, in order for the pocket hole screws to secure into the chair piece as the headboard.
Configure dog bed bottom

The doll bed needs a bottom. I found this piece of handy board in my garage, and it was nearly the right size! The corner was already cut off, which reminded me that’s all I needed to do—instead of using a jigsaw to NOTCH out for the corner. I must file this away for the future because it was so much simpler than notching.

I did have to rip a little off the end and side with the table saw, but then I simply cut off the corners with my miter saw.
Secure the bottom of the doll bed

See how easy it was? I secured the bottom with my nail gun.

I was anxious to see if Lulu Mae would love it. She DID!
Prepare to paint the doll or dog bed

Time for paint! I mixed up diy chalky paint primer using an oops pink and plaster of paris. I painted it on with a cheap chip brush. You can see I use these things over and over again.

I painted two light coats of the pink. This is after one coat.

I had been on the fence about the foot board, but decided to add it. The small finial pieces? Some wooden chess pieces I’ve had in my stash for YEARS! You can see I used Gorilla Wood Glue and my nail gun to fasten the pieces.
Add a faint whitewash technique

After 2 coats of the pink oops paint, I wasn’t loving the color. I brought out some white paint to do a dry brush technique over the pink using the chip brush. I like storing smaller batches of paint in these creamer containers for easy pouring.
DIY Doll Dog Bed

The fabric is from Hobby Lobby and I love how soft and swirly it is!

What will you make?
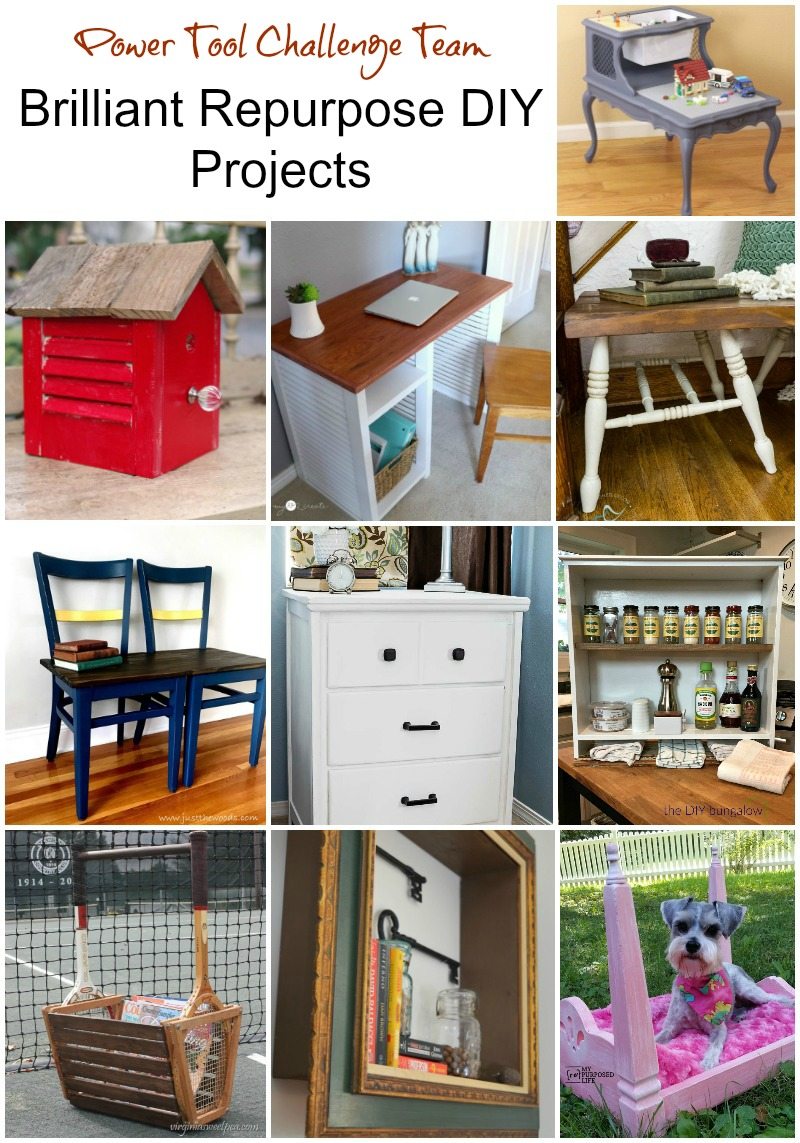
The Kim Six Fix Lego Table from Two Tiered End Table
Create and Babble Rustic Birdhouse from Upcycled Shutter
My Love 2 Create Repurposed Shutter Desk
Designed Decor How To Build A Repurposed Chair Leg Bench
Just The Woods How To Make A Bench From Chairs
Domestically Speaking How To Turn A Desk Into A Nightstand
The DIY Bungalow Turn an Old Drawer into a Cabinet
Virginia Sweet Pea DIY Vintage Tennis Racket Basket
H2OBungalow Repurposed Picture Frame Wall Shelves
My Repurposed Life DIY Doll/ Dog Bed
Rules
Now that you’ve seen our projects, let’s see yours!
To qualify, your project needs to be repurposed using at least one power tool of any kind in the process. Simple enough? Everyone can enter up to four DIY repurposed projects.
There will be two Ryobi Power Tool Prizes! One random drawing and one voted Best Repurposed Project Overall. Every entry counts towards a chance in a random drawing and the winner gets to choose either an 18 Volt One + jigsaw or an 18 Volt One + Drill.
To pick the Best Overall Repurposed DIY project, the team and a Ryobi Power Tools team member will vote on their top choice. The Winner of voted best project gets to choose up to $230 of Ryobi Power Tools.
How to enter: Enter your project in the linky below. The linky will be open for 2 weeks ( ending midnight November 2nd). Readers can submit their own projects directly, make a Facebook post and share that link. If any of you need help or want me to post your project for you just send me an email with your project photo, be sure to include your name and your project title too! I will make a facebook post, and use that link to share your project.
Must be 18 or older to win, giveaway and contest is open to USA resident only.
Hope Lulu Mae is better now! What a fun link up. I have not participated in a link up in so long. I was inspired by the chance to win and had fun looking at the other projects.
Love coming here to see what you have created. Always inspires me. Thanks!
Always happy to have your creative projects Karen! 🙂
good luck!
gail