DIY Entryway Table
As an Amazon Associate, I earn from qualifying purchases.
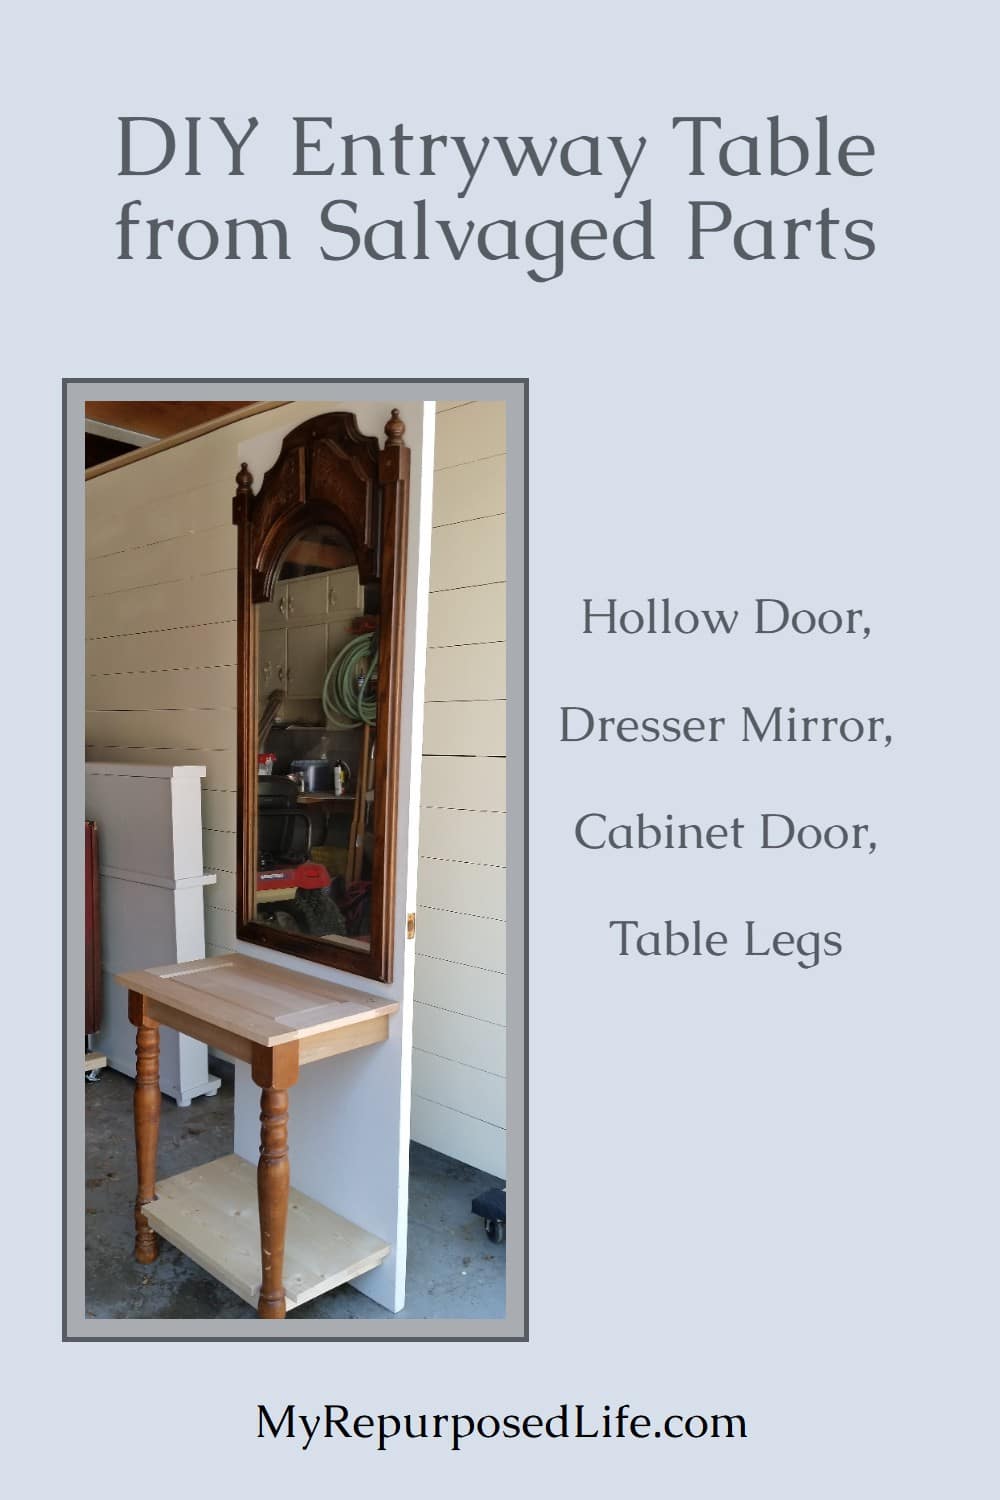
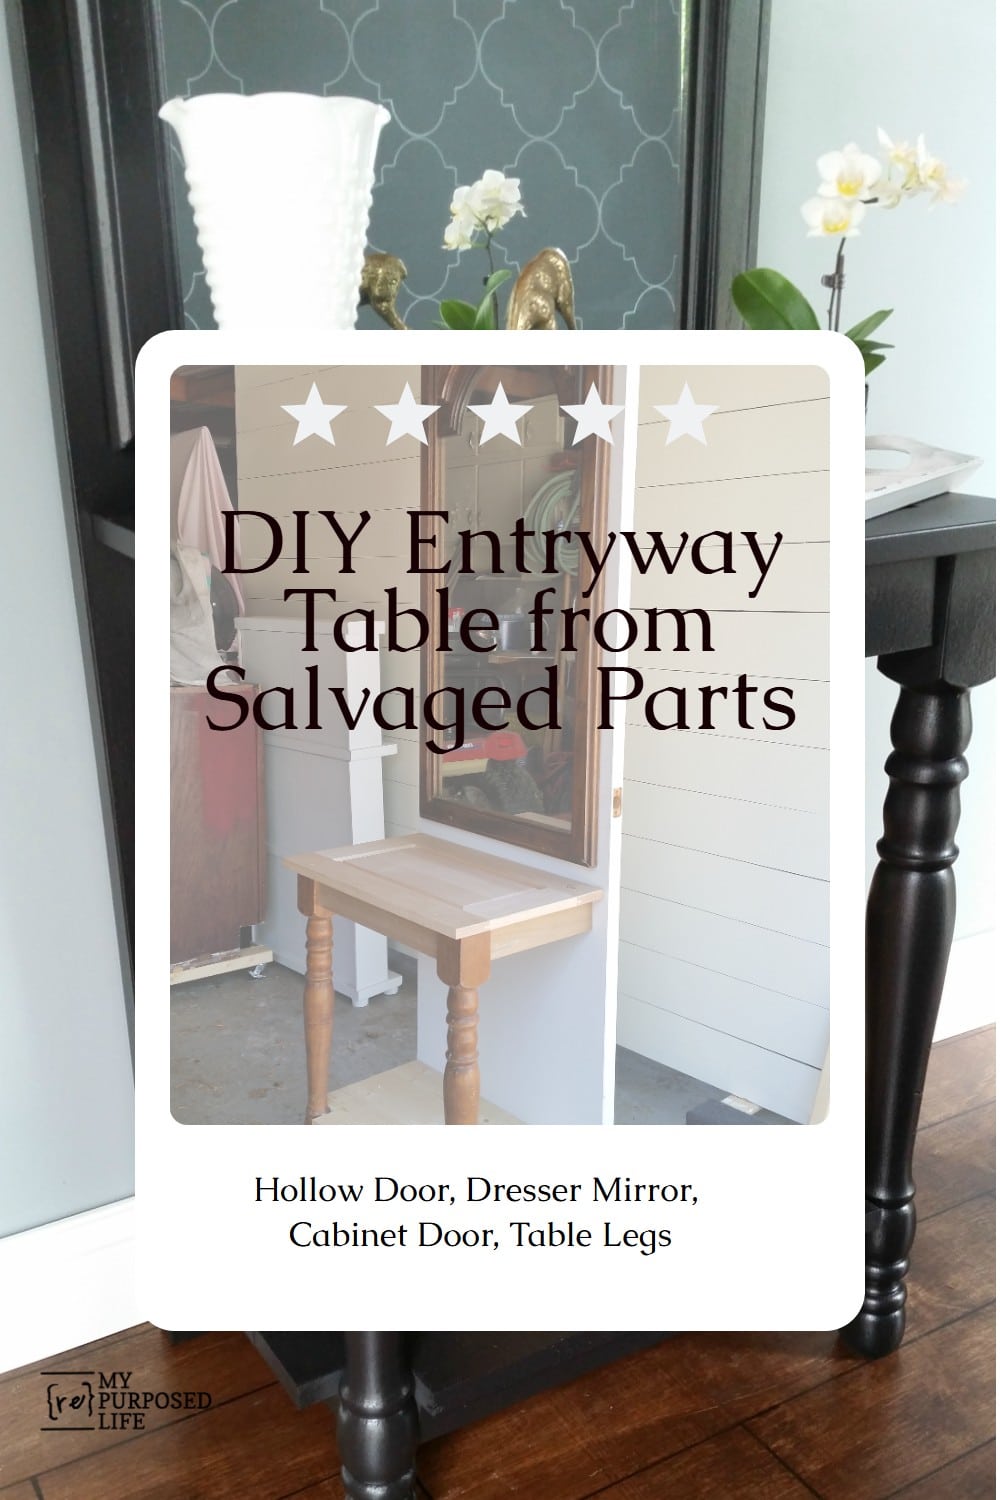
In this project, Gail Wilson transforms everyday castoffs into a functional and stylish entryway piece. By repurposing a $2 interior door, an inexpensive dresser mirror, and spare table legs, she crafts a narrow table ideal for a foyer. Her inventive use of pocket holes, brackets, and thoughtful trimming turns humble materials into a sturdy, eye-catching entryway table.
I actually bought two cheap $2 interior doors to use as extra workspace in between sawhorses. Oh man! I didn’t intend to use them for projects, or I would have bought more. Now, I found the perfect purpose for the second door, a DIY entryway table. I used the first door when I made door hall tree a few weeks ago.
DIY Entryway Table From a Door
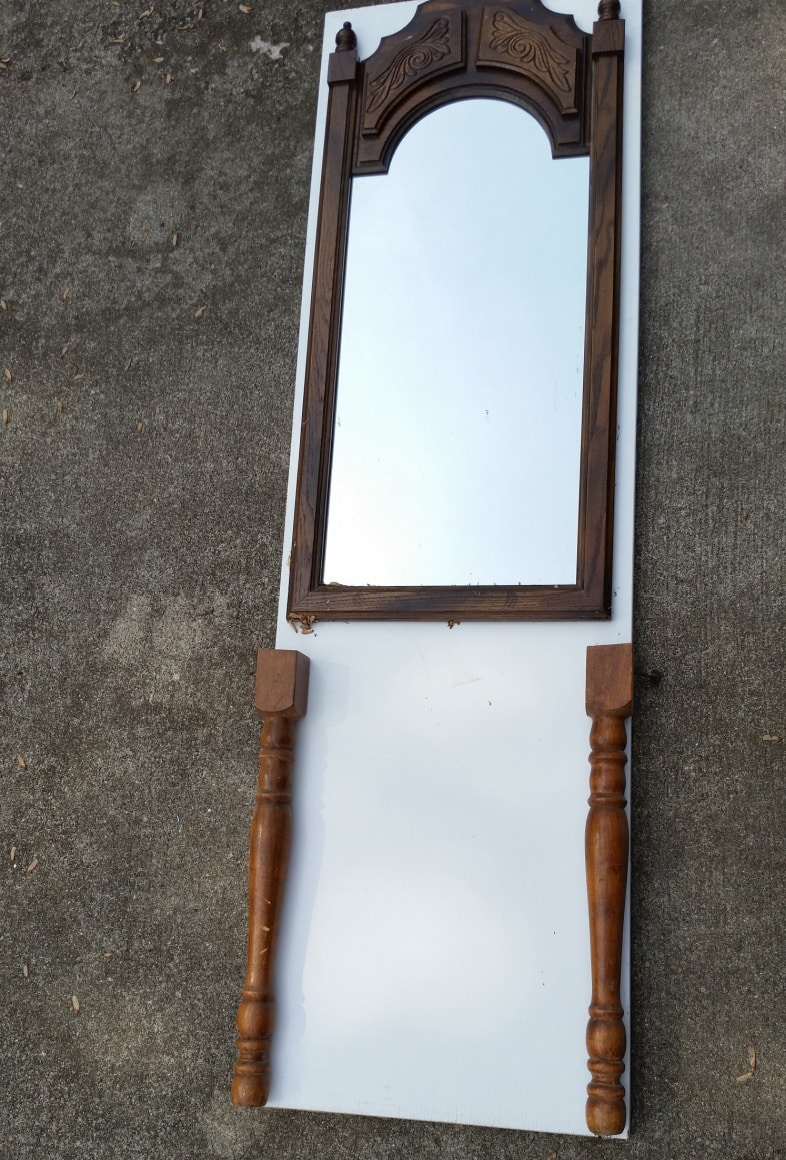
This is the wonderful design stage of my DIY entryway table project. I LOVE it when it all comes together so perfectly. We have a $2 door, a $5 dresser mirror, and some random legs.
Add a Mirror and a Cabinet Door
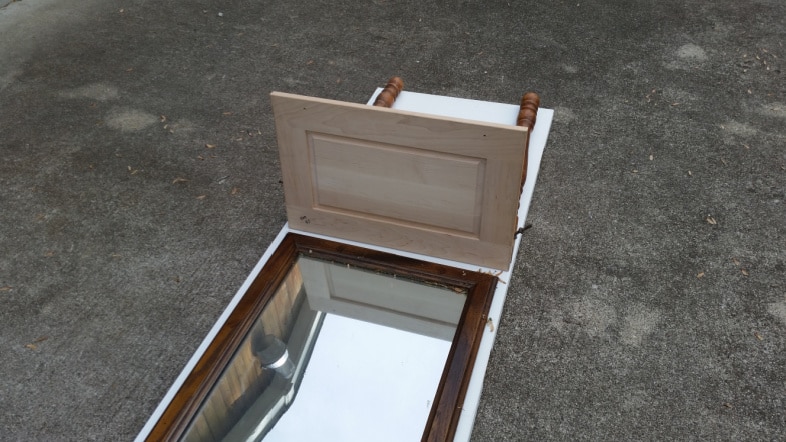
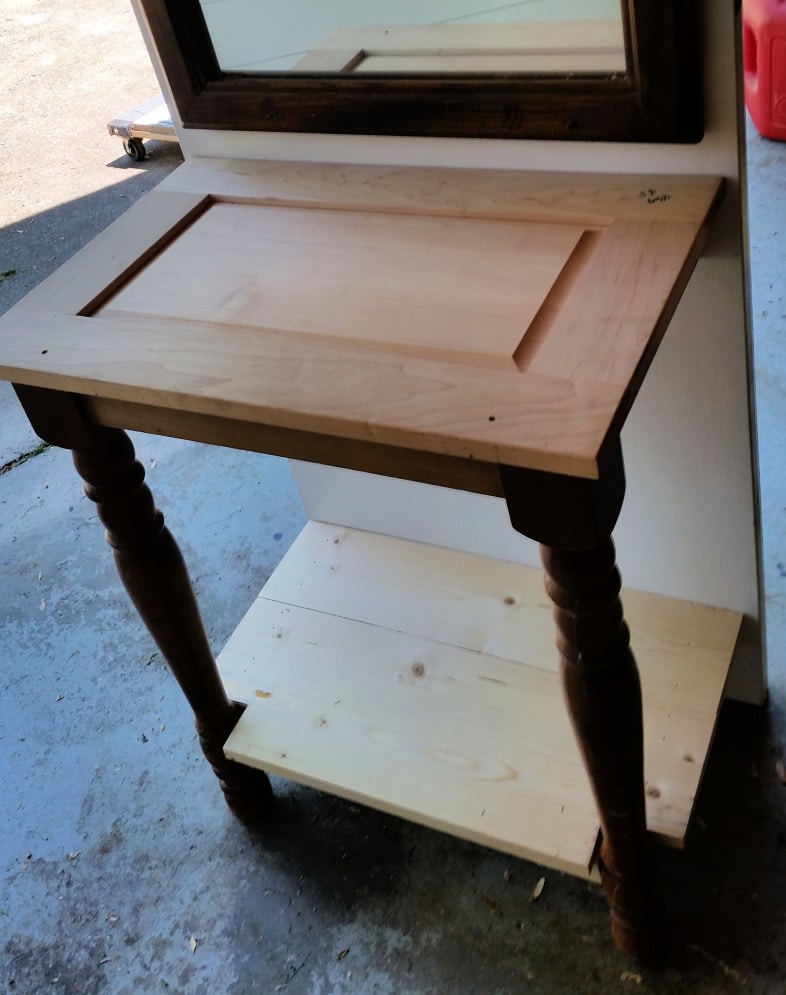
Add to those pieces a cabinet door for a table top! Voila! It’s almost done! ![]() I was seriously giddy that all the pieces were the perfect size. I suppose that is a benefit of hoarding, having a lot of treasures.
I was seriously giddy that all the pieces were the perfect size. I suppose that is a benefit of hoarding, having a lot of treasures.
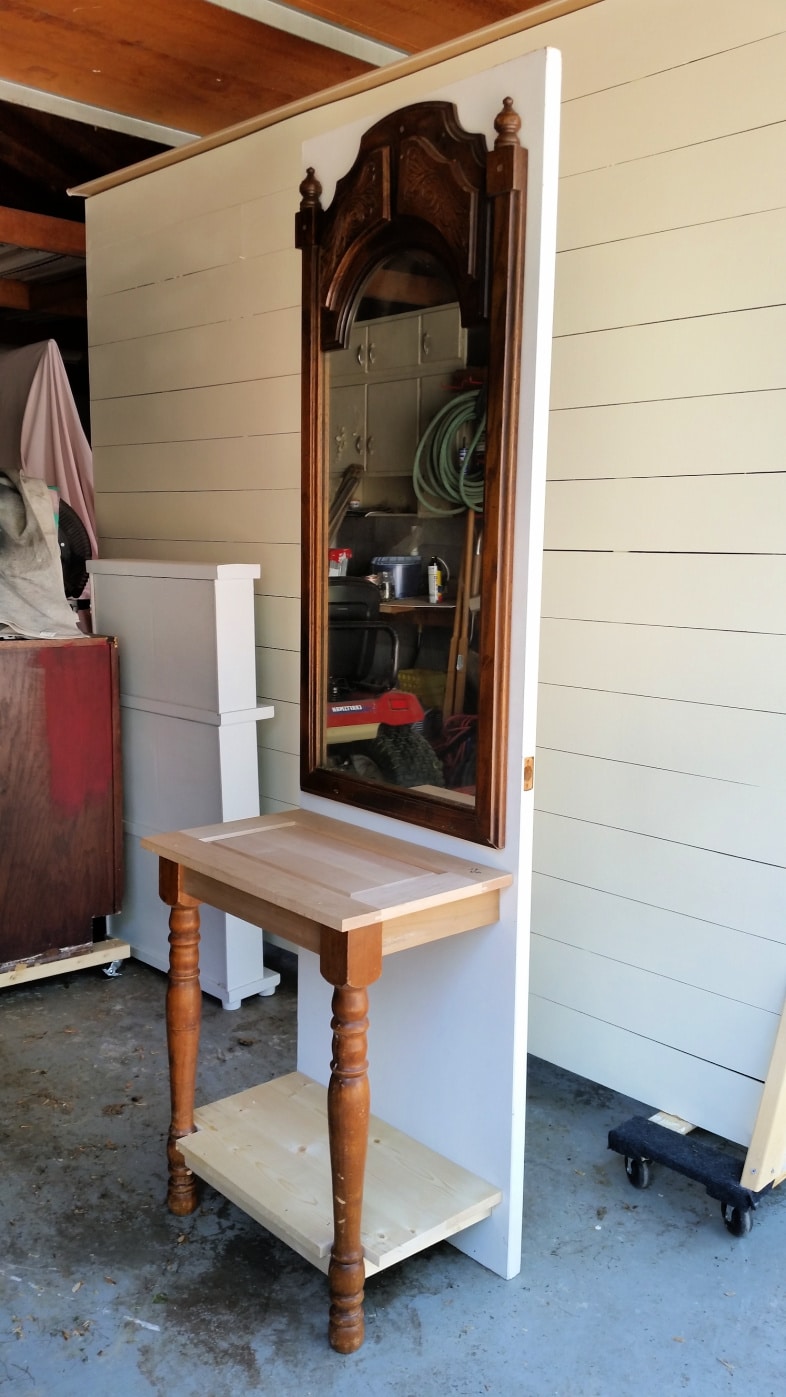
The dresser mirror was secured directly to the door.
Old Table Legs
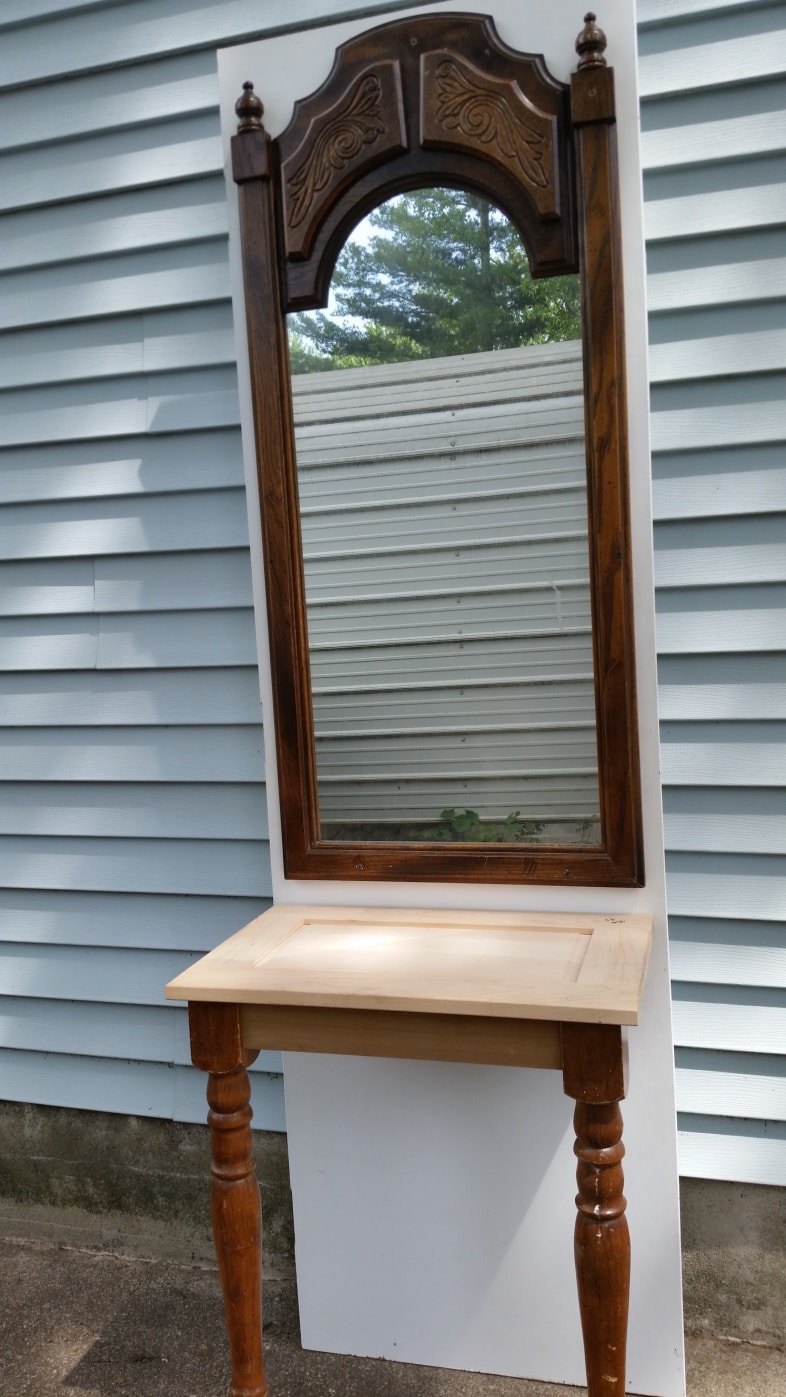
Clamps were used to hold the cabinet door in place. I did have to trim the legs, because they were table legs, and the tops were cut on an angle. I had to give them a slight trim to achieve a flat edge, allowing the new tabletop to rest on it. The design stage of the diy entryway table is coming along!!
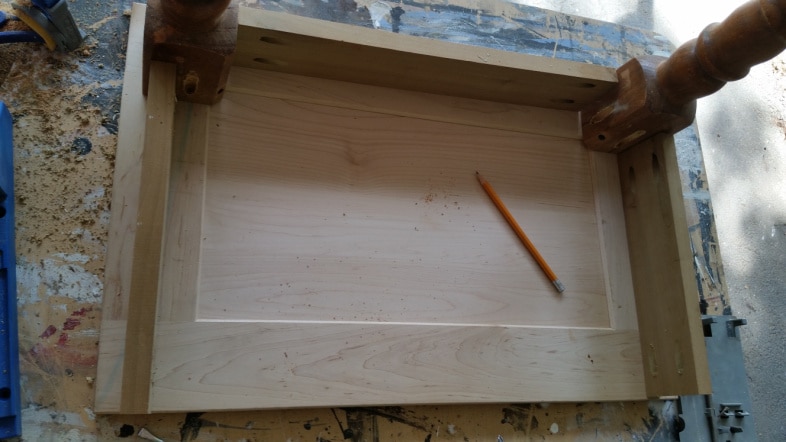
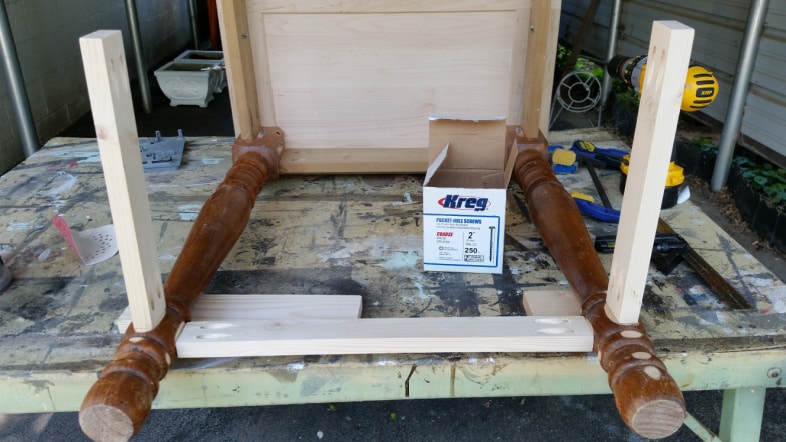
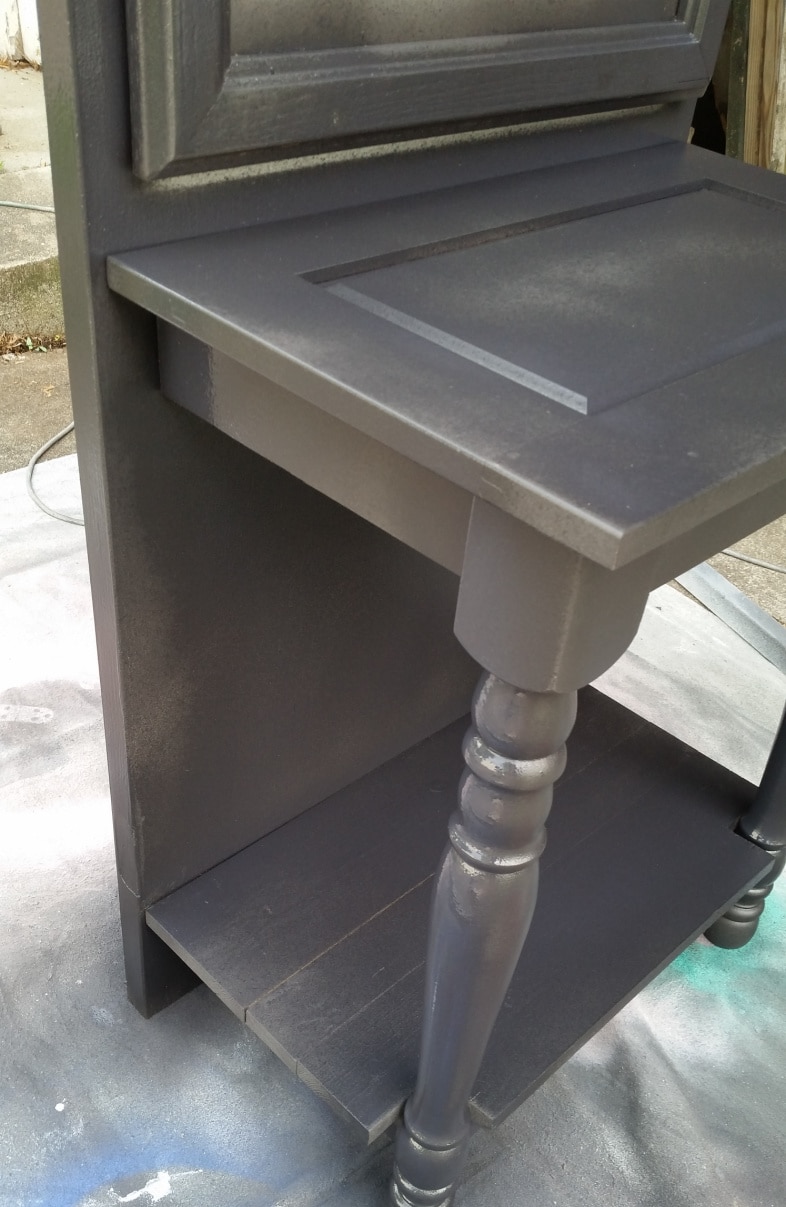
You can see in this photo that I made a little skirt using my Kreg Jig that fits the cabinet door (table top).
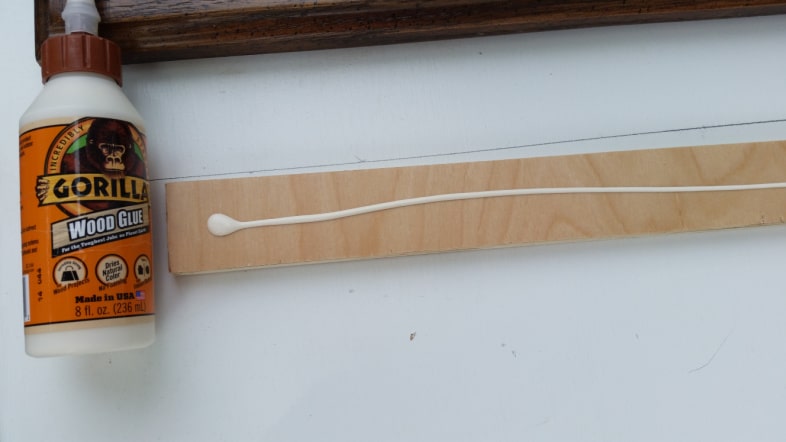
I added a cleat under the mirror to support the back of the table top. Of course, I used Gorilla Wood Glue and some screws.
Assemble the DIY Entryway Table

I was testing the fit and realized that something else was needed. That mirror is awfully darn heavy, and the table just wasn’t sturdy enough. The reason being? That cheap hollow-core door. It just wasn’t solid enough to get a good, secure hold.
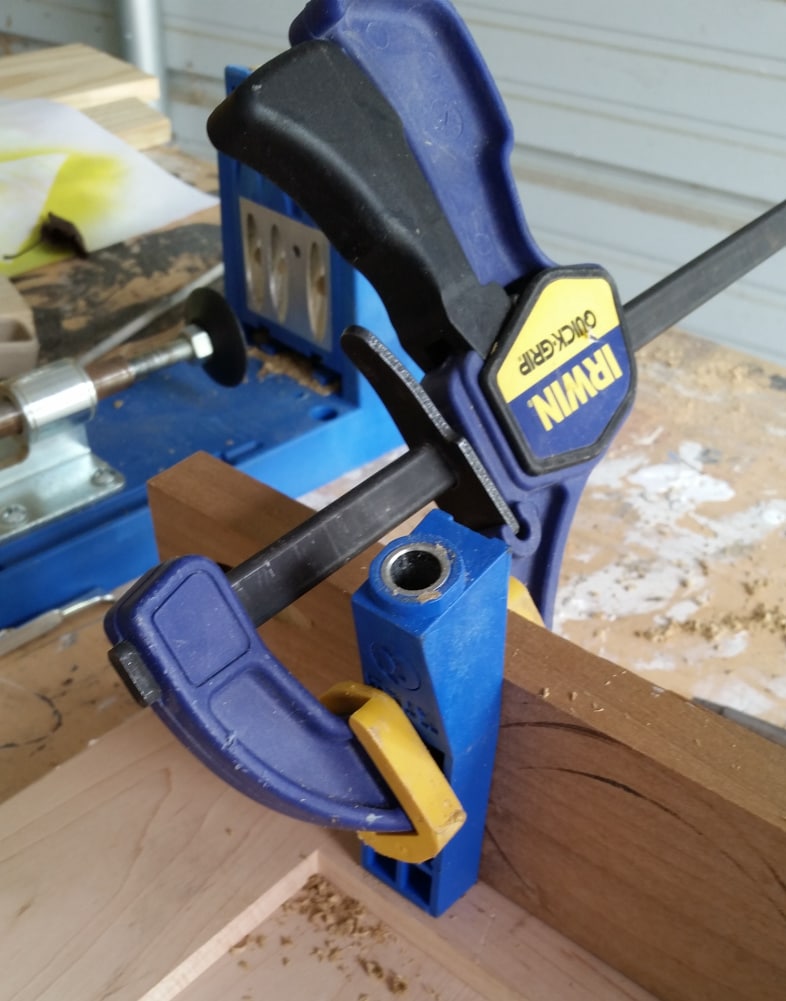
I added more pocket holes using the Mini Kreg Jig Kit. It’s great to have holes in pieces that are already assembled, making it handy to repair furniture.
Be Patient – Add Braces
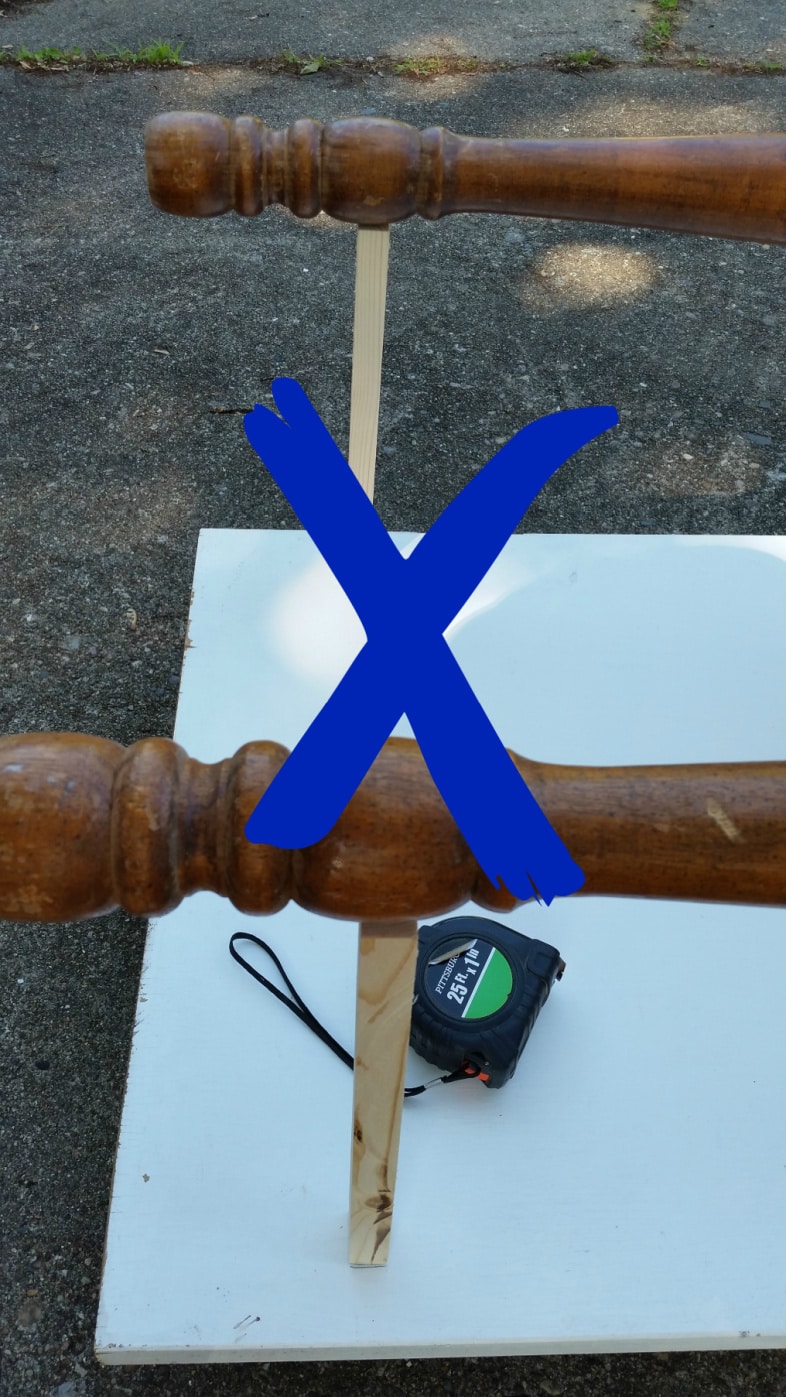
‘This was a short workday, and I was in a rush to make it sturdier. I used pocket holes to add two small braces. Then I shoved it into the garage until the next day. The support brace won’t work with that enormous gap.
I hate when I have to put a project away that I’m still working on. But that’s the way it goes around here.
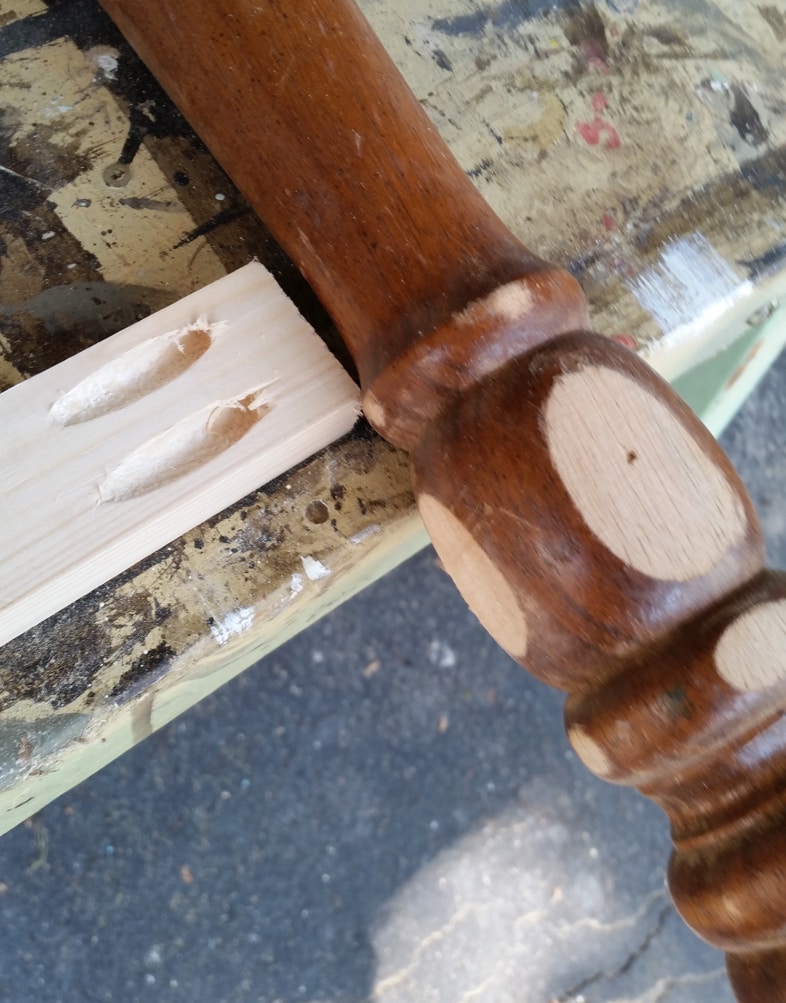
 The diy entryway table will NOT get the best of me. After a decent night’s sleep, I was back at it the next morning. I sanded the roundness off the inside and back of the leg.
I ripped a 1x to match the size of the area and drilled some pocket holes. This lower shelf bracket would now rest more nicely on the leg.
I drilled the pocket holes for 3/4” stock, but because I was securing it to the much larger table leg, I used 2” screws instead of the standard 1 1/4”. Did you notice I also drilled pocket holes for the brace that connects to the back of the door? I used 2” screws there also.
Add a bottom shelf to the diy entryway table.
Are you still with me? It’s taking me longer to tell you how I built the diy entryway table than it actually took TO make it.
I used some 1x’s for the bottom shelf, notching the front board with my jigsaw.
It is so difficult to photograph a mirrored project. I’m always such a mess, I’d scare you off if you saw my reflection in the mirror.
Are you loving it? I am! The DIY entryway table is not only hefty and awkward but also difficult to move!
Paint Your Project with a Finish Max Paint Sprayer

It gets the standard DIY chalky paint primer with Behr semi-gloss (Beluga), sprayed on with my HomeRight Finish Max.
This is a good shot of the cleat. After the extra holes, I still wasn’t happy with it, so I added 2 “L” brackets that came off an old crib. You do save all that hardware, right?
I always start painting my projects on the underneath side.
I did two coats of the chalky paint primer. This is after the first coat.
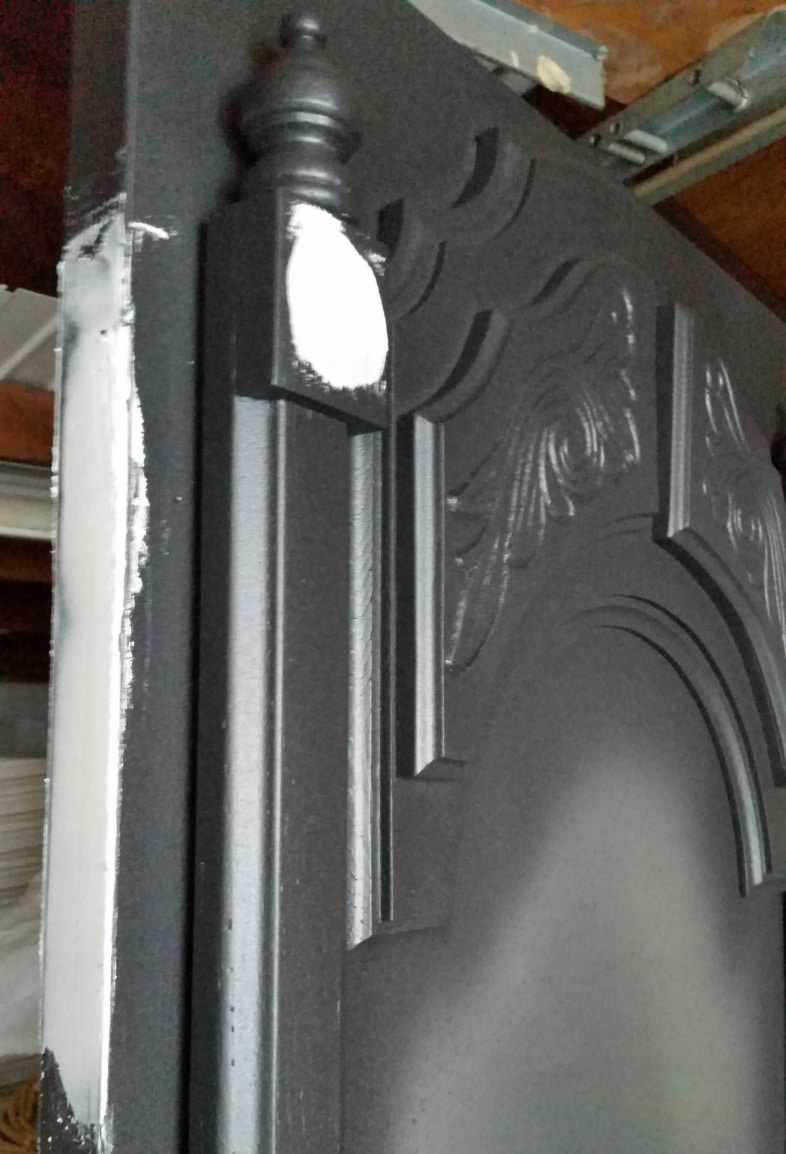
After applying two coats of chalky primer, I realized I needed to do a bit more patching on the entryway table.
After the spackling was set up, I sanded it and did one more quick coat of chalky primer.
This is after the first coat of Behr Semi-Gloss (Beluga). I have been using brown craft paper to sand between coats on the surface that I want to be really, really smooth.
How to move heavy awkward furniture.
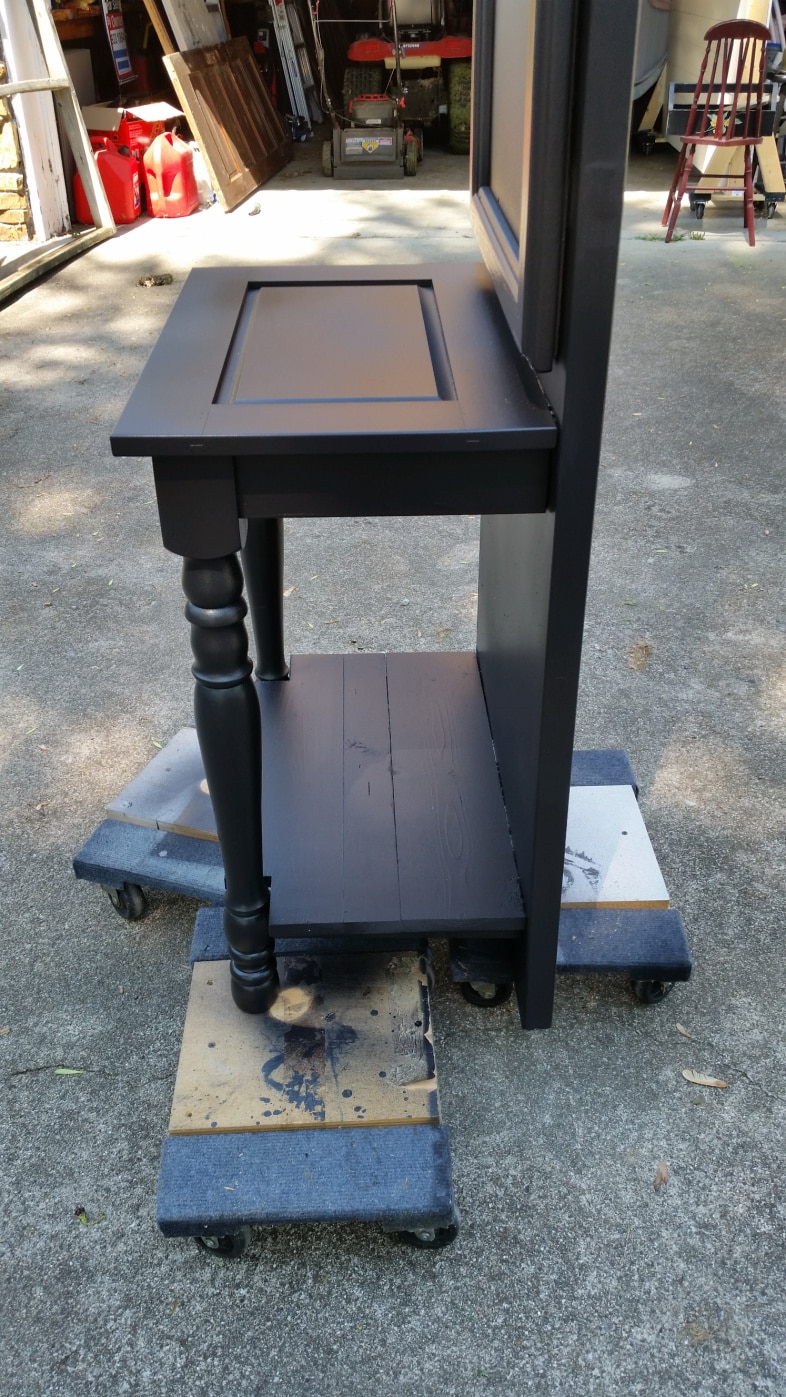
Here is the side view so you can see how petite she is. You can see how many small furniture dollies it takes to move this gal around.
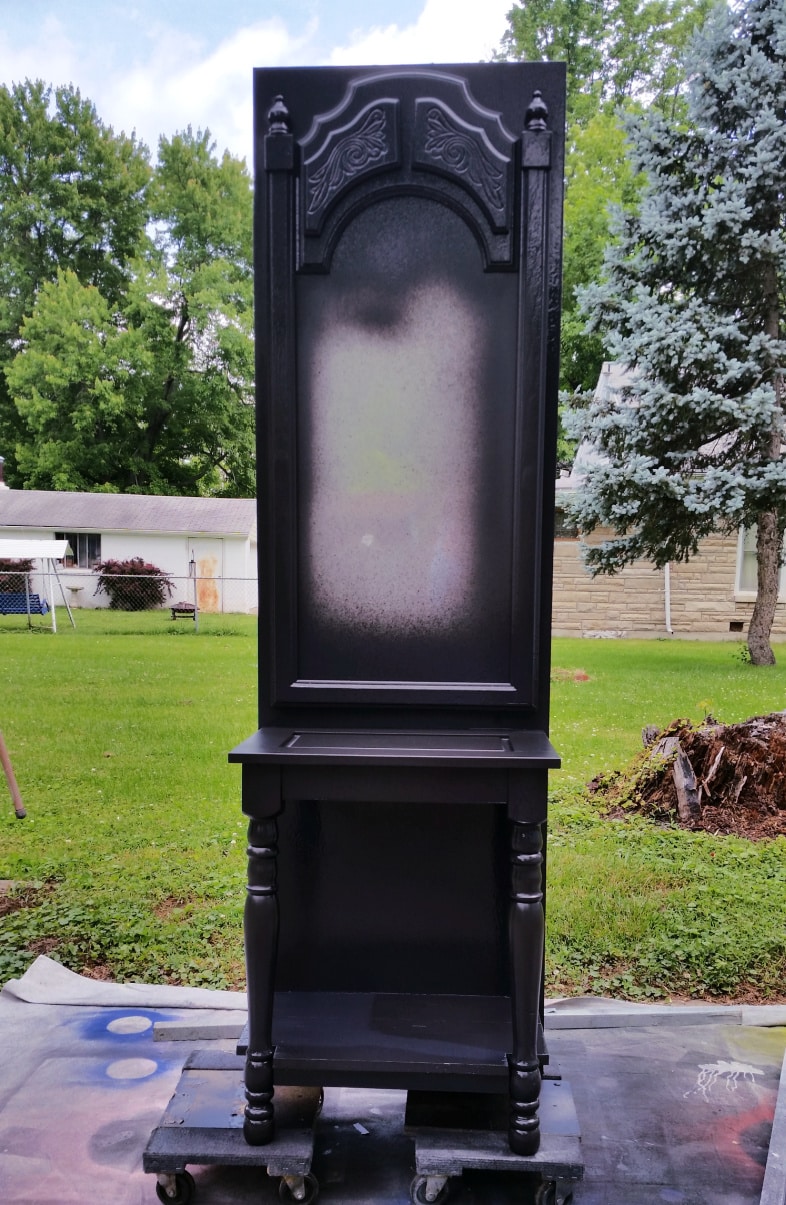
One last coat of semi-gloss with the Finish Max. I wised up, and left it on 2 small dollies so I could easily move the diy entryway table around. You can see that the paint looks a little weird, but you’ll notice in the “after” shots, it dried wonderfully!
I never tape off glass or mirrors. I find that the paint easily scrapes off with a razor blade.
As a side note, I timed myself on this last coat. Well, I didn’t really time myself, but I was cooking some lunch, and I set the timer on my phone for 25 minutes and got to work.
I got out the tarp, the 2×2’s to hold it down, hauled out the entryway table, got out a new can of paint from my car (I go through it like crazy). Then I set up the Finish Max, loaded the paint, painted a coat over the entire piece (not the very bottom underneath the lower shelf) and cleaned the Finish Max with 9 minutes left on my timer. So, although you may think it’s quicker to paint by hand rather than get everything out and clean up, I totally disagree! With the 9 minutes left, I carefully pushed the piece into the garage to try to protect it from debris and the birds!
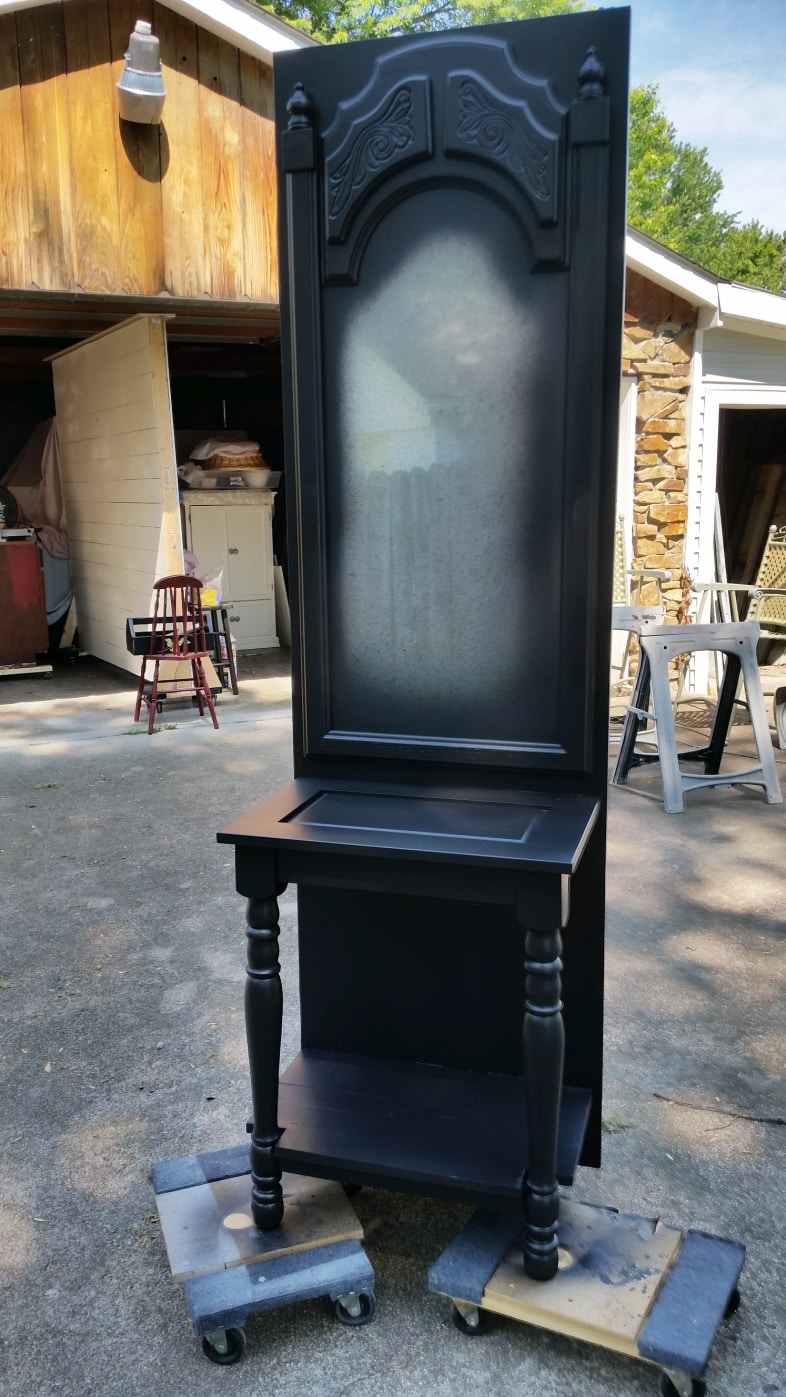
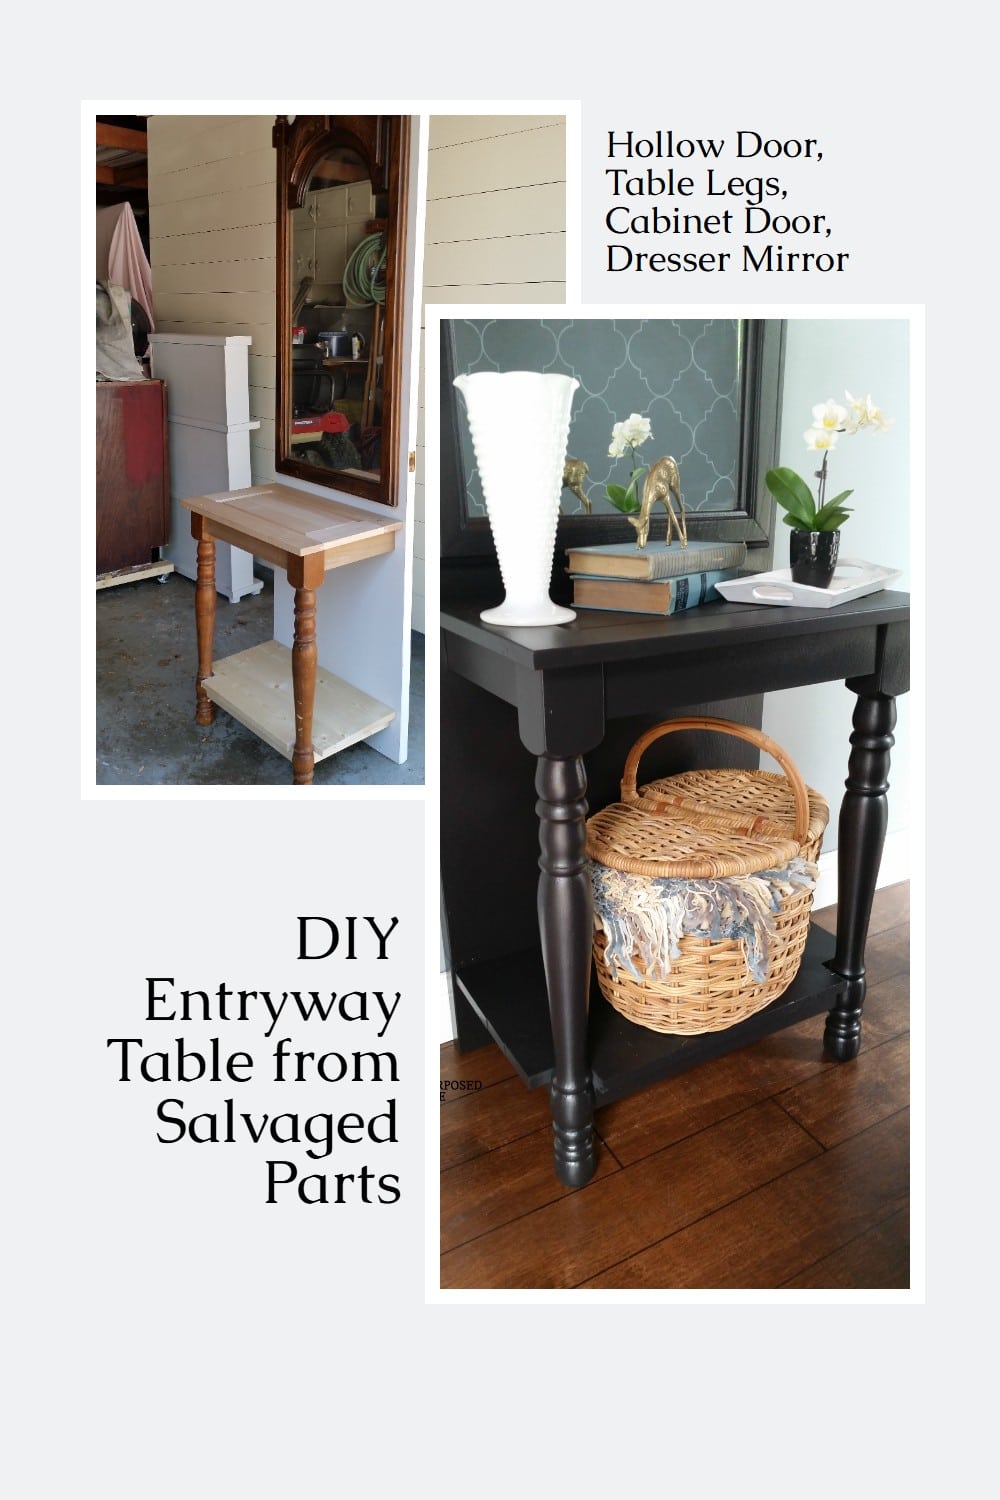
Black DIY Entryway Table Made From a Door and a Dresser Mirror
Surprise! I’m leaving this piece black. I would actually keep it if I had a need for it and a place to put it.
In the picture above (where I was painting) you might notice something funny going on with the paint. You can see here, that it turned out great after it dried. Those of you who have tried to take pictures of mirrors can identify with how difficult it is!
 The reflection in the mirror is just a stenciled rug being held up to prevent a unwanted reflection.
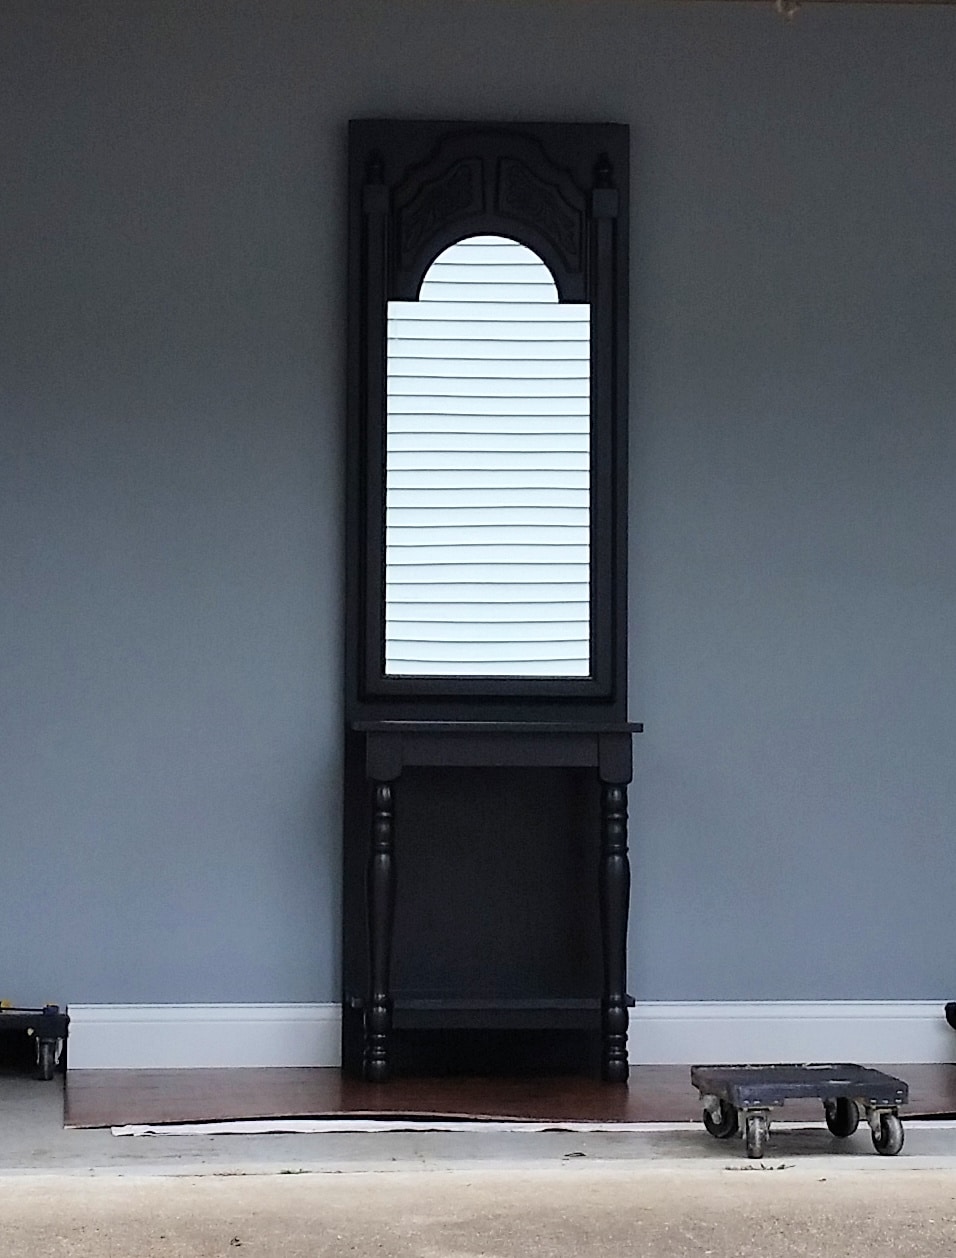
This is the best picture I could get of the diy entryway table without having an undesirable reflection in the mirror.
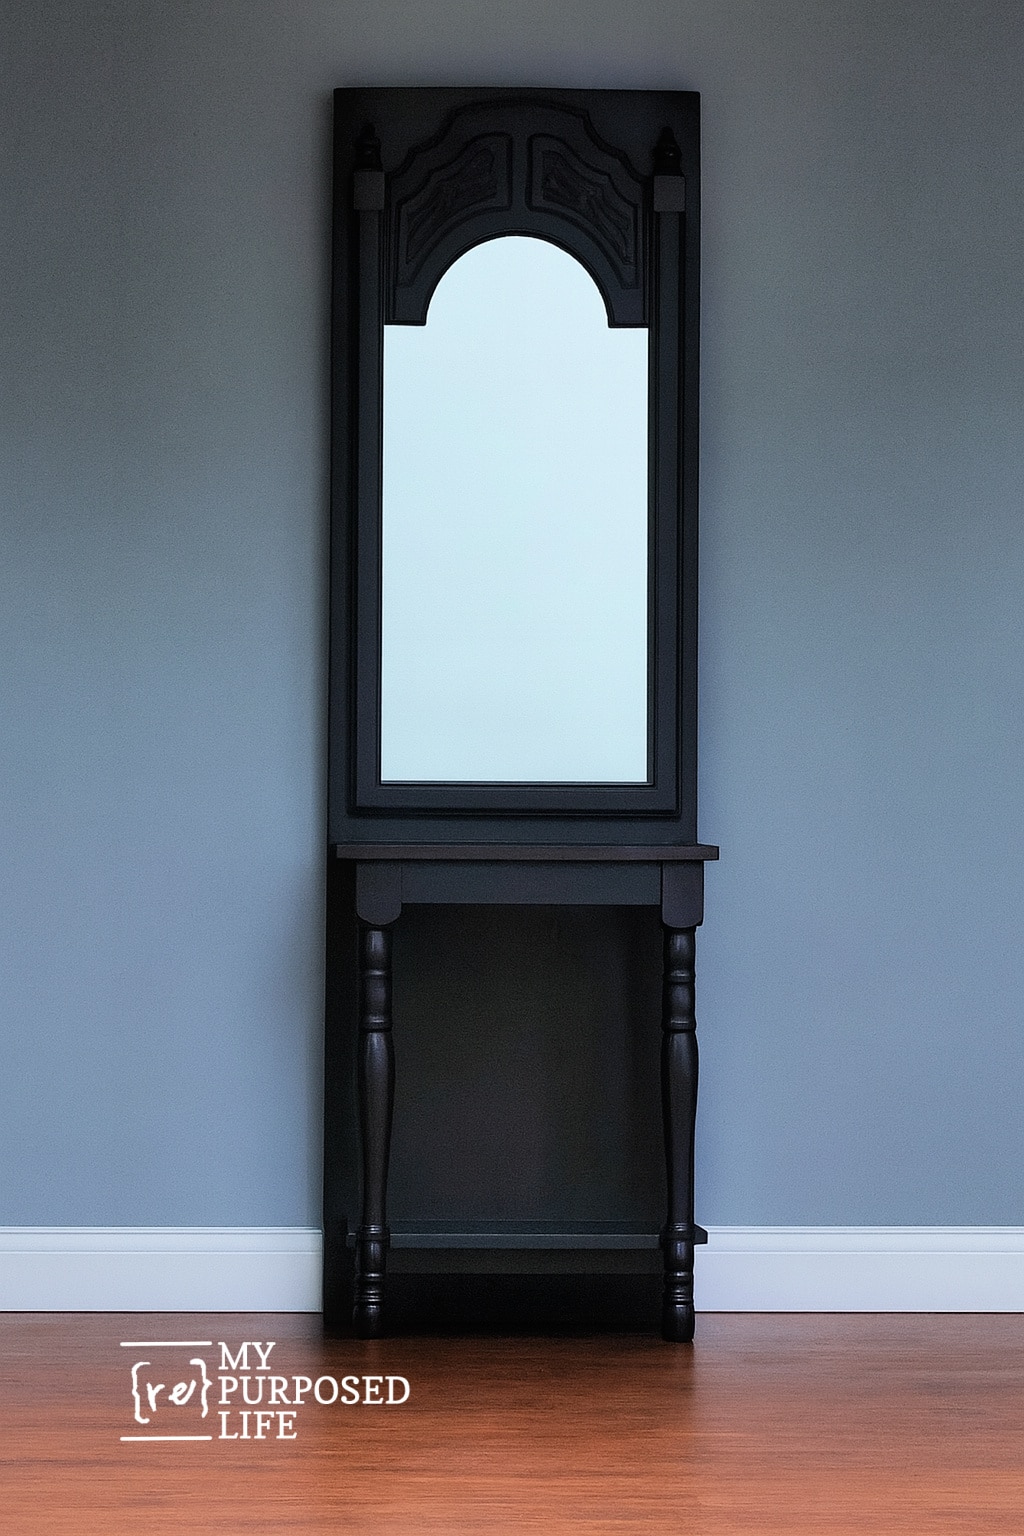
To make the photo more visually appealing, I asked Chat GPT to remove the reflection and the clutter.
I really had to resist putting a topcoat of deep red like this coatrack, or blue like this hall tree on this project.
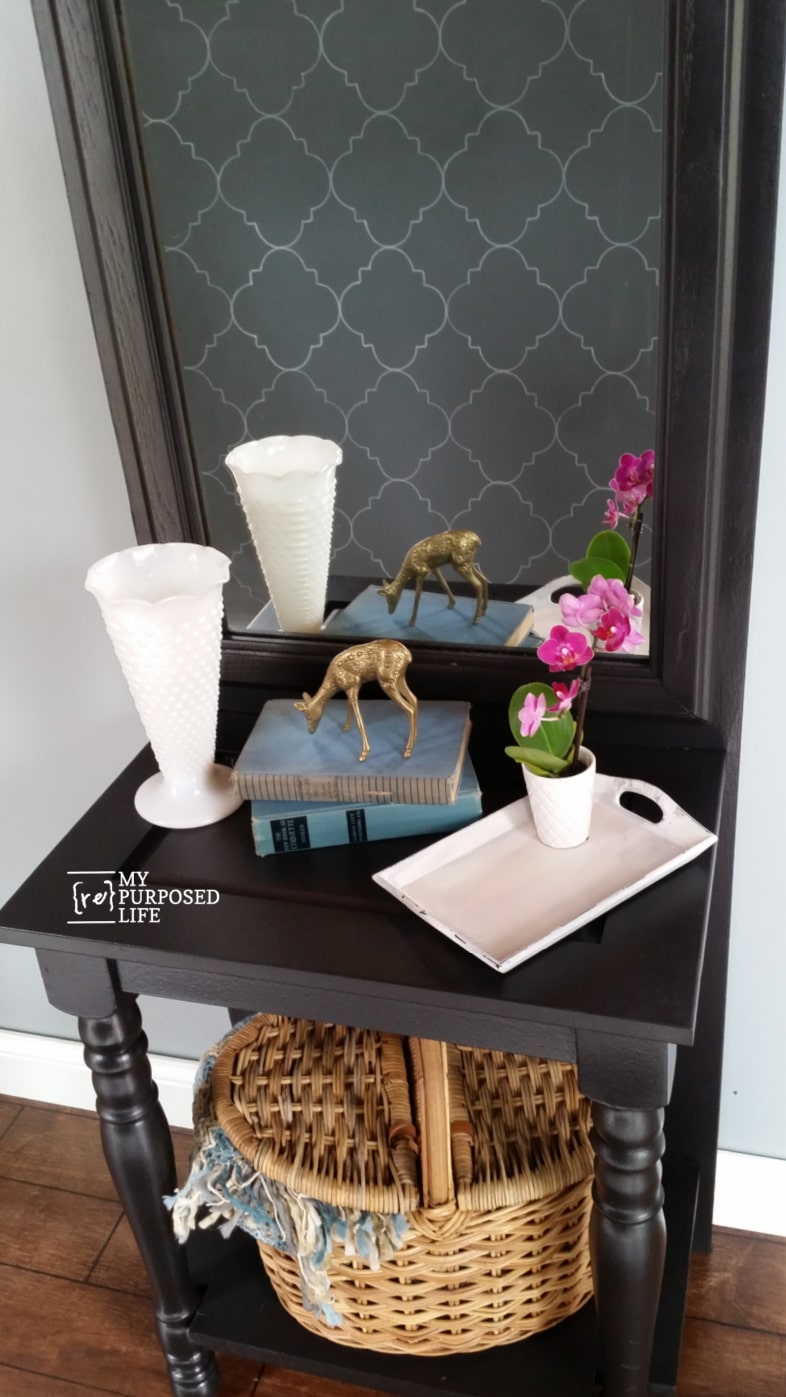
This DIY entryway table is narrow and would look great in any foyer for all those last minute things we need to grab before we run out the door.
Do you have tips for taking pictures of mirrored projects? I hope this project inspires you to see potential in pieces you already have. With a little creativity and some basic tools, you can turn something ordinary into a statement piece for your home. Thank you for following along. If you build your own entryway table or put your own twist on it, I’d love to see how it turns out!
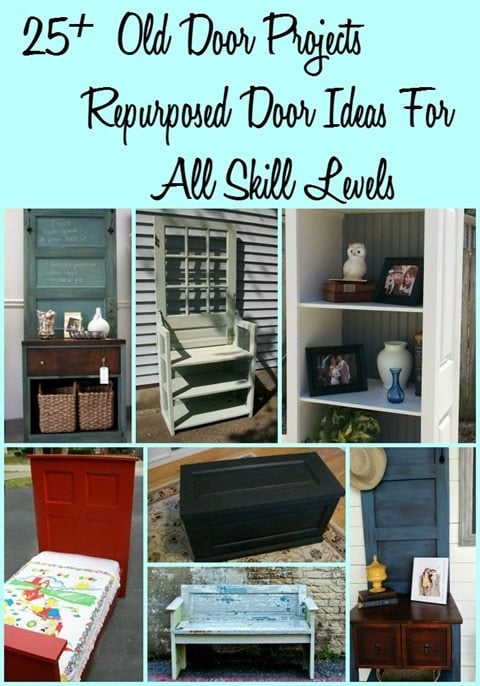
see more projects made with doors here
Absolutely beautiful!!! Totally love this! Question… In one your comments you said you use brown craft paper to sand in between coats of paint… can you explain that? I mean brown craft paper to me is something like construction paper, so I don’t understand how you sand with it.
Sheila,
I use brown paper that I receive through the mail when I order packages. Companies use it in a roll…. so basically any brown paper that comes on a roll. You can get it at $$ Tree for a buck. 🙂
What I get is generally already wrinkled. I just sort of smooth it out slightly and rub it gently over the paint. If there is any Plaster of Paris or chalk paint raised up, it really knocks it down easily. Cheap and it works like very fine sandpaper.
I hope that helps.
gail
Now I’m gonna have go get me some brown paper and try it! Thank you!
BEAUTIFUL…….I love that you painted it black!
So loving this and glad you painted it black it looks so elegant that color. Now i want one but don’t have the entrance way to use it in, maybe my daughter-in-law will like it and can make one for them. Love you ideas and so glad I was suggested your Facebook page by one of my other Facebook sites.
Thank you Colleen for your sweet comment, and letting me know how your found My Repurposed Life! Welcome. I’m always here if you ever have any questions.
gail
It turned out beautiful! You never cease to inspire me Gail! I love that it came together so nicely for you, makes for a fun project! Of course I pinned it, I love it!
Love it, and I totally agree, taking a picture of a mirror is so hard! I have also completed a project and then noticed a scratch, a few times! You inspire me, I wish I had all your skills!
this looks great! i love how you did it, and the paint job, too.
Really, really beautiful, Gail! I love the black – it looks so elegant!