DIY Hall Tree Table
As an Amazon Associate, I earn from qualifying purchases.
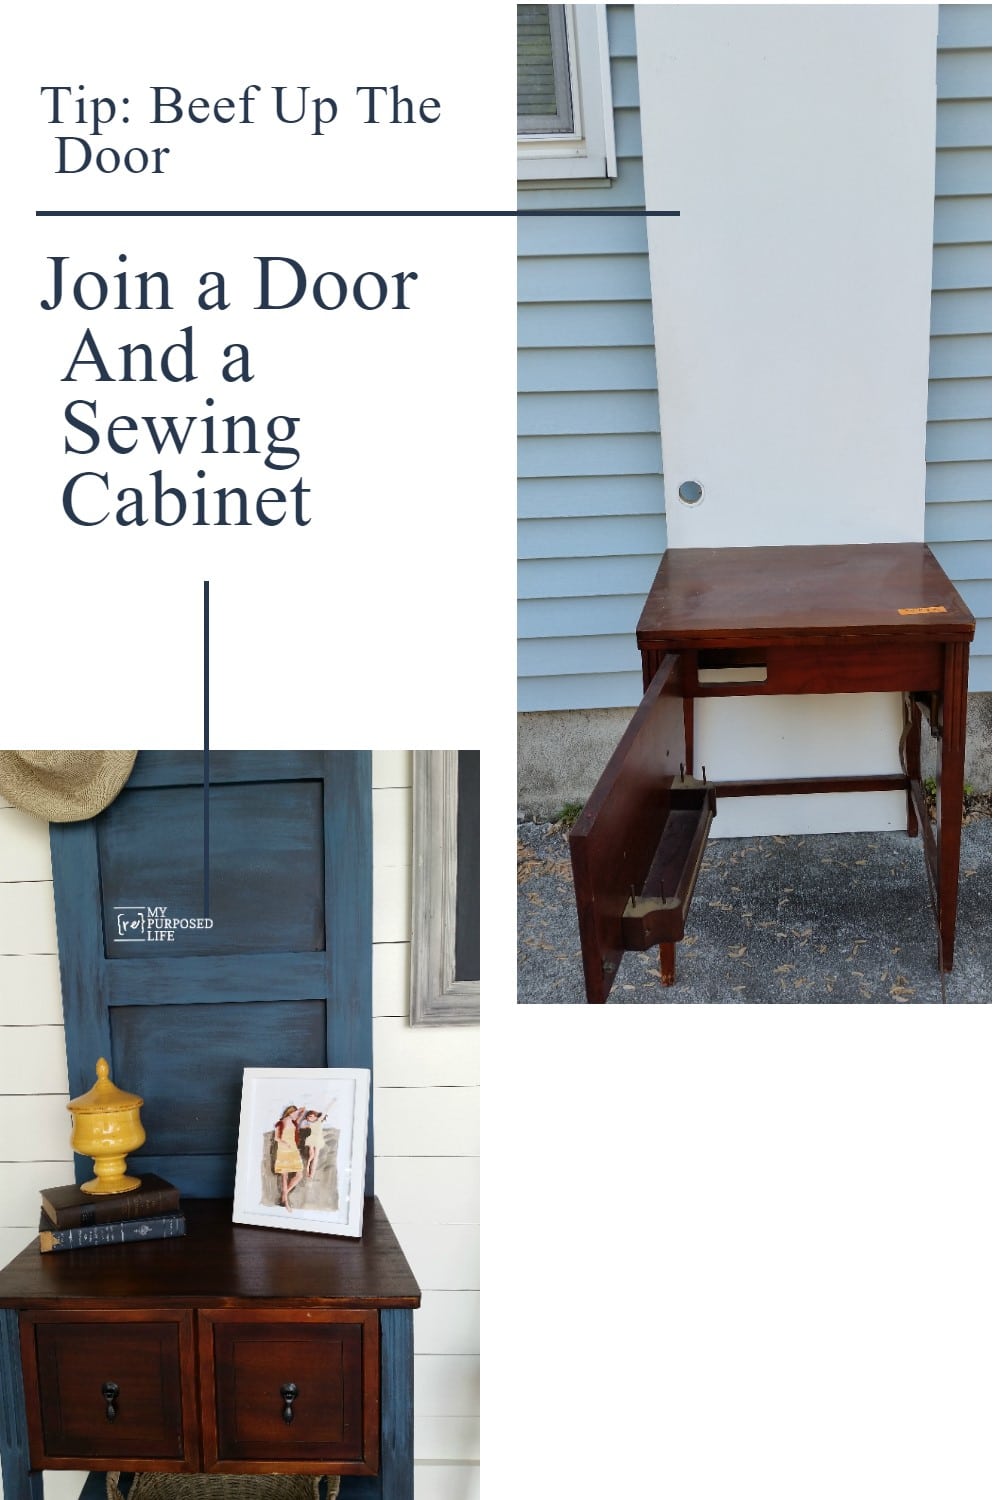
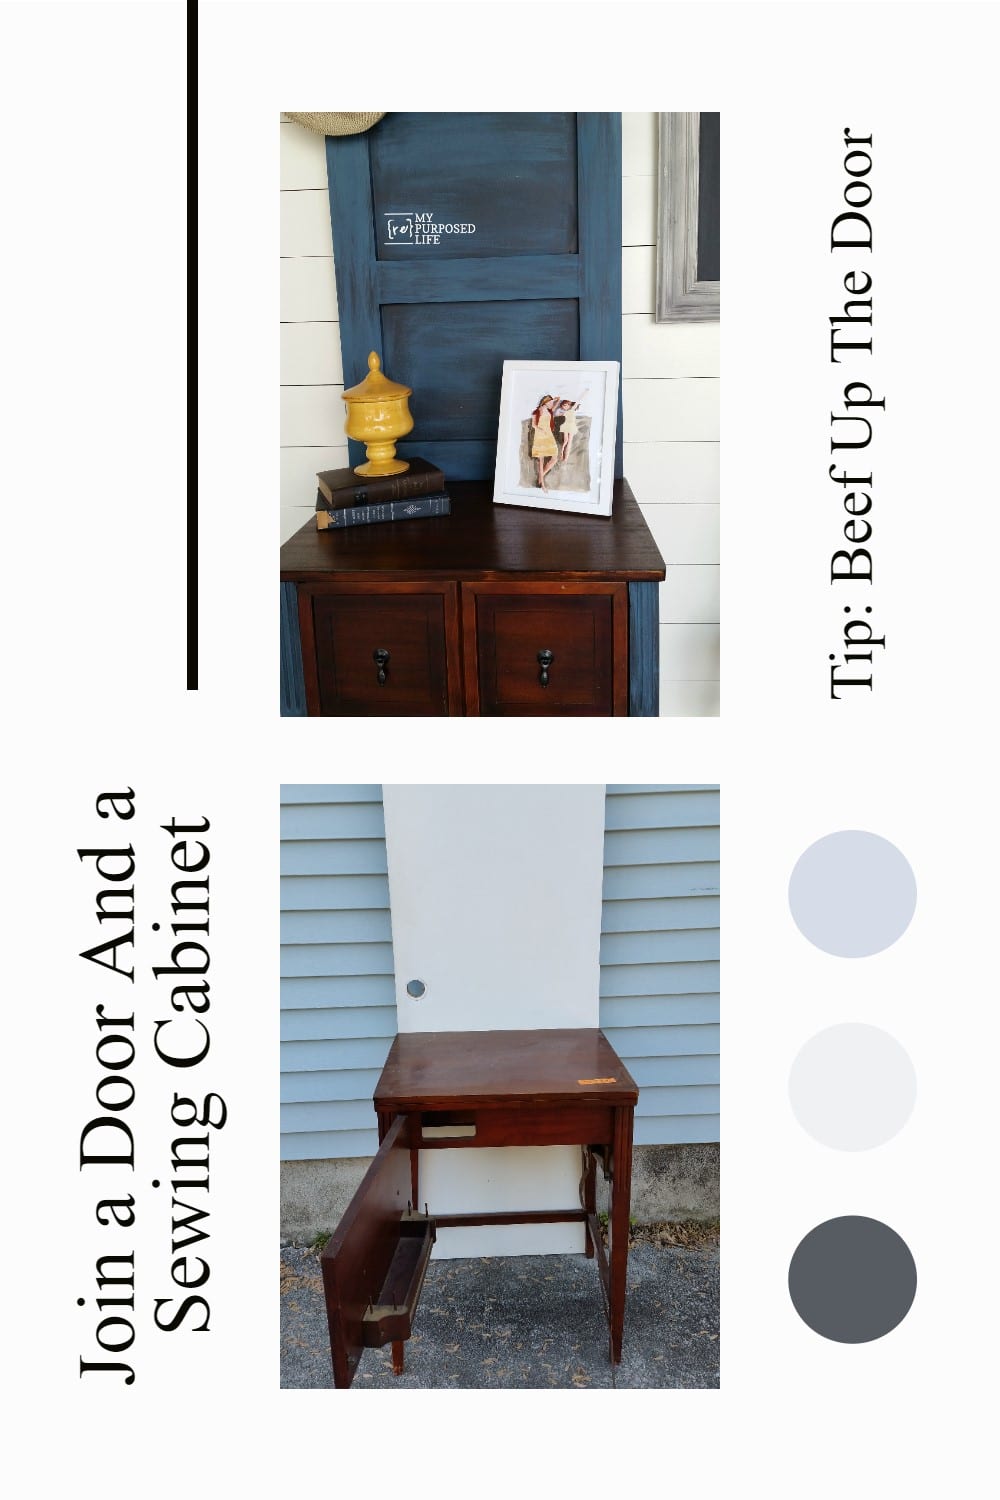
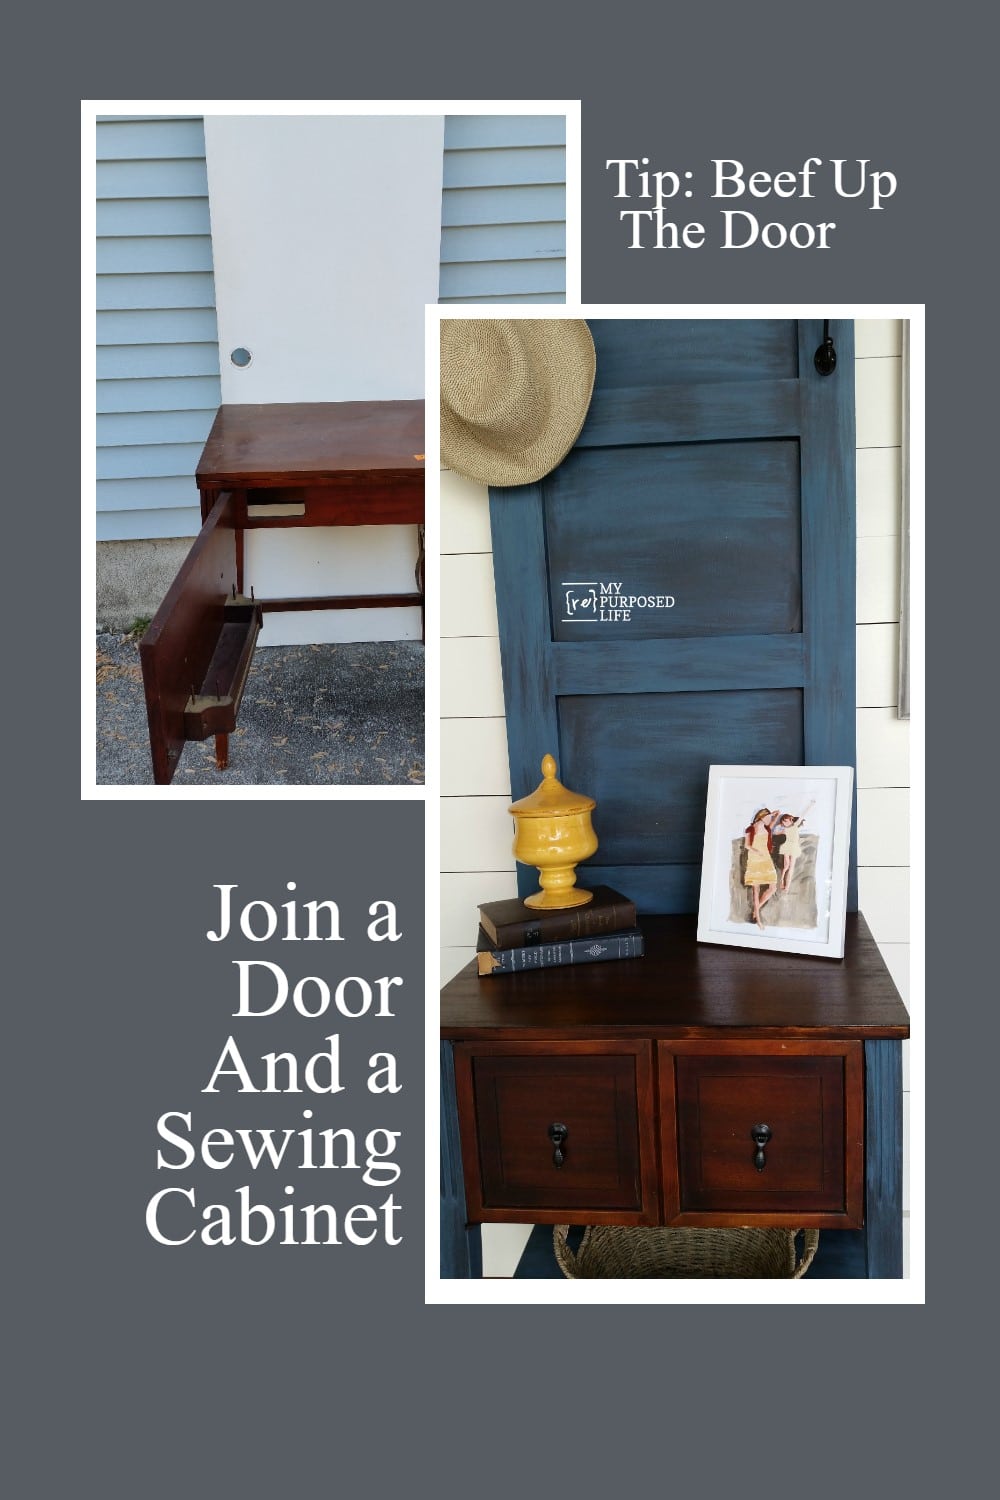
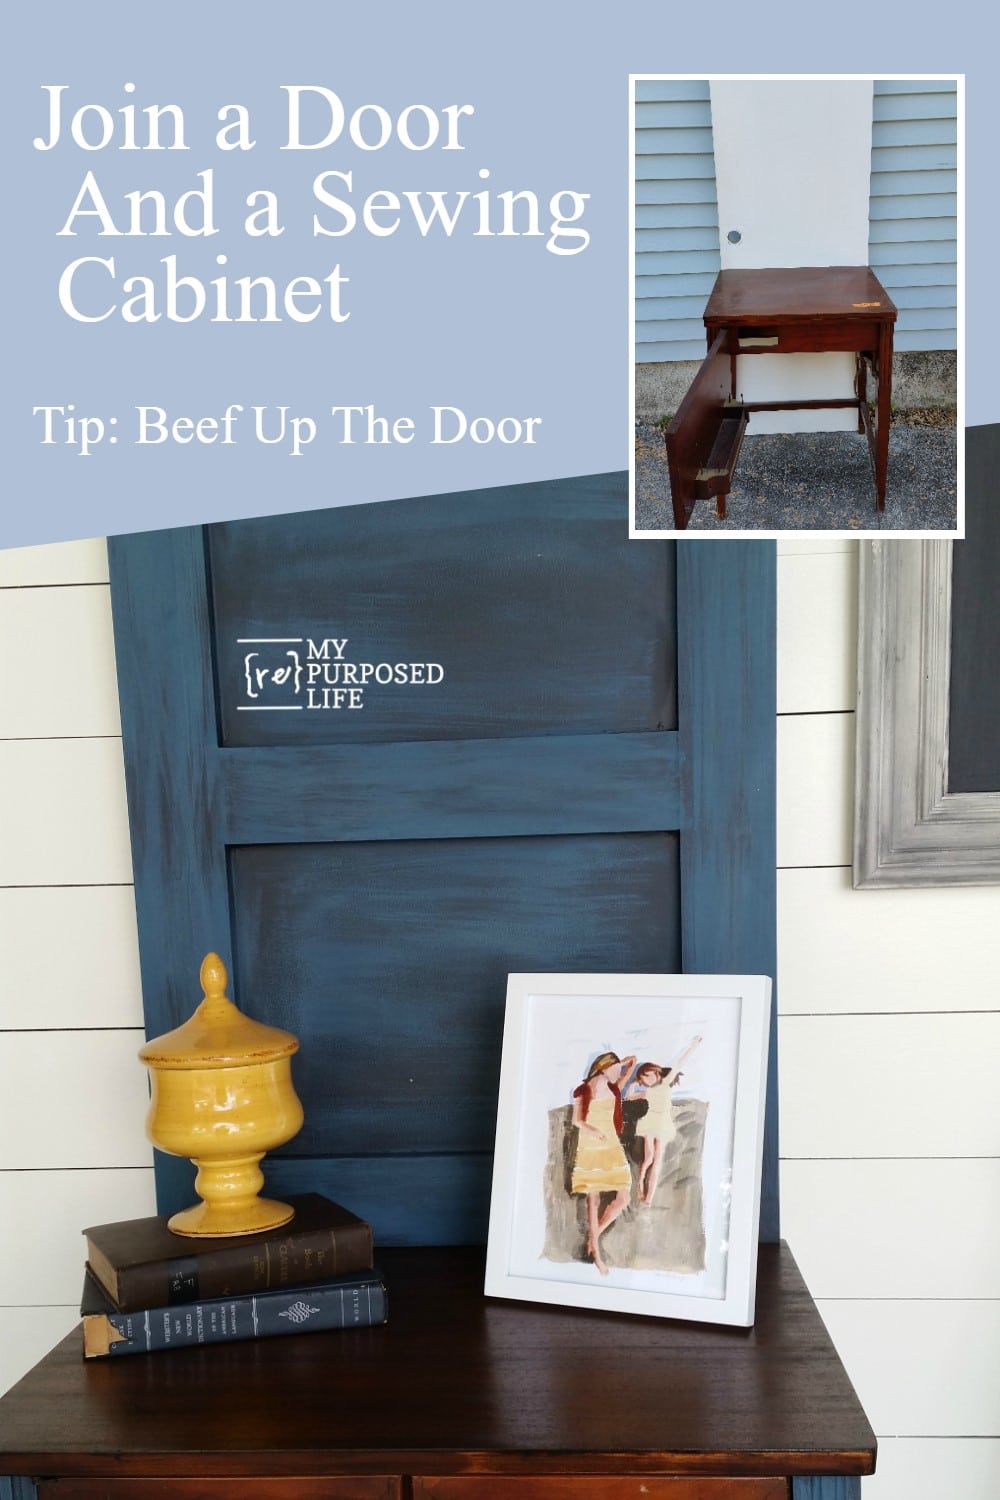
Gail Wilson shows how easy it can be to turn an old door into a DIY hall tree. With a touch of creativity, she combines storage, style, and function. This clever project uses a discarded sewing cabinet and a hollow door to create a one-of-a-kind entryway piece.
How To Make a DIY Hall Tree Table
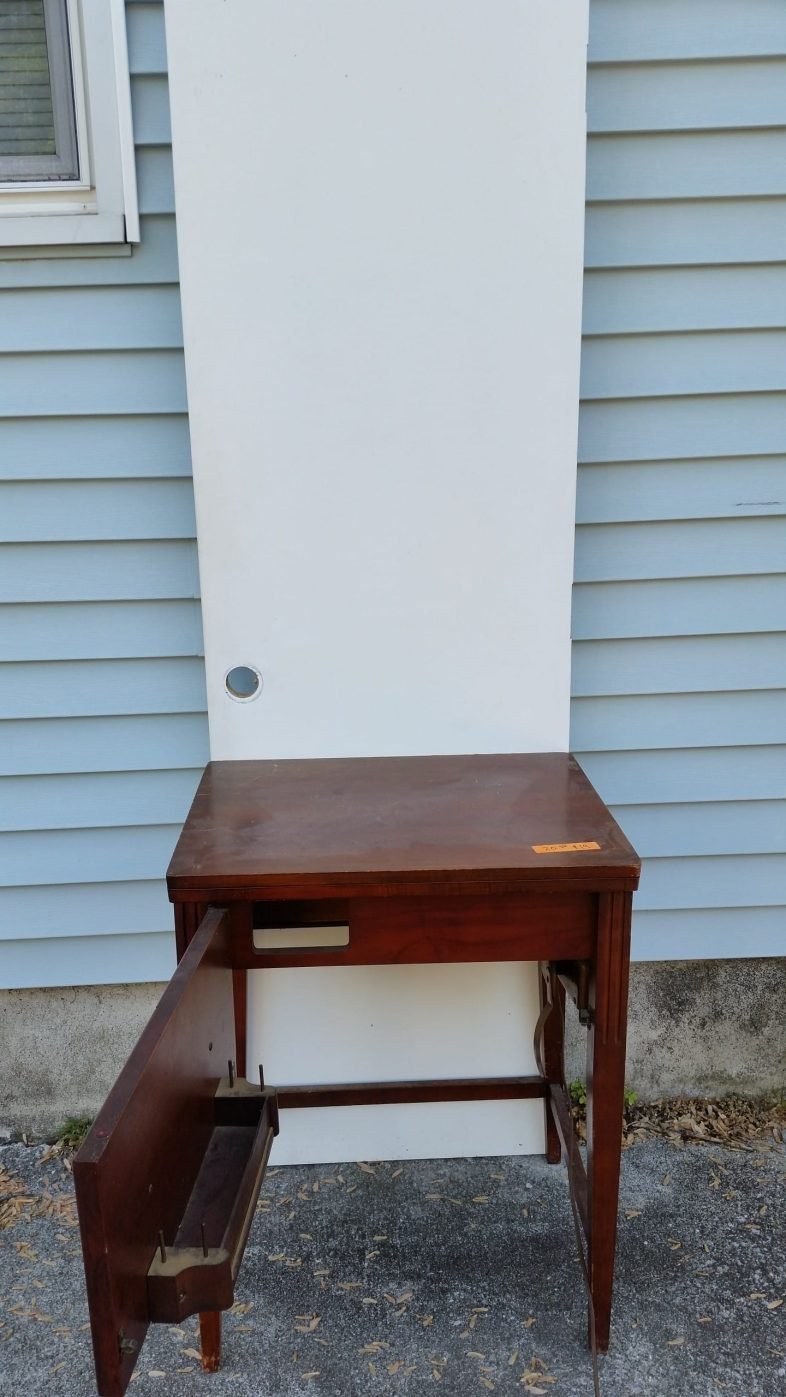
This is my design stage. Fancy, eh? I don’t ever draw out plans or anything like that. Luckily, the sewing machine cabinet was the perfect width for this $2 door.
Dismantle The Sewing Cabinet
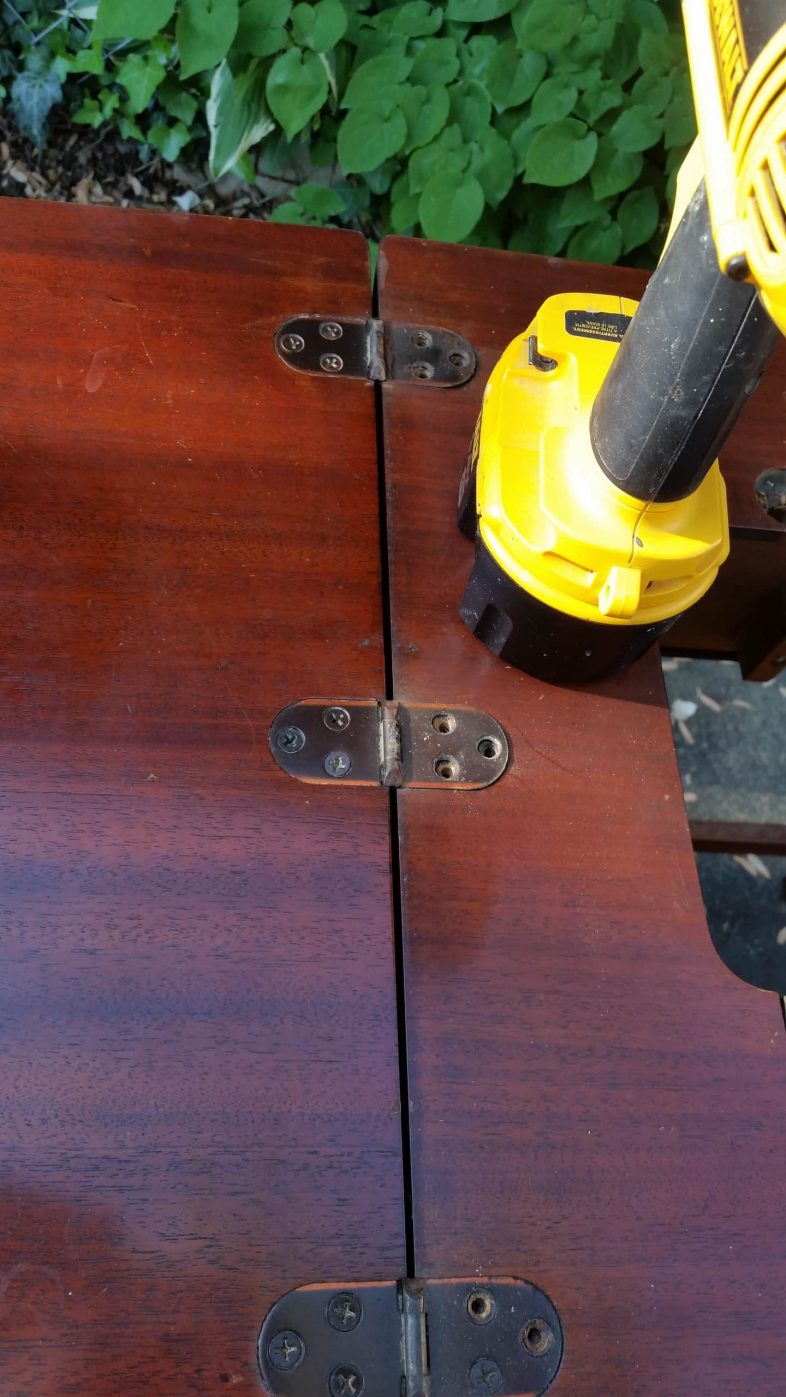
Remove the hinges to separate the lid from the cabinet.
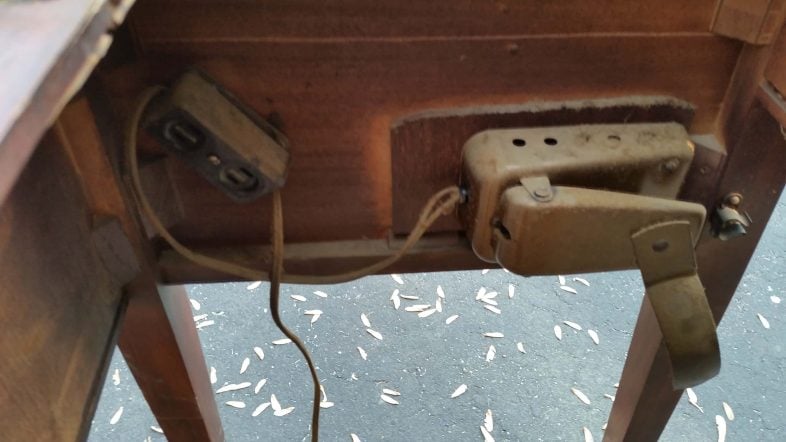
I got busy removing all the hardware, every screw I could find.
I wanted to remove the front portion since it had a cutout.
Make Any Structural Changes Needed
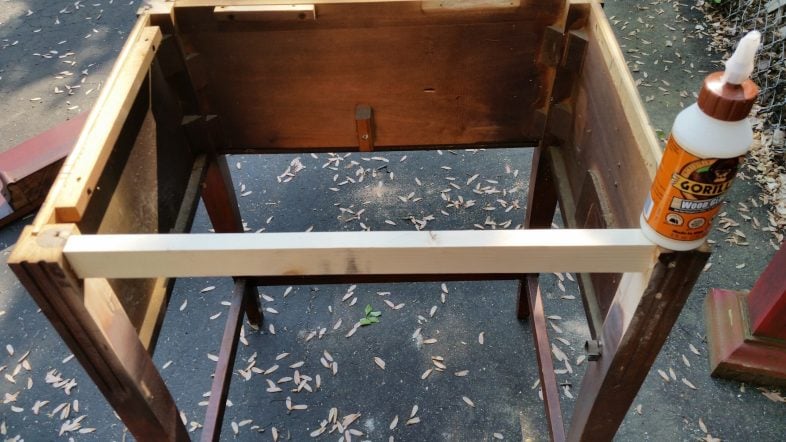
I used my Kreg Jig and some Gorilla wood glue to attach a new piece to hold everything together.
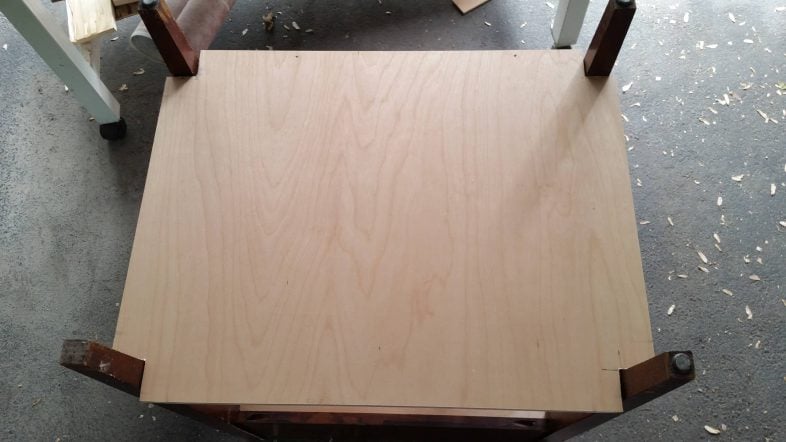
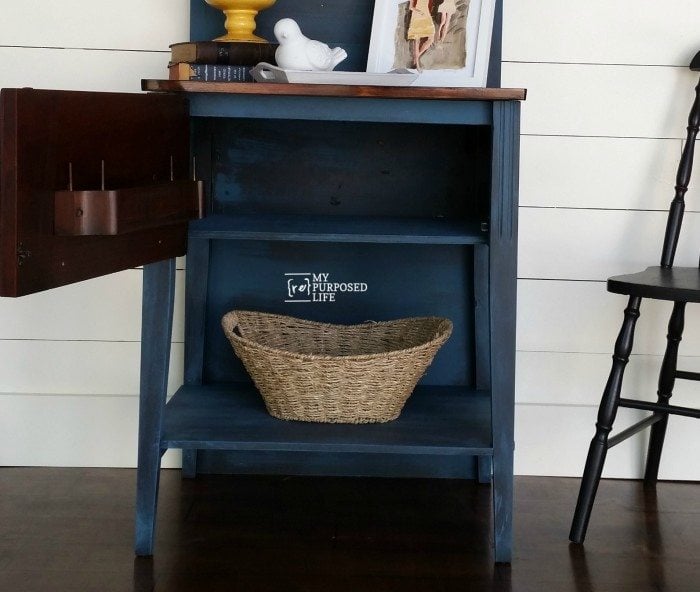
A Storage Shelf Would Be Handy

A scrap piece of plywood was used to make a bottom.
How about a bottom shelf for the DIY hall tree table?
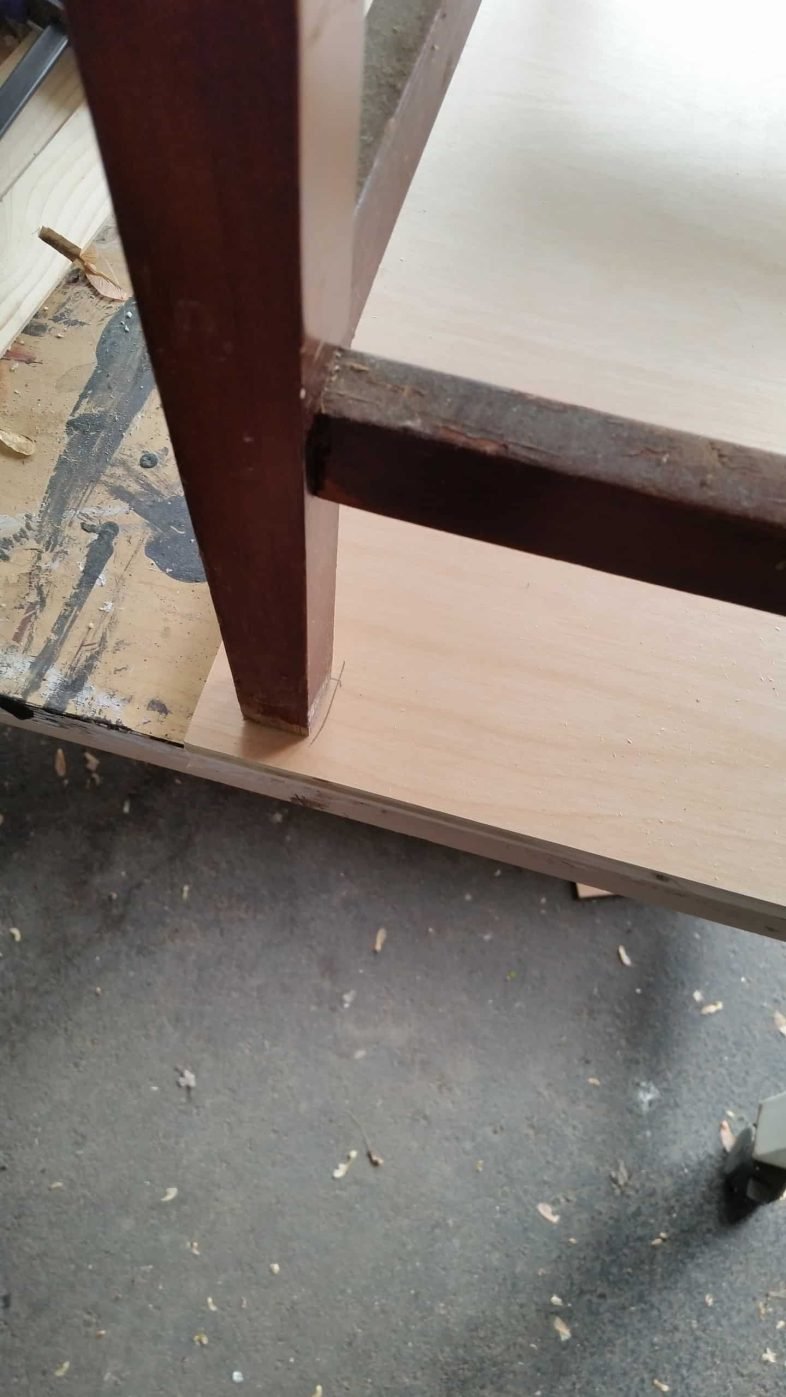
Don’t you think it needs a bottom shelf? I set the cabinet onto the plywood to mark the notches.
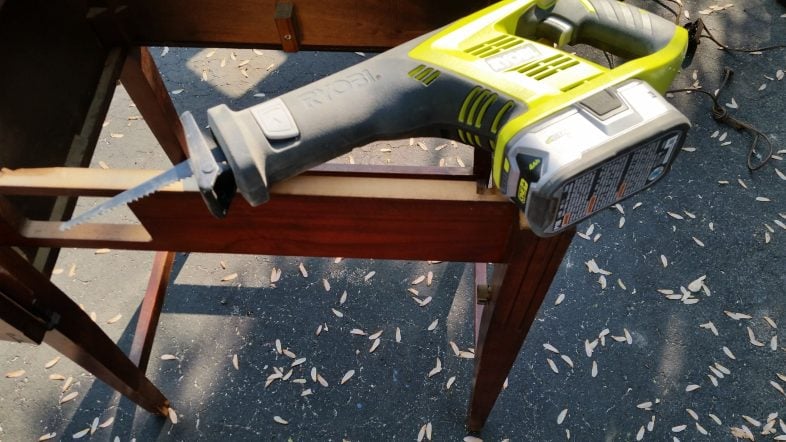
This is where things got a little crazy. The bottom shelf notches fit great, but the legs are tapered.

This happened when I tried to tap, tap, tap the shelf into place. Can you see why it wouldn’t work with the tapered legs?
How to trim out a plain door to give it character.
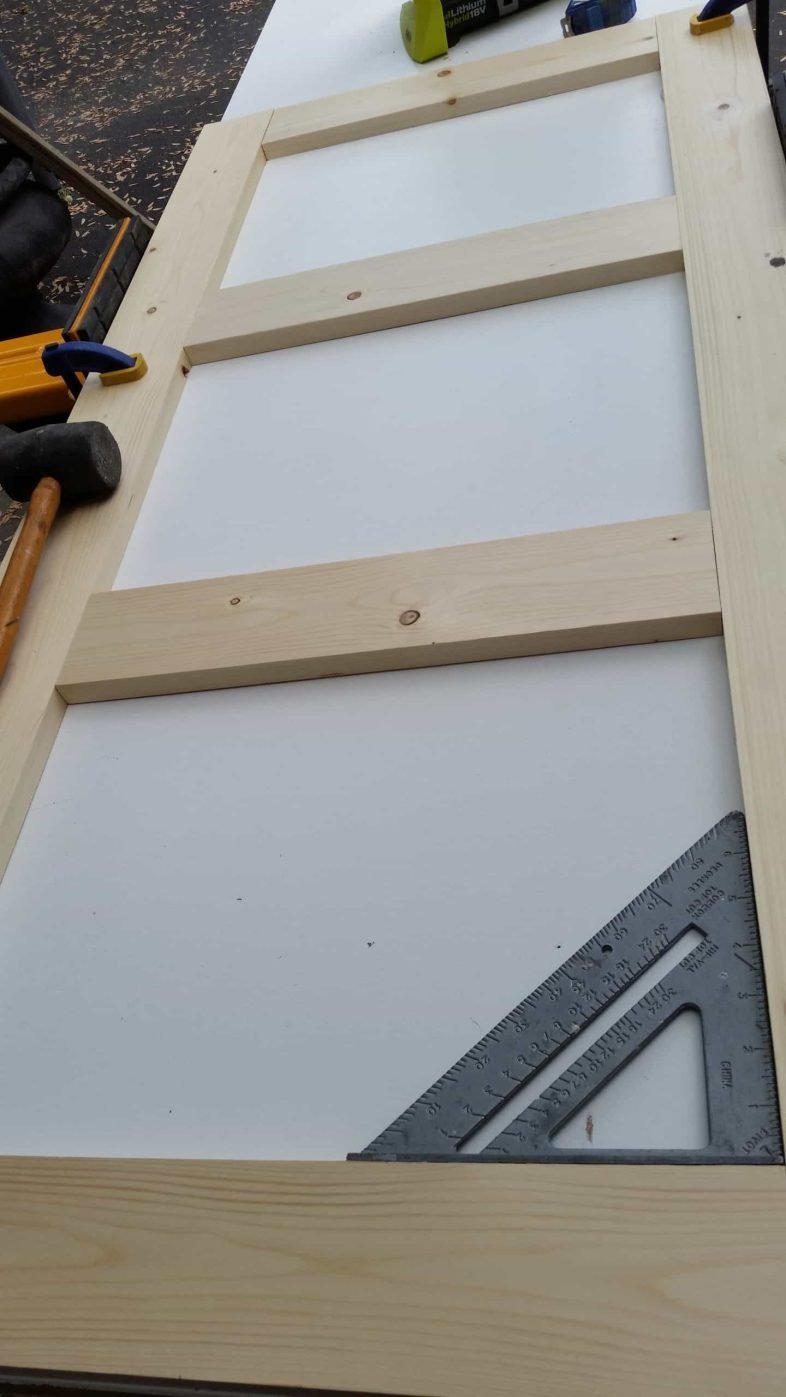
I used 1x4s to trim the top of the door, giving it a more paneled look.
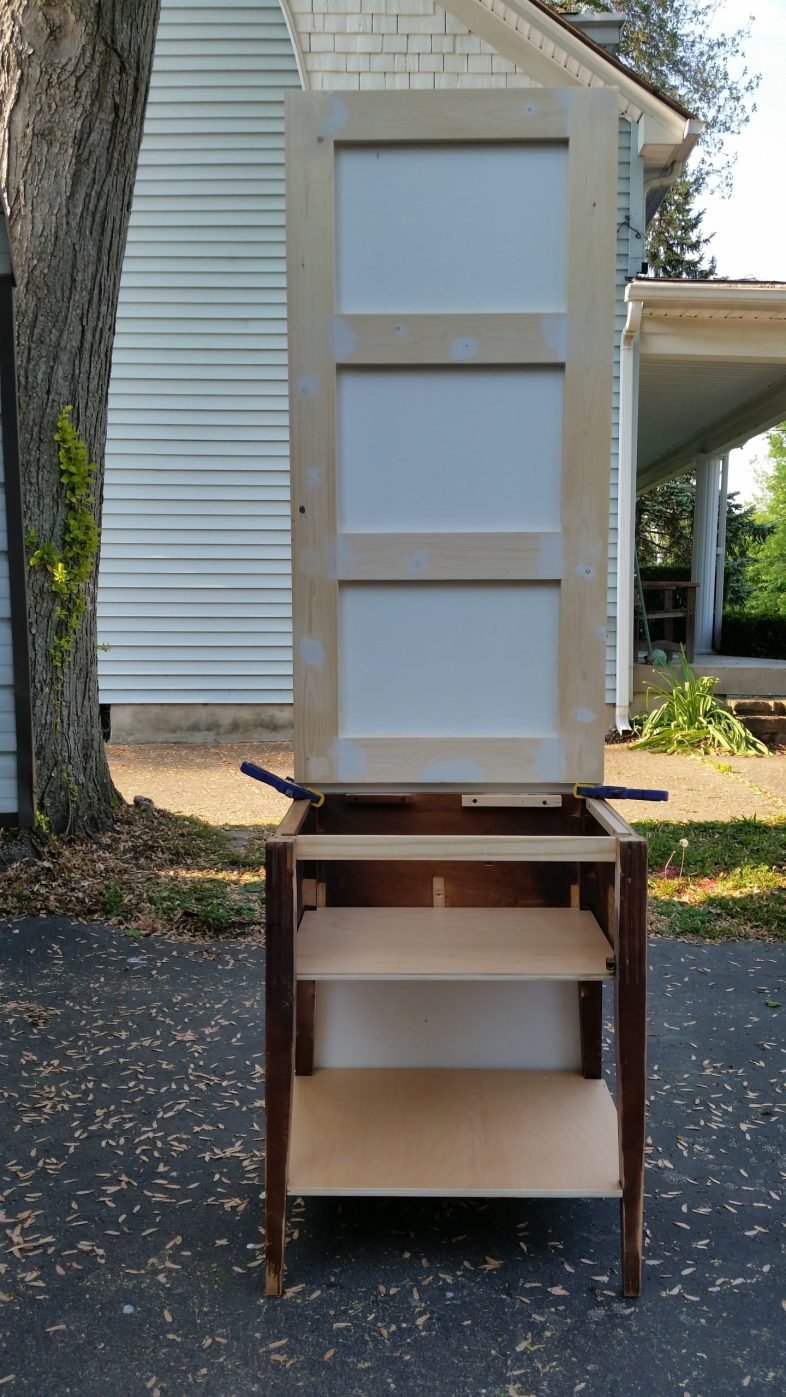
I’m testing everything to ensure it all fits together properly for the sewing cabinet hall tree. Don’t you think adding the trim to the door is a game-changer for this DIY hall tree table?
Finish Max Paint Sprayer
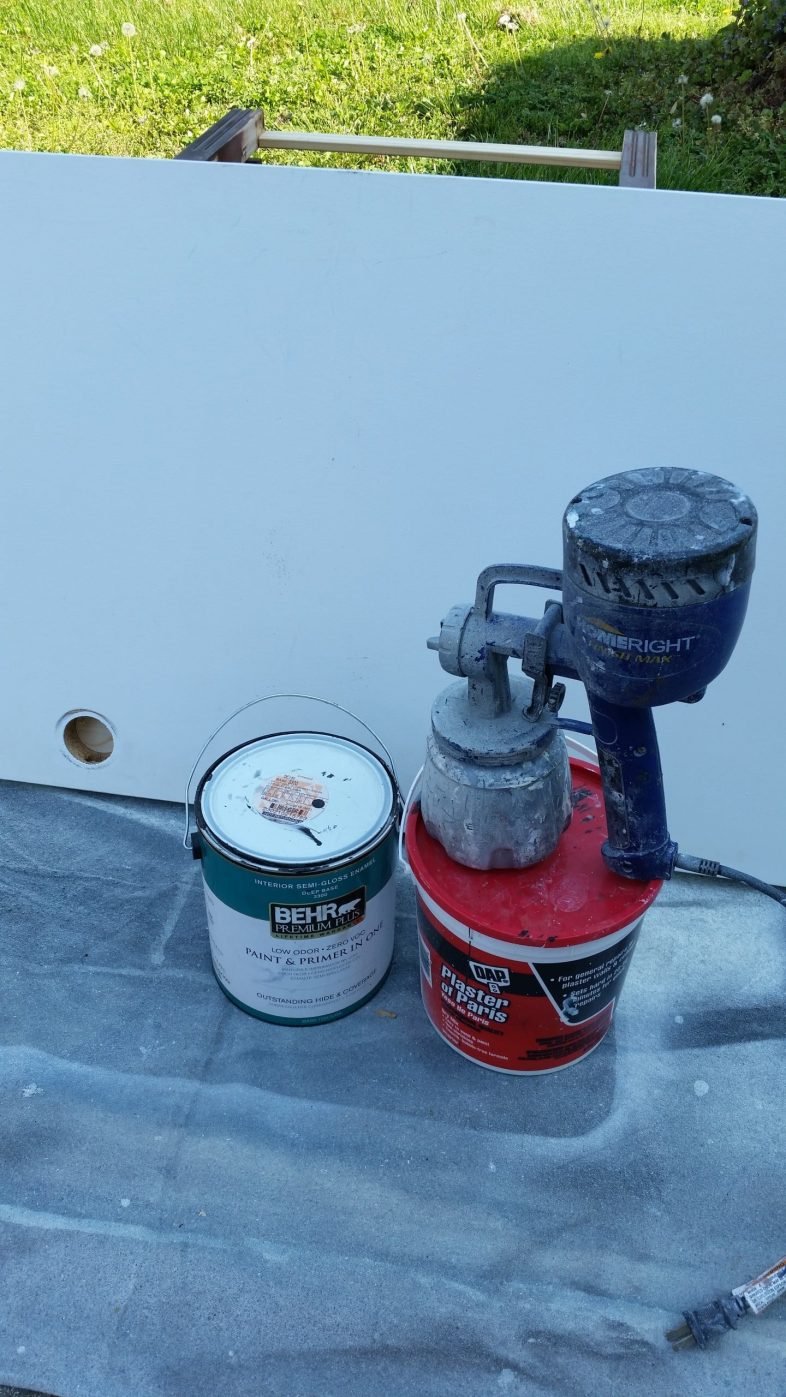
It’s time for the HomeRight Finish Max treatment with DIY chalky paint primer.
The finish max made quick work of the diy chalky paint primer.
Attach the door to the sewing cabinet.
I attached the door to the cabinet using screws that go through the back of the door and into the cabinet.
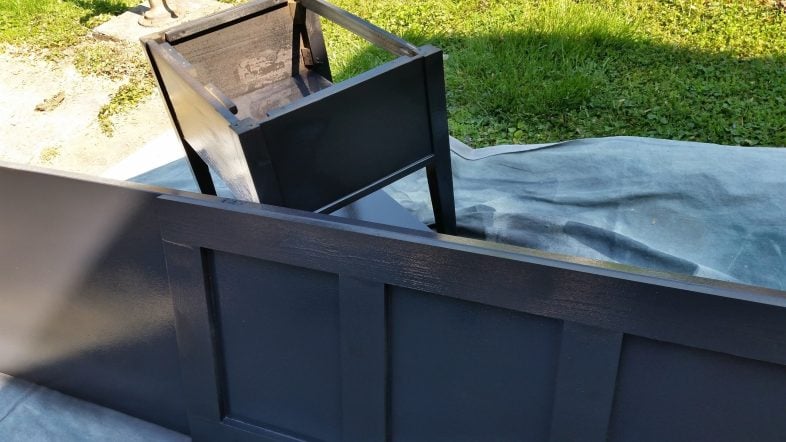
A dry brush technique ages the door.

Then, I did a dry wash with ASCP Aubusson Blue
Related Content: Navy Blue Furniture Projects
Mixing stain colors to match the project.
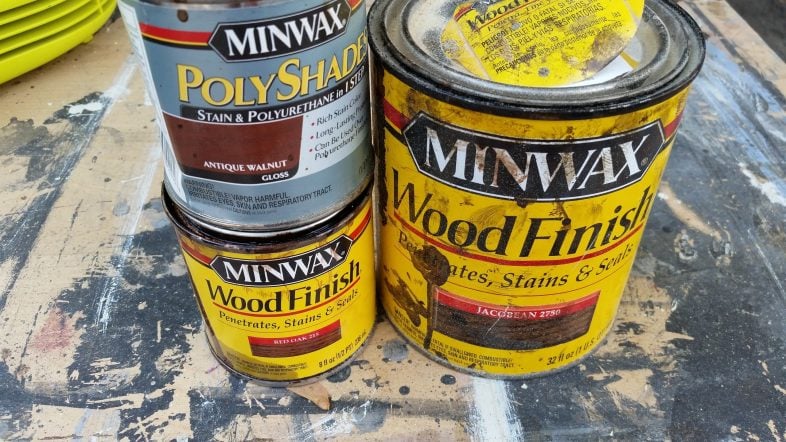
I sanded the top and stained it using a combination of these three stains. The goal was to get the top to match the original front of the sewing cabinet.

Aren’t you impressed with how I’ve matched the top to the front?
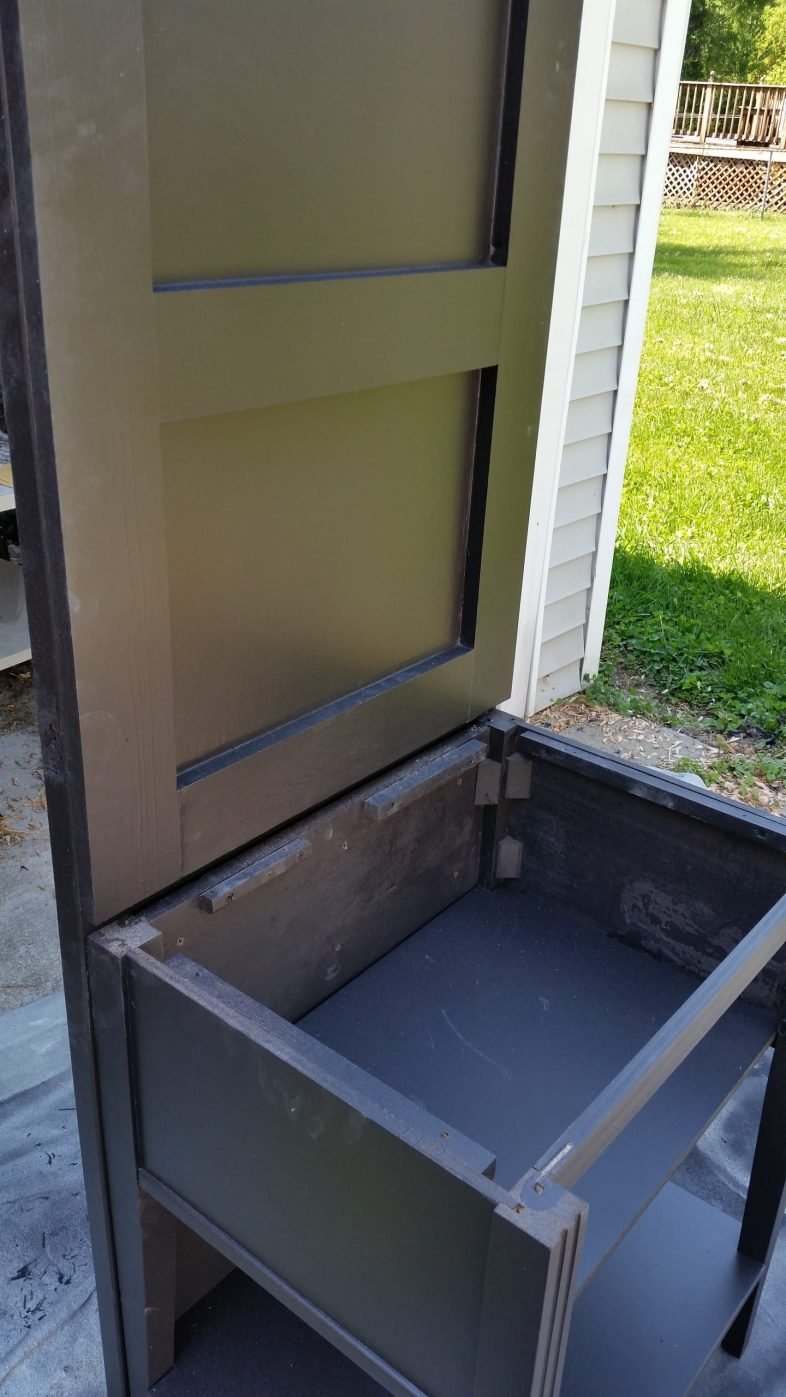
Blue DIY Hall Tree Table
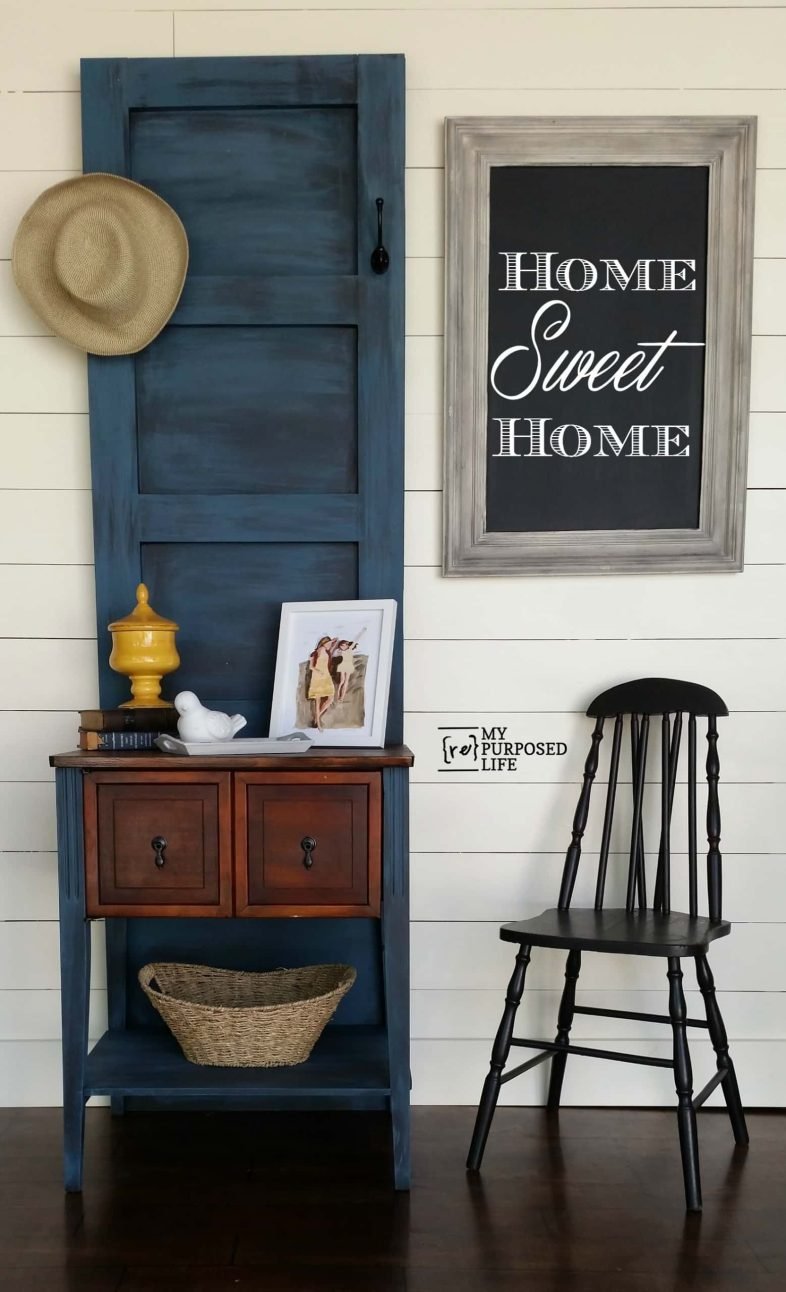
What do you think? Isn’t it sweet? Not bad for a $2 door and a $5 sewing cabinet.
This hall tree offers a lot of storage for those “run out the door” rushes we all get into. It will keep your phone, keys, and purse handy.
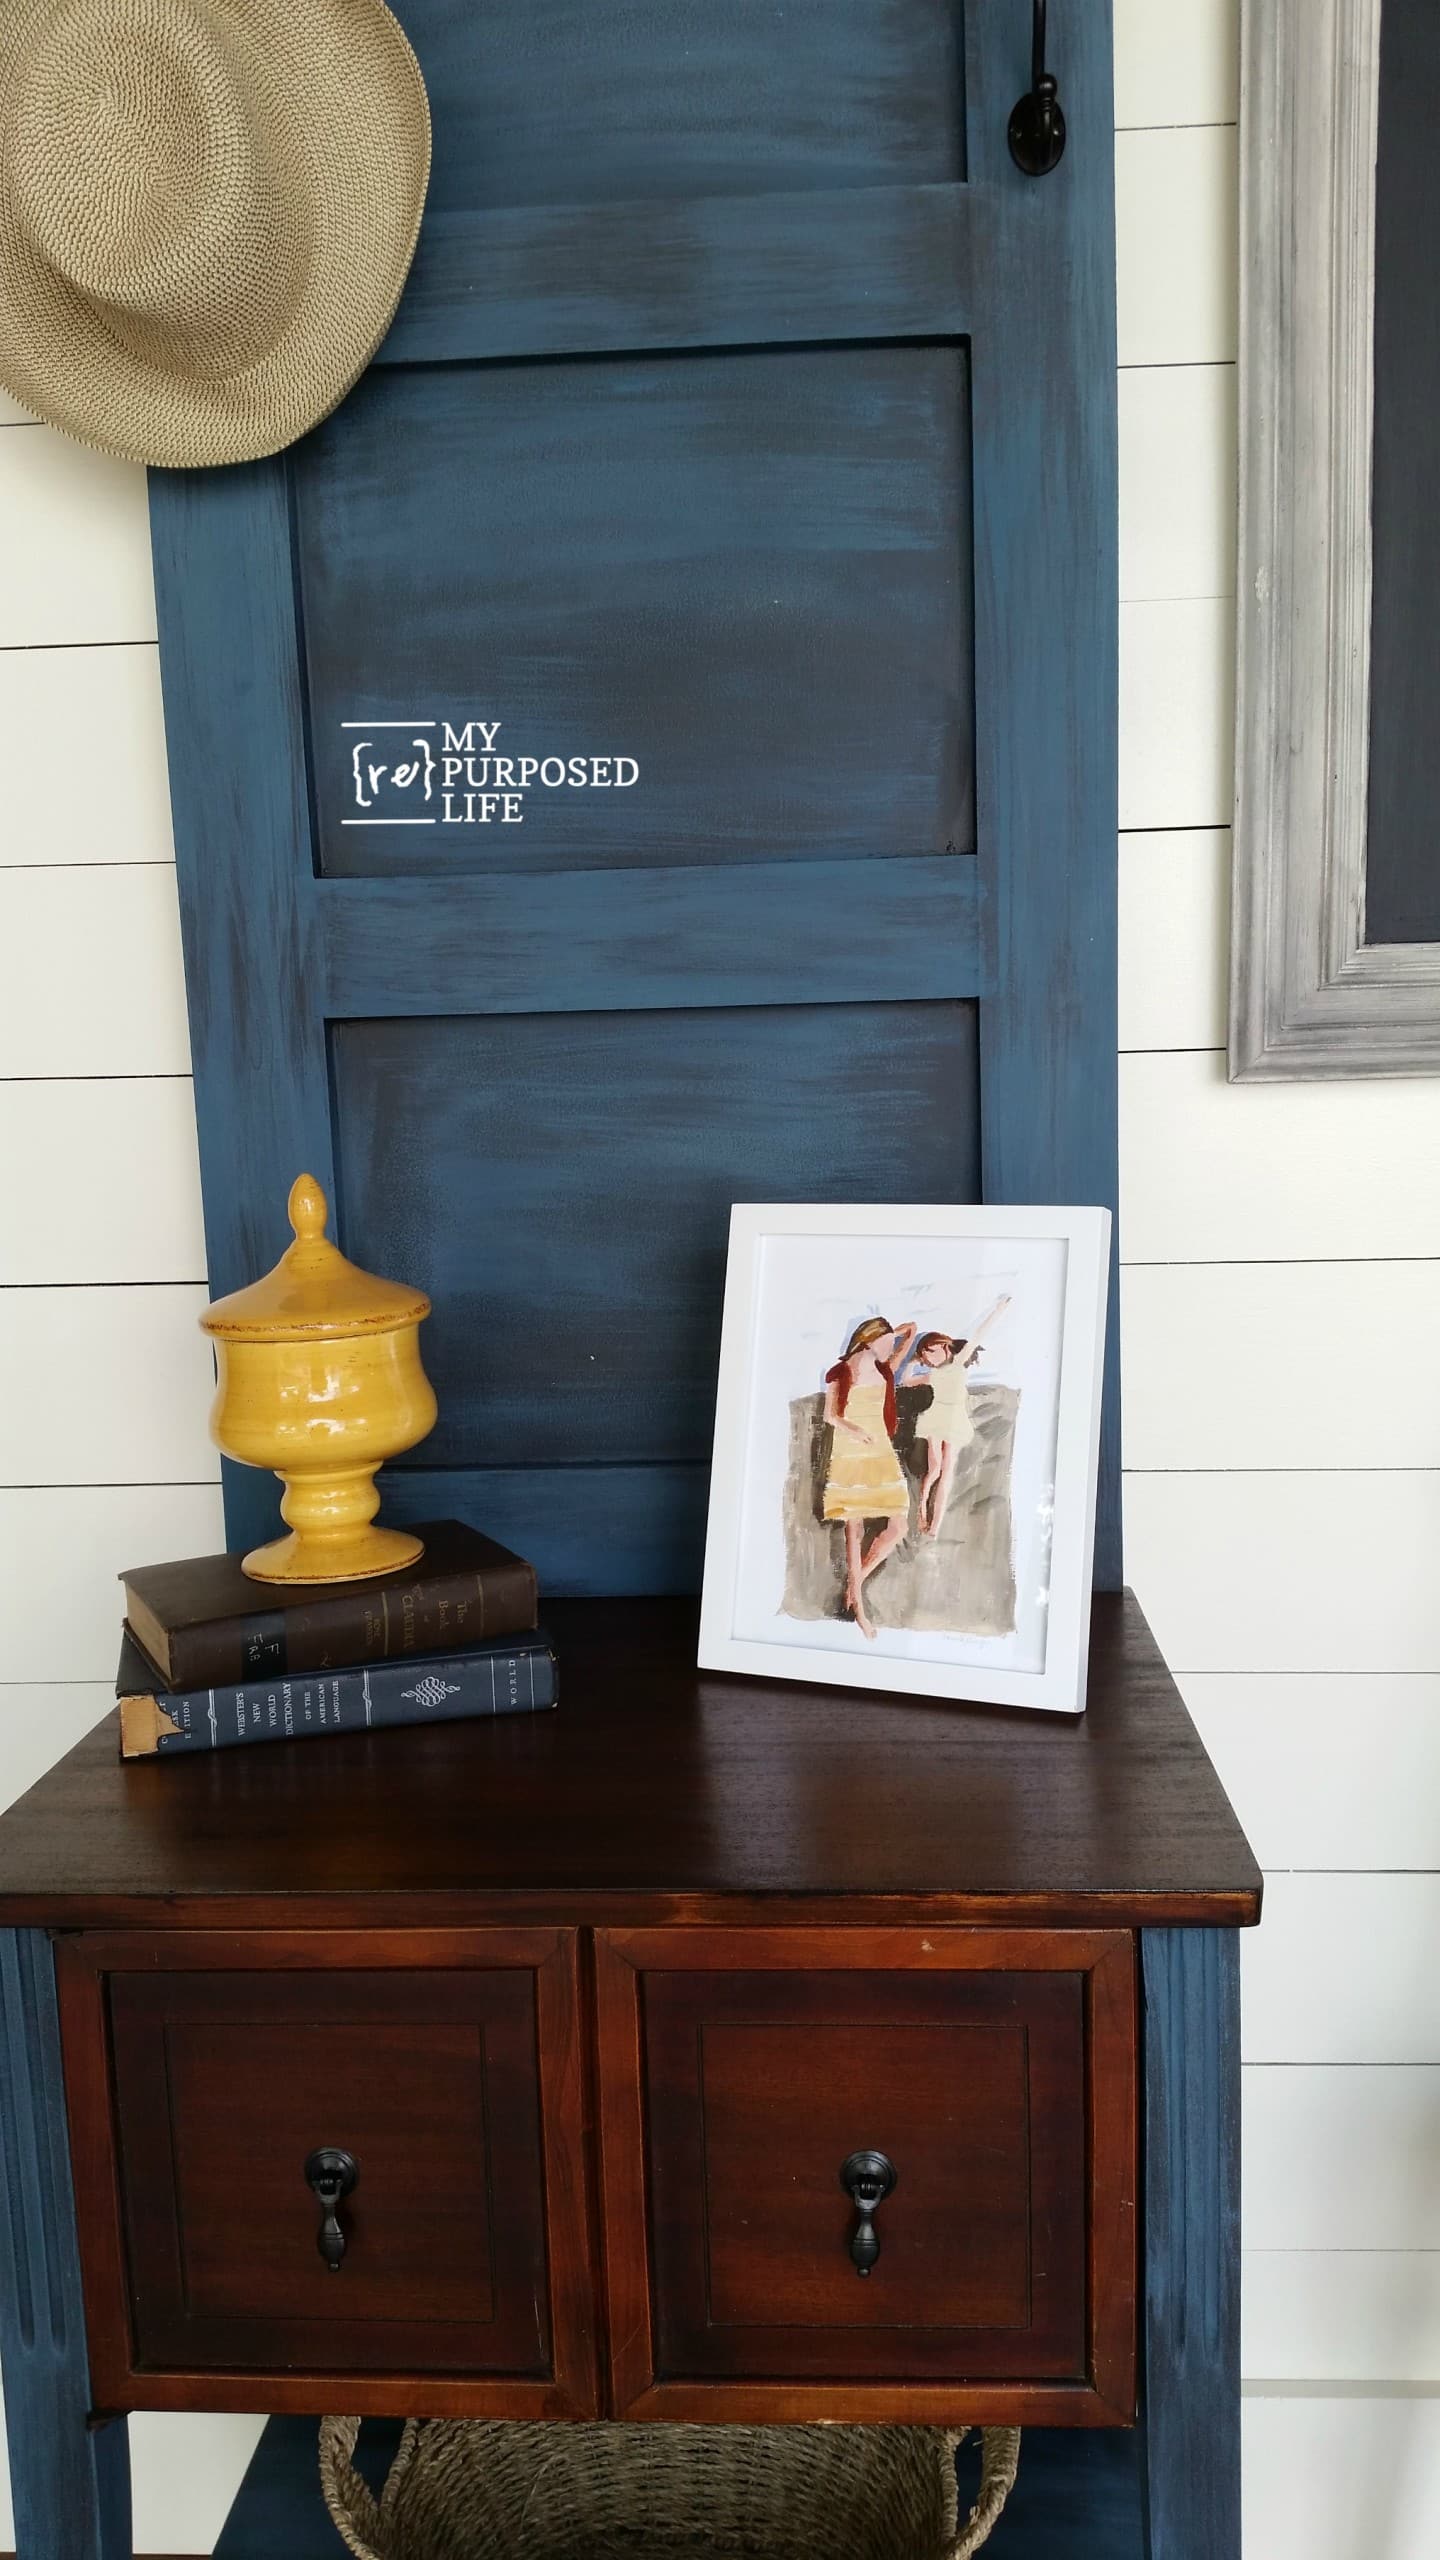
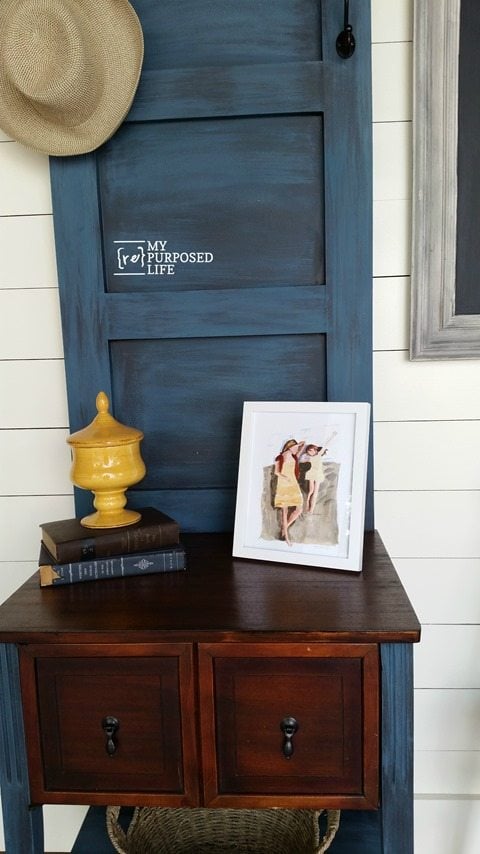
Here’s a closer look at the DIY hall tree table. That sweet artwork was a Mother’s Day gift from Jamie. I love it!
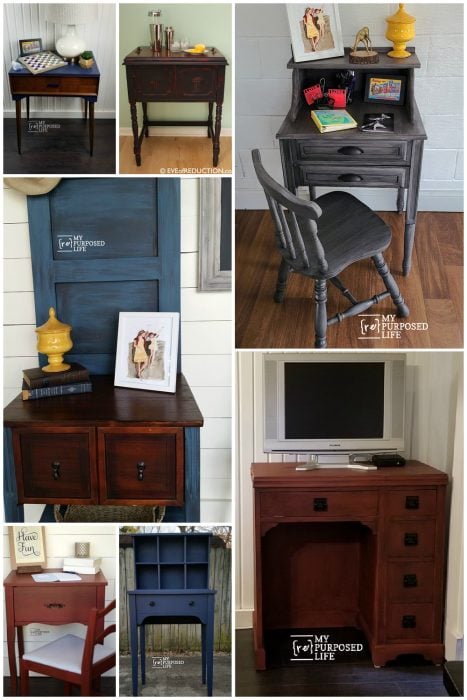
If you enjoyed this makeover, there’s more inspiration waiting below. Gail invites you to explore the featured round-ups for even more creative repurpose ideas from her friends and fellow DIYers. Each project offers a new way to see the potential in old pieces and keep them out of the landfill.
My friend Debbie at Refresh Restyle inspired me to make this hall tree. Be sure to check out her beautiful hall tree.
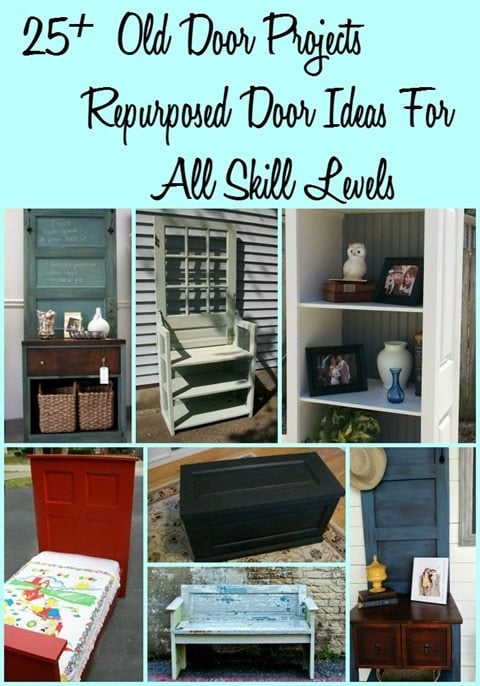
More Hall Tree Project Ideas Here
See More Sewing Cabinet Project Ideas
LOVE it….So very cool. Thanks for sharing.
A novice question – why do you make/use chalky paint? Does it work better in the HomeRight Finish Max? Can you use regular paint in the HomeRight Finish Max? I was thinking of purchasing one for the many projects I have around the house.
Thanks!!
Denise
Denise,
I use the chalky paint as a primer, so I don’t have to do a lot of sanding. It’s a very flat paint. I make it out of the behr semi-gloss paint, then typically use the semi-gloss as a sealer. Any kind of chalky paint needs some type of sealer…. wax, poly, or in my case semi-gloss paint. You can use ANY paint in the Homeright Finish Max. Using oil base is a little more challenging to clean, because you have to use lacquer thinner. I seriously wish everyone could have a Finish Max to make their projects look better and their life easier. 🙂
gail
Beautiful! Simply beautiful!!! I have an old sewing cabinet that I’ve had sitting in my basement for about a decade. THIS is what I need to do with it. Thanks for the inspiration. You’re so fliippin creative!
Beth,
I’m so happy you found this project! I love to inspire others with my “out of the box” thinking.
Thanks for taking the time to leave a comment to let me know you stopped by.
gail
Did you use a solid door or hollow core?
This was a hollow core door.
Gail, how did you end up getting the bottom shelf in with the tapered legs and how did you secure it to the legs? Love this piece. thanks Sheila
Sheila,
I got it in there by forcing it, causing the cabinet to come apart. While it was apart, I put the shelf in place, then fixed the cabinet up with some wood glue and screws.
The shelf simply rests on the bottom braces that were original to the cabinet.
gail
Very clever.
That does NOT look like a $2 door! Love the dark stain with the blue –Another amazing transformation, Gail!
Amazing makeover! You inspire me with every one of your projects!!
Debbie
This was a perfect fit and I love it. I like how you have made the door look more vintage by crating the panels. You have really created an original with this one!!!!!