DIY fire pit and more on my Outdoor Overhaul
As an Amazon Associate, I earn from qualifying purchases.
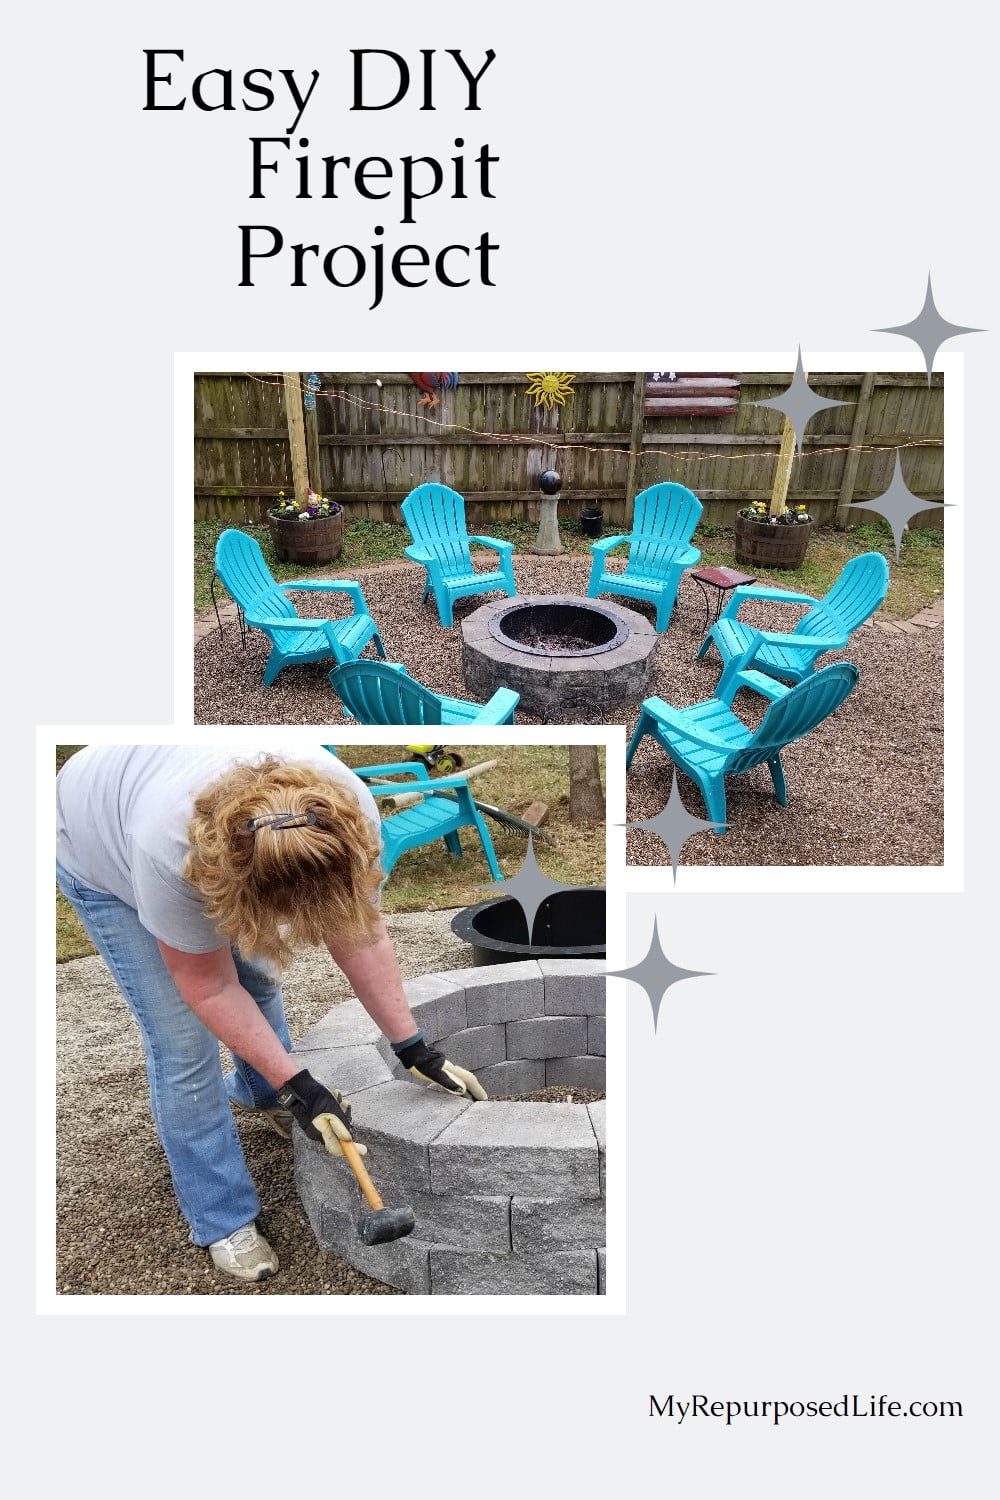
Well, I’m back with a week two progress report on my Outdoor Overhaul. If you follow me on Instagram you saw a picture of me enjoying lunch at my new outdoor fire pit earlier this week.
DIY Fire Pit

Well, look who’s photo bombing AGAIN! Can you tell that Lulu Mae is my shadow, never far away from her mom. The rope is tacked to a stake that I used to find center of the pea gravel area. So, I used it again to center the retaining wall pavers in order to put together the diy fire pit.
Cousin Terry helped me with this project. We leveled the first couple of rows and designed how everything was going to work. After that we placed the steel fire ring on the pavers to make sure it was the correct size. Finally , we removed that second layer and applied construction adhesive to keep the pavers from moving.
Tap pavers with rubber mallet

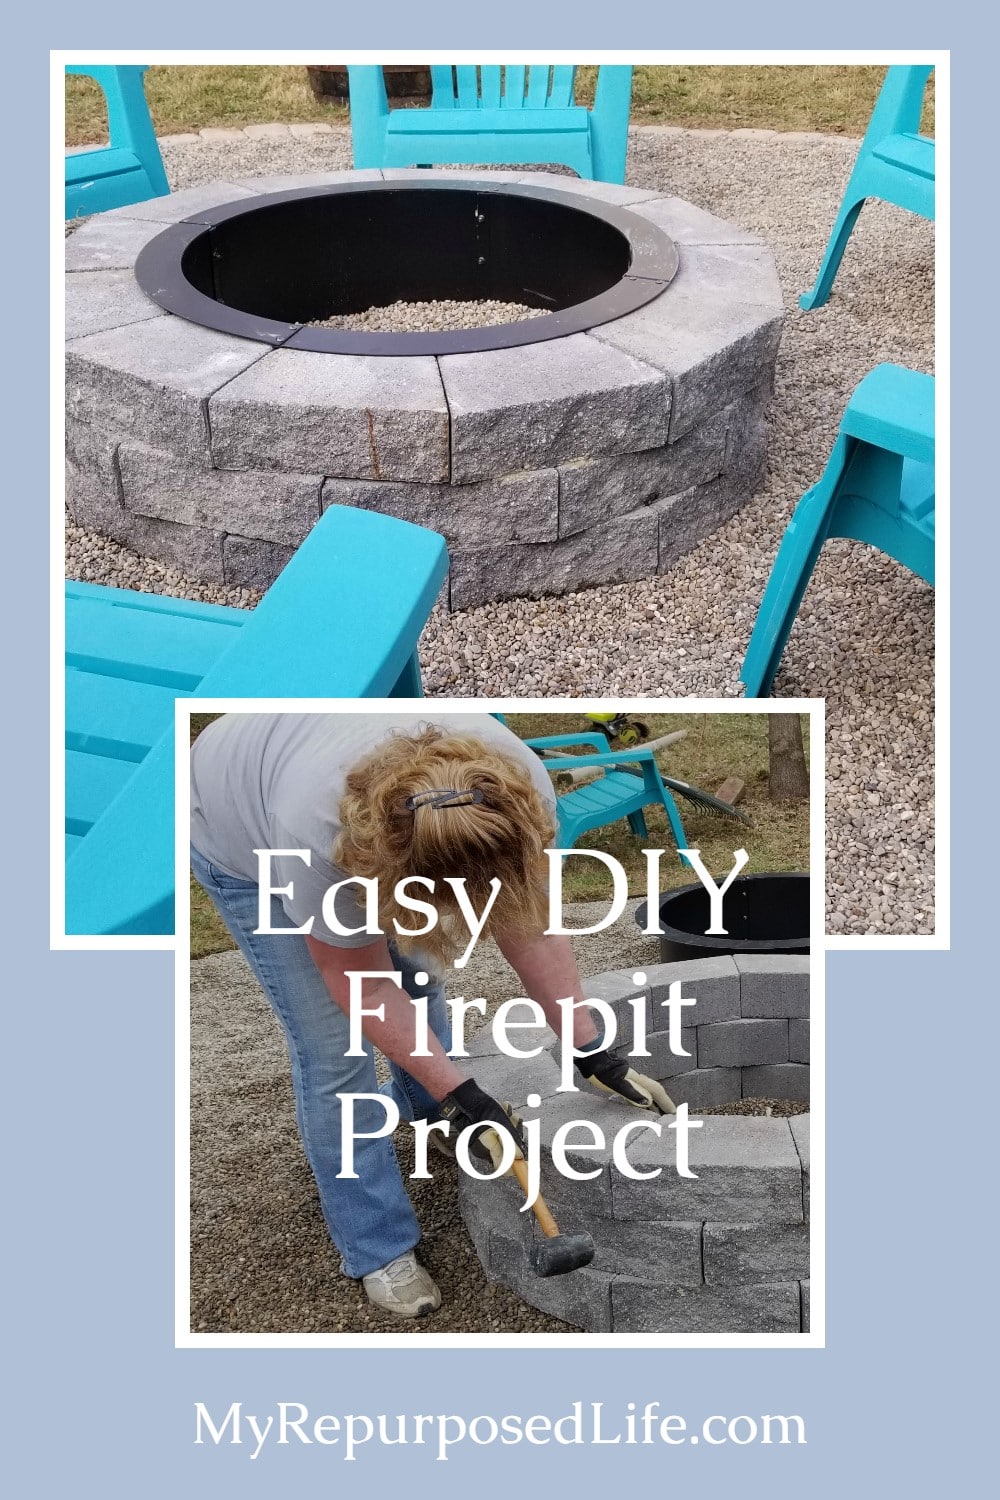
The rubber mallet was very handy to get all of the blocks in place. The fire ring was ordered at Home Depot online and picked up at the store.
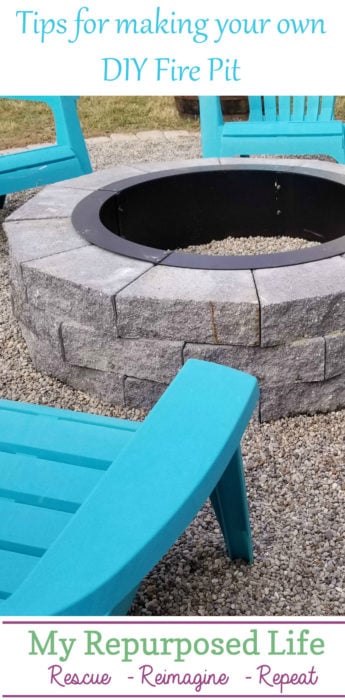
Tip: I used real retaining wall pavers with the little “lip” on them to hold them in place. I recommend using regular pavers without the lip.
Quick and easy Fire Pit

This is the photo I shared on my Instagram account on Monday. I had no idea Lulu had her nose so close to my lunch! I already love hanging out around my diy fire pit.
Related Content: DIY Fire Starters using wood chips and pinecones
Design Paver Patio

Terry and I worked really hard on digging out the patio and getting it squared. I’ll be honest with you, neither of us has ever done a patio before. We were sort of making it up as we went along. ![]()

The Electric Ryobi Cultivator is perfect for a job like this!

Seriously, I feel like all I’ve been doing is digging and moving dirt! We framed the patio with 4×4 posts.
By the way, did you see my post on How to Move a Garden Shed?
Laying pavers for patio

I was fortunate to have some help with many of the jobs included in this hangout challenge! This is my nephew. He was very up front with me telling me he had never been in charge of putting in a patio. After he laid the paver base, and the paver sand, we started laying the 12×12 pavers that would make up the dining area.
Yard Crashing

The backyard isn’t even nearly finished, but family and friends are already hanging out!

It was a long day, but we got a lot accomplished! Bubba’s wife and daughter stopped by for a visit! The DIY fire pit is really coming together.
Texas Lampposts

Half whiskey barrels were turned into Texas Lampposts.
Outline Pea Gravel with Pavers

Encasing the pea gravel diy fire pit with pavers really brings the space together.

My niece Missy was a trooper at laying those pavers. I had started the job, but got pulled in a different direction. There’s that stupid clean out sewer pipe! I still don’t know how I’m going to disguise THAT thing. It’s trying to steal the show from my diy fire pit!

When you have so many people working, it’s very smart to have a work station to keep all the tools. Doing this allows everyone to know right where to put something when they are finished with it. Us gals in the hoodies are busy hanging solar lights on the top of the Texas Lampposts. I don’t have electricity in the backyard.
Solar Lights on Texas Lampposts

The tiny solar lights hanging on the Texas Lampposts around the DIY fire pit really make me smile as the sun sets on the work area in the backyard!
Watch the Video!

Be sure to follow MyRepurposedLife on Instagram. On Monday I’ll be giving you a sneak peek of next week’s progress, and give you the opportunity to win another fabulous 40V outdoor tool from Ryobi!
Be sure to check back on the next couple of Fridays for my weekly updates. I hope you’re already amazed at the progress I’ve made.
Whew! I need a couple of good nights sleep!
gail
Hello,
I am looking to build a new fire pit similar to the one you built, can you tell me where you got the paver blocks from and do you recall the name of them?
I bought them at Home Depot and they are Retaining Wall Blocks. A year later and I’m still LOVING my fire pit! It fared really well over the winter.
As I mentioned, they had the little lip on them. I also mentioned that I recommend getting them without the lip. But they really have held up so well!
gail
Your backyard is looking great, Gail! It is going to be so nice when it is complete. I am amazed at how much you’ve accomplished! I love everything you’ve done. The Texas lamp posts with string lights around your fire pit add charm and ambiance. I’m looking forward to your big reveal.
Thank you so much Paula! I’m loving the new look in the backyard. Today’s task was to plant some succulents in a vertical shutter hanger. Hoping by doing something everyday, I’ll be ready for the reveal next week! I’m not usually a twinkly light person, but those solar lights are the BEST. I had to let my little Lulu out in the backyard this week at 4:30 am and they were still ON!
Thanks for stopping by!
gail
I am sharing this project with the Hubs! We were just talking about this last night while sitting on the back patio! This would look beautiful in our backyard!
ohhhh how awesome! A fire pit really is the heart of a backyard. I’m so happy you found this project inspiring.
gail
Awesome Gail! Your yard is coming along beautifully. We built a fire pit too and they are great to have!
Thank you Susan! I have to tell you that this backyard was neglected for sooo many years! It’s fun to see it all coming together.
gail
WOW 😯 looks amazing. Like always you did a awesome job and made it look so easy. Can’t wait to see what your up to next.
Thank you Kelly! I appreciate you stopping by to check out my outdoor overhaul! I’m loving how it’s all coming together.
gail
Wow! I’ll bet you do need a good nights sleep or three! What am amazing project and transformation your backyard is undergoing! You’re so fortunate to have such a large group of special people in your life to help you too! I can’t wait to see your finish!
Yes, I am fortunate that everyone could spend a few hours helping me on a Saturday. It really meant a lot to me. I seriously am too old for this. Hoping this will be enough makeover that I won’t have to do it again. 🙂
thanks for stopping by Wendi!
gail
Absolutely beautiful. You are certainly going to enjoy your backyard come spring and summer. It is great that you have so many wonderful people to help you with your projects.
Oh I would leave the sewer cleanout just as it is, easier for cleanout if something backs up.
Dee,
This was a special occasion. Most of these people are so busy with their own lives, that they are too busy to help. But, I put out the call, and they showed up! I was so grateful. This old gal almost bit off more than she could chew.
That’s good advice about the sewer clean out. One of those necessary items that we have to work around, eh?
Thank you for your sweet comment. I’m already enjoying my new outdoor space. Anything was an improvement over what it was! lol
gail
That looks amazing! What a great place to hangout.. and knowing you did it yourself! Even better! I love it!
Thank You Kim!
There is a grand satisfaction of a job well done, especially when there is blood sweat and tears involved. 🙂
gail
You’ve been working hard but it’s paying off! It’s looking incredible – way to go Gail!!!
Thank you Jeanie! It’s cold enough today to have a fire in the pit! This crazy weather!
gail
You might be able to have the sewer clean-out pipe cut down level with the ground The sewer clean-out pipe cap still fits on the pipe, it is just much lower,
That’s a great idea Donna! Thank you!
gail
It’s really looking great. It’ll be like camping year round. Did you put down a weed and grass barrier under the pavers and pea gravel? It’s going to look fabulous, but what a lot of work. I’m glad you have help.