DIY Kitchen Island
As an Amazon Associate, I earn from qualifying purchases.
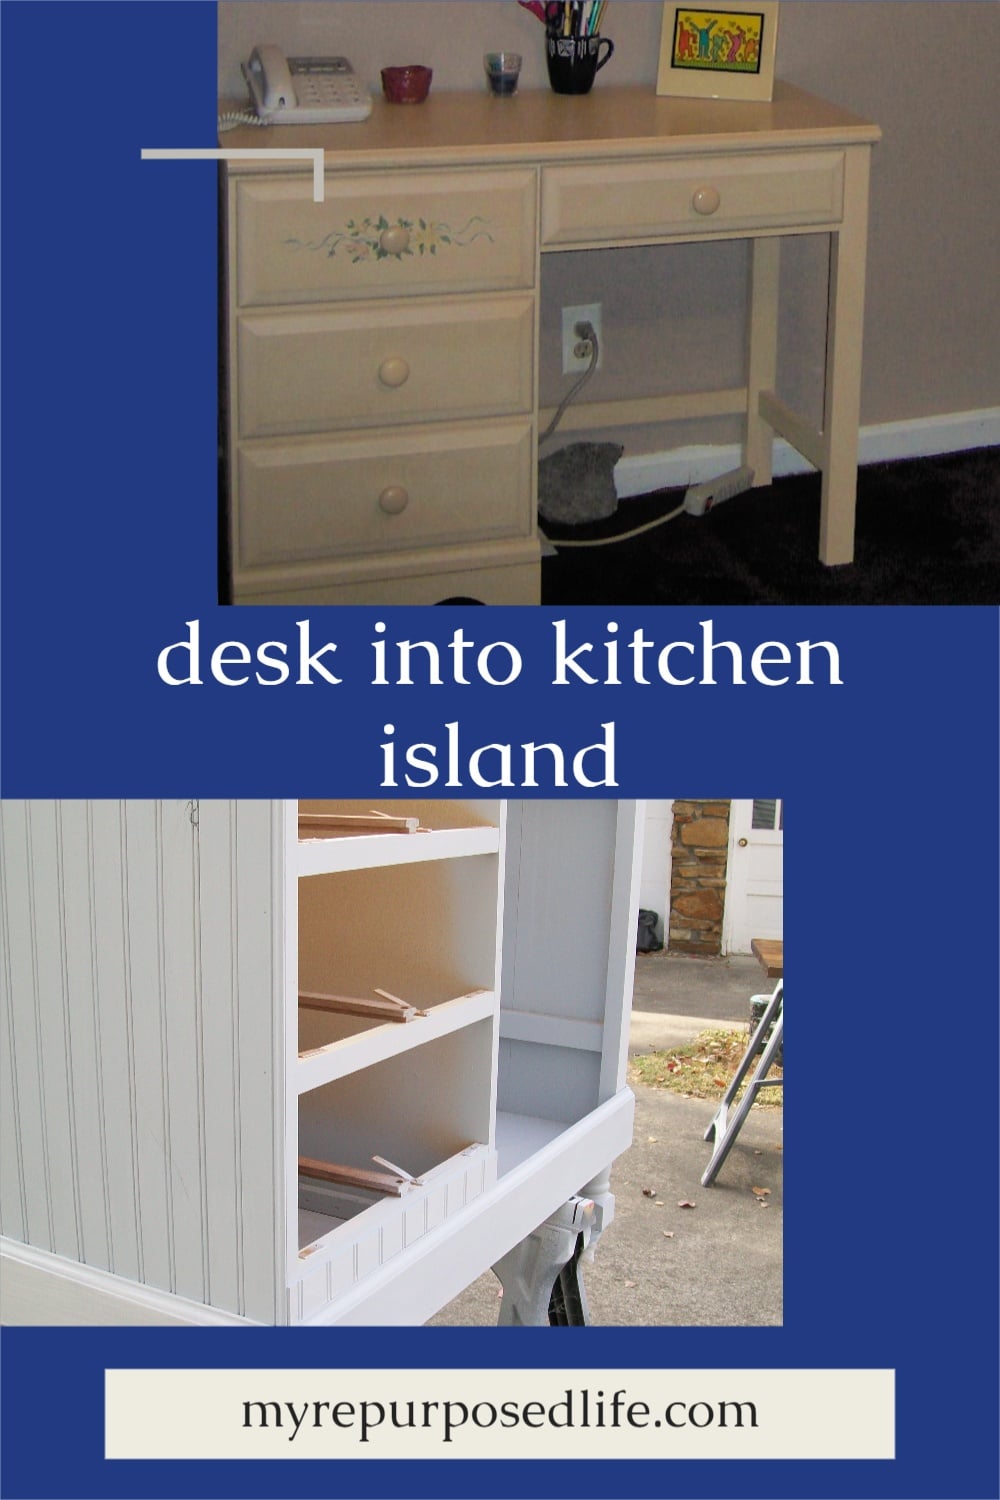
I made a diy kitchen island. It is going to be multipurpose. It is almost bar height. Most of the year it will be my “craft” station in the kitchen, hopefully keeping me a little more organized. The island/bar/craft center is not finished. I hope to finish it today.
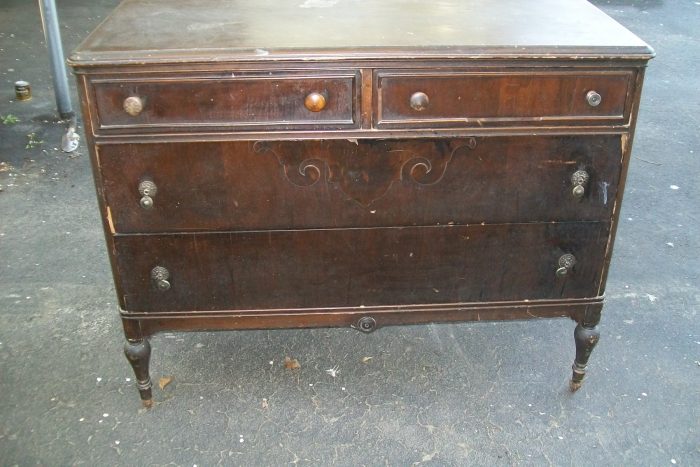
I looked at several pieces of furniture, doing lots of measuring! This is my mom’s old dresser. I tried to make it work but it was too big. See how I did a dresser makeover on this old gal.
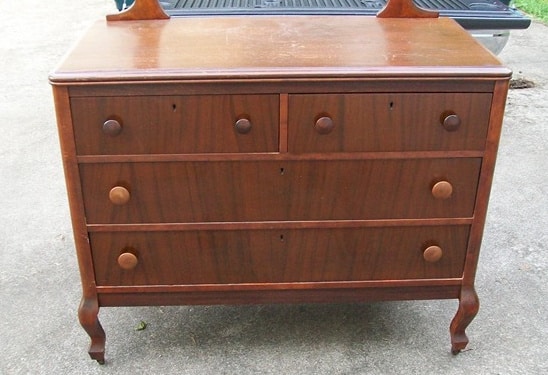
I tried this dresser too, but I figured out that a dresser was never going to work.
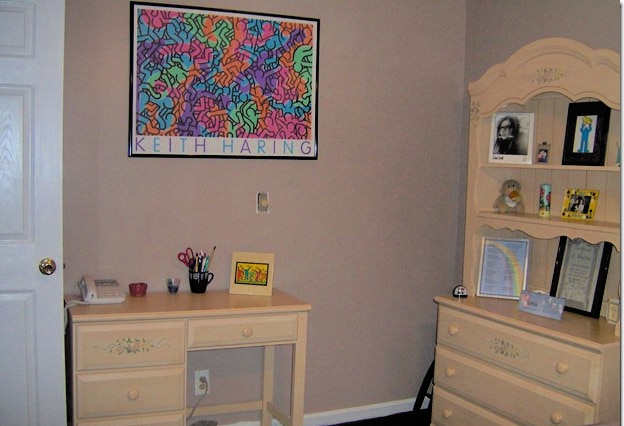
This is jamie’s room. It has not changed much in the last 15 or so years. Her room is on my to do list, even though I have already tackled the dreaded orange shellacked woodwork. I never made it past the desk.
Update: Mammaw’s dresser ended up in this room, which is now my guest room.
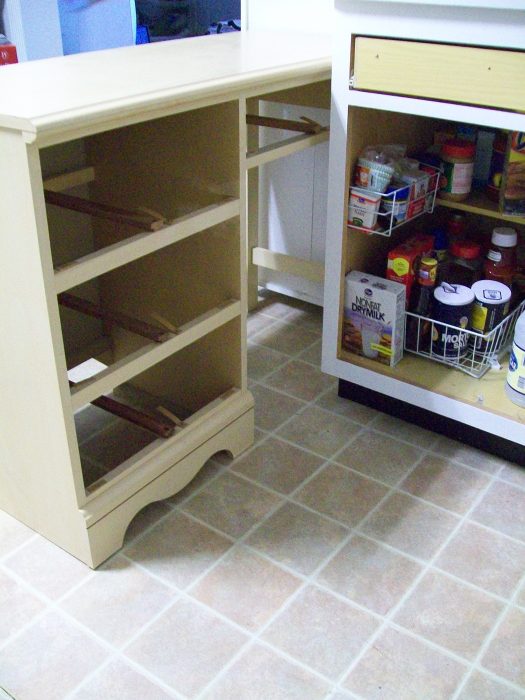
I brought the desk into the kitchen to see if it was the right size for my new diy kitchen island. It seemed to fit the space pretty well.
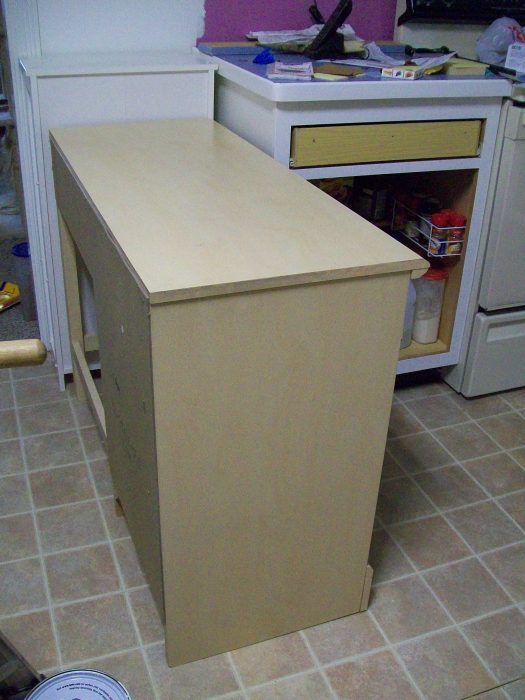
The real test was to see if it would “park” where I wanted to put it when I need it out of the middle of the kitchen floor.
Decide which legs are best for your DIY Kitchen Island
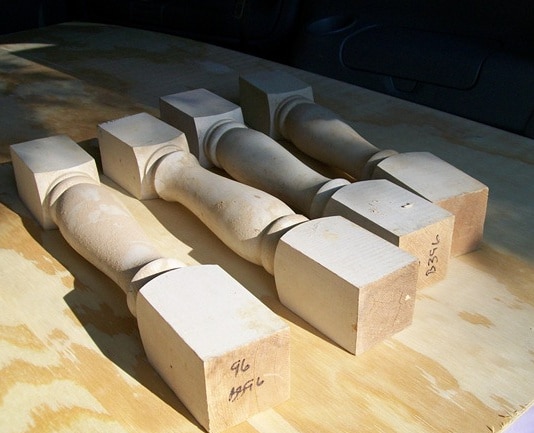
Remember these legs I picked up from Joey’s booth right before the peddler’s mall closed?
Does your DIY Kitchen Island need a bottom?
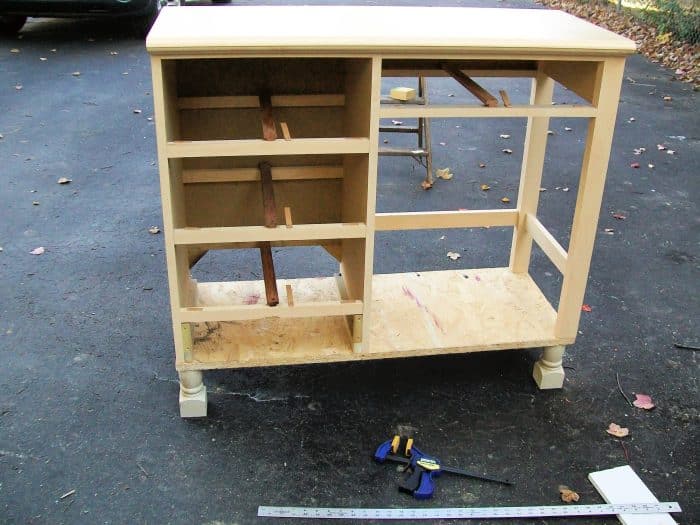
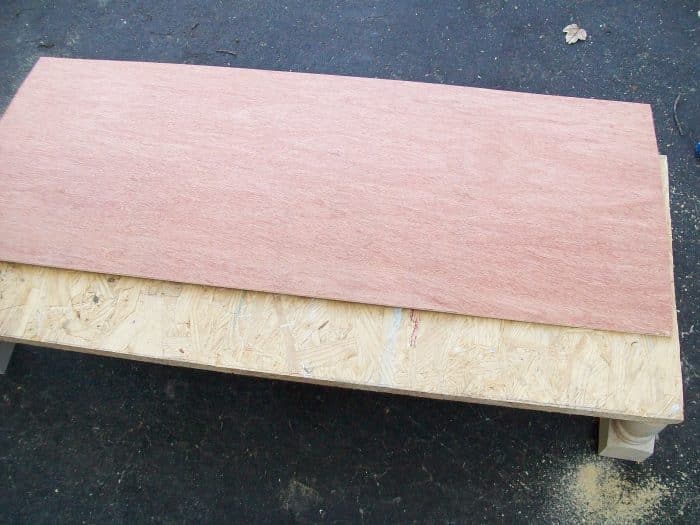
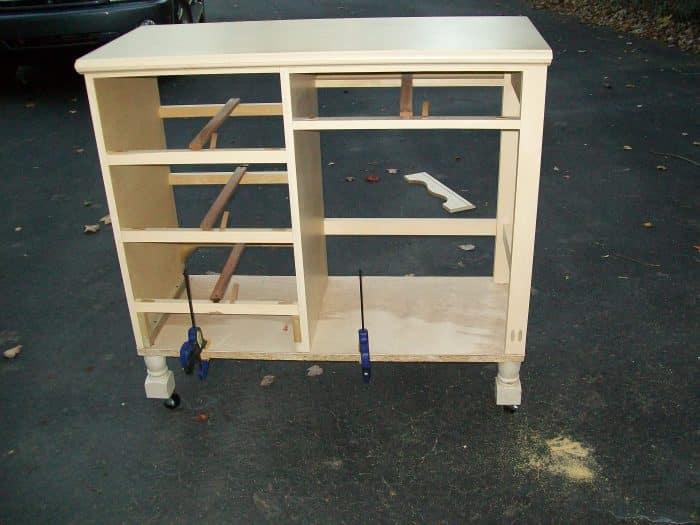
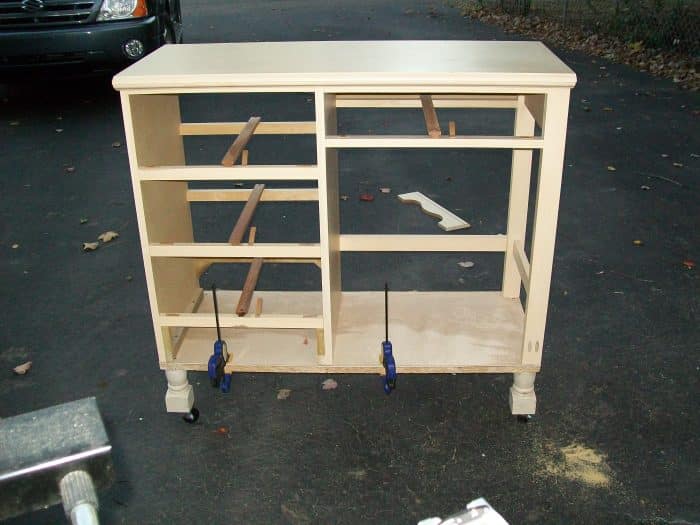
This is a dry fit to see if everything is going to work. The OSB was a cull bin purchase for .51 cents.

I didn’t want the OSB to be visible so I cut a piece of luan and glued it on top of the OSB. That makes a smoother painting surface.
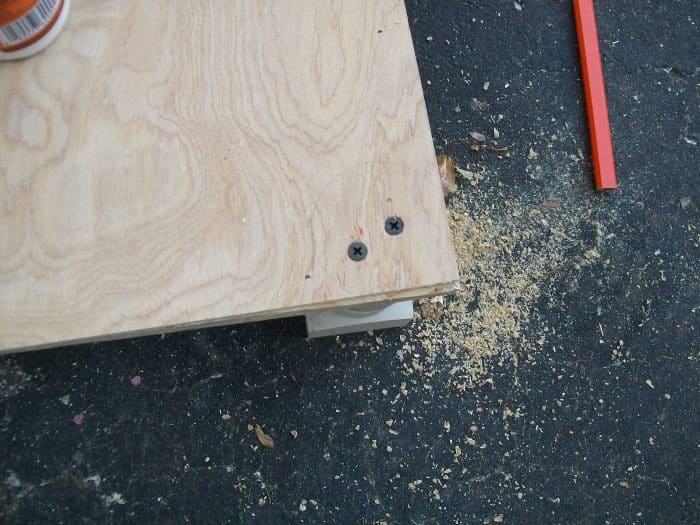
After I glued and nailed the luan down I attached the feet. The best way to know where to put your screws is to put the foot on top, and draw an outline. I used Gorilla Wood Glue and 2 inch drywall screws.
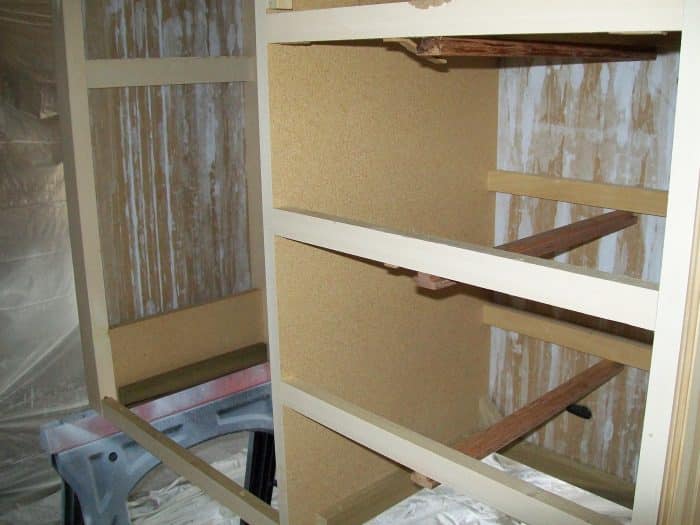
Now on to attaching the desk to the base.
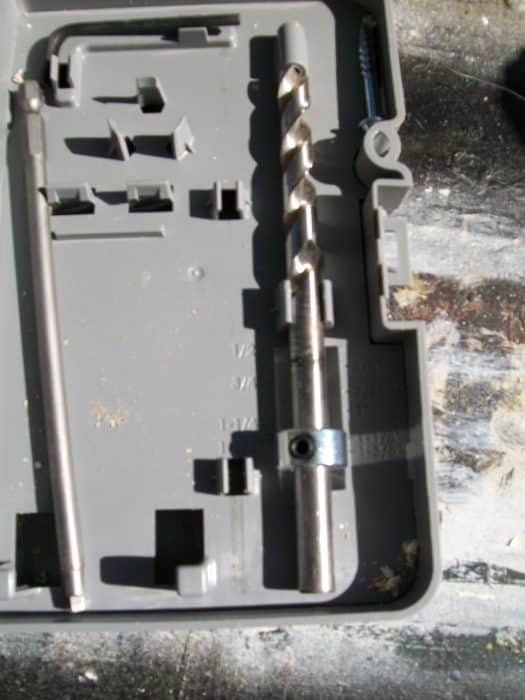
I set the drill bit on my Kreg Jig to the correct thickness of the wood.
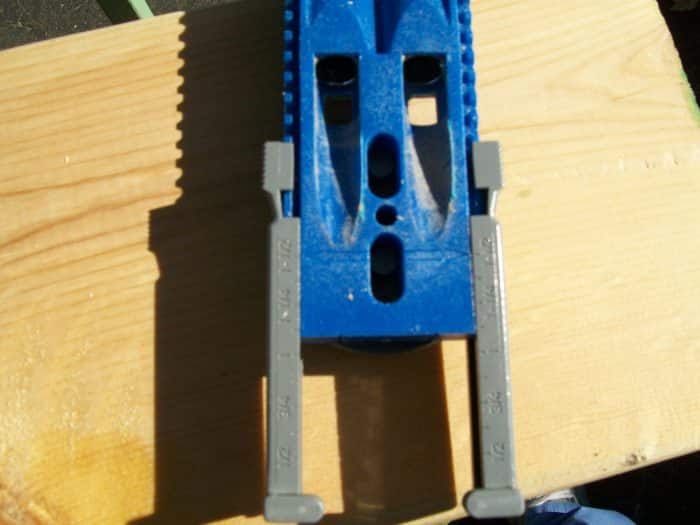
Don’t forget to set the Kreg Jig to the proper setting for the lumber you’re using.
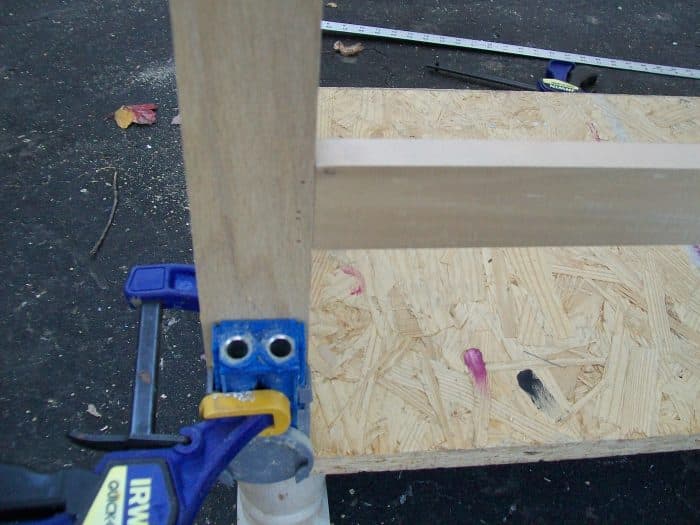
I clamped the jig to the legs of the desk and drilled. The collar on the drill bit keeps you at the perfect depth.
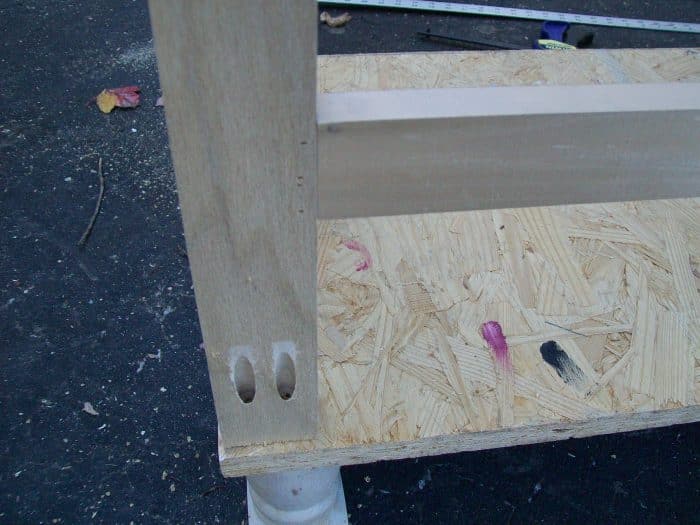
Pretty pocket holes! (ugly OSB) My pictures are a little out of order. I drilled the holes and did all the fitting before I attached the luan.
Here ya go!
I put pocket hole screws on both legs, and on the front and back on the left side. If you look close, you can see I also put screws in that cleat on the inside left. Screws were also put on the cleat opposite of that one. And… you KNOW I also used Gorilla Wood Glue. I put 2 1/2 inch casters on each of the feet. You can also see that I removed the trim piece that had been under the drawer section.
Dress up your project with bead board
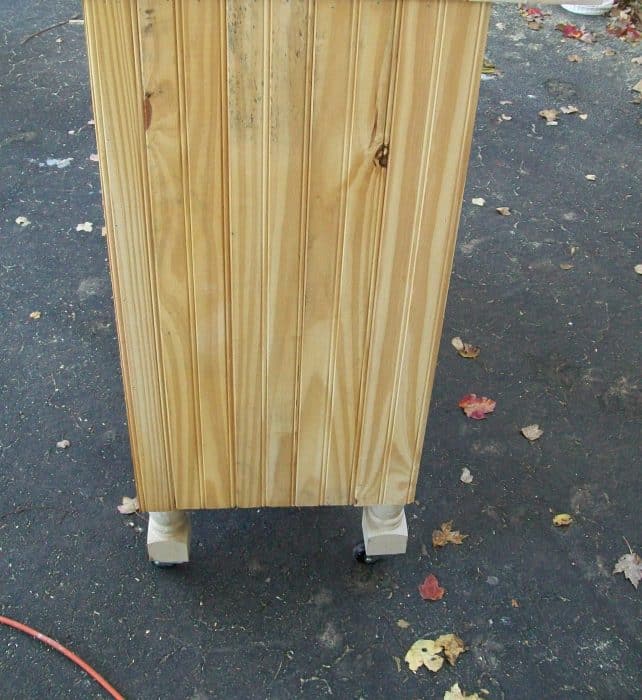
Bead board on both sides and the back of the diy kitchen island seemed like the best option. None of the bead board matches. On this side, it’s actually tongue and groove.
A Paint Sprayer gets the job done quickly
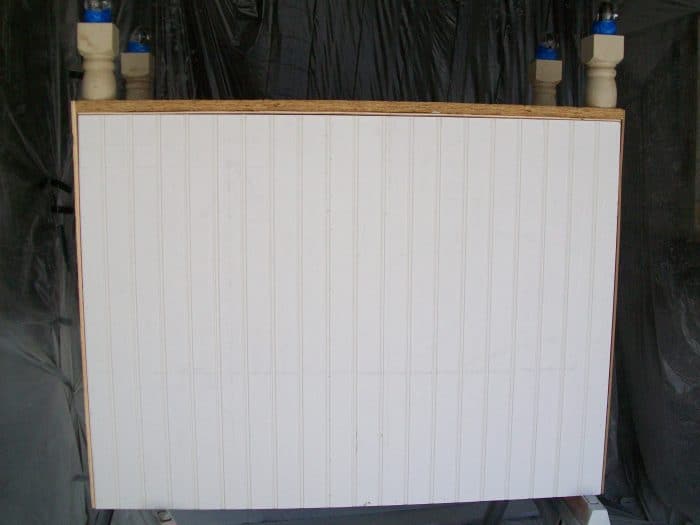
On the back it is bead board paneling I got at jamie’s home depot cull bin. (note the lack of wood trim)
The left side here it is some different bead board paneling. Here it is in the paint booth waiting for a coat of primer.
After I painted it I had to go BUY trim! How sad is that! I had several pieces and sizes but not enough to do the whole thing. Under the drawer you will see that I used a scrap piece of bead board to trim out the area that was left open after I removed the original trim.
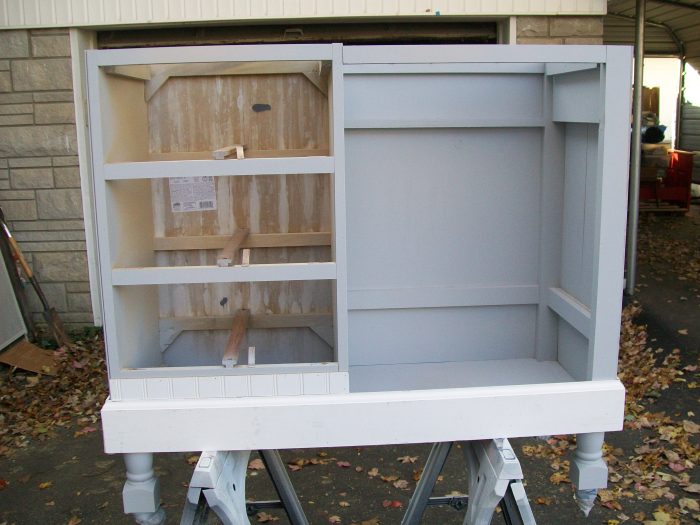
Did you notice I removed the drawer above the knee hole? I wanted to make it comfortable to sit at on a bar stool. Removing that drawer made me sad, but I want to be able to store the bar stool under the table when not in use.
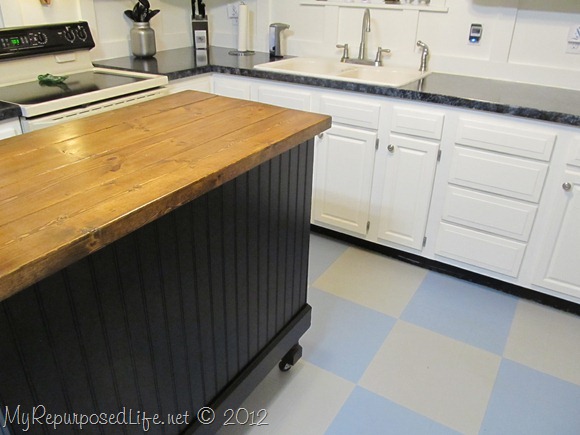
It basically looks like this currently. I did get the white baseboard painted with primer. I want to finish painting it today with the paint sprayer. However I’m afraid it won’t be warm enough. Regardless, I will get it painted today and show you the finished product tomorrow. Granted it may not be IN the kitchen, but it will be finished.
See the finished kitchen island here
See how I added a top to the kitchen island here. Eight years later and I have updated the kitchen island again!
gail
Related Content: See More Desk Projects Here
edited to add: Kitchen Island from a desk completed. I have now updated the island again. How many updates can one kitchen island have?
Saw this a week ago and just had to make my own. 🙂 I used some tips from you and another blogger, just wanted to let you know that you helped give me the confidence that I could do something like this (despite my lack of amazing tools that you have)!! Look for the blog (http://focusdoctor.blogspot.com) later this week, as I’ll be mentioning you for a big thanks!! You gave me the confidence to do my own. 🙂 🙂
Awesome Post, Ive been wanting to make something like this for my kitchen for ages.It probably wont go any further than my mind but still nice to dream about lol. You are so clever and creative! I love it! Your Brilliant!
Awesome Post, Ive been wanting to make something like this for my kitchen for ages.It probably wont go any further than my mind but still nice to dream about lol. You are so clever and creative! I love it! Your Brilliant!
Amazing. I need help cutting a piece of beadboard wallpaper and you are crafting your own kitchen island! Can’t wait to see it all done up pretty and functional in your kitchen space 🙂
I just love how you reuse things, and make them look even better than they did before (when they usually looked fine to start with!). Amazing. It’s a great idea for an island too. Can’t wait to see!
who else would think to take an old desk like that and make it into an island? um, nobody else! you are so clever and creative… i wish i could crawl into your head and see how you think. or maybe i am better off not knowing. 😉
who else would think to take an old desk like that and make it into an island? um, nobody else! you are so clever and creative… i wish i could crawl into your head and see how you think. or maybe i am better off not knowing. 😉
I wish I could take a field trip through your mind. That was incredibly clever. Can’t wait to see it finished.
so excited to see the final product!
This is awesome, can’t wait to see it finished!
Love the choice of the desk to make into the island. And about teasers, methinks you doth protest too much. lol.
Hope you get to finish painting today so we can see the finished product. You sure do make a good salesperson for that pocket hole tool. I have officially put one on the top of my wish list!
Later,
Rose