DIY Pedestal Bowl Made from Bits & Pieces
As an Amazon Associate, I earn from qualifying purchases.
This DIY Pedestal Bowl first appeared on Homeright.com. I did a quick tutorial on how to make it and showed you how to paint it using the Homeright small spray shelter and the Homeright Finish Max. Today, I’ll give you a few more details and tips and show you how I finished the details on the catch-all pedestal bowl.
How to make a DIY Pedestal Bowl

Visit the My Repurposed Life Amazon Store to shop my favorite items.
- Wooden Bowl (any size)
- Spindle from any chair, table, or bed
- Wooden base (thrift store or craft store)
- Screws
- Wood Glue
- Base Coat Paint
- Wax
- Paint to embellish the finish
Tools and stuff
- Saw
- Drill
- Drill and Screw bits
- Sandpaper or Sanding Sponge
- Homeright Finish Max
- Homeright Small Spray Shelter
- Extension Cord
- Wax brush
- Chip paint brush
- Paper towel
- Soft rag
Optional:
- Work Table
- Clamps
- Lazy Susan
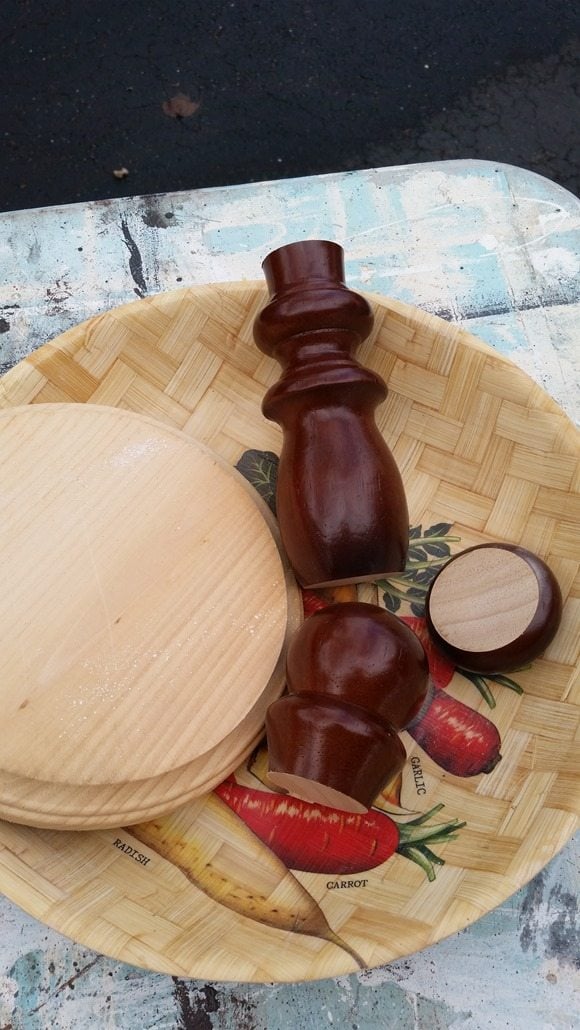 Cutting spindles can be tricky, but if you’re careful, you can do it with a compound miter saw. If you don’t feel comfortable using a power saw, you can use a hand or miter box saw. I picked up this base years ago at the craft store, but don’t overlook old lamps (for round bases) or award plaques for square or rectangle routed bases. Those bits and pieces will help you assemble your own diy pedestal bowl.
Test fit your pieces
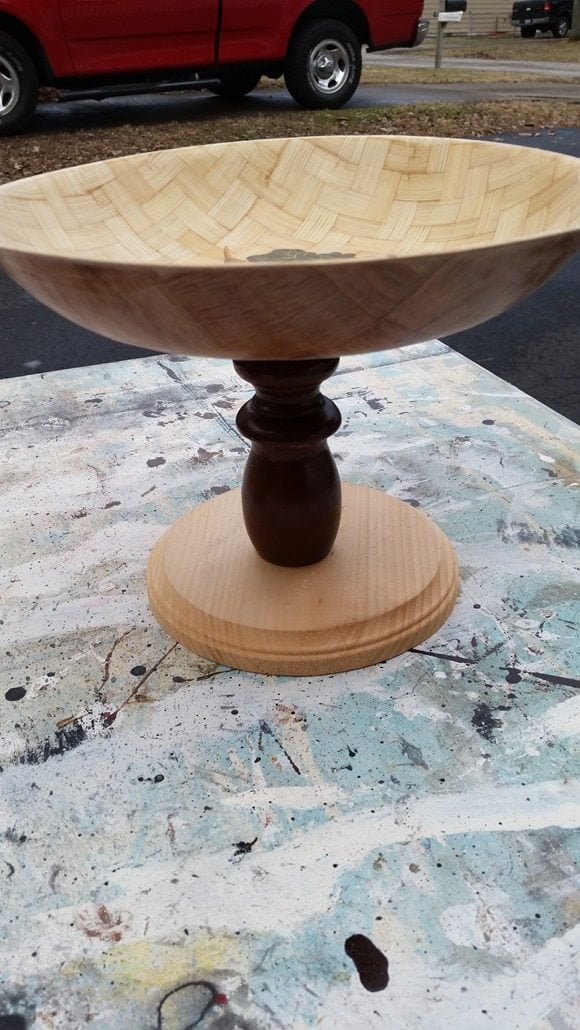 This is a dry fit to see how the spindle looks best with the base and the wooden bowl.
Construct your DIY Pedestal Bowl
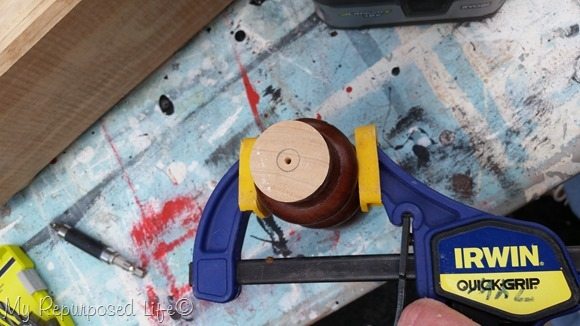 I drilled a pilot hole in both ends using an Irwin quick clamp to hold the spindle. I used a countersink bit to drill a hole from the bottom of the base. Countersinking the hole will allow the screw to recess, and the base will rest flush on your table. I also drilled a hole in the middle of the wooden bowl.
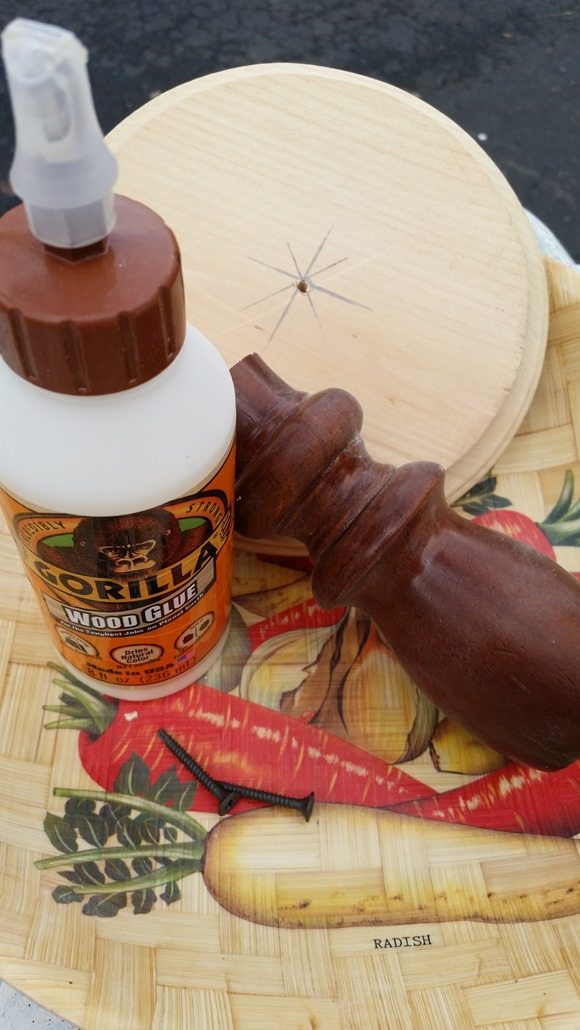 Gorilla Wood Glue adds extra strength to all the parts.
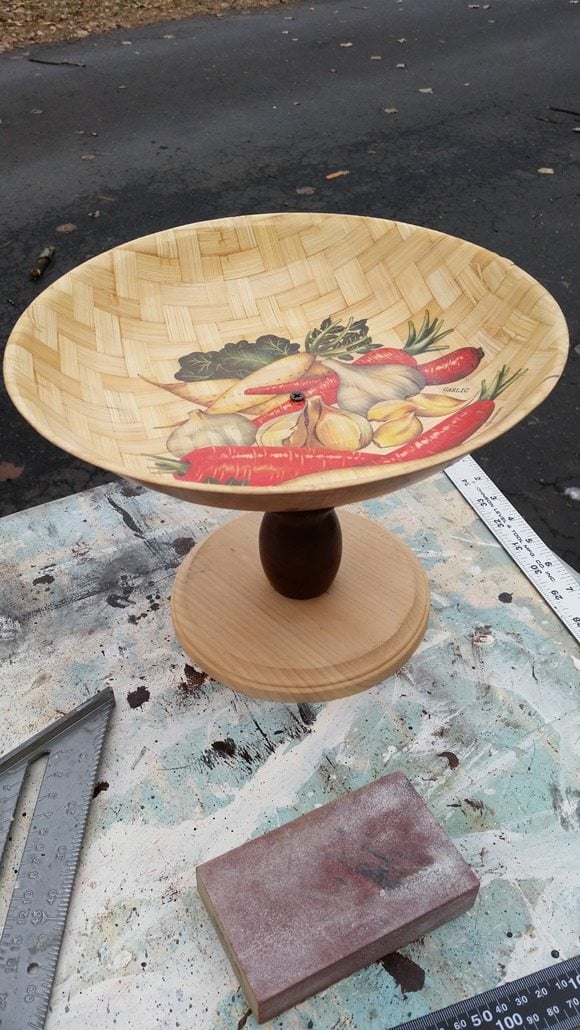 Voila! Sanding with a small sanding sponge will help to remove the glossy finish of the bowl and the spindle.
Painting spindle projects with a paint sprayer
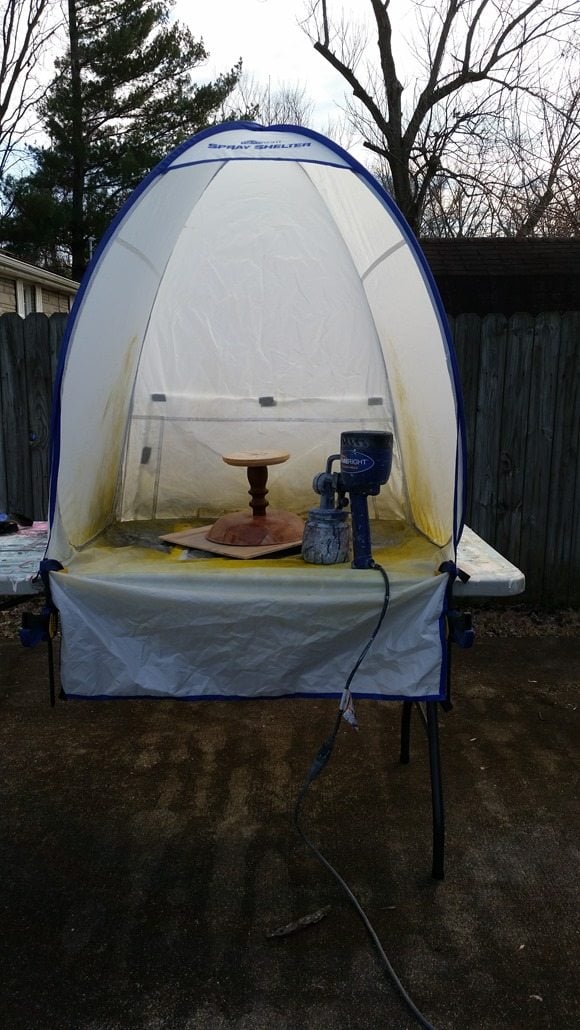 This was a quick project, and I chose to use the small spray shelter with my Finish Max to finish it in no time. The quick clamps hold the shelter in place on top of the table, and raising the shelter on a work table really saves your back.
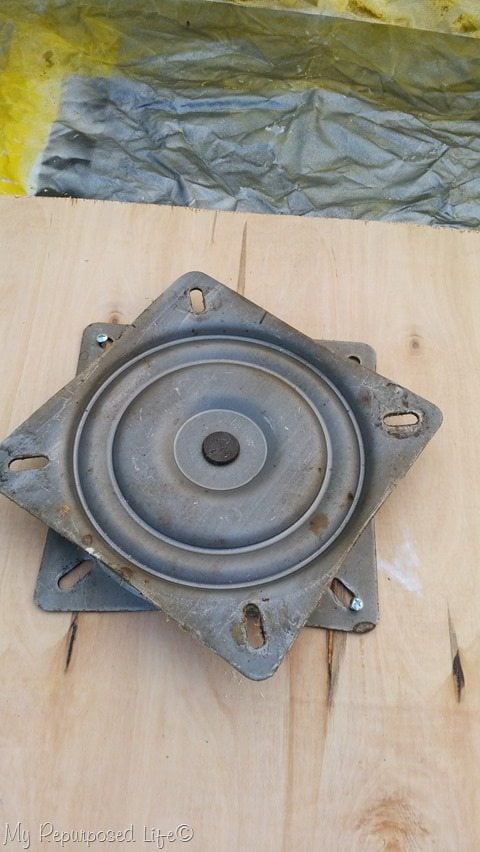 My friend Wendi from H2O Bungalow uses a lazy susan to rotate her projects. I had this old bar stool swivel base in my stash and quickly attached it to a thin piece of scrap plywood.
Begin painting with project upside down
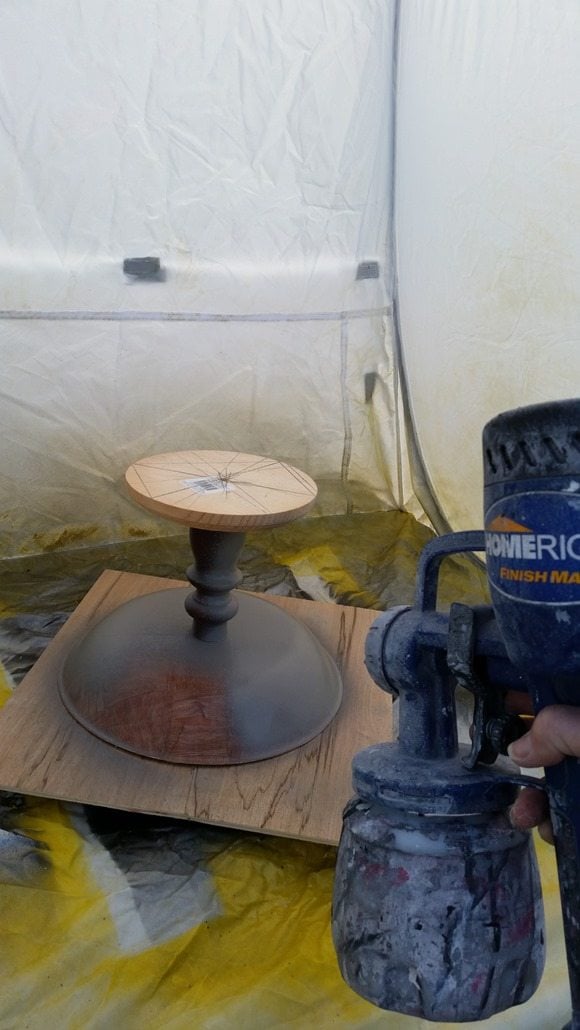 The diy lazy Susan easily allows me to rotate the diy pedestal bowl project as I spray it. I prefer to start all of my paint projects upside down to cover every little bit.
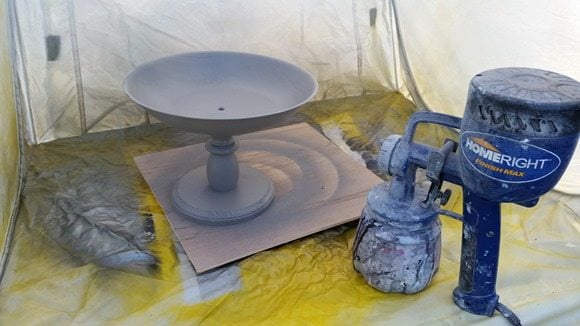 After I get good coverage, I turn it upright to finish the job. I used Heirloom Traditions chalk-type paint (Thunderous) for this project in my Finish Max.
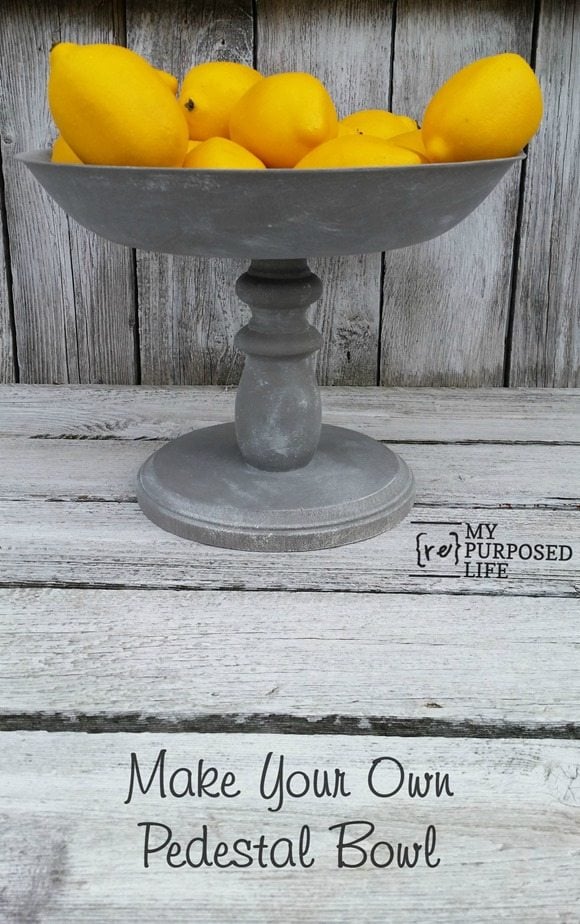
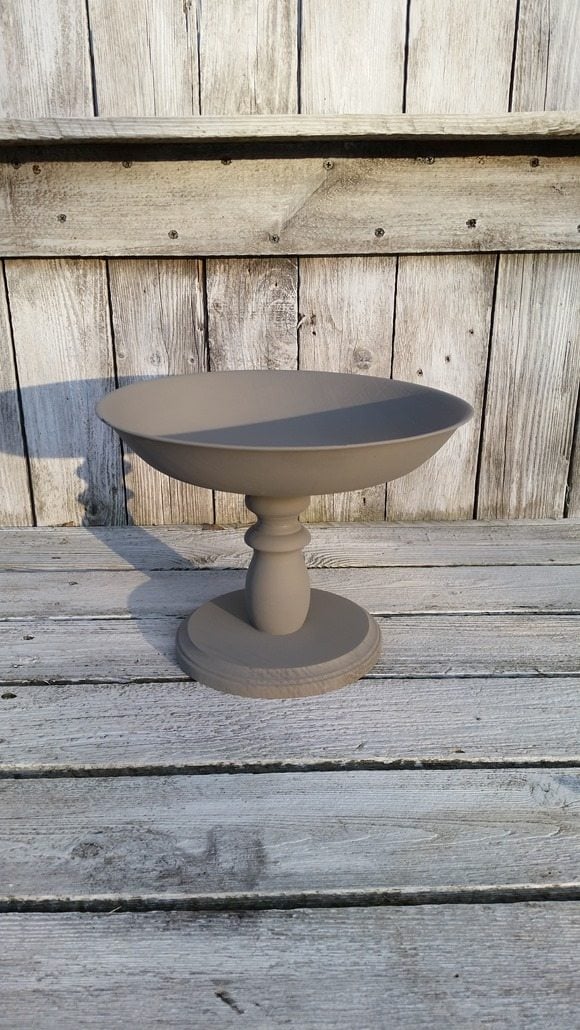 Here is the “after” I shared at Homeright’s DIY site.
Give your DIY pedestal bowl some highlights
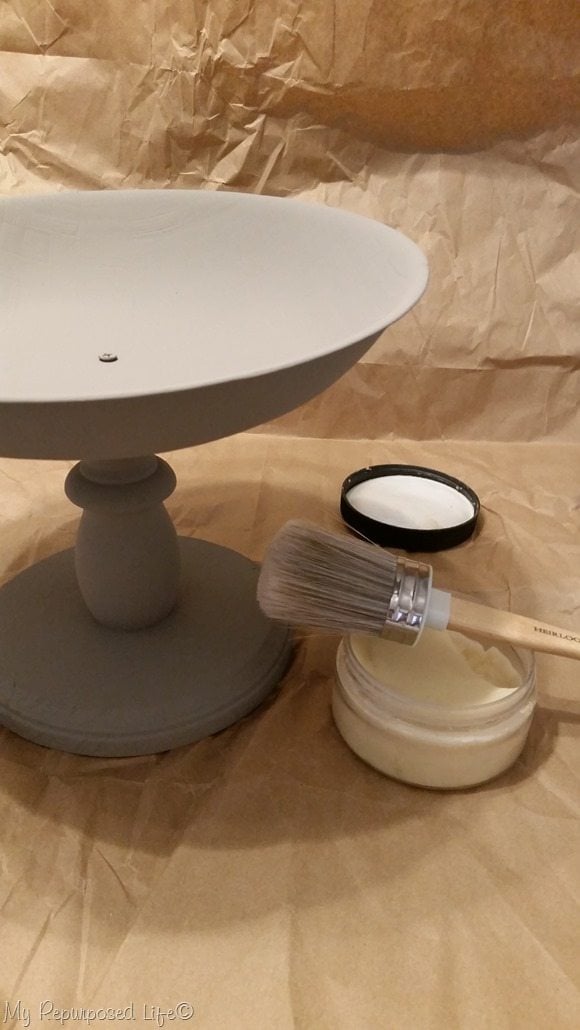 I knew I wanted to give this diy pedestal bowl an older “pewter” look because I’ve always admired how my friend Laurel from The North End Loft painted her DIY Rustic Pedestal. I broke out the Heirloom Traditions White Wax and brush and went to work.
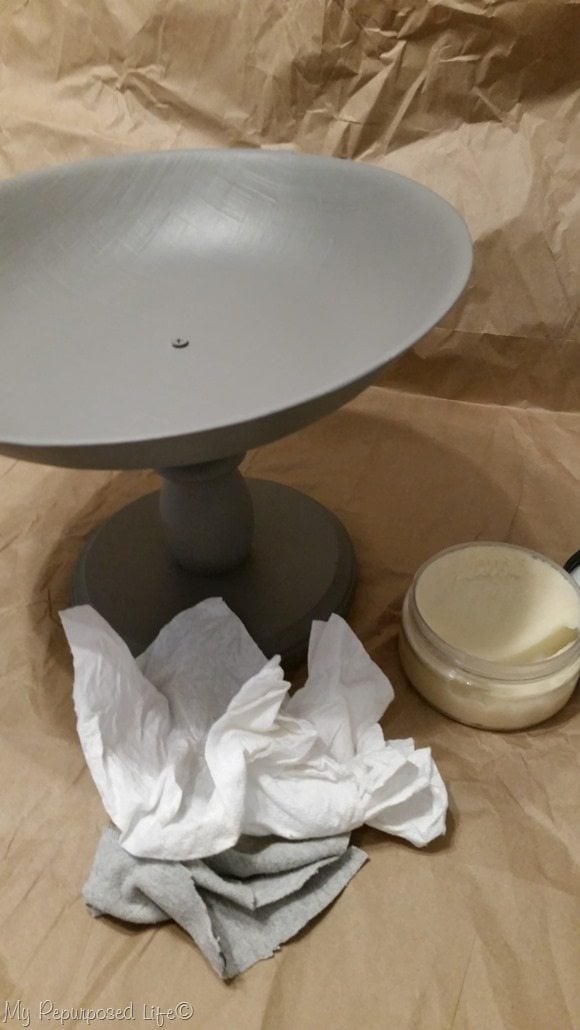 I’m not the best at waxing projects, and I wasn’t quite getting the look I wanted. So, I did as I often do—set the project aside. By that, I mean it got shuffled around from place to place in the kitchen, finally ending up in the spare room.
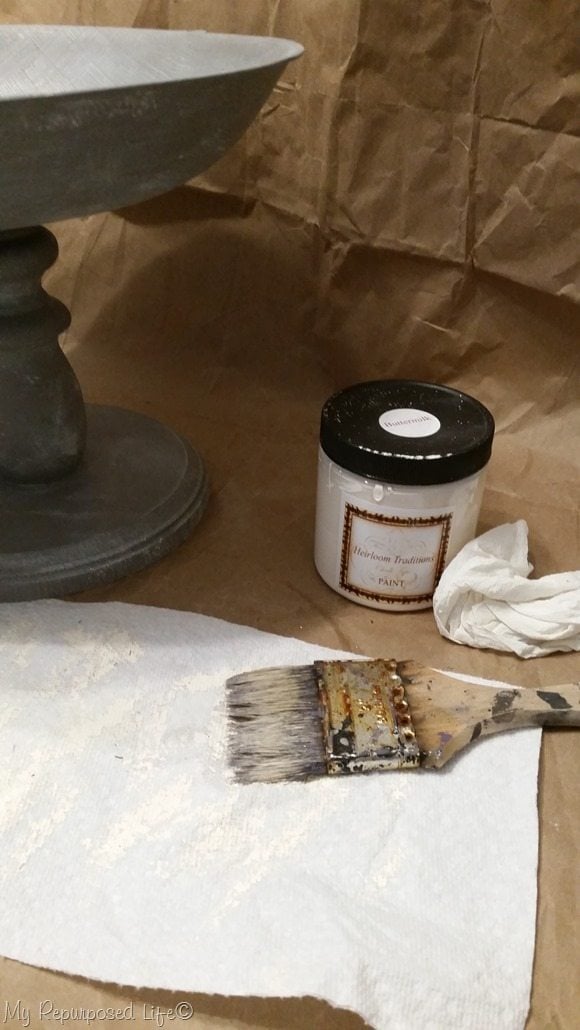 Over 2 weeks of that shuffling, I was bored and stuck in the house, so I went at it again. This time I used a cheap chip brush and some HTP Buttermilk chalk type paint to do some dry brushing on the gray pedestal bowl. I went at it with no real plan. I tried starting with some hash marks—painting north and south, then east and west. Yeah, I wouldn’t say I liked how that was going. Then I did some dabbing with the chip brush. Finally, I used that wadded-up (damp) paper towel to wipe some of the paint back, and I LOVE IT! It is precisely what I was going for.

I’ve wanted to do this DIY pedestal bowl project for so long that I’ve been collecting all sorts of bowls lately, so I’m looking for more ideas in the future. Do you get that way? Are you obsessed with a project, and you just HAVE to do it?
gail
Related Content:
See more Spindle Projects here
Do you like the Glazed look on furniture and projects? How to Glaze Painted Furniture

Hi Gail, In reply to Mac, about finding the centre of a circle. This is how it’s done, measure 2″ down from the top of the circle, and draw a horizontal line across, do the same from the bottom, draw a line from the left end to the right [bottom] end and again from right to left, where they cross is the centre. Hope this helps. regards Allisan [Wales UK]
Thanks Allisan! I appreciate your input. 🙂
gail
How do you find the center of the bottom of the bowl?
Your pedestal bowl is so pretty, Gail… and seeing the added round wood piece at the bottom is very helpful! We would be blessed to have your at Tuesday Turn About, if you have a few minutes to link up! We always love seeing you there!
How do you find the center of the base and bowl?
I’m very math challenged….
I believe the bowl, was easy because of the way it was made. When I have a smaller piece like the pedestal, I generally place a washer on it. It’s easier to find the even distance that way. Then, I draw a circle in the middle of the washer, then just eyeball it!
There are precise ways to find the center of a circle, but they’ve never worked for me! (math challenged)
gail
I love your website. I just wish, in my younger days, that I had invested in a miter saw. It would make my projects much easier. Too old to do anything like that now but I can use glue and do. I just love your wooden projects with the trays and the candlesticks. I thought it was cute when you said you “fly by the seat of your paints”. That’s because you are an artist at crafting and won’t finish a project until you are perfectly satisfied with it. It is the same with me when I am drawing a picture. Sometimes I have to walk away from it for a couple of days and then go back to it later on. All artists feel that way because when it comes to something you are creating, it has to be perfect, even if it is for yourself or not.
I like that analogy Lois! Many furniture workers have plans, drawn out and everything. I just like to jump in! LOL
Thanks for stopping by, it made my day!
gail
The dry brush was the perfect finishing touch!
Thank you Lisa! I wasn’t going to give up until I got the look I wanted.
gail
It looks beautiful Gail. And smart thinking to put a screw in there. If it was me I would have just glued it and then watched the whole thing tumble over.
Gorilla wood glue woould definitely hold it. Sometimes I do both, but when I get lazy or in a hurry I take the easy road. 🙂
gail
Thank you for sharing how it wasn’t quite what you were looking for, and how you kept trying. Always nice to have a reminder that even the professionals have troubles and doubts on their projects. 🙂
Jen,
Oh, I often have plan b on many projects. Mostly because I’m just a fly by the seat of my pants sort of gal. 🙂
gail
Love the finish on the bowl but really love the Lazy Susan in he shelter!! I am using a small one now but mounting it to a big board that turns is a great idea! Can’t wait for the nice weather to paint outside again!
Ohhh, happy to pass along that tip from Wendi! 🙂
I’m fortunate enough that I’ve been able to paint outside off and on all winter. I just keep an eye on the forecast and take advantage of any day that is sunny and 50°.
gail