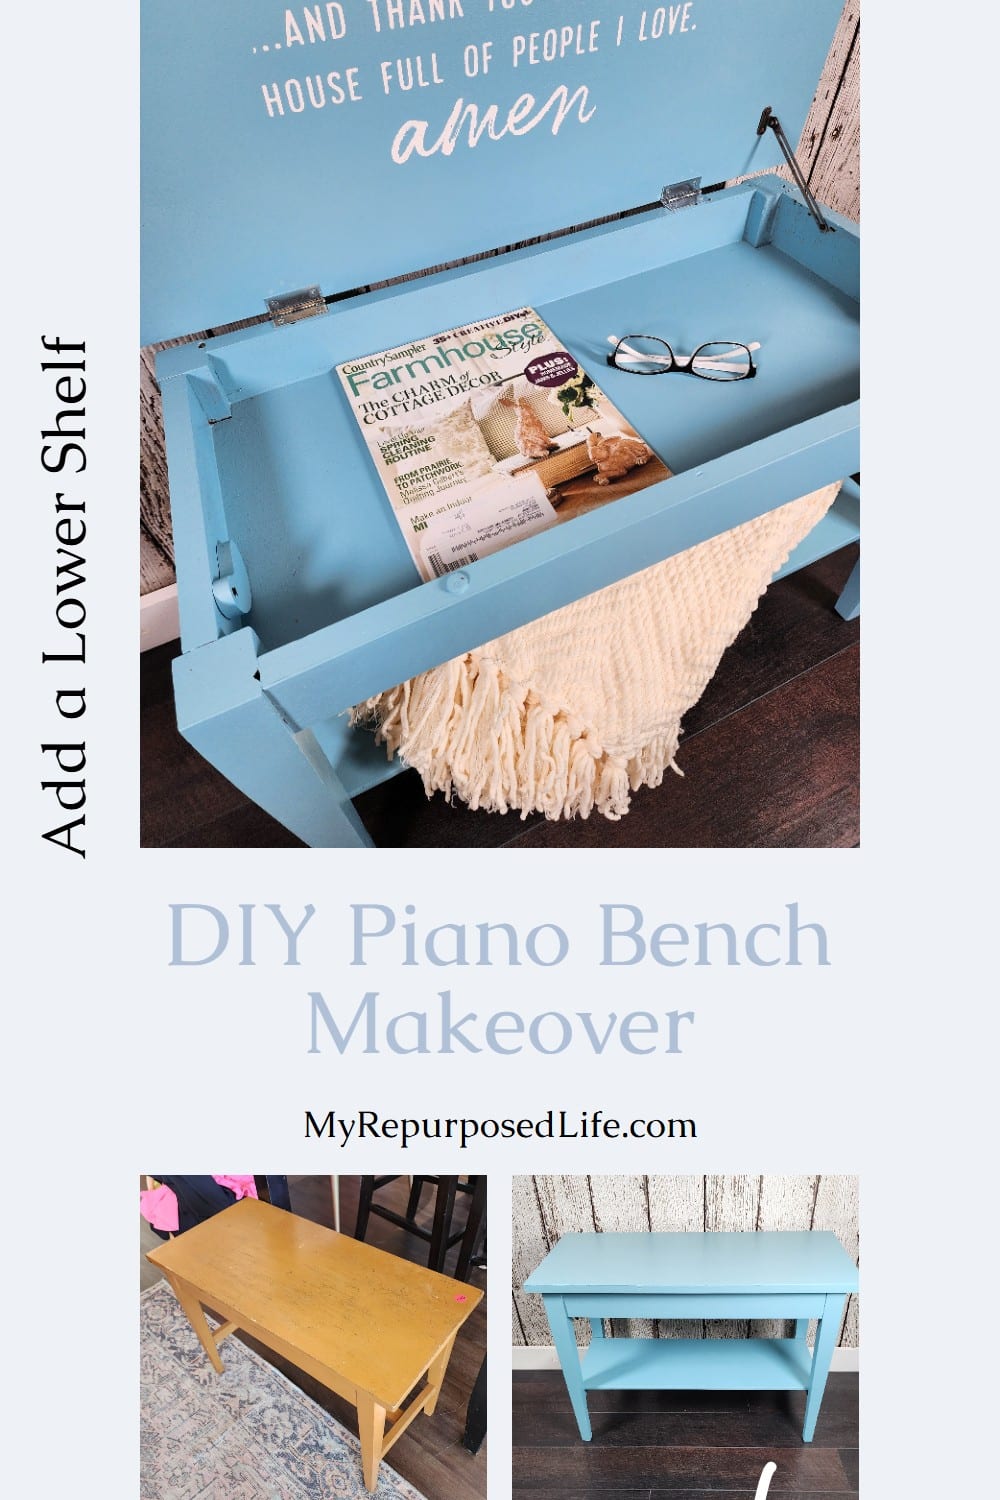
DIY Piano Bench Makeover: How to Add a Shelf and Fresh Paint
As an Amazon Associate, I earn from qualifying purchases.
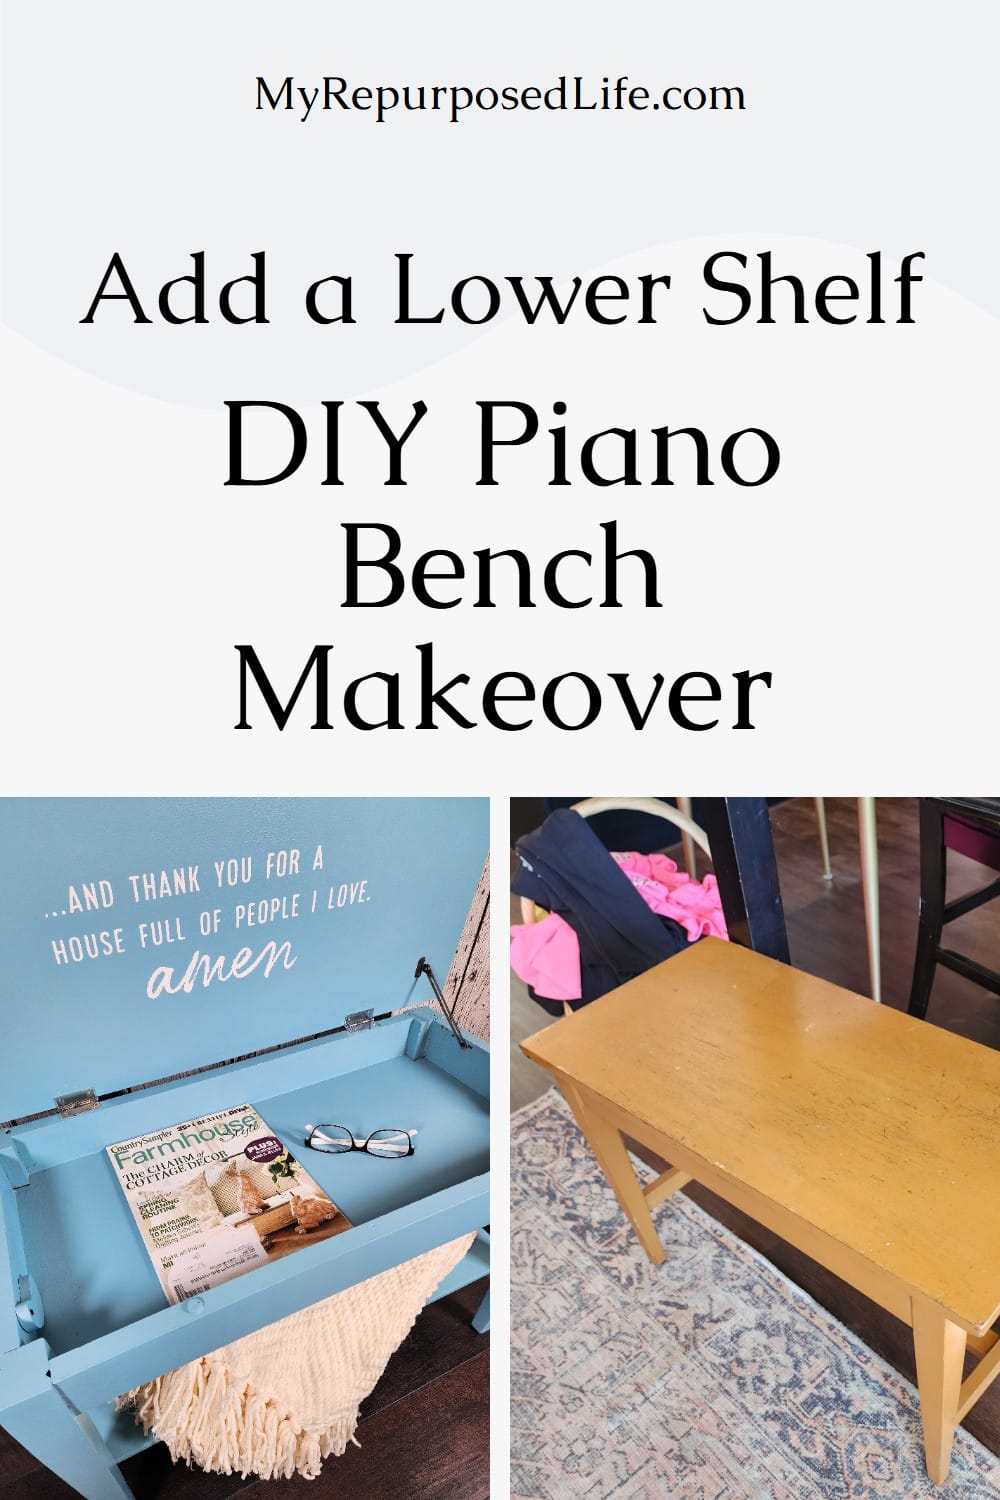

If you’ve ever encountered an old piano bench at a thrift store or in your own home, you know it has potential far beyond its original purpose. In this simple DIY Piano Bench Makeover project, I gave a tired piano bench a fresh coat of paint and added a lower shelf for extra functionality and charm. I also added a little surprise inside the bench.
Whether you’re looking for additional storage, a unique entryway seat, or a fun weekend project, this makeover is an easy and budget-friendly way to repurpose a classic piece of furniture.
Thrift Store Piano Bench
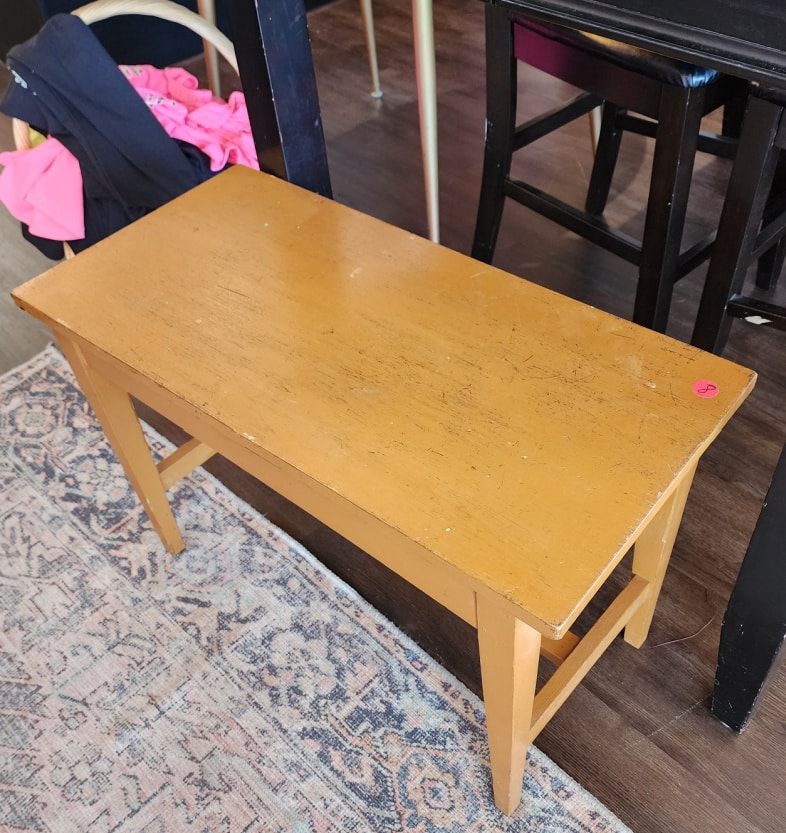
This brown piano bench was already a good bargain at $8. However, on the day I was shopping, all the furniture was 50% off.
It’s Furniture Fixer Upper Tour Day! Be sure to visit my friends’ projects at the bottom of this post.

The inside of the piano bench lid was damaged, and the hinges would need to be replaced.

The piano bench lid support worked well, but was in poor shape. I wasn’t sure I could spruce it up enough.
Inspect and Make Repairs

I mixed some Bondo on a scrap piece of wood to fill the hinge holes and repair the damaged lid.
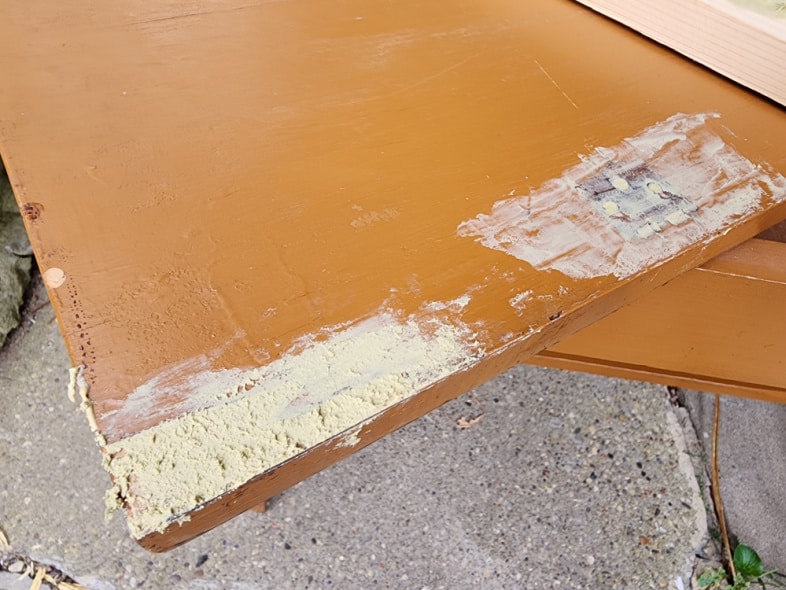
Although the bondo looks rough, it sanded very well. The bench was set aside for a few months while it waited for the rest of its makeover. I didn’t take photos after I sanded the top, but when I returned to work on it, I had forgotten I had even repaired it.
Sand and Prep the Piano Bench for Its Makeover
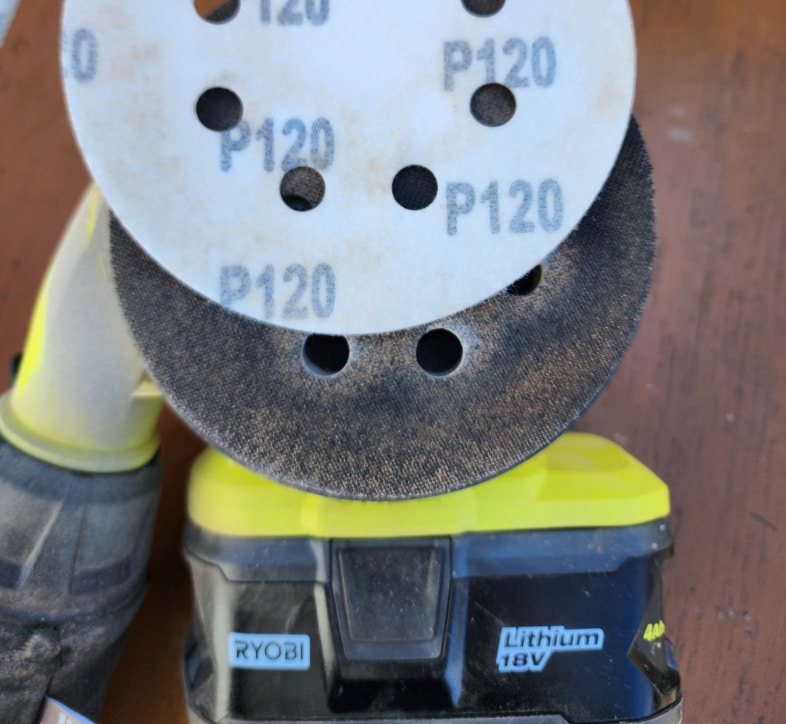
I started with a rough grit 120 grade sandpaper on my orbital sander.
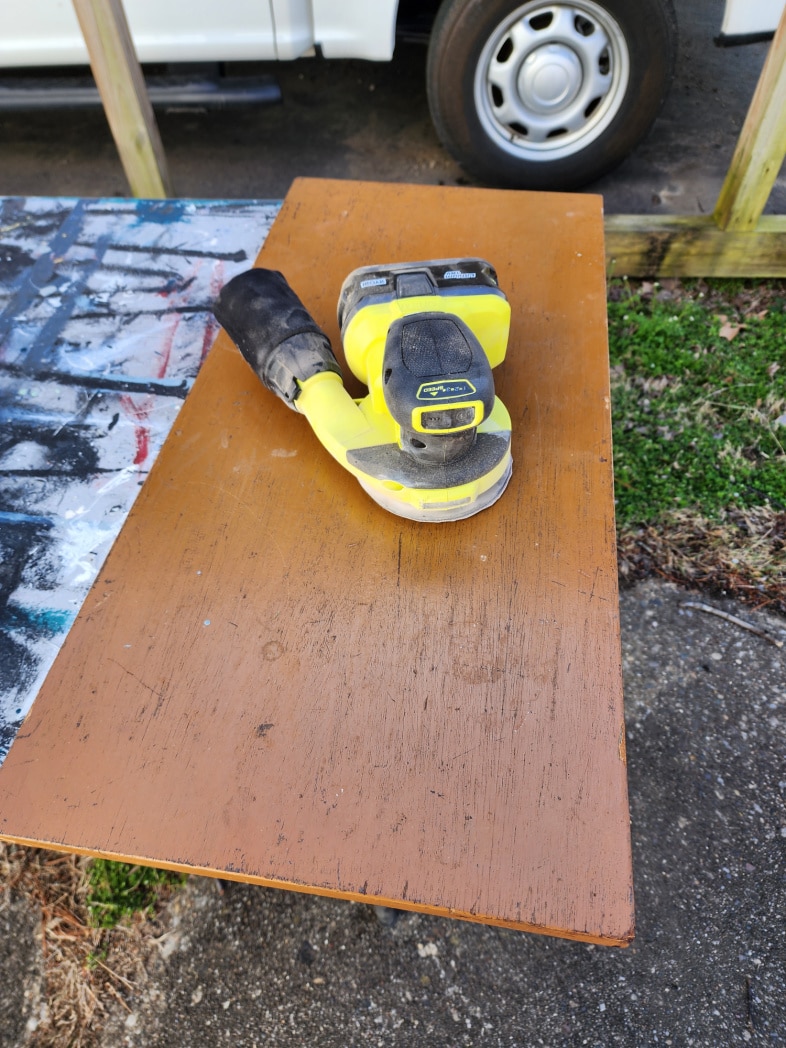
The top of the piano bench was in desperate need of sanding.
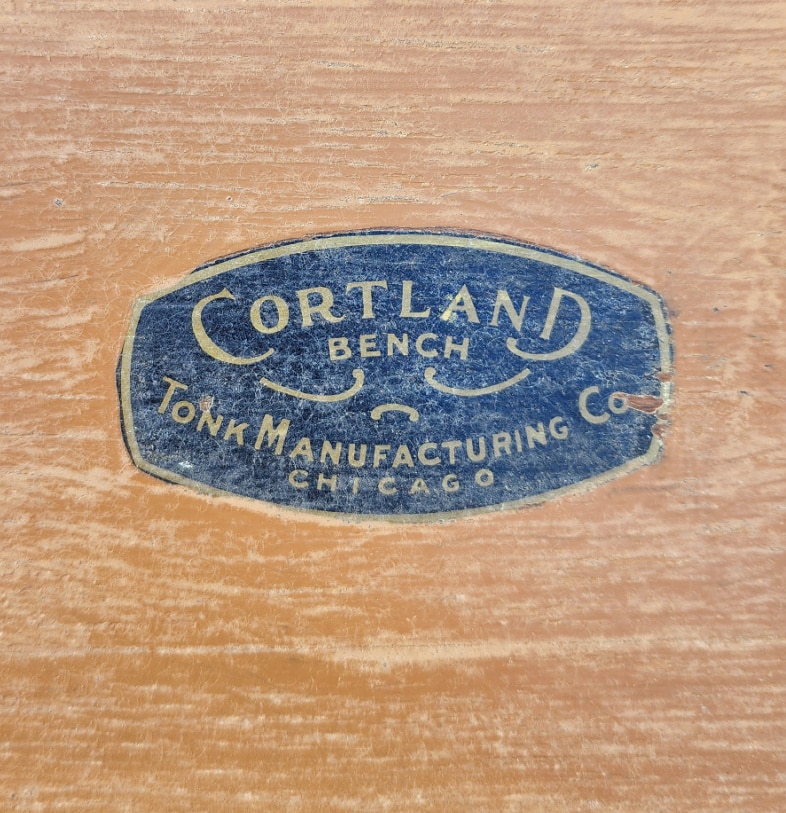
The inside of the lid reveals the manufacturer of the Cortland pianist bench, Tonk Manufacturing Co, Chicago.
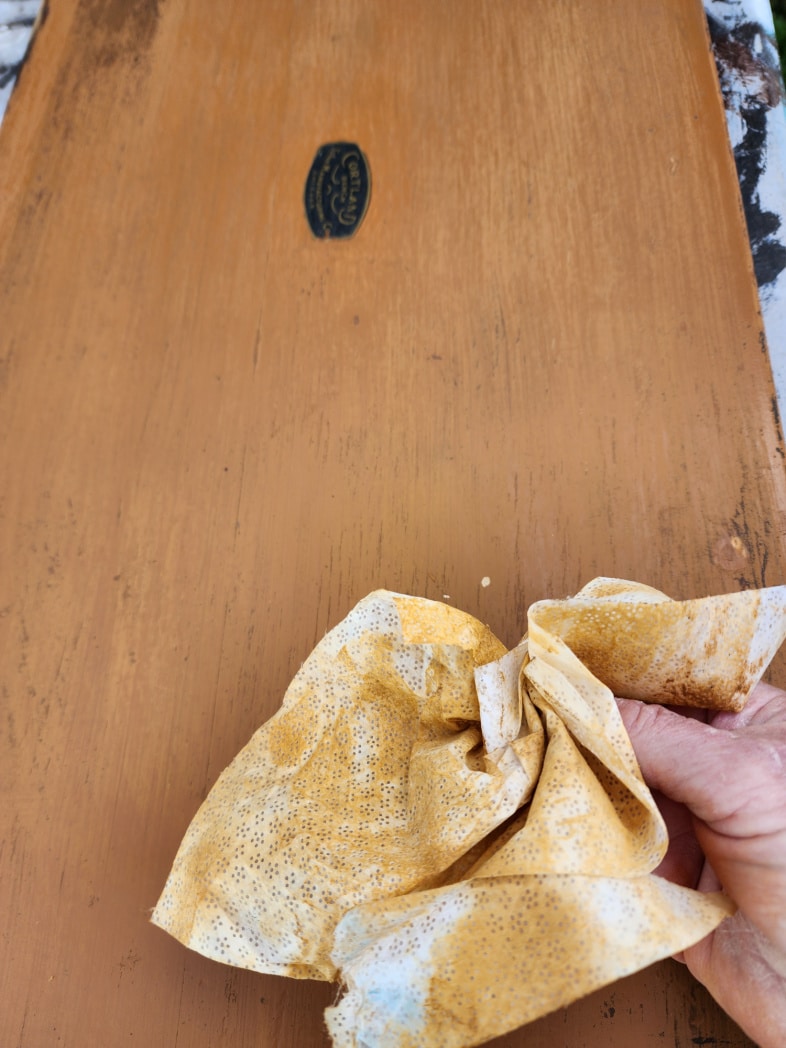
I used HTP Surface Prep Wipes to clean the music bench after sanding, removing dust, dirt, and grime.
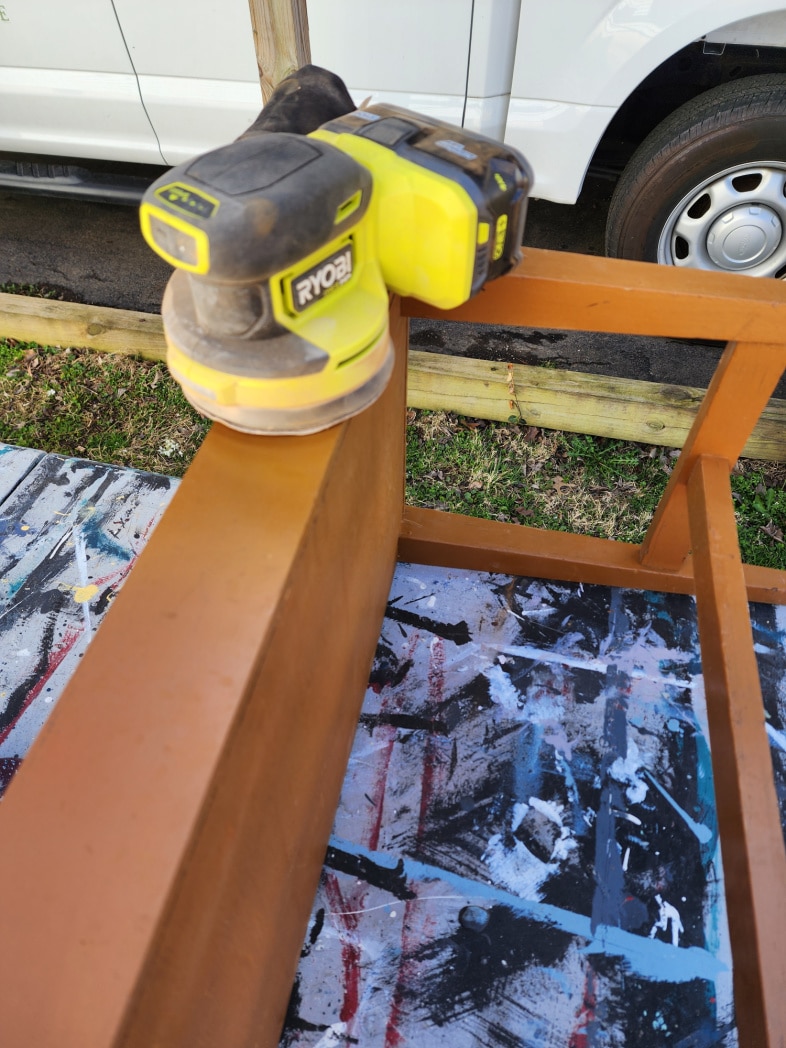
Then it was time to tackle the base and prepare it for painting.
DIY Piano Bench Makeover | Time to Paint

If you’re a regular reader of My Repurposed Life, you may know that blue is my favorite color! I chose a pretty French Toile color from Heirloom Traditions All-in-One Paint. I don’t think I’ve used this shade of blue before.
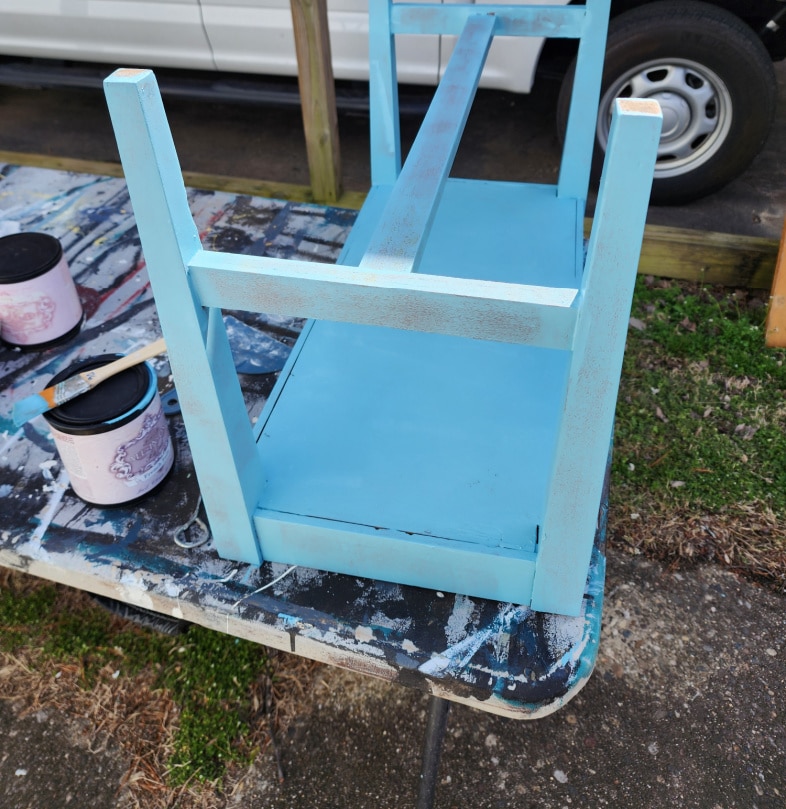
As always, I painted the base of the piano bench upside down using a paint brush and a small foam roller.
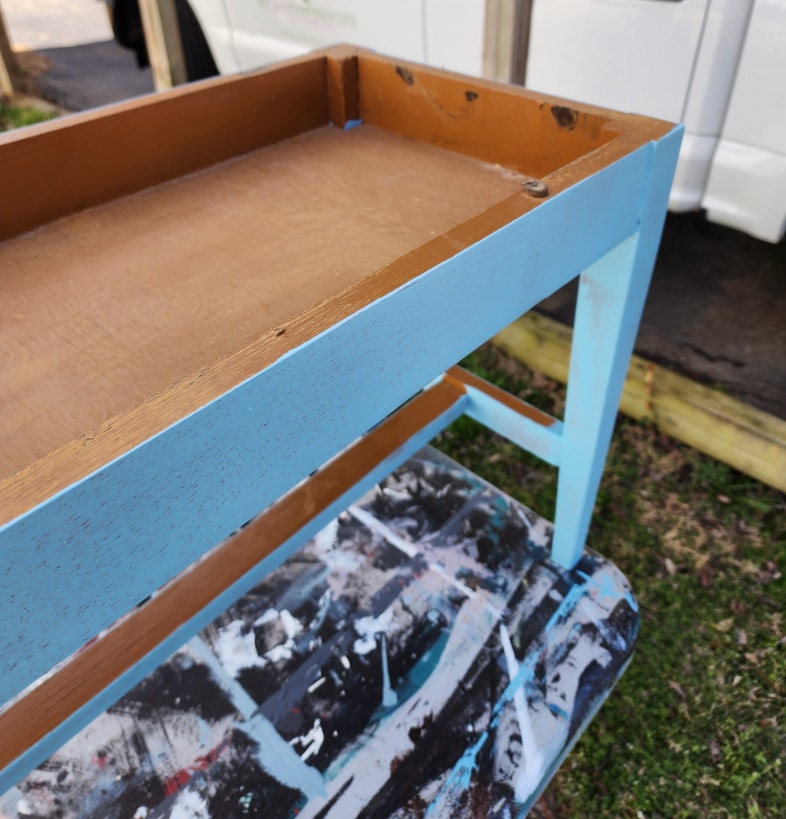
Flipping the bench right side up, I continue with the painting process.
Add a Lower Shelf to a Piano Bench
I recently harvested a lot of lumber from a discarded bed with storage drawers. I used two drawers to make a sweet hanging wall shelf. Click the following link if you’re interested in harvesting lumber from old furniture.
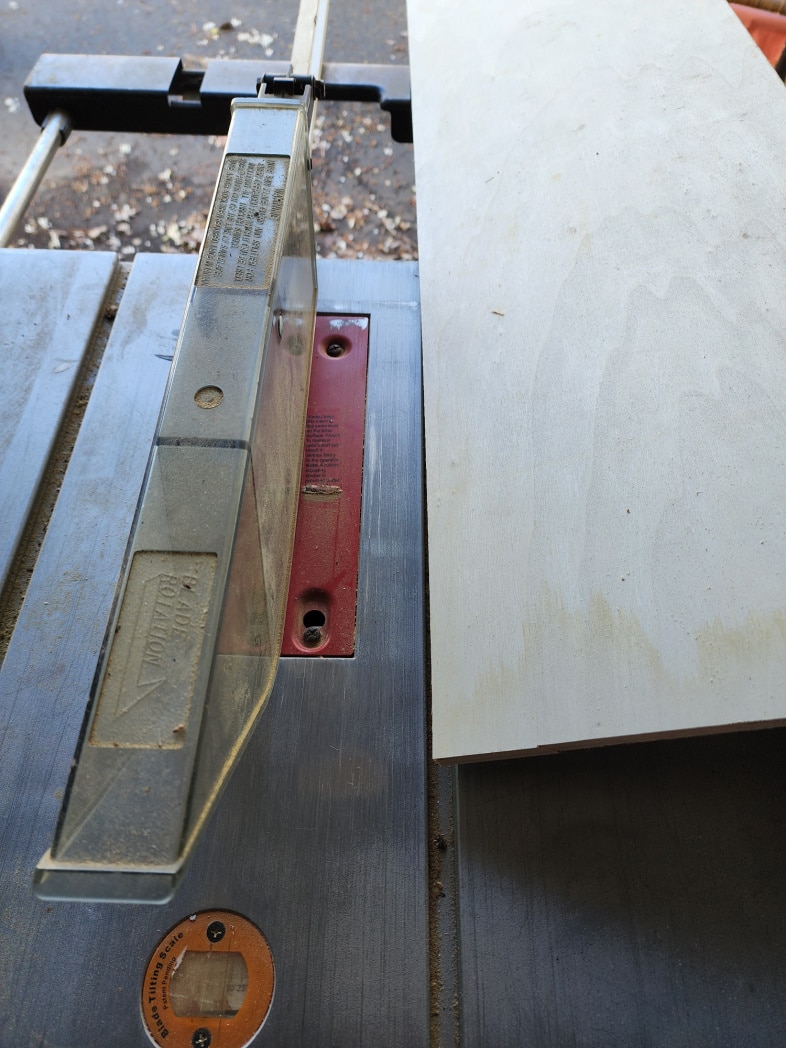
This piece of plywood was part of the curbed bed. I cut it to size on the tablesaw to make a lower shelf.
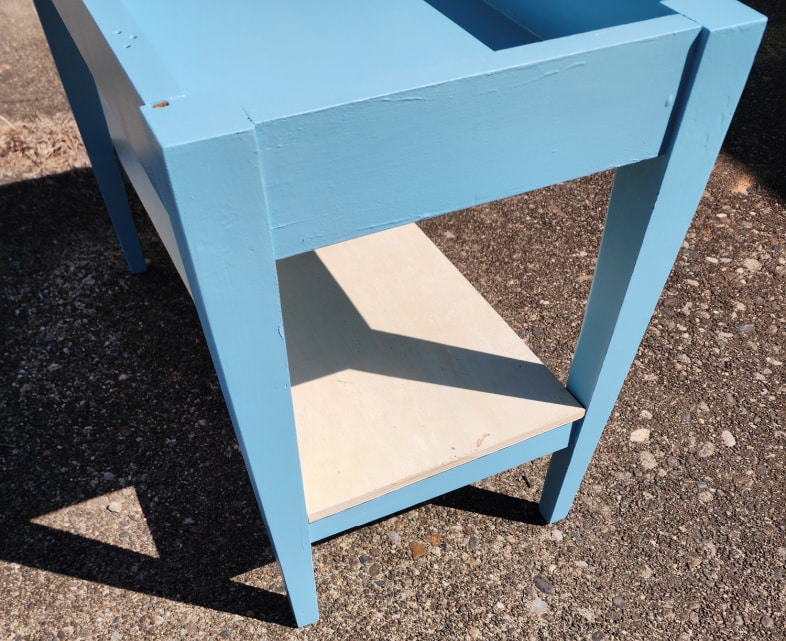
Adding a lower shelf to this DIY Piano Bench makeover was easy because it had a cross brace.
Touch-up Painting
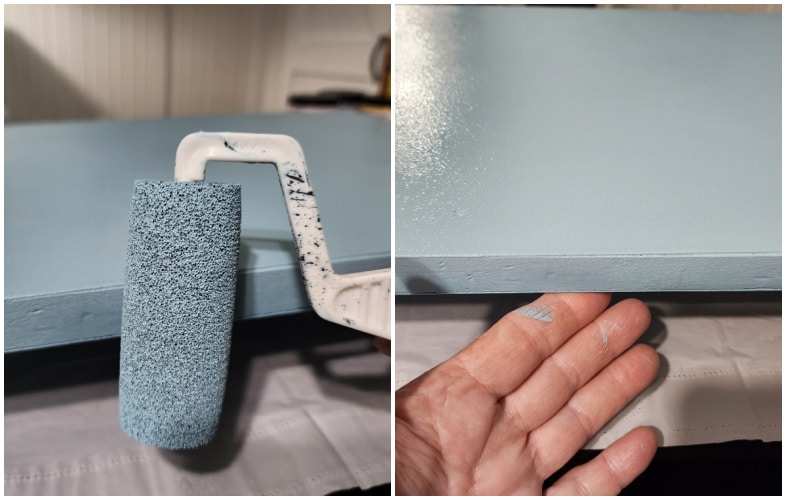
I brought the project inside for some final touches. Tip: When painting the edge of a board, running your hand under the board after painting will eliminate a thick bead of paint from collecting.
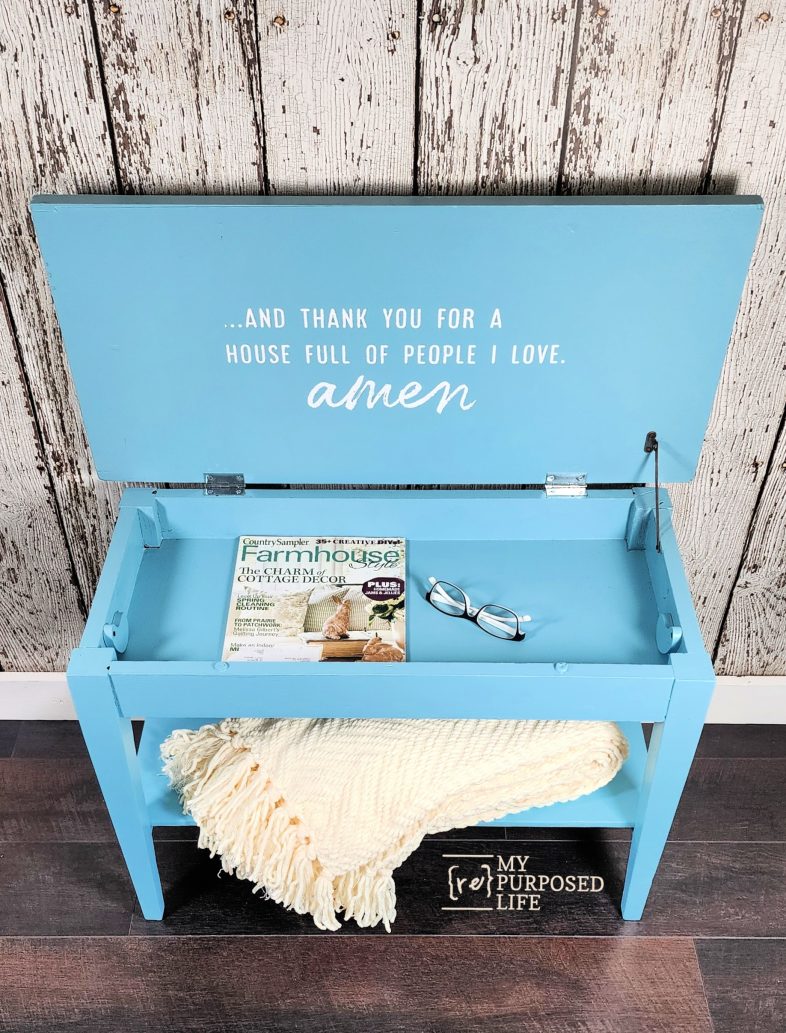
Word Art Using a Stencil
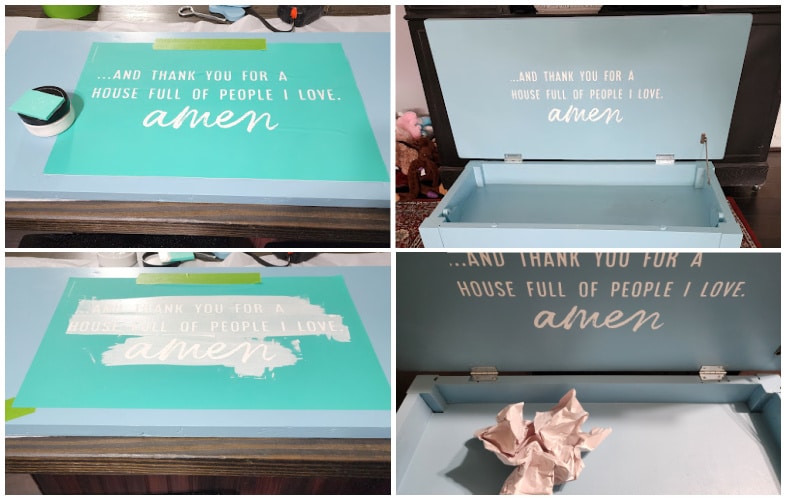
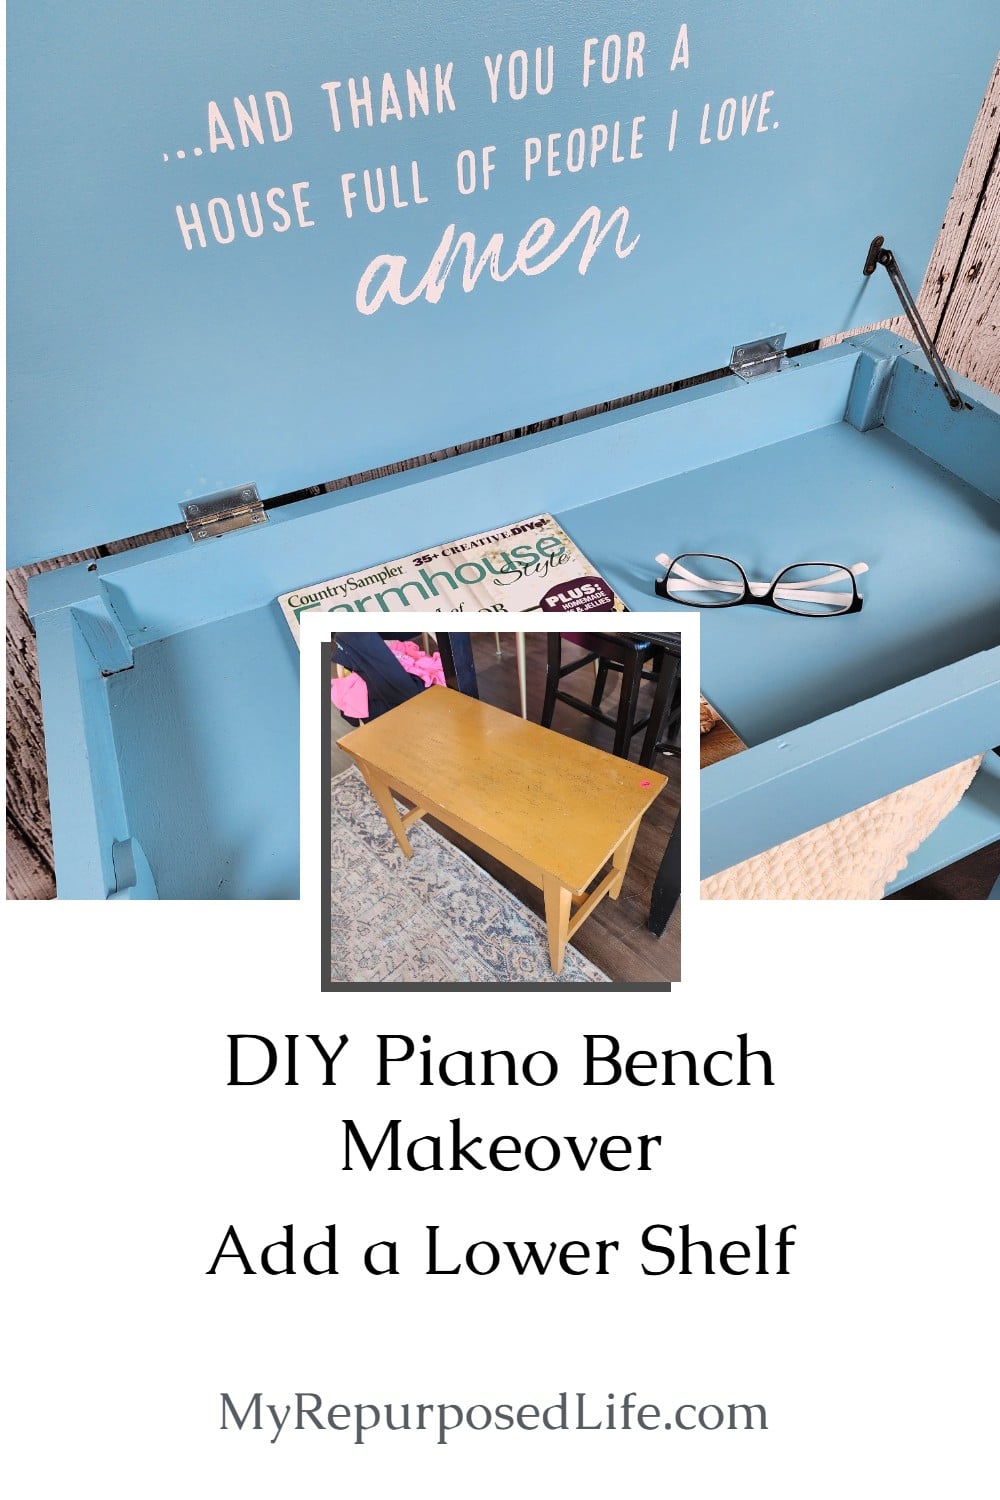
In Chalk Couture, we don’t call it a stencil, we call it a screen print transfer. I thought this large sentiment would be perfect on the inside of the lid.
How To Chalk a Transfer
- Center Transfer (Use painter’s tape as a “hinge”
- Lift transfer to remove backing paper
- Apply Chalk Paste to the screen print
- Remove transfer and wash with cool water
- Allow a few days for the Chalk Paste to set
- Burnish the Chalk Paste with craft paper
- Wax (optional)
The DIY Piano Bench Makeover is Complete!
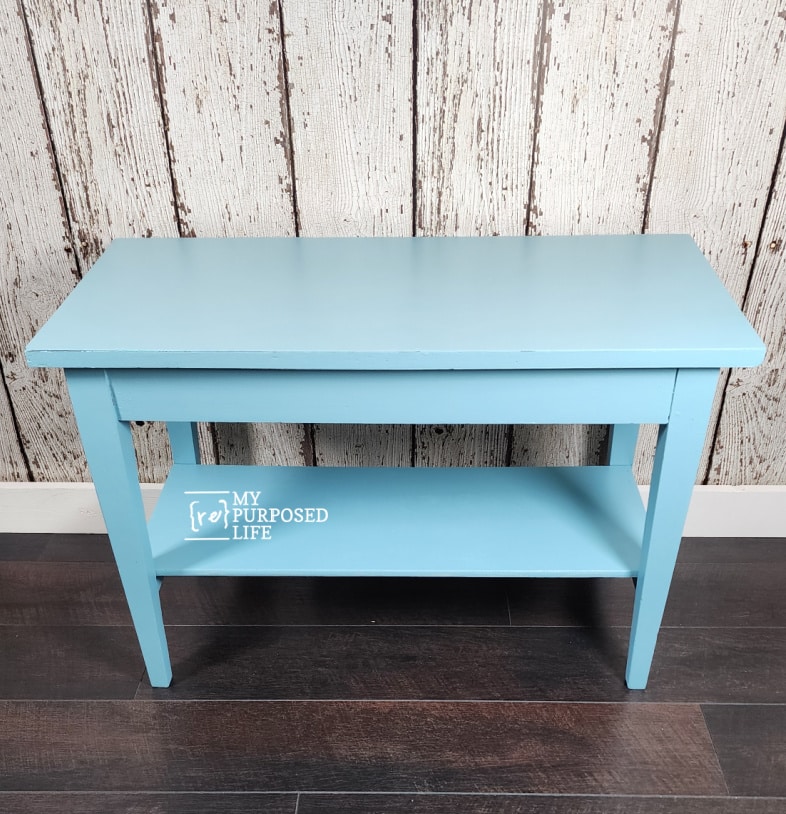
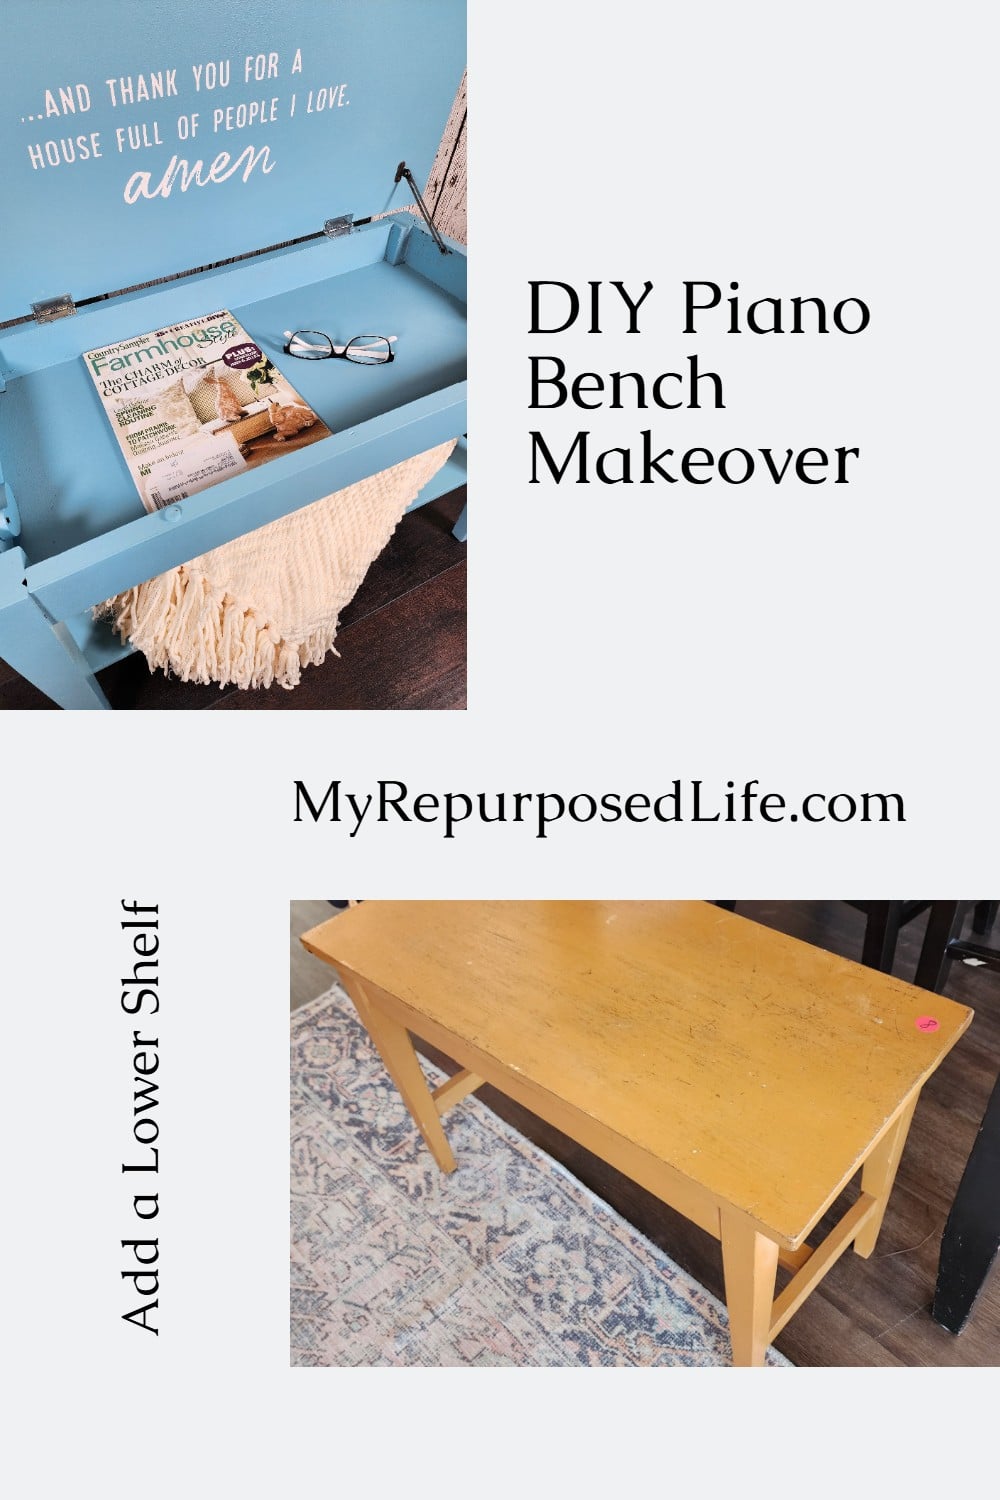
I love the addition of the lower shelf, don’t you? This cutie would be perfect for an end-of-bed seating.
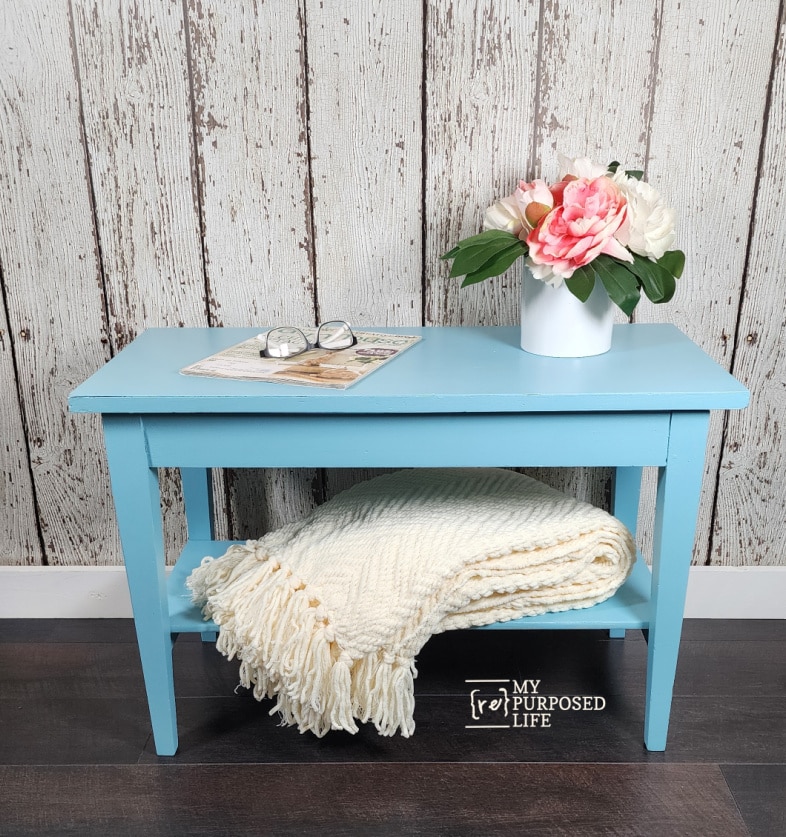
Where would you use a bench like this? It could hang out in a foyer for shoes and then quickly be used as extra seating in the kitchen, living room, or patio.
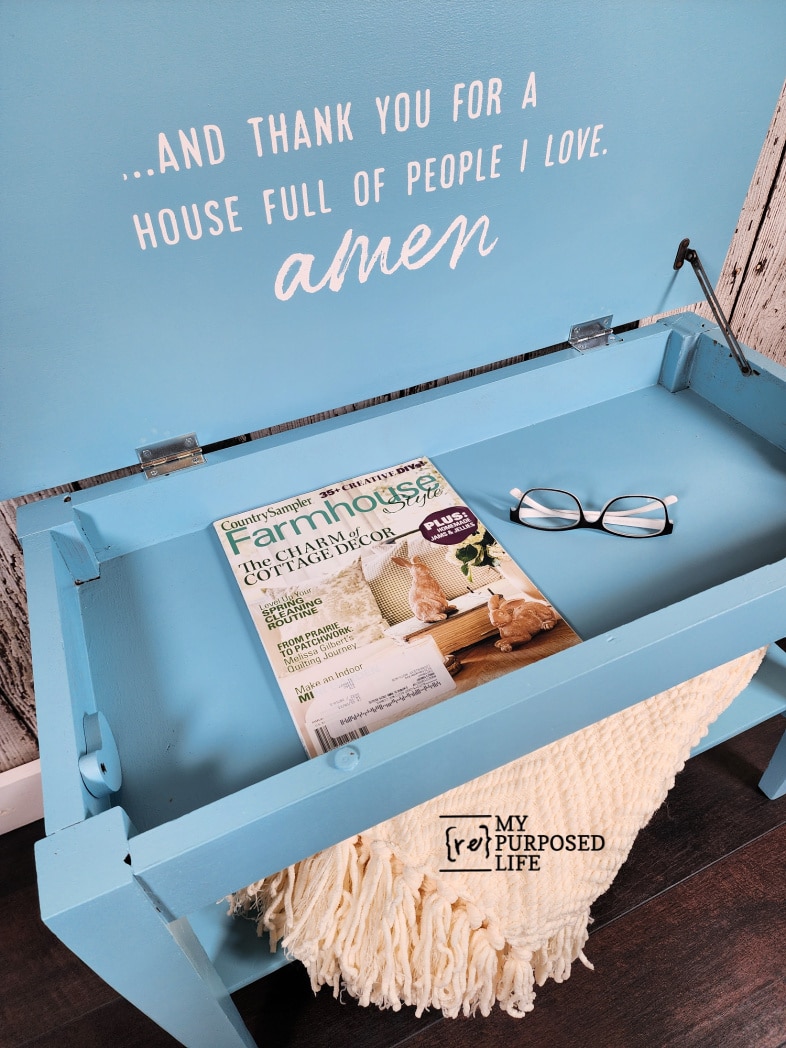
I painted and replaced the wooden pieces that let the lid rest on an angle when closed.
Related Content: I think you’ll love what Christy added inside the lid on her piano bench, take two!
The French Toile color isn’t as bright in real life as in the photos. Although I love how it turned out, it will soon be heading to my booth.
This DIY piano bench makeover was a fun and satisfying project, from the fresh coat of paint to the added lower shelf, especially the stenciled phrase inside the lid, giving it a unique, personal touch. It’s incredible how creativity can breathe new life into an old piece of furniture. Whether you’re updating a bench you own or rescuing one from a thrift store, I hope this DIY Piano Bench Makeover project inspires you to see the possibilities in something simple. Let me know if you give your piano bench a makeover!
As I mentioned above, it’s Furniture Fixer Upper Day! Let’s see what my friends have been up to:
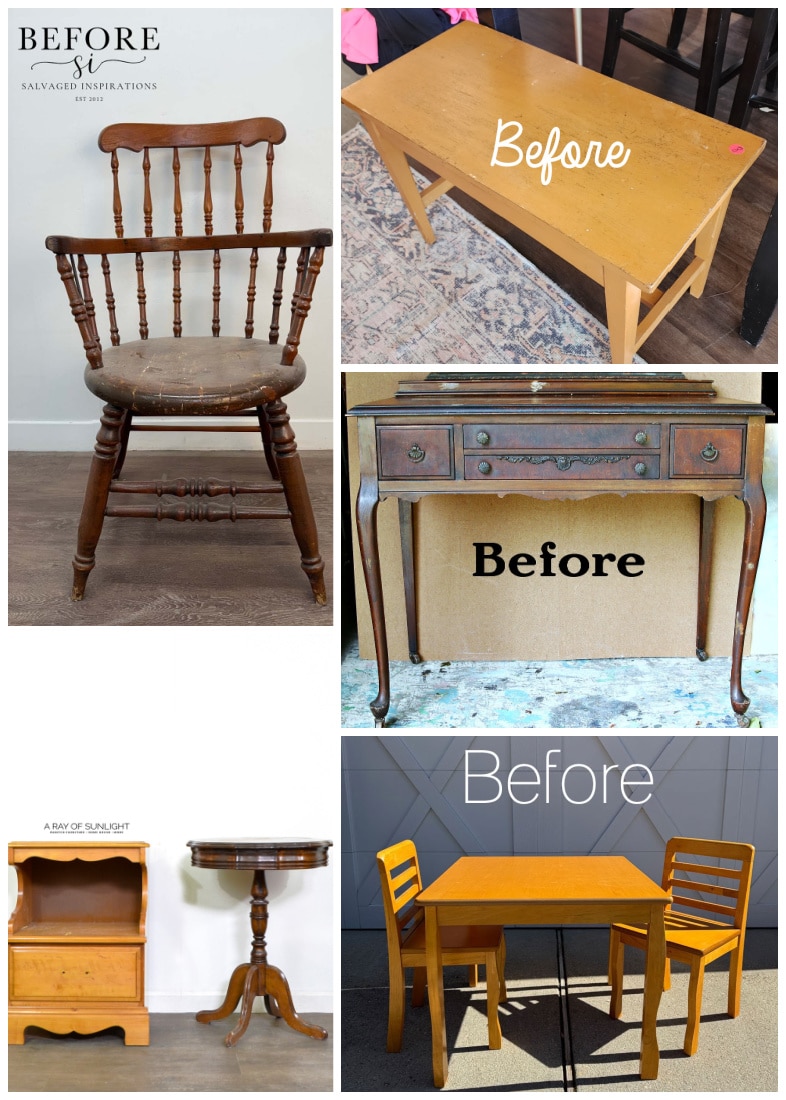
- How to Paint a Wooden Chair
- Piano Bench Makeover (You are here, thank you)
- Writing Desk, Black With Gold Accents
- How to Paint End Tables
- Paint Kids’ Table and Chairs
Furniture Fixer Upper Tour Projects
If you love seeing old furniture get a second chance, be sure to visit more Furniture Fixer Upper Tour makeovers. Each project starts with good bones and ends with a fresh new story.
See more Furniture Fixer Upper makeovers here
You will find everything from small side tables to large statement pieces, all transformed by talented DIY bloggers who believe in saving furniture rather than replacing it.
I am horrified that you destroyed an antique, even getting rid of the old Cortland label! You turned it into an ordinary bench.
This is such a wonderful job! Love that you made it functional!
Thank you Natalie. I love easy blue furniture makeovers. 🙂
gail
I love the shelf idea and never would have thought of it! Pinned, Kathy
Thanks Kathy! I figured it was a pretty simple addition of the shelf since the brace was already there. Thanks for pinning!
gail
You always bring new life to really used and forlorn pieces.
This bench is happy and cheery now. And definitely benefitted from your repairs.
I’ve learned alot from your detailed repair tutorials.
Thanks you !!
Thank you so much! I do love what I do. but it seems life keeps getting in the way and the garage needs a few more items gone. 🙂
gail
This is sooo stink’n sweet Gail. I wouldn’t have thought of adding a shelf on the lower portion of a piano bench – brilliant! I love the ‘surprise’ when you open the lid as well. I bet it’s going to be a quick sell in your booth! Pinned XOXO
Your comment is so kind Denise, thank you! The lower shelf was a fun addition.
gail
Super cute now, Gail, and I love the added shelf! The addition of the stencil is a sweet surprise when you open the lid! XOXO
Thanks so much Christy! I love quick makeovers, but was happy to use the saw for this one. 😉
gail
Last Monday, I picked up the same piano bench at the local thrift for $4, and then 10% off for seniors day — in perfect condition — woohoo! It’s been sanded and cleaned waiting for inspiration and up pops your Fixer-upper piece. Love your color and the sentiment inside!!
Janice!
How fun is that! I’m so glad you saw this piano bench makeover for some inspiration. What a great price. I hope you have fun giving it a new look!
gail