DIY Spindle Table
As an Amazon Associate, I earn from qualifying purchases.
Why do I love DIY so much? Because it allows me to make this custom spindle table to meet my specific needs!
Vintage Wooden Tool Chest
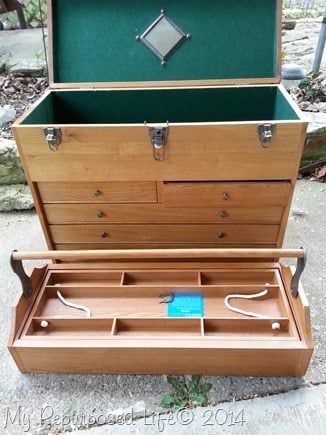 Do you remember this wooden tool chest I got from Andy while he was going through his dad’s estate? I knew it would be the perfect storage option for my blog stuff, like biz cards and such. I set out to make a DIY spindle table to set the tool chest on.
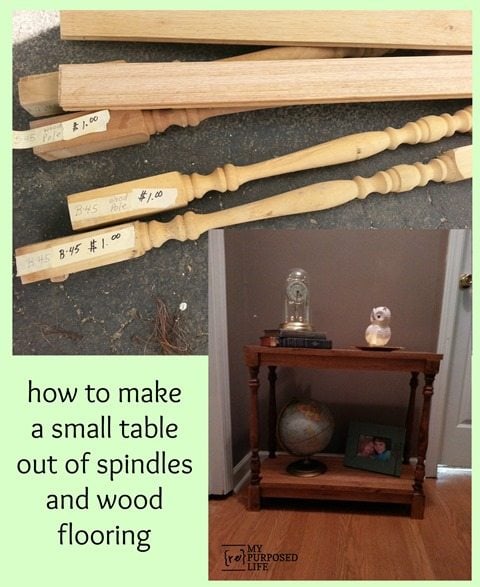
Materials for DIY Spindle Table
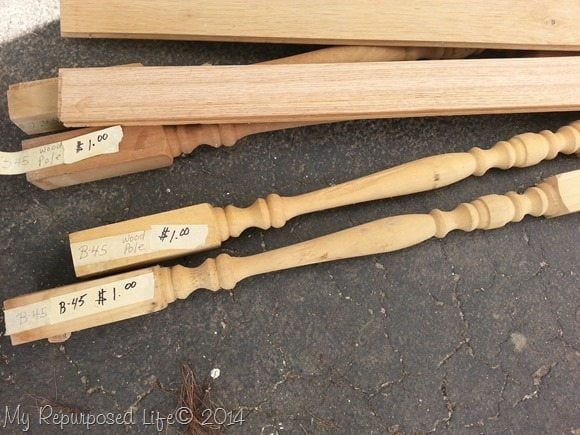 I used some old spindles I had in the shed, and hardwood flooring I’ve had for years.
Use Pocket Hole Joinery
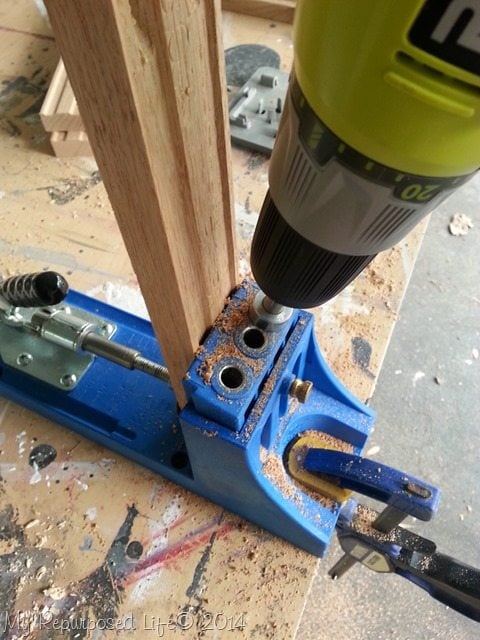 I ripped the tongue and the groove off of some of the flooring boards with my table saw, then used my Kreg Jig to make the pocket holes.
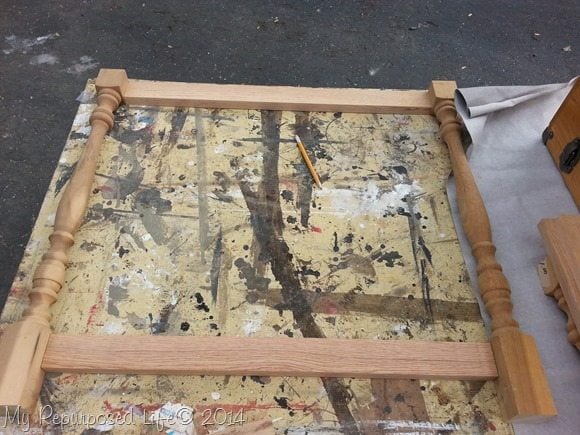 This is some dry fitting going on.
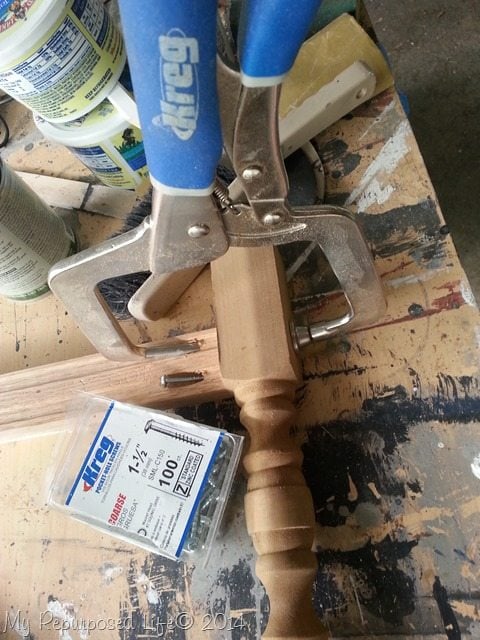 TIP Even though the flooring is 3/4” thick, I used a longer screw than the recommended 1 1/4” because I was securing the 3/4” floor into a thicker spindle, and I wanted a good hold. For an extra set of hands, I used the Kreg Right Angle Clamp .
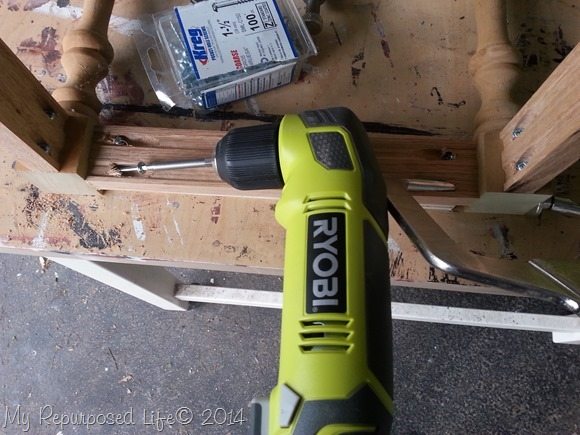 It’s hard to see, but I cut some scrap pieces of plywood and paint sticks to raise the wood off of the table so the skirt would be in the middle of the spindle, not toward the front. Using the scrap wood pieces insured that all of the pieces would be uniform. In these tight spots it’s handy to have my new Ryobi right angle driver. No more securing screws by hand in tight spaces.
Basic Spindle Table Construction
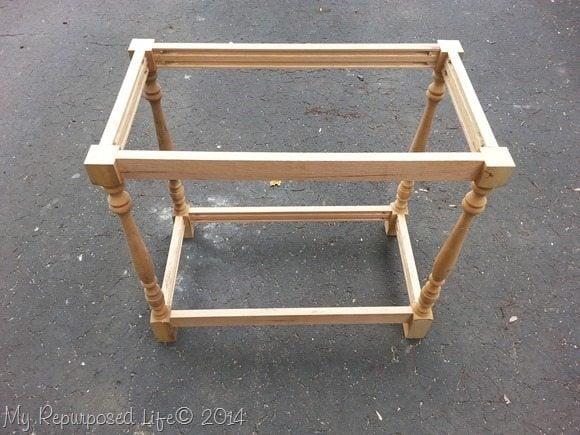 Here you can see what I’m talking about how the pieces are located in the middle of the spindles, giving it a more professional look.
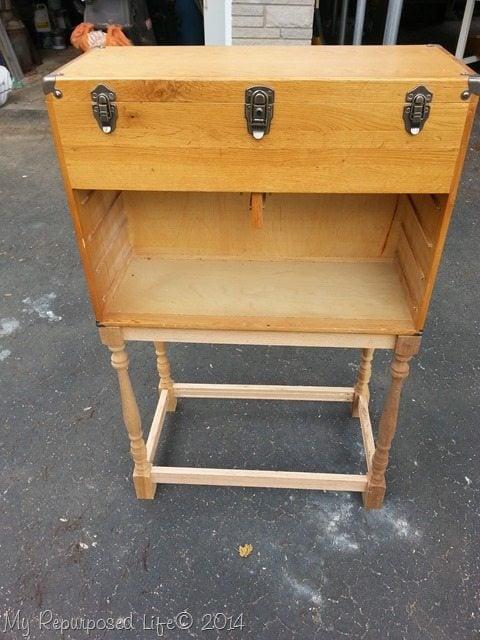 I was so excited to set the tool chest on my new base!
Uh Oh! Measure Twice Build Once!
 oops!
oops!
Oh my gosh! imagine my surprise when THIS happened! While measuring the front I was sure to subtract the width of both spindles, but somehow while measuring the sides, I forgot to do that, so the base was too deep. ![]()
There was nothing to do, except take it apart and redo it. I was very frustrated, and didn’t take any pictures, but it consisted of me removing the screws, cutting off the 4 side pieces, drilling MORE pocket holes, and putting it all back together.
Stain The Spindle Table
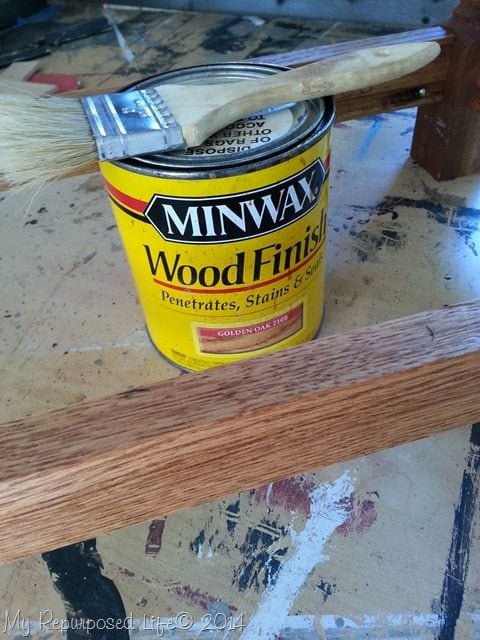 Happily I was on to the next step, the staining process. I was trying to match the original color of the wooden tool chest by using Minwax Golden Oak .
 I stained the base and all sides of the raw wood flooring that I had ripped and cut to size for the bottom of the table base.
Seal with Minwax Polycrylic
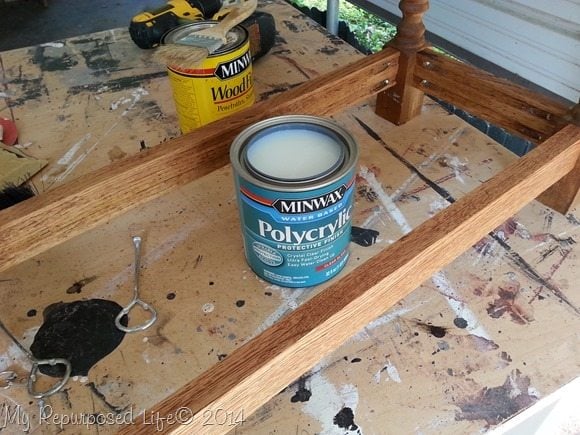 Then, everything got a quick coat of Minwax Gloss Polycrylic It’s water based, and one of my go-to products for a tough top coat.
DIY Spindle Table
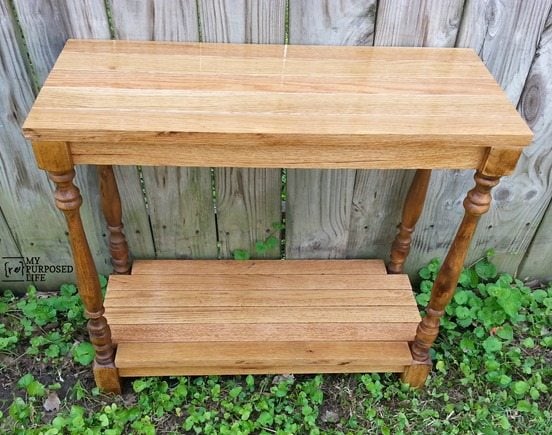 I ran out of raw wood flooring after cutting the bottom boards. Initially I considered just sitting the tool chest on top of the base, without making a table top. However, the table turned out so cute, I thought it deserved to have a real top.
I was very lucky to have some finished wood flooring that was a perfect match. But I had to rip the tongue off of the front board, and the groove off of the board in the back, and secure them the way they were intended to be connected. I used my Ryobi nail gun to secure all the boards to the table.
Perfect To Hold Machinist’s Tool Chest
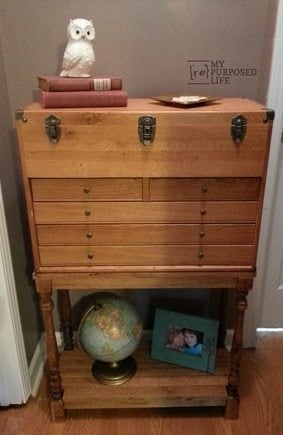 Here it is holding the repurposed wooden tool chest.
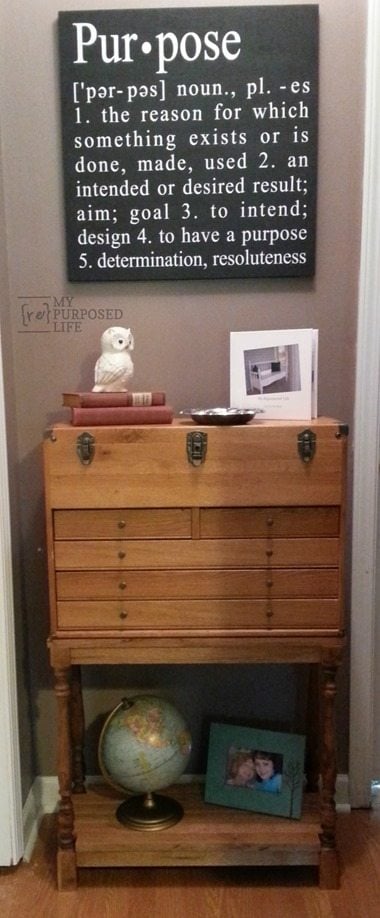 I put it in the hallway. But, I had to move my “Purpose” sign a little higher to accommodate opening the lid.
Tool Chest as Office Storage
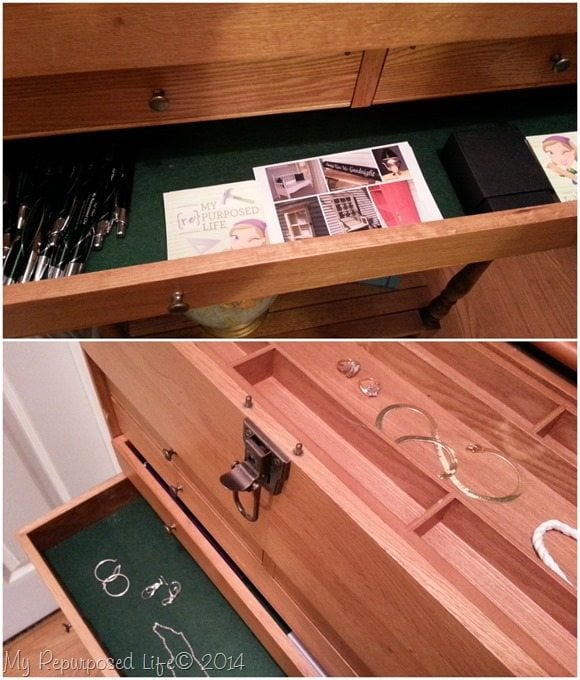 I will be using this very handy chest to help keep me organized with my blog stuff, like biz cards etc. But it would also make a great jewelry chest for those who own a lot of bling!
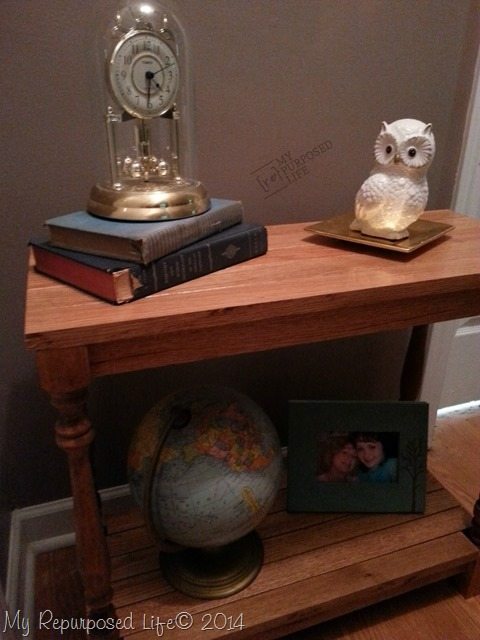 One more look at the table I made!
I am sure you’re happy I didn’t cut up the tool box. It never even crossed my mind. I’m happy that Andy thought of me when he found this tool chest among his dad’s treasures.
gail
Want to see more spindle projects, tables, or built from scratch?


Thank you so much for this tutorial! I paint and sell furniture have a cabinet that I want to add some spindle legs to, and yours was the only professional looking finished project I could find. I’m excited to find another use for my Kreg Jig. 🙂
Awesome! I’m happy you found my tutorial helpful. I love my Kreg Jig too!
Good luck on your project, I would love to see it when it’s finished.
gail
Hello, I recently found a chest exactly like this. Im actually wondering if you have any insight on who might have made it? Or where it came from? There is no markings that I can find, I’ve went though hundreds of pictures. And ran across this. Thank you so very much,
Rebekah Haithcock
Rebekah,
It was given to me third hand, so I don’t have any information about it. I’m sorry I can’t be of more help.
gail