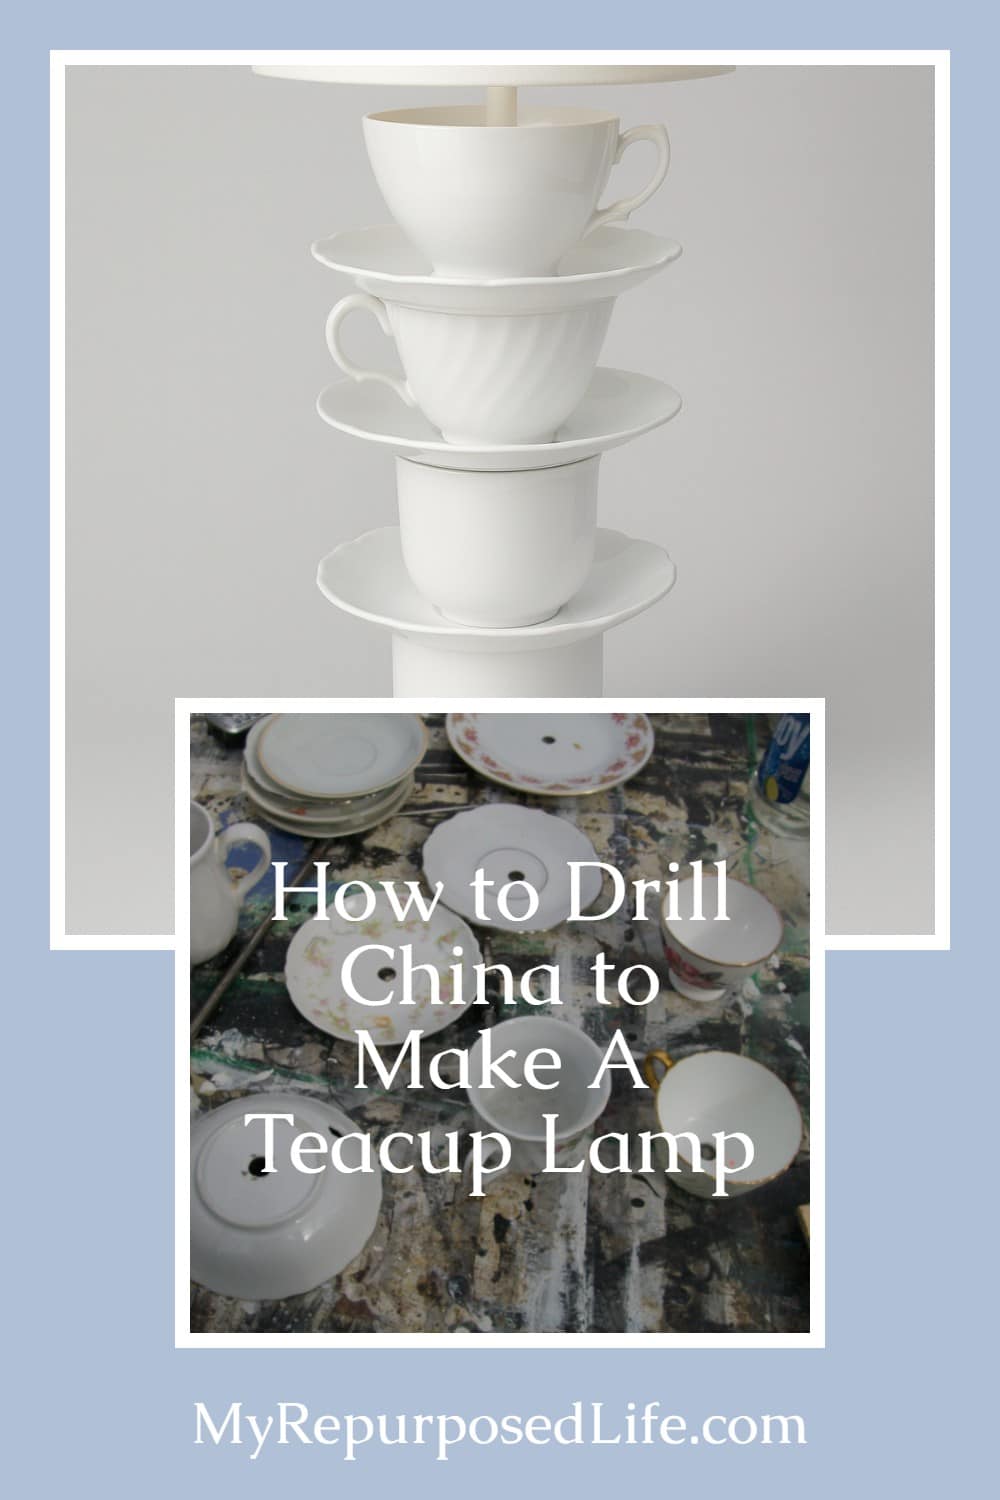
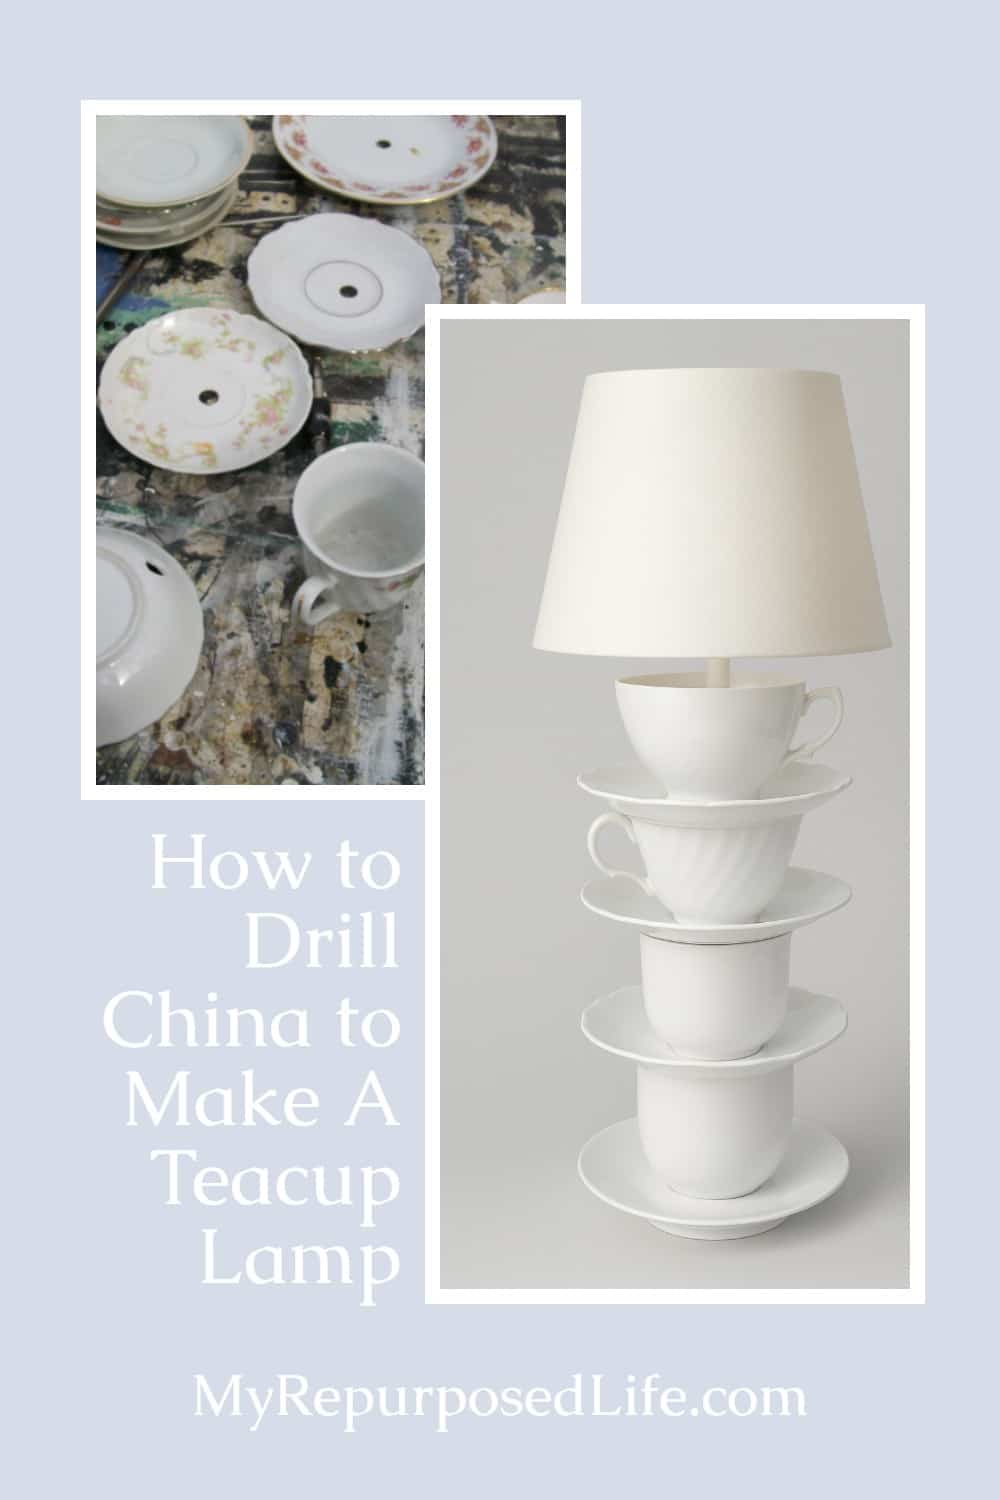
How to Drill China to Make a Teacup Lamp
As an Amazon Associate, I earn from qualifying purchases.
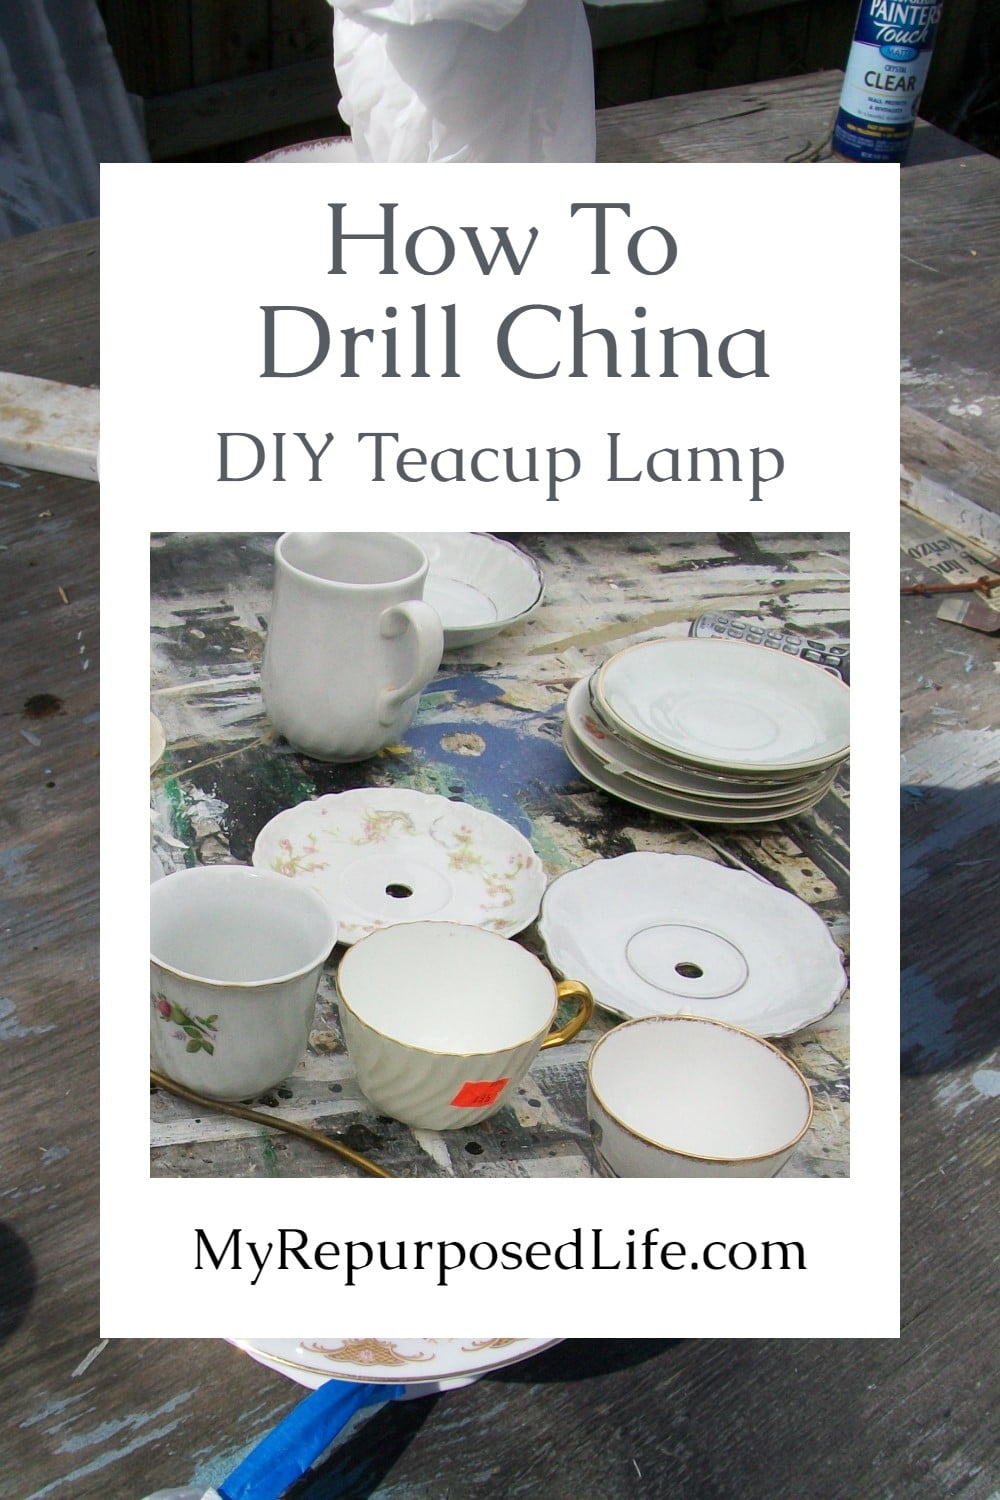
Delicate vintage teacups and saucers can easily be transformed into charming custom lamps. By carefully drilling holes through the center of each piece, these once-forgotten treasures become the perfect base for creating one-of-a-kind lighting. It’s a simple way to give old china a new purpose while adding a touch of timeless beauty to any space.
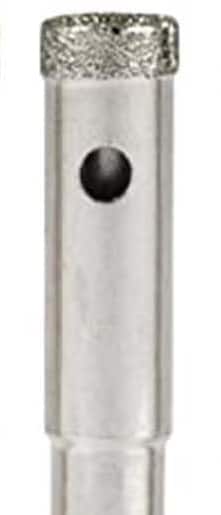
I used this type of Diamond Bit. I found it at Home Depot, but you can also find it on Amazon.

This was my first attempt at drilling glass. You can see other projects I’ve made at the end of this article.
Items Needed For Drilling China
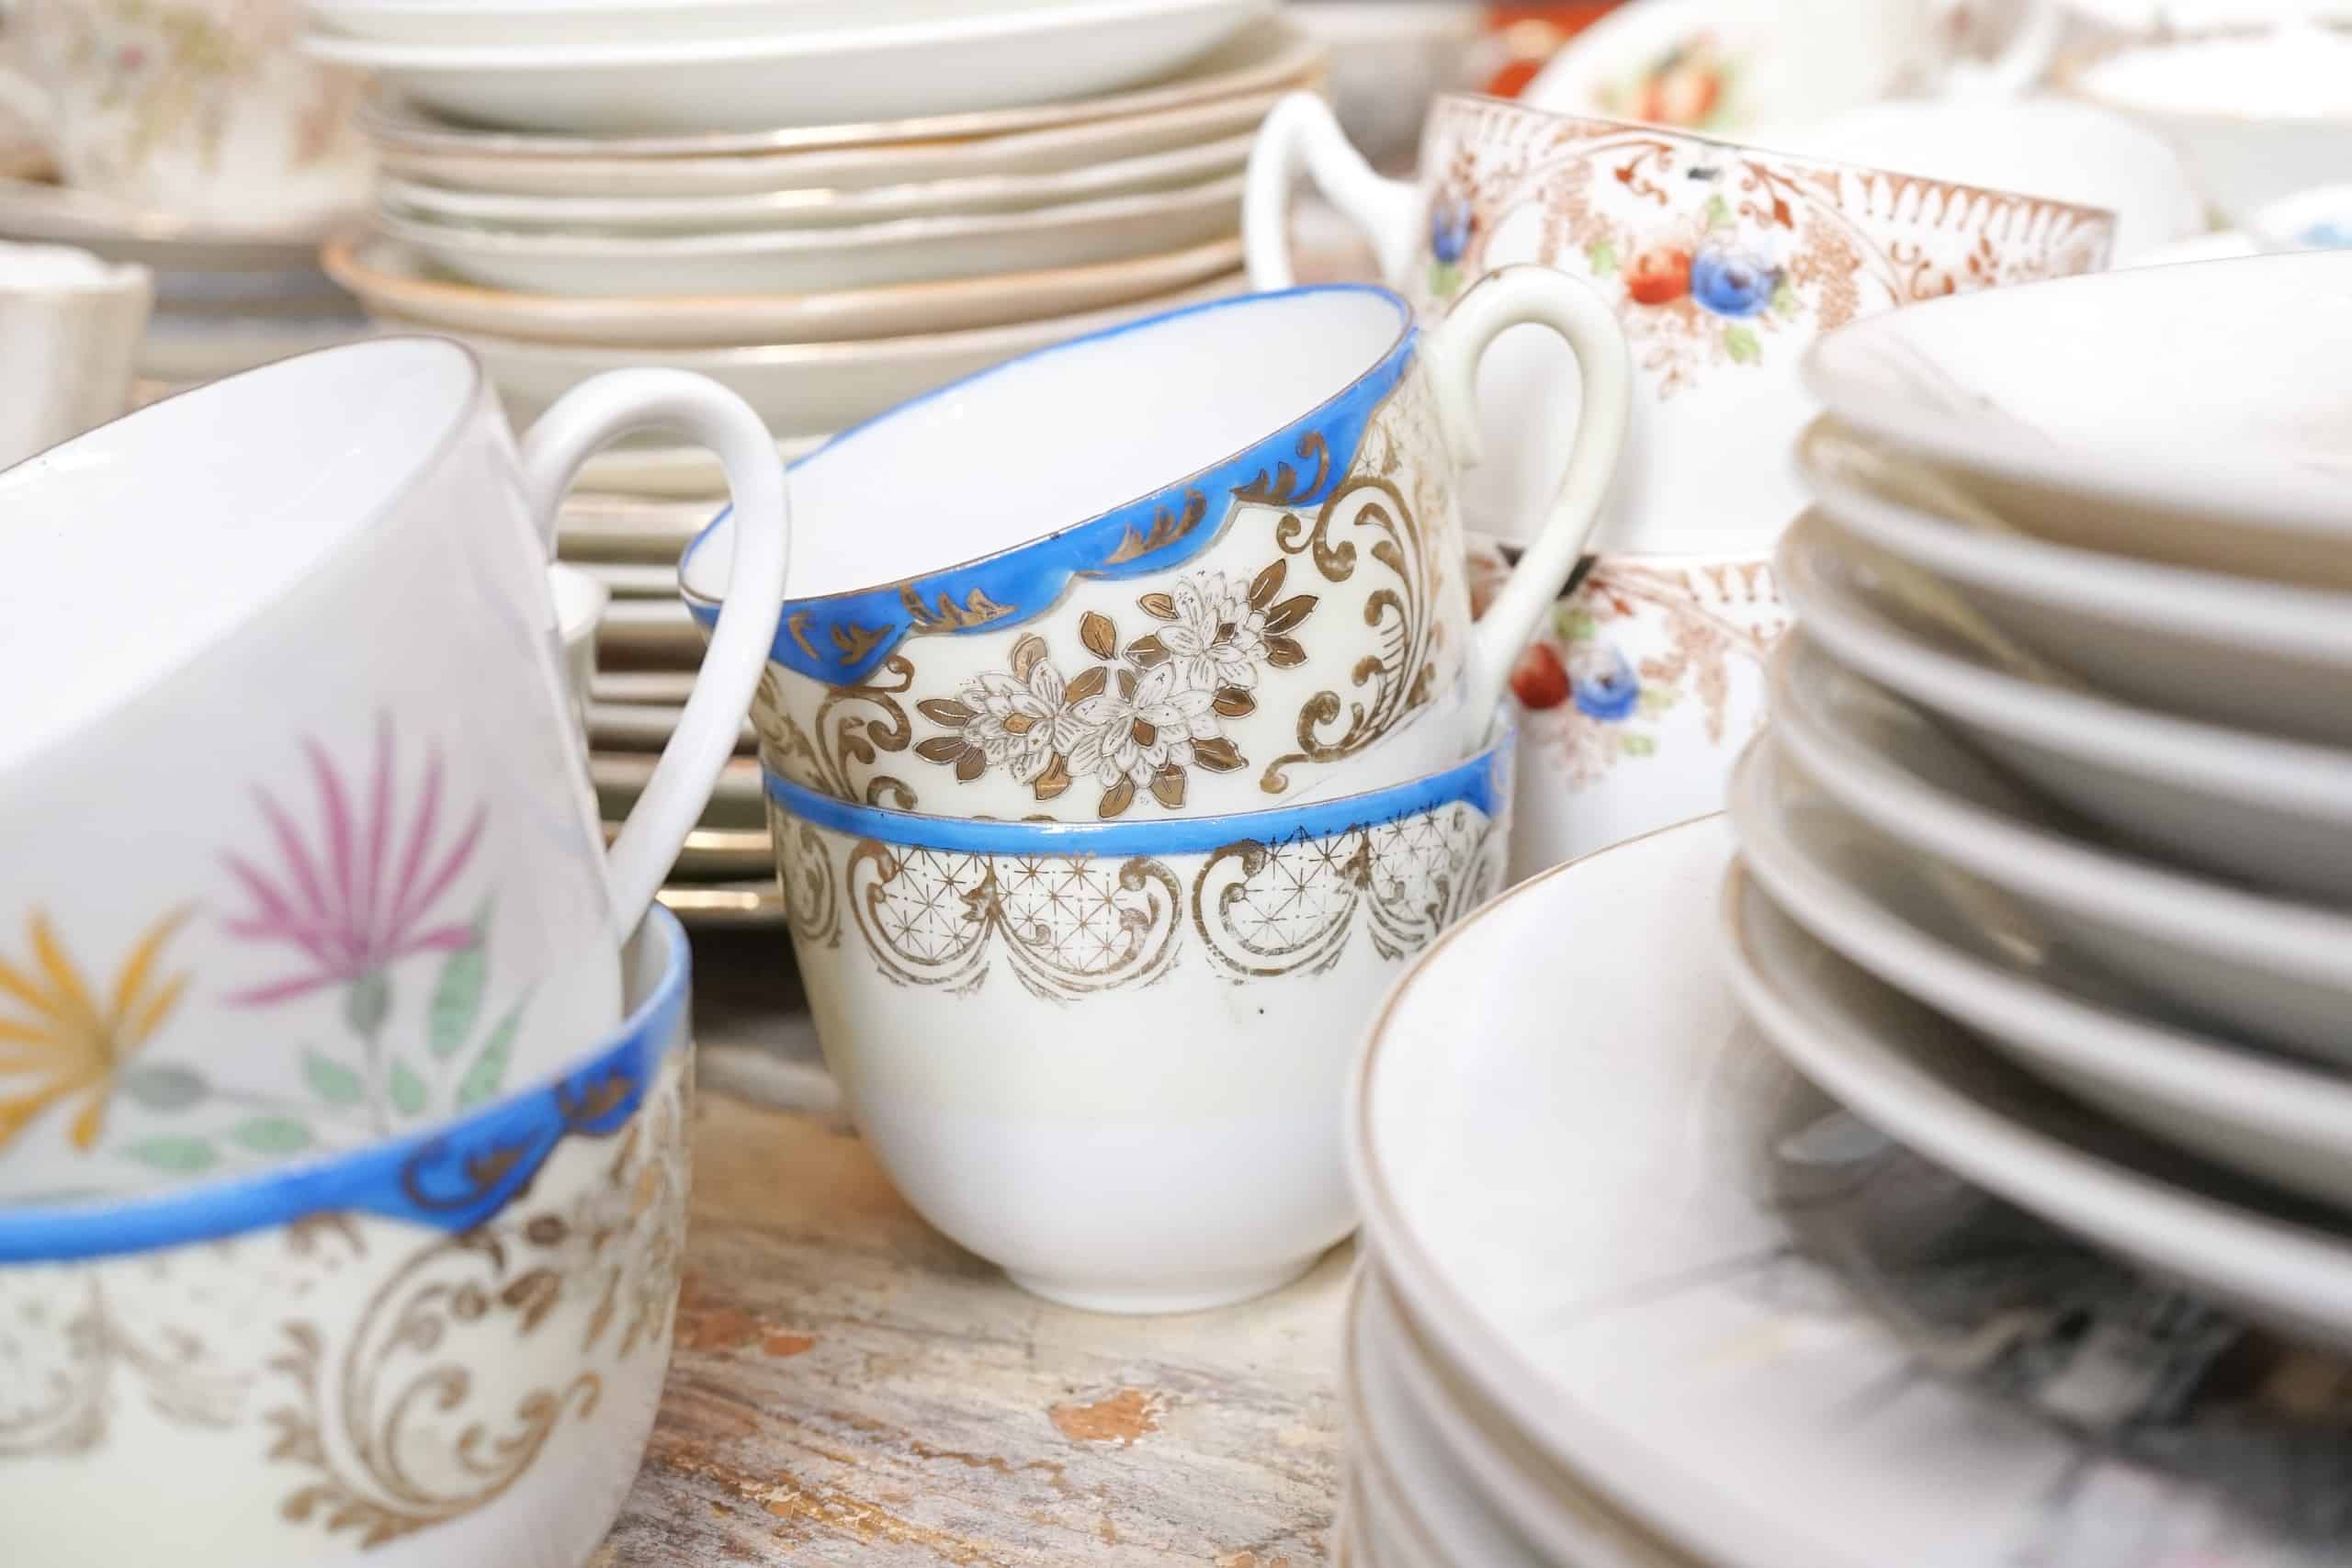
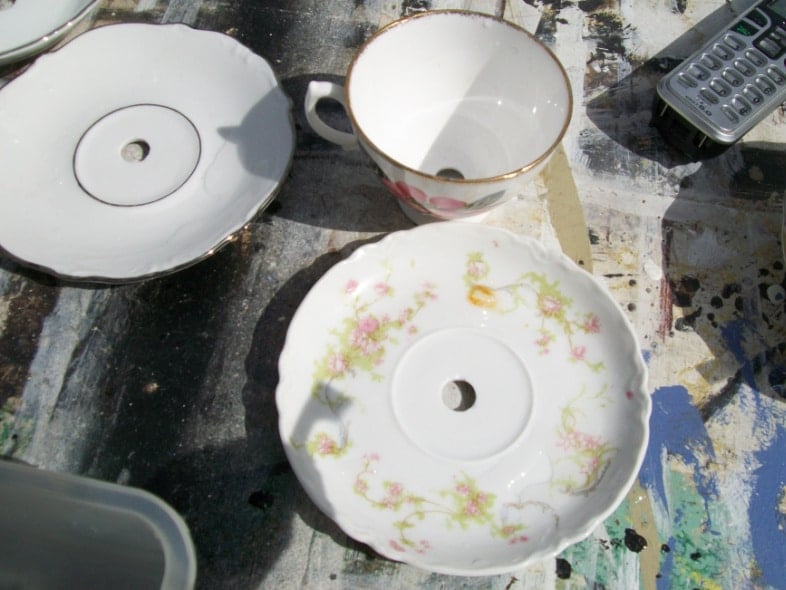
- Thrift store china, like saucers and teacups
- Old towel
- Water
- Plastic tub
- Diamond Drill Bit
- Heavy Duty Drill
How To Drill China
Add a rag and water to the bottom of a plastic tub.
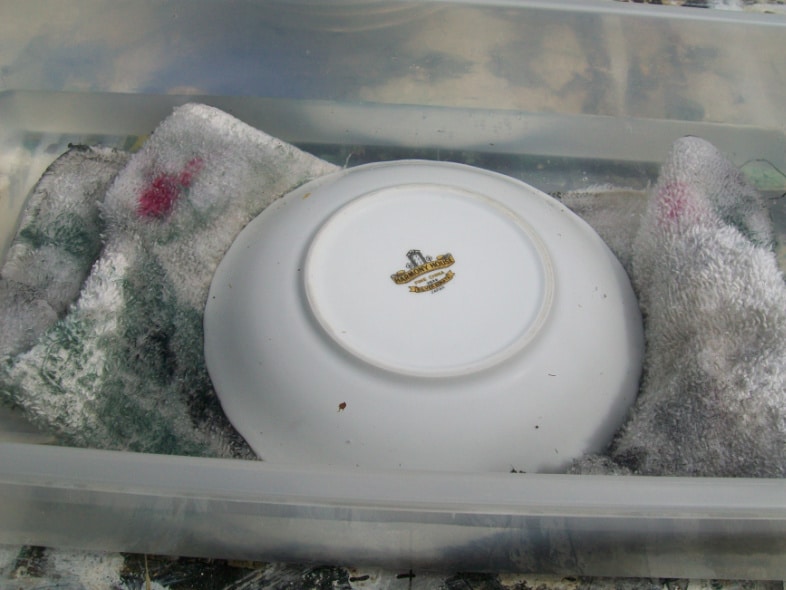
I placed my bowl in a container of water on an old rag to keep it from turning as I drilled. You just need enough water to cover the area where you’re drilling.
Use a Diamond Drill Bit on China
The water is necessary to keep the china cool while the diamond bit slowly does its job.
Drill slowly, keeping the china cool with the water.
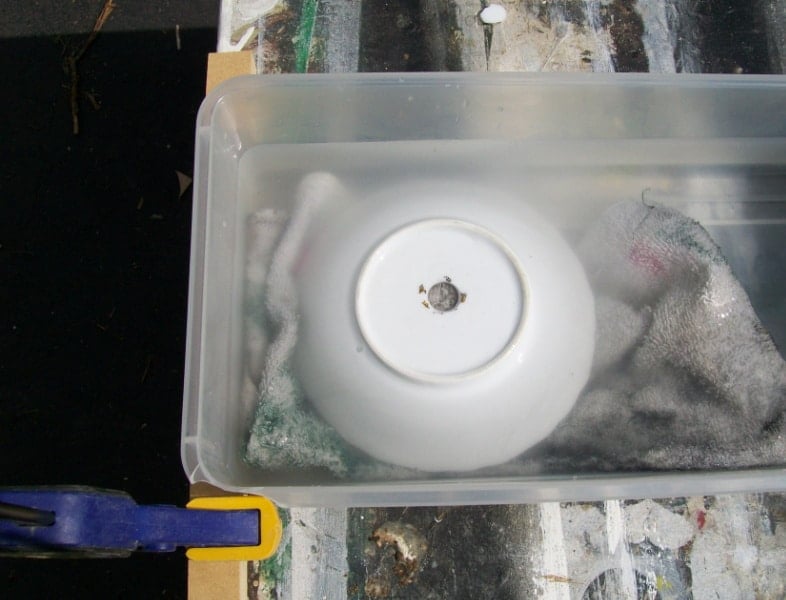
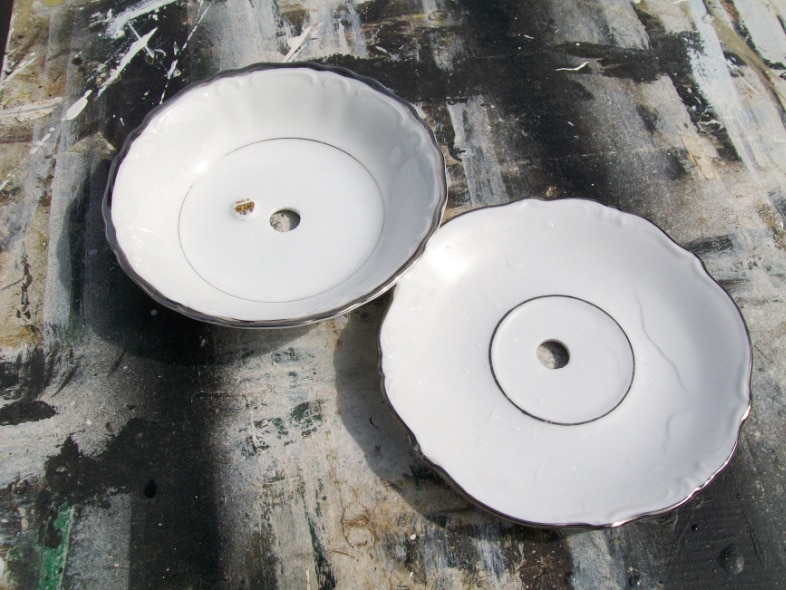
Isn’t it cute? Getting the hole right in the middle of a round object is a little tricky. Sometimes I use a large washer to help identify the center of a saucer or bowl.
Patience is the key to this project; slow and steady wins the race.
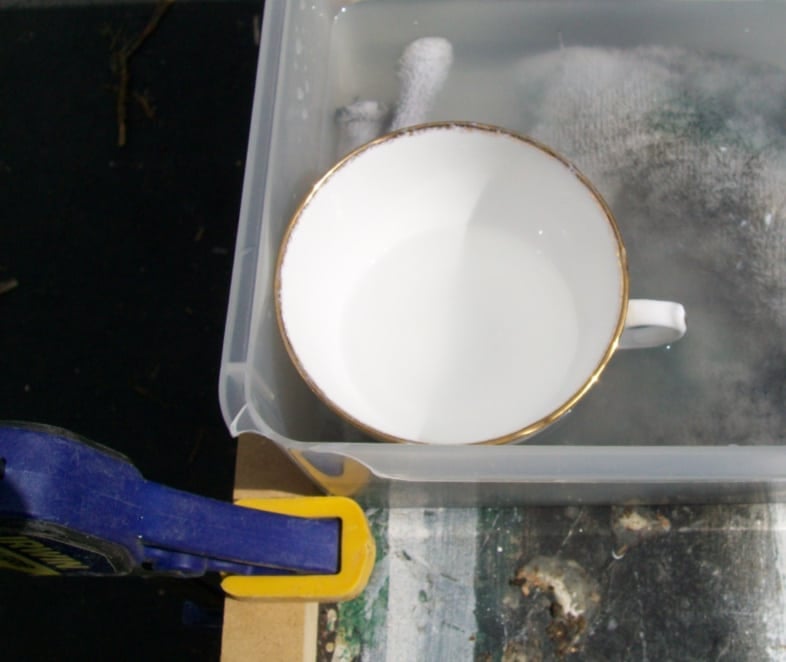
The clamp is holding a piece of scrap wood because the tub wants to “walk” across the table due to the vibration from the drill.
I recommend drilling more pieces than you think you’ll need so that you can experiment with the design of your lamp.
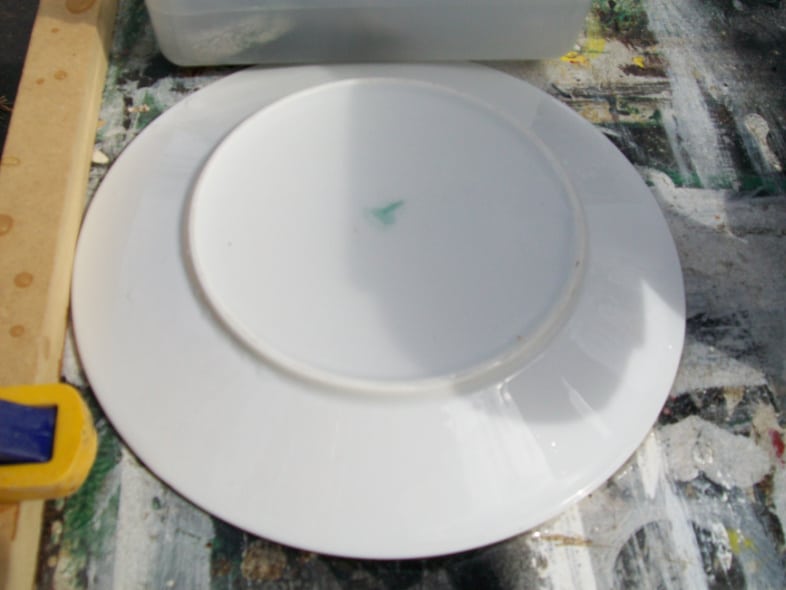
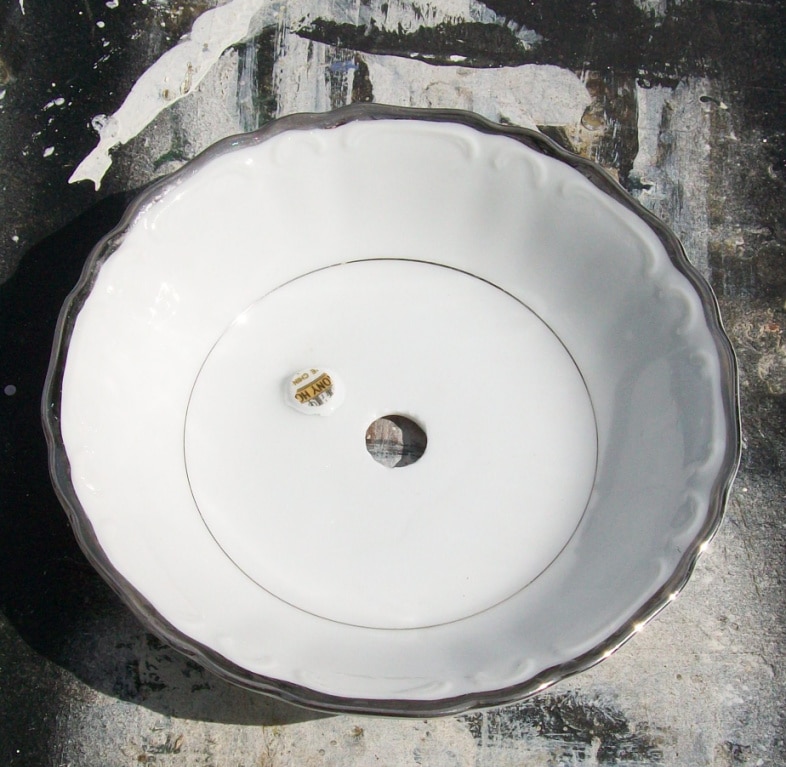
This plate was too large to fit in the tub, but no problem. Almost all the dishes I have cut have rims that naturally pool the water needed for cooling.
Do NOT try to drill glass or china without cooling it with water.
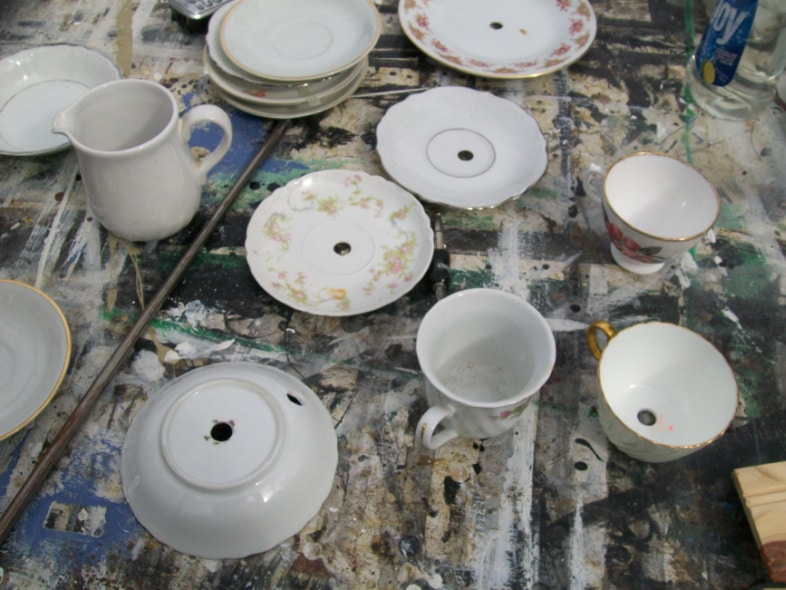
I cut all these pieces without breaking a single one!
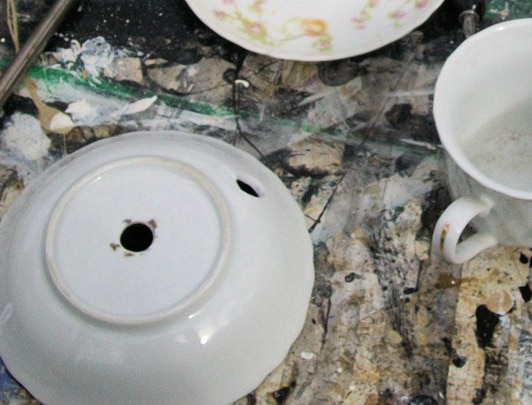
I used this small bowl for the “base” of my lamp. The base needs to have an extra hole for your cord.
How to Assemble a Teacup Lamp
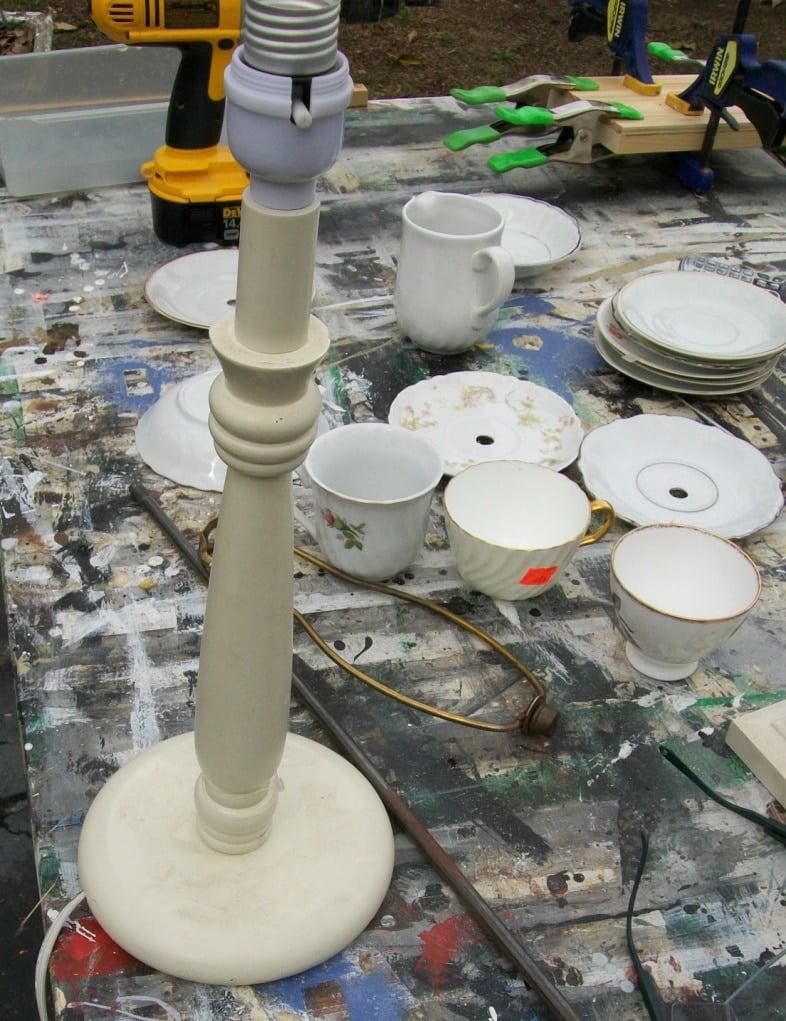
I used the guts of this thrift store lamp for my new teacup lamp. You can purchase a lamp kit to obtain the rod, but a thrift store lamp is often a more cost-effective option. Better yet, perhaps you have an old lamp you no longer need.
A kit will have washers and fittings, but if you’re upcycling an old lamp, save every piece you remove from it.
The length of your center rod will determine the height of your teacup lamp.
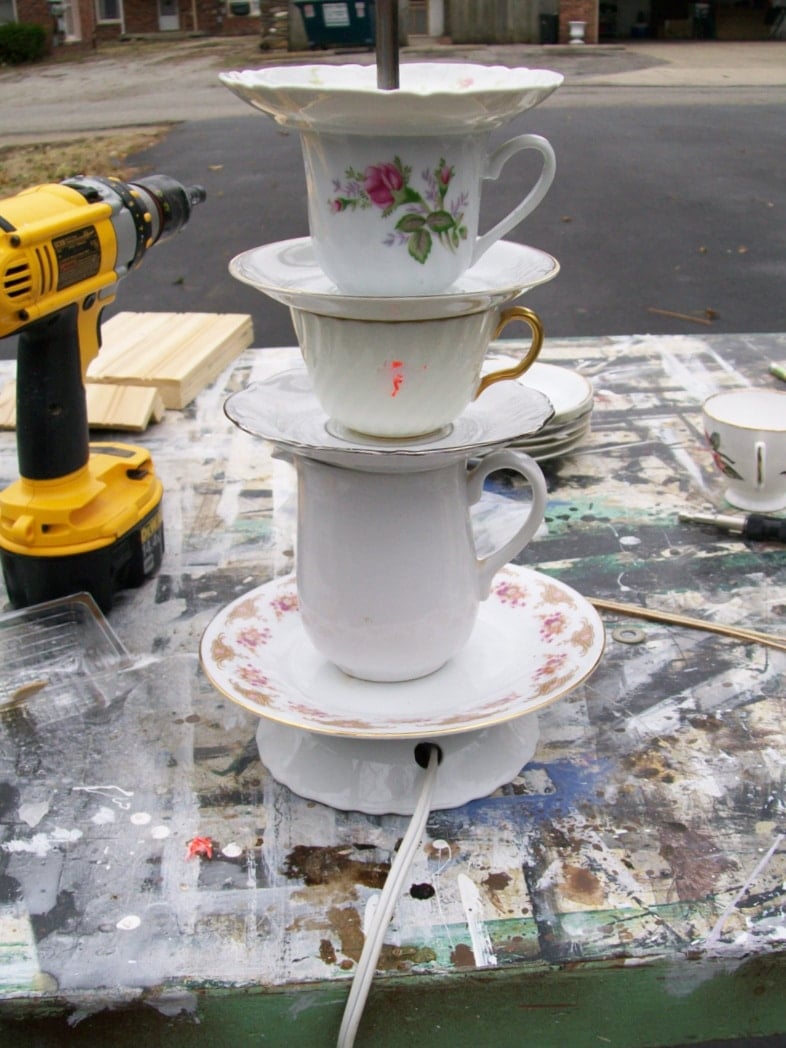
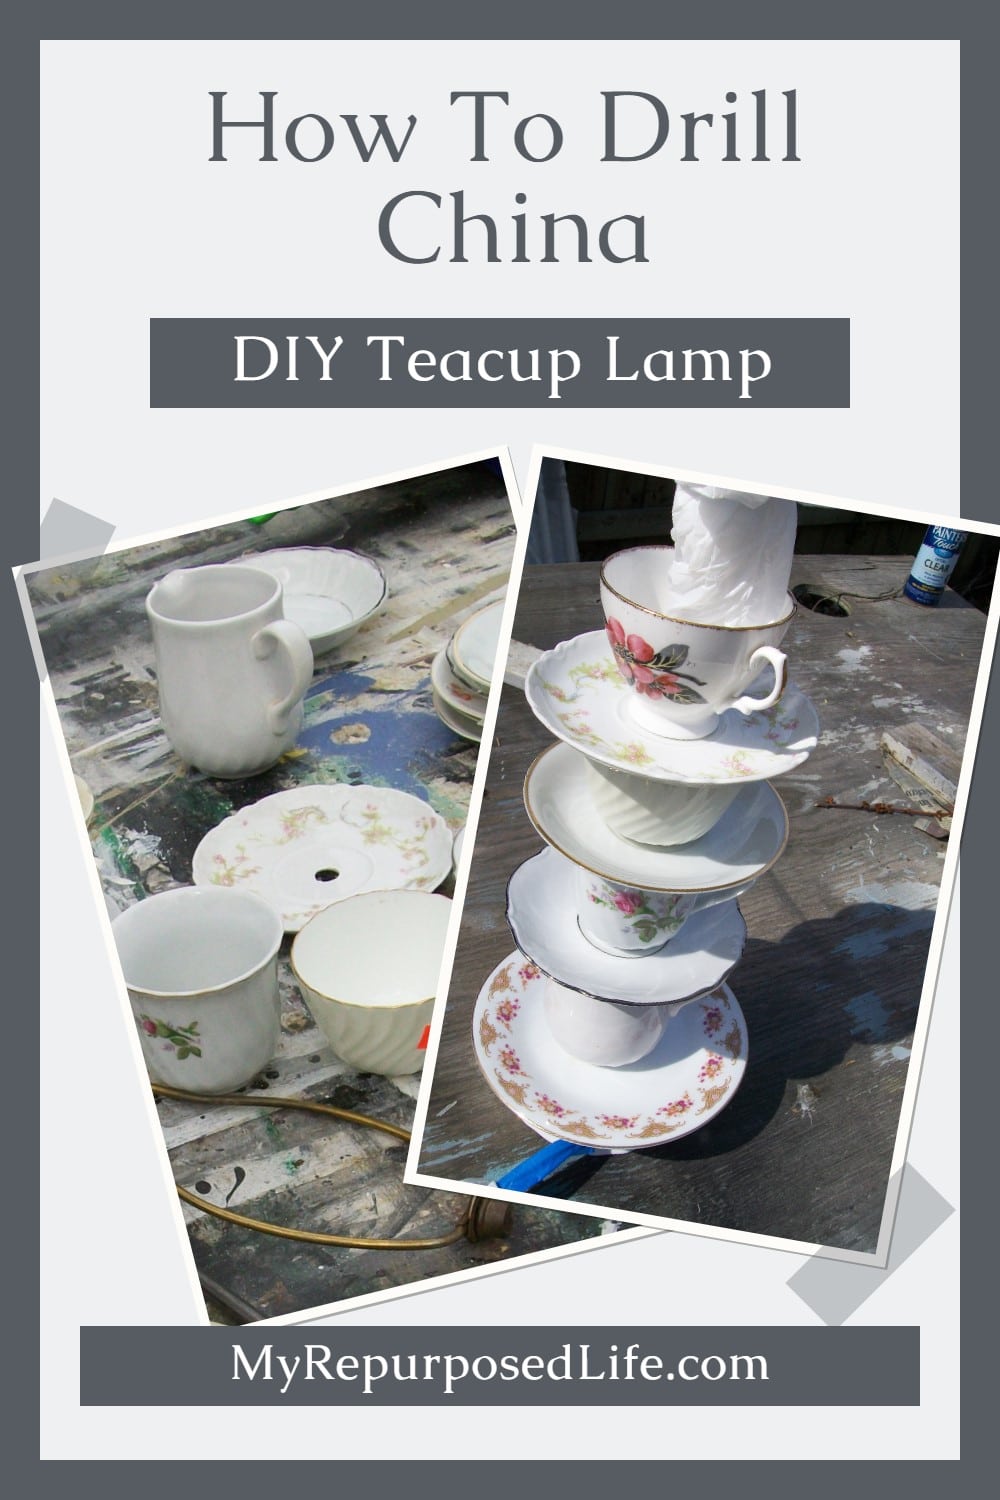
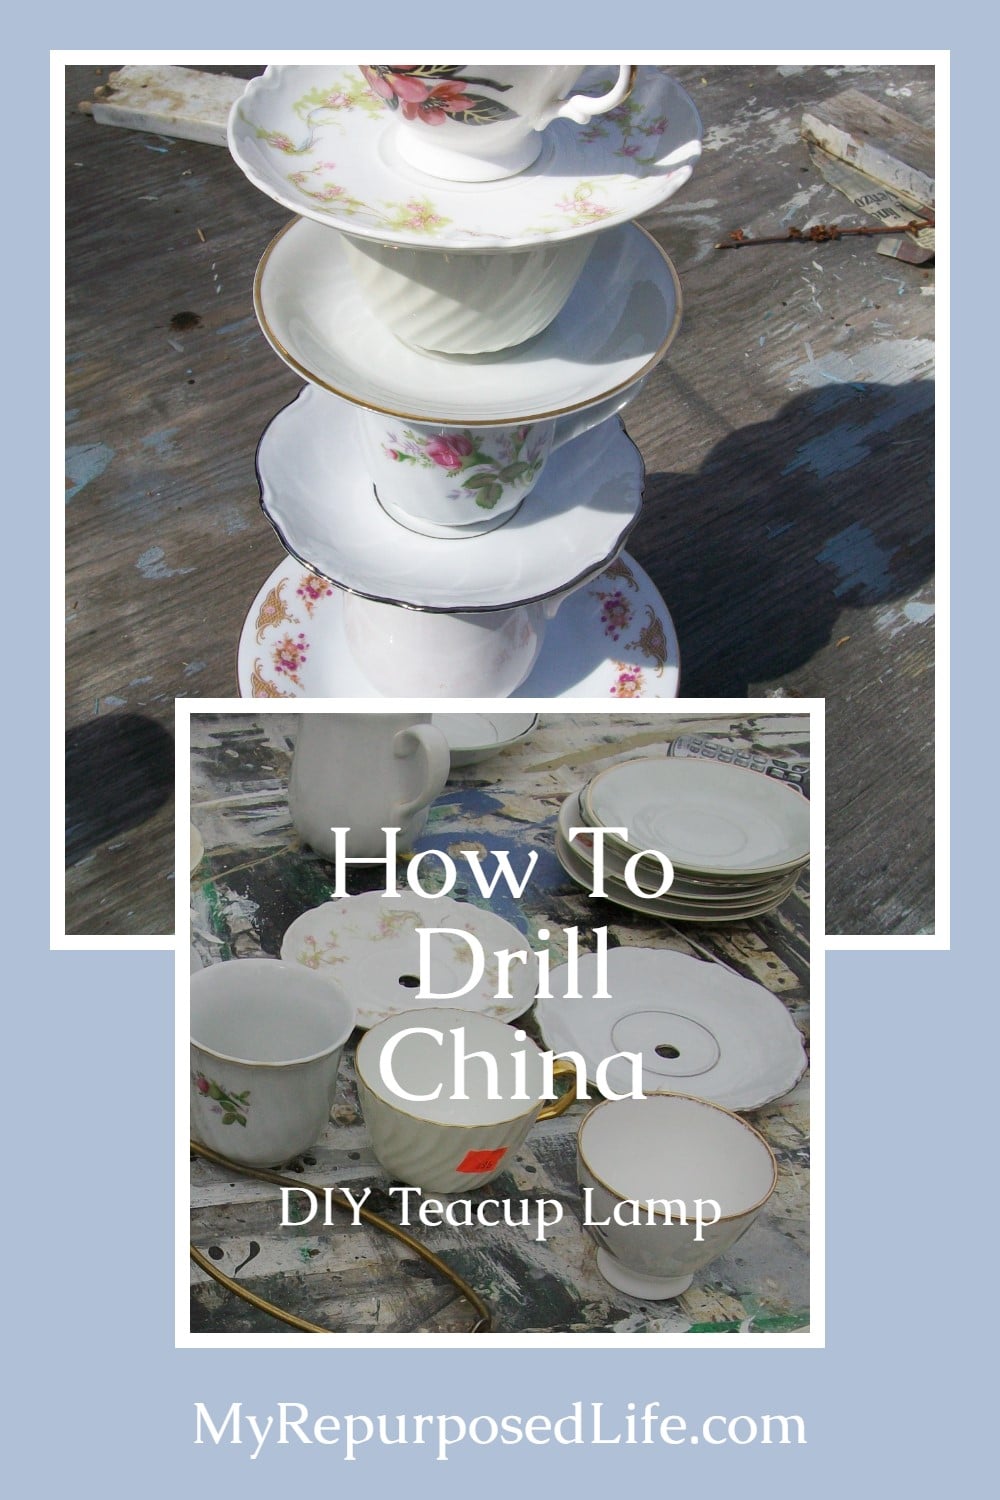
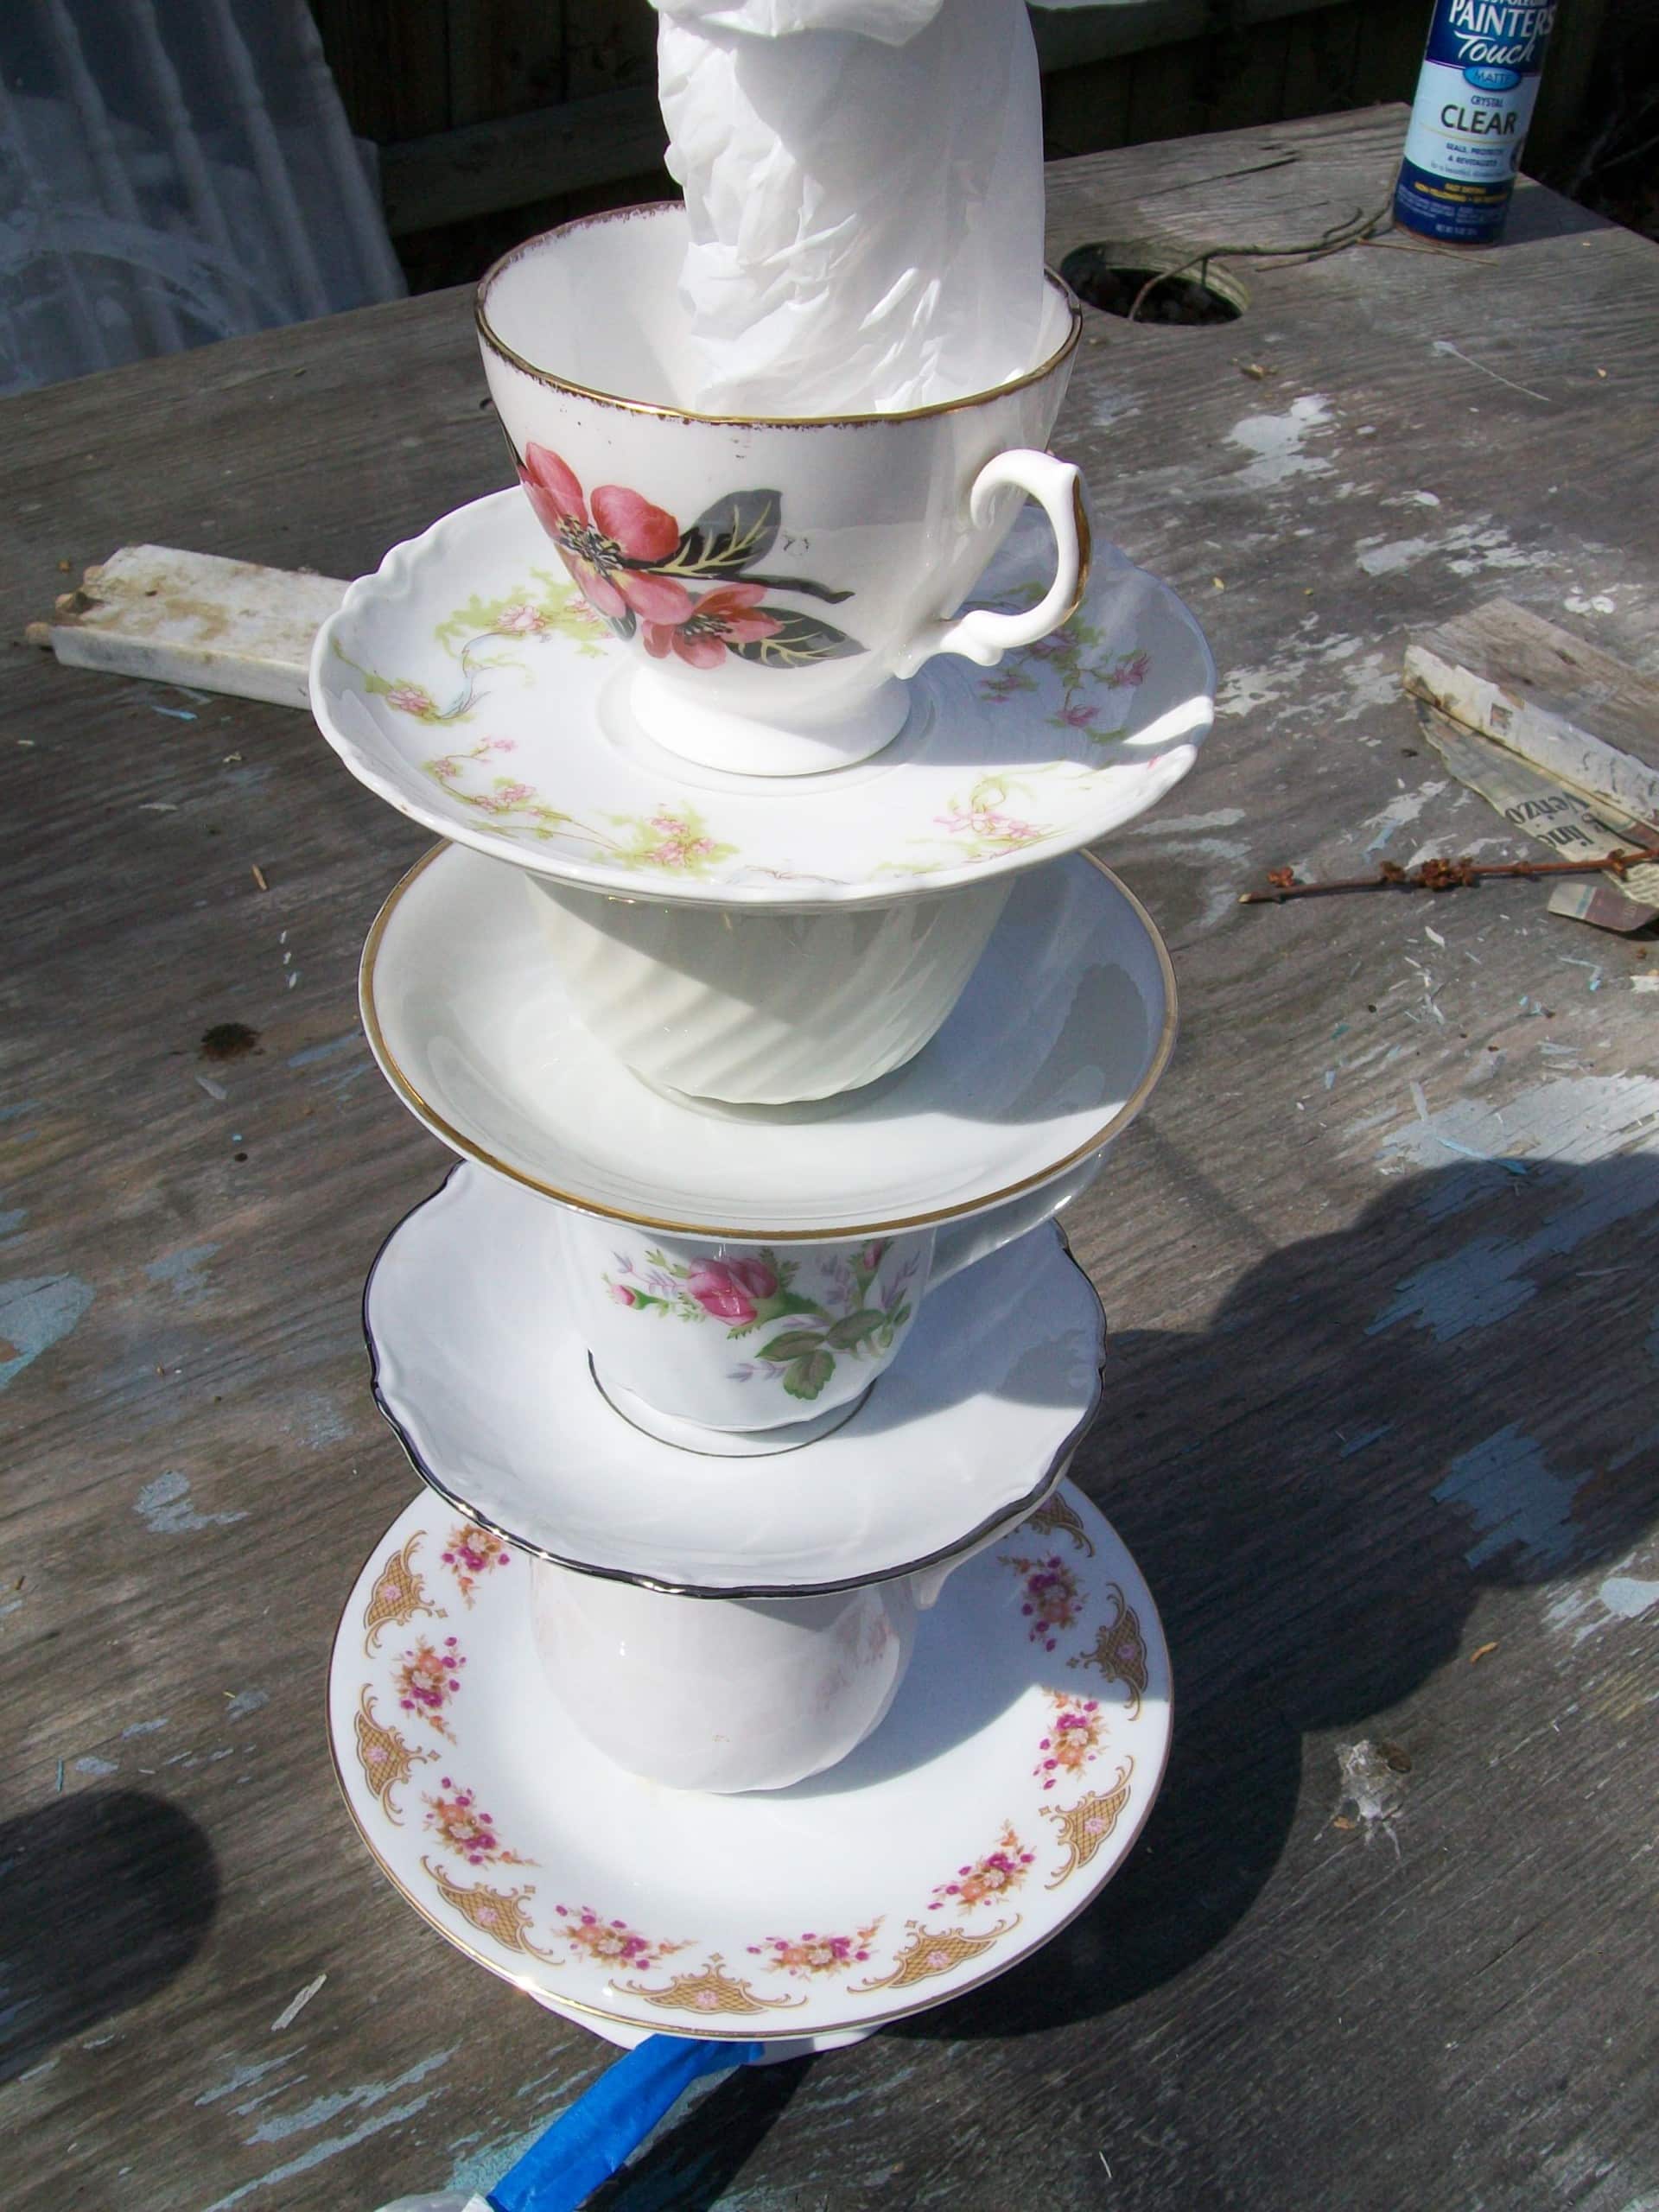
This is a dry fit to see how everything “stacks up”. You will see in the final images that I ended up adding one more teacup and saucer to the mix.
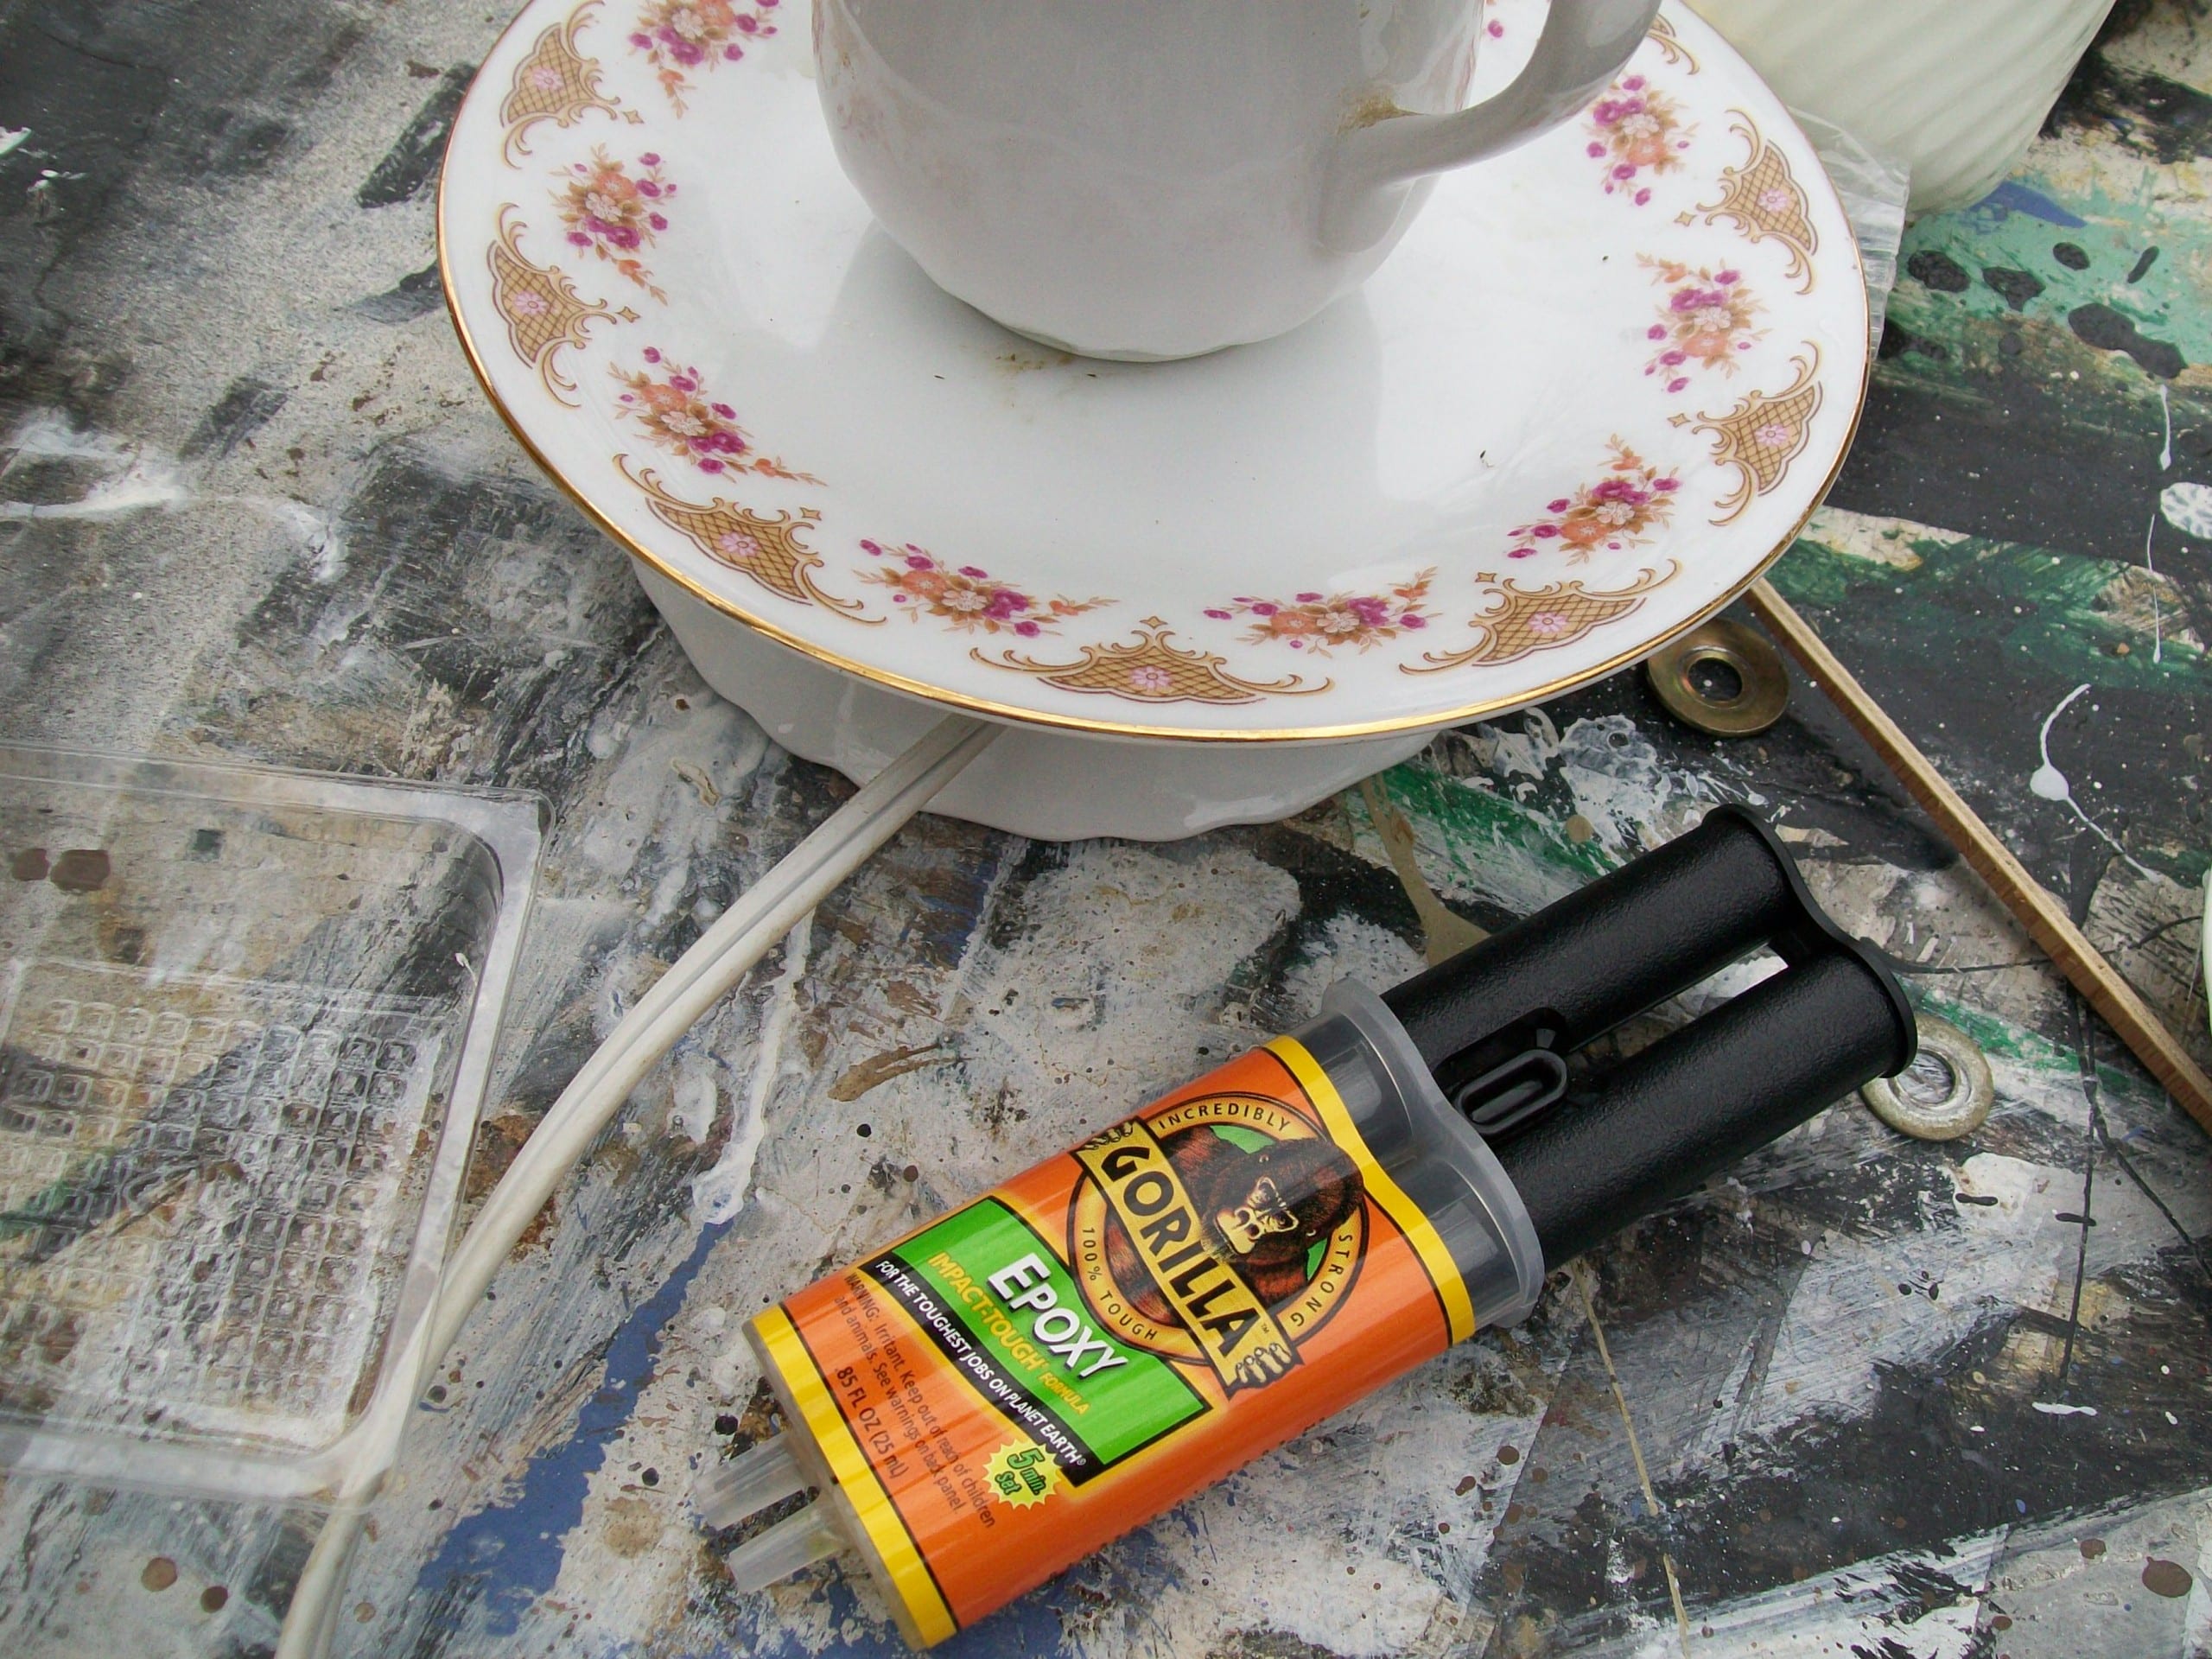
After stacking the pieces to match the height of my salvaged lamp parts, I connected the glass pieces with Gorilla Glue Epoxy. You may prefer E6000, or some other permanent adhesive. I share more details about threading the rod, washers, and nuts in my article, “Teapot Lamps.”
I didn’t intend to paint my pieces, but I used my least favorite pieces as my guinea pigs because I expected to break a bunch of cups and saucers. Because I didn’t like the variation of the patterns, I decided to paint the tower of teacups and saucers white.
Related Content: Spray Painting Glassware
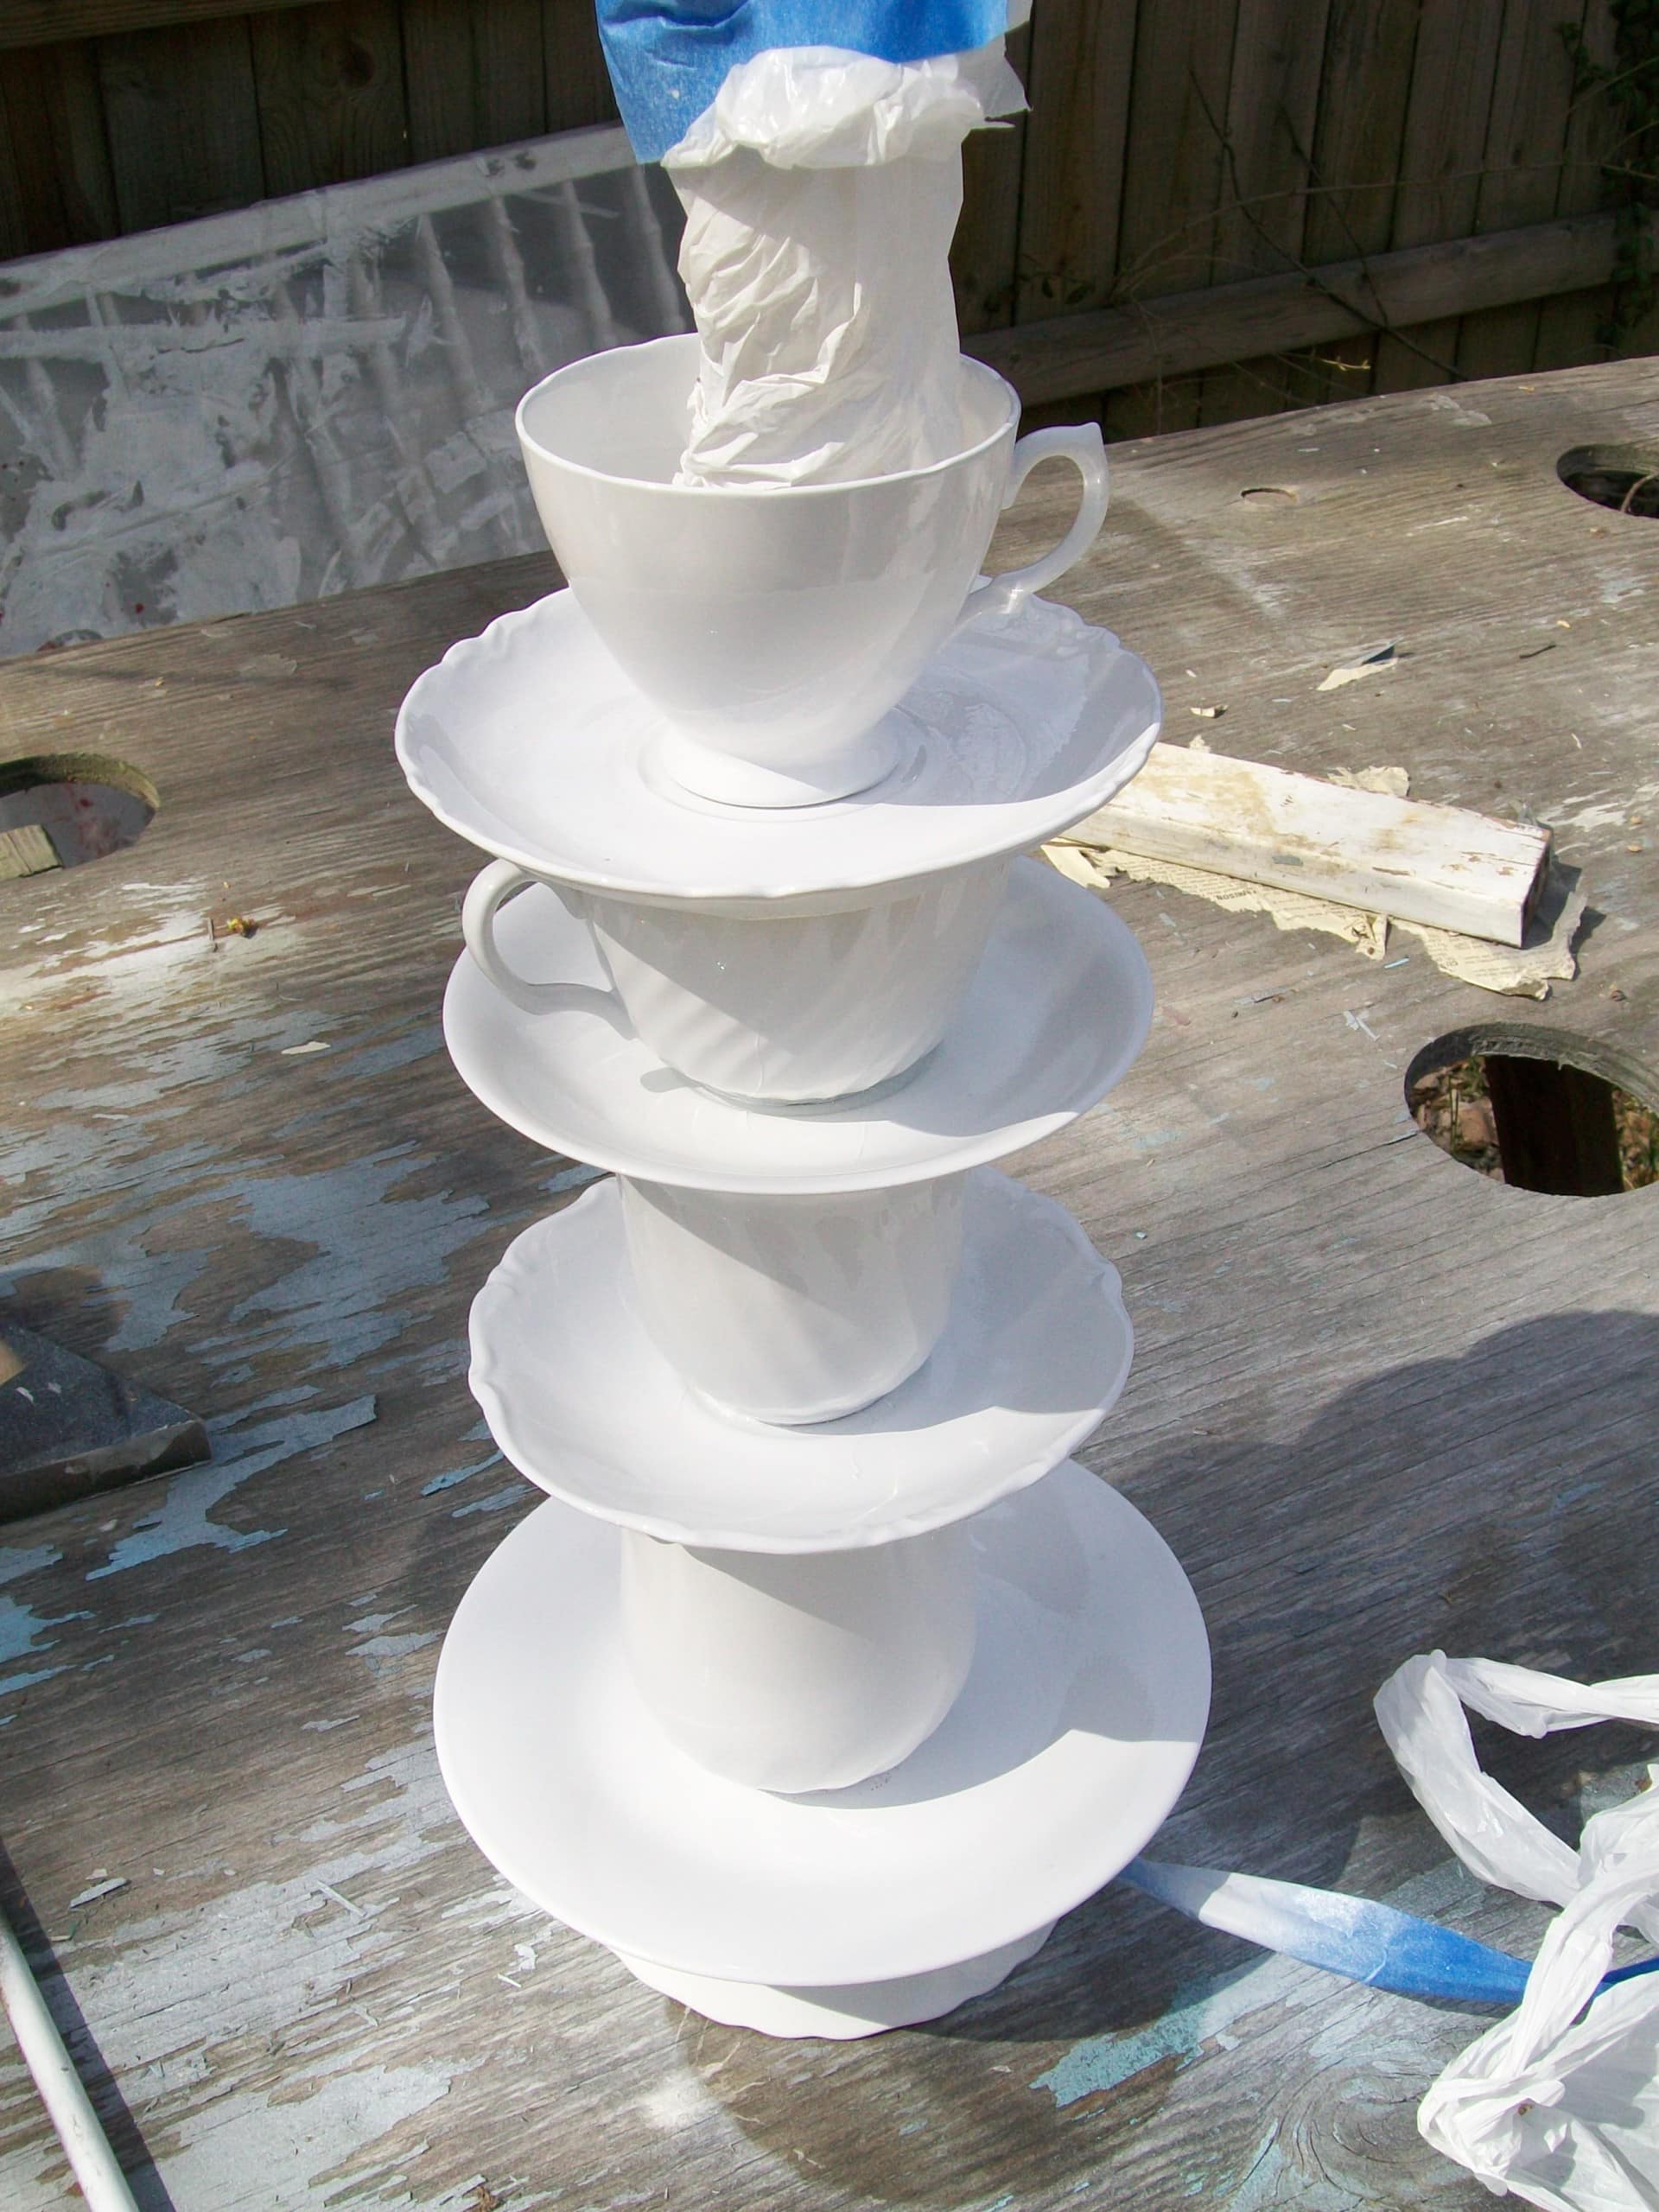
I really think I like the simplicity of the white.
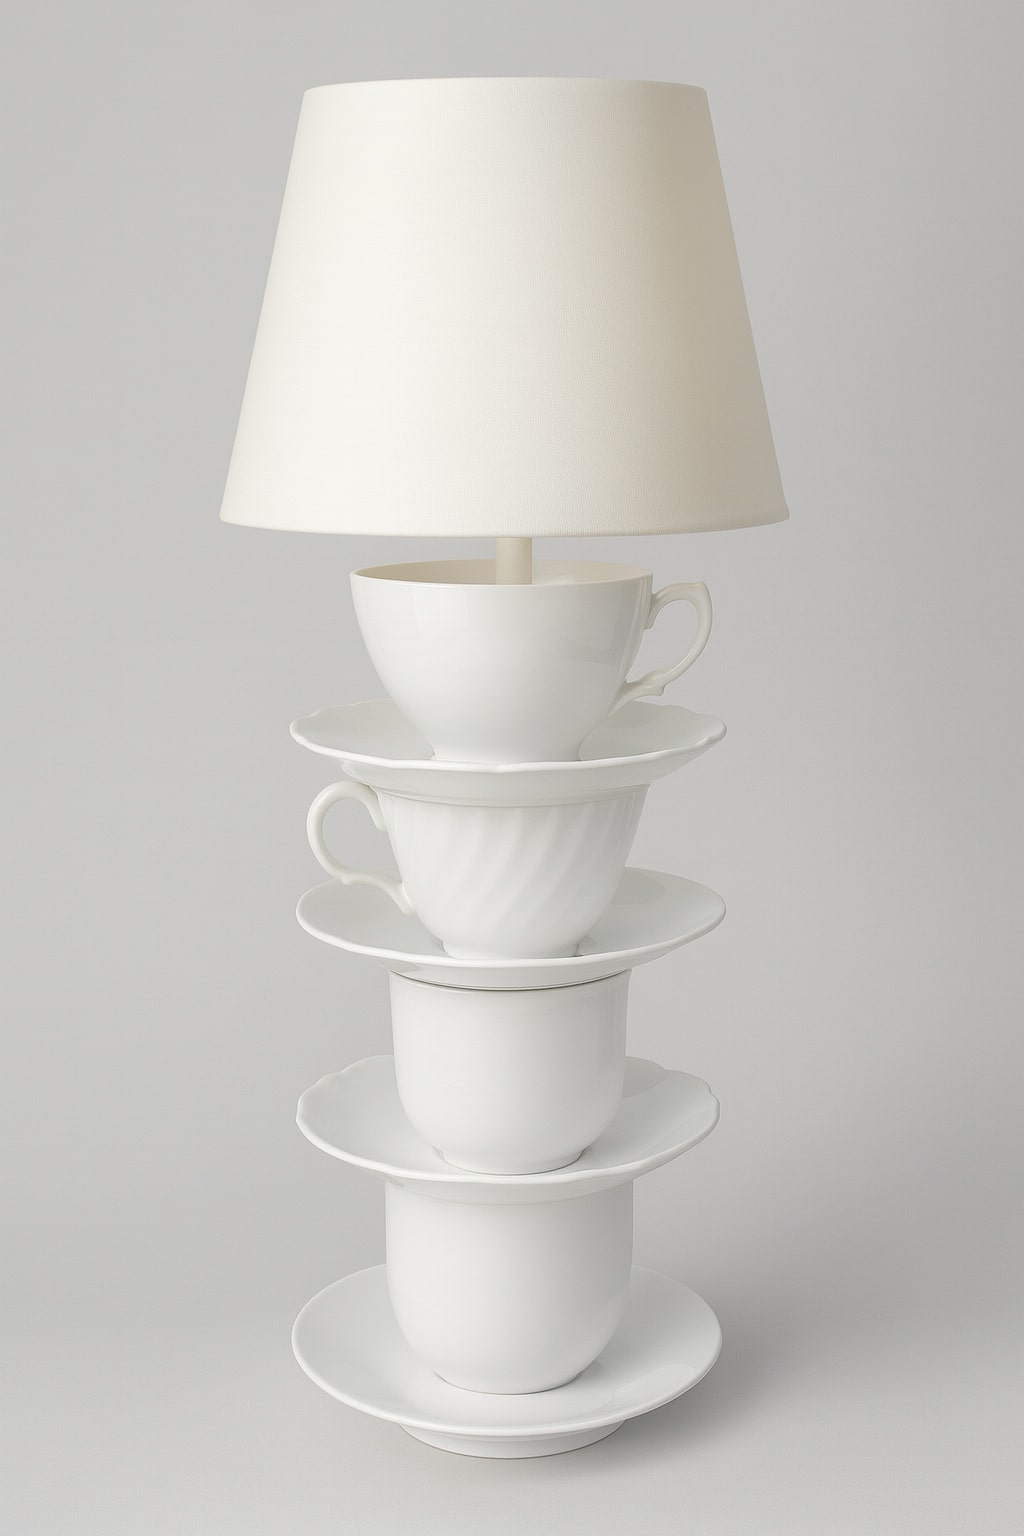
This teacup lamp project was my prototype. I have made a couple more since this one. It’s not particularly difficult, but some pieces can take more than three minutes to drill. To take care of my drill, I let it cool down a little between those pieces. If you have a corded drill, I would recommend it.
Here are a few more details about teacup lamps. Mandi from Vintage Revivals has a great project. I put mine together a little differently from Mandi.
gail
See more repurposed glassware projects here
It’s been quite a while since I’ve been to your site. A friend was asking about drilling holes in china cups and here I am. 🙂 Thanks for the the info!
Welcome back friend!!!
I hope you found just what you needed. 🙂
be well!!
Great work! I am impressed with your work. I want to give this a try. Thanks and keep sharing.
Thanks for your comment Amanda! Good luck with your project.
gail
Drill 3 minutes ? My teacups took more like 7-10. I tried glass & tile and diamond bits, battery and corded drill, different torque. Sometimes resorted to a nail – not recommended, it chips the outgoing side but that didn’t matter for a little planter. Maybe bits are tires?
So sorry you had a difficult time. This project is not for an impatient person for sure. A drill press would be the best option to get this project done quickly and easily. I think the diamond bits work the best, and water is a must! You didn’t mention anything breaking… well maybe with the nail. 😉
Thanks for your input, it’s appreciated.
gail
I was so excited to find this article when trying to figure out how to build a windchime out of a tea cup and saucer. Much to my dismay, however, there were some very critical steps missing on how to actually USE the diamond drill bit. I ended up having to read several articles online and watch several videos before I found out how to make it work. You could/should have added bracing the china article against the side of the tub; starting the hole with a piece of masking tape on the spot; and starting the drill at a 45 degree angle until a groove was made. Once I found those ideas, I was finally successful with my project. Thanks for the diamond drill bit idea.
I’m glad you were successful with your project. Thanks for your input. I didn’t use tape.
gail
Love the light!! Would like to know what electrical parts you use.
Thanks,
Katie & me
I use rods, nuts and bolts from thrift store lamps. New lamp parts at the hardware store are very expensive.
hope this helps!
gail
I love the lamp. I want to make some cup and saucer bird feeders as well as convert some bowls to plant pots. What size diamond drill did you use?
Valorie,
The diamond drill bit would depend on what project you’re doing and what size rod you’re using. You might want to consider buying a variety pack.
good luck, have fun, be safe! remember to keep your piece wet while you’re drilling.
gail