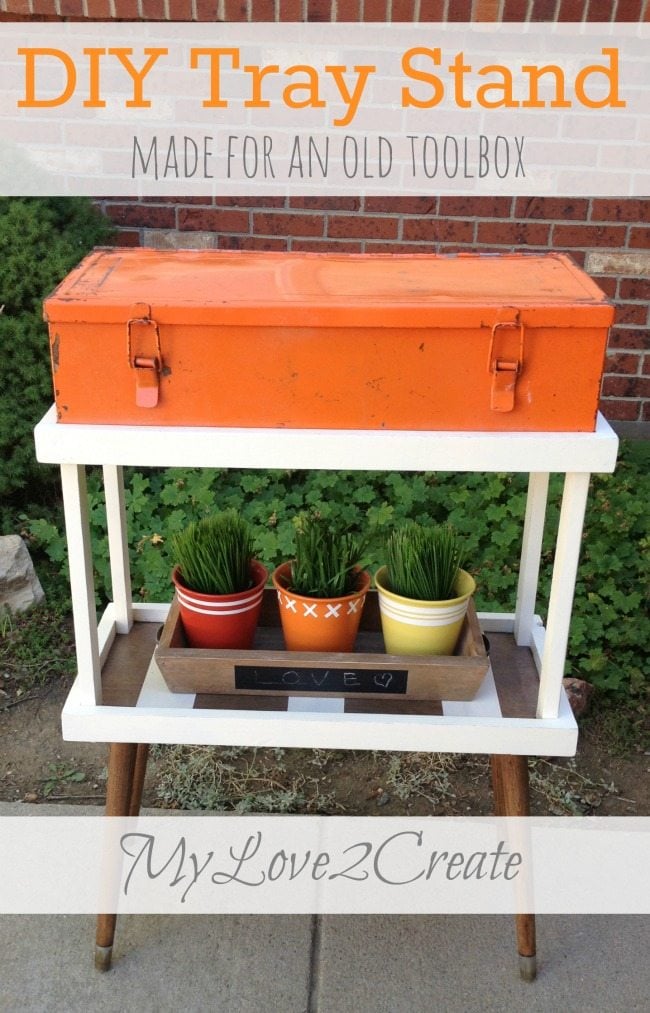
Hello! It’s Mindi again from MyLove2Create. I am happy to be back sharing a cool project, and as far as building goes this one is really simple. A DIY tray stand and old toolbox make a fun statement piece, and it is useful too!
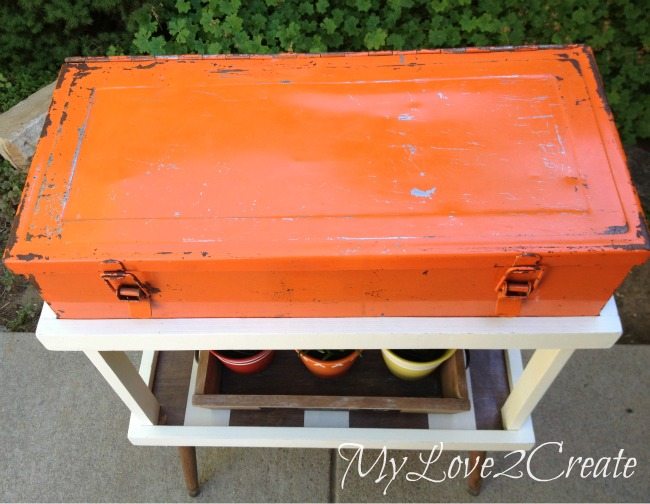
I obviously have a thing for cool old metal boxes, as you can see in my first Metal box Makeover. So when I saw this one at the Restore for only $3 it had to come home with me, plus it was orange, I have a few orange lovers in my home.
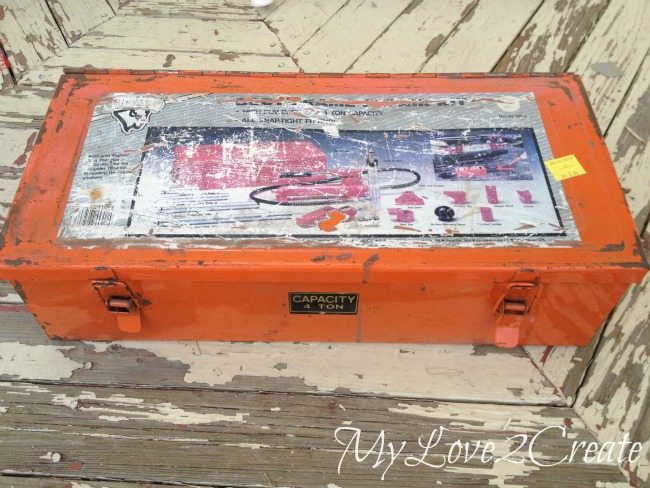
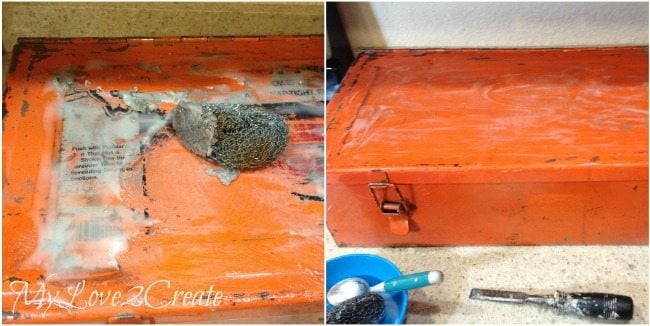
Here it is with lovely sticker and all. I thought it would be fun to make some kind of stand for it so it would be useful, you know up off the floor, and cute too. And, as luck would have it, my friend said her dad was getting rid of some scrap plywood. I hurried over and came home with a good stash along with some 1×2’s, so I set to work with my new free wood. 🙂
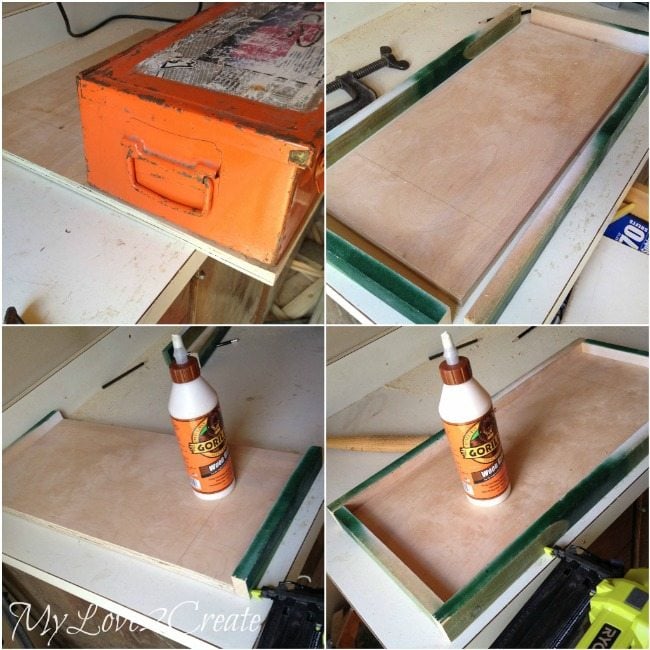
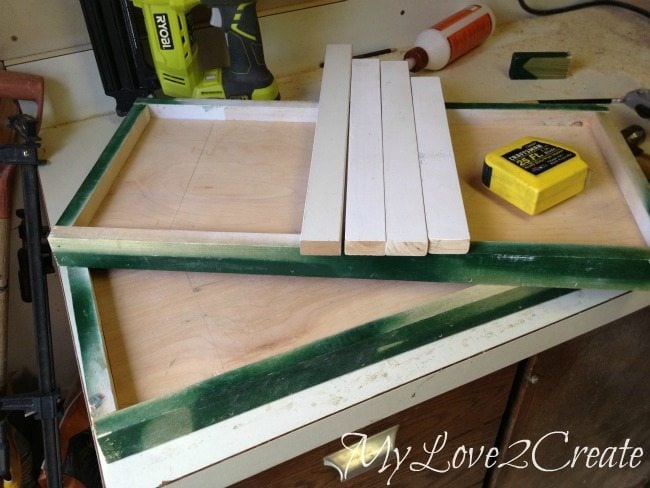
I started with my old toolbox and set it on a scrap piece of plywood. After I traced around the box onto the plywood I cut it out with my circular saw. Then with the scrap 1×2’s I had collected I cut them to fit around the plywood. I used gorilla wood and nailed the short ends first and then finished off with the long ends. One tray all built!
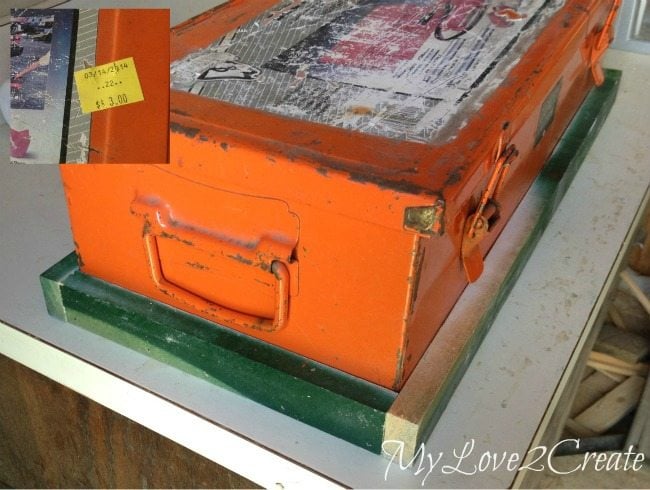
Perfect fit! You can see I added a picture of the price tag, proof of my score.
Of course I wasn’t a fan of the ugly sticker on the top, but I knew I could take care of that. I used equal parts (maybe…I didn’t actually measure) of baking soda and vegetable oil and mixed them up. First, I spread it over the entire sticker and let it sit for at least 10 minutes, for me it was more like 30 because I got busy and forgot. Then I scrubbed in a circular motion with a metal scraper and removed the top layer. There was a thin layer left, so I spread more stuff on and let it sit for 10 min again. After scrubbing this time it all came off! I cleaned the whole box with a soapy rag, wiped it with a clean rag, and dried it.
While the sticker on the box was “soaking” I went out to the shed to make another tray the exact same size. I also grabbed some scrap 1×2’s from my Master Closet Makeover to use for supports between the trays, thus making it a DIY tray stand.
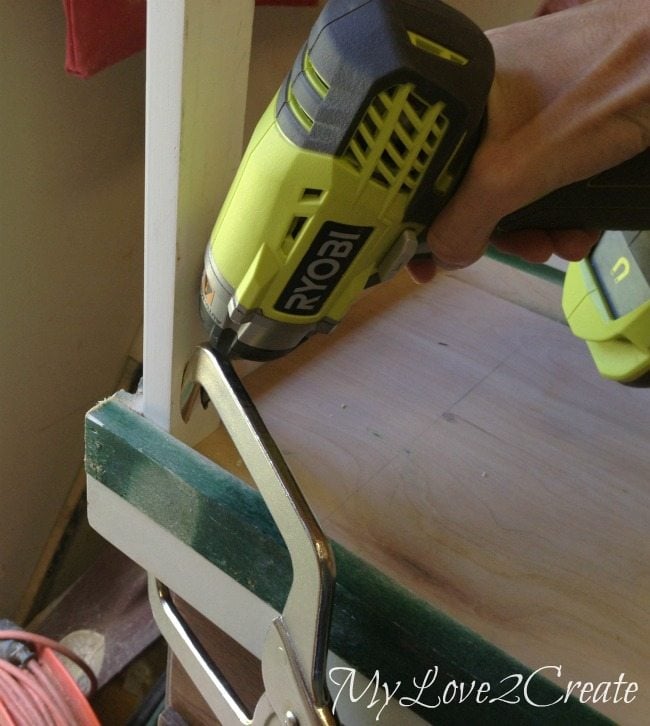
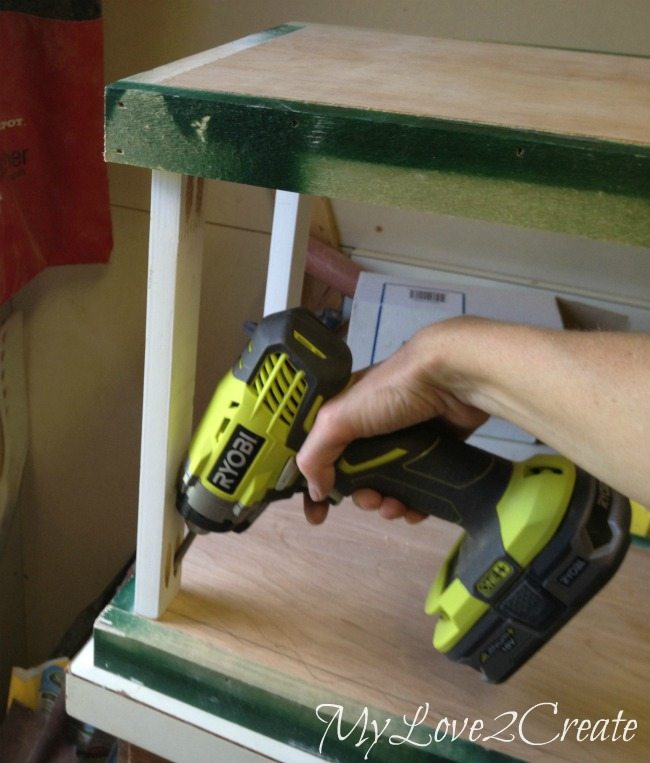
I cut them to 13 inches each and drilled pocket holes with a Kreg Jig into each end. Then I started attaching them to the bottom tray. For the first one I used my right angle clamp, but found I didn’t need it for the rest.
They went in really easily. Now to attach the top tray…
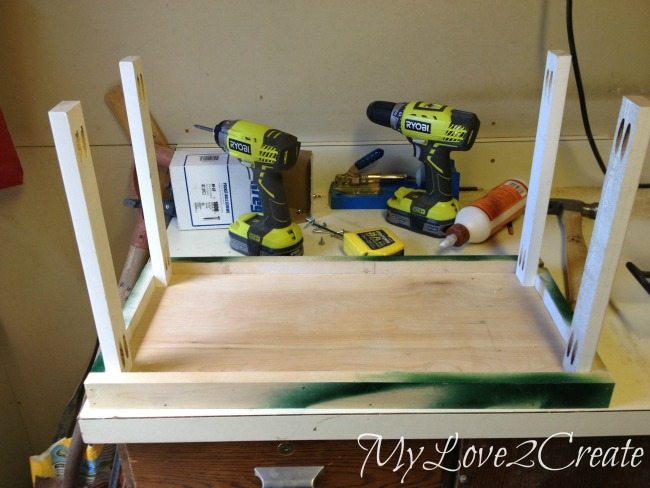
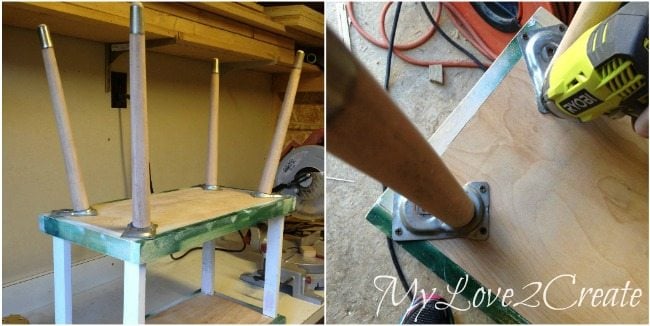
I set it upside down and attached the supports to the bottom. All it needed now were some great legs, and boy do I have some nice legs… ha ha! No, not mine 🙂
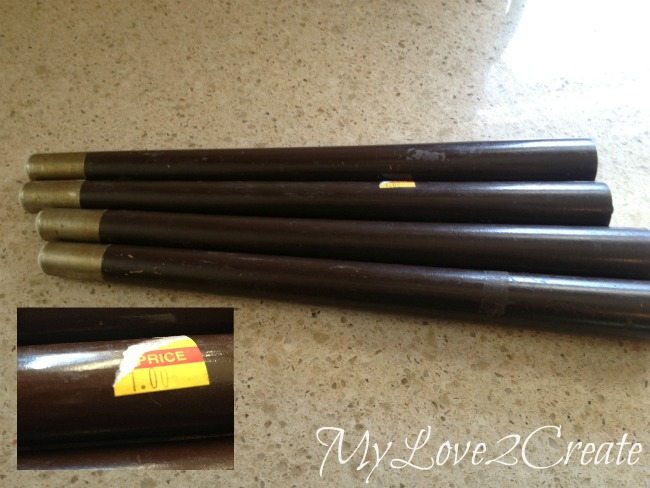
These babies were a $1 at the Restore, for all four. I got them a few years ago before the new manager took over and raised the prices…man I miss the good old days. Anyway, they don’t look like much because they are covered with a thick ugly brown, something… Easily taken care of with a sander.
I sanded the legs first with 60 grit and then finished with 100 to make them nice and smooth, who would cover up that pretty wood?! Here you can see I am trying out how I want to attach them to the bottom tray. I had the leg mounting plates from when I turned an end table into a desk. They’re awesome because you have the option to screw the legs in straight or at an angle. I used the angle because it is more fun.
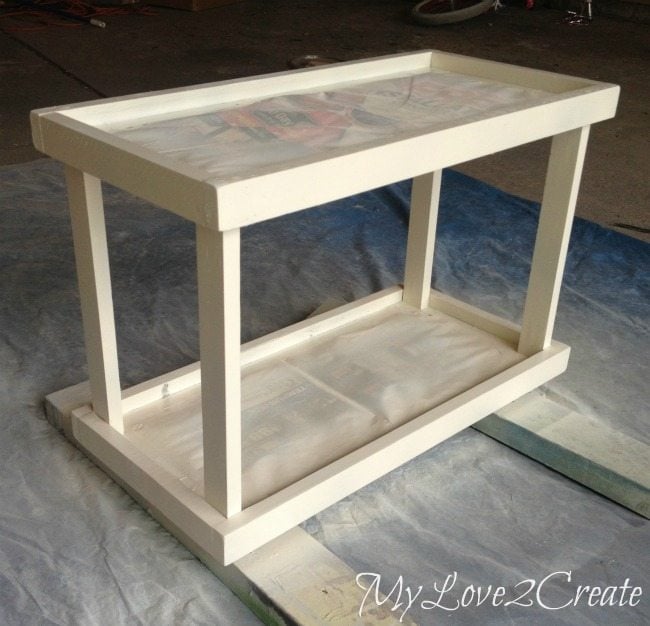
I also filled in the nail and pocket holes with spackle. After sanding it was ready for paint and stain.
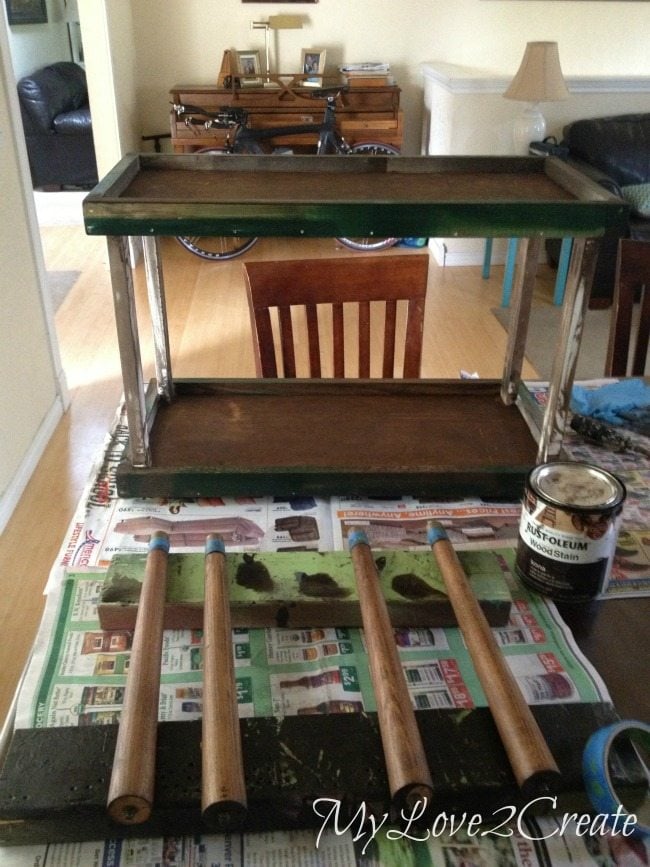
I used wood conditioner and Rust-oleum Kona (surprise, surprise) on the trays and legs. After I stained the tray bottoms I noticed that I hadn’t sanded off all the glue that was on the plywood so I had some splotches, I will have to see how to fix that… I was happy with the legs though.
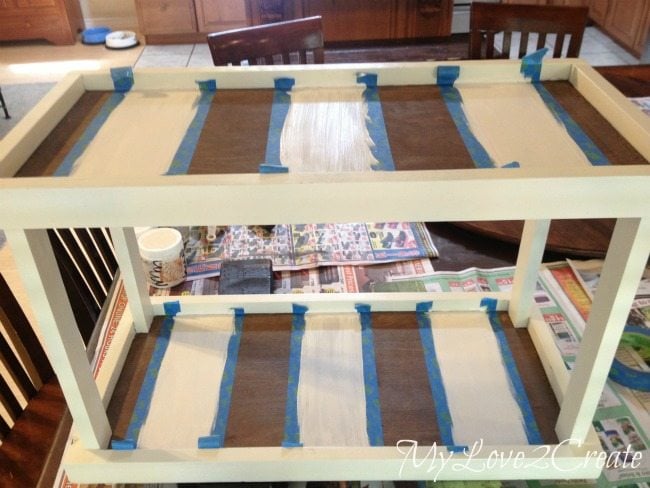
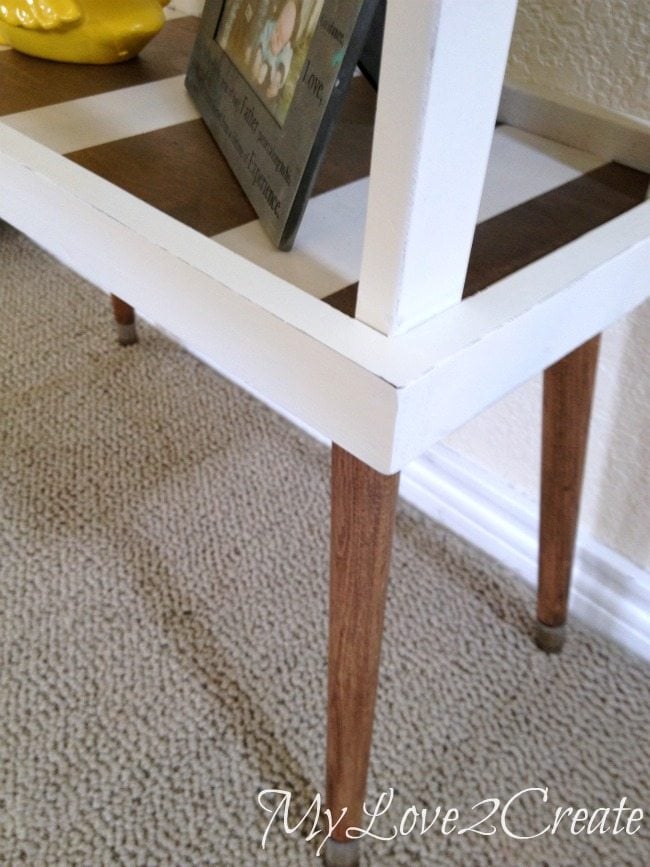
Then, I decided to cover up the glue splotches with stripes!
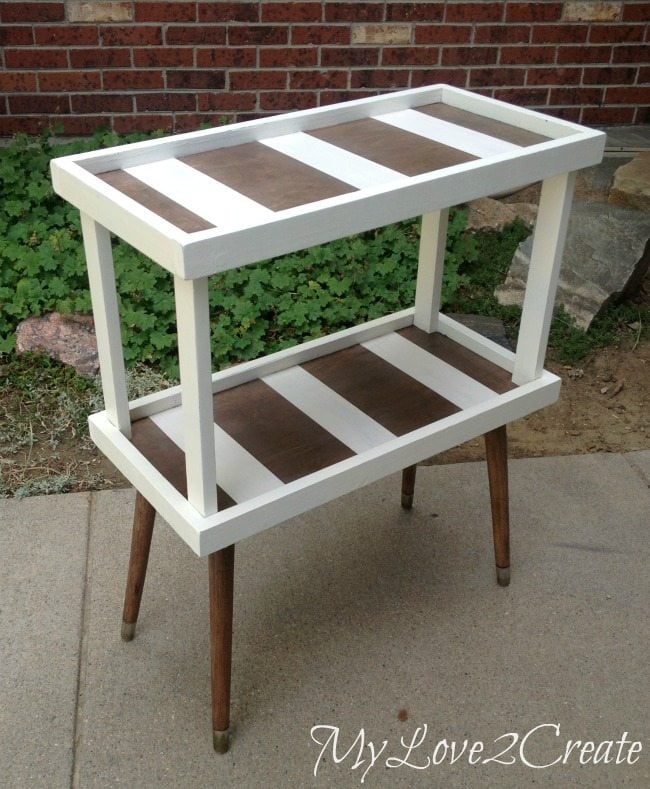
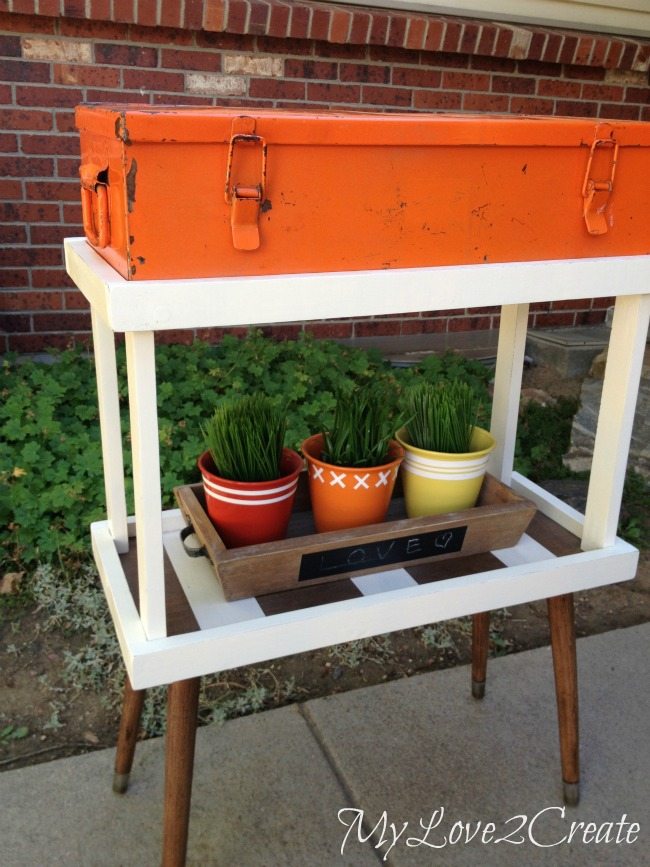
After some poly, I attached the legs and my tray stand was done. I was loving it! Nothing left to do, but add the old toolbox!
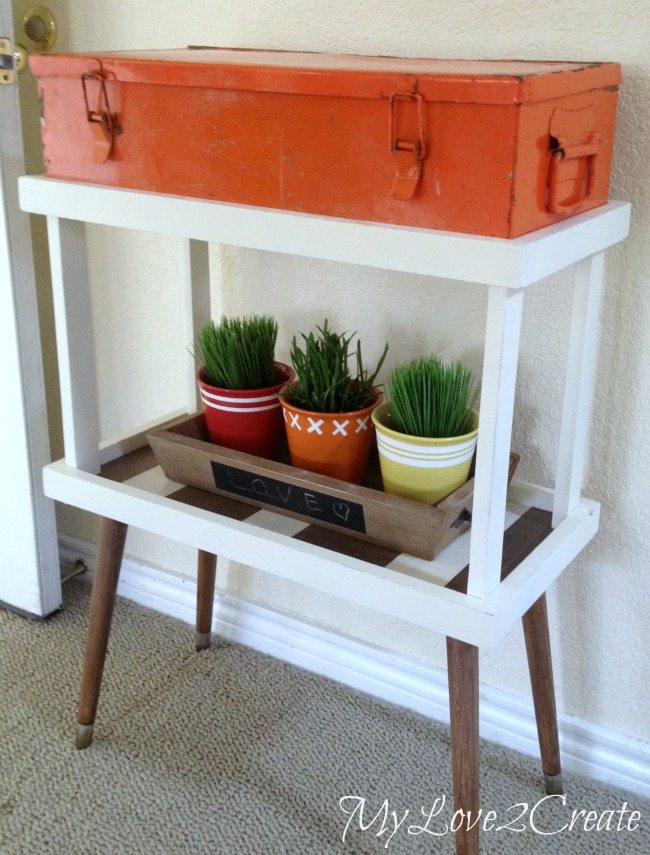
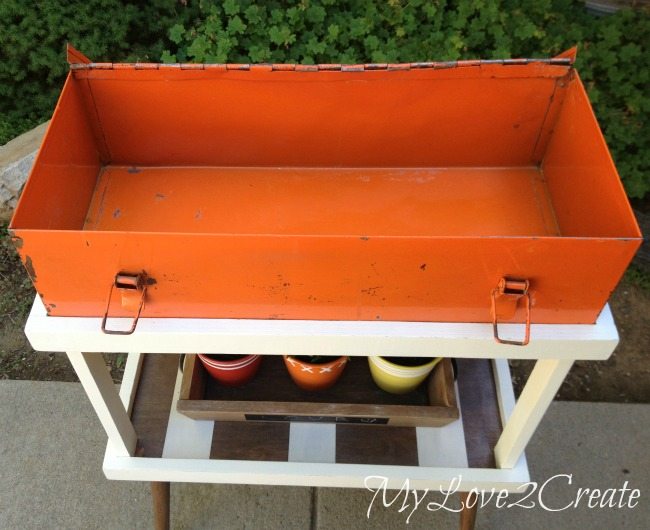
I put in the old tool box, now nice and clean, it is a great burst of color when you walk in my front door, ahh happiness.
Not a trace of sticker left on the top. I decided to keep the rustic look of the toolbox instead of spray painting it, but it would be easy to do if I changed my mind.
But I haven’t quite decided what to put inside yet…
I am sure I will figure out something to hide in there. If I now my kids, they will take it over if I don’t do it quick!
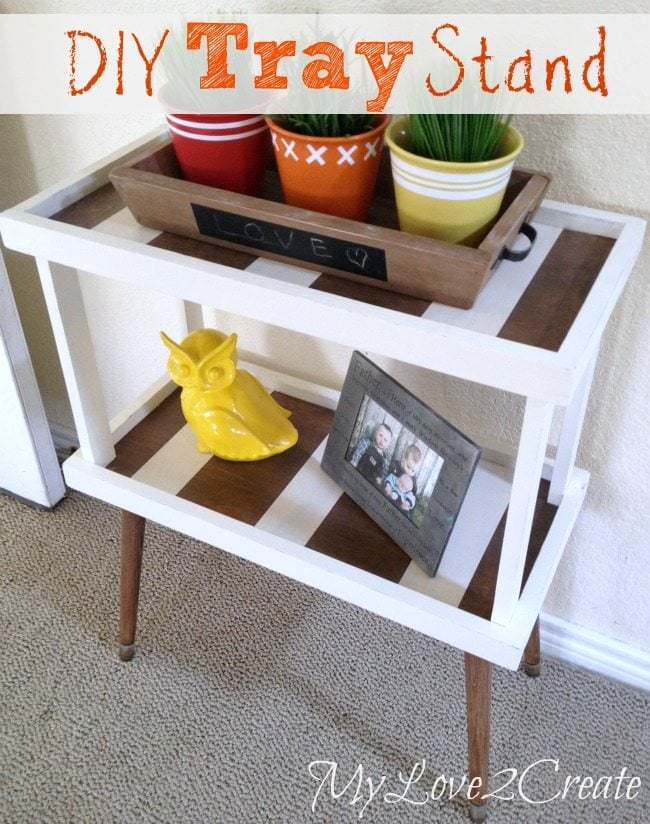
And if I decide I don’t want to use the tool box? It is a very cute DIY Tray Stand on it’s own! Can you imagine all the uses for this?
Of course a shot of those great legs, they look SO much better.
Amazing what a metal box can inspire isn’t it!
So, do you have any old tool boxes laying around? They just might need some TLC to make a great statement in your home!
Mindi is a wife, mother, runner, dancer, and a lover of all things fun and DIY.
A few years ago she discovered blogs and fell in love with the idea that she could do things she had always dreamed of doing. Like build furniture from pallets, and make cool projects for her home.... Mindi was inspired by other bloggers that empowered her to create.
Mindi decided to give back and possibly reach someone out there that has a desire to create like herself. She believes we all have that desire in some form or another, and we all DO create in our own way, every day. Whether it be crafty or not, even creating happiness in others is a gift that many share.
Mindi loves to learn and use that knowledge to make beautiful and useful things for her home.
3 Comments
Mindi–
Love this funky table for this box!
The orange box is way cool too… I love orange! totally unique, good score on the box and the wood too.
Oh, the best idea? baking soda and vegetable oil? Who knew? that’s a new one on me… I’m going to try it next chance I get!
Patricia
Another dynamite project! I was curious if you ever use lighter fluid for removing stickers? We have found it to be the most effortless way to remove stickers, price tags or any sort of gummy residue they may leave.