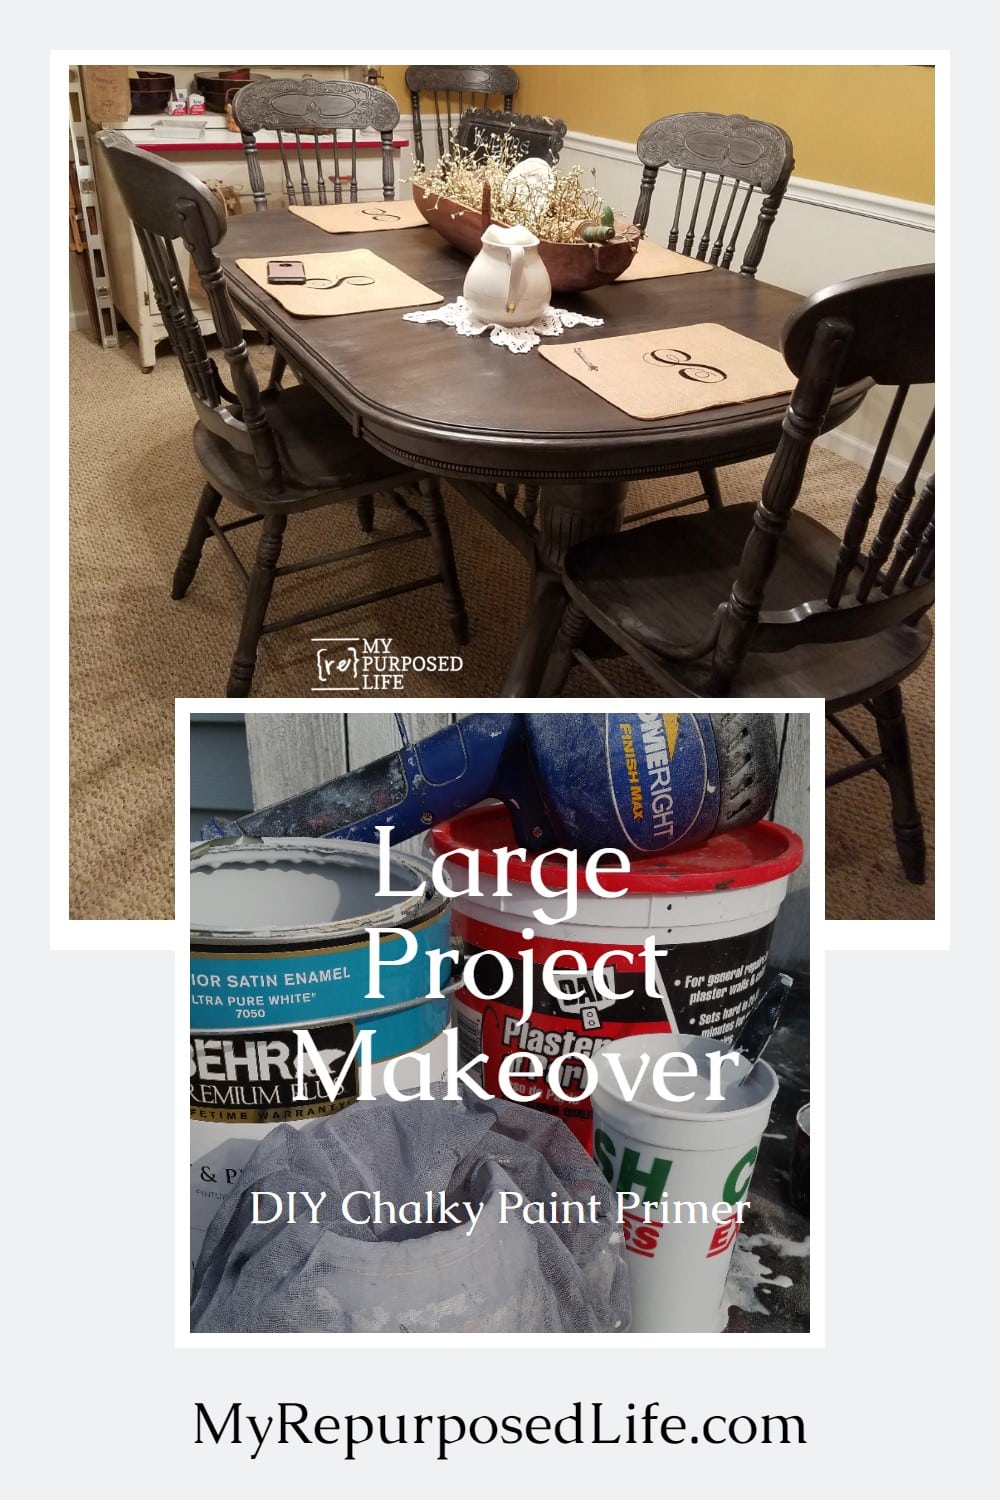
Double Pedestal Oak Table and Chairs
As an Amazon Associate, I earn from qualifying purchases.
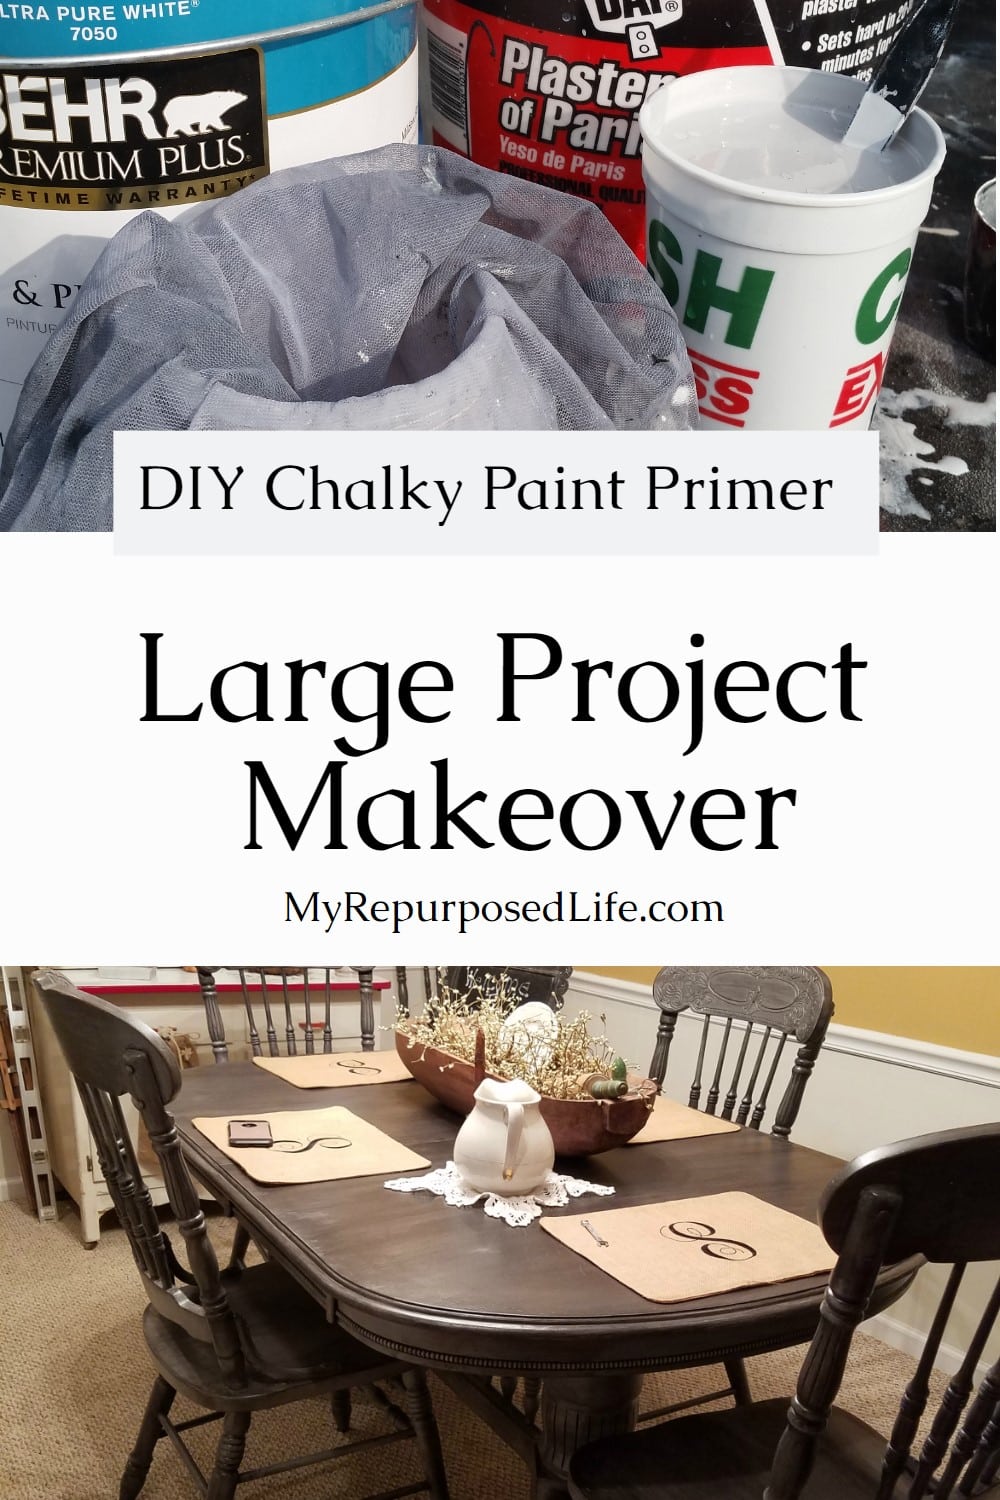
A neighbor offered me this double pedestal oak table and chairs for free. How could I say no? It is enormous and very heavy. It looked like it would be a quick and easy furniture makeover. If you have a table and chairs in less-than-perfect condition, I highly recommend a DIY project instead of giving it away and buying something new. This old furniture is well made and will last long if properly cared for. In addition, you can redo it to fit your decor.
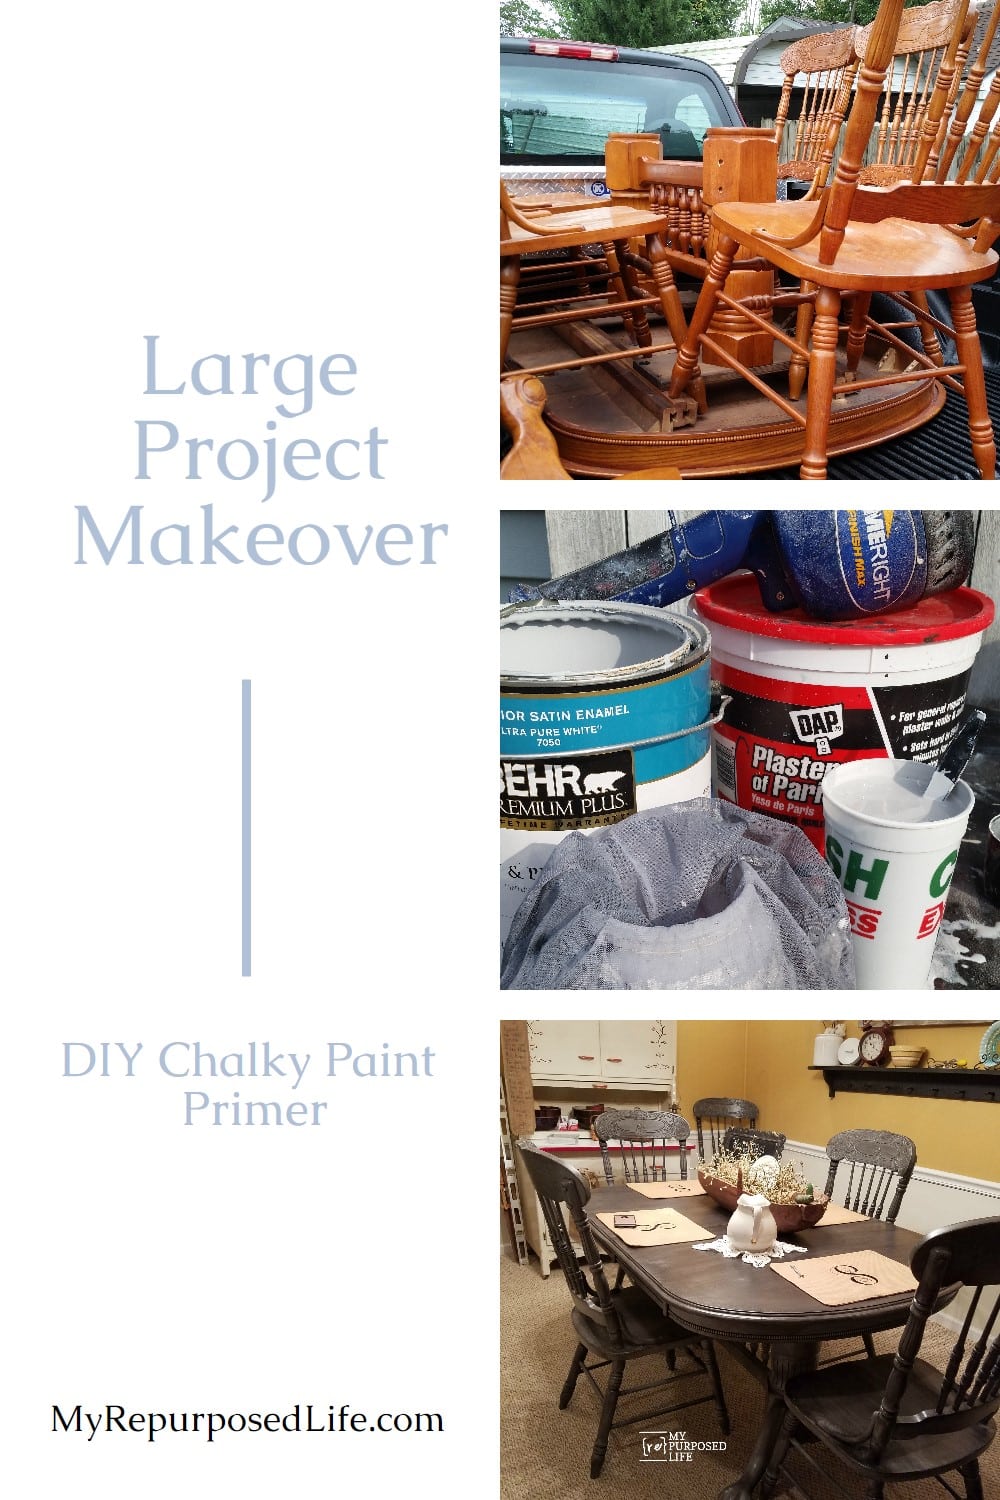
Free Pedestal Oak Table And Chairs
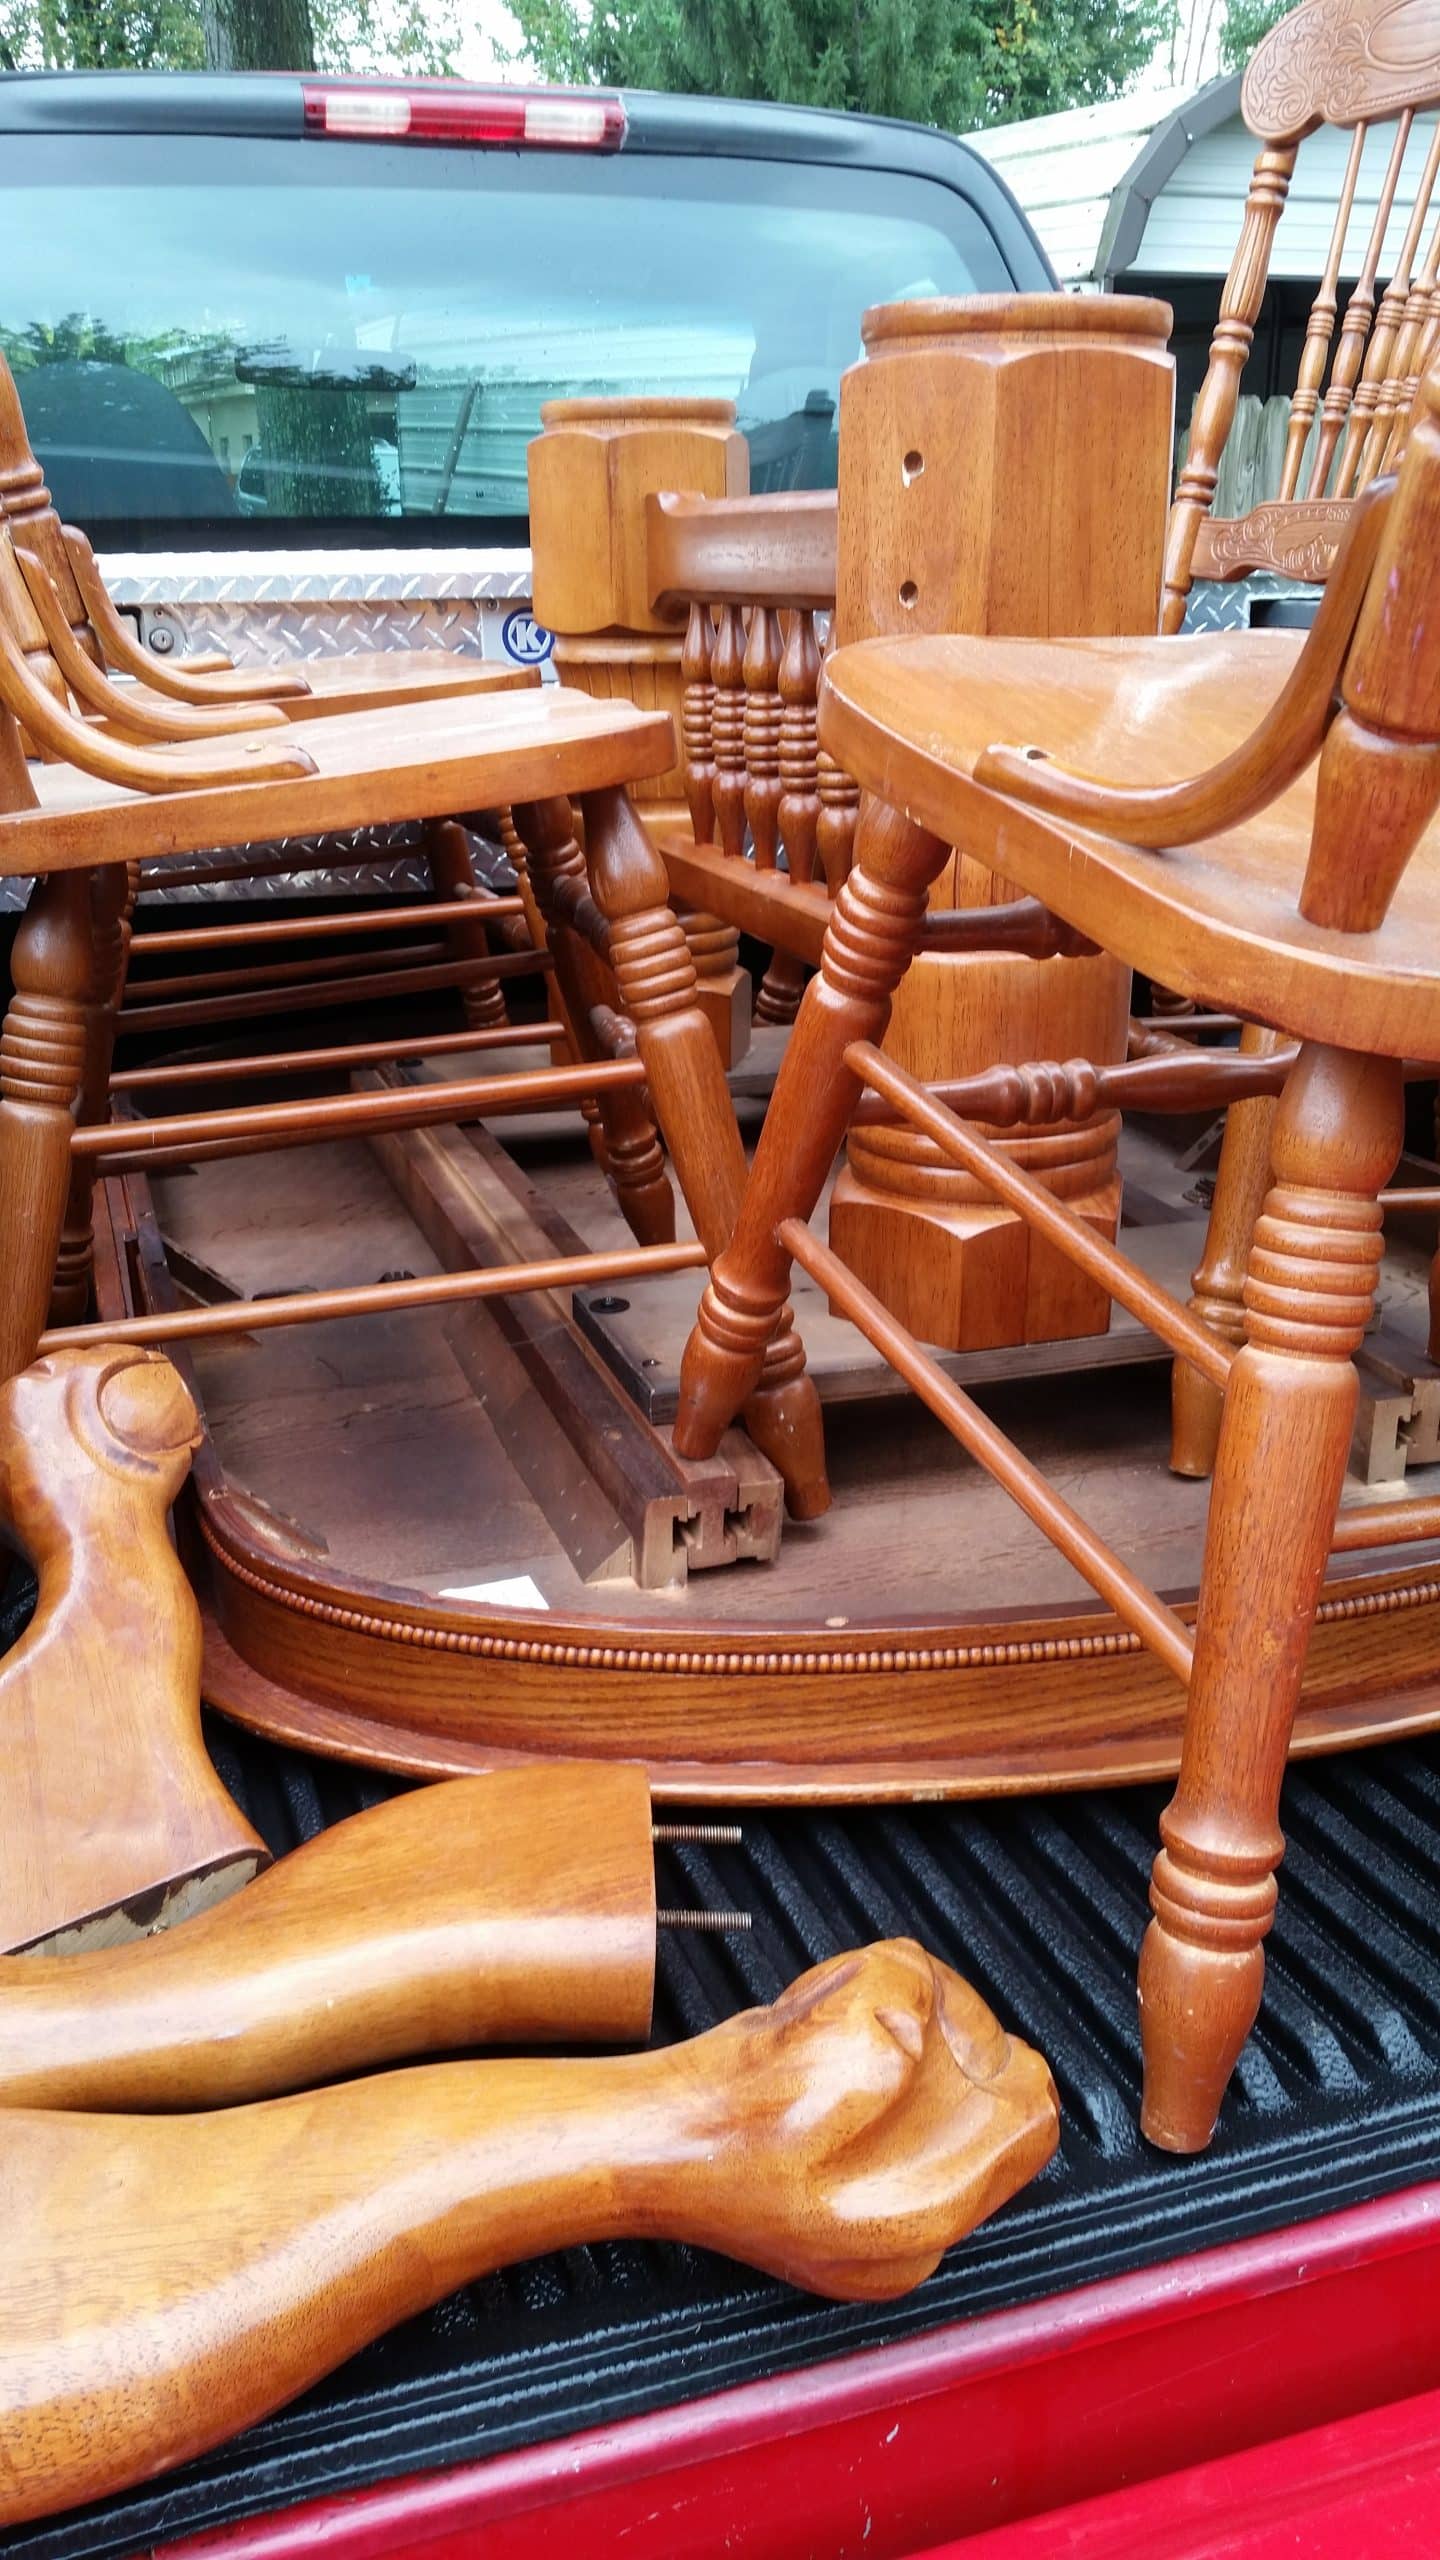
This is the double pedestal oak table and chairs when I picked them up. Yes, the table was slid in upside down, but once you see the poor condition of the tabletop, you will see that it didn’t matter.
It’s Furniture Fixer Upper Tour Day! Be sure to visit my friends’ projects at the bottom of this post.
Table of contents
- Free Pedestal Oak Table And Chairs
- Oak Chairs Need An Update
- Damaged Tabletop
- A Good Furniture Makeover Begins With Cleaning
- A Finish Max Paint Sprayer Paints Pedestal Oak Table
- How To Paint Dining Chairs
- Painting a Pedestal Oak Table
- Time To Choose The Right Finish
- What Can I Use Instead of Glaze?
- Do I Need To Seal The Pedestal Oak Table?
Oak Chairs Need An Update
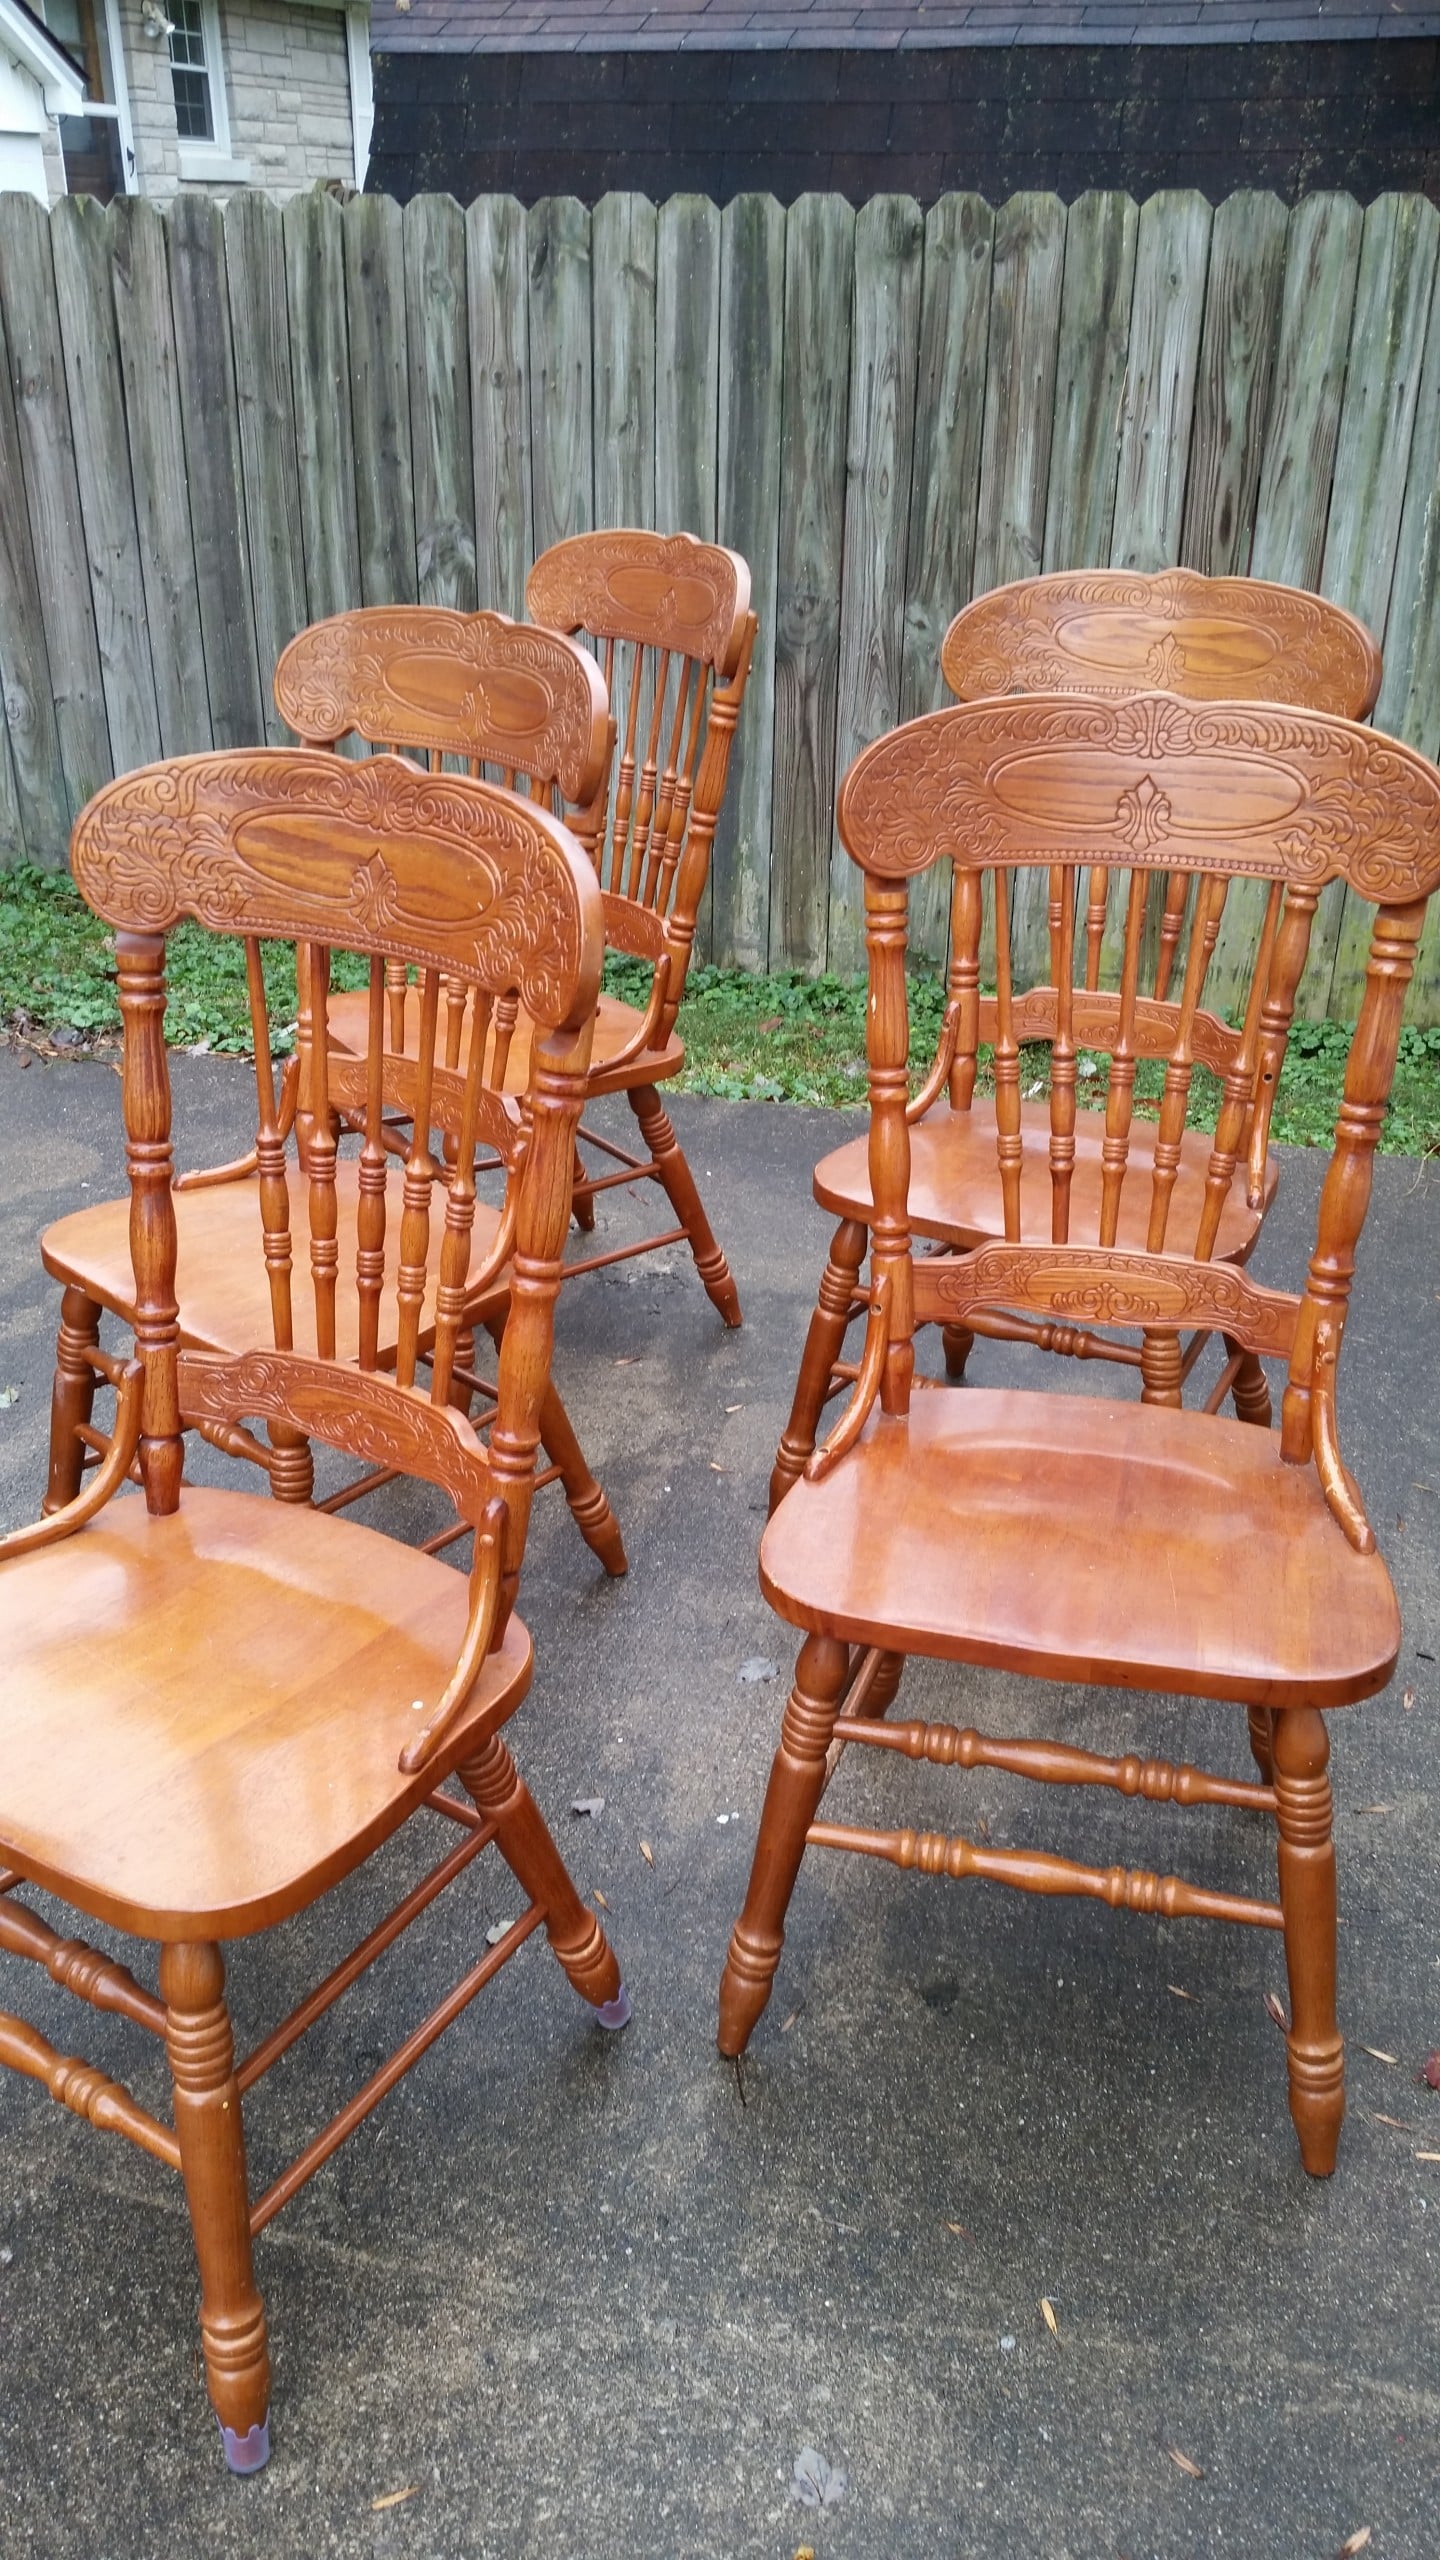
This oak dining table only had five chairs, but they were all in good shape—very heavy and sturdy. Maybe you like natural wood and would prefer to refinish this furniture. I wasn’t prepared for all that work, so I’ll paint this table and chairs.
Visit the My Repurposed Life Amazon Store to shop my favorite items.
Damaged Tabletop
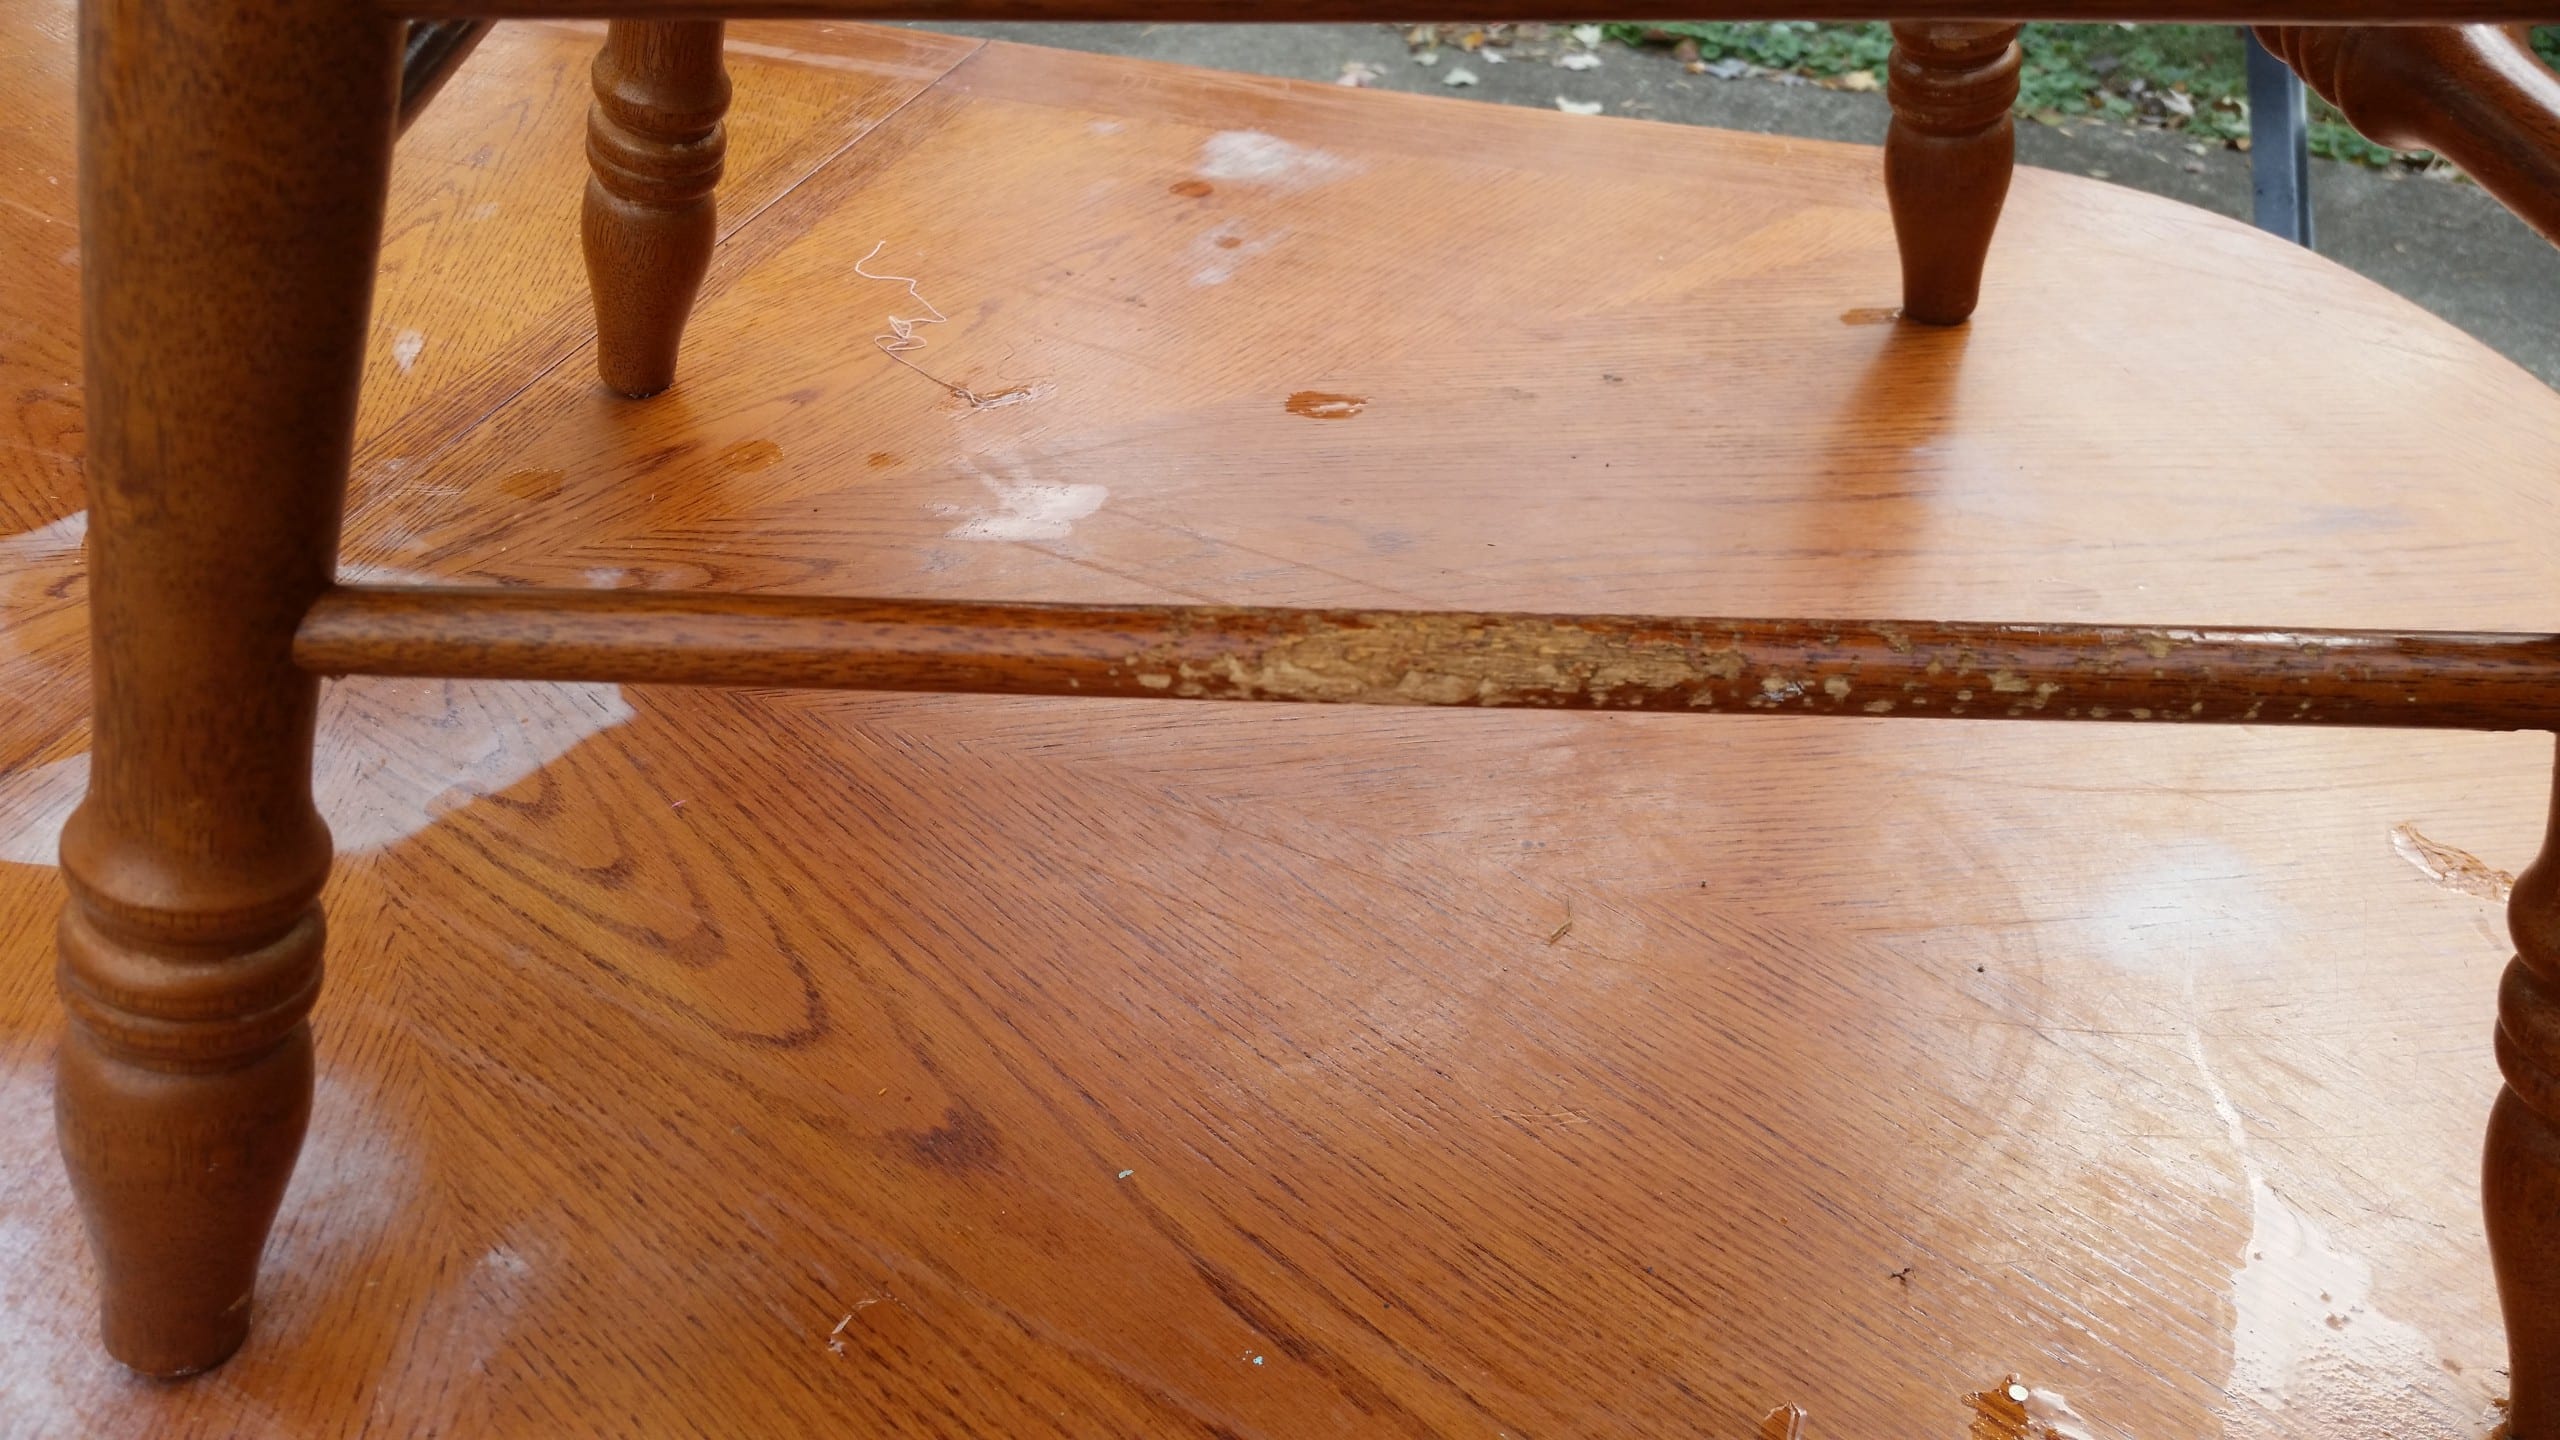
You can get a glimpse of the tabletop in this picture. Note the damage on the rung of the chair. I did some sanding on it to lessen the damage. I also sanded the table top quite a bit to remove scratches.
A Good Furniture Makeover Begins With Cleaning
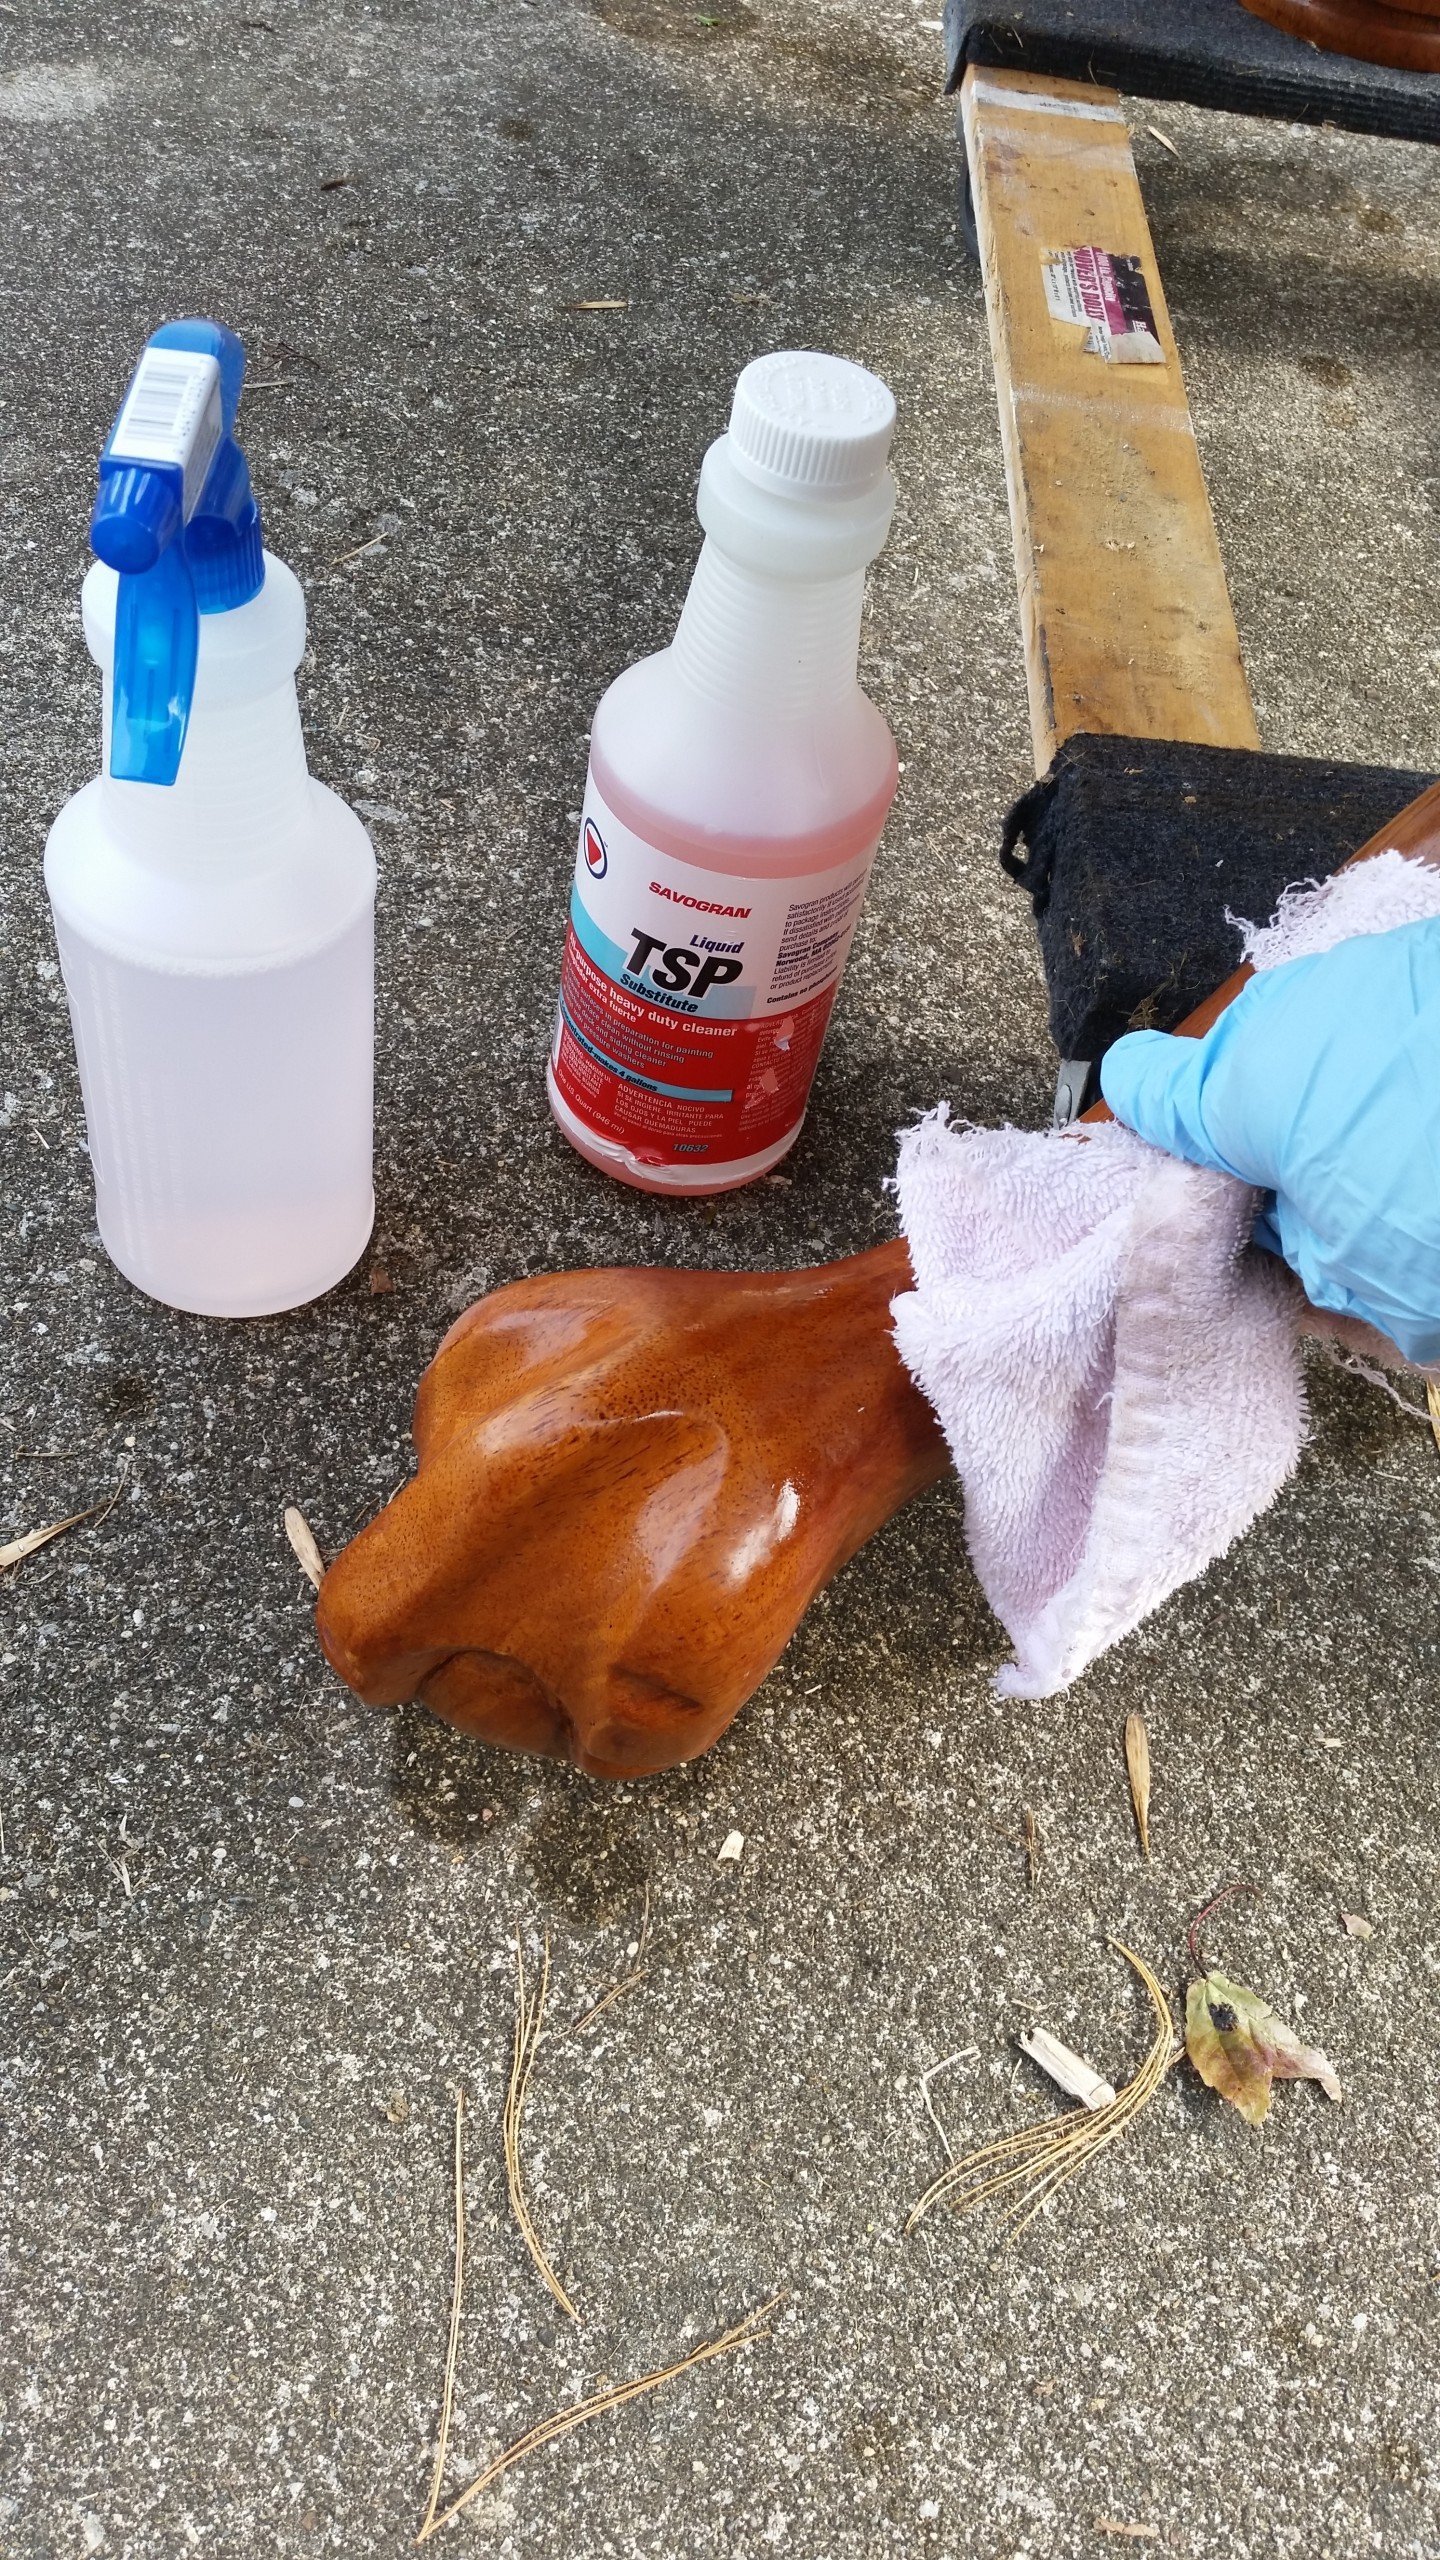
Whenever you work on anything that’s been in a kitchen, I think it’s best to give it a good cleaning with some TSP to ensure there are no signs of grease and grime. Paint will not stick to greasy, dirty wood. In addition, you don’t know if someone may have waxed the table base and chairs with some furniture wax such as Pledge. If your furniture is extremely grimy, my article How To Prep Furniture may be helpful.
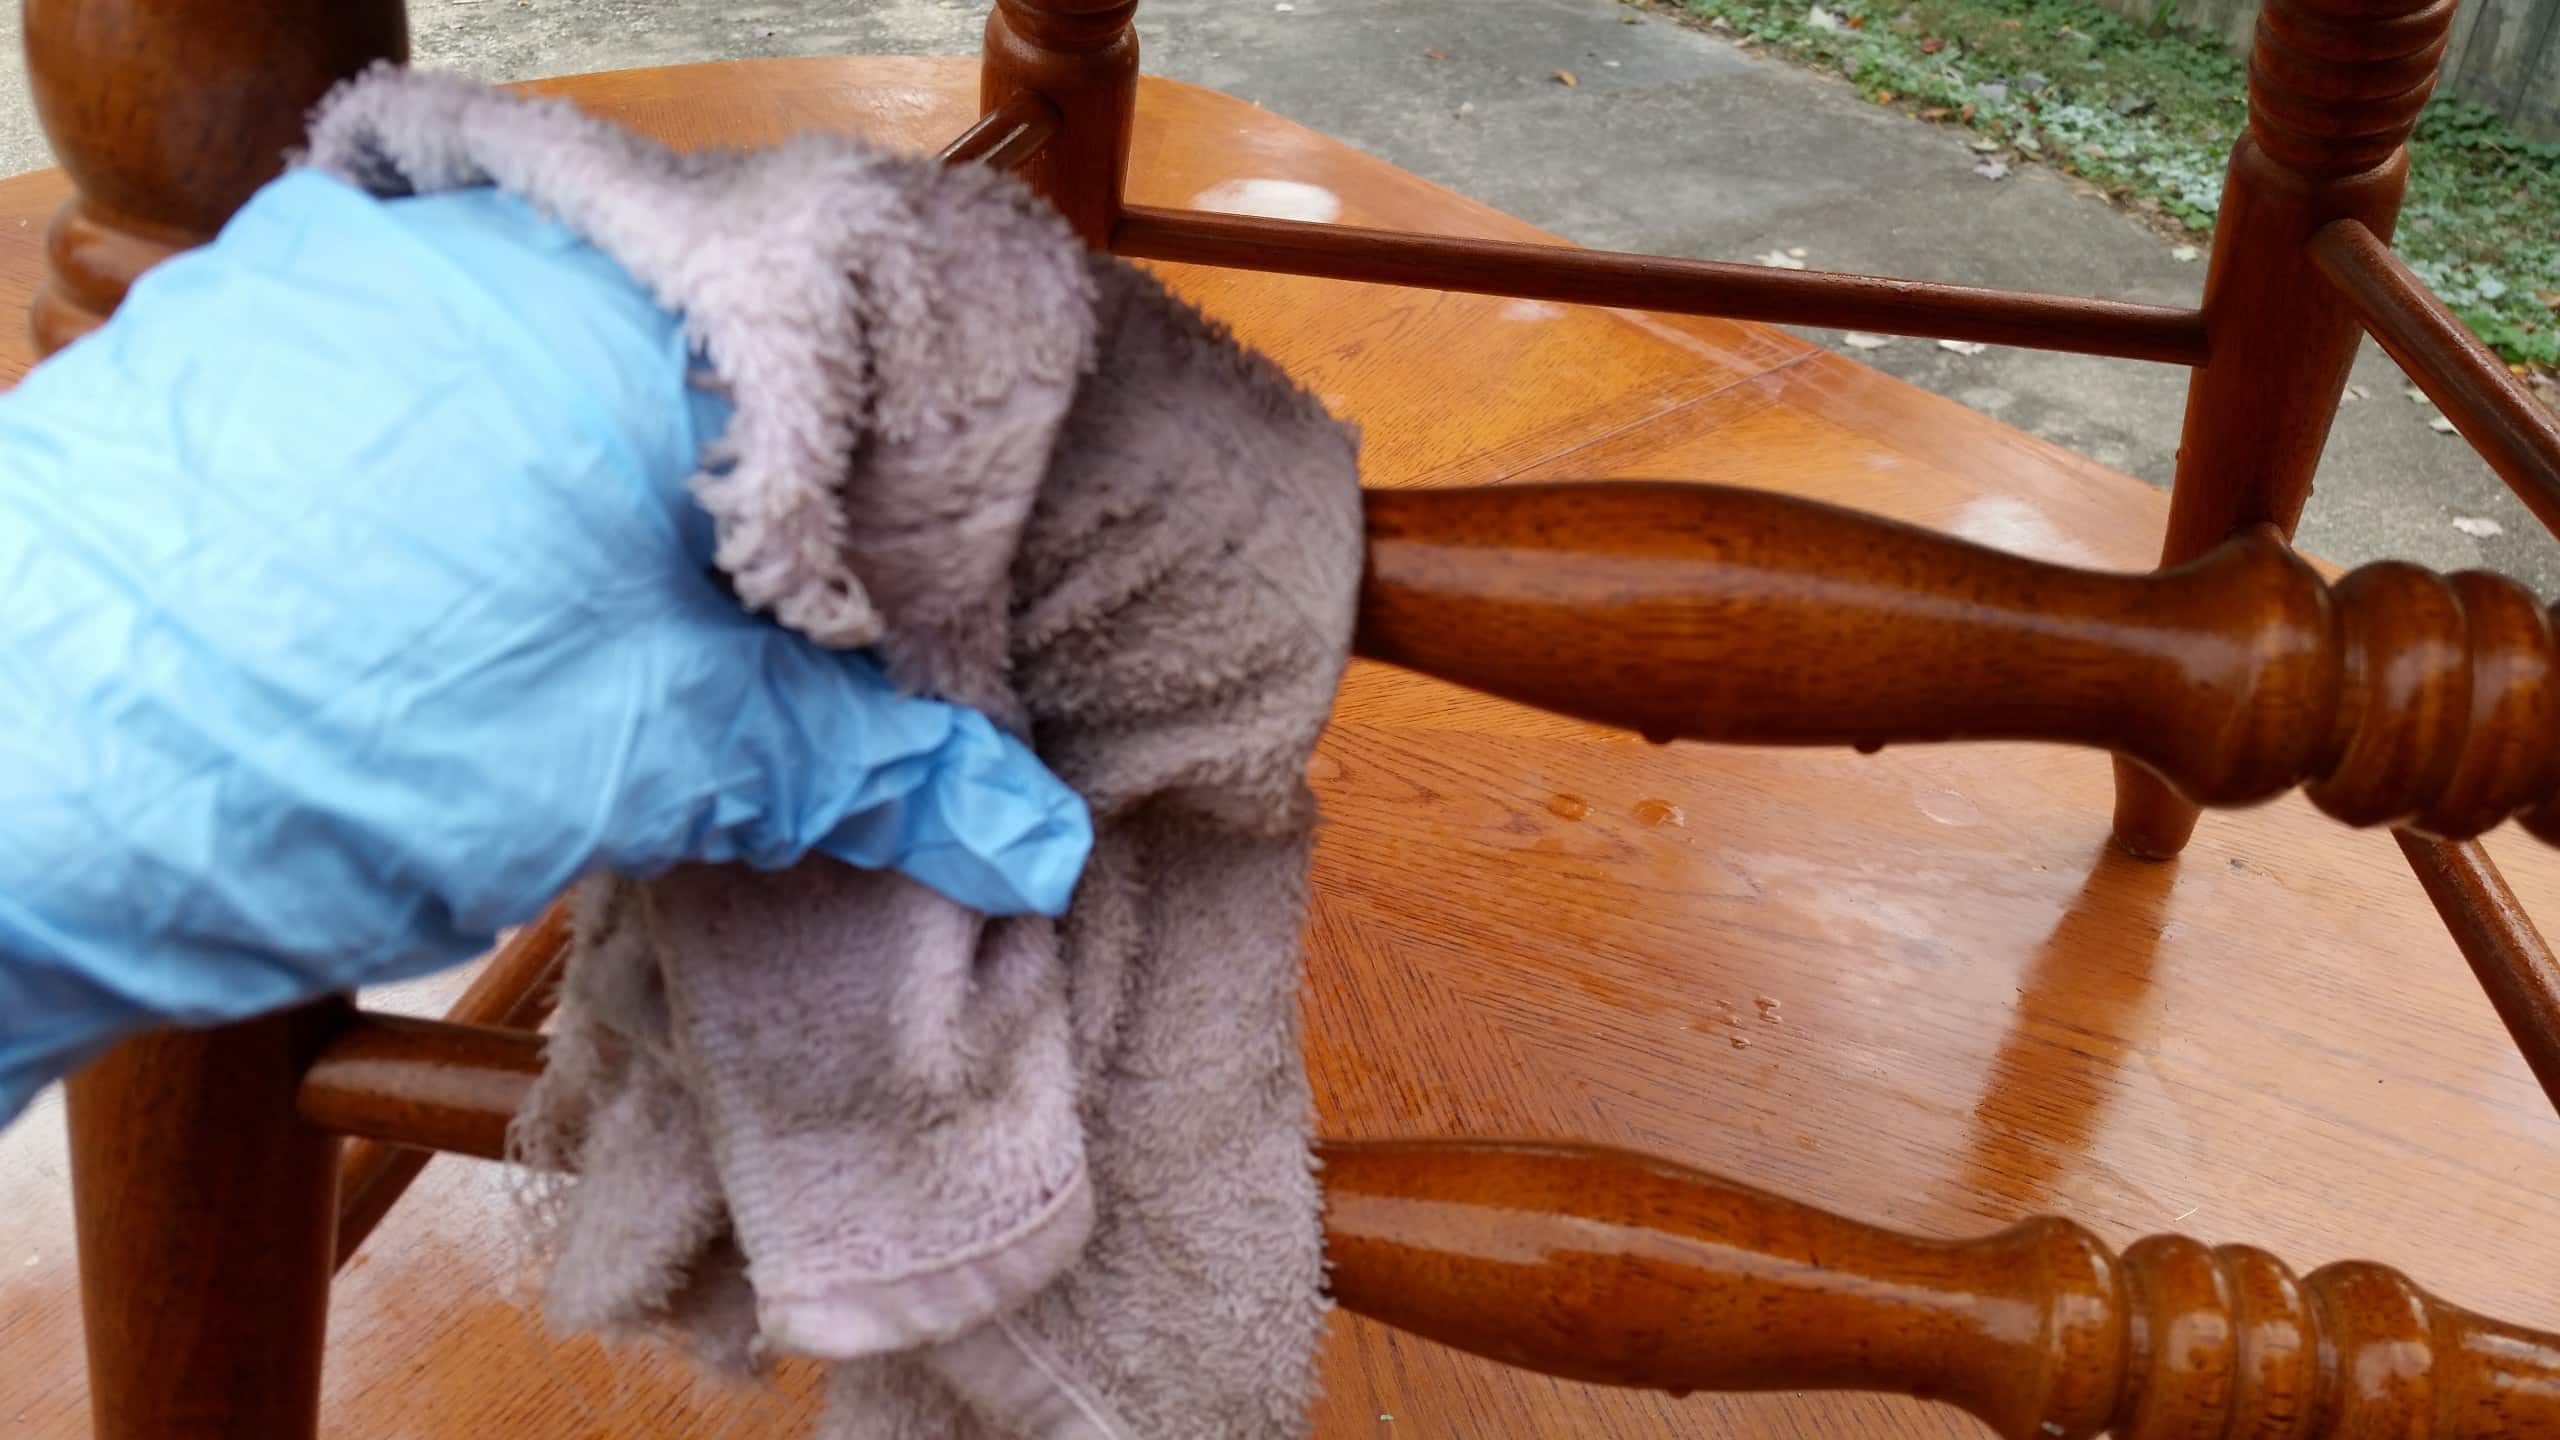
I sprayed on the TSP with a bottle for the cleaning, then wiped everything down well with an old rag. I prefer to wear latex gloves when I use cleaning products.
A Finish Max Paint Sprayer Paints Pedestal Oak Table
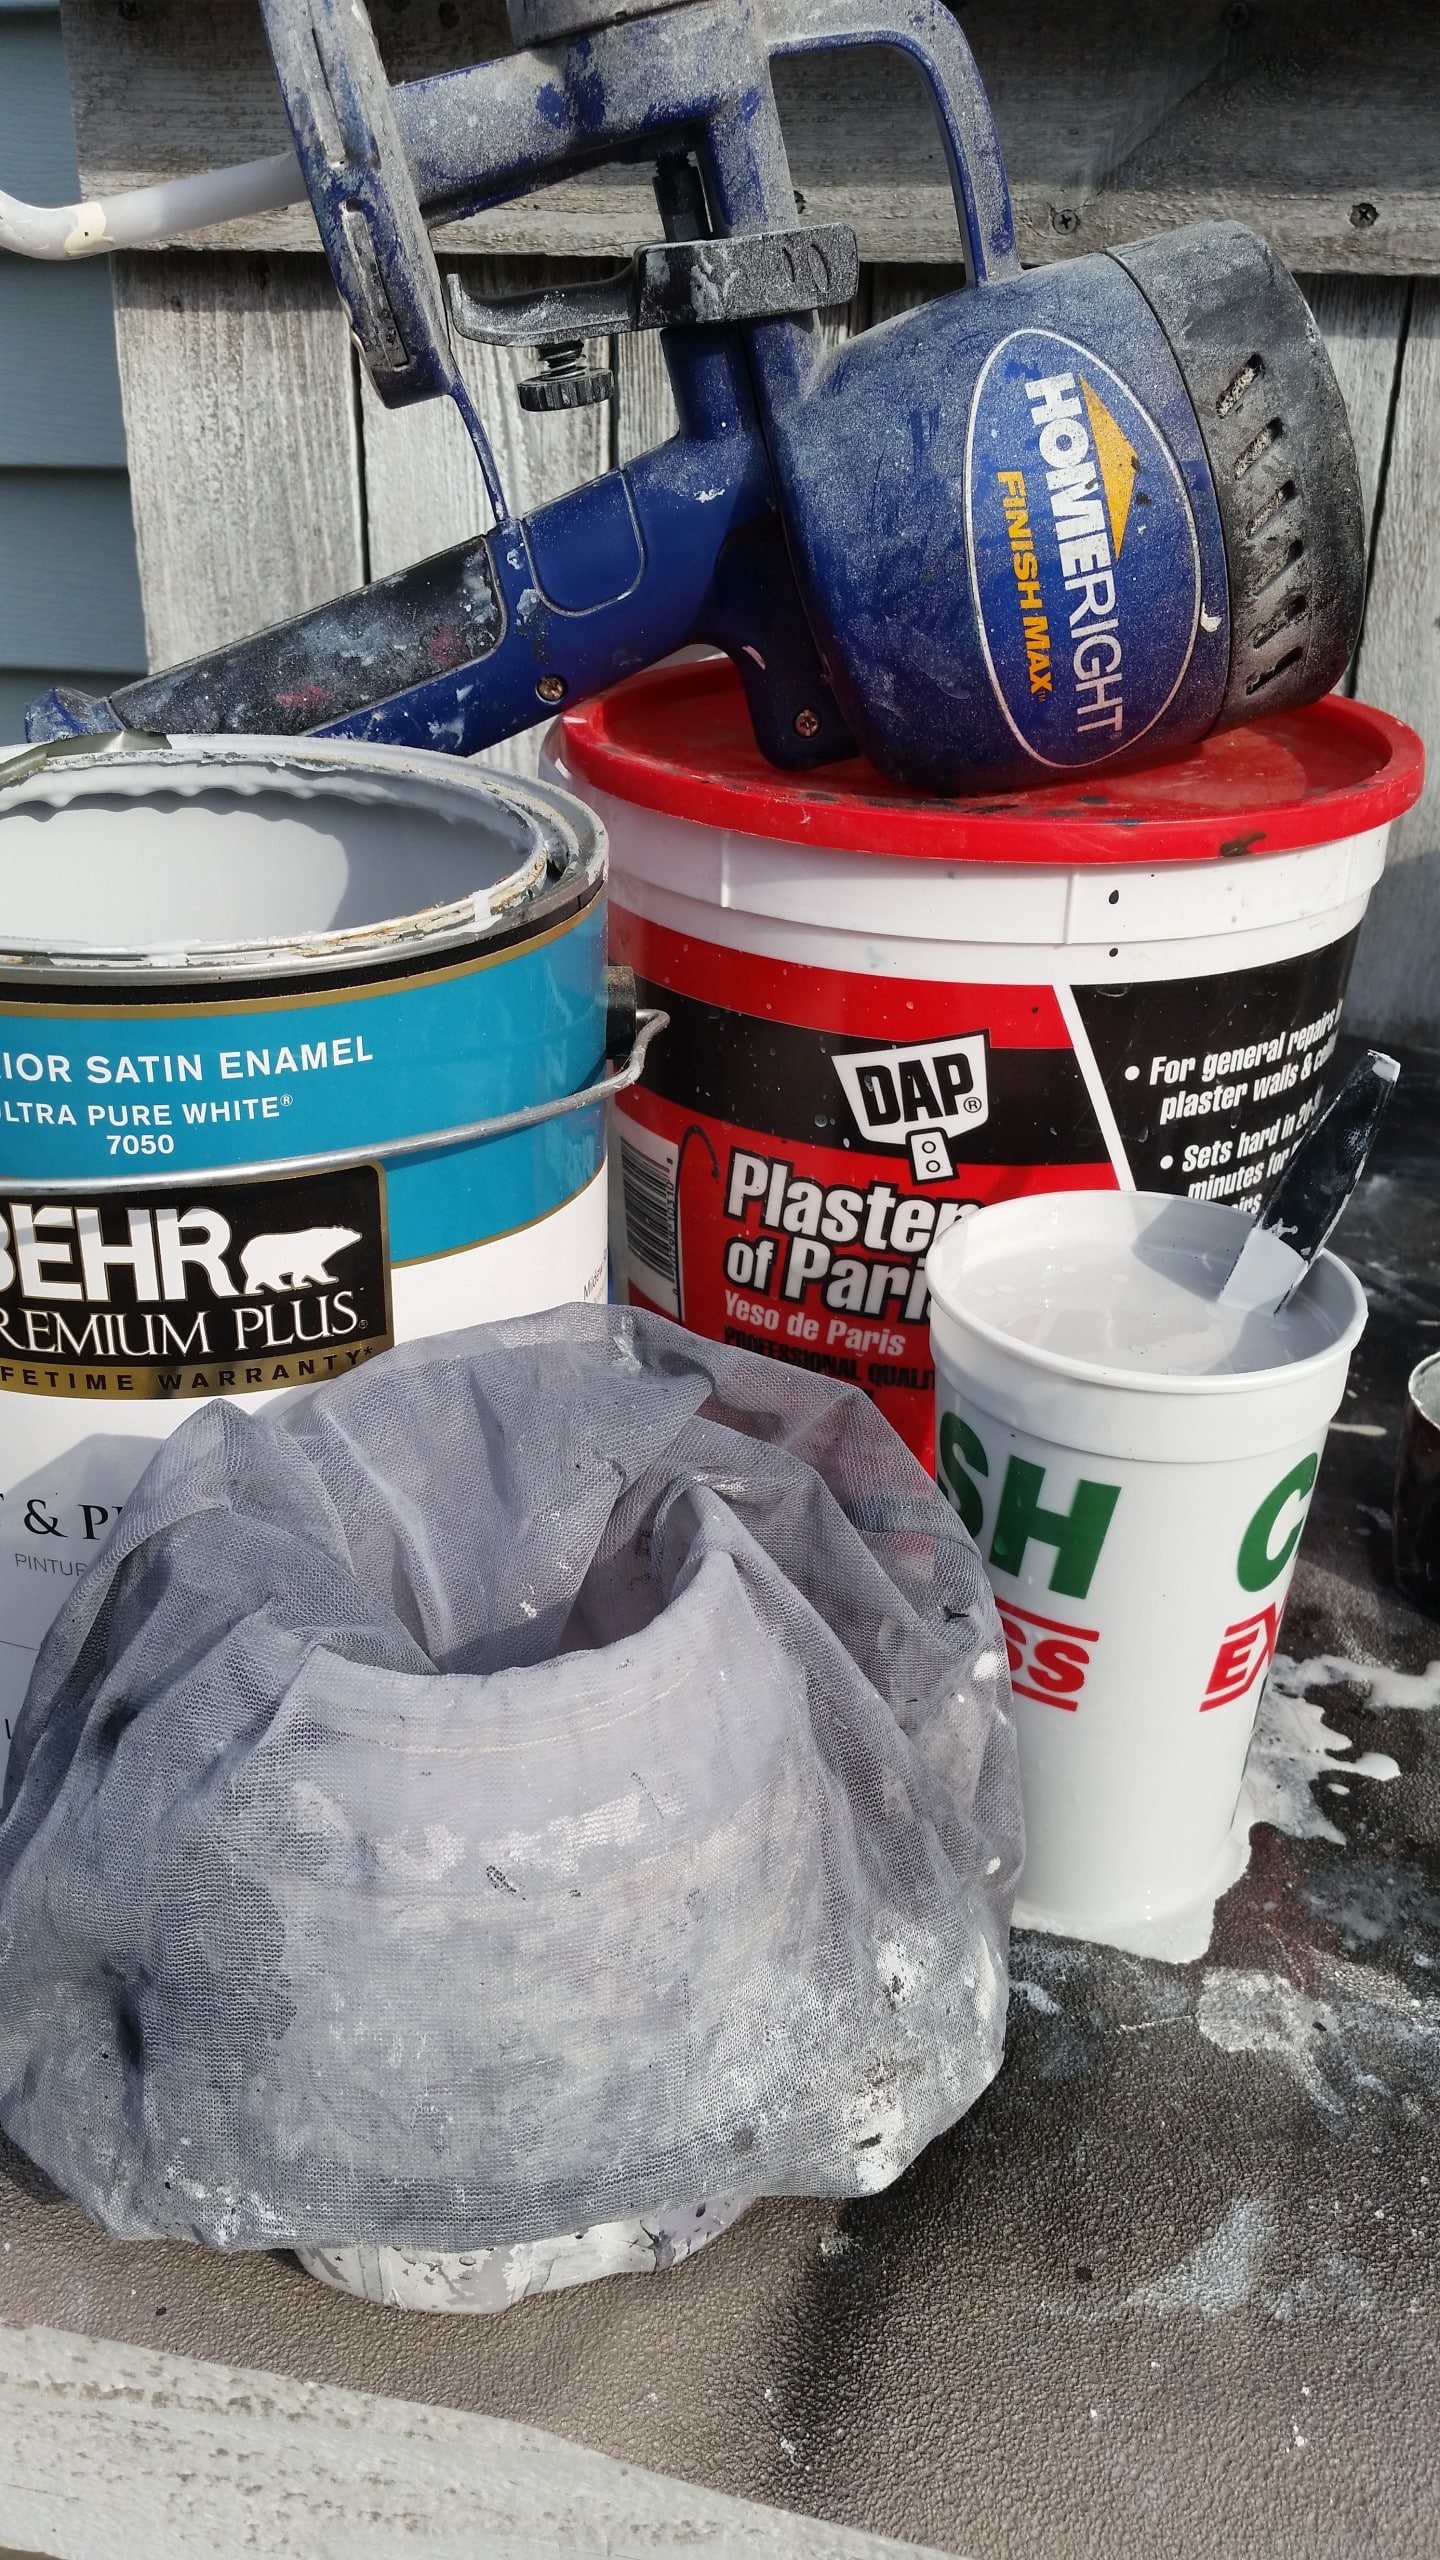
Because a large project like this will need a lot of paint, I used my own recipe for DIY chalky paint primer with Plaster of Paris. I will be spraying the paint using a Homeright Finish Max paint sprayer. Mix it in a cup, then strain it with a mesh paint strainer, diluting it slightly to thin the paint. All paint is different, so it’s difficult to say precisely how much water is needed. The plaster thickens the primer, so you want to return it to its original consistency before using it in the paint sprayer.
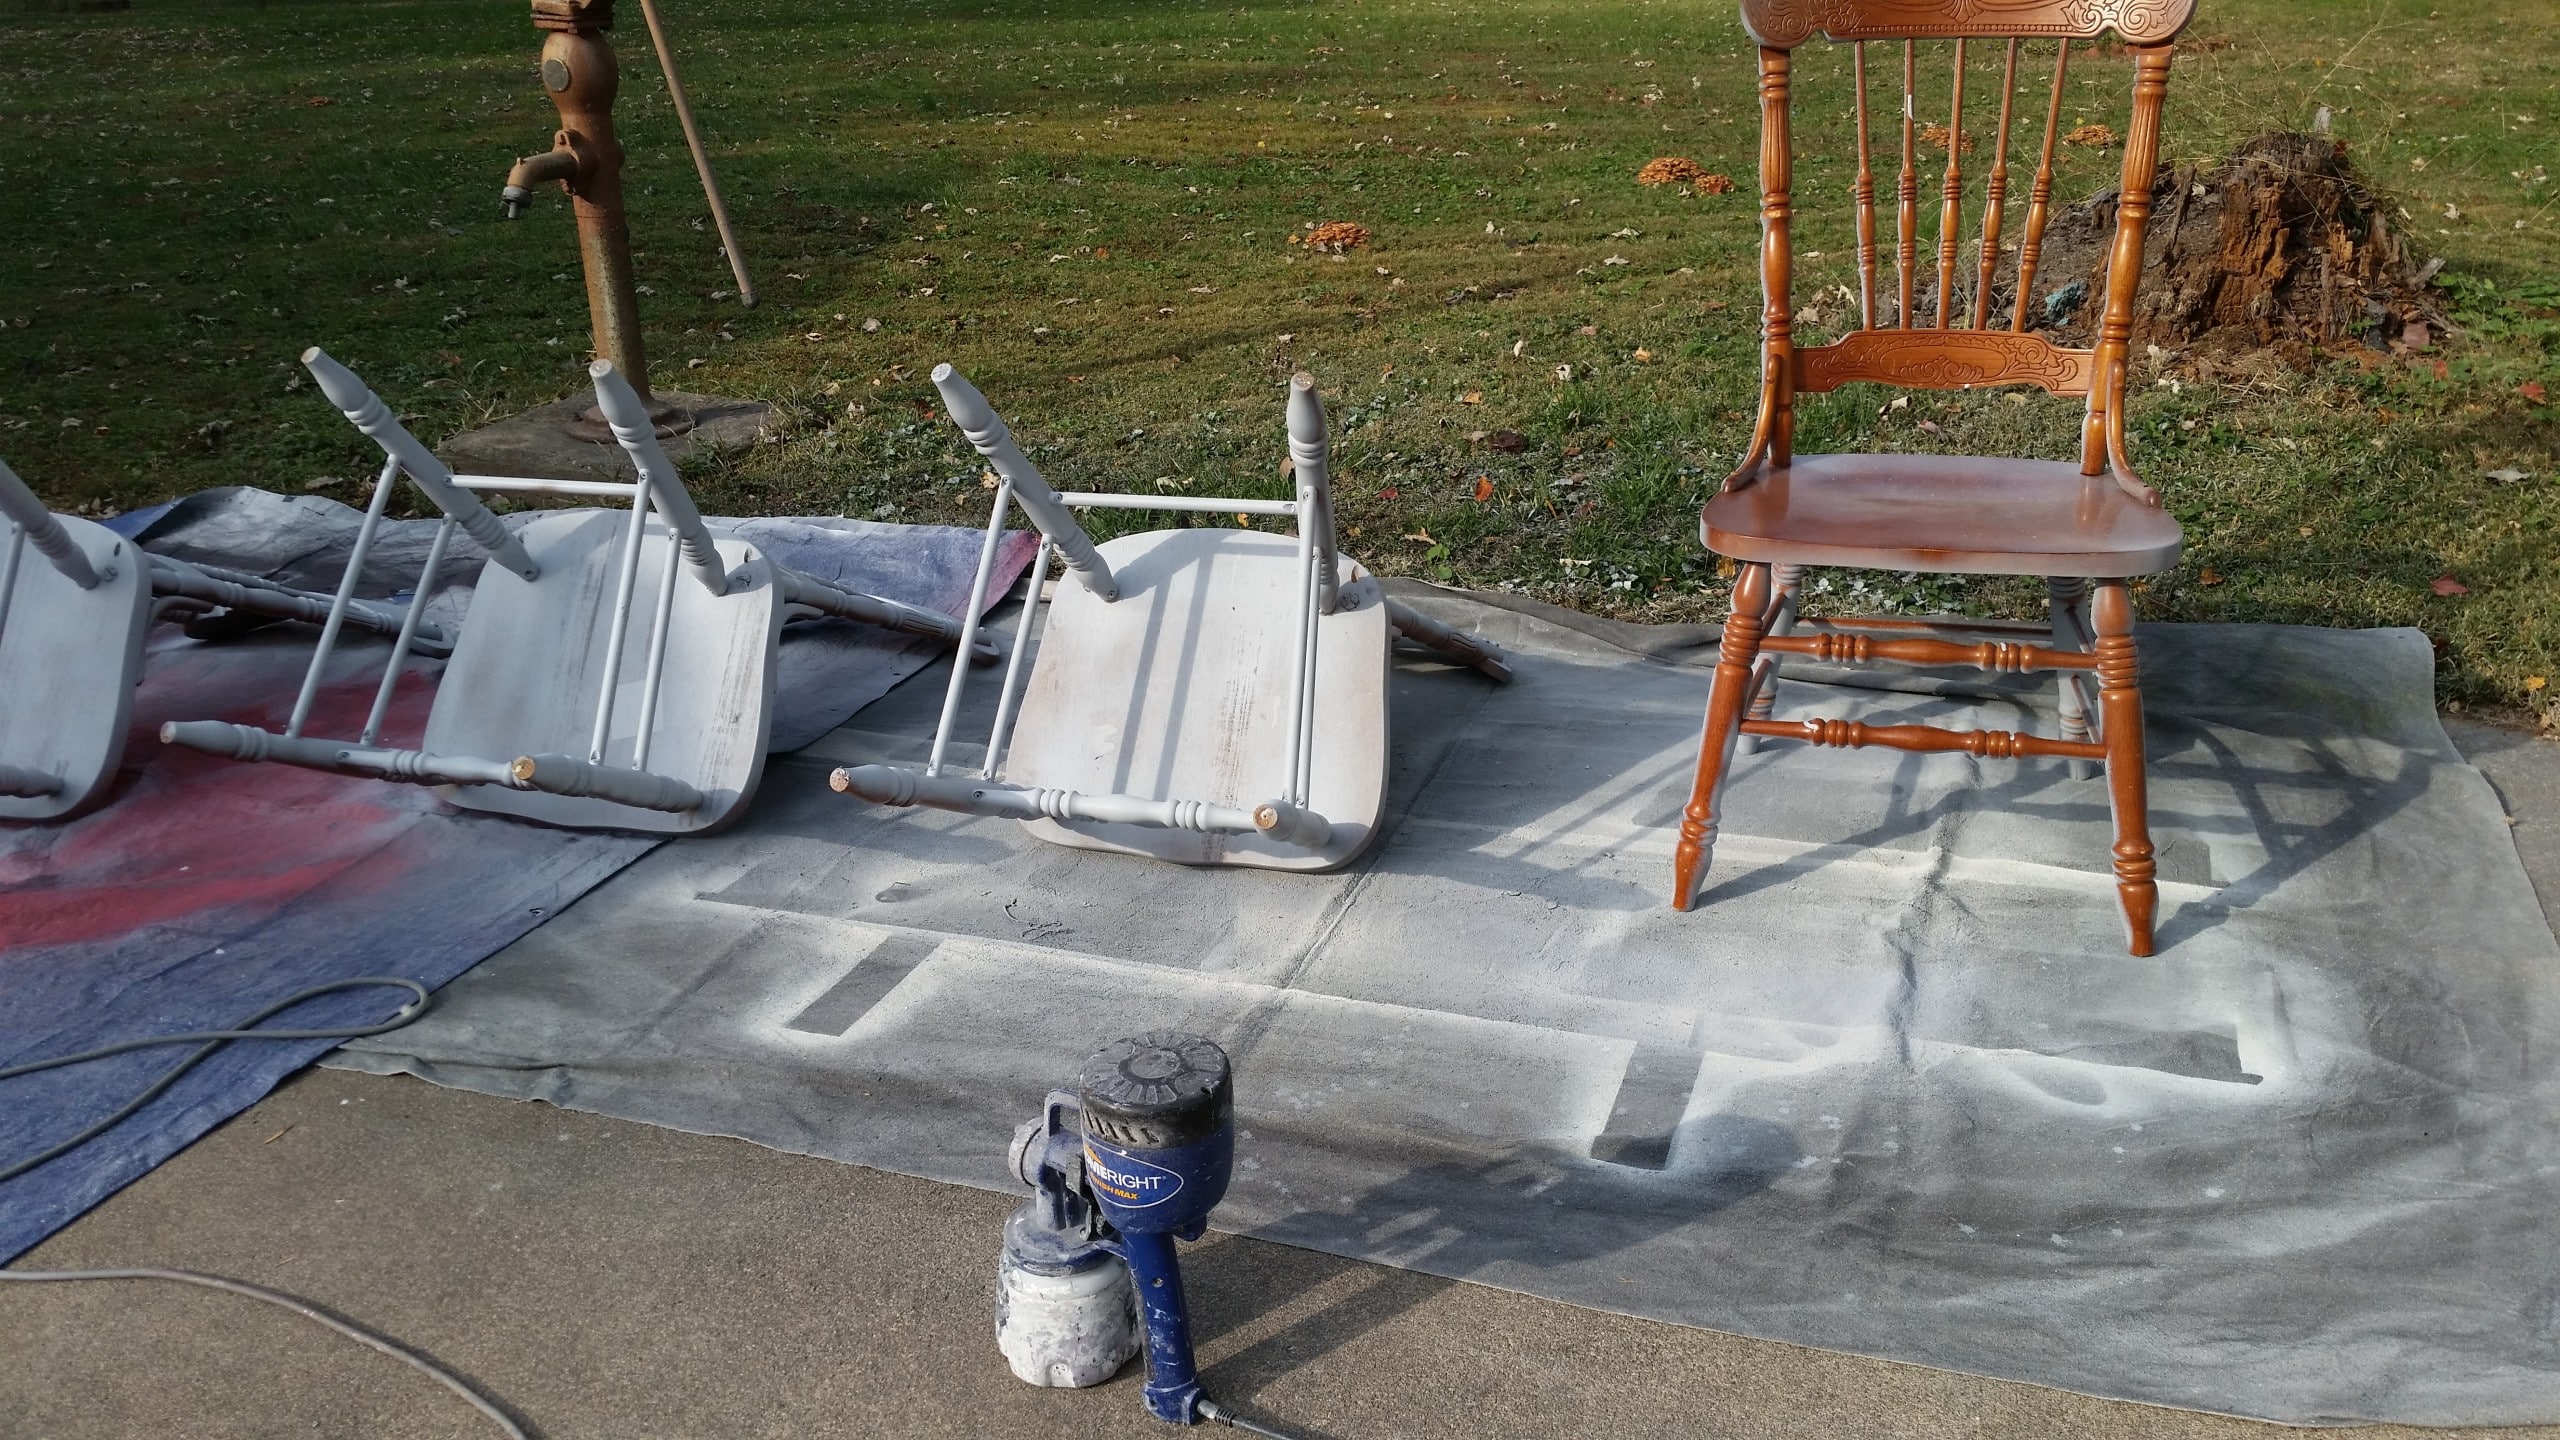
The chairs got their first light coat of paint while resting upside down on tarps. Then, I turned each of them upright. Can you imagine painting all of these chairs by hand with a brush? The paint sprayer makes this daunting task so much easier.
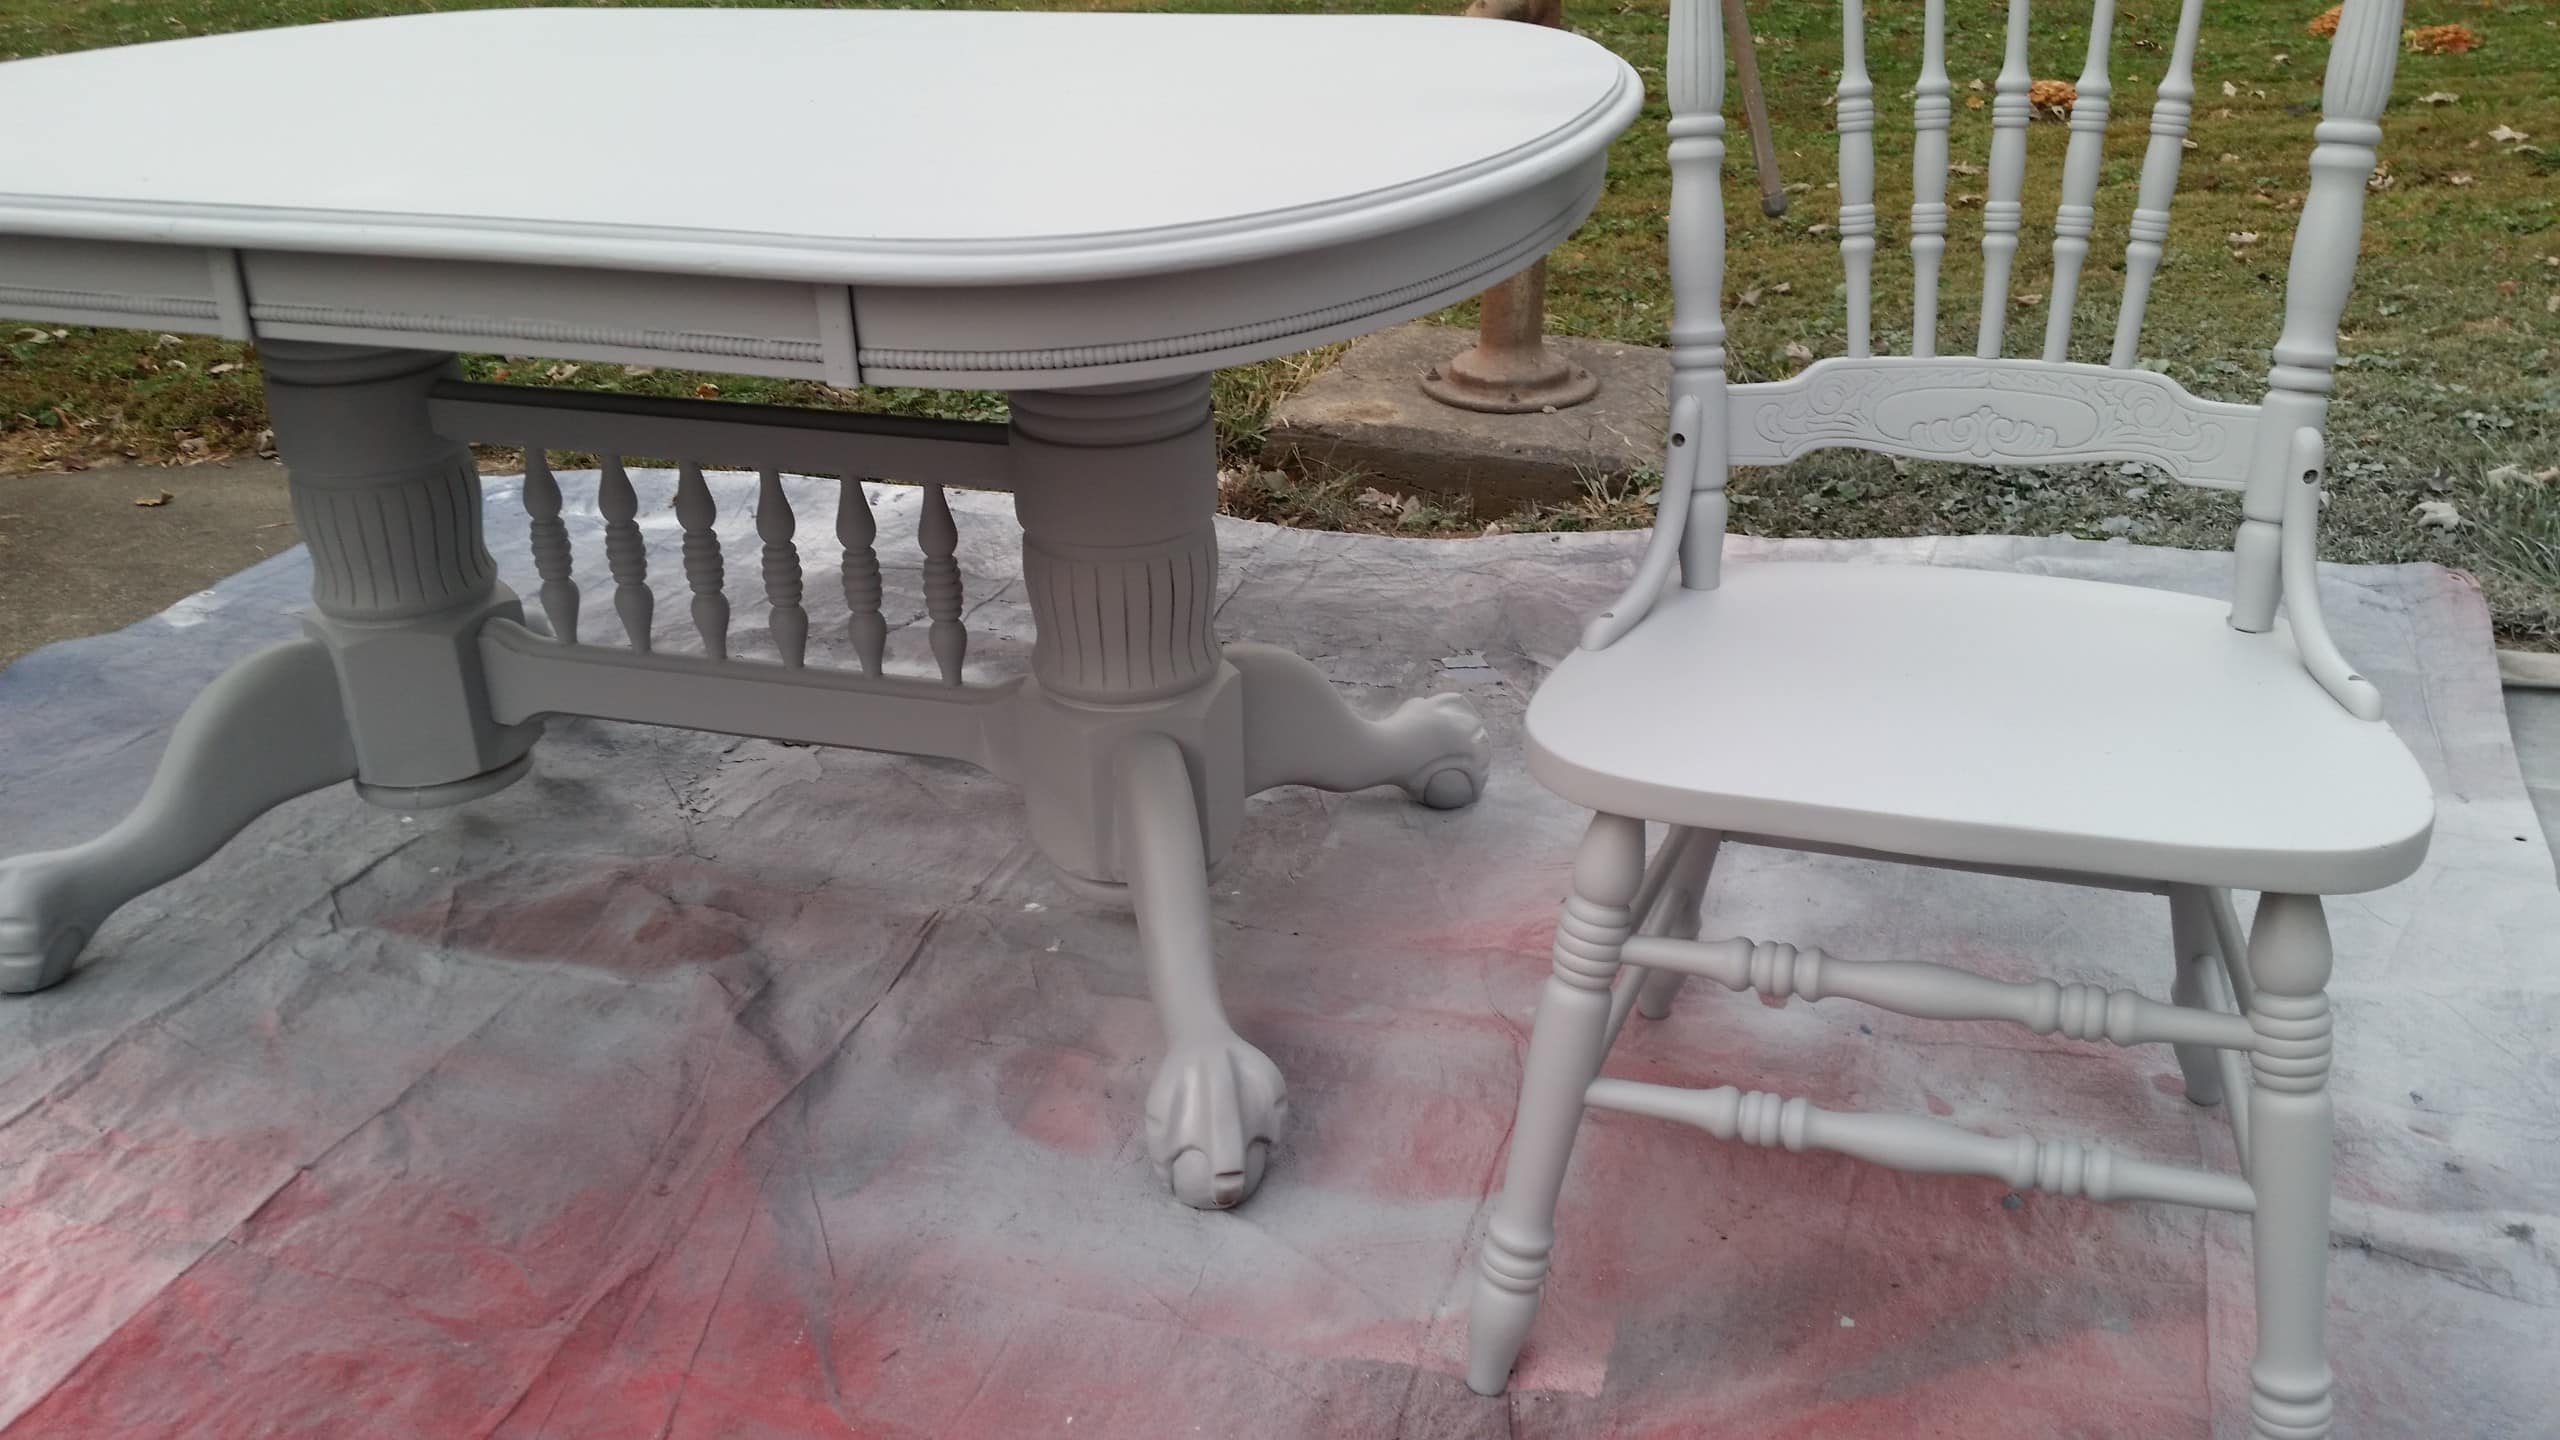
Even the table would have been a challenge to paint with a brush. This photo shows how things look after a couple of light coats of the DIY chalky paint primer. I love using my own recipe of homemade primer in the same color that I’m going to use because it covers so much better. I intended to leave the set this light gray.
How To Paint Dining Chairs
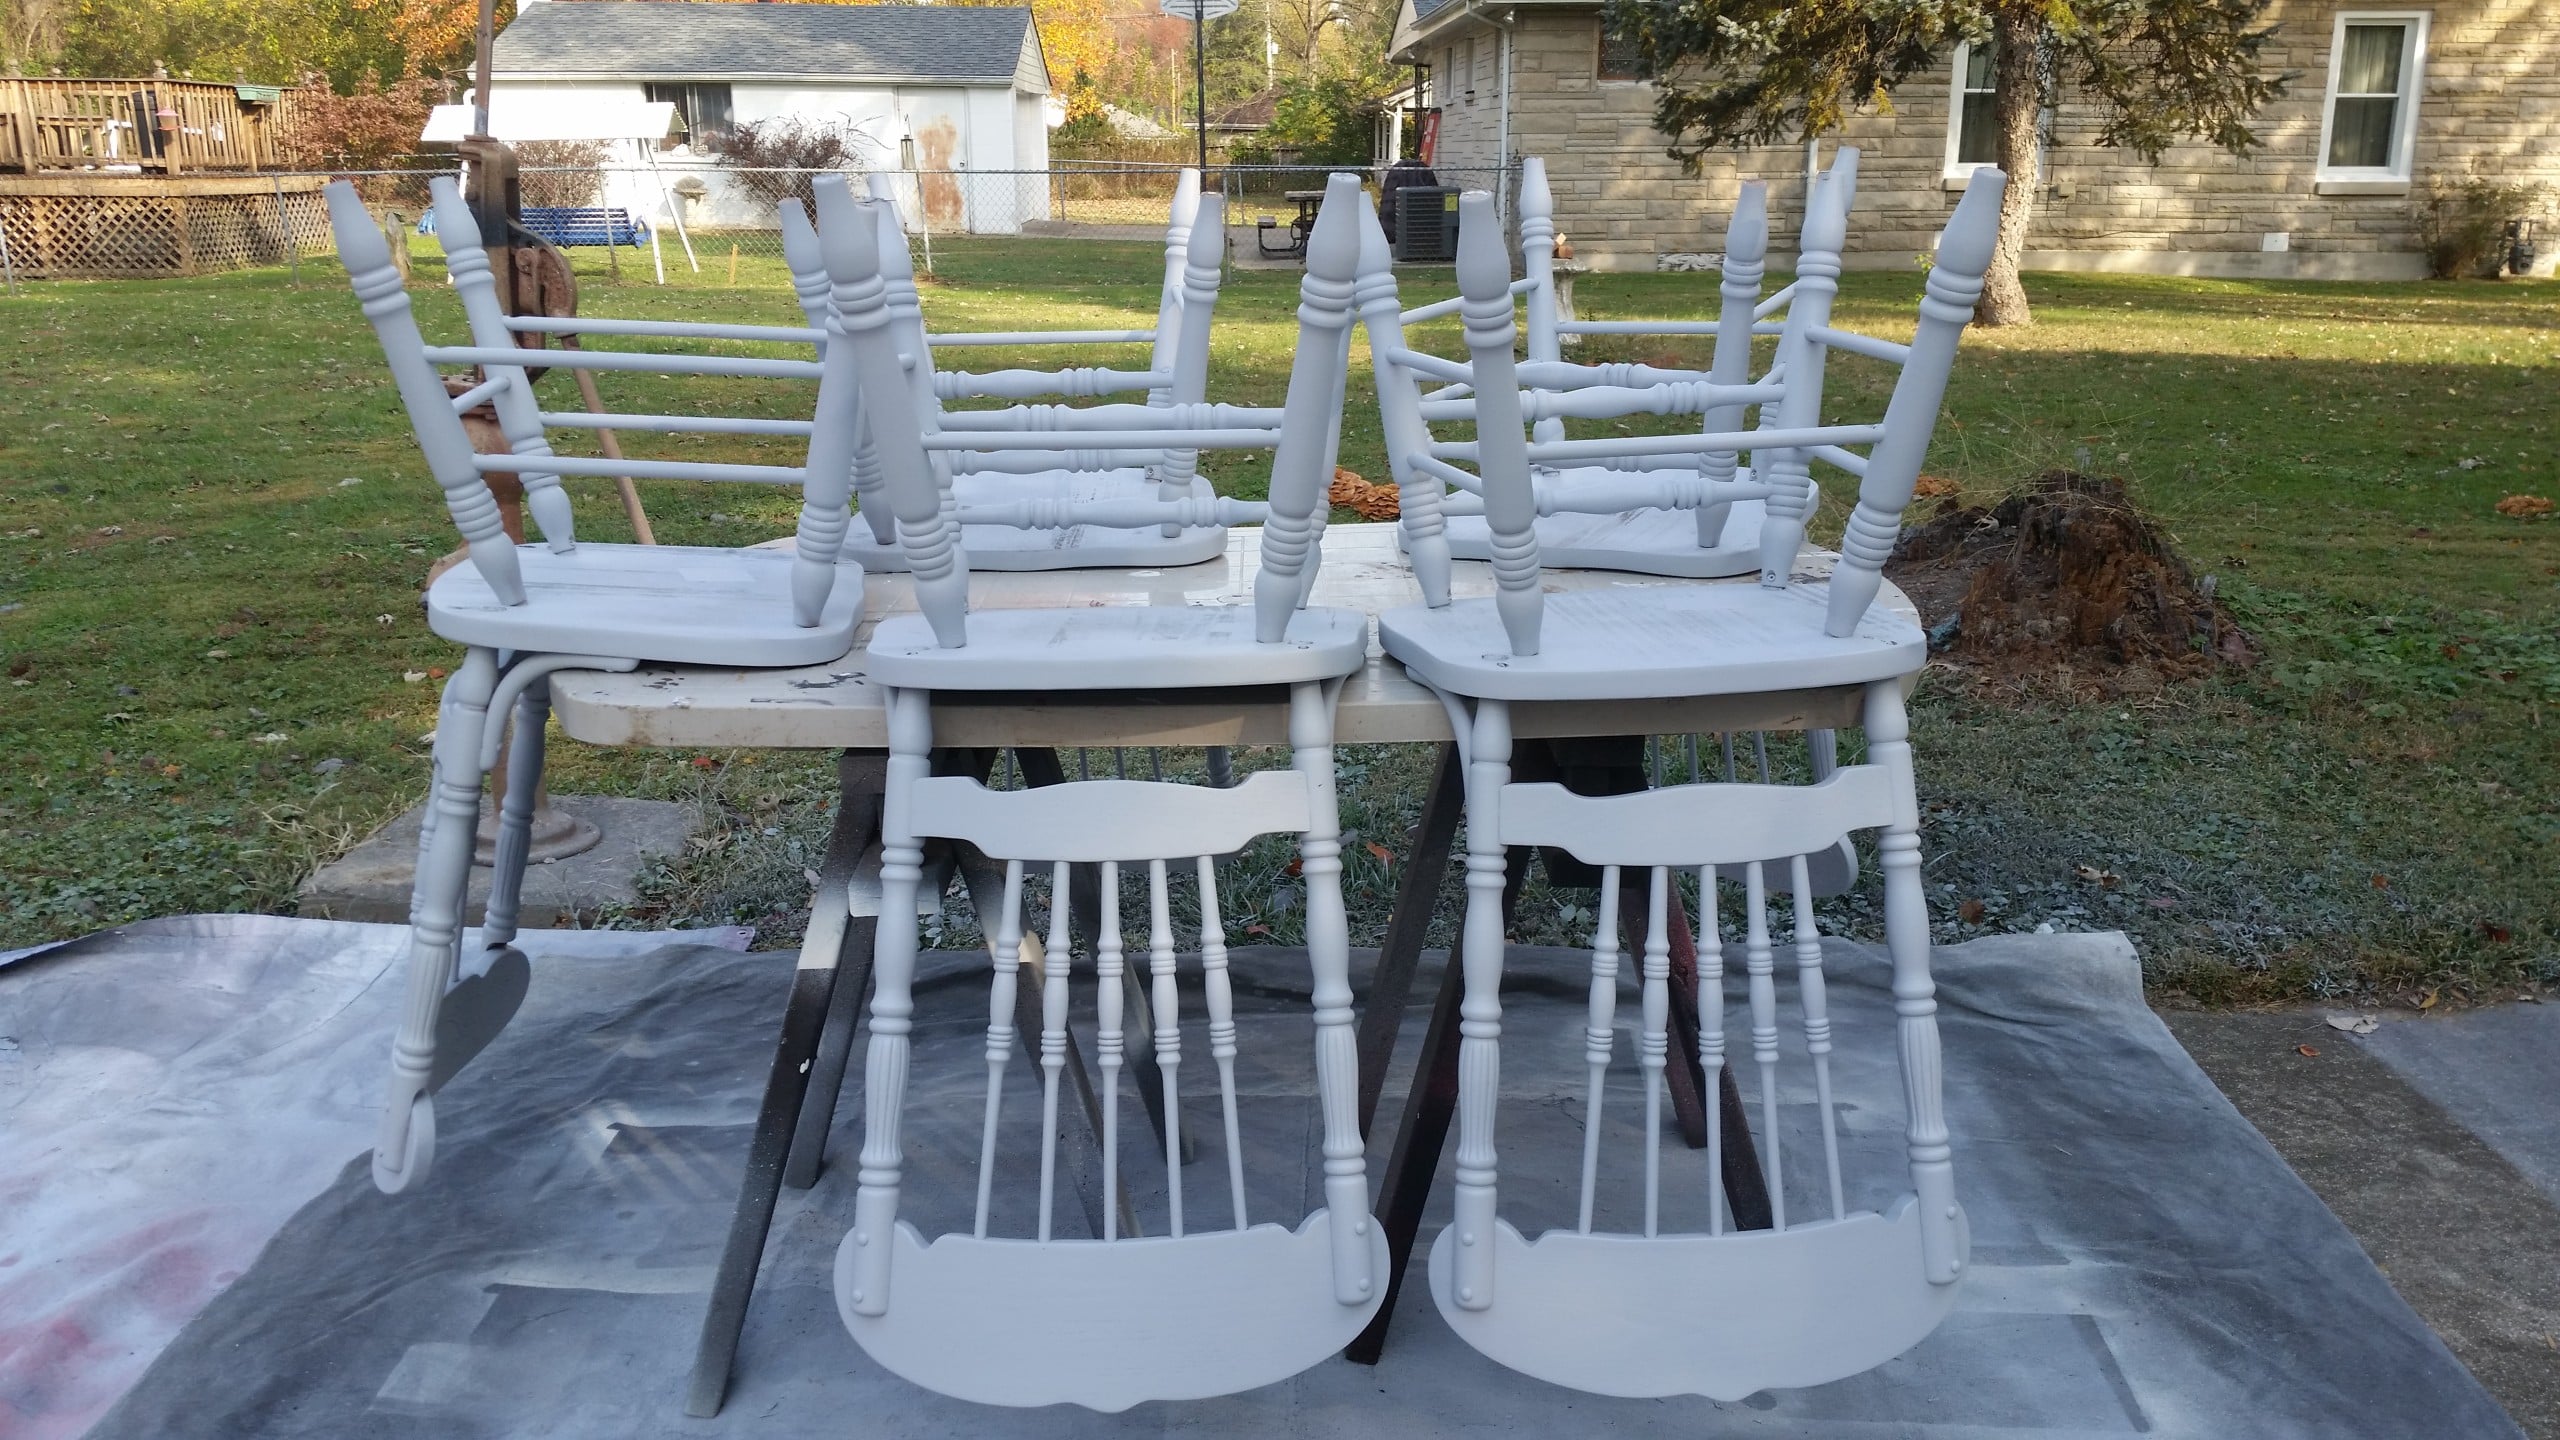
Even after trying to cover every bit of the chairs, I found that resting them upside down on a makeshift table worked best to get in all the nooks and crannies.
Painting a Pedestal Oak Table

You can either stand on your head or turn your furniture upside down. I prefer to shift the furniture. ![]()
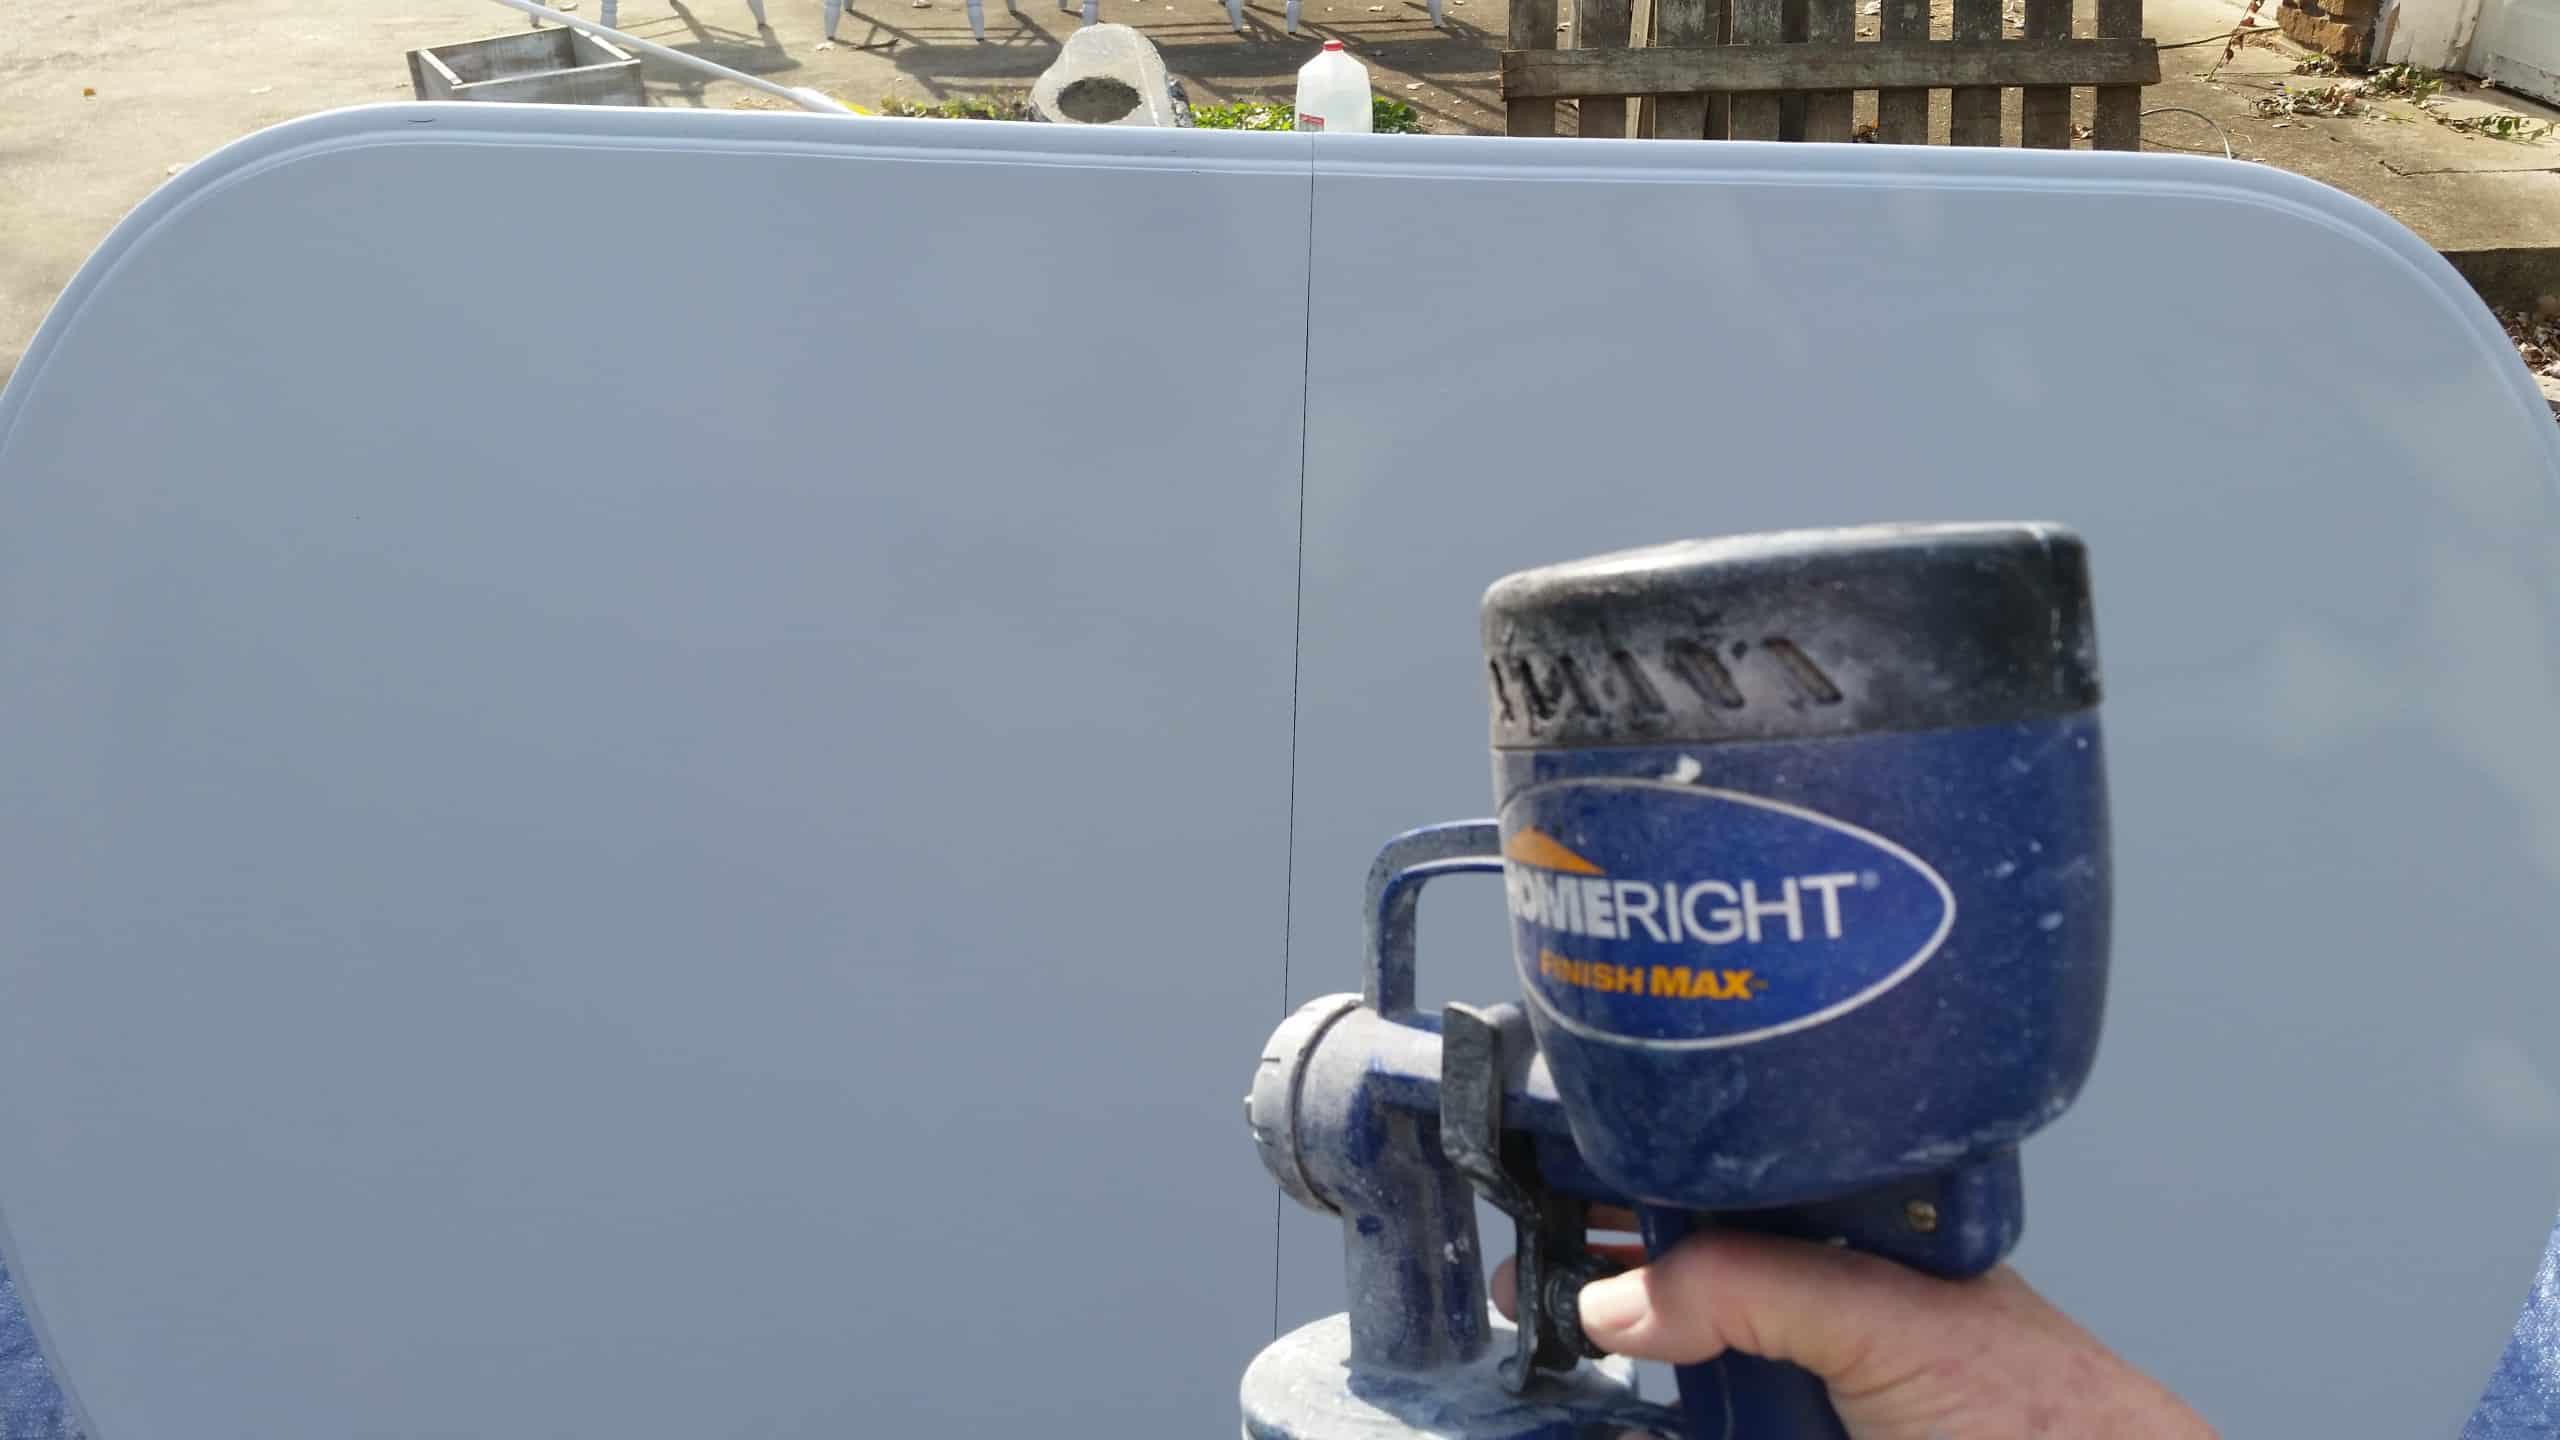
You can see it’s best to paint horizontal surfaces such as table tops vertically. I find it gives much better coverage. In this position, the paint is sprayed onto the tabletop rather than “falling” onto it with the table in a horizontal position.
Time To Choose The Right Finish
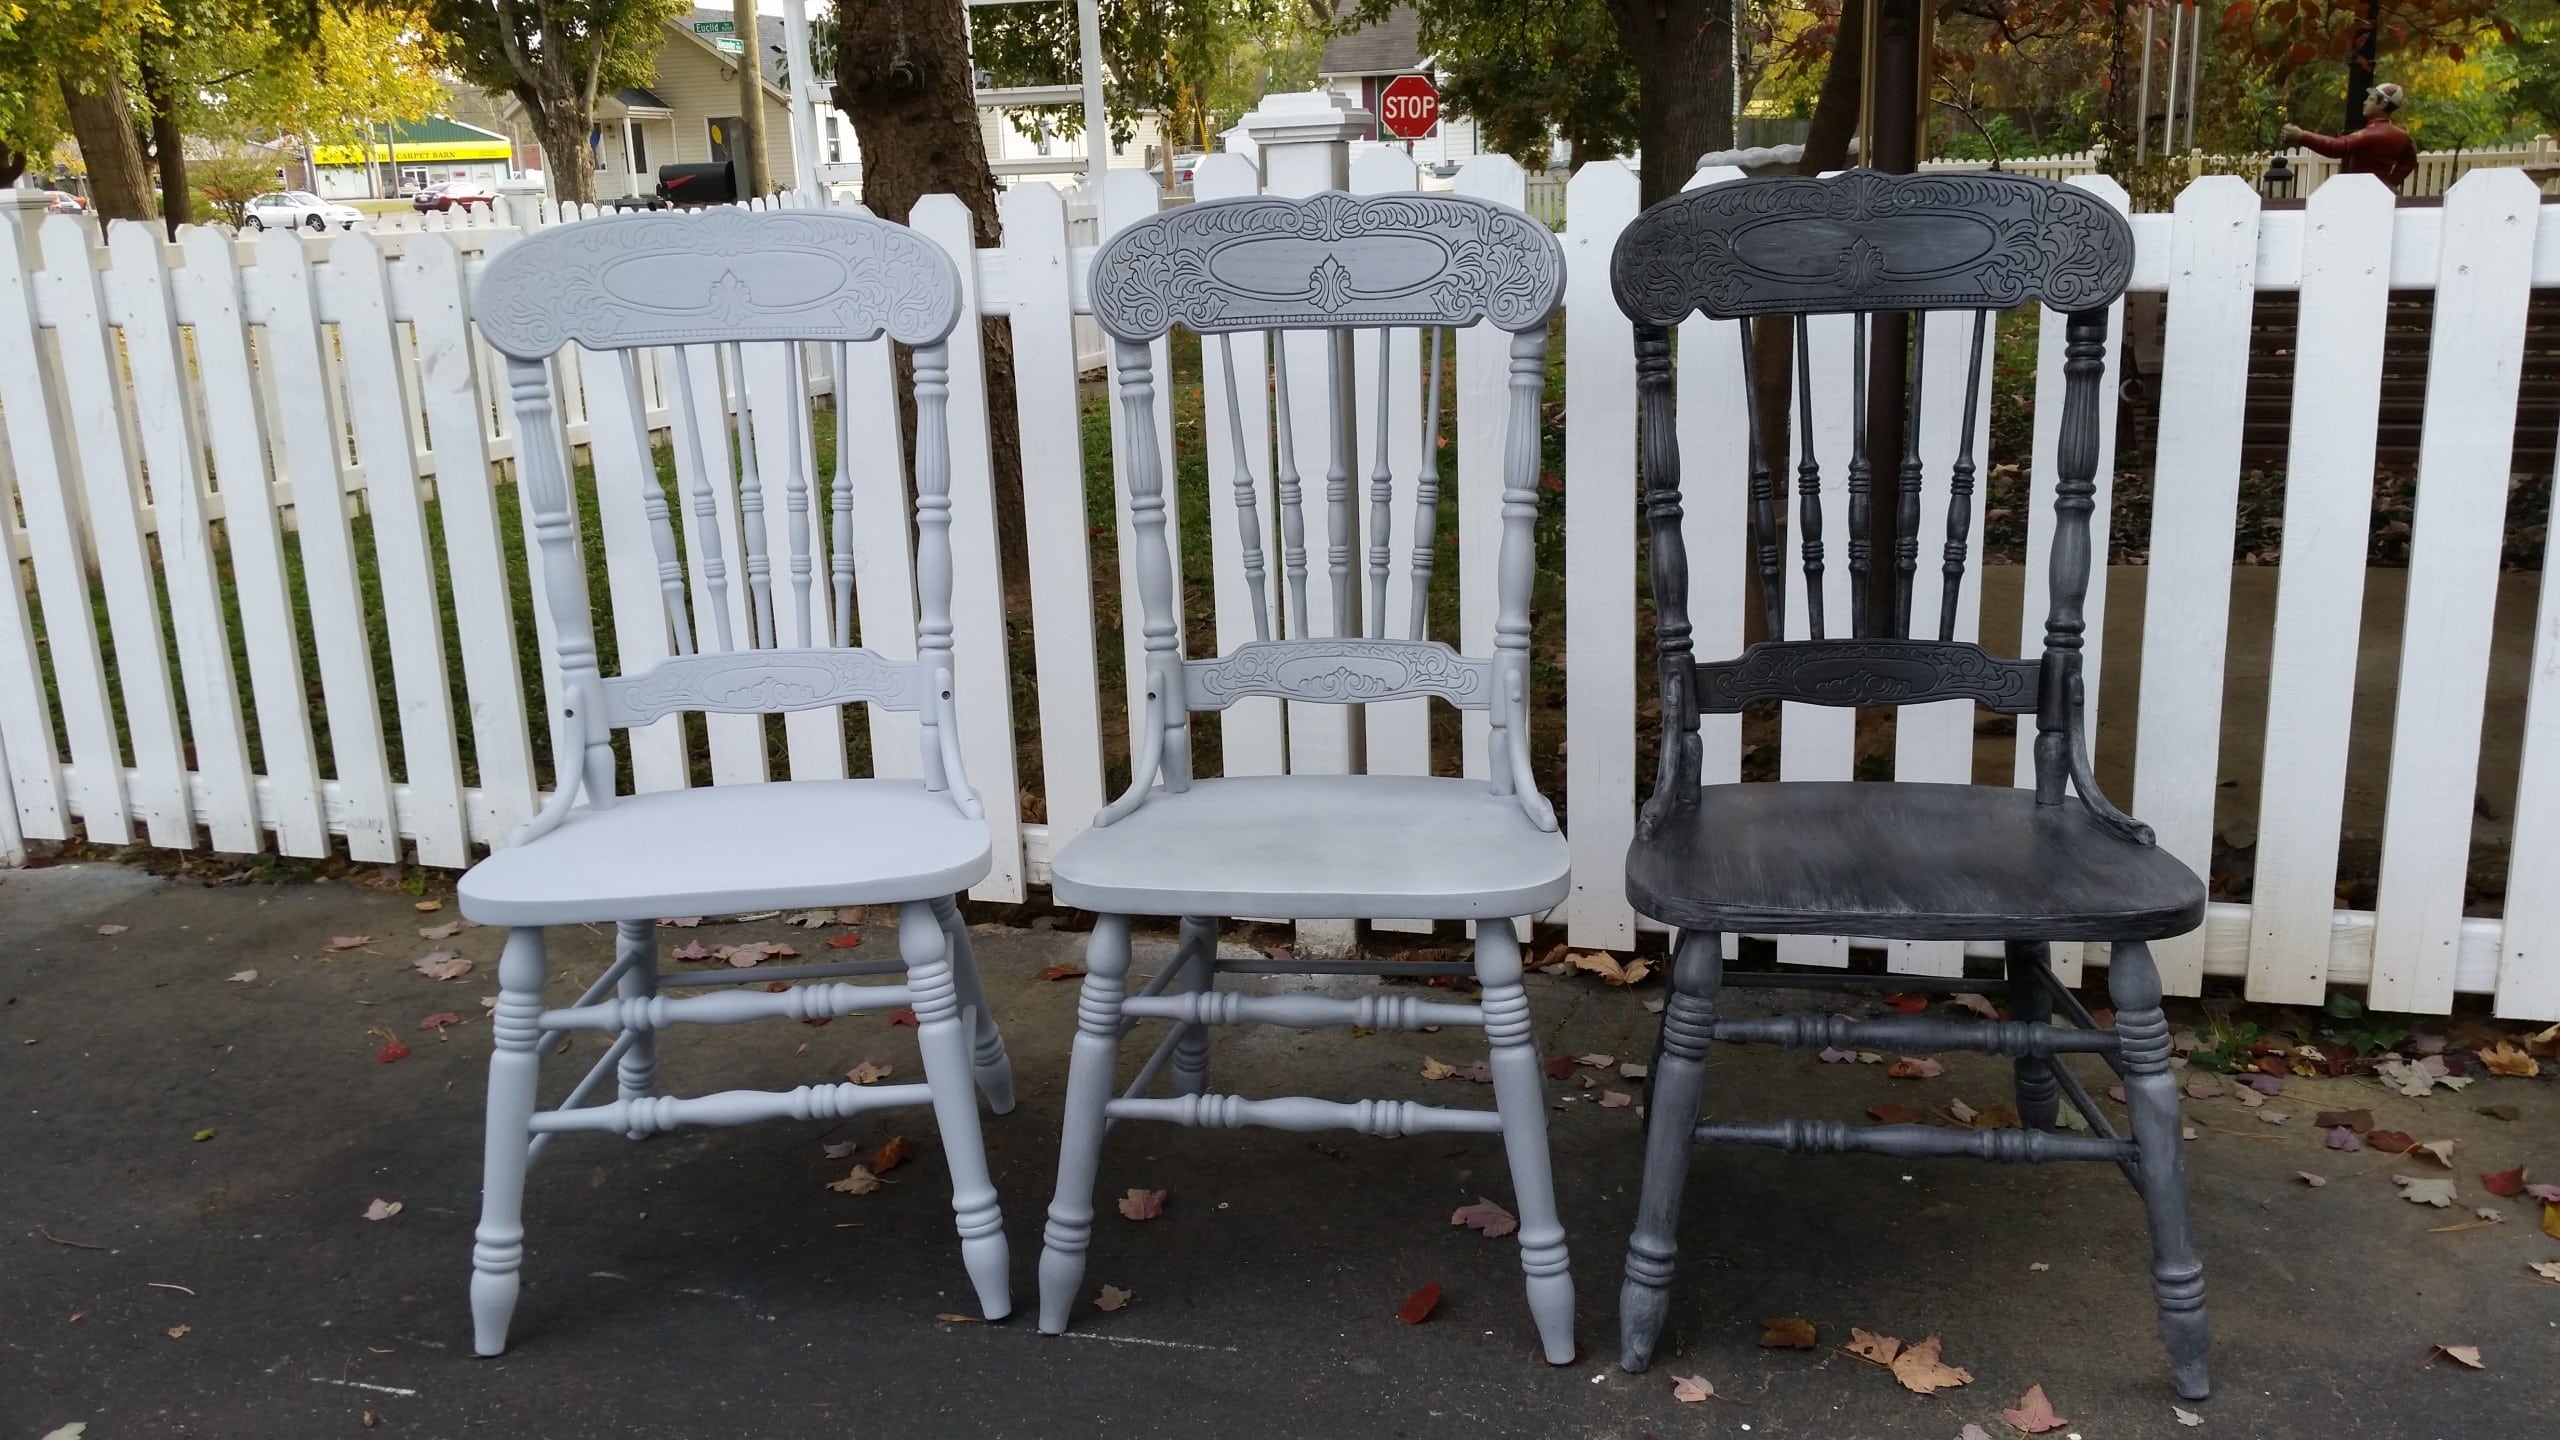
I shared this image on Facebook to get opinions on which finish I should use. The chair on the left is straight diy primer in Stargazer (Behr). Then, in the middle, the chair is waxed with Heirloom Traditions Paint black wax. The chair on the right has a black “wash” on it. That means I watered down some black paint, brushed it on, and wiped it back.
But here’s the truth: the thought of waxing and buffing five chairs was more than I wanted to think about. In the end, brushing on and wiping off the black paint wasn’t much easier.
What Can I Use Instead of Glaze?
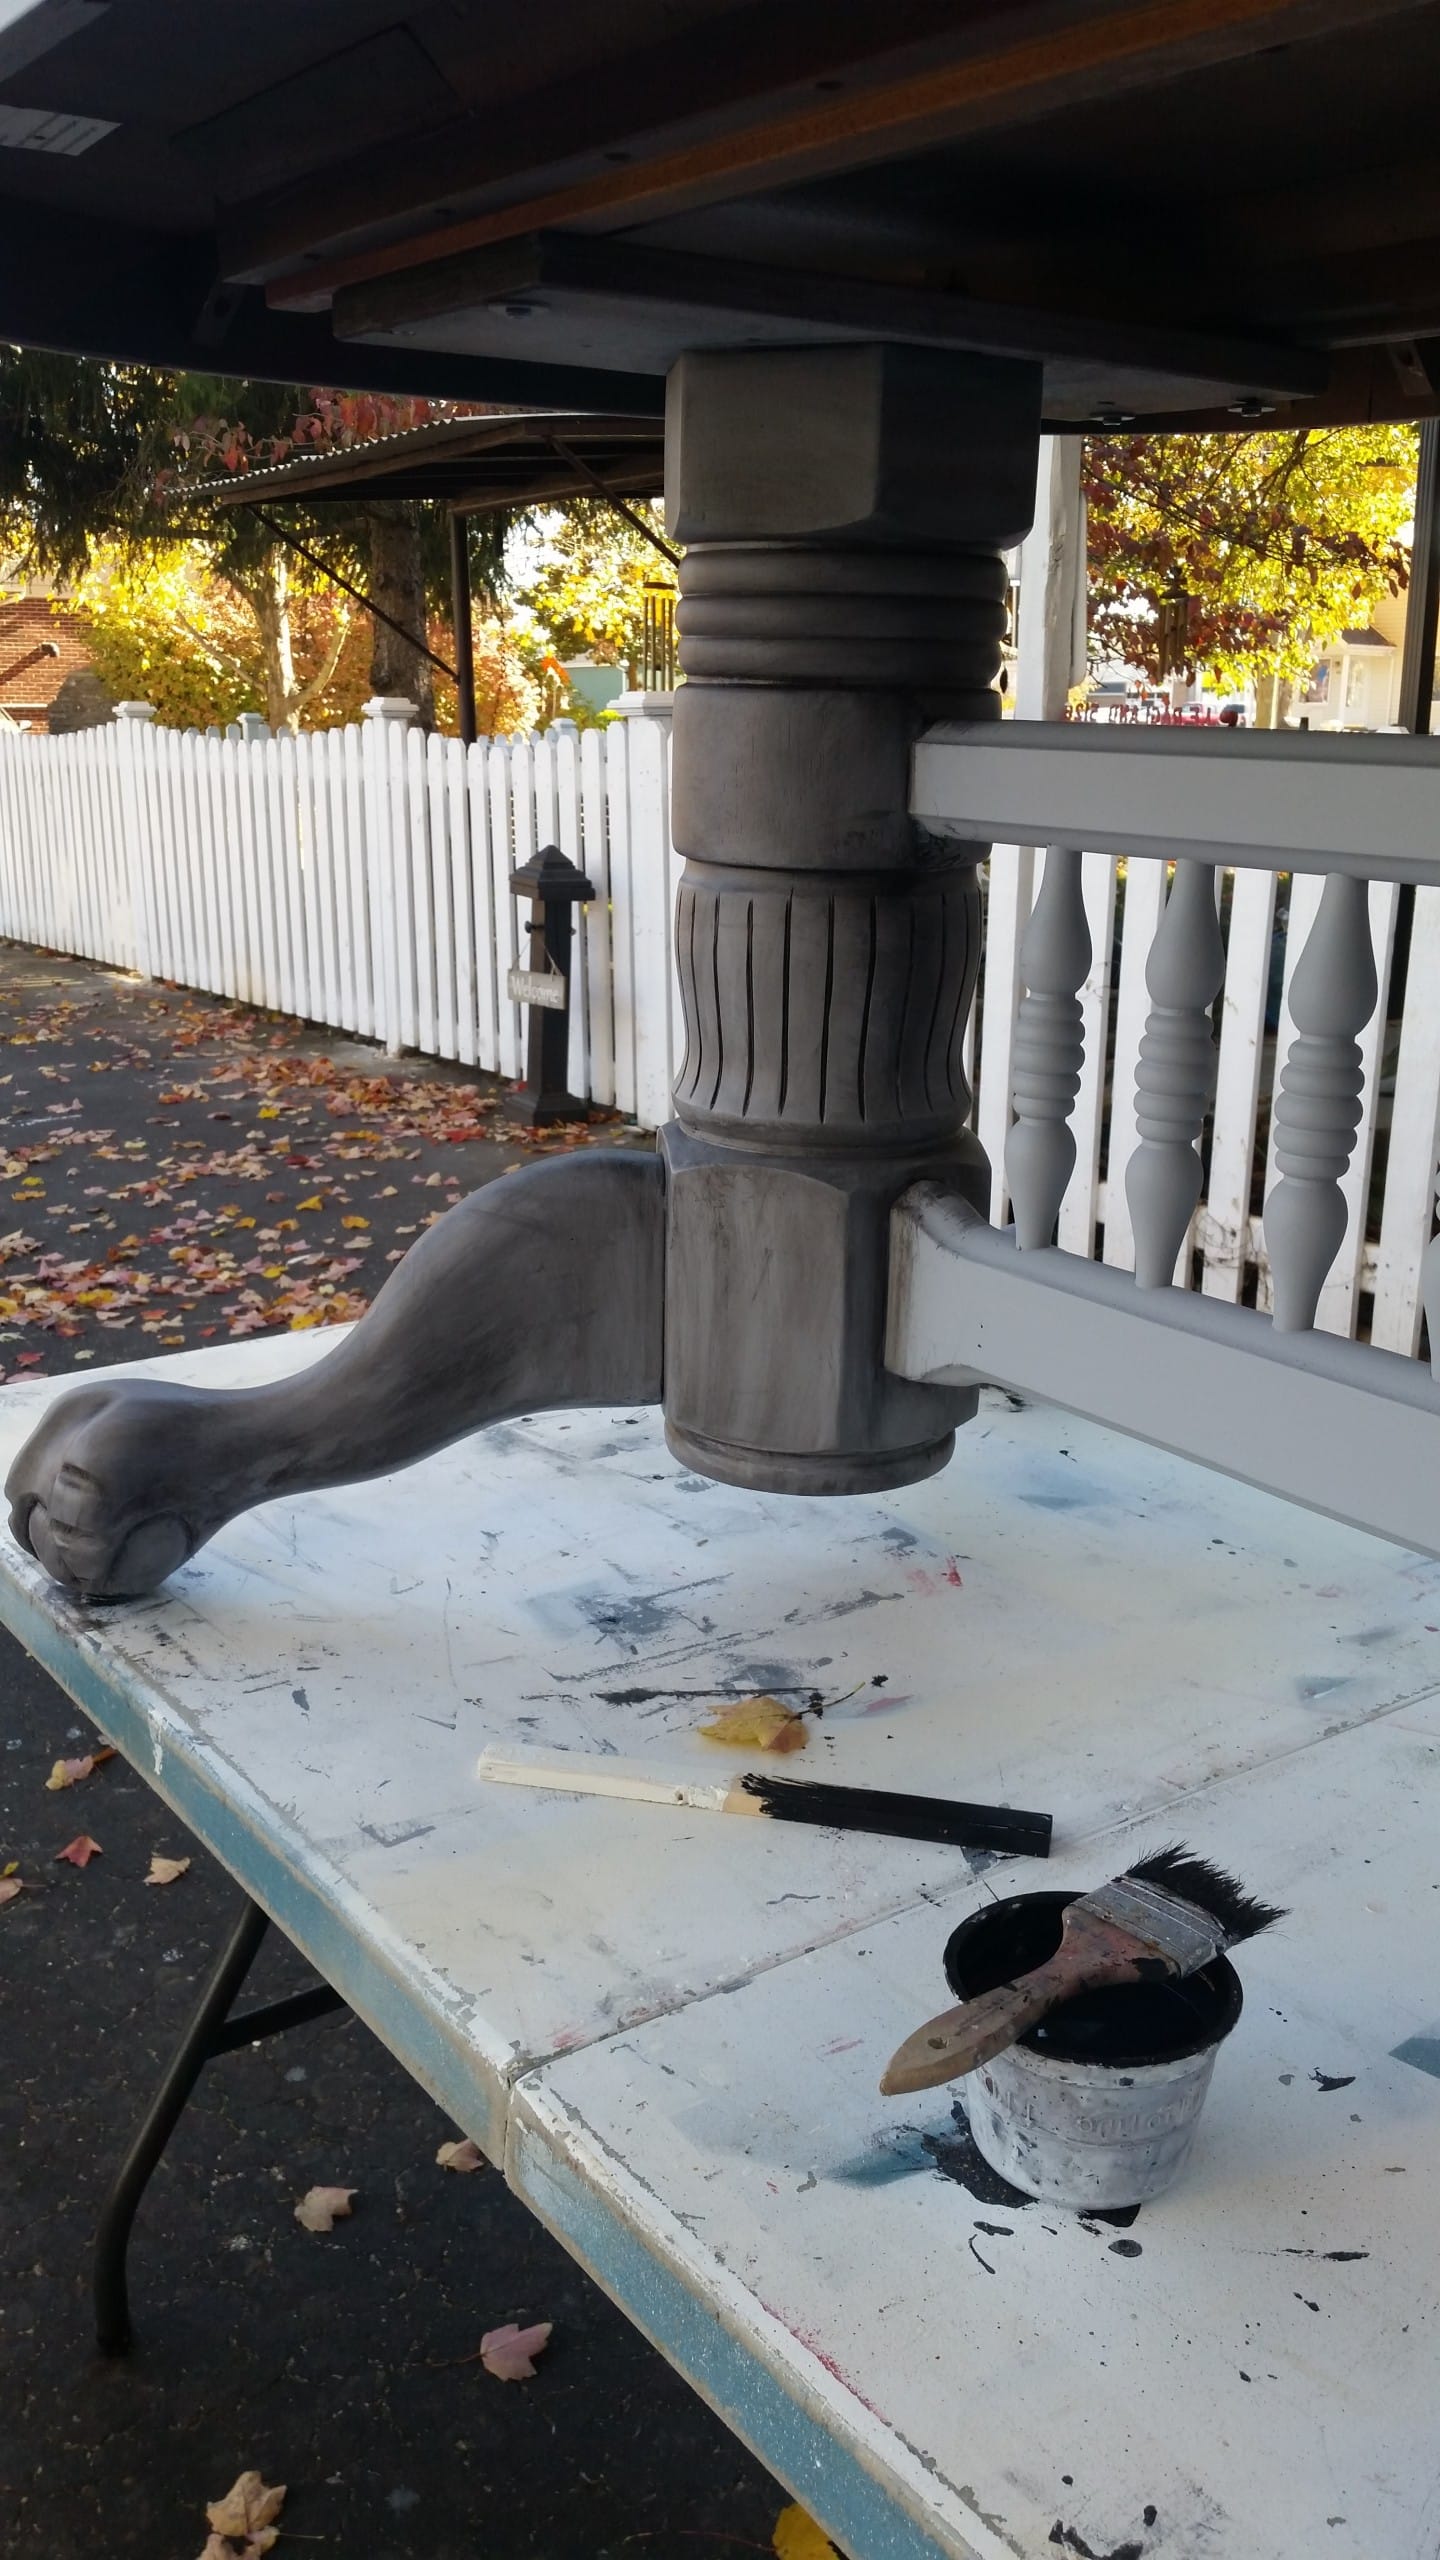
This is me doing the wash on the pedestal oak table base. I used a cheap chip brush to paint the black wash, working on small sections simultaneously. Small sections such as half of the pedestal, wipe, the other half of the pedestal, wipe. This photo gives a good view of the before and after of the black wash.
Oh, how I wish I had the Smoked Glaze when I did this project. See how easy it is to use in my post How to Glaze Painted Furniture. It seriously would have made this project much more manageable.
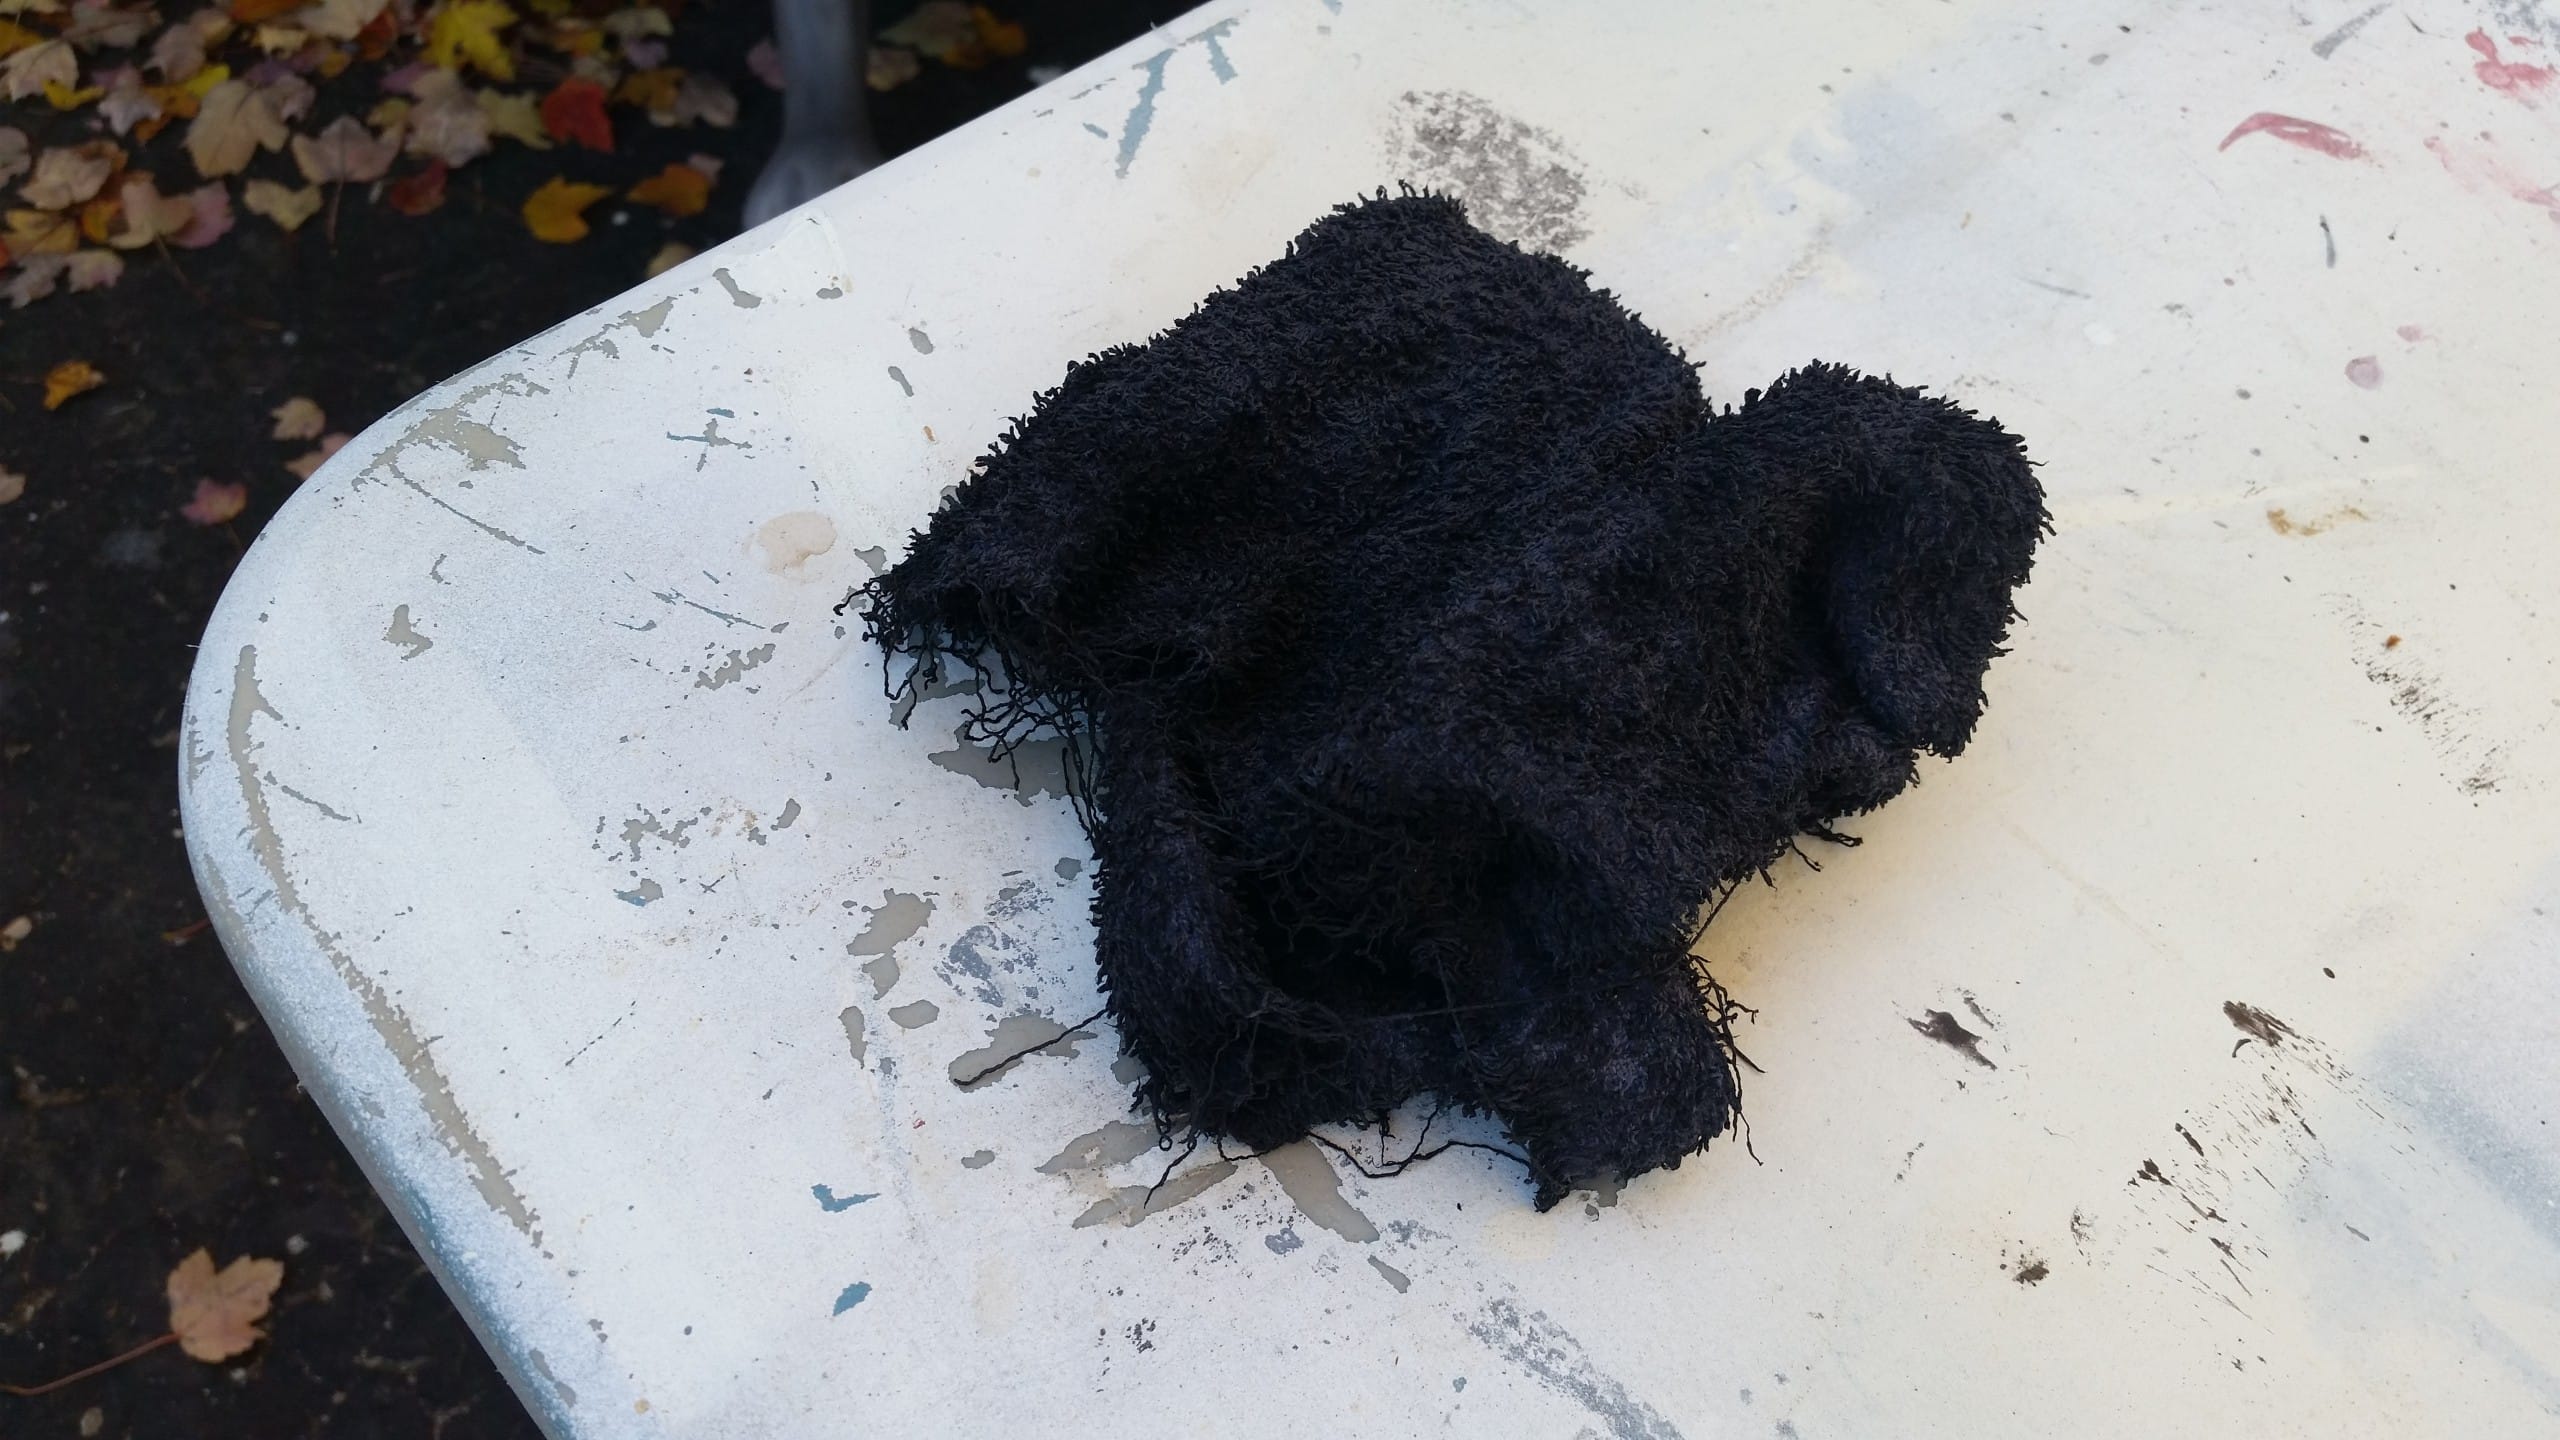
When the rag got so saturated with black paint, I had to switch to a clean rag. But using the soaked rag on parts of the chairs worked well.
Do I Need To Seal The Pedestal Oak Table?
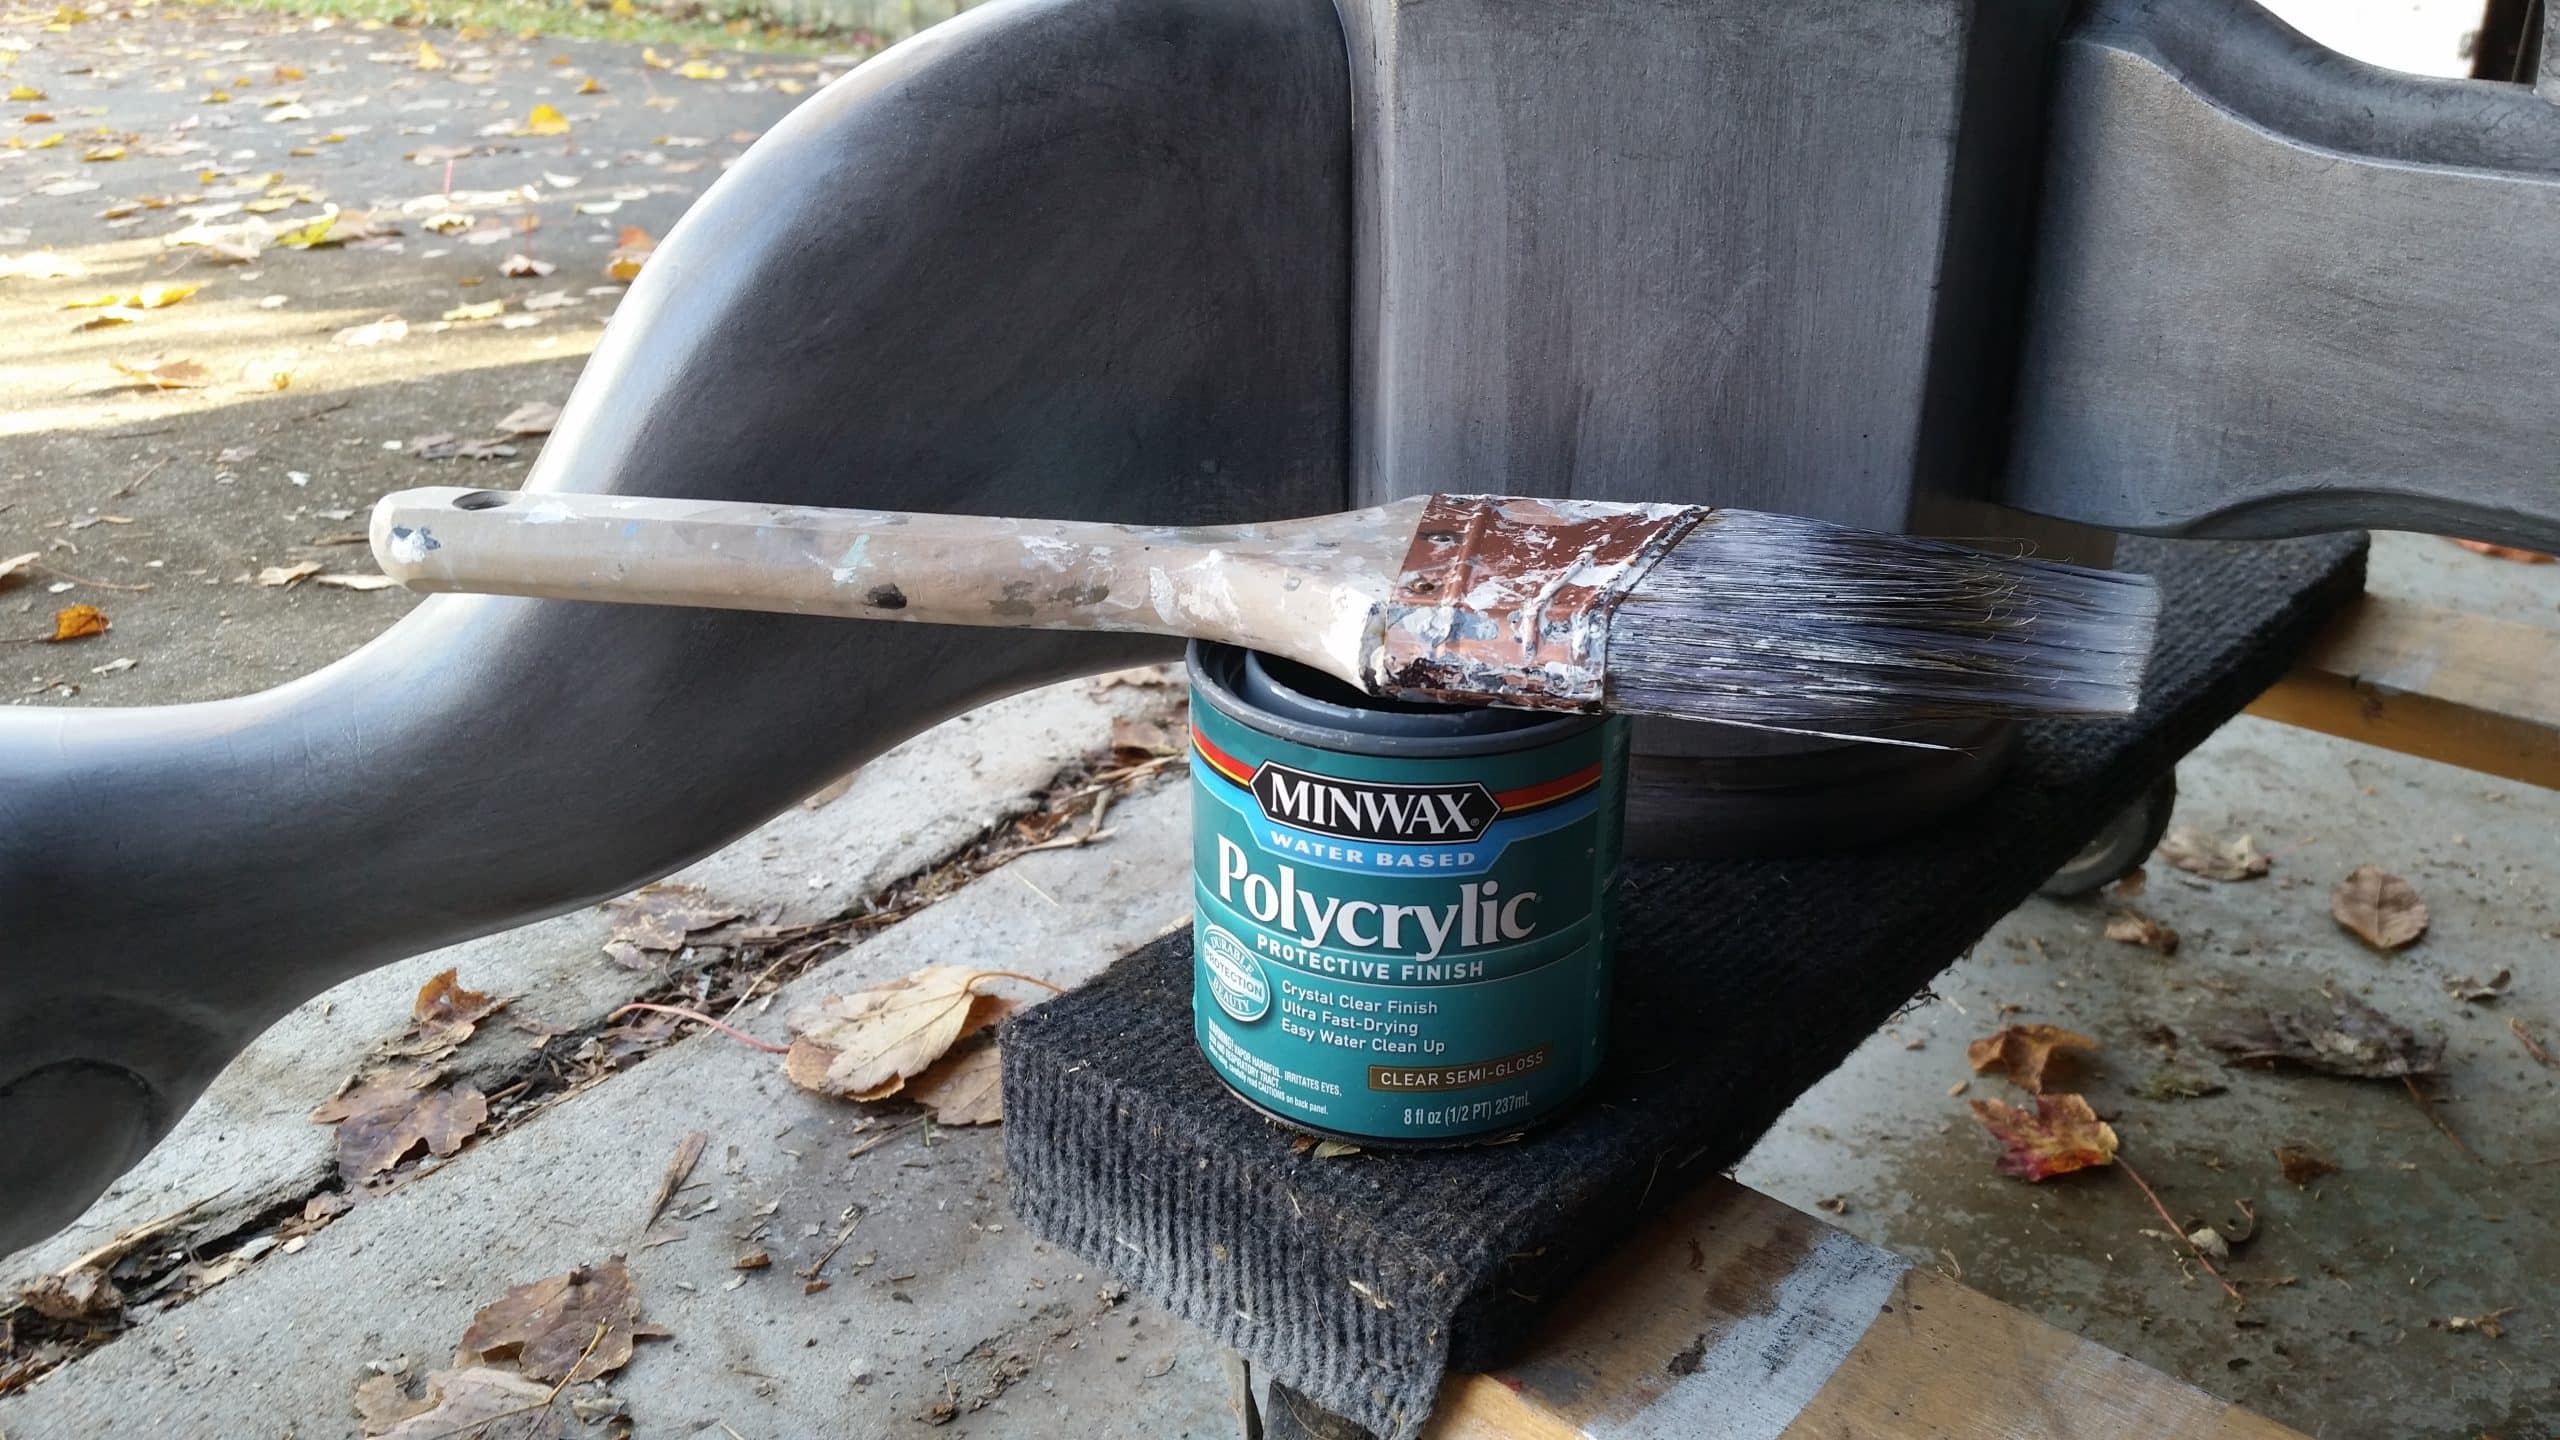
I gave everything a nice coat of Minwax Polycrylic in semi-gloss using a nice purdy paint brush. It’s been around for several years, but the bristles still do the job.
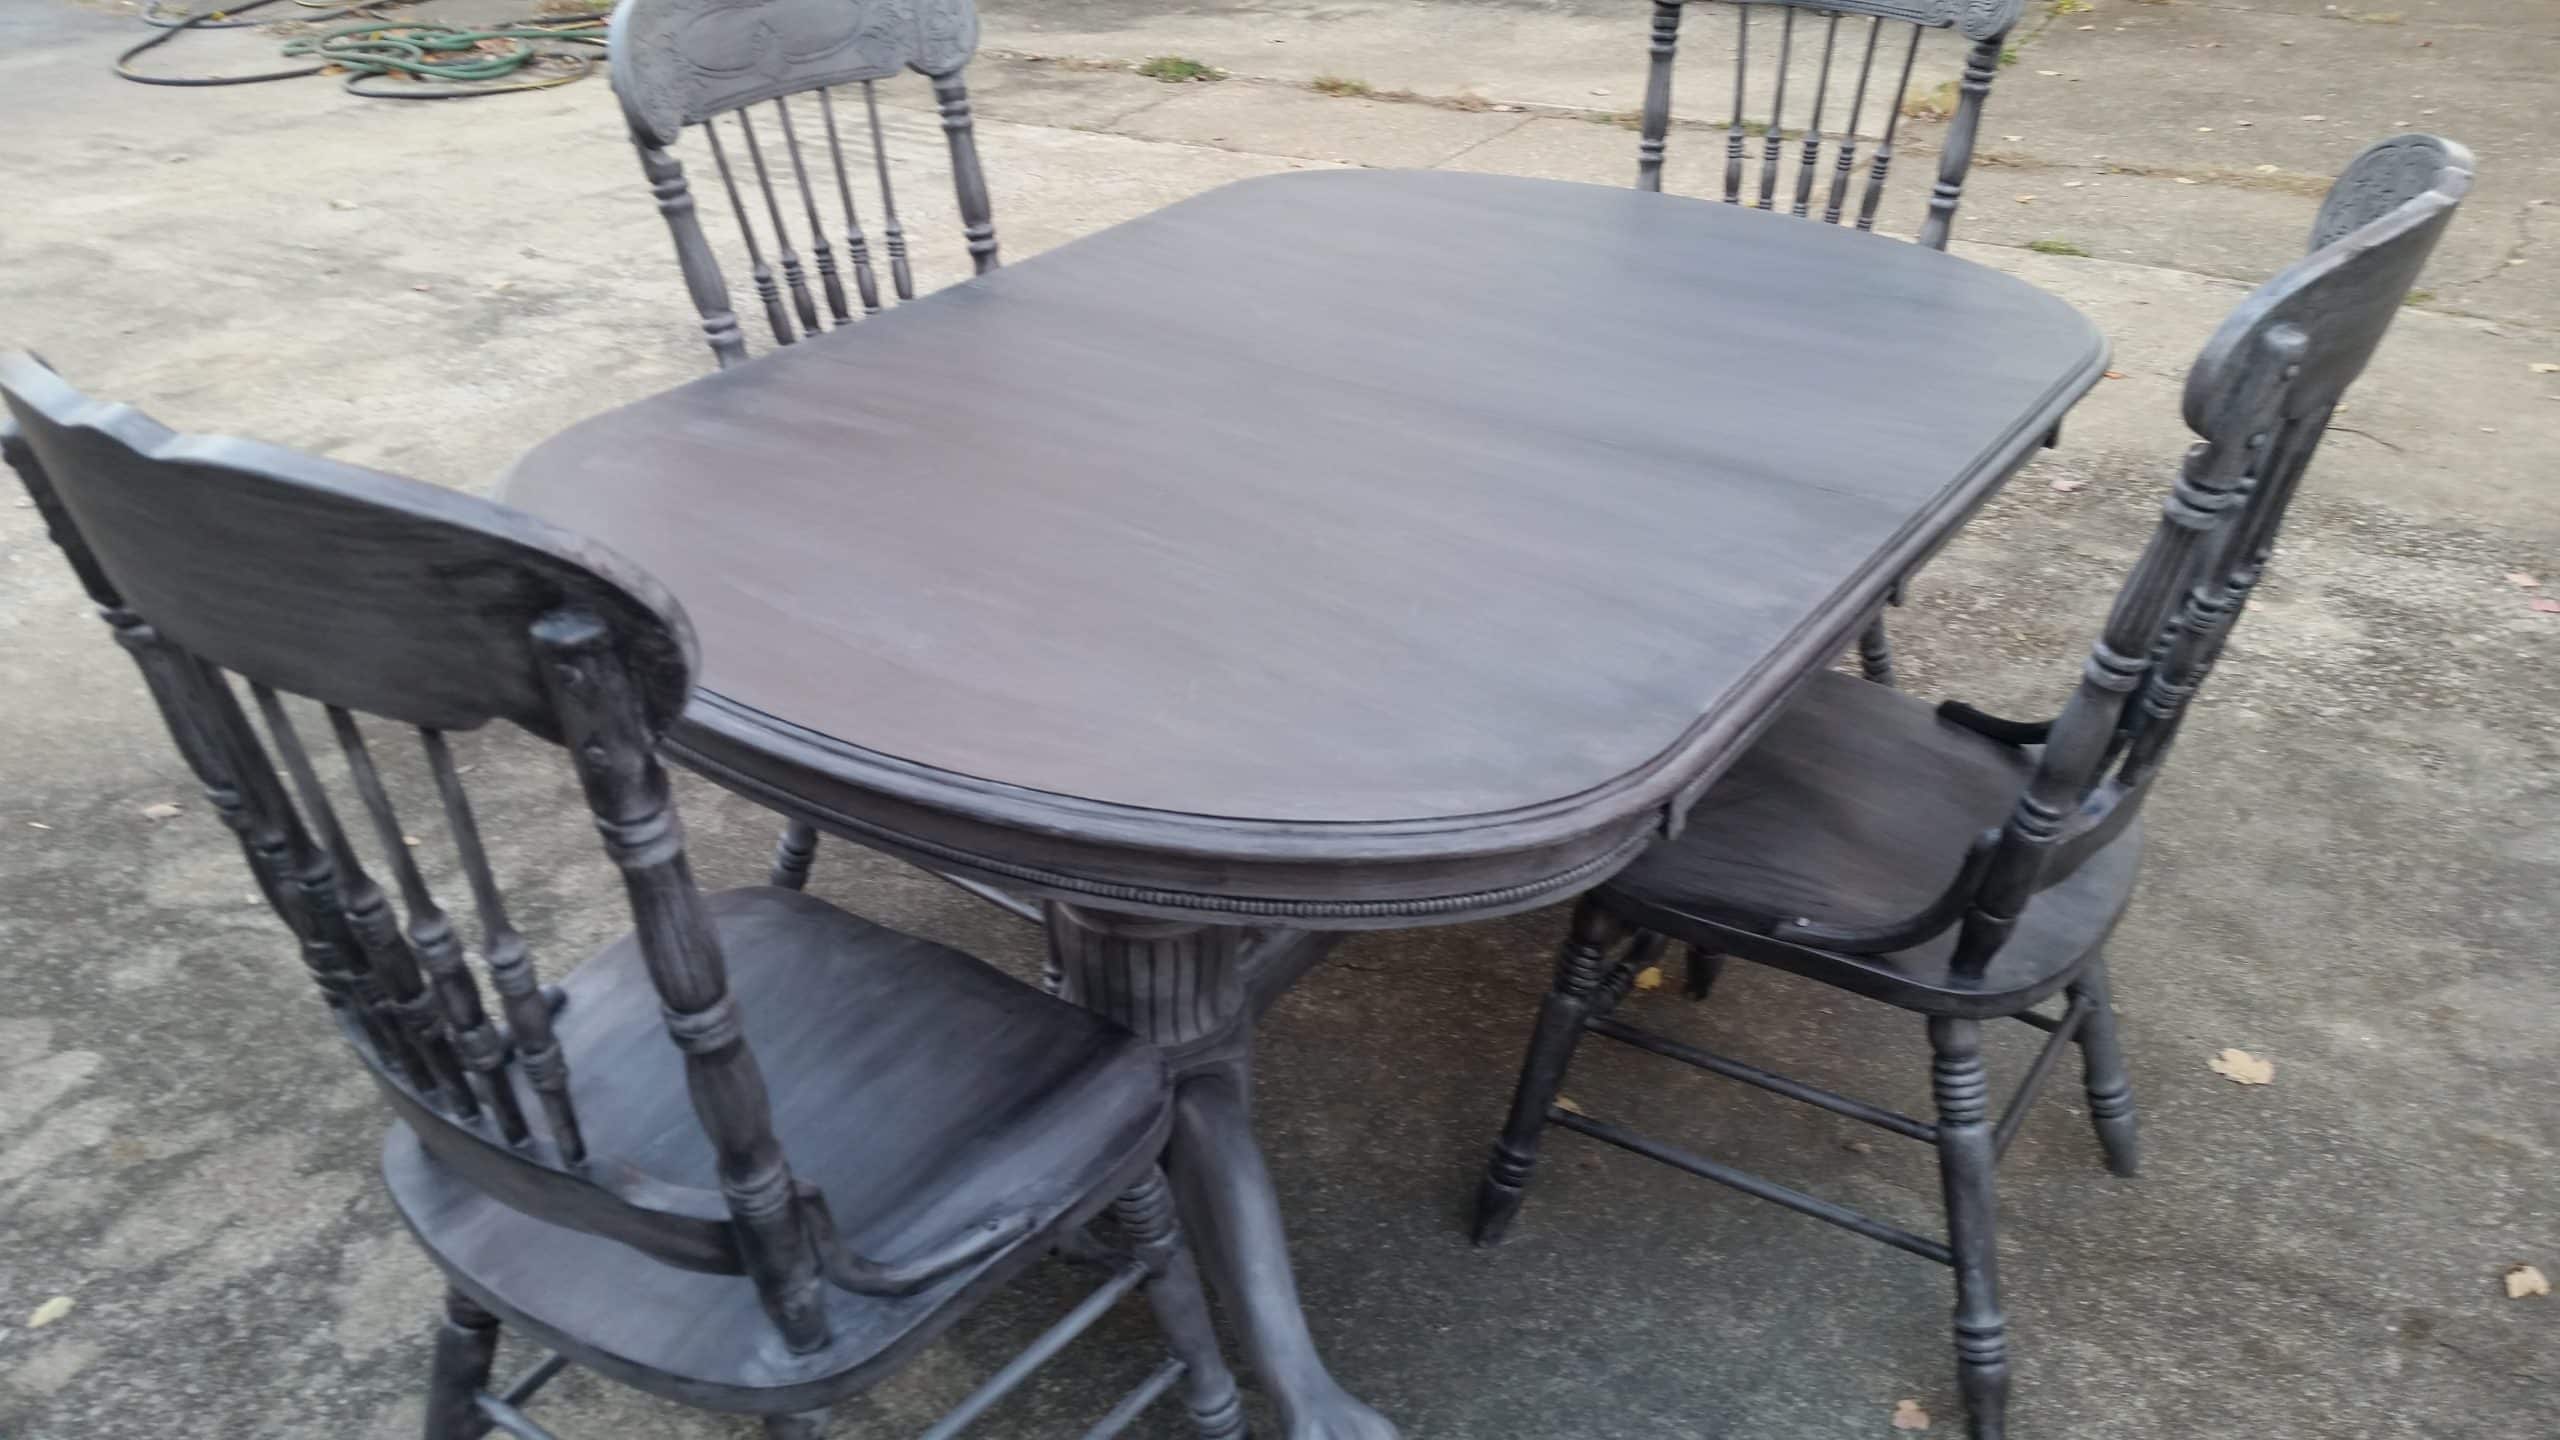
I snapped a quick picture when I was finished with the black wash.

Of course, I wasn’t about to carry this huge thing inside to stage it, so this was the best I could do. I listed it on Craigslist.
A very nice couple from another town came to pick it up, and Paula was so nice to send me pictures of it in her dining room. I love her style, don’t you? Did you see the level in the corner by the cabinet? LOVE it! 🙂
So, as I said at the top of this article, don’t put off your DIY projects. Yes, they are a lot of work, but you will be so happy you did it.
Let’s see what my friends have been up to:
Confessions of a Serial DIY’er Update a Coffee Table With a Transfer
My Repurposed Life Table and Chairs Makeover (You are here, thank you!)
Salvaged Inspirations Thrift Store Painted Octagon Tables
Petticoat Junktion Layered Paint Furniture Makeover
A Ray of Sunlight Vintage Vanity Turned Into Nightstands
I love it! All your hard work paid off. I hate painting chairs!
Love love love the new look!! And what a chore to paint a dining table and chairs! Good for you for getting through it! haha
This turned out SO GOOD, Gail! What an amazing difference paint and a little glaze can do, and it looks fantastic in the new owner’s dining room! XOXO
Christy,
Thank you. If I were to do it again, I would have a better plan. Practice makes perfect, eh?
gail
Painting chairs is a lot of work and you did such a beautiful job Gail. This set looks perfect in Paula’s space! XOXO
You are so right Denise, it was a lot of work. Thanks for stopping by.
gail
That doesn’t look like oak.
Turned out nice.
Jackie,
I’m not an expert on wood species, I assumed that all of these tables were oak. 🙂
Thanks for stopping by!
gail
Lol, Gail Wilson,, I am on the app Nextdoor and I saw your post because I was searching to see if it would be worth picking up a set exactly like yours that someone is giving away. Guessing it would probably take me a year or two to get your results, will let someone else get it, hope they enjoy it just the way it is for now. You did a fantastic job. I know this is a bit late. Hope your shoulder is feeling better.
Maria,
How fun that you found me! My shoulder pain comes and goes, but overall it’s so much better day to day. Thank you for stopping by to check out the table and chairs. Gotta love free finds!
gail