DIY Clipboard Printable Holder
As an Amazon Associate, I earn from qualifying purchases.
Last month when I made the pallet board printable frame, this DIY clipboard printable holder was my first project. I felt like it was a project failure, but I’ll let you be the judge of that. I want you to know that even those of us who teach you how to do what we do, don’t always get it right the first time!
*this post contains affiliate links, read more here*
Gather materials for printable holder
 I recently picked up some random pieces of tongue and groove bead board pieces. There were only a few pieces and odd sizes. As I was trying to figure out a way to hold the printable for the Power Tool Challenge I remembered some clips I had purchased off of Amazon for a Headboard Photo Display.
Cut boards to size
 I cut the pieces on my miter saw to a size large enough to hold an 8.5 x 11 inch piece of printer paper. You can see I’m working on this project in the basement shop.
Sand rough edges
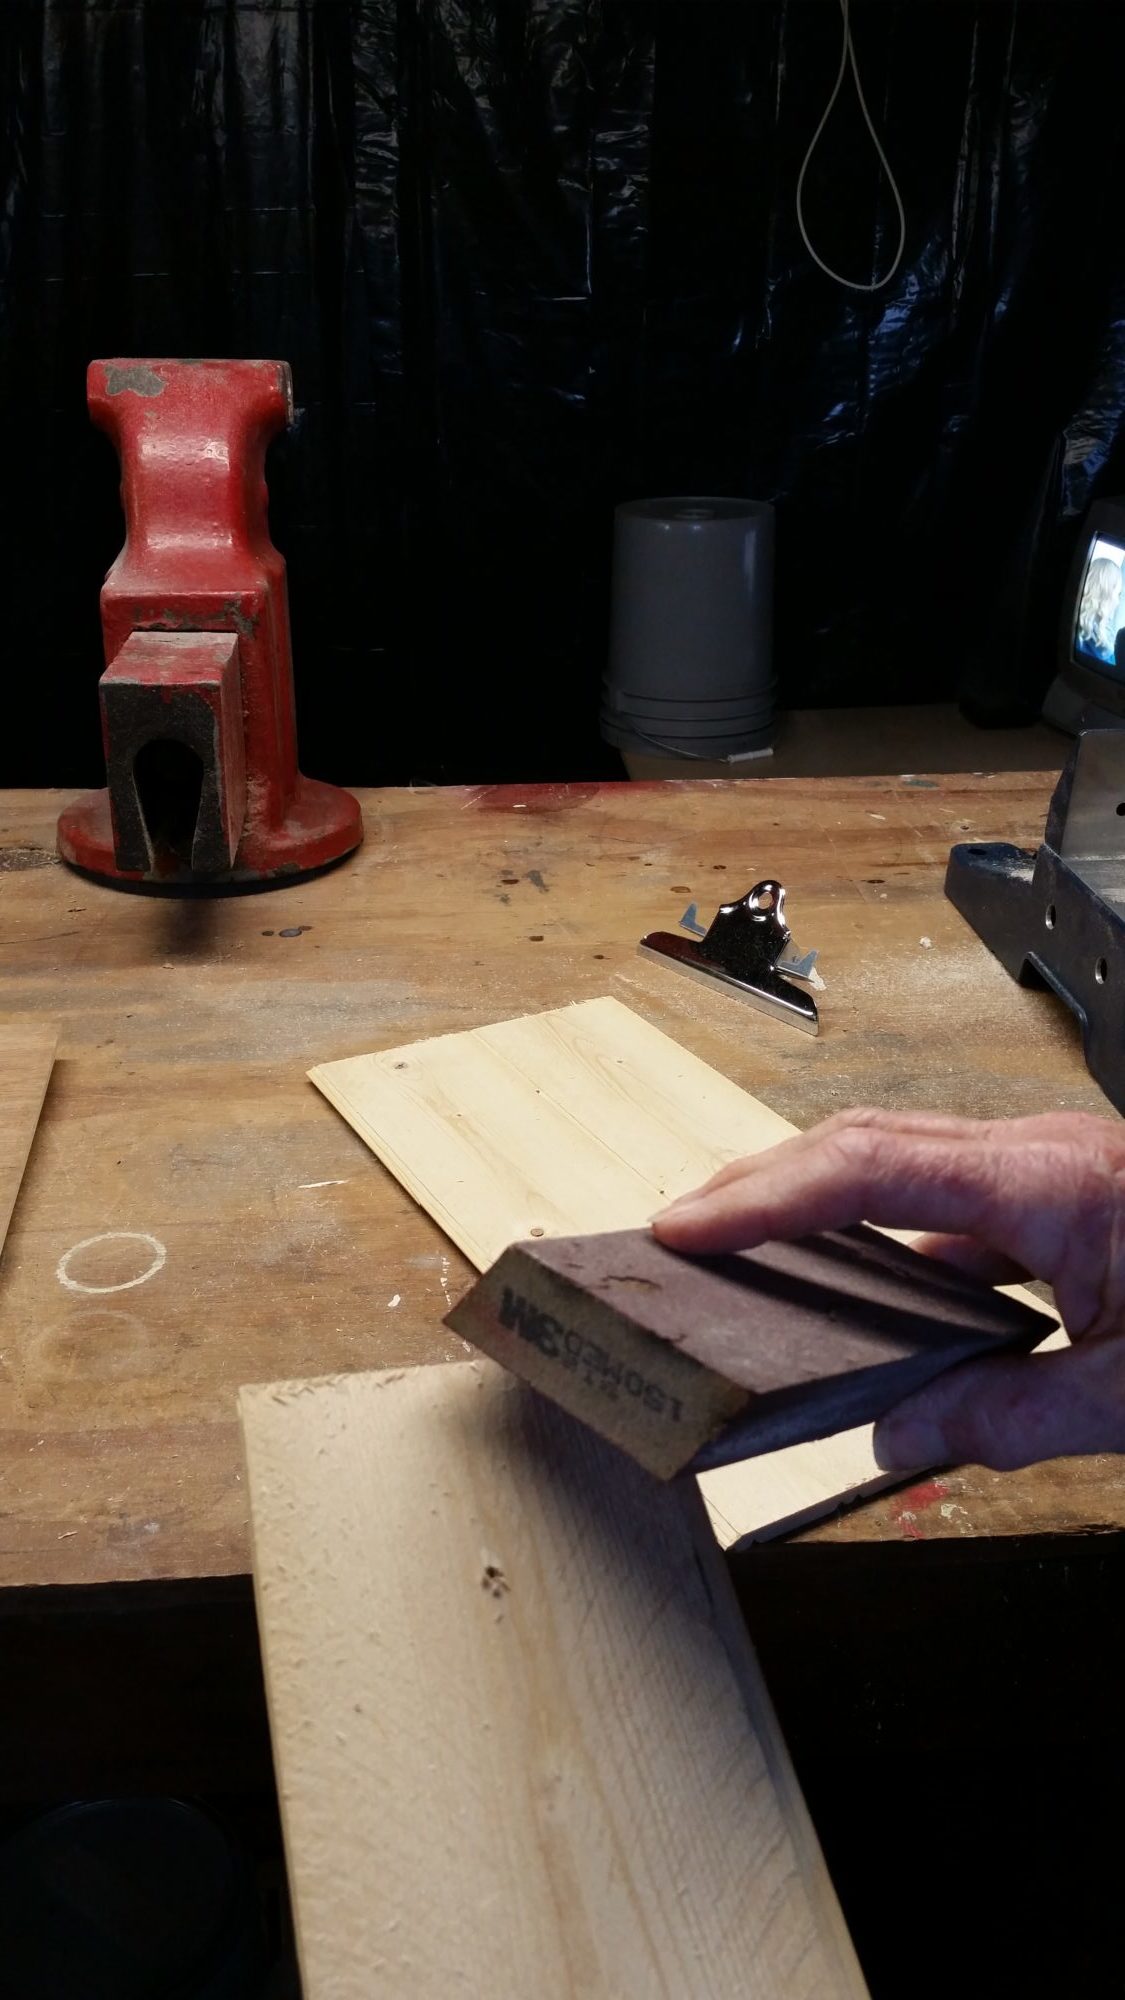 It’s easiest if you sand your cuts as you go along. I try to keep a sanding sponge right by the saw so I’m always ready to smooth out the rough edges.
Test fit clip
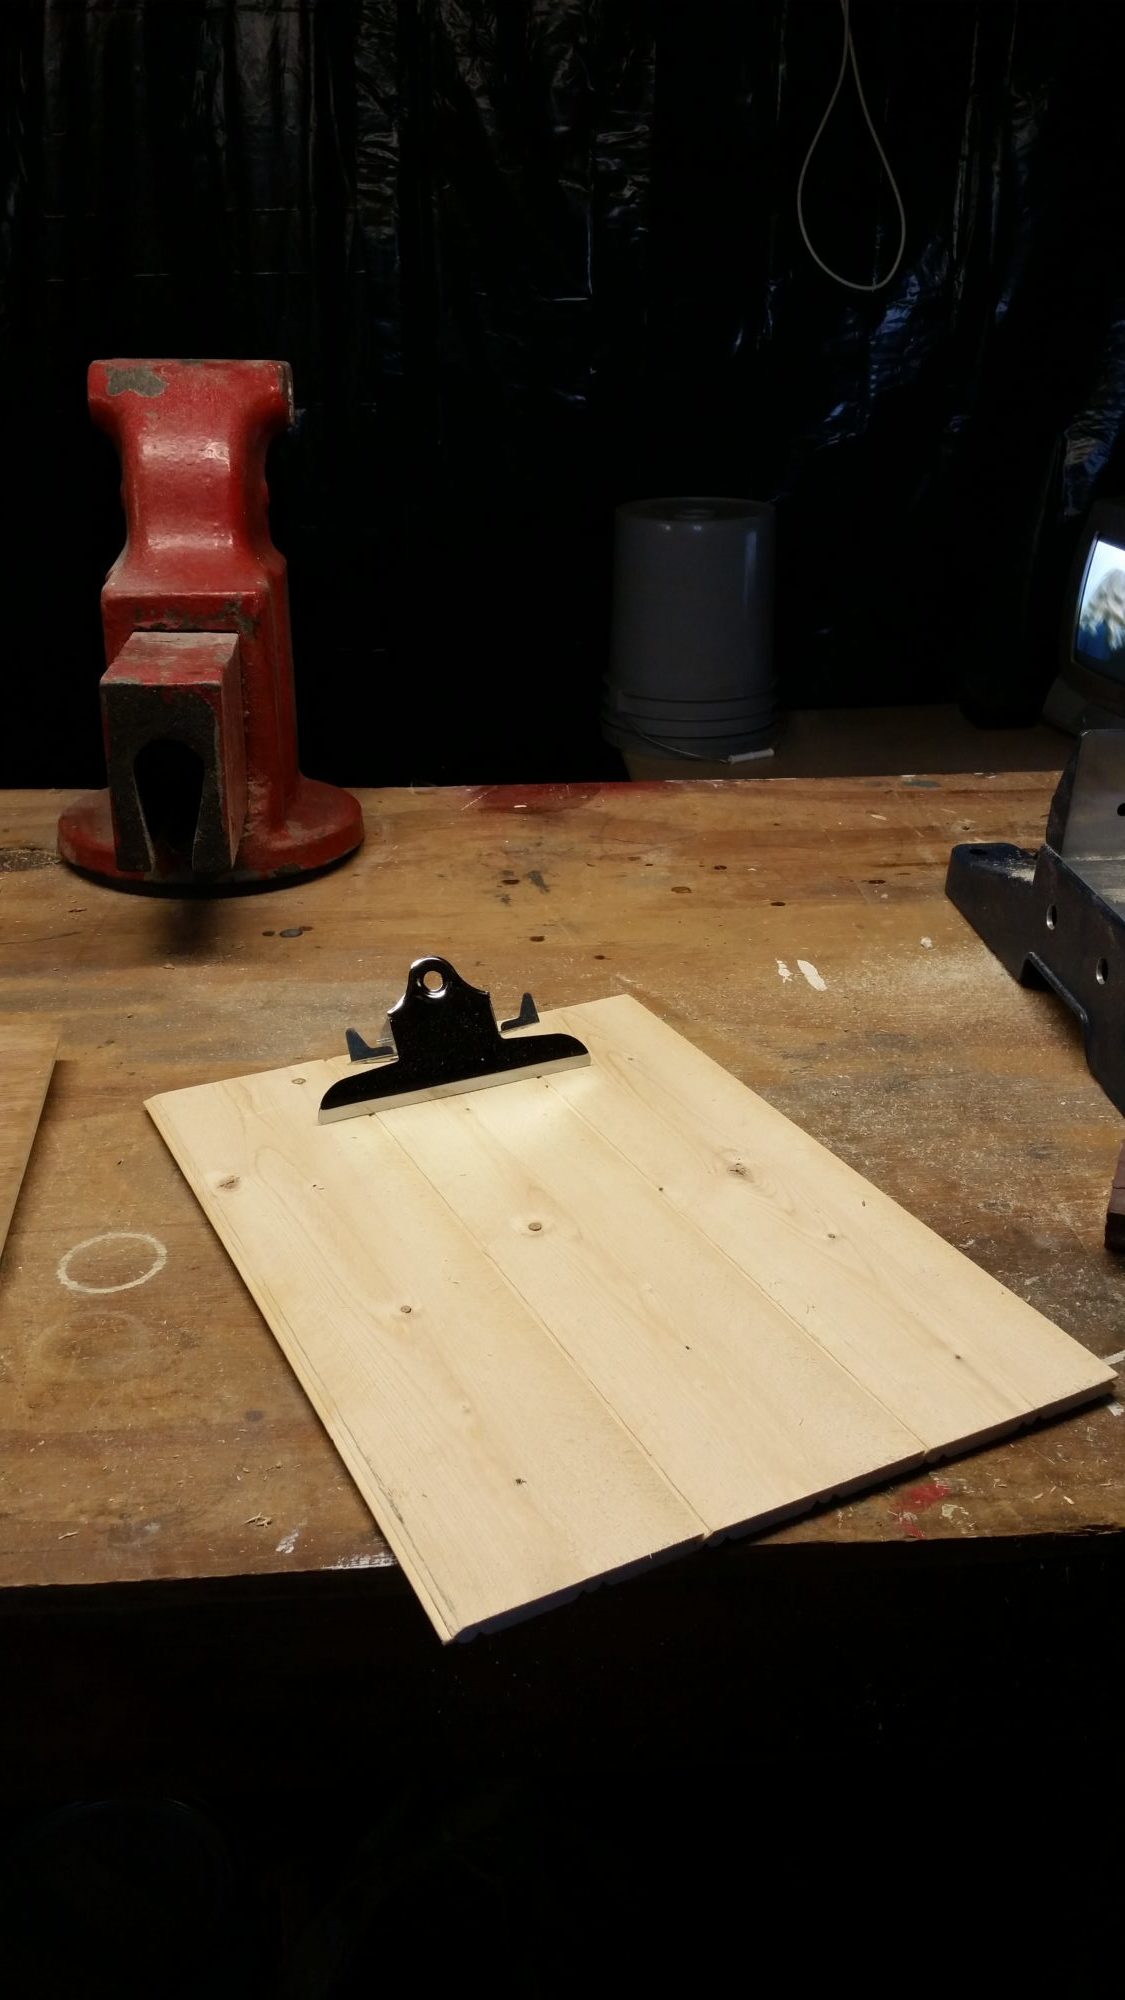 Snapping the tongue and groove pieces together, I grabbed the clip to see if the dimensions were about right.
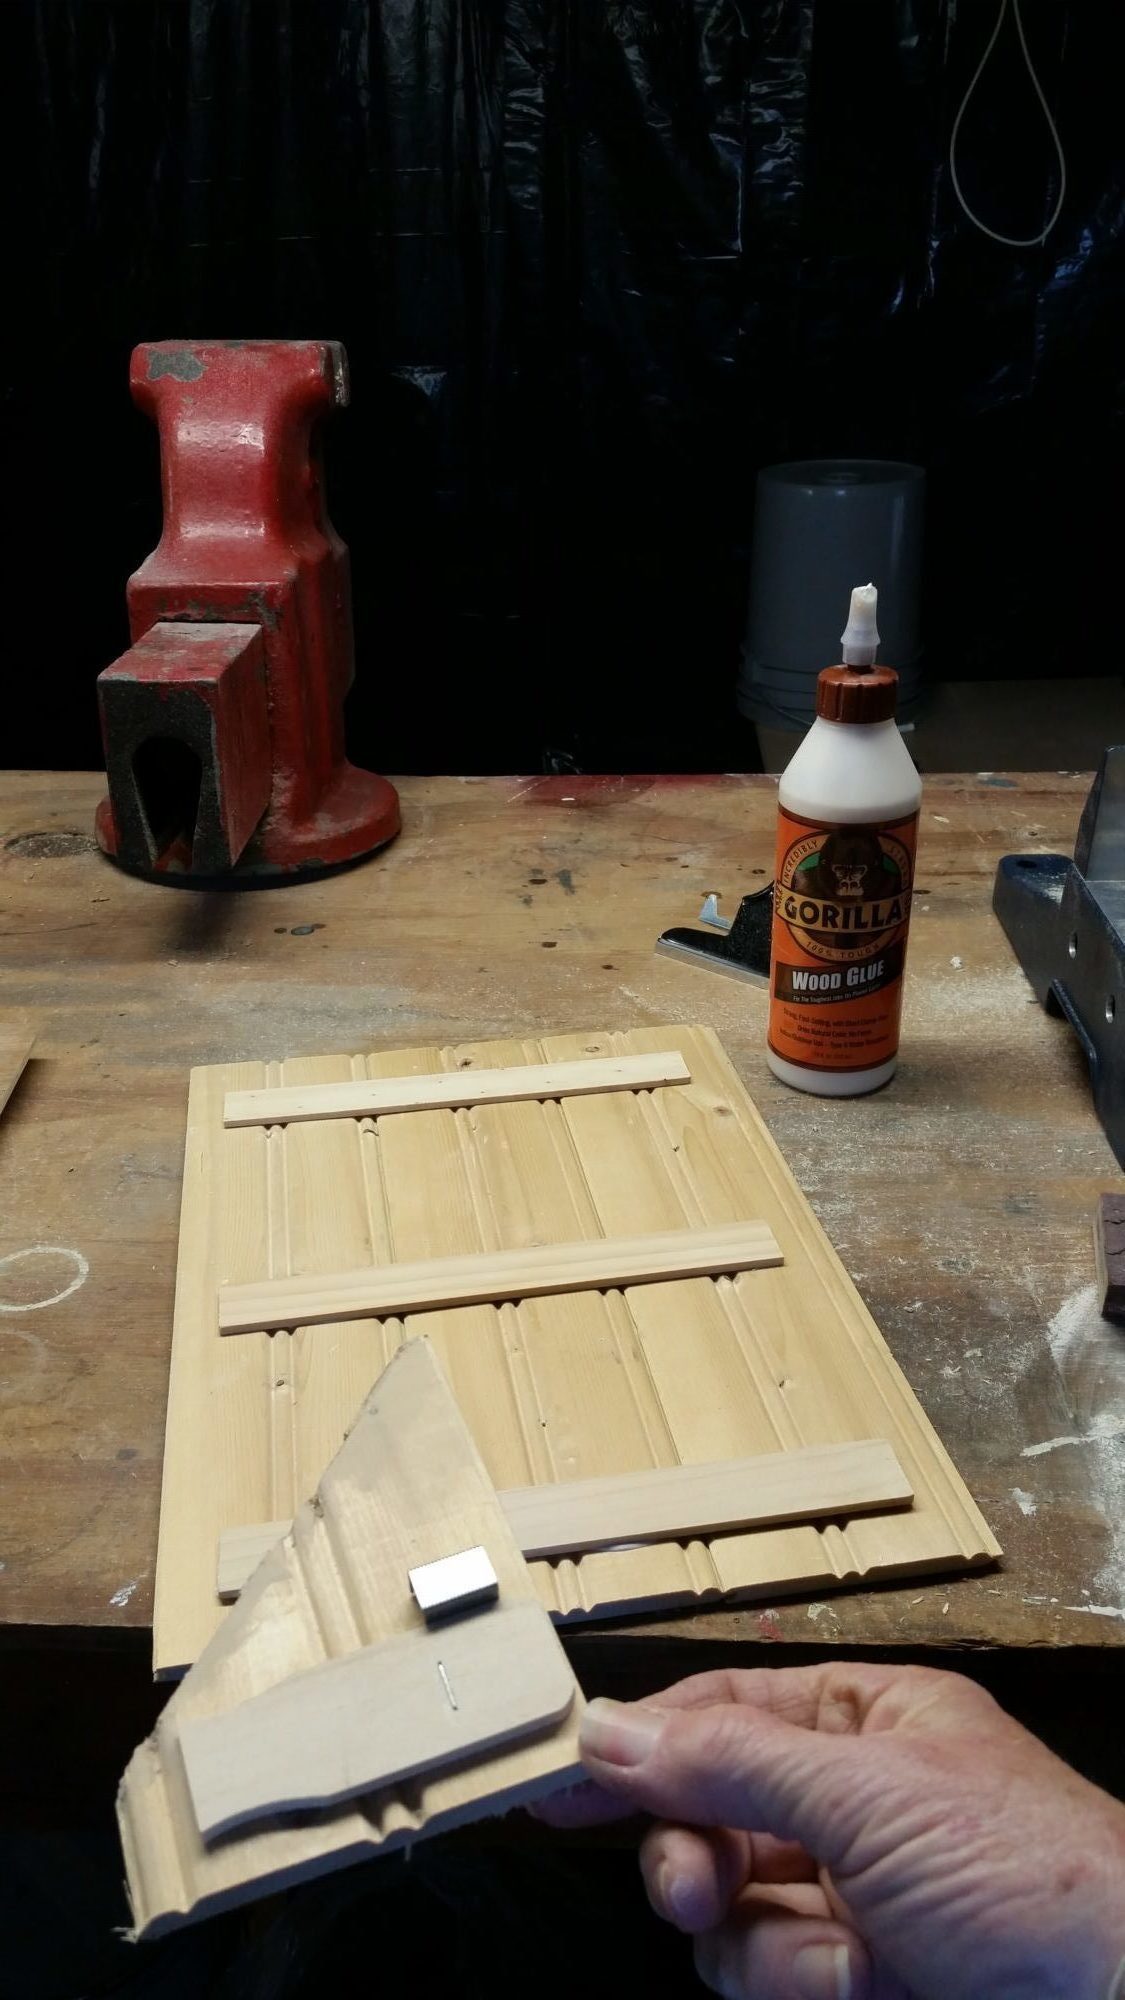
Secure with wood glue
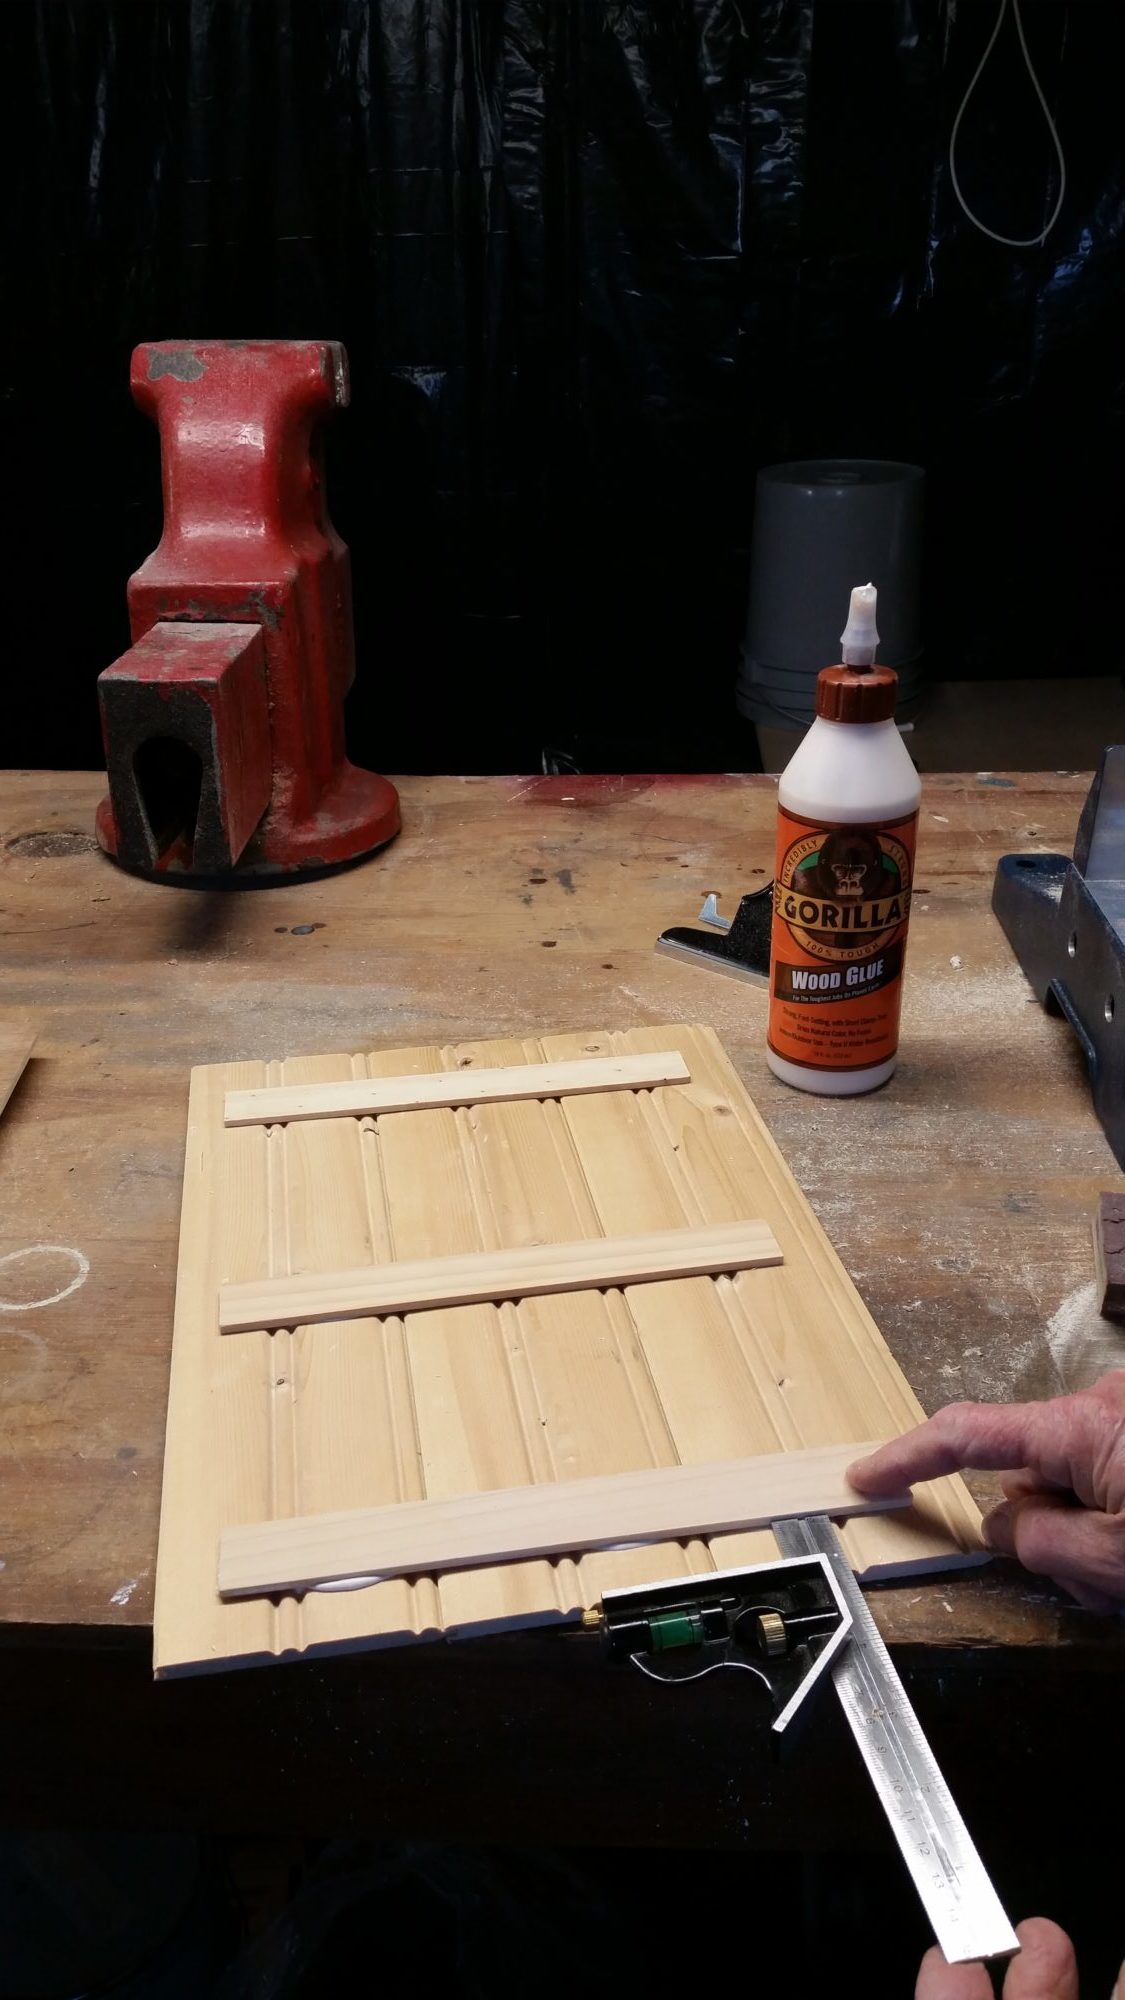 Using Gorilla Wood Glue and my combination square to make sure everything was even I secured the paint sticks to the back of the bead board pieces.
Test shoot staple
 I was using a staple gun and wanted to make sure the staples wouldn’t go through the bead board so I did a test shoot on scraps.
Staple paint sticks to bead board
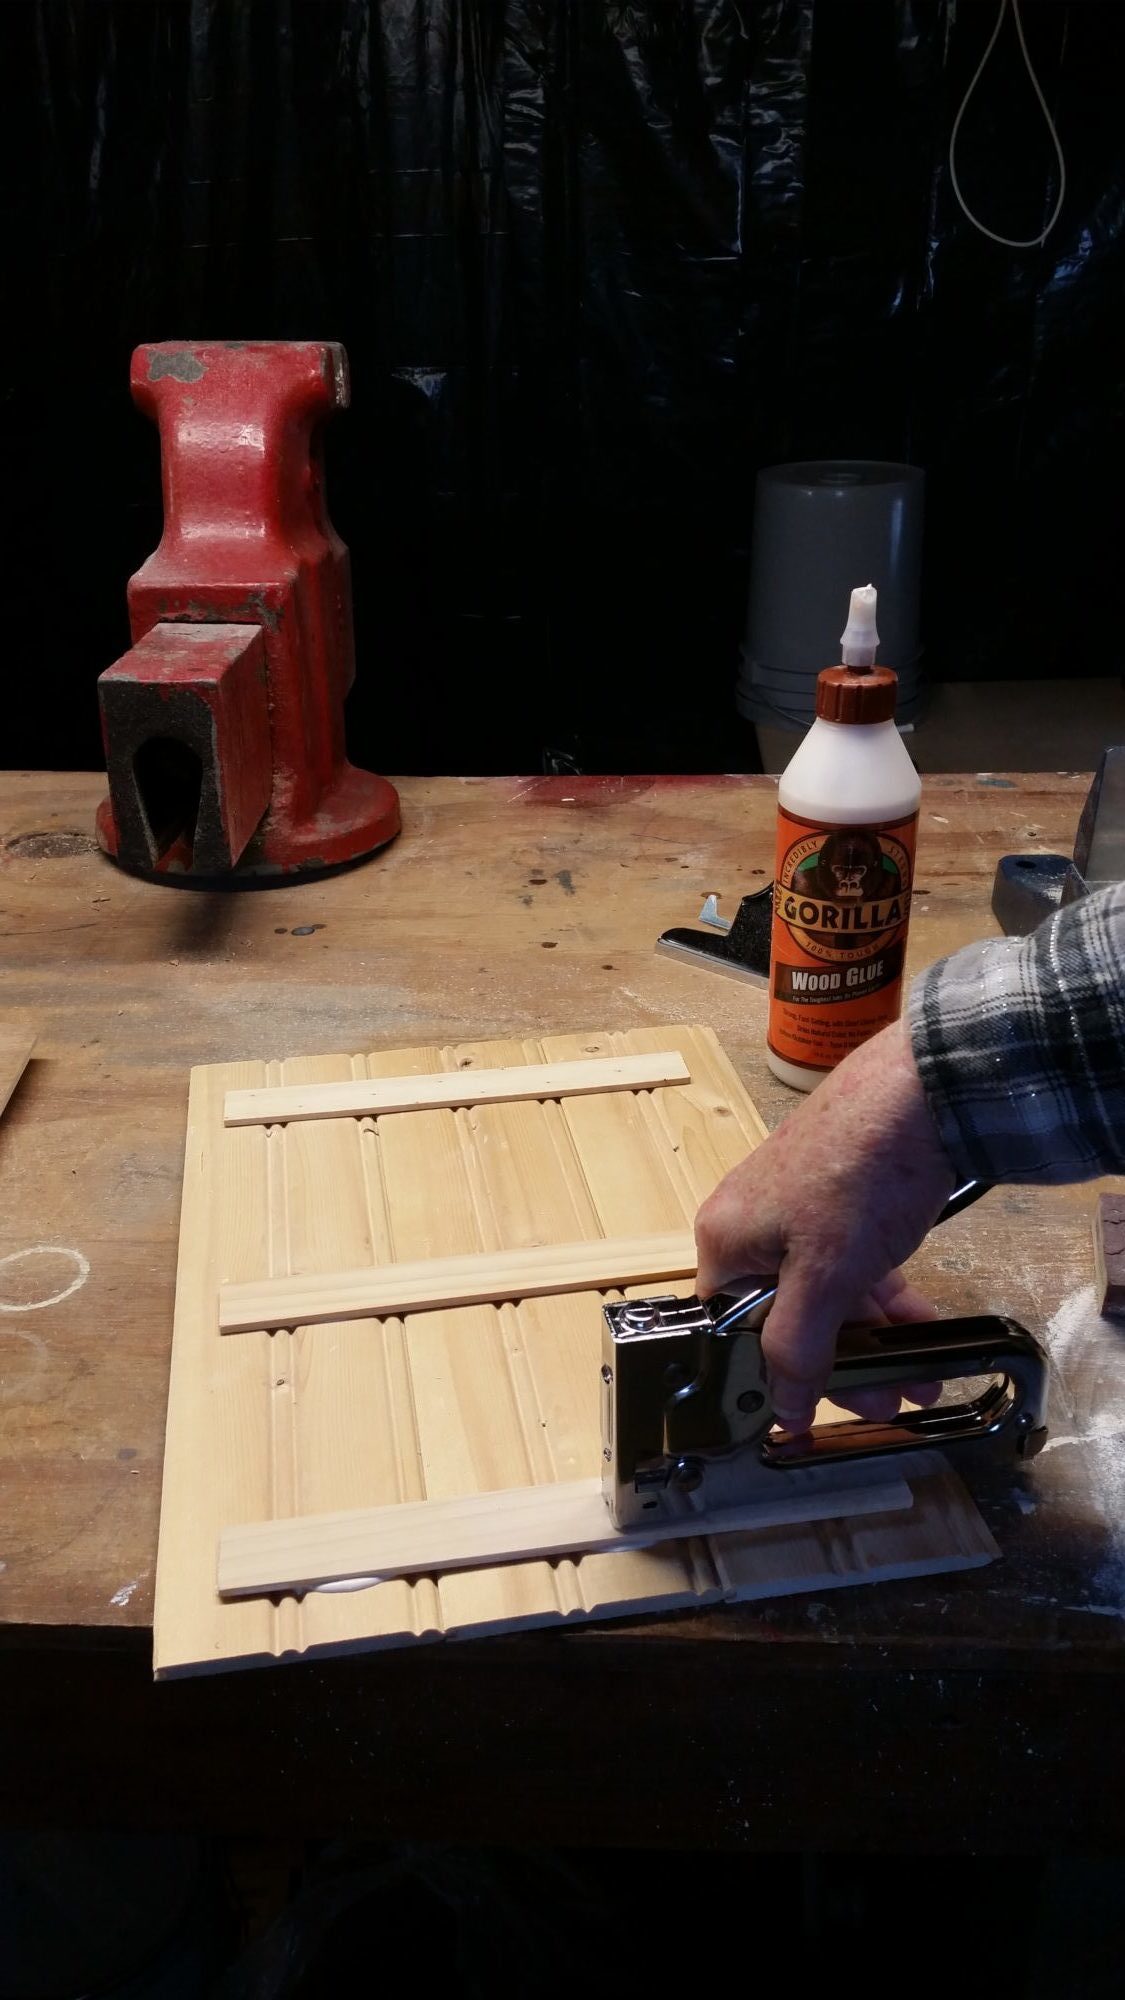 I stapled the paint sticks then wiped away the wood glue that oozed out.
Handy self centering tape measure
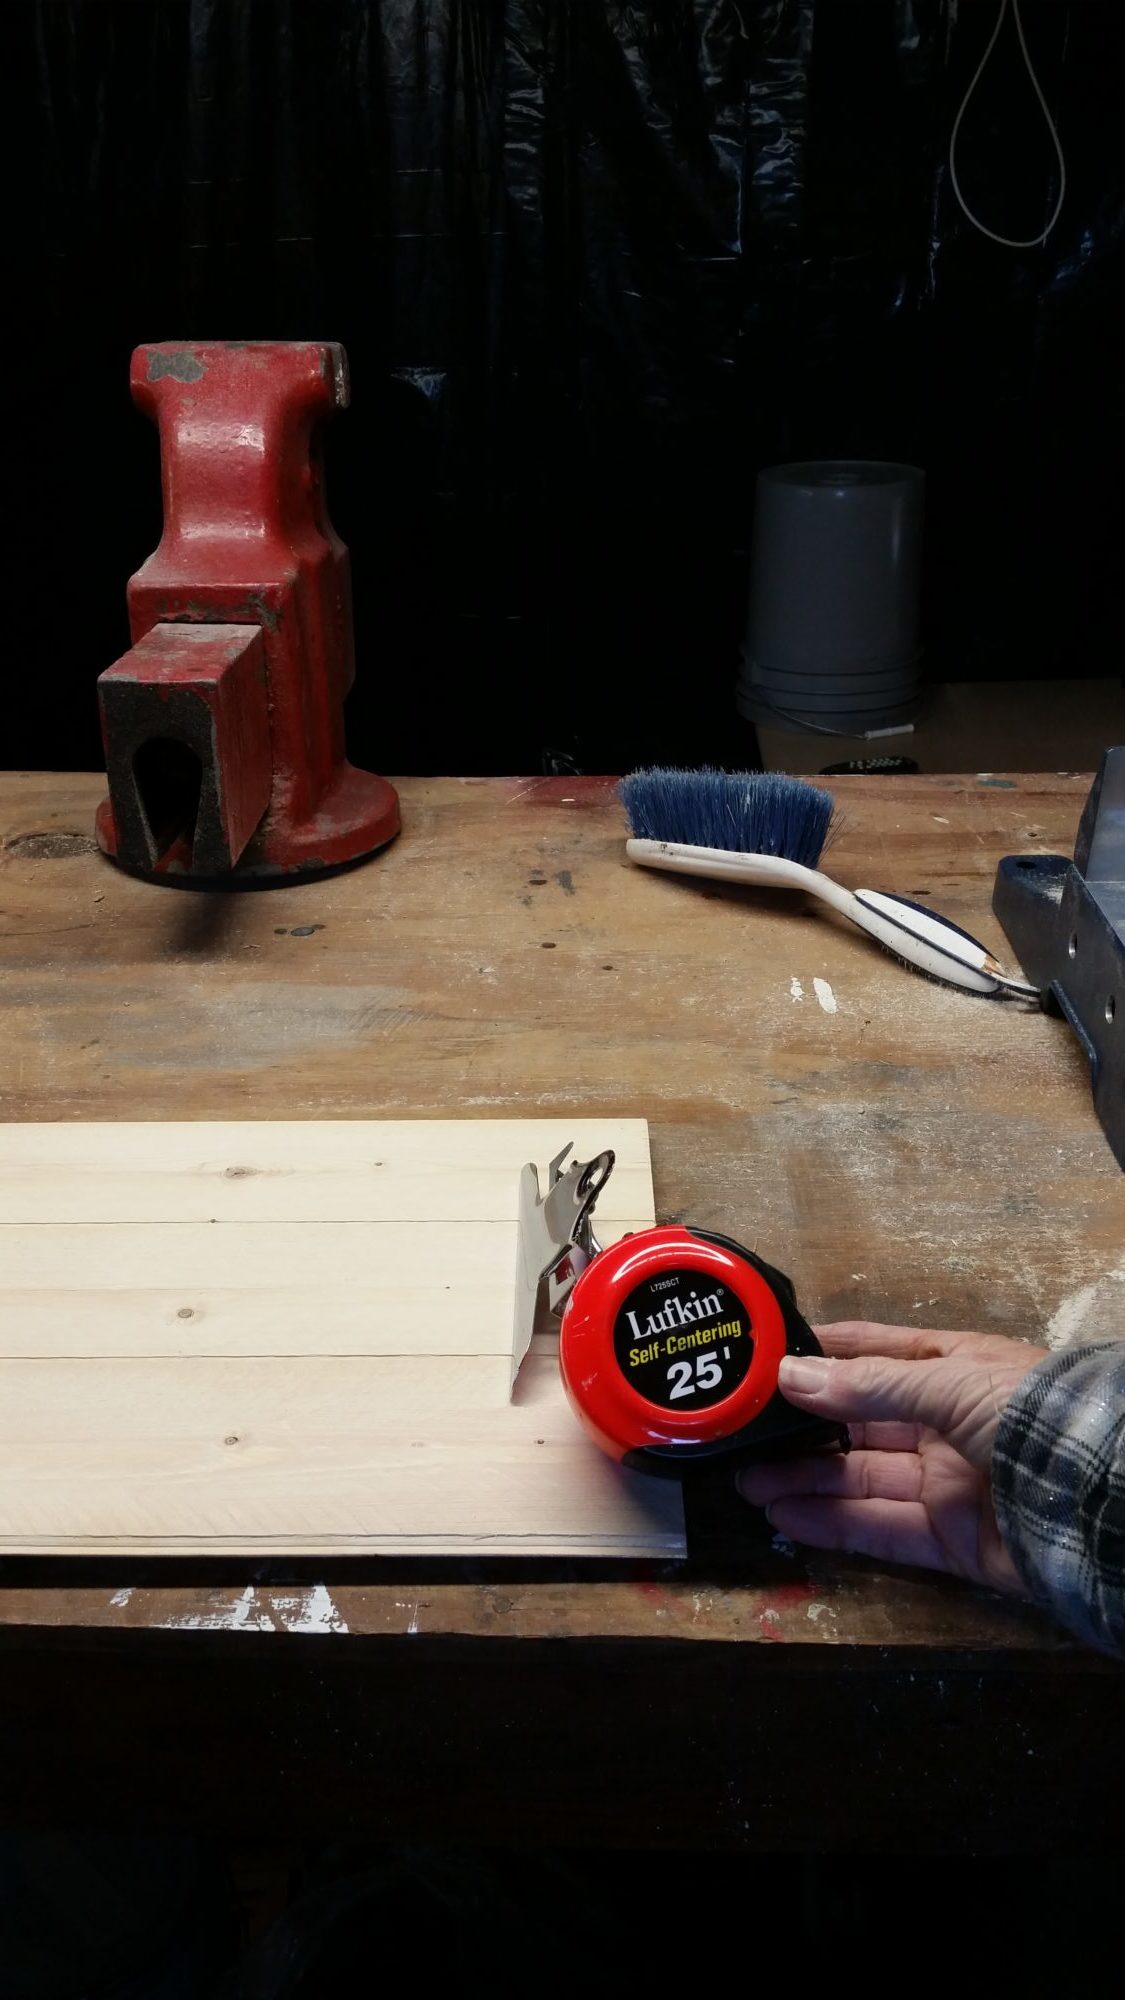 To make it easy on myself, I used my self centering tape measure to locate the area for the clip. The combination square was used to find the correct distance from the top of the clip board.
Pre-drill hole for clip
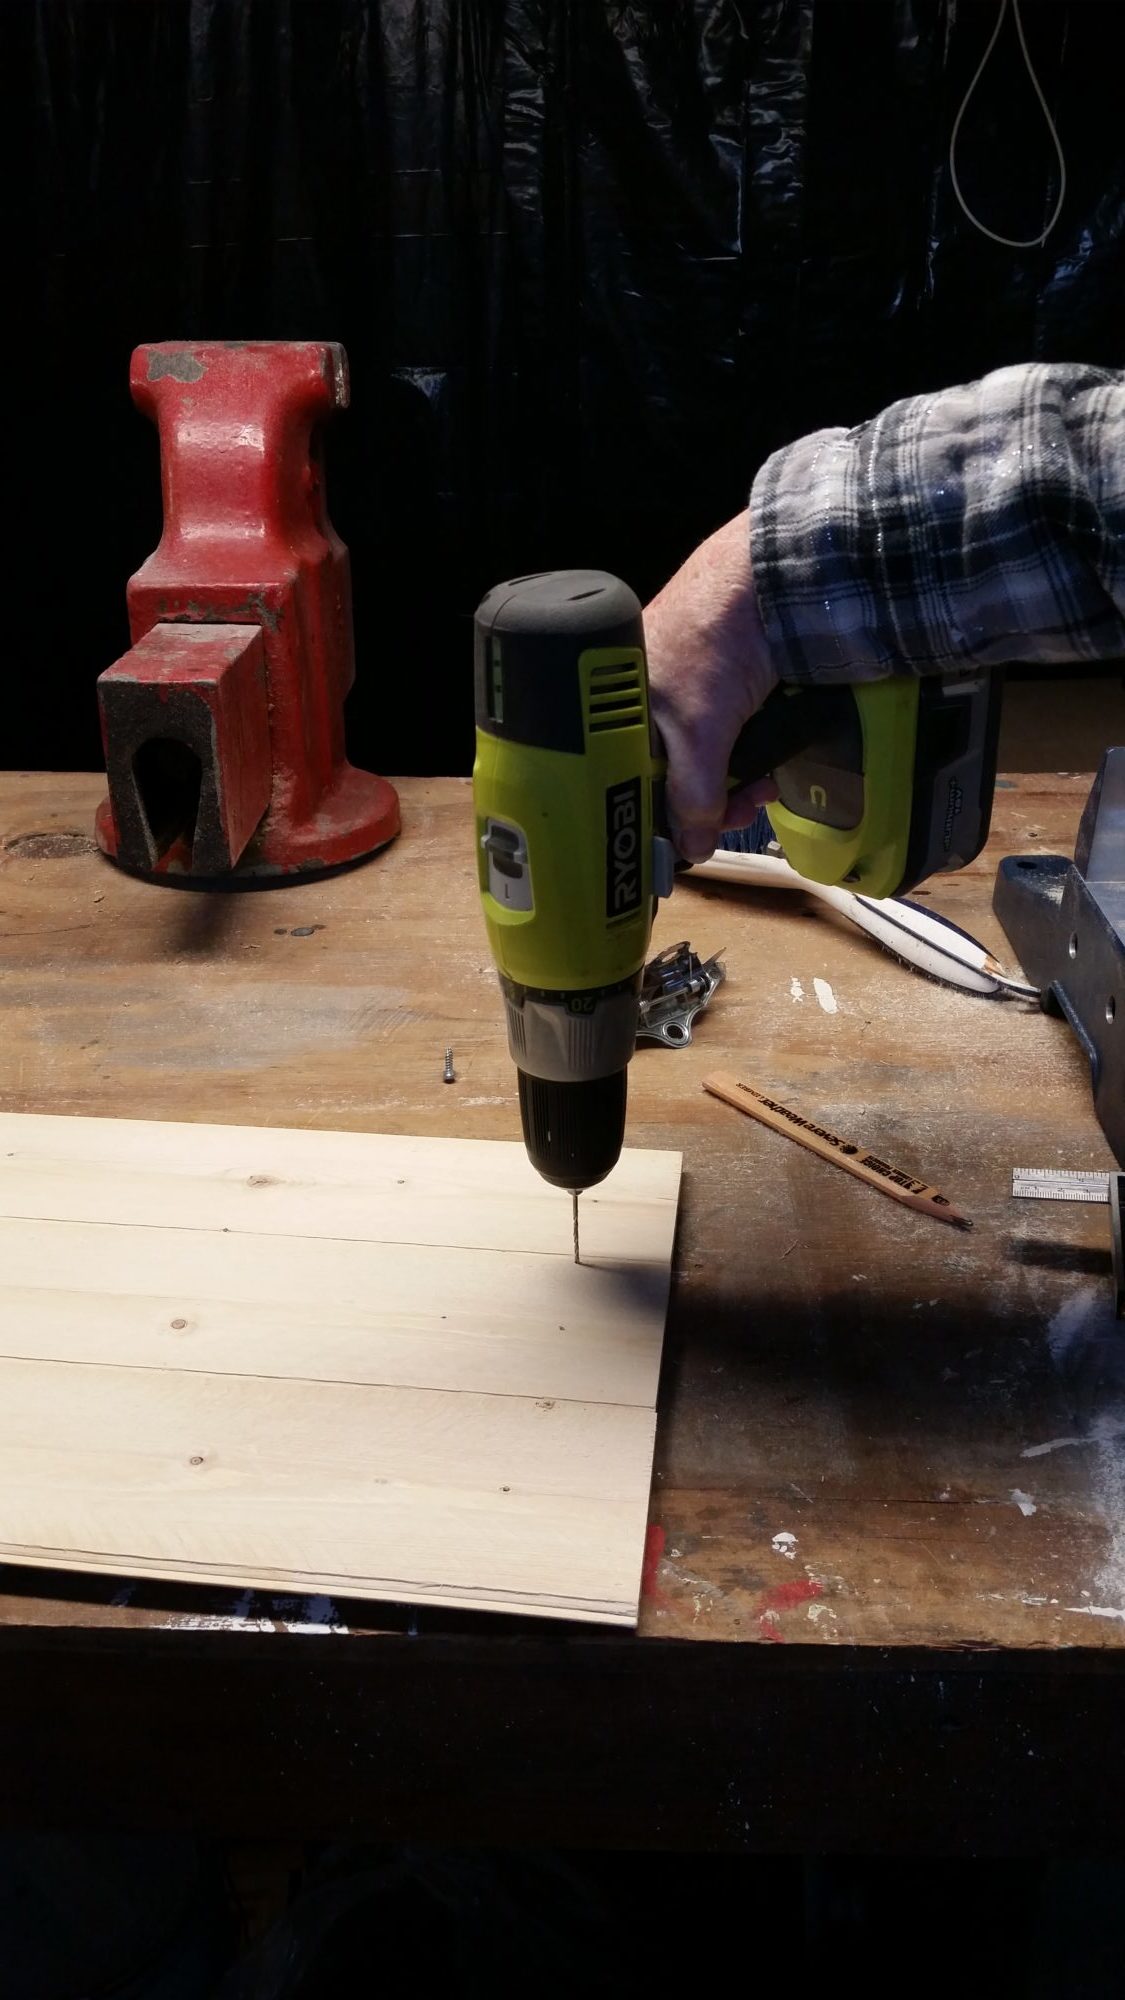 I used my drill to pre-drill holes for the clip.
Secure clip to printable holder
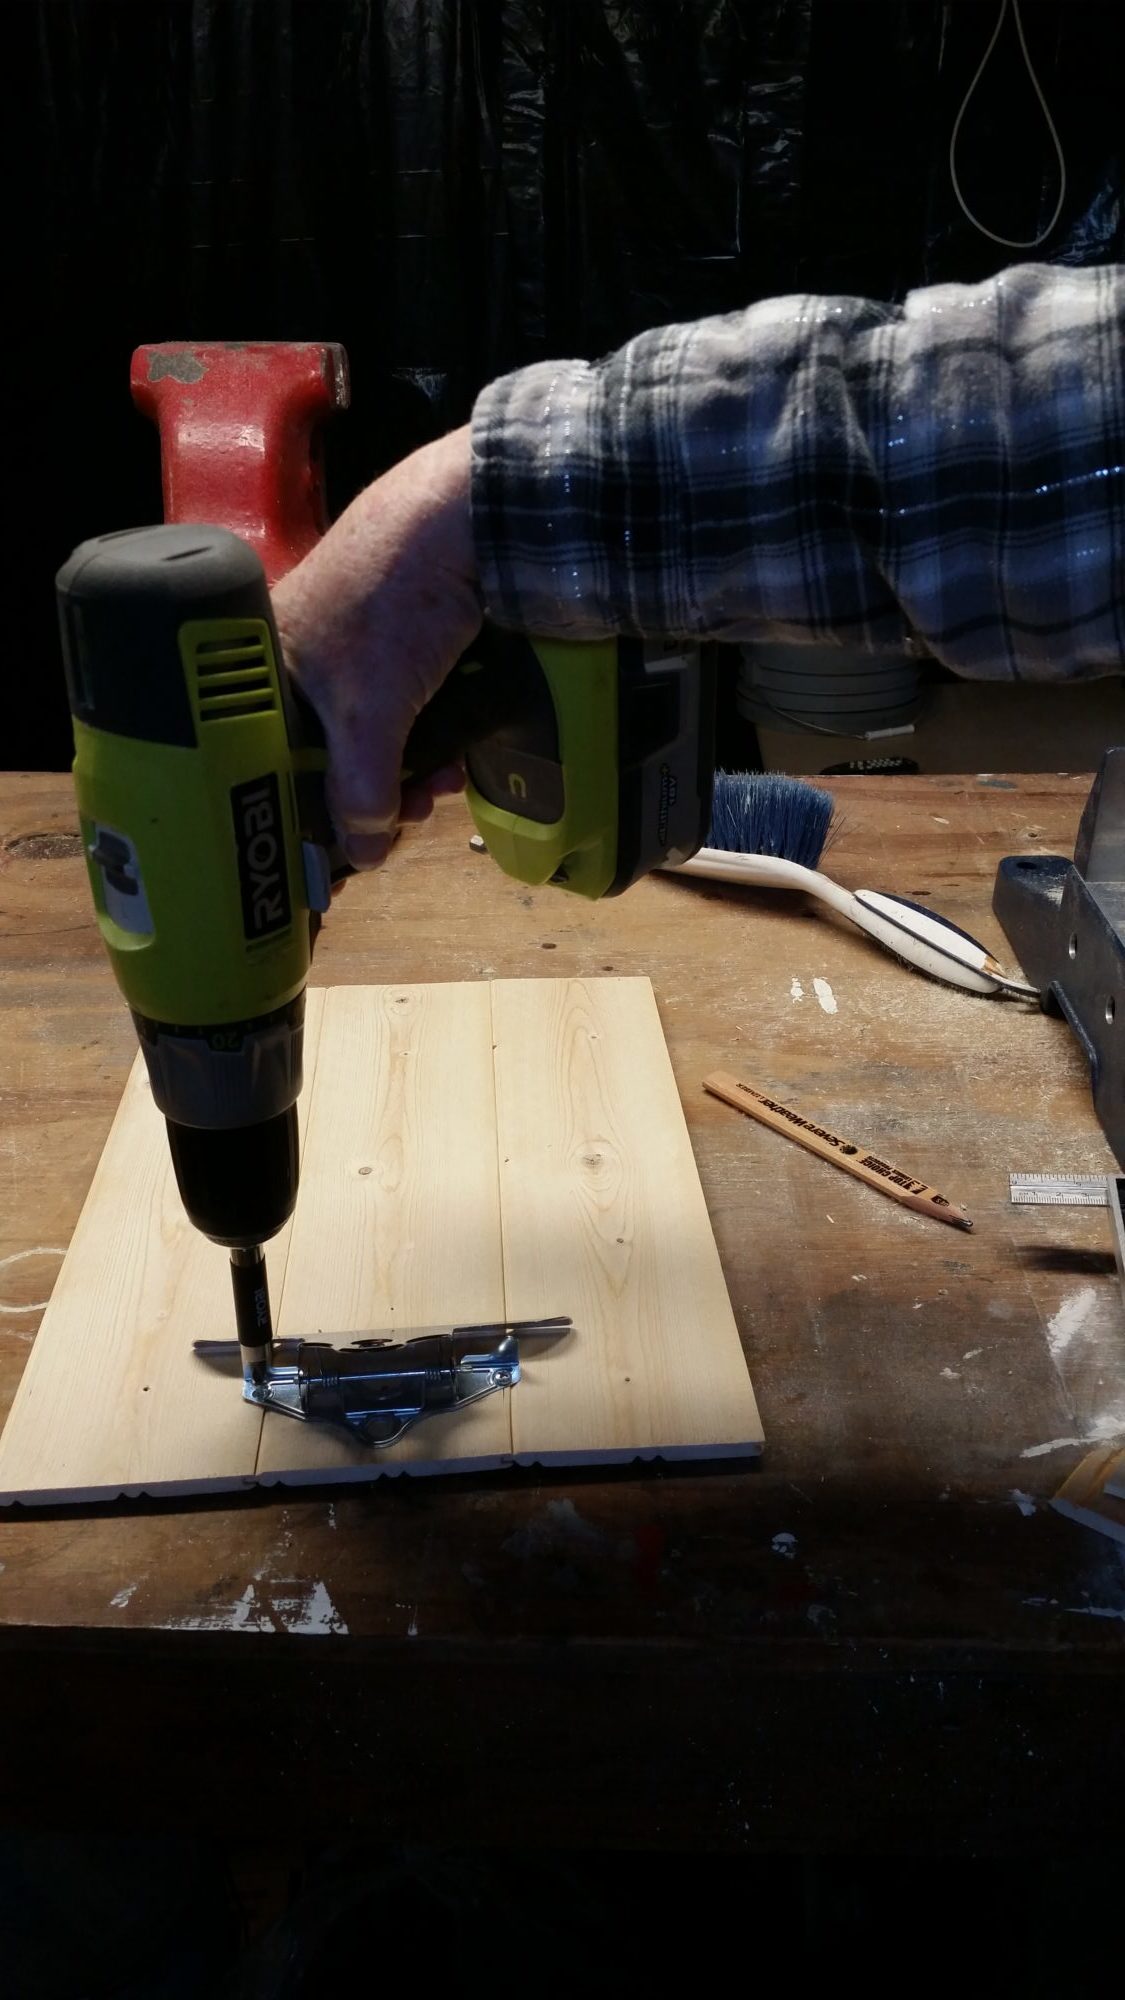
I secured the clipboard clip with small screws.
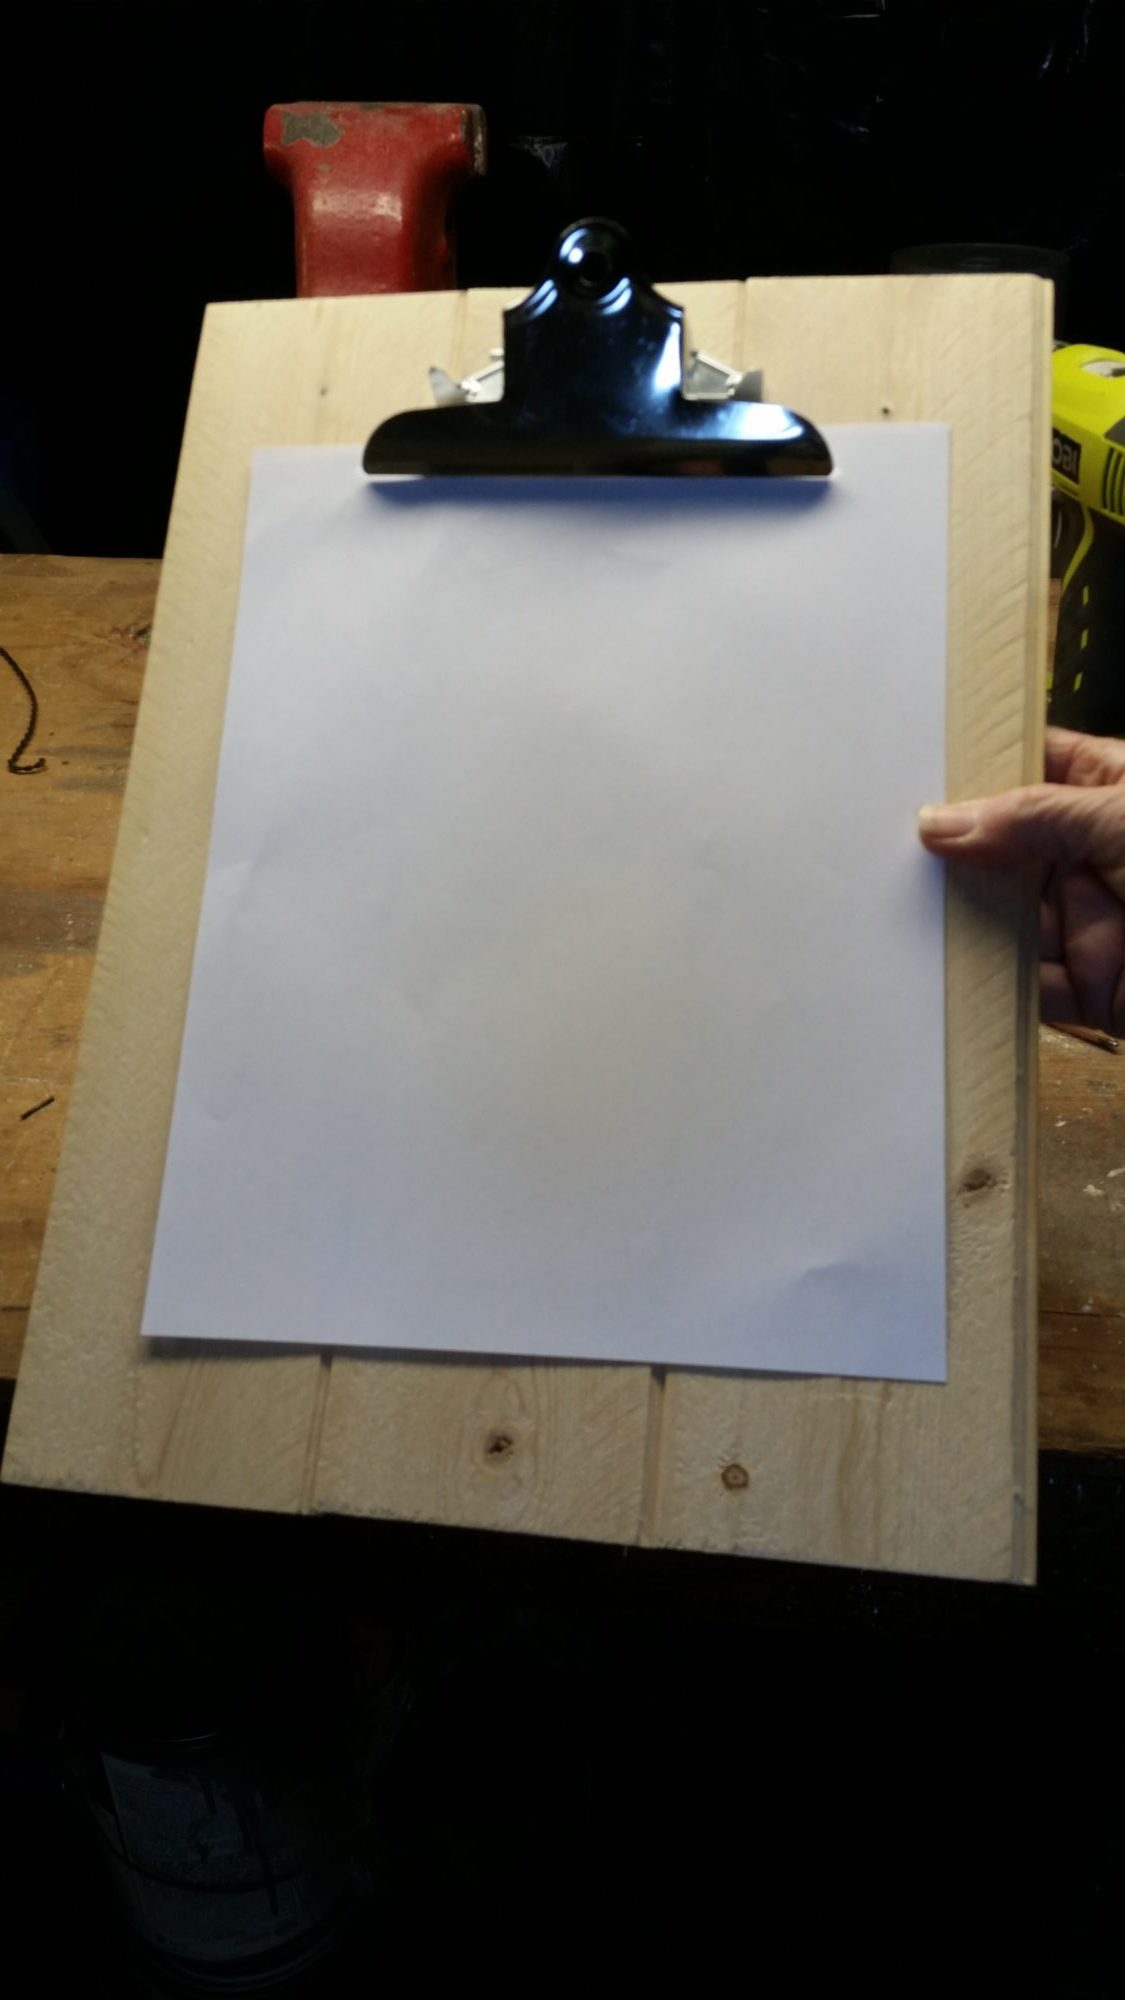 This is pretty much when I scrapped this project and moved on with the pallet board printable display option. I wondered how it would display. It seemed too large for an easel, and may not look right hanging on the wall.
 I used a Dollar Store easel to hold the new printable frame.
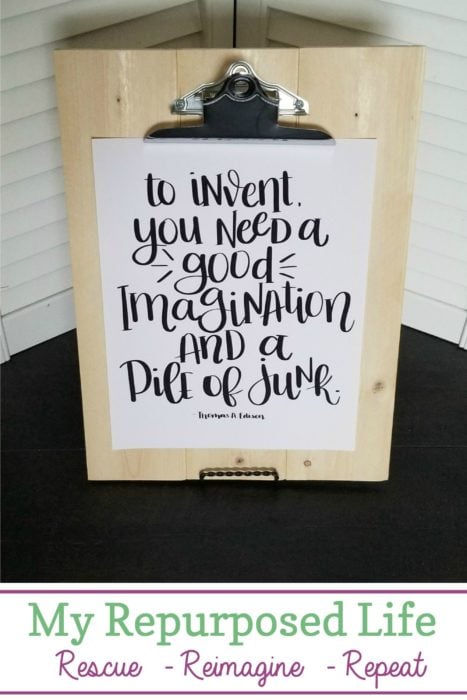
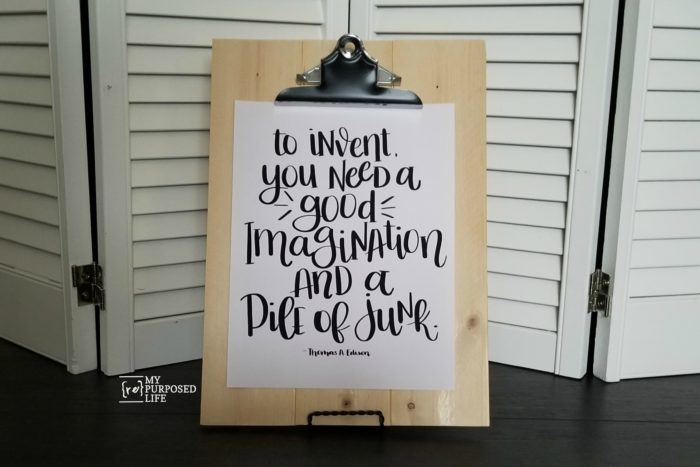
I chose to leave it natural for now. I think it would look good with a sealer, whitewash, or even a coat of black spray paint. Get your FREE Edison Printable HERE.
How would you finish it?
gail
Love the idea and especially the print but I can’t get the link to it to work!!
Help!
I apologize! The post was a little wonky. I’ve been having some technical issues recently. It should work now.
thanks!
gail
I think it is awesome, this is definitely on my list to do.
Thanks Bonnie! I love using up scraps for quick projects. Let me know if you make one.
gail
I love it & the adorable message!
Even if I don’t make one (I have so many clip boards from teaching!) I MUST post the sign in my work area so I can justify all the “odds & ends” I save!
You are a true inspiration to me. Gail!
Thanks for sharing!
Karen,
We’re in the same boat, eh? I have everything. But for me-it works. I’m always walking into the shop and finding the perfect piece for a project that saves me from having to rip a piece. I have the printable available for download on the original post of the pallet frame.
thank you for your comment, I truly appreciate your time!
gail
i think the white wash effect would be good. (or just paint it a bright summery color).
ohhhh, I bright summery color sounds great! I’m ready for the dull colors of winter to be gone.
gail
I think it turned out really nice! I like the idea of white wash. I think that would be pretty.
I don’t know how many times I had a project in mind that failed. Even some of the simplest projects don’t always turn out like I want.
This is so true Linda. We must always be ready for plan “b”. 🙂 I think I would have more successes if I planned a little more. But I prefer just jumping in!
gail