Peppermint Platter | Easy Christmas Project
As an Amazon Associate, I earn from qualifying purchases.
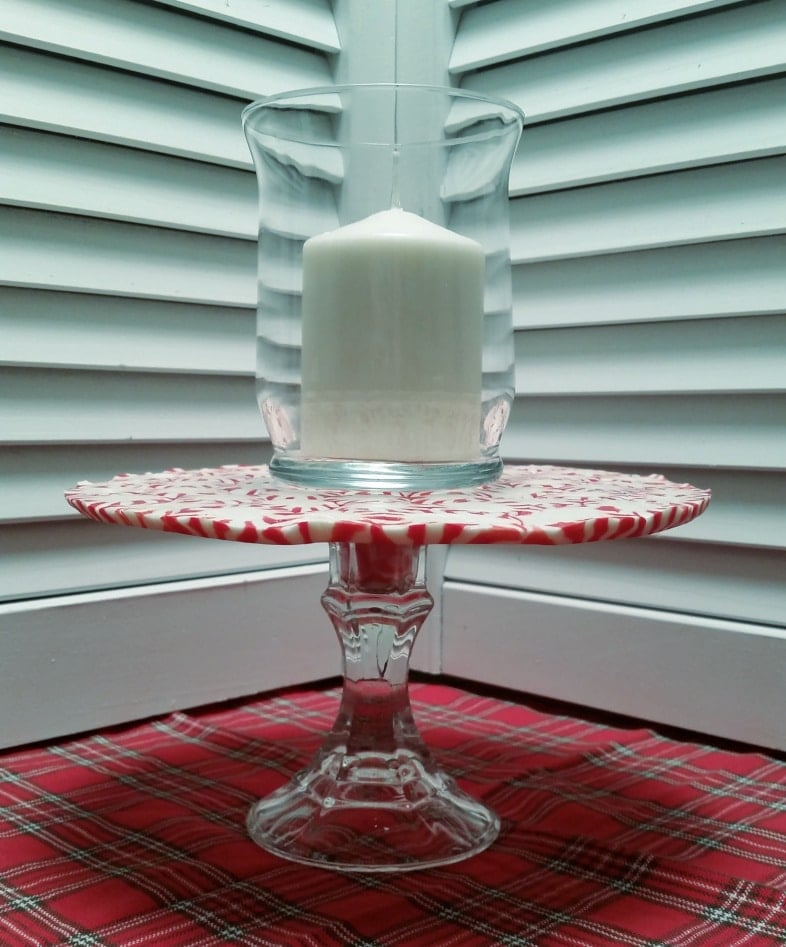
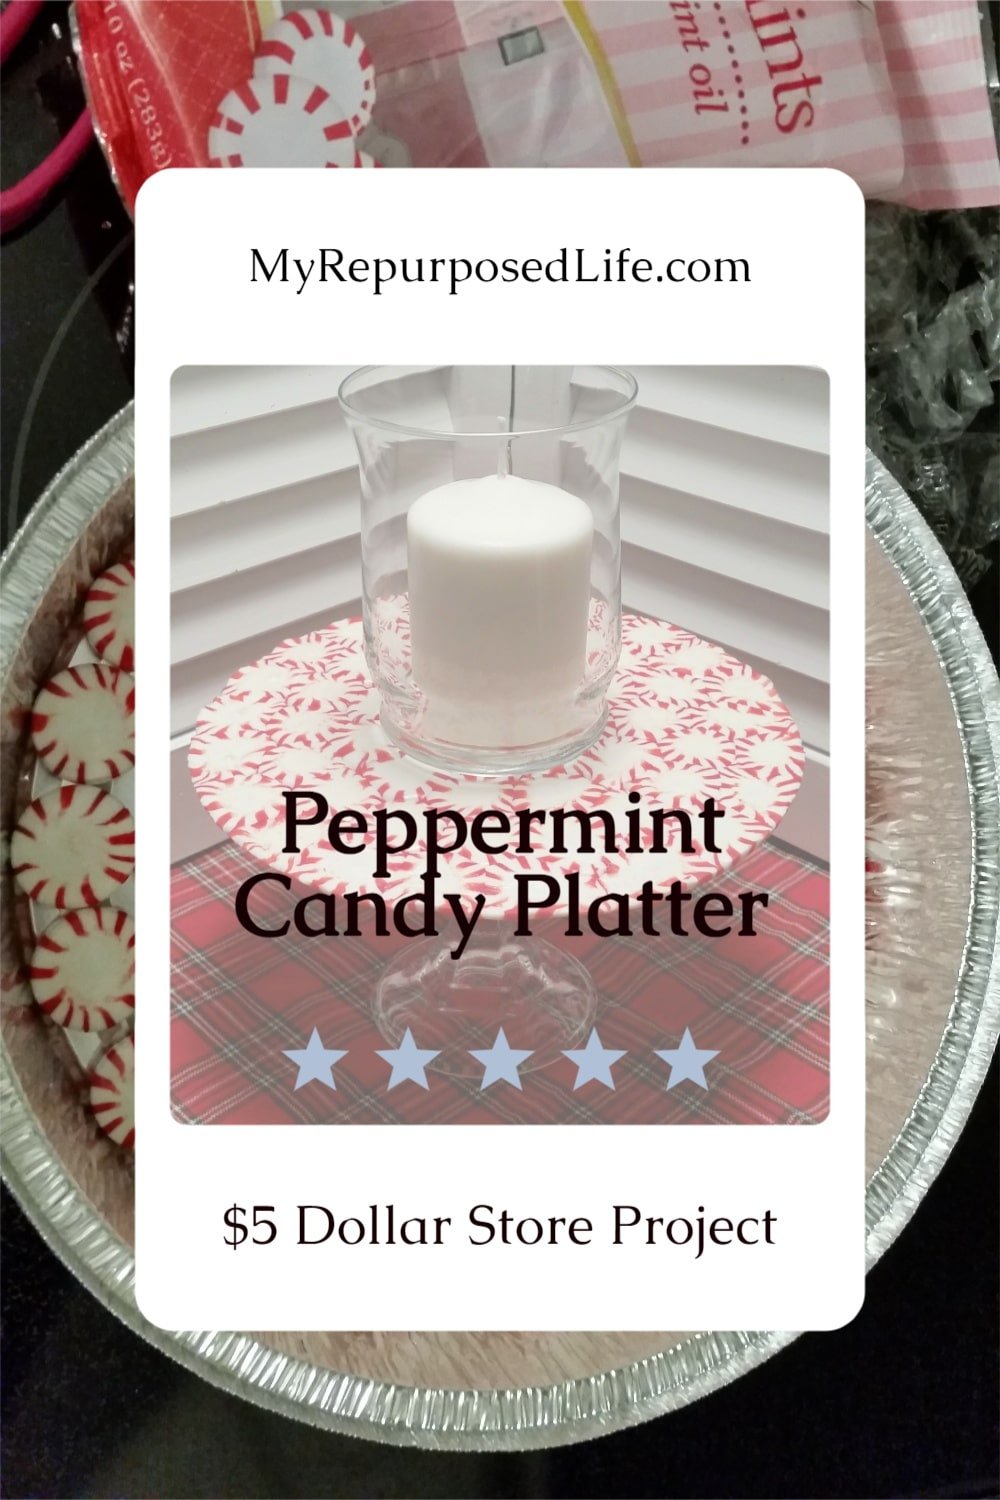
If you need a quick Christmas serving tray, this peppermint platter is a fun little project that starts in the dollar store aisle. A handful of wrapped mints, a disposable pan, and a small glass candlestick come together to make a pretty pedestal for cookies, cupcakes, or simple decor. It is an inexpensive way to add a bit of holiday color to your table without buying a new dish.
I’m so excited to share this easy peppermint platter project with you today. I know it’s nothing new—I’ve seen it on Pinterest for a while. I’ve been wanting to make my own version for a long time. I picked up the supplies at the $$ Tree.
How to make a Peppermint Platter

Materials for Peppermint Platter
- Disposable tin foil round pan.
- 1 package of peppermint patties
- 1 small glass candlestick
- a piece of tin foil or parchment paper

Layer Peppermints in a Tin Foil Pan
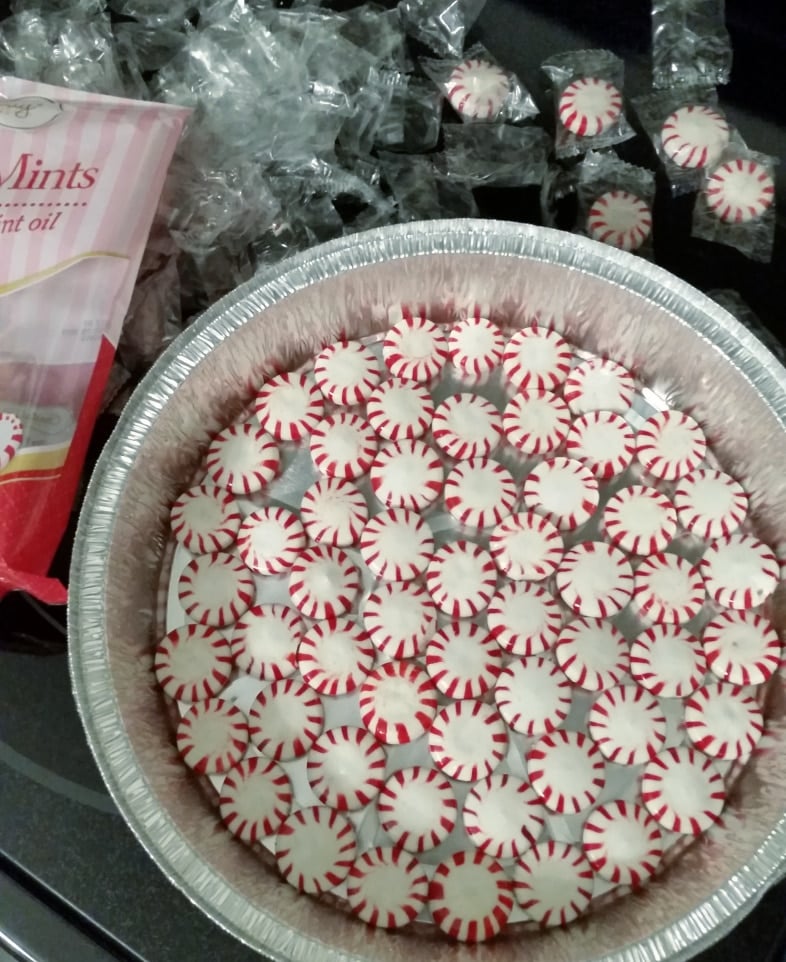
Open the peppermint candies and lay them in the bottom of the disposable tin foil pan. Note, there are about five leftover candies. Set them aside. (don’t eat them) ![]()
Melt Peppermints in the Oven
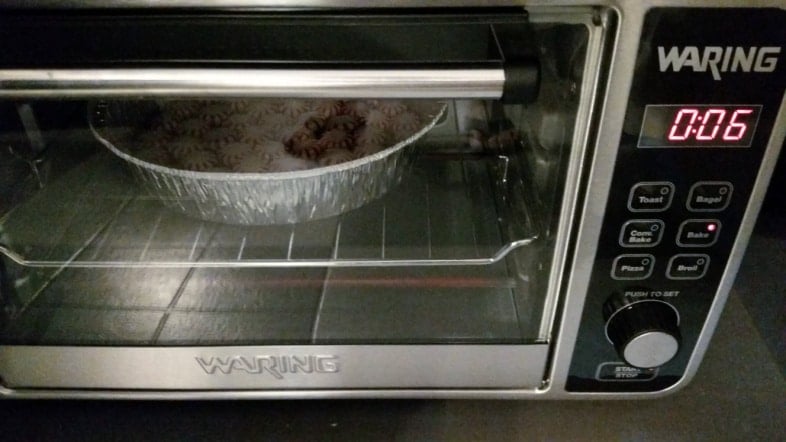
I set my small oven at 350° and left the pan in there for about 6 minutes. PLEASE do not leave your peppermint candies unattended.
Carefully remove the pan and allow the melted peppermints to cool slightly.

Timing is critical during this step. You want to let the peppermints set up and solidify, but you don’t want to let them completely cool.
Let Cool Slightly on Aluminum Foil or Parchment Paper
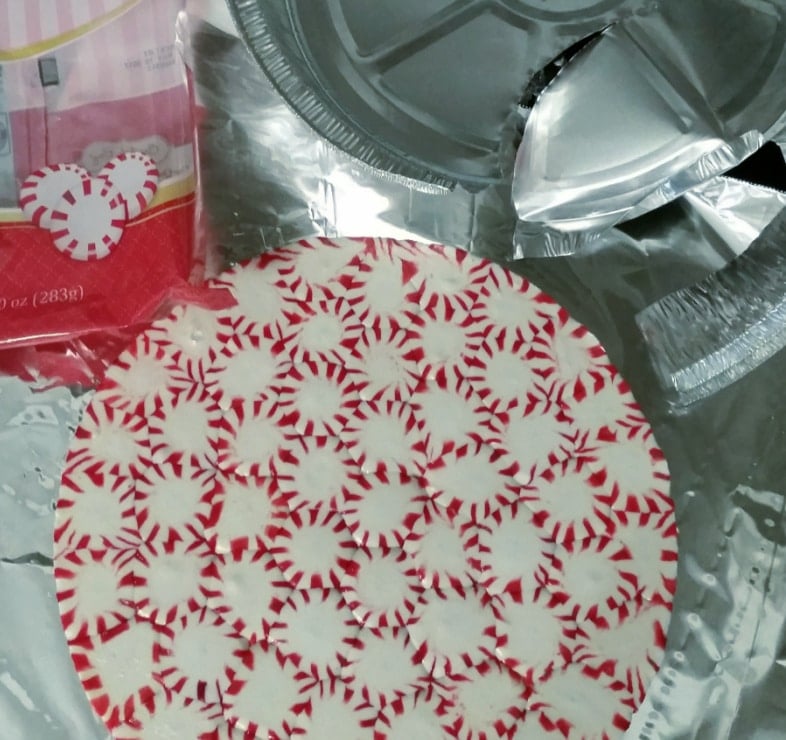
When the pan cools enough for you to handle it safely, cut the disposable pan to allow the peppermints to release from it. This way, the peppermints will be warm and slightly pliable. Place the newly melted platter upside down on a piece of foil or parchment paper.
Use Peppermint Candies as Glue
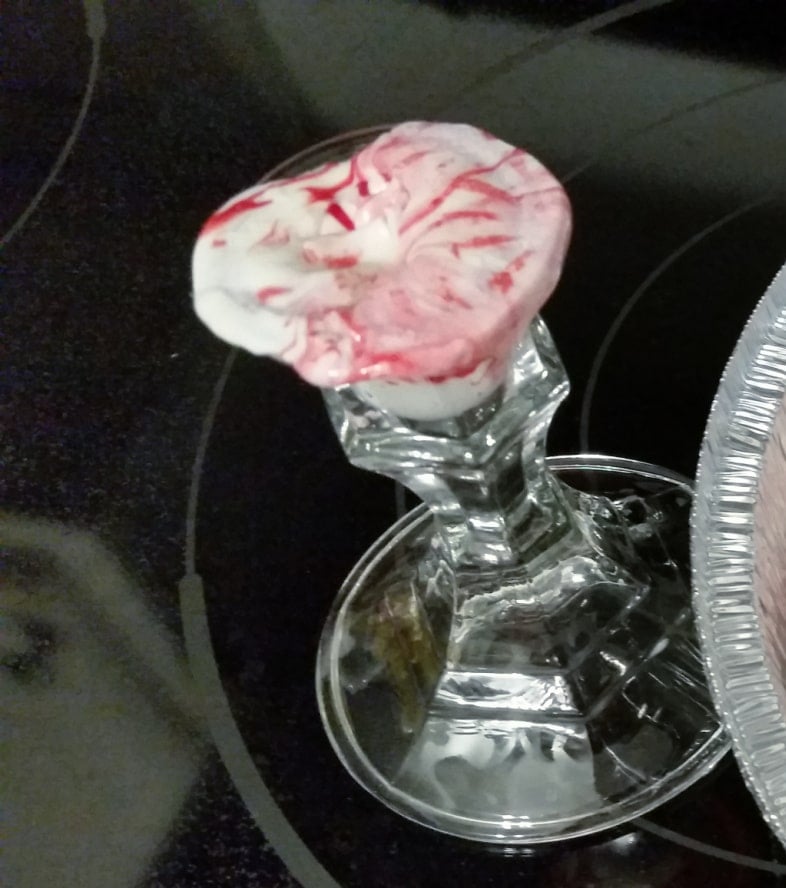
Most importantly, very carefully melt a couple of the leftover candies in the bowl of the candlestick. I did this in the microwave, getting the candies too hot, so they became molten and spilled over onto my fingers. OUCH!!! It burned really badly. Therefore, do not let this happen to you.
I then let those candies harden a little.
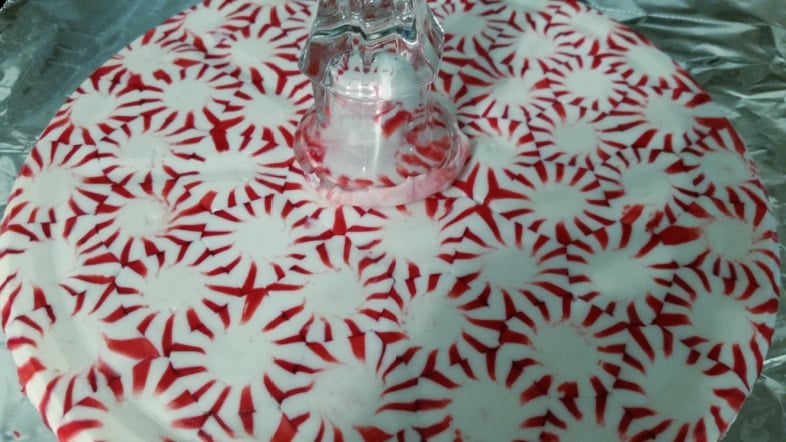
Finally, while the platter candies were still very warm, I placed the candle holder onto the platter, allowing the platter to melt the candies and “glue” the two pieces together.
Easy Peppermint Platter Made from Dollar Store Items
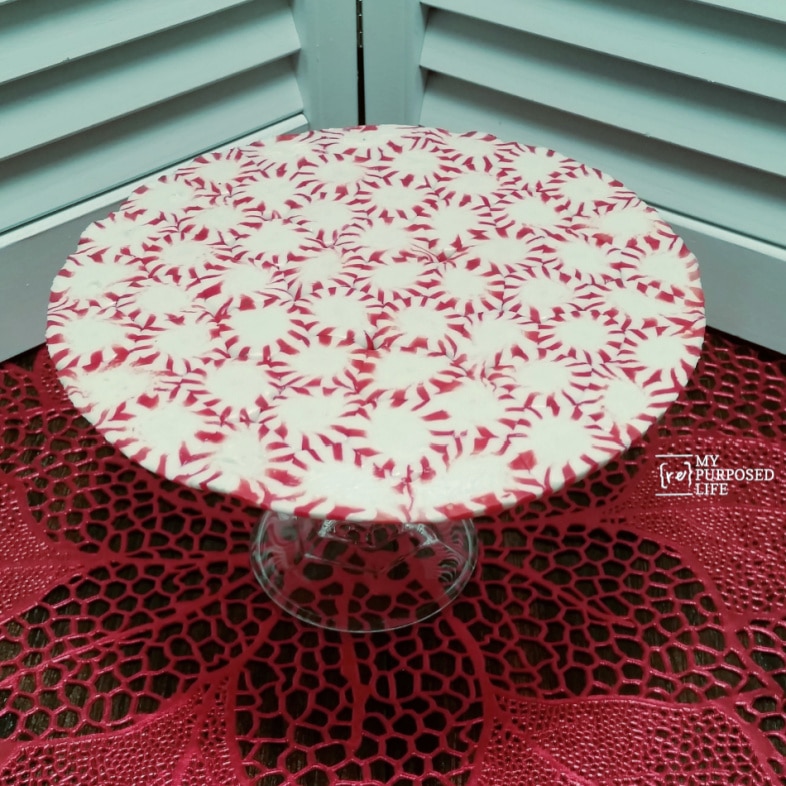
voila! I have finally made a peppermint platter!
Related Content: Peppermint Bowls

Do you ever get a project in your head that you HAVE to do? I really didn’t need this peppermint platter; I was looking for an easier way than I’ve seen on Pinterest. If you love this, you should check out my easy wooden platter.
This peppermint platter will not last forever, so I treat it as a one-and-done project and enjoy it for a single season or a special party. When it has served its purpose, you can toss it or break it apart and use the pieces for treats or crafting. If you like simple seasonal projects that start with everyday supplies, be sure to look around the site for more easy dollar store and Christmas ideas.
gail
See more Christmas projects here.
I have been wanting to try this! But I am worried about it getting icky from sitting out, or attracting bugs…
Alexandra
EyeLoveKnots.com
I have had this stored since I made it. It is a bit sticky. It might be best as a one and done project. 🙂
gail
I love this! Just saw it and I’m going to make a few of them for last minute gifts! Thanks!