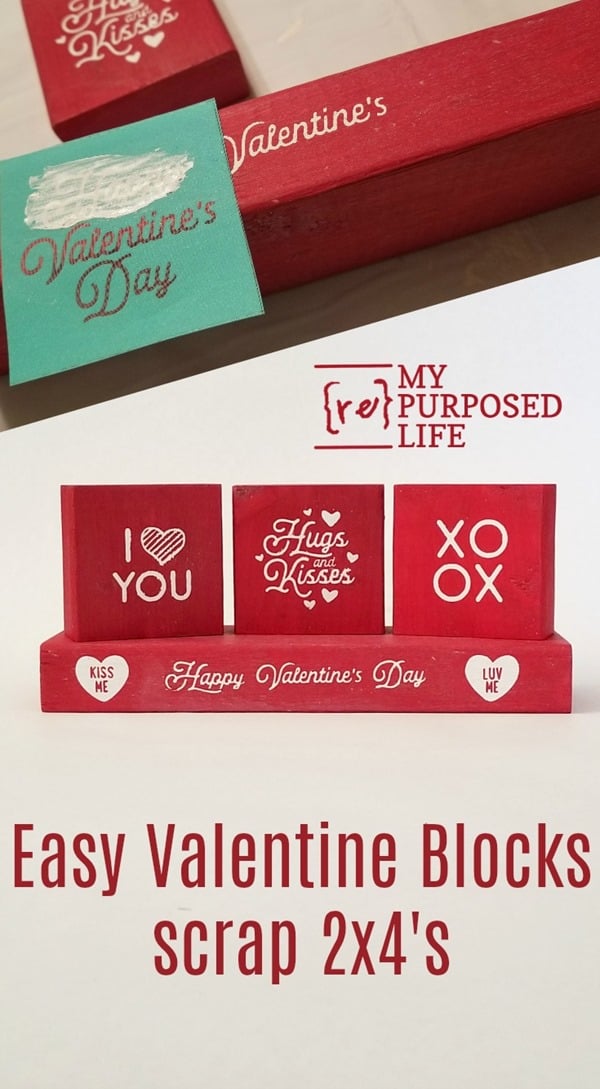
Easy Valentine Blocks
As an Amazon Associate, I earn from qualifying purchases.
These easy valentine blocks are made using scrap 2×4’s and a Chalk Couture Transfer! Oh, and a little craft paint. When you do as much word working as I do, you end up with so many scraps, mostly 2×4’s. You may recall I made something similar for Halloween– Scrap 2×4 Halloween Decor.
*this post contains affiliate links, read more here*
Scrap 2×4 Project
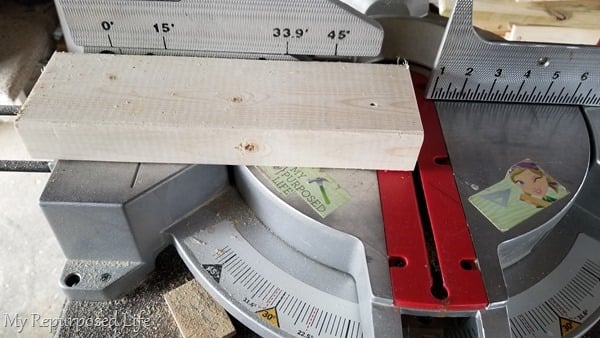
I cut my 2×4 pieces on my compound miter saw, but you could easily use a jigsaw, handsaw, or even a miter box and saw.
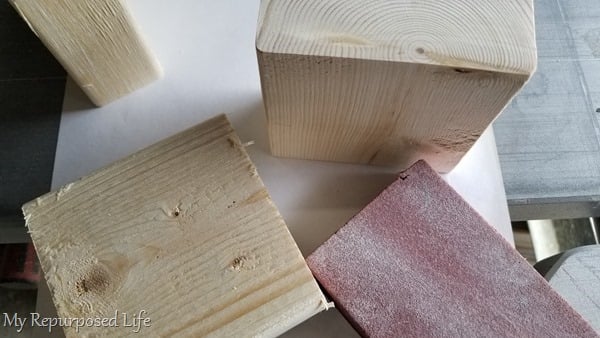
It’s really important to sand your scrap wood. I prefer to use a sanding sponge, it seems to work faster. If your 2×4 hasn’t been cut yet, I recommend that you cut off the mill end of the wood to get a nice smooth grain as seen in the picture above.
Paint Valentine Blocks Red
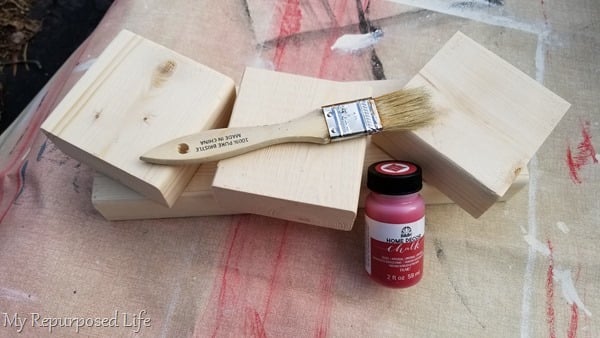
Now that your wood is sanded smooth, it’s time to paint. You probably know that I reach for a chip brush –this time using a narrow one for the small valentine blocks. This small bottle of Home Decor Chalk Paint was perfect for such a quick project.
Did you know a 2×4 is really 3.5 x 1.5?
I cut three squares at 3.5″. The long 2×4 is 12″.
Should You Use Finishing Wax?
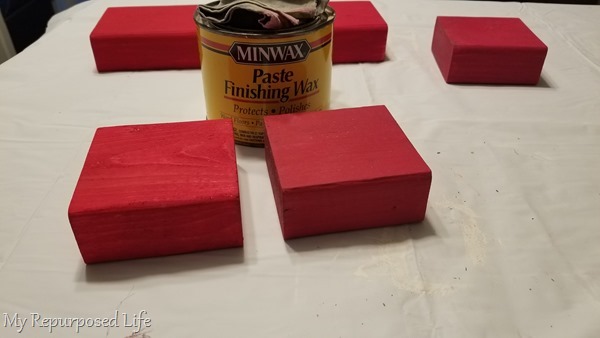
After the valentine blocks dried, I gave them a quick coat of wax. Hindsight, I wish I hadn’t used this particular wax because after it dried it didn’t look the best. The block on the right is after the wax. This is before the wax set up. You can tell it deepens the color initially.
Chalk Couture Valentine Transfer
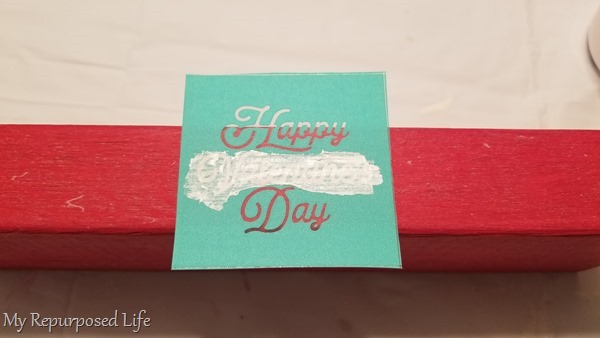
What makes this project so easy? Using a Chalk Couture Transfer and Chalk Paste!
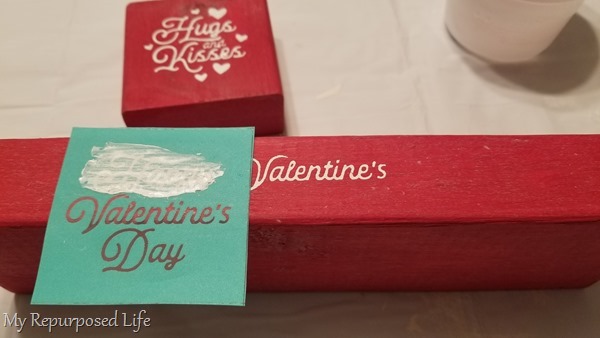
First, I did the middle of the transfer and let it dry. While it was drying, I did the square 2×4 valentine blocks. Finally, I finished the long block, putting Happy on the left . . . .
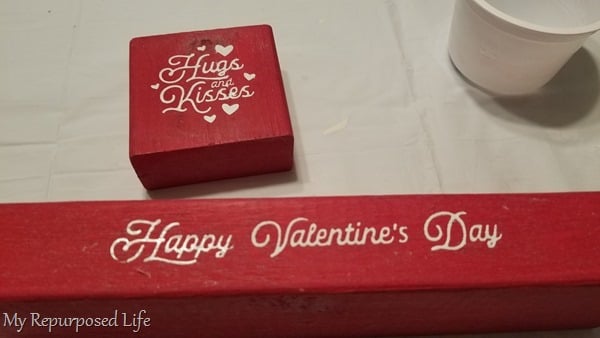
. . . and Day on the right. Just because it’s in a square shape, doesn’t mean you have to transfer it that way. ![]()
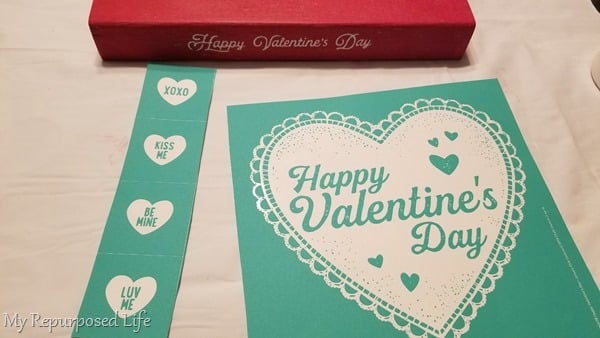
To finish it off, I used February’s Club Couture design. I cut off the small heart transfers and put one on each side of the words Happy Valentine’s Day.
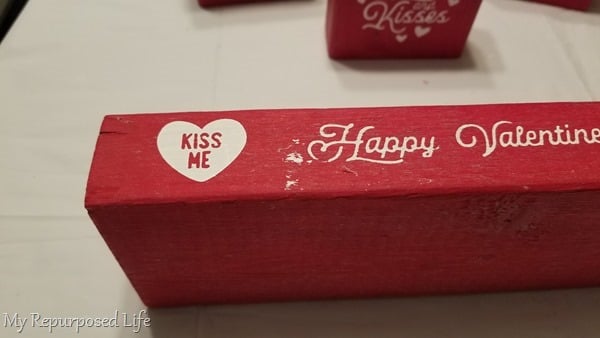
I was wearing latex gloves to work on this project to keep from washing my hands—I got a little messy with the Chalk Paste.
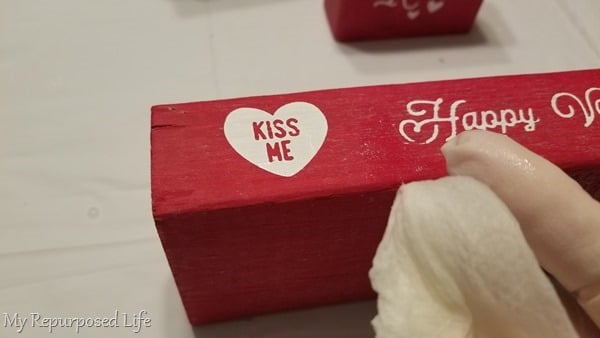
A damp paper towel took care of the little oops of the chalk paste.
Easy Wooden Valentine Blocks
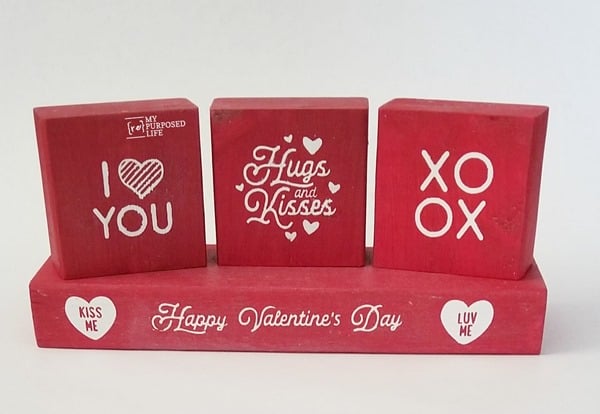
If you’re ever thinking about trying Chalk Couture Products, visit The Junky Chalker Shop. I’m here if you ever have any questions.
I don’t really decorate at home for most holidays, but I’ve been putting holiday touches over in The Sugar Shack to give a little color to the finished projects.
Do you decorate for Valentine’s day? If so, these easy valentine blocks would be perfect. If you don’t have a transfer, or Valentine Stencils, you could do Mod Podge or write your own words if you have pretty handwriting. It would be pretty easy with a paint pen.
gail


Your creative mind is always coming up with something cute! I think when the Lord was giving creativity you must have pushed me out of line and got my share…teehee!!!:)
hahaha thanks for the big chuckle Cheri!!!! I’ve never heard that before. 🙂
Thanks for making my day!
gail
I love this easy- to- do Valentines Tutorial. It would be lovely to have on display each year. I like that it’s not cheesy, it’s simple and elegant. I must give it a try using my Paint Pen’s. Thank you for the easy-to-follow Tutorial. xxx
Thank you for your sweet comment. I love doing tutorials for my friends! I will always be a teacher.
gail