Farmhouse Shelf Tutorial You Can Make
As an Amazon Associate, I earn from qualifying purchases.
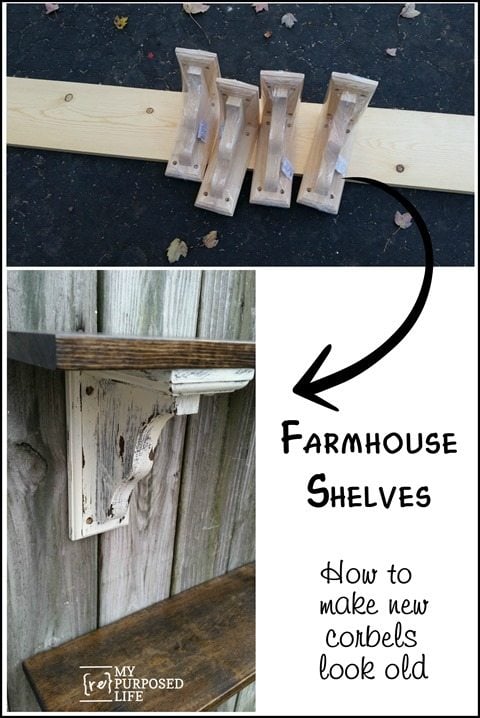
Last Fall a reader wrote me to ask if I would make a rustic farmhouse shelf project that she saw on Pinterest. Funny thing—the pin lead to My Repurposed Life, but it wasn’t my project. It’s rare for me to do this sort of thing and ship it, but I loved the look of the rustic distressed shelves and agreed to take on the challenge of making a farmhouse shelf.
How to make a farmhouse shelf
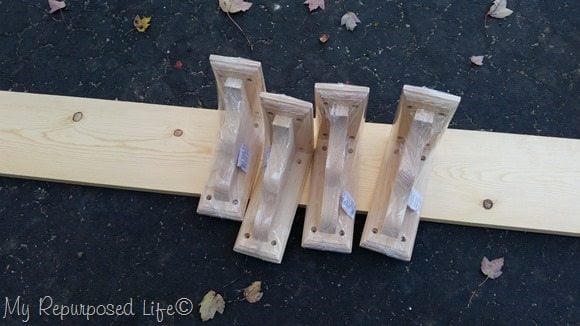 I used all new materials for this project, but I hope in the end, you will love the rustic farmhouse look of these shelves. I picked up the 1×8 at home depot (6 ft) and I got the corbels on Amazon. That was because I couldn’t find these at my Home Depot or Lowes.
*this post contains affiliate links*
Materials to make farmhouse shelf
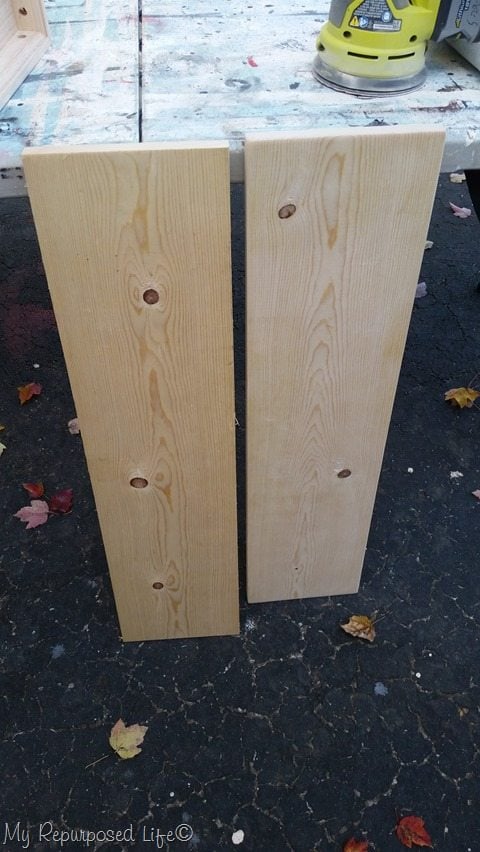 In this photo you can see that I have sanded the shelf board on the right. I like sanding all the edges with a slight “round over” to take of the sharp edged of the mill.
To get a vintage look, start with stain
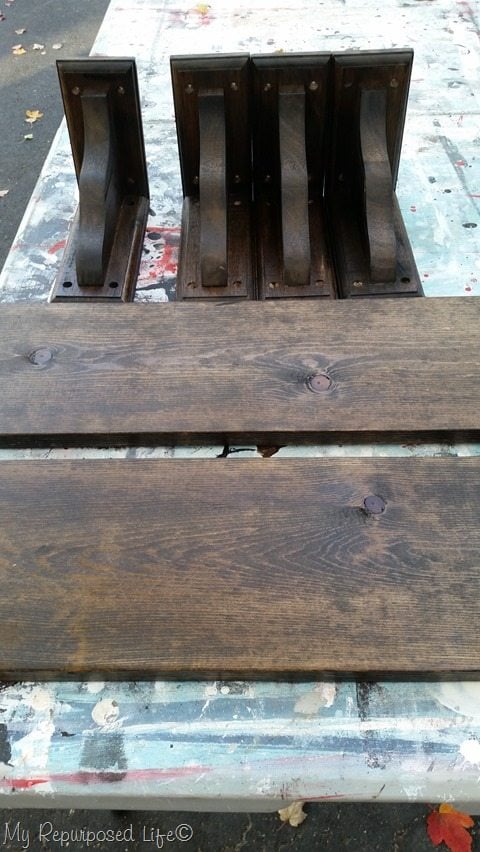 A soft rag was used to stain all the pieces with Minwax Jacobean Stain.
How to do vaseline resist trick
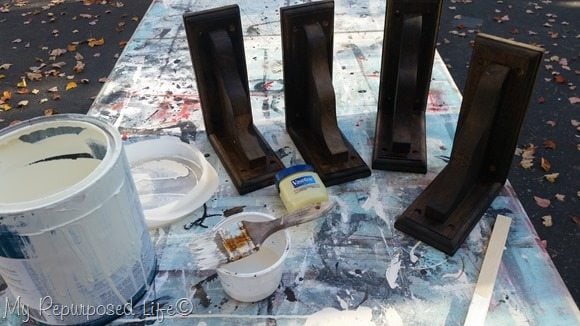 I used the vaseline technique to prevent the white paint from adhering completely to the stained corbels. I applied the vaseline with my fingers in random places. When you do this technique it works best if you don’t “over paint” the project pieces. As always I used a cheap chip brush to apply the Behr paint (Polished Pearl)
You can also use Vaseline when you want to keep paint off hinges
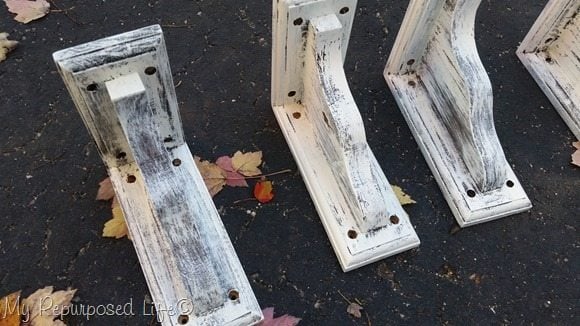 When the paint was dry, I used a soft rag to remove the paint where the vaseline had been applied. I lightly sanded all of the corbels with some brown craft paper.
If you like the chippy look, check out this chippy white chest for the guest room.
Chippy Farmhouse Shelf
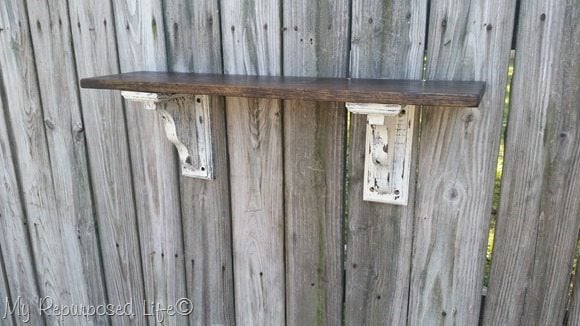 I snapped a quick photo to send to Cindy to make sure she was pleased with the way they are looking. She loved them, and so do I.
Seal with Wipe-On Poly
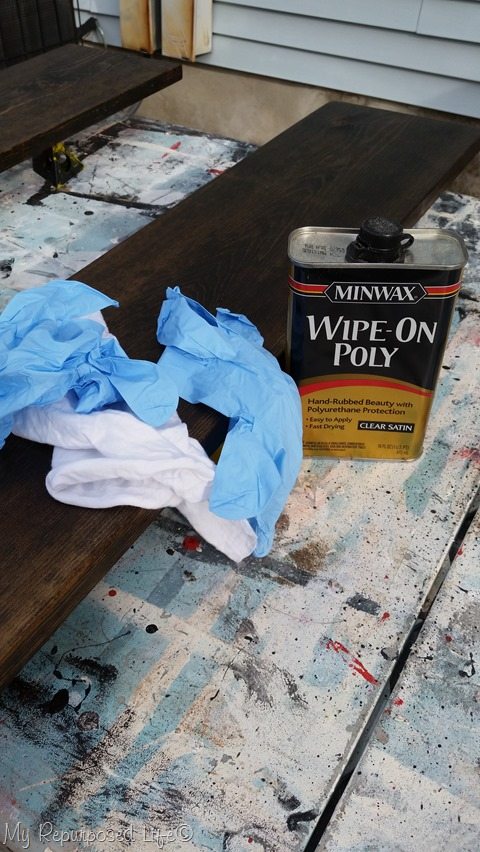 To protect the shelves and corbels I used Minwax Wipe-on Poly, applying with a soft rag.
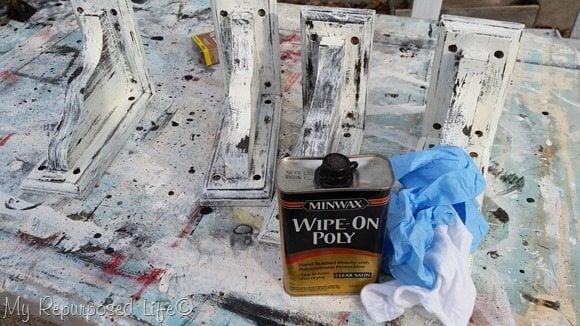 With my messy work table it’s difficult to see where the corbels begin and end.
 ![]()
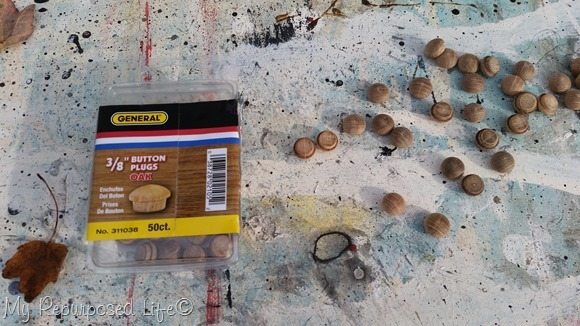 I bought these 3/8” button plugs from Home Depot. You can also buy the oak button plugs on Amazon.
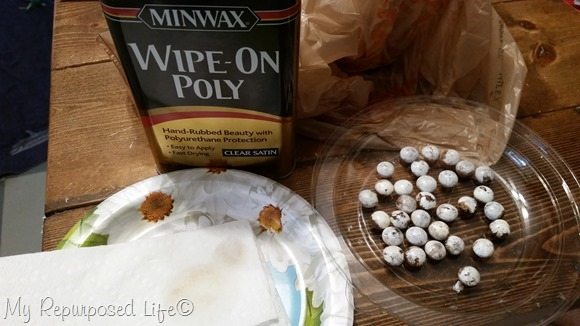 I painted the button plugs with a small artist’s brush with the Polished Pearl paint, then used a Minwax Stain Marker (Ebony) to give them a more distressed look. I poured a small amount of the Minwax Wipe-On poly onto a paper towel and applied it to each button to make them match the corbels.
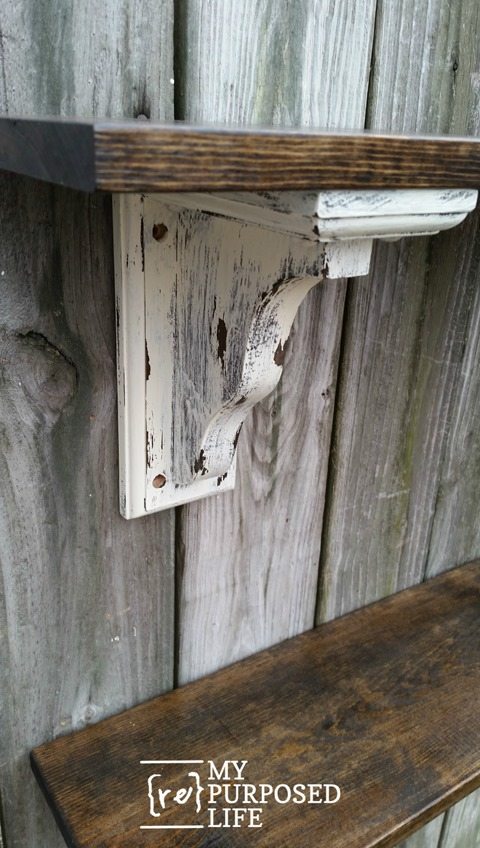 In a rush to get these farmhouse shelves in the mail, I quickly hung them on the fence to snap some pictures to show you.
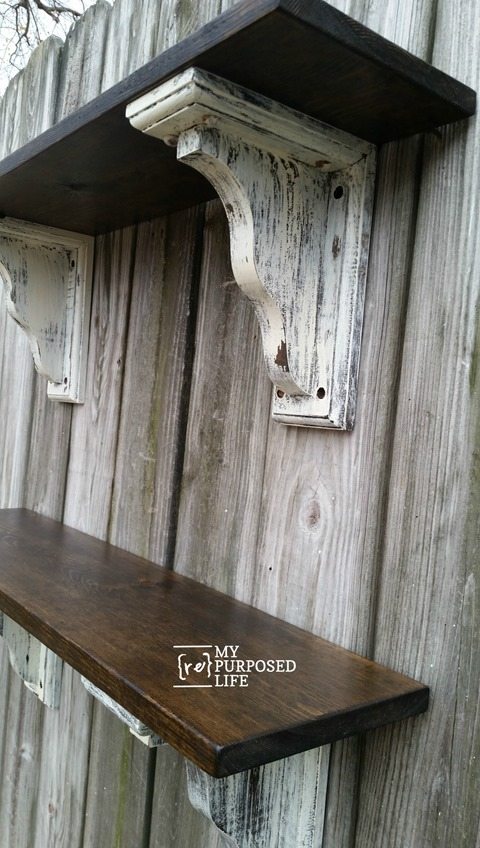 The buttons/plugs are in place where the board is attached to the corbels. The buttons will be included so they can be inserted after installation. I really love how these turned out, and so does Cindy!
It took some investigation, but I found the original source of the inspiration project. It’s from Shabby Love Blog. Cindy loves her shelves, she wrote me this email…
Just got my package opened the box and I’m beyond pleased at what a wonderful job you did. The farmhouse shelves are just what I wanted. Can’t wait too put them up. Thanks again they are perfect.
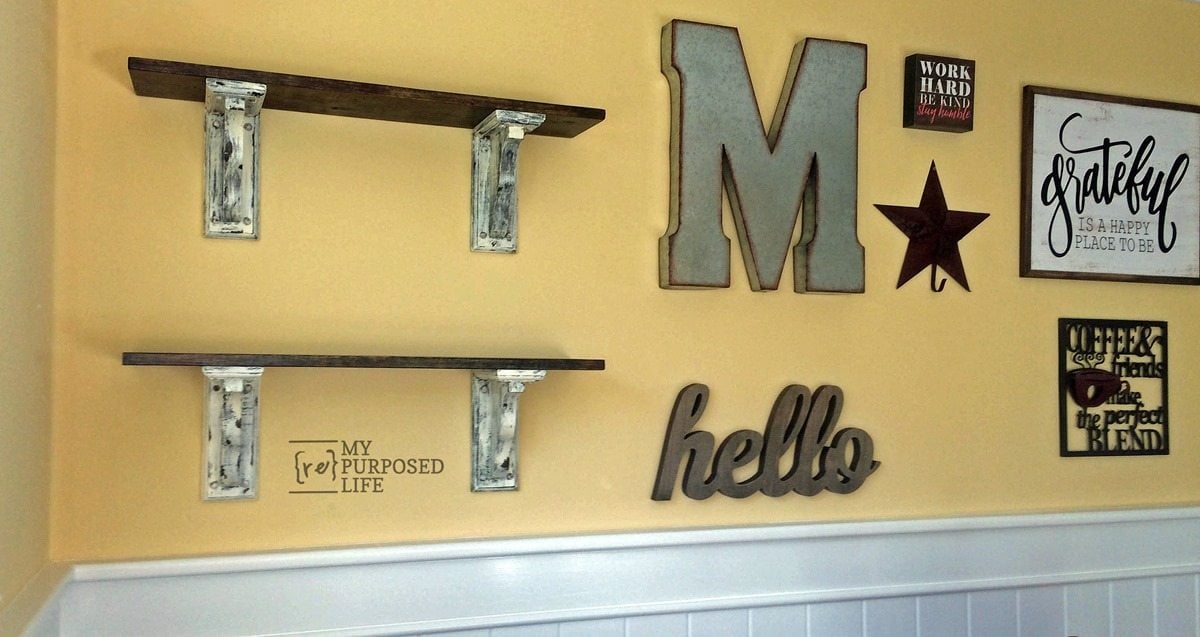 Here are the shelves in their new home!


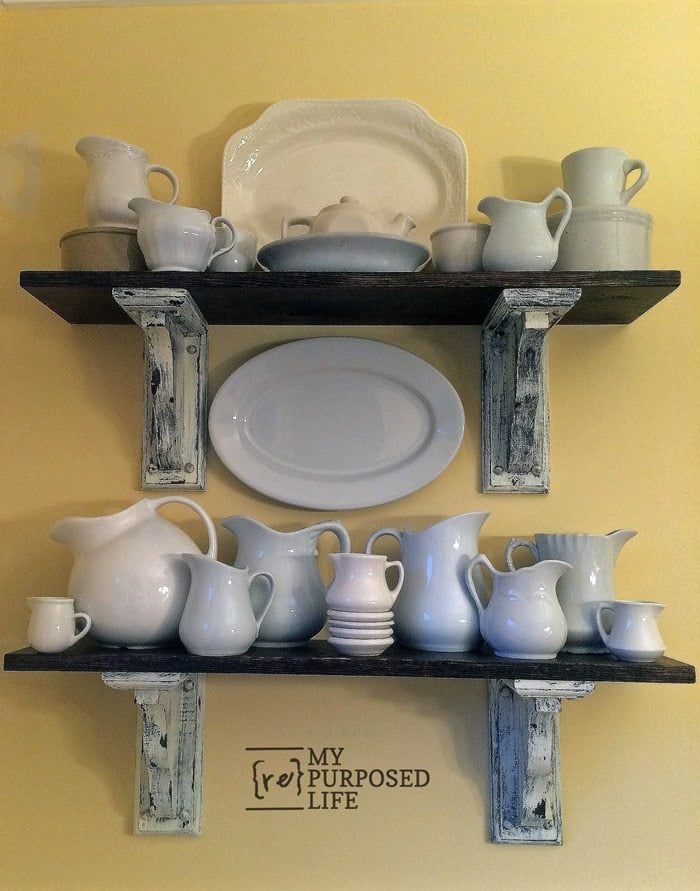
These are gorgeous and love how the customer uses them to display her Ironware.
Looks great, you did a wonderful job!!!
Love the way u did these farmhouse shelves!
They look great, Gail… and your customer is happy, so bravo!
So glad to see how the shelves worked out in Cindi’s home- just beautiful! I haven’t tried the chippy paint technique, but really want to now that I’ve seen this. Thanks for the inspiration, Gail