Finish Max Paint Sprayer Storm Door
As an Amazon Associate, I earn from qualifying purchases.
A few weeks ago, I decided to do a quickie project right before the holidays using my HomeRight Finish Max Paint Sprayer. You might not think painting a door would be a quickie project, but with the Finish Max it literally took me longer to prep this project than it did to paint it. Because this is a sponsored post by HomeRight, you know that means that there WILL be a giveaway! Be sure to enter to win at the bottom of this post.

 Behr Premium Plus Ultra Exterior is the paint I used. On their site it recommends using the paint when the substrates (items to be painted) are between 35° and 90°. Well, it was a cloudy December day and this was the temperature (screenshot from my phone). All week the weatherman promised 50’s and sunny for the weekend. NOT! So, being 45 I braved the cold morning to prep my door for painting.
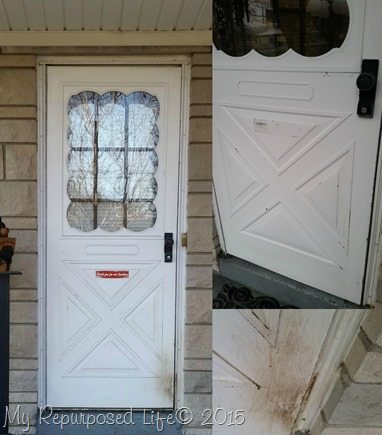 On the left and a close-up on the bottom right you can see how my little Louie “asks” to come in the house. His little sister Lucy also jumps on the door to let us know she wants in when she’s visiting. The picture on the top right is after a good cleaning and some sanding to knock off some loose and peeling paint. This door was sold as a Forever Door, and it’s been hanging there nearly that long, probably about 20 29 years!
 I looked back to find pictures and found this one of Jamie from the fall of 1985. Now, to be honest with you, I did try to get this door replaced TWICE this year. I was going to do it myself, but it’s not a standard size. I believe the jamb was modified to make this door fit. But I’m not sure, so I didn’t want to attempt the DIY. A few months later, I contacted someone to replace the door and the (very rusty) maple leaf wrought iron. The guy came by twice, but never showed back up after taking the measurements of the door. So, to spruce it up before the holidays I decided to paint it. It has been painted once over the years. I was going to paint it white again, but then I decided why not paint it a color that disguises the muddy footprints.
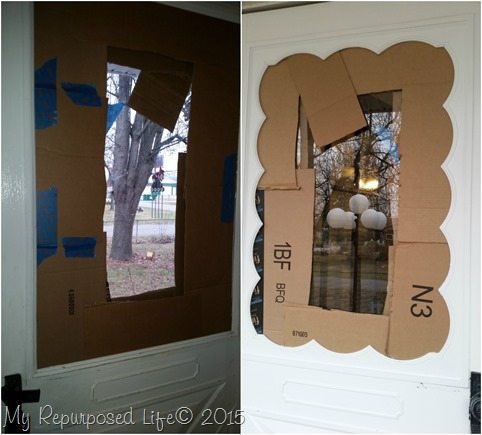 I cut up some boxes and crammed them in the frame on the inside of the door (left) and the outside of the door (right). That scalloped frame on the window would have been a challenge to paint by hand for sure.
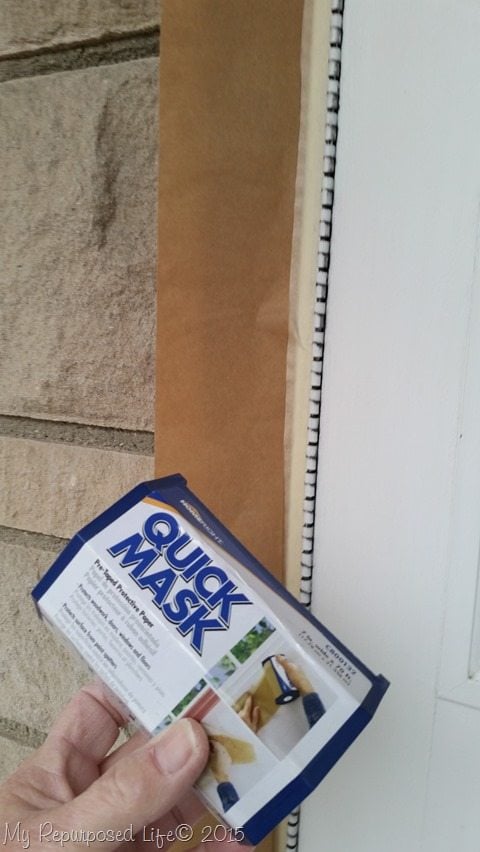 To protect the door frame I used Quick Mask Paper Dispenser from Homeright.
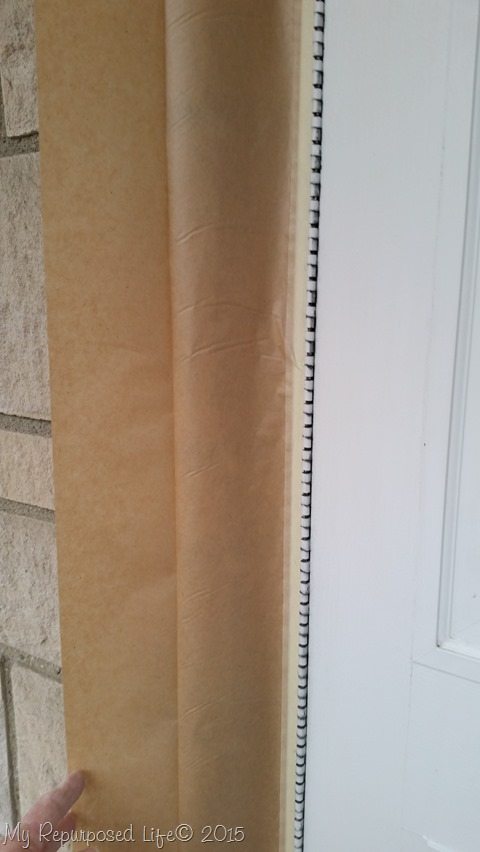 After masking it, and using the dispenser to cut it, simply unfold the paper. Indoors, that would be it, but I had to do some additional prep work due to the outdoor breeze.
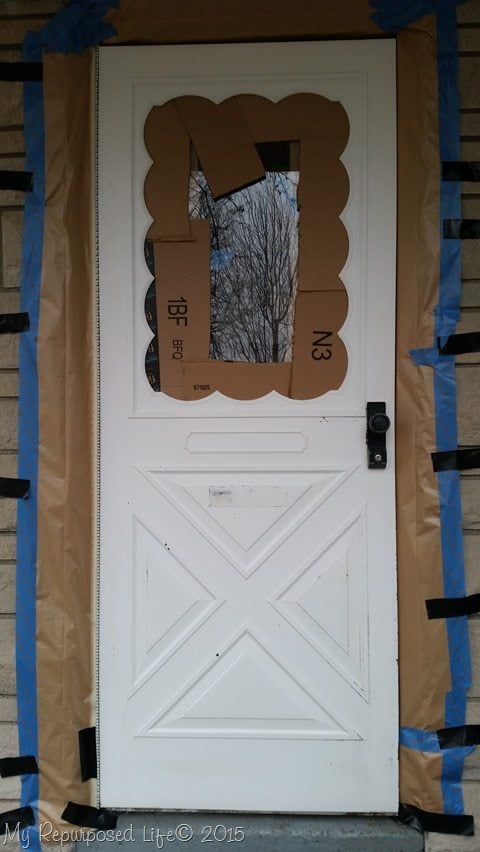 It sort of looks like a haz-mat situation, don’t ya think? I used painters tape, but it wouldn’t stick to the stone, so I had to add some Gorilla Tape.
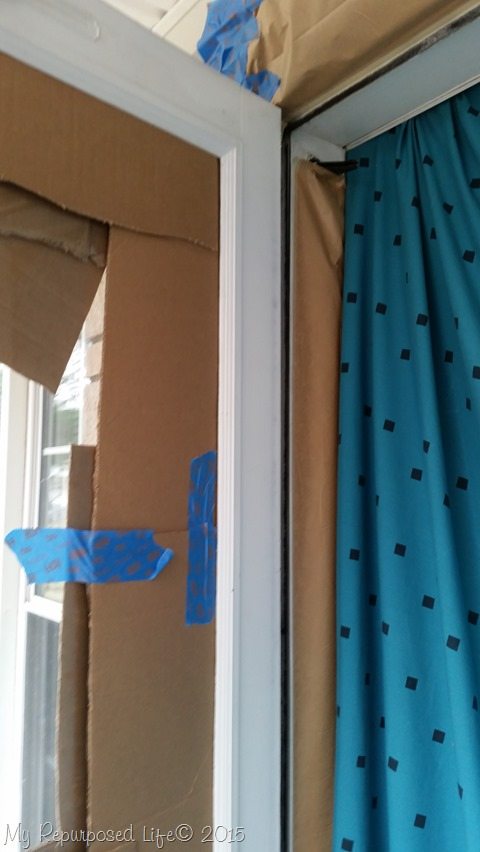 I used the Quick Mask on the inside of the door jamb as well as on top. I hung a sheet over the interior door to protect it.
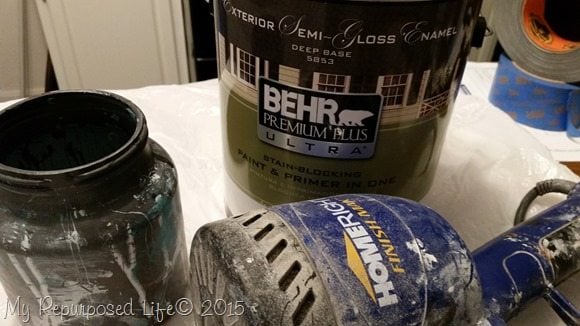 I don’t normally like preparing my Finish Max in the house, but it was just too cold to do it outside.
 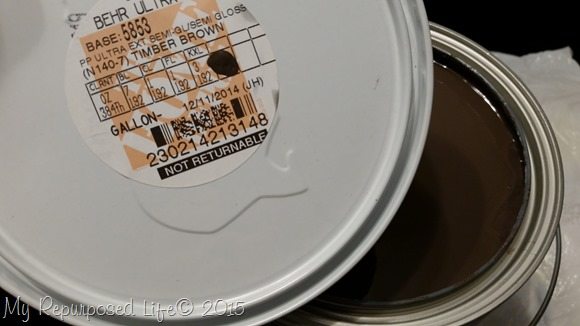 This is the color I chose—Timber Brown in Behr Ultra Premium Plus Ultra Semi-Gloss Exterior. I brought a bunch of paint chips home and found the one that matches my patio supports and trim. I think it looks like melted chocolate.
 ![]() I stirred it well, and diluted it with water. This paint was very thick. I mixed up about 1/2 of the Finish Max paint cup—which ended up being MORE than enough. Look for a lot of brown projects in the future….
I stirred it well, and diluted it with water. This paint was very thick. I mixed up about 1/2 of the Finish Max paint cup—which ended up being MORE than enough. Look for a lot of brown projects in the future….
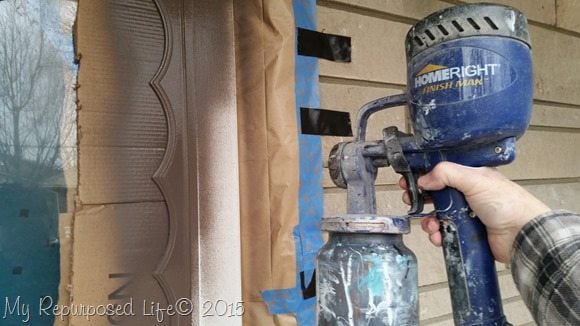 All of the prep work I did paid off! If you look closely at the brown paper, you can see very little over spray. That’s my favorite part about this Finish Max, how well you can direct the paint. I don’t generally switch the flow of the paint with the nozzle from horizontal to vertical much with furniture projects, but with this door, turning the spray flow really helped—allowing great coverage, in addition to preventing over spray.
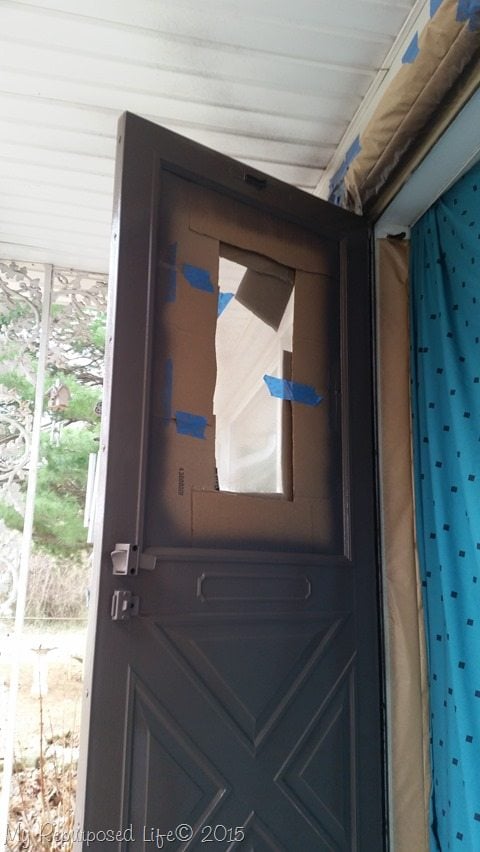 I decided to paint the door knob (handle) on both the inside and the outside. This is after one coat. You can see that I removed the door closer cylinder in order to allow the door to swing freely.
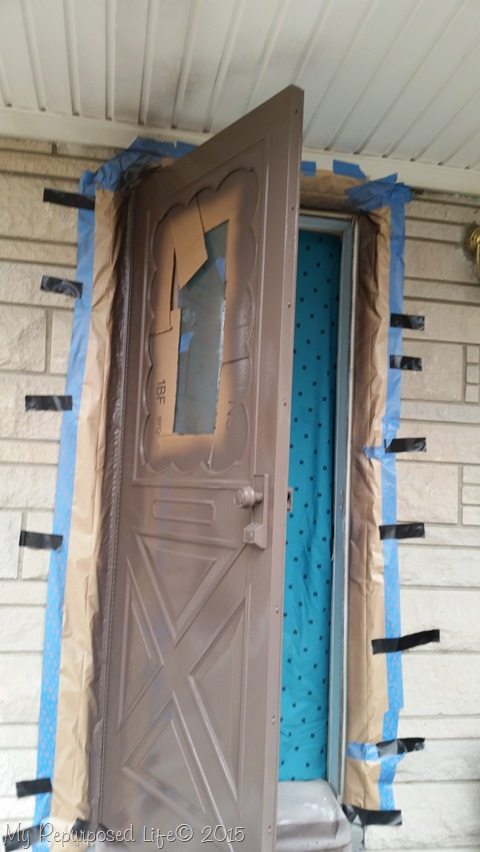 You can see that I used a scrap piece of vinyl fabric to protect the threshold. Not shown is the painter’s drop cloth that covers the porch. Do you see what I did NOT protect? I’ll give you a moment to look at the picture. Did you find it? Sometimes I wonder about myself. I thought I had planned this out perfectly. I want to make sure you see it, so that when/if you do this project it won’t happen to you. okay, here goes—for those of you who didn’t spot it. The CEILING of the porch! Because I’m short, I pointed the sprayer UP to get the top of the door. I noticed the spray on the vinyl immediately. I grabbed a small stool so that I could boost myself up and get a straight shot at the top of the door instead of spraying upward.
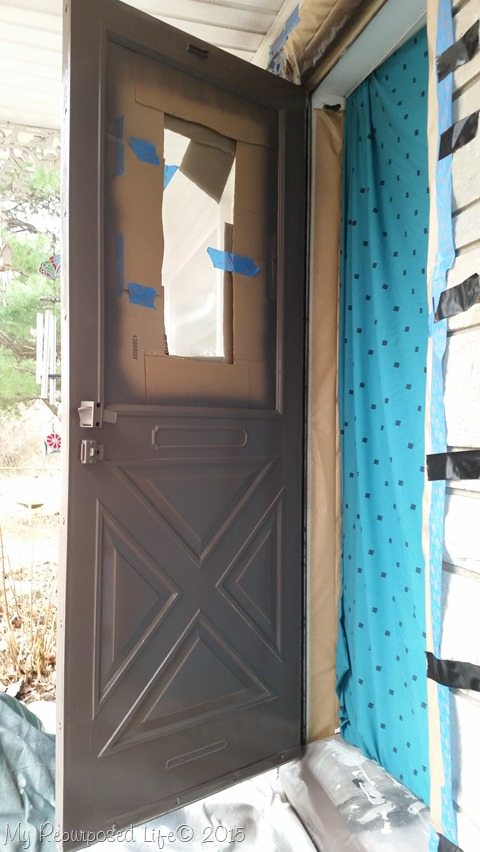 Again, I need to tell you that there is so little overspray. Look at the right side of the door where the hinge is, no paint at all on the brown paper.
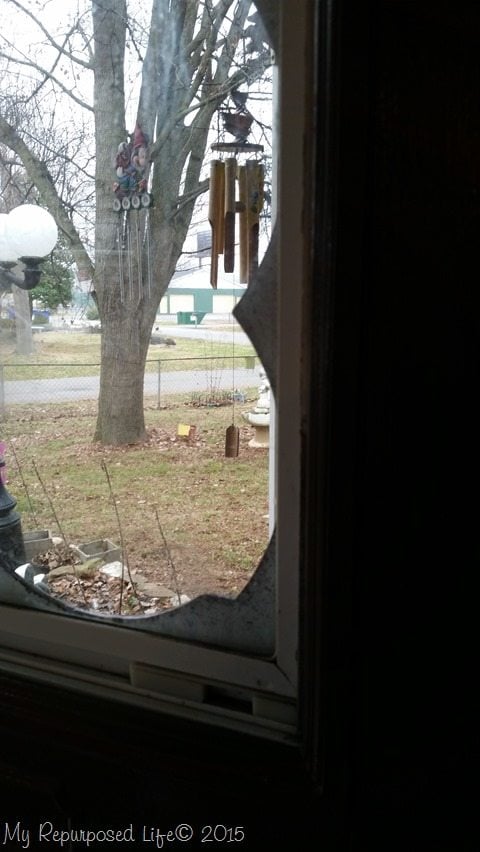 You can see that the inside of the scallop was not painted due to the cardboard. I decided to lower the storm window so that I could spray the scallop to match the rest of the door.
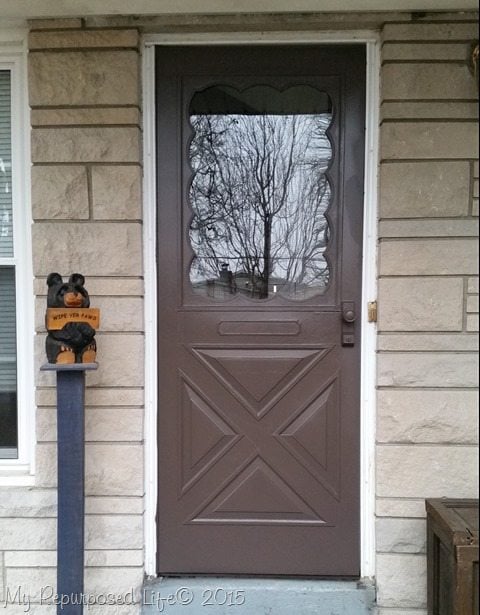 As soon as warm weather arrives, this porch will get a new look. Because I believe in full disclosure I will tell you that Lucy and or Louie has scratched some paint off the door in the last month. Sometimes I could just kick myself for not following my instinct. I had some primer on the paint counter as I was buying this paint. The paint guy talked me out of buying it. Hindsight 20/20 I think he was referring to “coverage” while I was concerned about “sticking” quality. I feel if I had used primer, the paint wouldn’t have scratched off. In any case, it looks a LOT better than it did, and I’m really loving the color. Now for the GIVEAWAY!
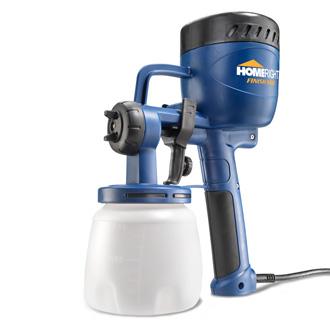 How to enter: take a look at the Finish Max projects I did in 2014 and tell me in a comment below which is your favorite, and why you “need” a Finish Max. After doing this mandatory entry, you can earn bonus entries using the rafflecopter widget. One winner will be chosen at random from all eligible entries. Giveaway ends in one week, void where prohibited. Winner must be 18 and US resident. Winner will be announced on this blog post and notified via email. Winner will have 48 hours to respond, or an alternate winner will be chosen. [categorythumbnaillist 317]
THIS GIVEAWAY IS OVER, see the widget below for our winner.
Hopefully you found a Finish Max project above to inspire you! I love how easy it is to paint with my favorite HomeRight Finish Max.
Good Luck!
How long have you been putting off a home repair? Can you beat my 29 year record?
gail
disclosure: I am a HomeRight brand ambassador allowing me to try their products and host giveaways for you! All thoughts and projects are my own.


My favorite project was the small outdoor garden table: https://www.myrepurposedlife.com/2014/04/small-outdoor-garden-bench-from-reclaimed-fence.html
I would paint my kitchen cabinets!
My favorite project was the small outdoor garden table: https://www.myrepurposedlife.com/2014/04/small-outdoor-garden-bench-from-reclaimed-fence.html
I would paint my kitchen cabinets!
My favorite project was the small outdoor garden table: https://www.myrepurposedlife.com/2014/04/small-outdoor-garden-bench-from-reclaimed-fence.html
I would paint my kitchen cabinets!
My favorite project was the small outdoor garden table: https://www.myrepurposedlife.com/2014/04/small-outdoor-garden-bench-from-reclaimed-fence.html
I would paint my kitchen cabinets!
My favorite project was the small outdoor garden table: https://www.myrepurposedlife.com/2014/04/small-outdoor-garden-bench-from-reclaimed-fence.html
I would paint my kitchen cabinets!
My favorite project was the small outdoor garden table: https://www.myrepurposedlife.com/2014/04/small-outdoor-garden-bench-from-reclaimed-fence.html
I would paint my kitchen cabinets!
My favorite project was the small outdoor garden table: https://www.myrepurposedlife.com/2014/04/small-outdoor-garden-bench-from-reclaimed-fence.html
I would paint my kitchen cabinets!