Fleur-de-lis window
As an Amazon Associate, I earn from qualifying purchases.
First, a short tutorial on enlarging a pattern. I can’t paint freehand. I wanted to do a Fleur-de-lis , but didn’t want to try to do it without a pattern. I found an image online using google images. I printed it on card stock, and cut it out.

In this photo, you can see that I have the negative image suspended on a yardstick. I dug in the basement and found my mom’s old movie projector. I set it on a table and used the projection to display the image on the wall. I didn’t have any poster board, so I repurposed a large gift box as a stencil. I simply traced the image and cut it out.
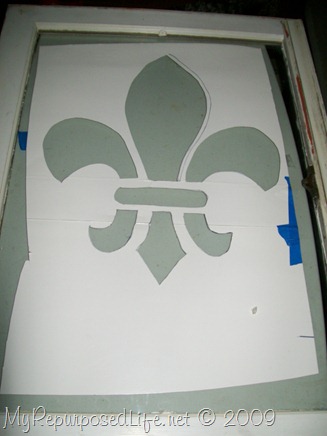 I placed the cut out image on my window, taped around it and put some newspaper around it.
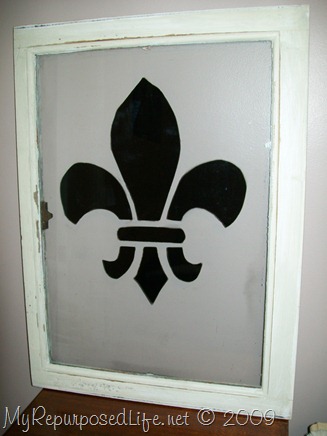 I spray painted the stencil and got this sort of lopsided Fleur-de-lis. 🙂 I touched up the original stencil and painted it again. I wanted to add a word at the bottom, and I decided to do Bienvenue. (welcome)
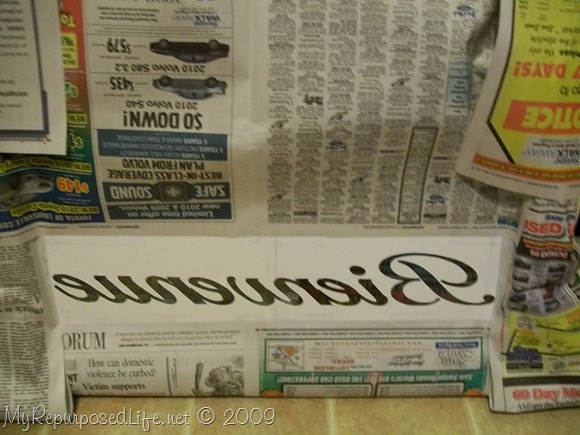
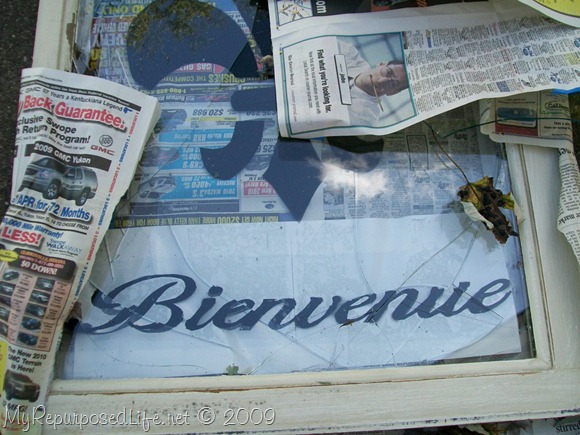 And THIS my friends is what happens when you spray paint outdoors on a windy day! I spray paint in an old carport where there is no wind. But being my impatient self, I set the window up against the garage so that it would dry quicker. I received a phone call and had to dash off to run an errand.
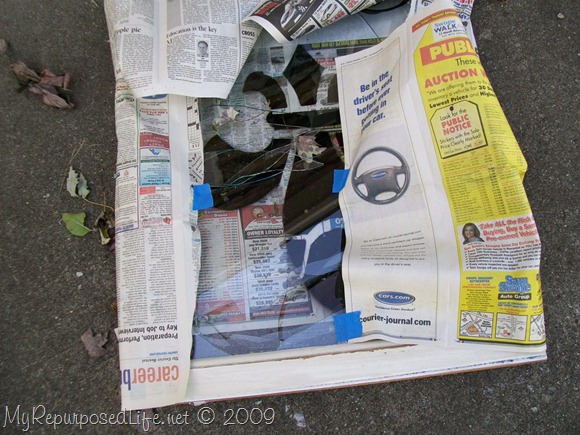 This is what I found when I got home! A VERY shattered and broken window! I was very, very sad! I worked oh so hard on this project. I did learn a lot about making a stencil, and cutting out the word, etc. The part that makes me the saddest is, this is the only window I had like this. (no divided panes) It was perfectly chippy too! All I can say is, I think I see a chalkboard in my future.
edited to add—you can see what I did with this window in my post Chicken Wire Memo Center

This happened to me too – except my husband did it. I was trying to give my friend one of our window panes. She happened to be our mail lady. Well, I had asked my husband to watch for her to come. He decided instead of watching, he’d lean it up on the mailbox. One gust of wind late – Voila!Anyway, I just wanted to mention that you might measure your windown and call your local glass company to get a price. I talked to a lady who does windows for craft fairs, and she said it’s really cheap to replace. I didn’t totally believe her until we replaced a small window in our Vintage Airstream – it cost us $3.53 including tax! I know you’re probably not wanting a redo anytime soon with the cute project, but at least you can salvage the window, yet!
I really enjoyed looking around your blog! What great ideas!!
*Eliza’s blog*
I’m so sorry!!! That kind of thing has happened to me too and you just have to say “oh well” but for a few moments—uuuuuhhhhggg!!