
Four-Poster Headboard Bench (easy)
As an Amazon Associate, I earn from qualifying purchases.
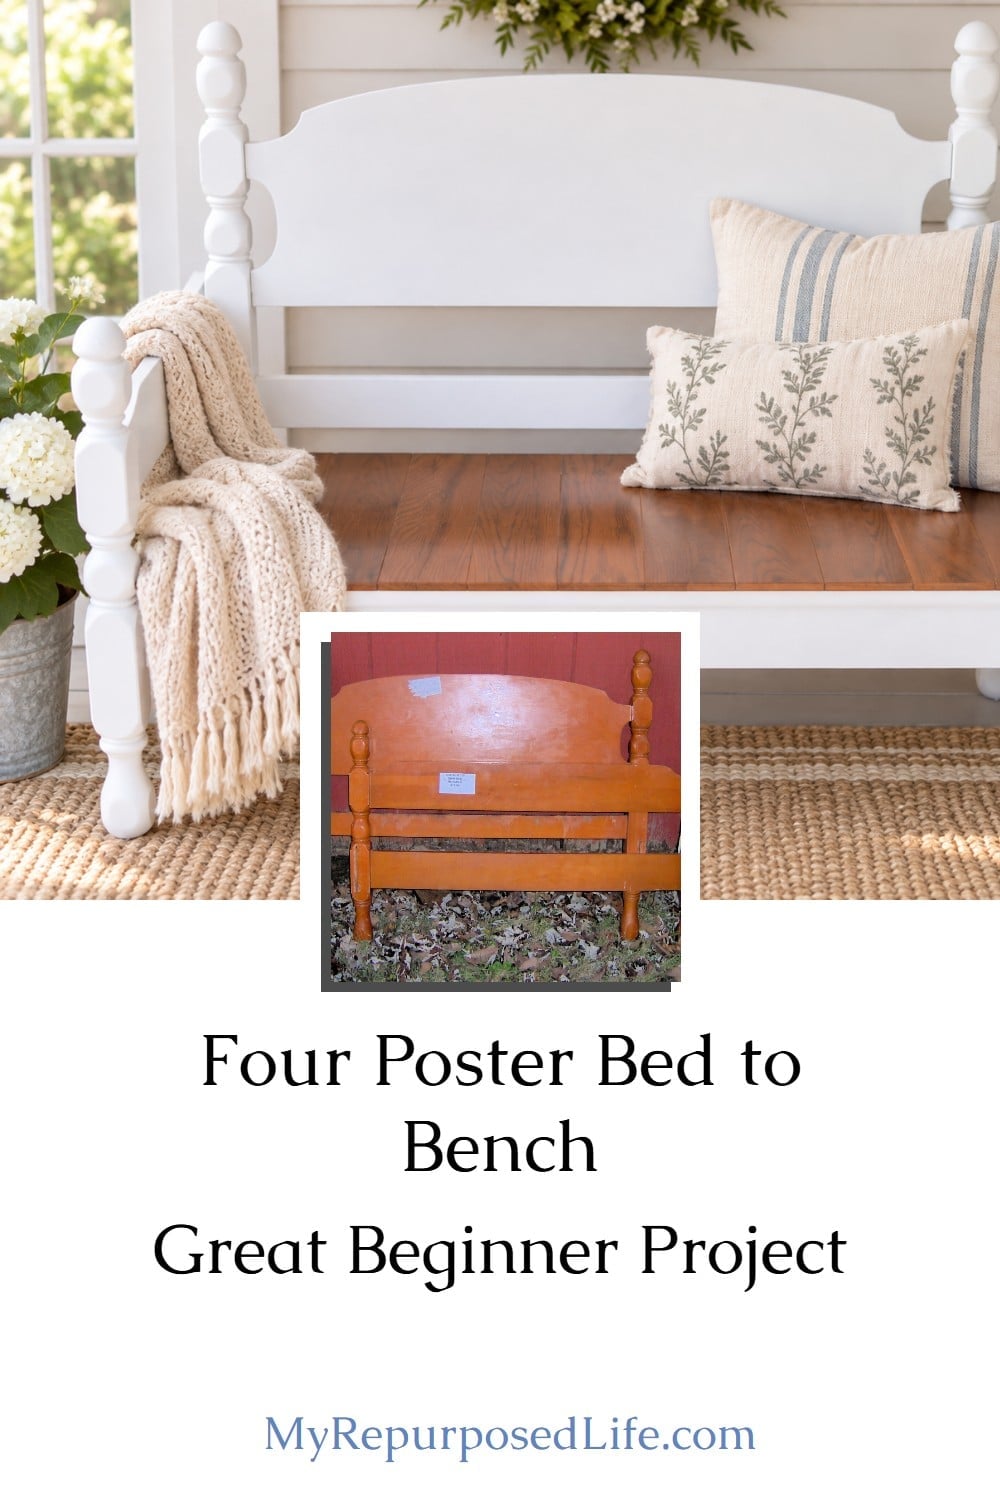
Easy Four-Poster Headboard Bench from a Twin Bed
What do you do with a free four-poster bed? Around here, turning it into a bench seems like the obvious answer!
This twin bed was a great candidate because you could cut the footboard in half and use it for the bench sides. That saves a lot of extra building and gives you matching front and back posts.
I’ve made a lot of headboard benches over the years, and there are several ways to build one. This is one of the simplest methods and a good option if you’re just getting started.
Start With a Twin Four-Poster Bed
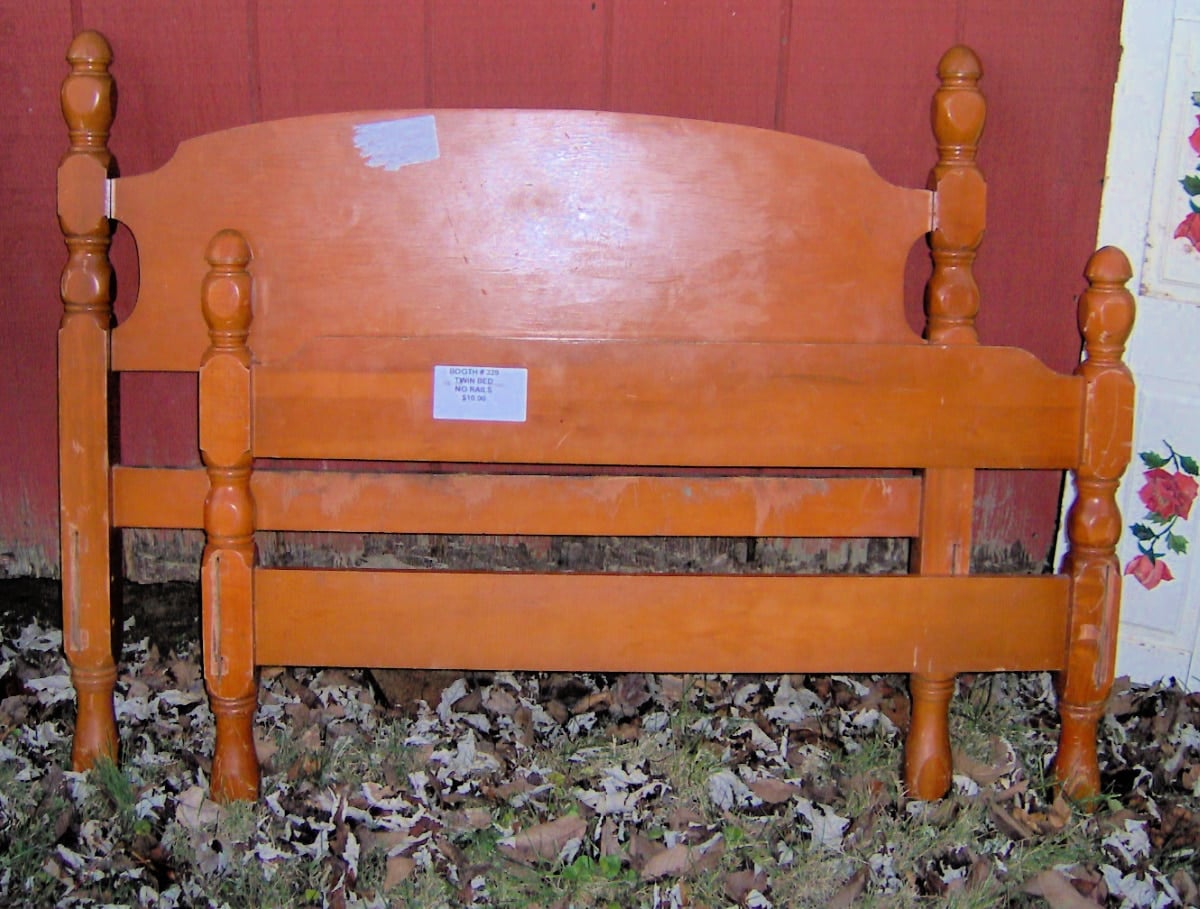
When my friend Cathy and I first started making benches, we bought beds at thrift stores. It didn’t take us long to learn that people put perfectly good beds on the curb all the time.
A twin bed works especially well for this style of bench because cutting the footboard in half gives you two pieces that are a nice depth for the sides.
Before cutting anything, look over the bed carefully. Make sure the posts and rails are solid, and check for loose joints or damage that needs repair first.
Cut the Footboard in Half for the Bench Sides
Visit the My Repurposed Life Amazon Store to shop my favorite items.
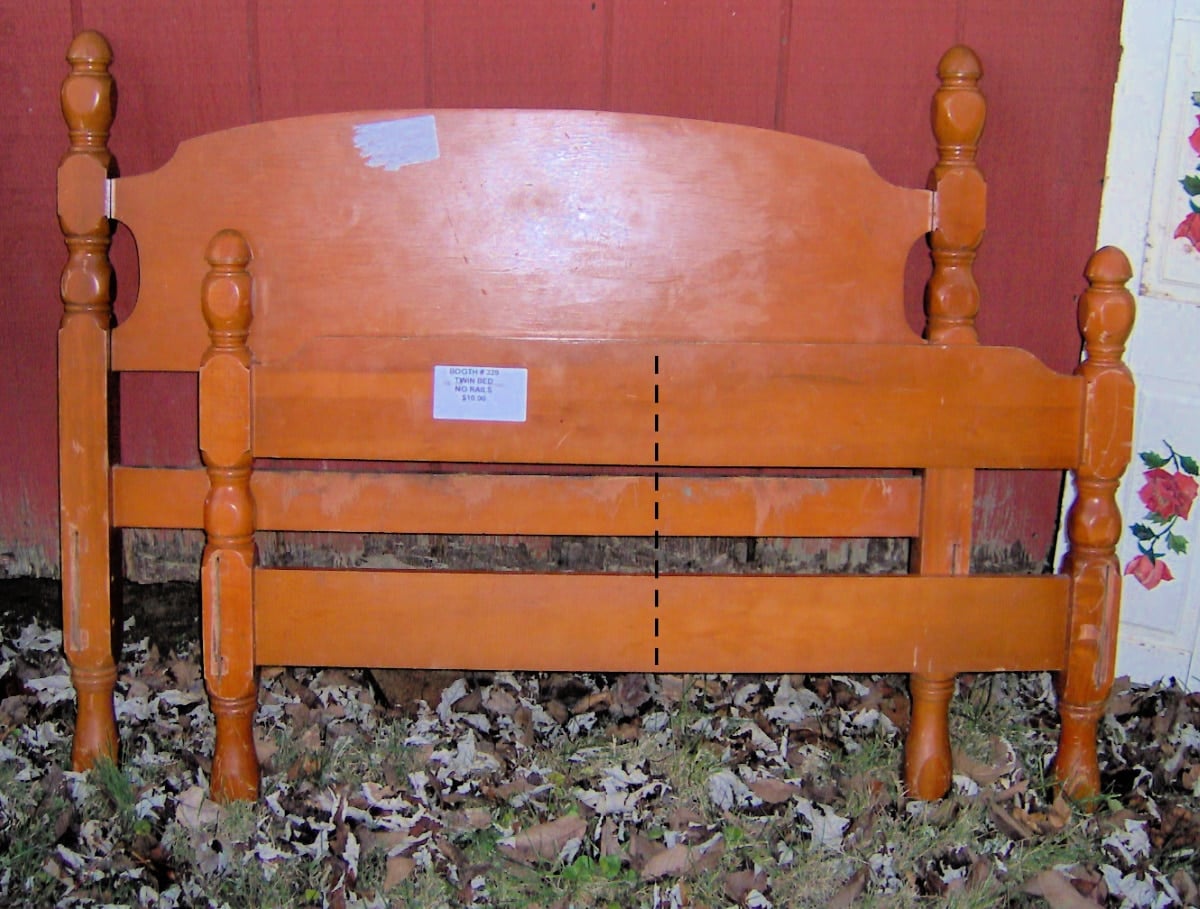
Measure the footboard from one side to the other and mark the center. Double-check your measurement before making the cut.
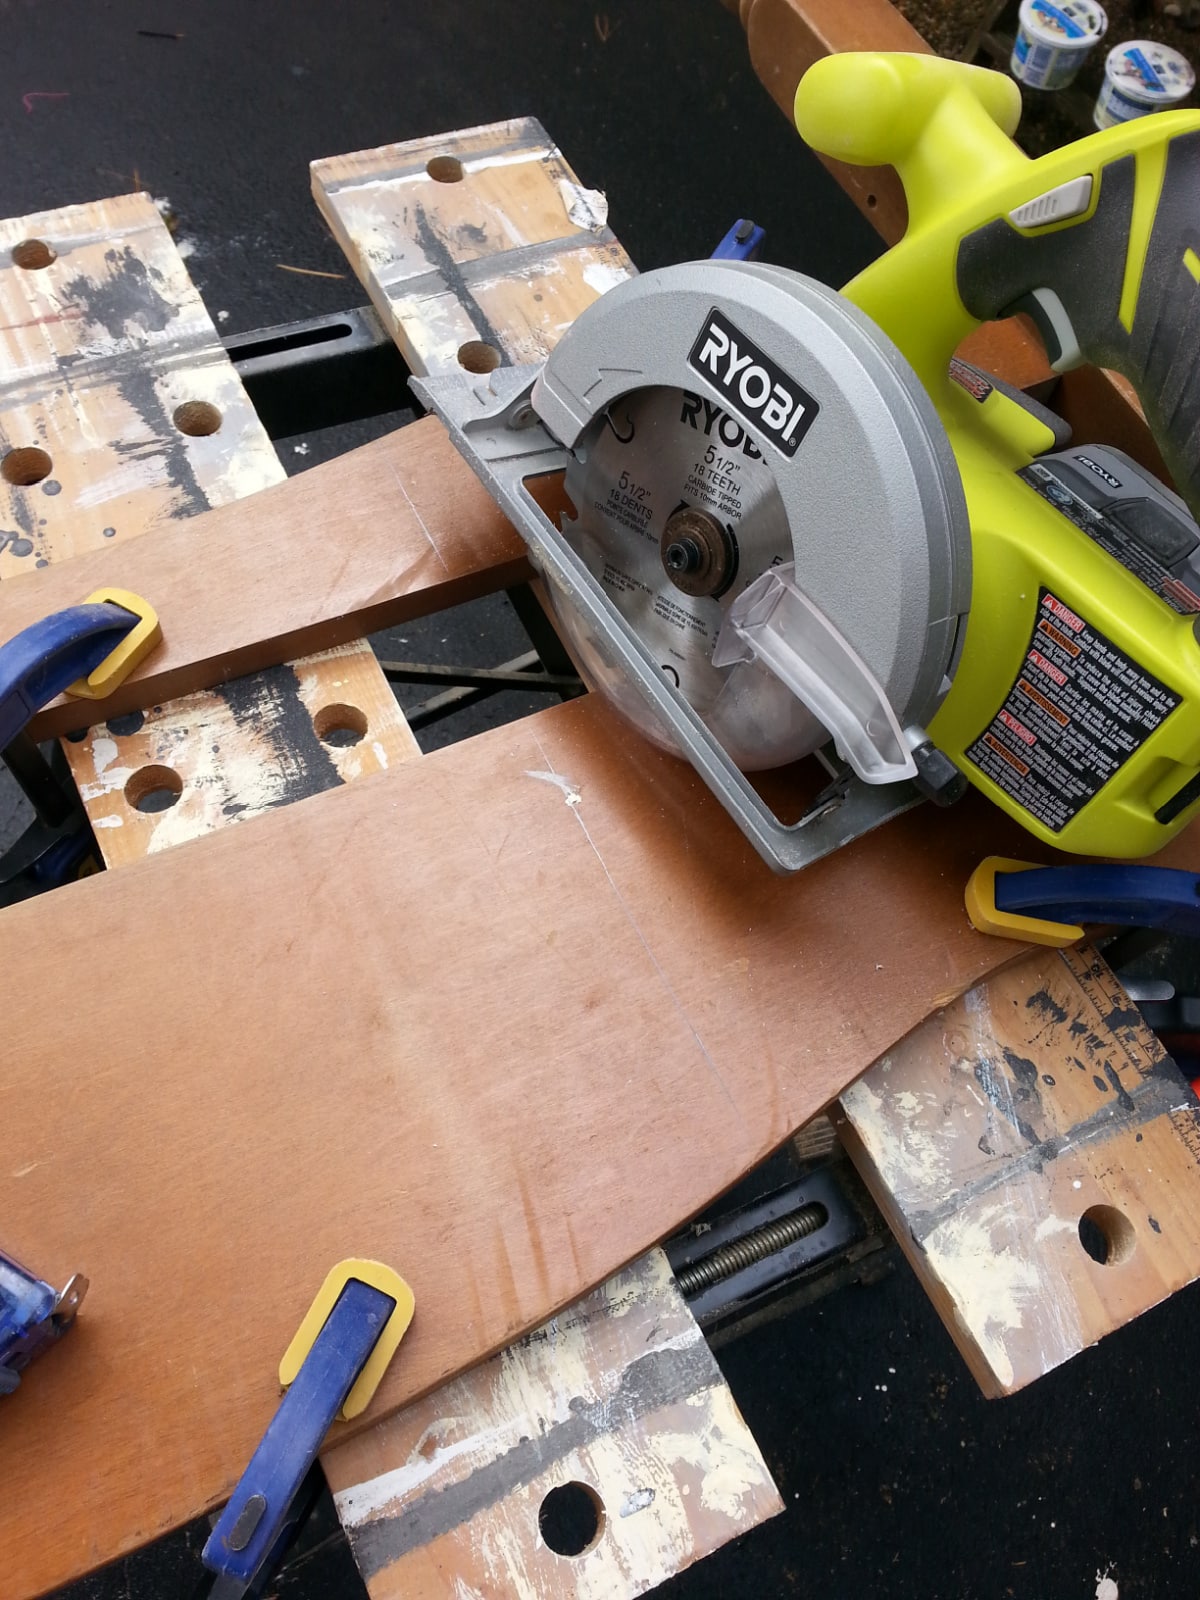
The easiest saw is simply the one you’re comfortable using. A circular saw, jigsaw, or table saw can all do the job depending on the shape of your footboard. (This is a similar project where I used a circular saw to cut a footboard).
After cutting the footboard, you’ll have two matching sections. These become the bench sides and armrests.
Quickly sand the freshly cut edges to remove any rough spots or splinters.
Dry Fit the Headboard Bench
Before permanently attaching anything, place one footboard section against each end of the headboard.
Now step back and check the proportions. Check that both sides are sitting at the same height and that the bench isn’t leaning or racked out of square.
Clamps are very helpful here. They hold everything in place while you make adjustments and figure out exactly where you want to attach the sides.
This is also a good time to measure your bench seat height. Does it match up to the lower rail of the side?
It’s much easier to move something now than after you’ve added glue and screws.
Attach the Footboard Sections to the Headboard
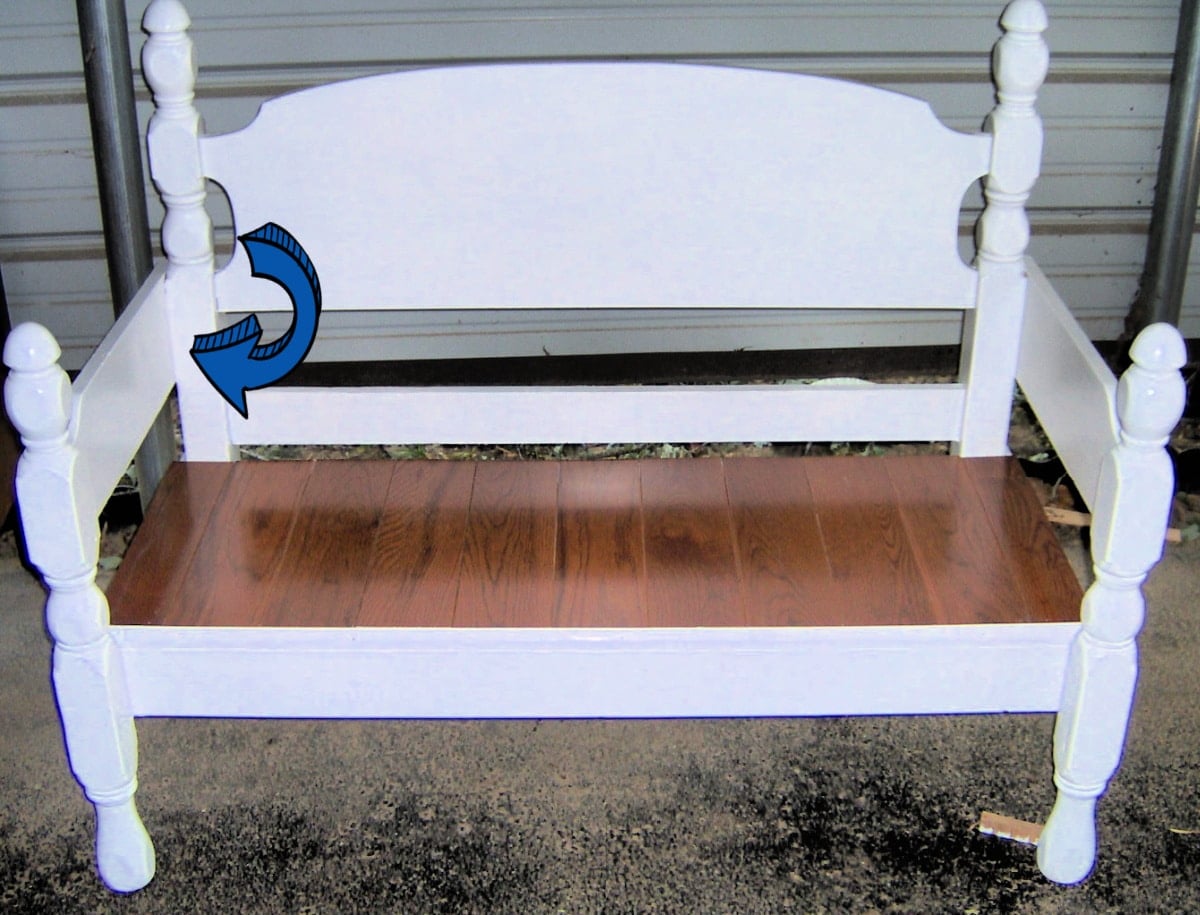
When we first started building headboard benches, we drilled through the back of the headboard and into the narrow cut edge of each footboard section. The end look is the same as using Kreg Jig Pocket Holes.
It worked, but driving that long screw into such a narrow piece of wood could be nerve-racking.
Predrilling your holes helps keep the old wood from splitting. I also like using wood glue anywhere two wood pieces meet before adding the screws.
After making quite a few headboard benches, I eventually started using pocket holes for this step. It’s easier and pulls the pieces tightly together.
Any of these methods work, so use the one that makes the most sense for the tools you have.
Have you seen the Easy Green Headboard Bench? It was built using this beginner hack, too.
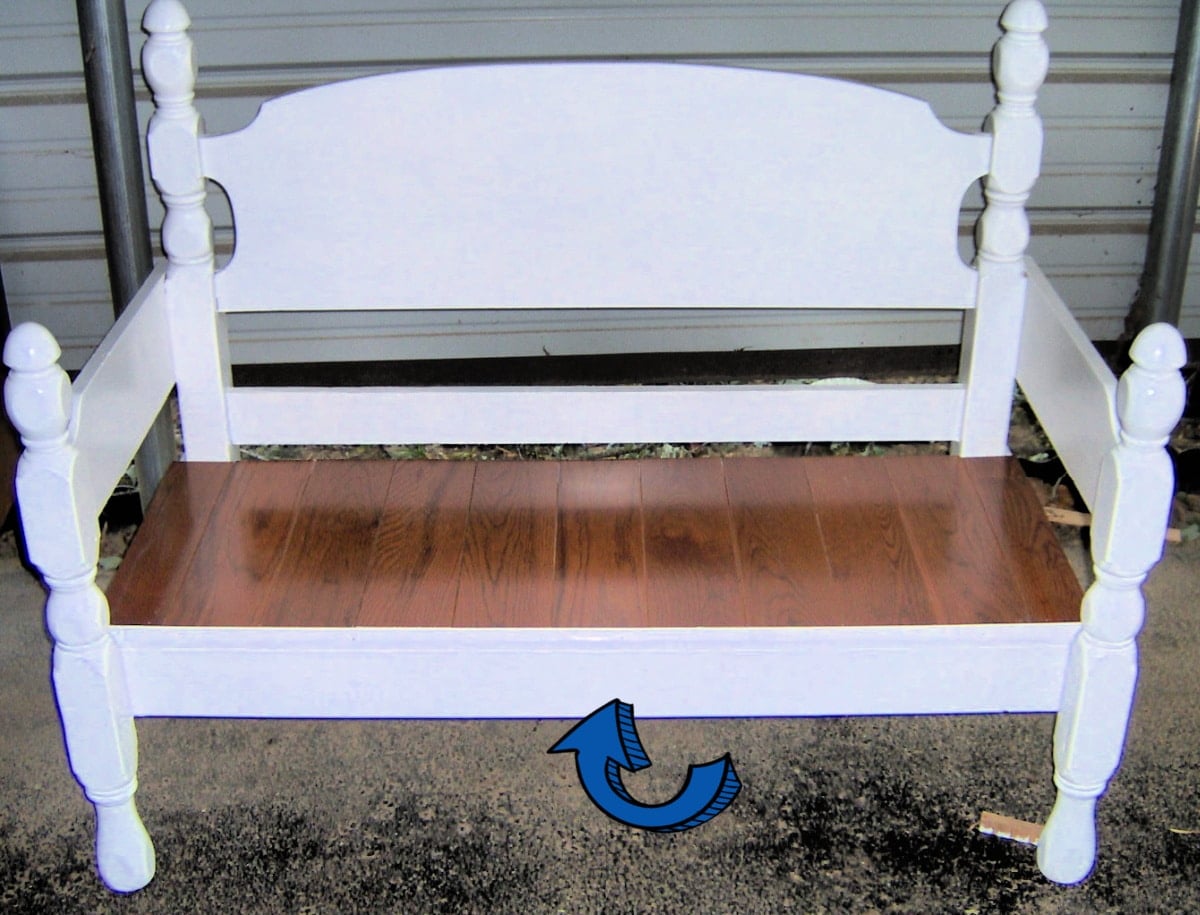
Add the Front Support
With the sides attached to the headboard, the next step is adding support across the front of the bench.
For this bench, we used a 2×4 cut to fit between the two footboard sections.
Make sure the board is level before attaching it. We added wood glue and then drove screws through the outside of the footboard sections into the ends of the 2×4.
This front board does more than close in the bench. It also becomes an important part of the seat support.
Make Sure the Seat Has Plenty of Support
Before adding your seat boards, take a minute to look at what they will rest on.
The front 2×4 gives you a solid support across the front. You’ll also need good support along the back of the seat. Depending on your headboard, you may be able to use an existing rail. If not, you can add a wood cleat on the back and/or another support board from side to side.
Don’t rely on the seat boards themselves to make the bench sturdy.
This is also a good time to sit a board across the supports and check the seat height. If it feels too high or too low, adjust it before finishing the seat.
Use Leftover Flooring for the Bench Seat
I used leftover tongue-and-groove flooring for this bench seat. Scrap flooring is one of my favorite materials for headboard bench seats because the boards fit together nicely and are already made to take a lot of wear.
Lay all of your boards in place before attaching them. This lets you work out the spacing and see whether the first or last board needs trimming.
Once you’re happy with the fit, attach the boards securely to the supports underneath.
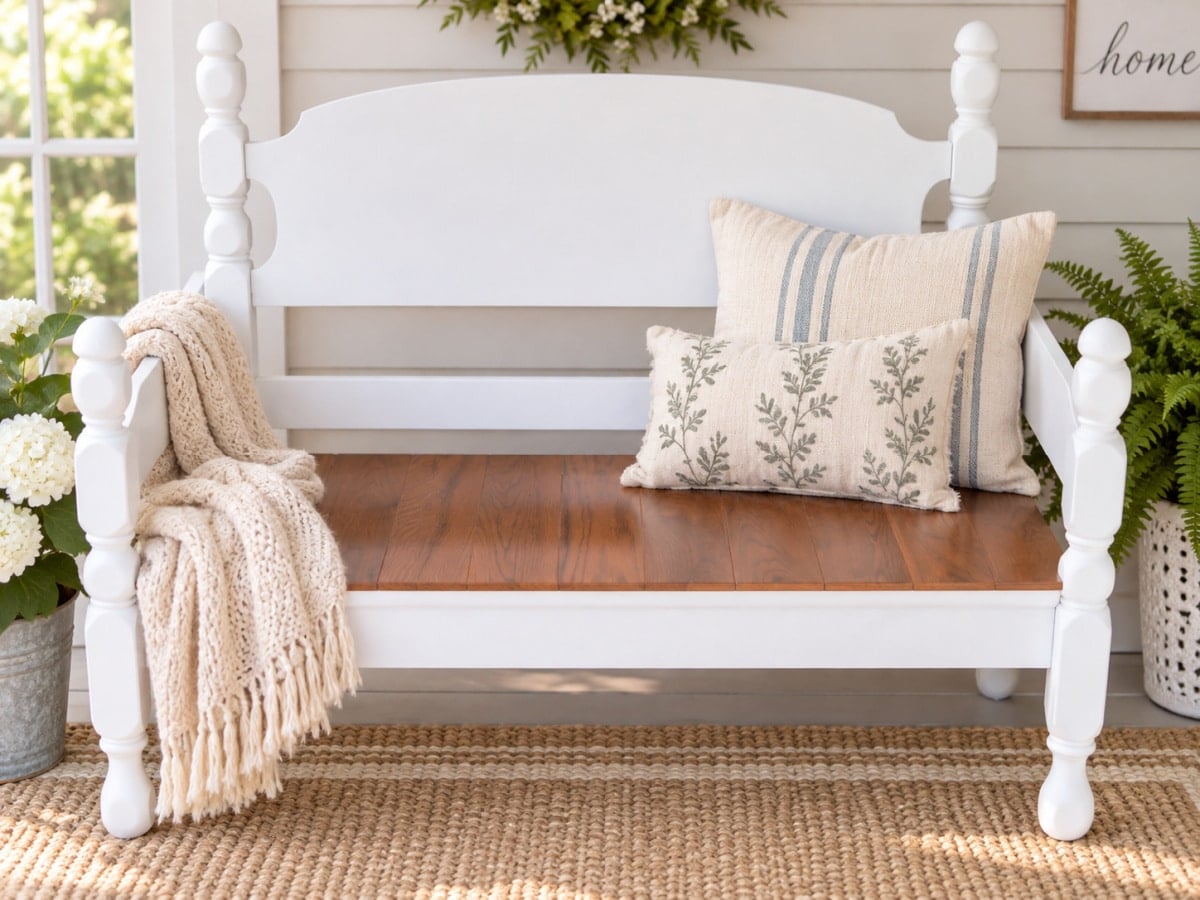
We painted the front edge of the flooring white, so it blended with the rest of the bench, while leaving that pretty wood tone on the seat.
I really like the combination of the white four-poster frame and the natural wood. I also used hardwood flooring to build a table.
An Easy Headboard Bench for Beginners
There are more sophisticated ways to build a headboard bench, and I use different methods now depending on the bed I’m working with.
But that’s one reason I still like this project.
You don’t need to rebuild the bed completely. The headboard becomes the back, the footboard becomes the two sides, a simple board supports the front, and scrap wood becomes the seat.
If you’re looking at a twin bed at a thrift store or sitting beside the road and wondering whether you could actually turn it into a bench, this is a good one to try.
A Few Things I’ve Learned From Making Headboard Benches
Do a dry fit before adding glue or screws. Check everything for level and square as you go. Predrill when you’re working close to the edge of older wood, and make sure your seat has solid support at both the front and back.
Most importantly, don’t worry if your bed isn’t exactly like this one. That’s the fun of repurposing furniture. Every bed is a little different, so every bench will be a little different too.
After making so many headboard benches over the years, they’re still some of my favorite projects. There’s just something satisfying about taking a bed nobody wants anymore and turning it into useful seating.
And if you happen to see a four-poster bed sitting on the curb, you might want to stop. You already know what you can make with it!
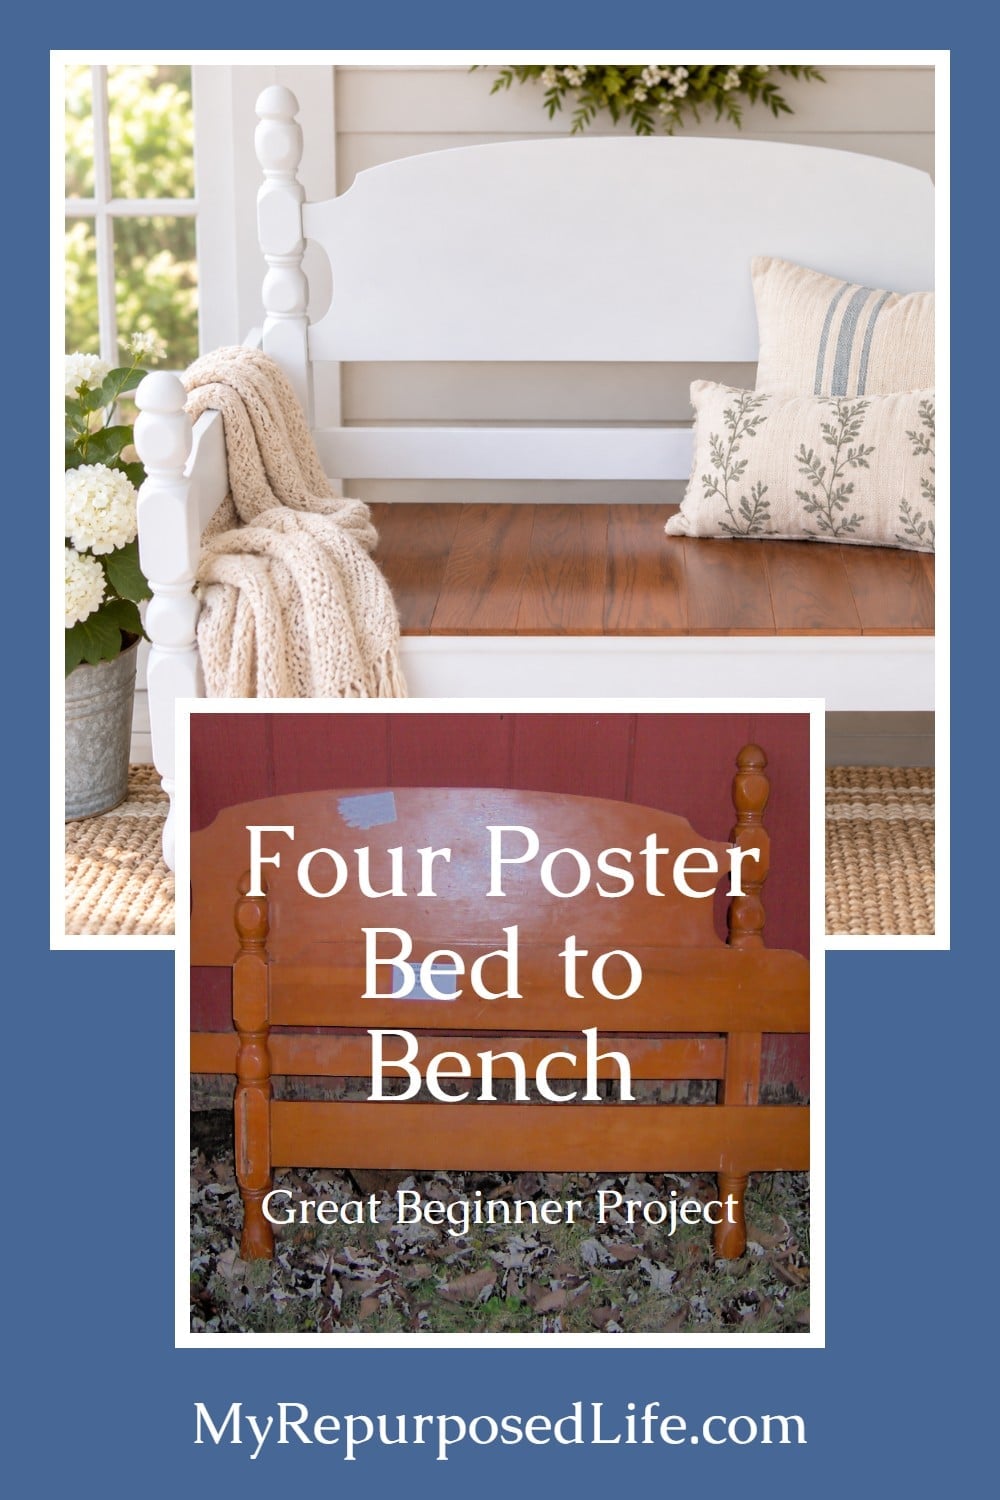
Save and share this easy bench tutorial on Pinterest
If you get stuck on how to make your bench, try this huge collection of headboard bench ideas.
I ALWAYS love your benches !! Such clear tutorials.
And… so cute and functional.
Thank You !
Thank you for visiting this project! I always appreciate your comments!
Gail
It is such a great ideas. Love it.
I finished my bench a few months ago, but my computer has been down. I finally got it posted! Thanks for the inspiration
http://mommytimecrafts.blogspot.com/2010/07/porch-bench.html
Oooh, I really like this! It would be perfect for my parent’s porch at the beach! 🙂 THanks!!
Sweet! 😉
I love it. And what a great tutorial!
I’m hosting a blog party right now and would love it if you linked up!
http://www.iamalongfortheride.blogspot.com
I love these benches made out of bed frames. I have been keeping my eye out for a cheap one to try it!