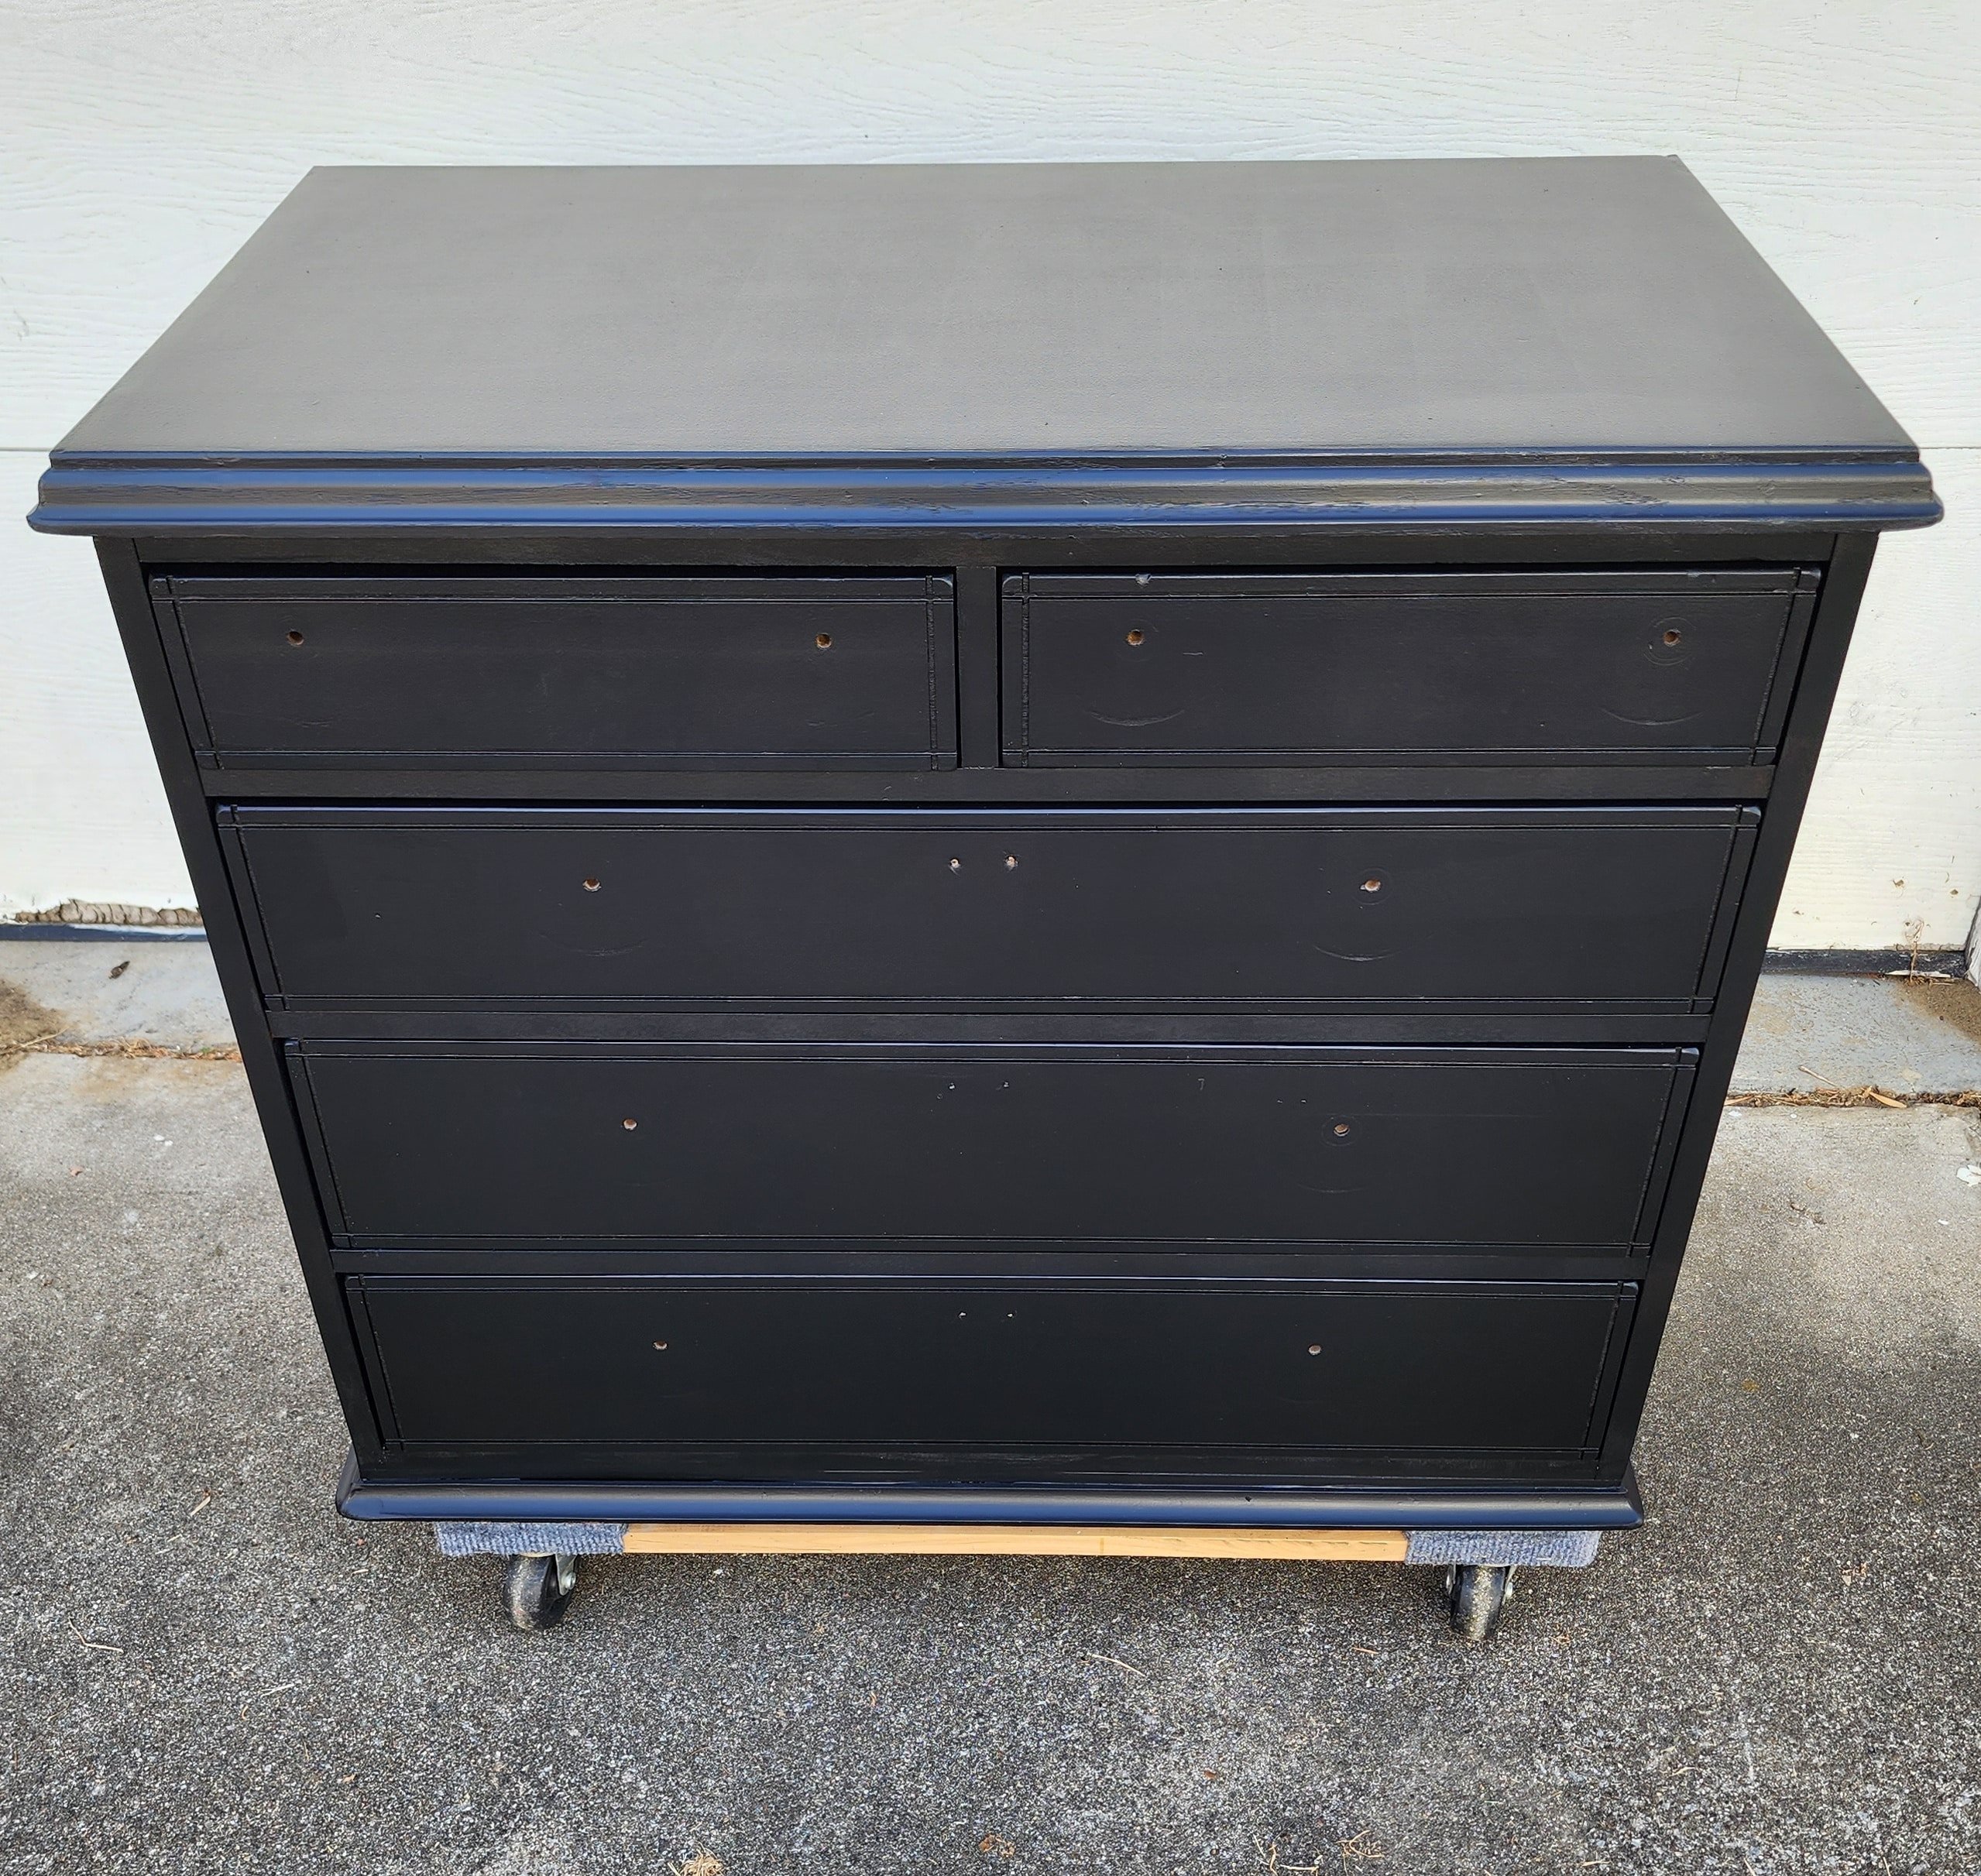
Furniture Transfer Updates Ugly Nightstand
As an Amazon Associate, I earn from qualifying purchases.

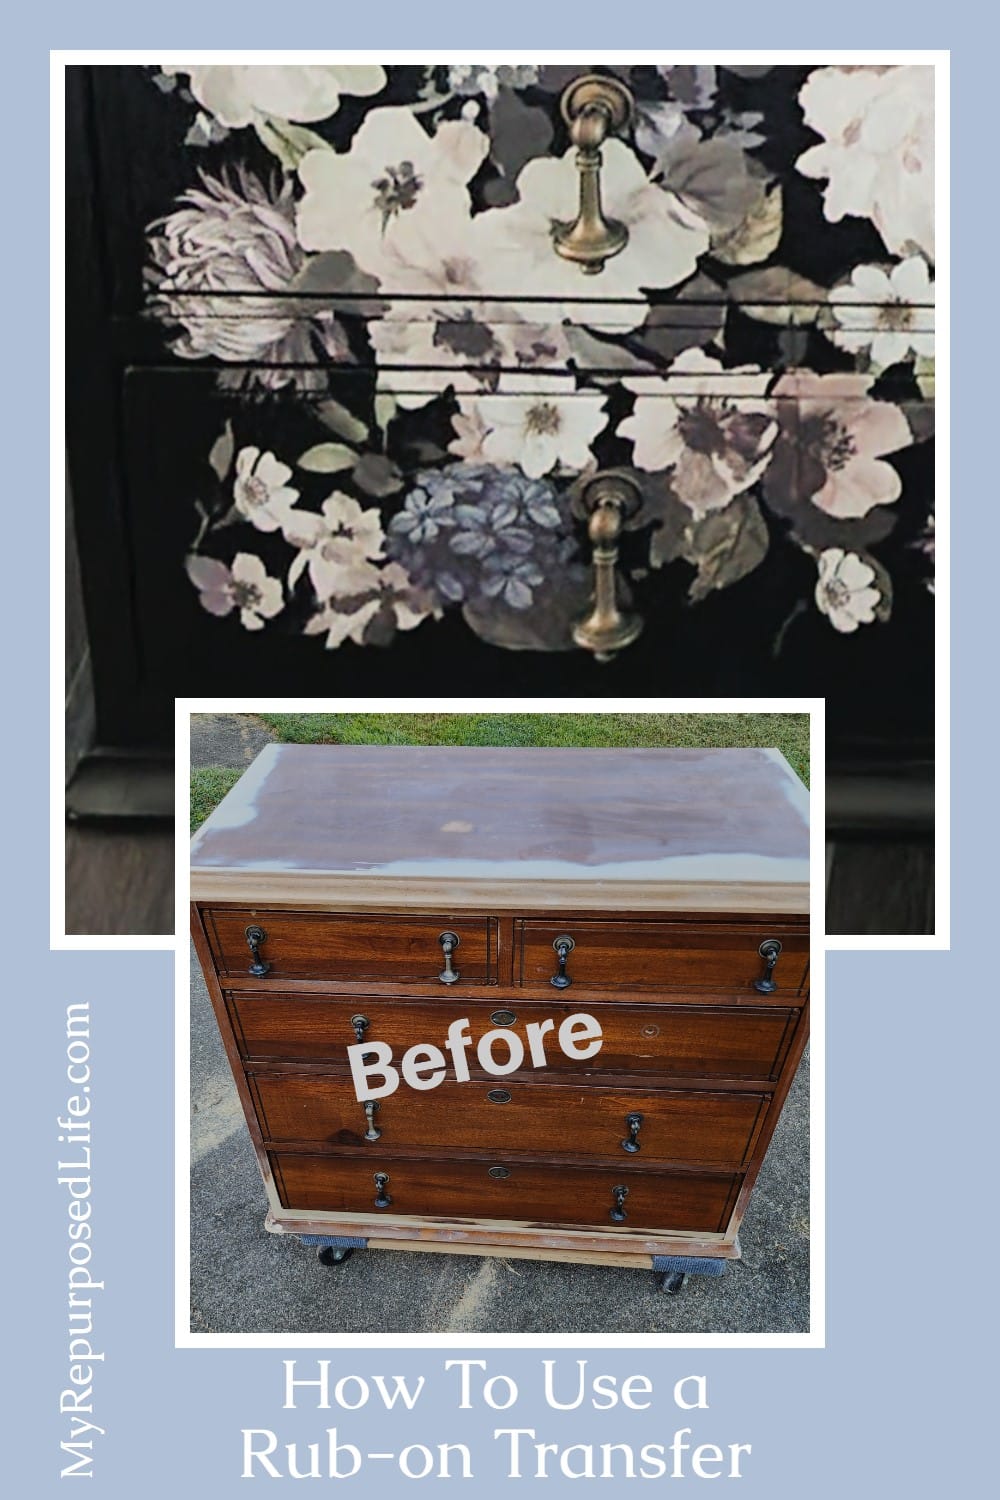
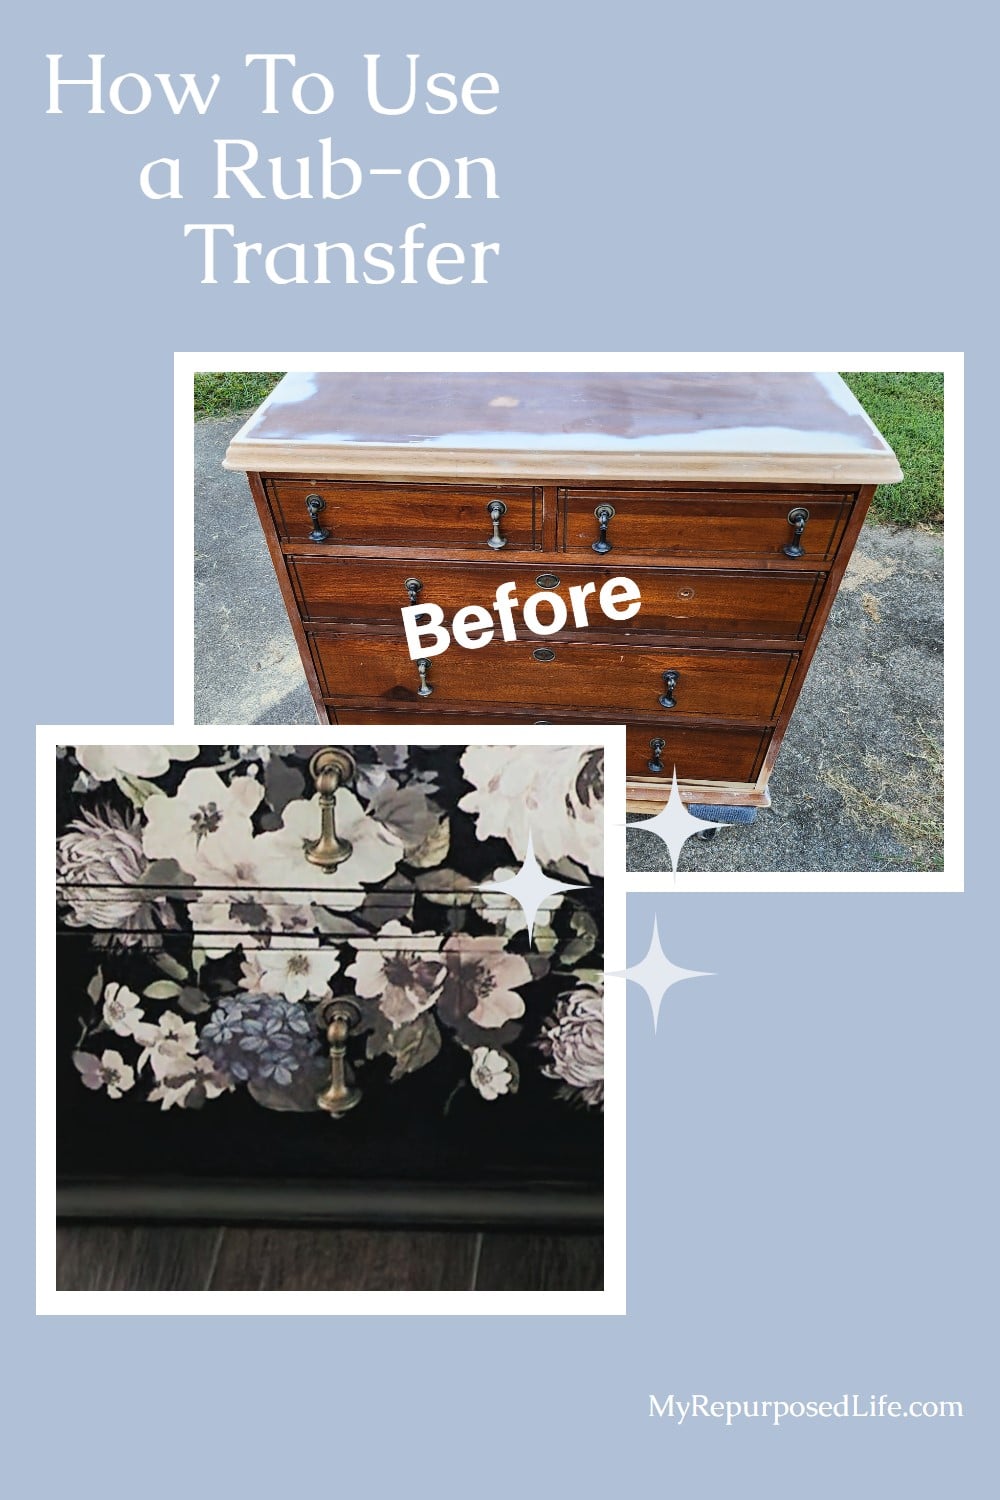
Have you ever tried furniture transfers? I have had a Prima Redesign transfer for a few years, but I’ve always been too afraid to try it. It’s huge.
I got this old nightstand from my cousin Terry, and it was the perfect size for my Dark Floral Prima Transfer. My aunt’s dog had chewed it up, and it needed a lot of repairs.
See the bottom of this post for all the details on how I fixed it.
It’s Furniture Fixer Upper Day! Please visit my friends and tell them Gail sent you!
Repaired Nightstand Ready For Paint
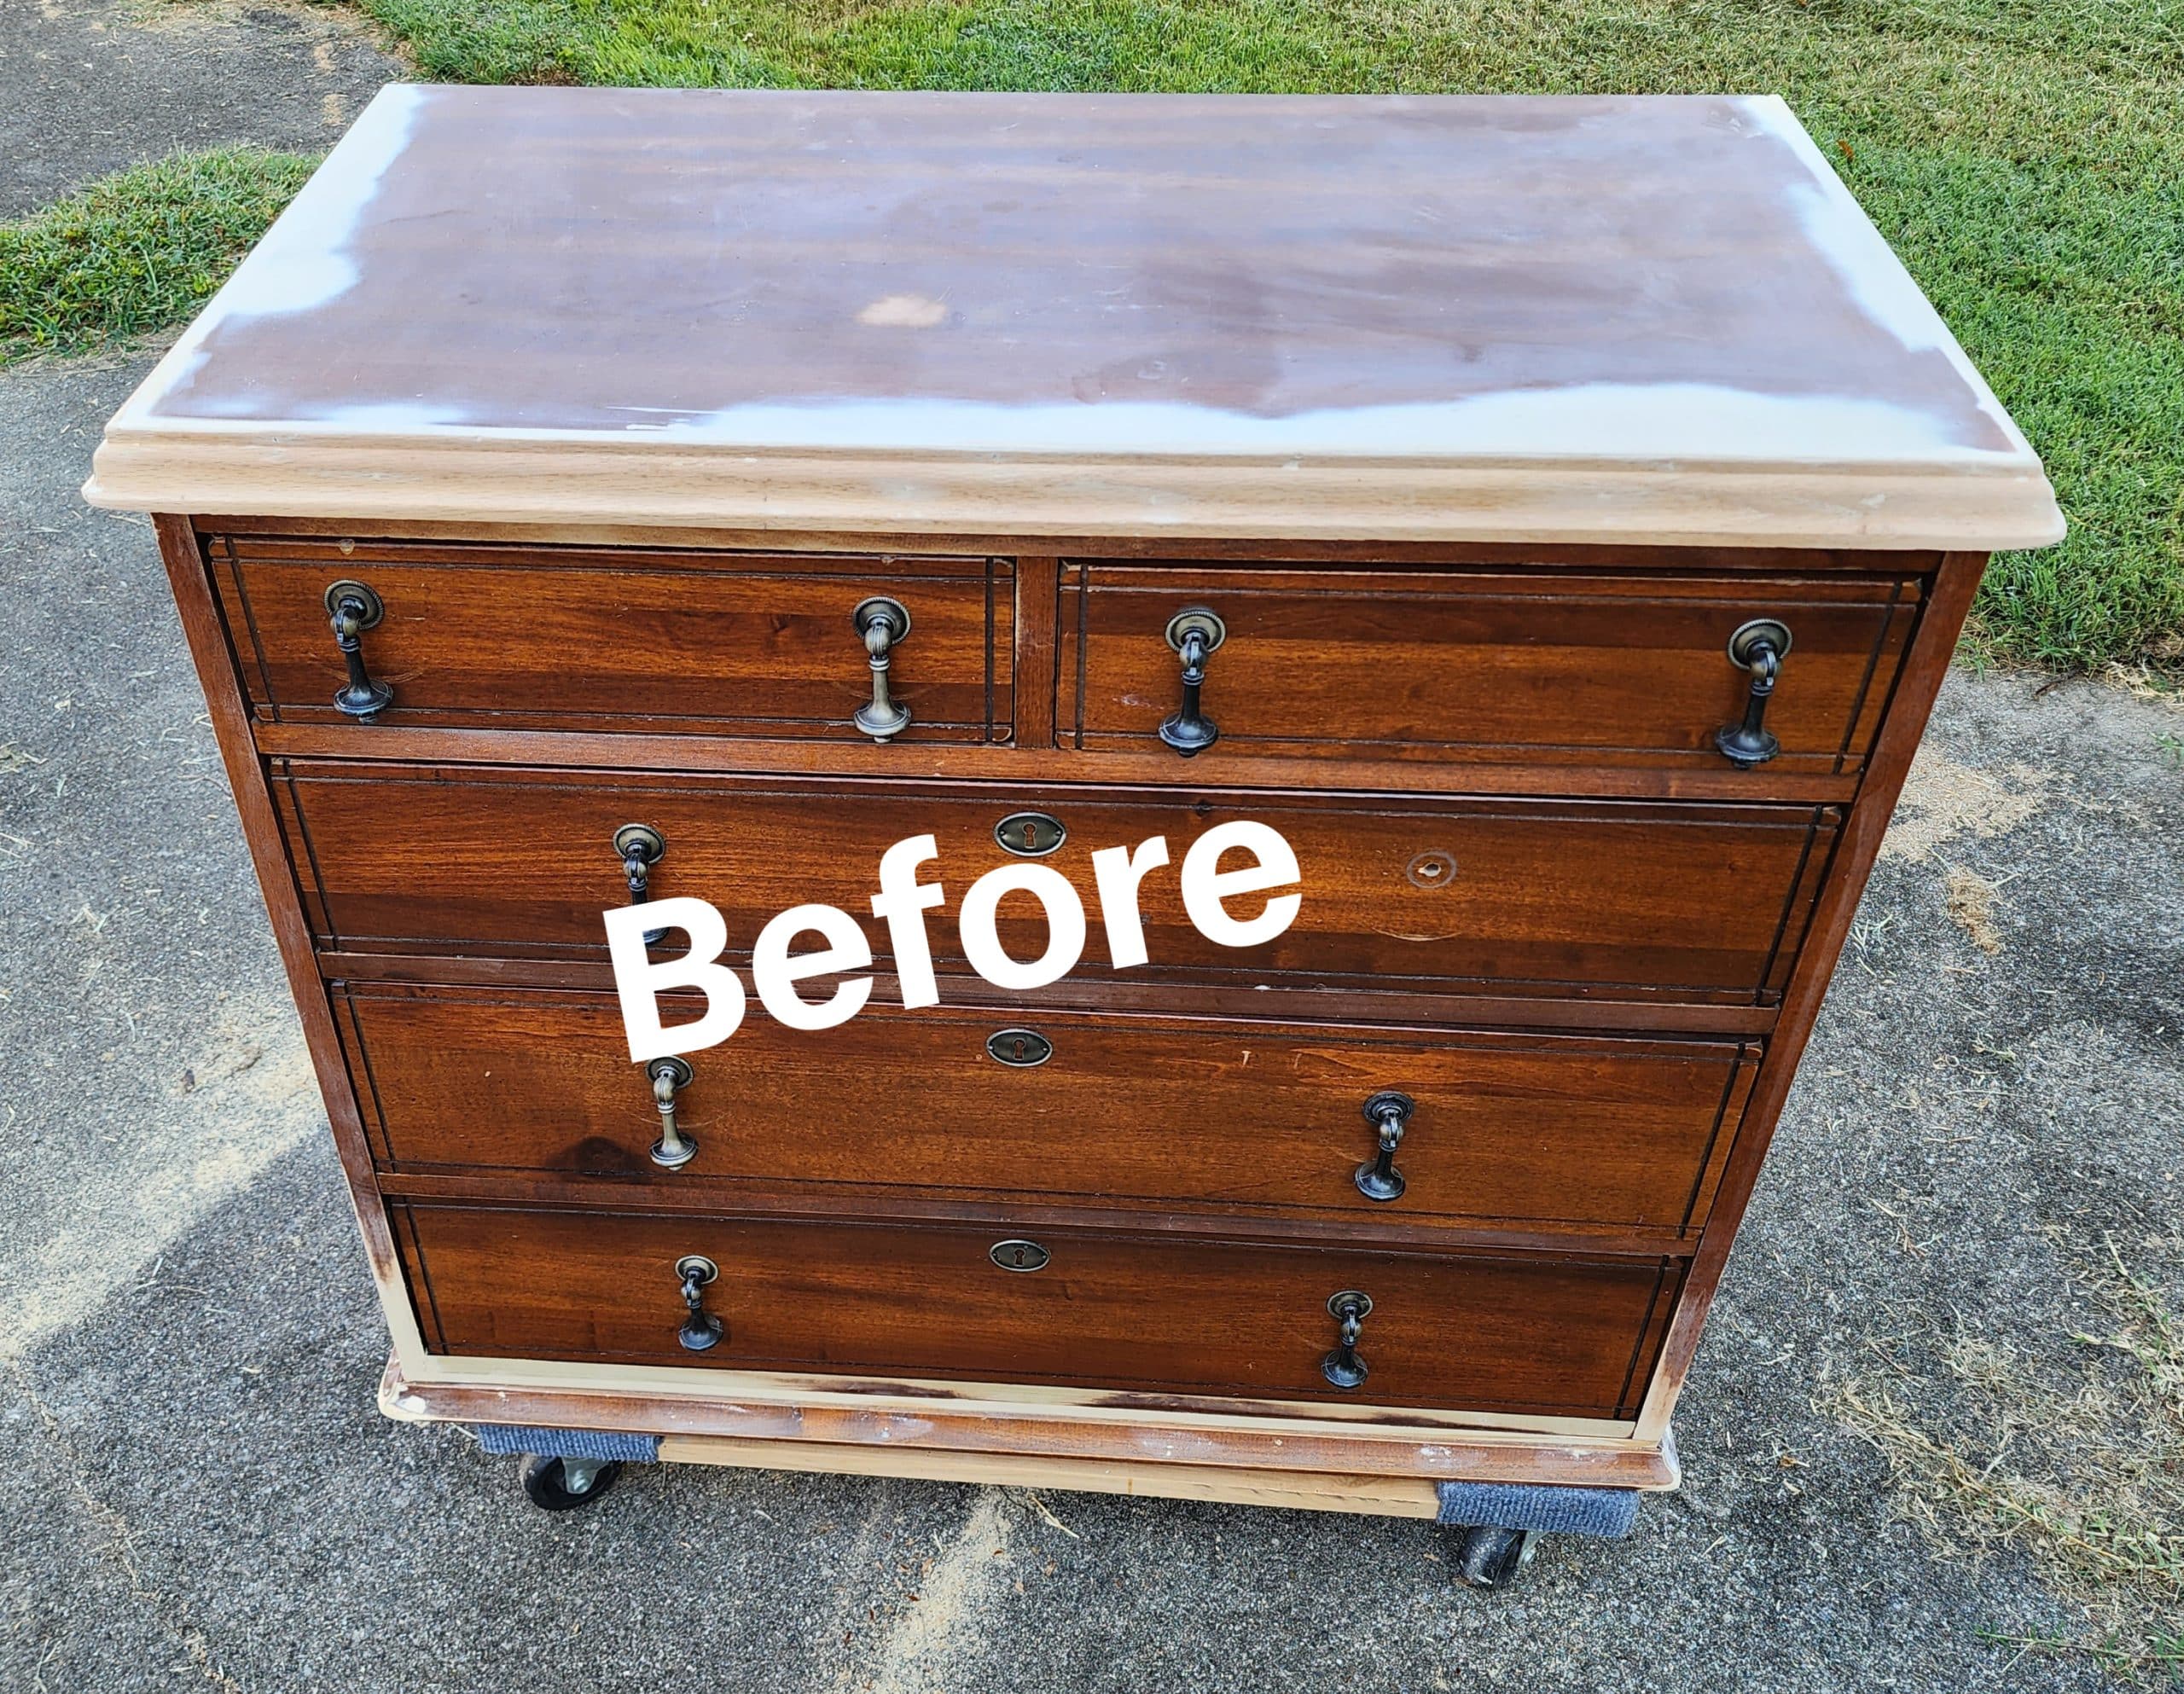
Here’s the damaged nightstand after I repaired it. Now it’s ready for paint and the perfect furniture transfer.
How To Paint Furniture Drawers
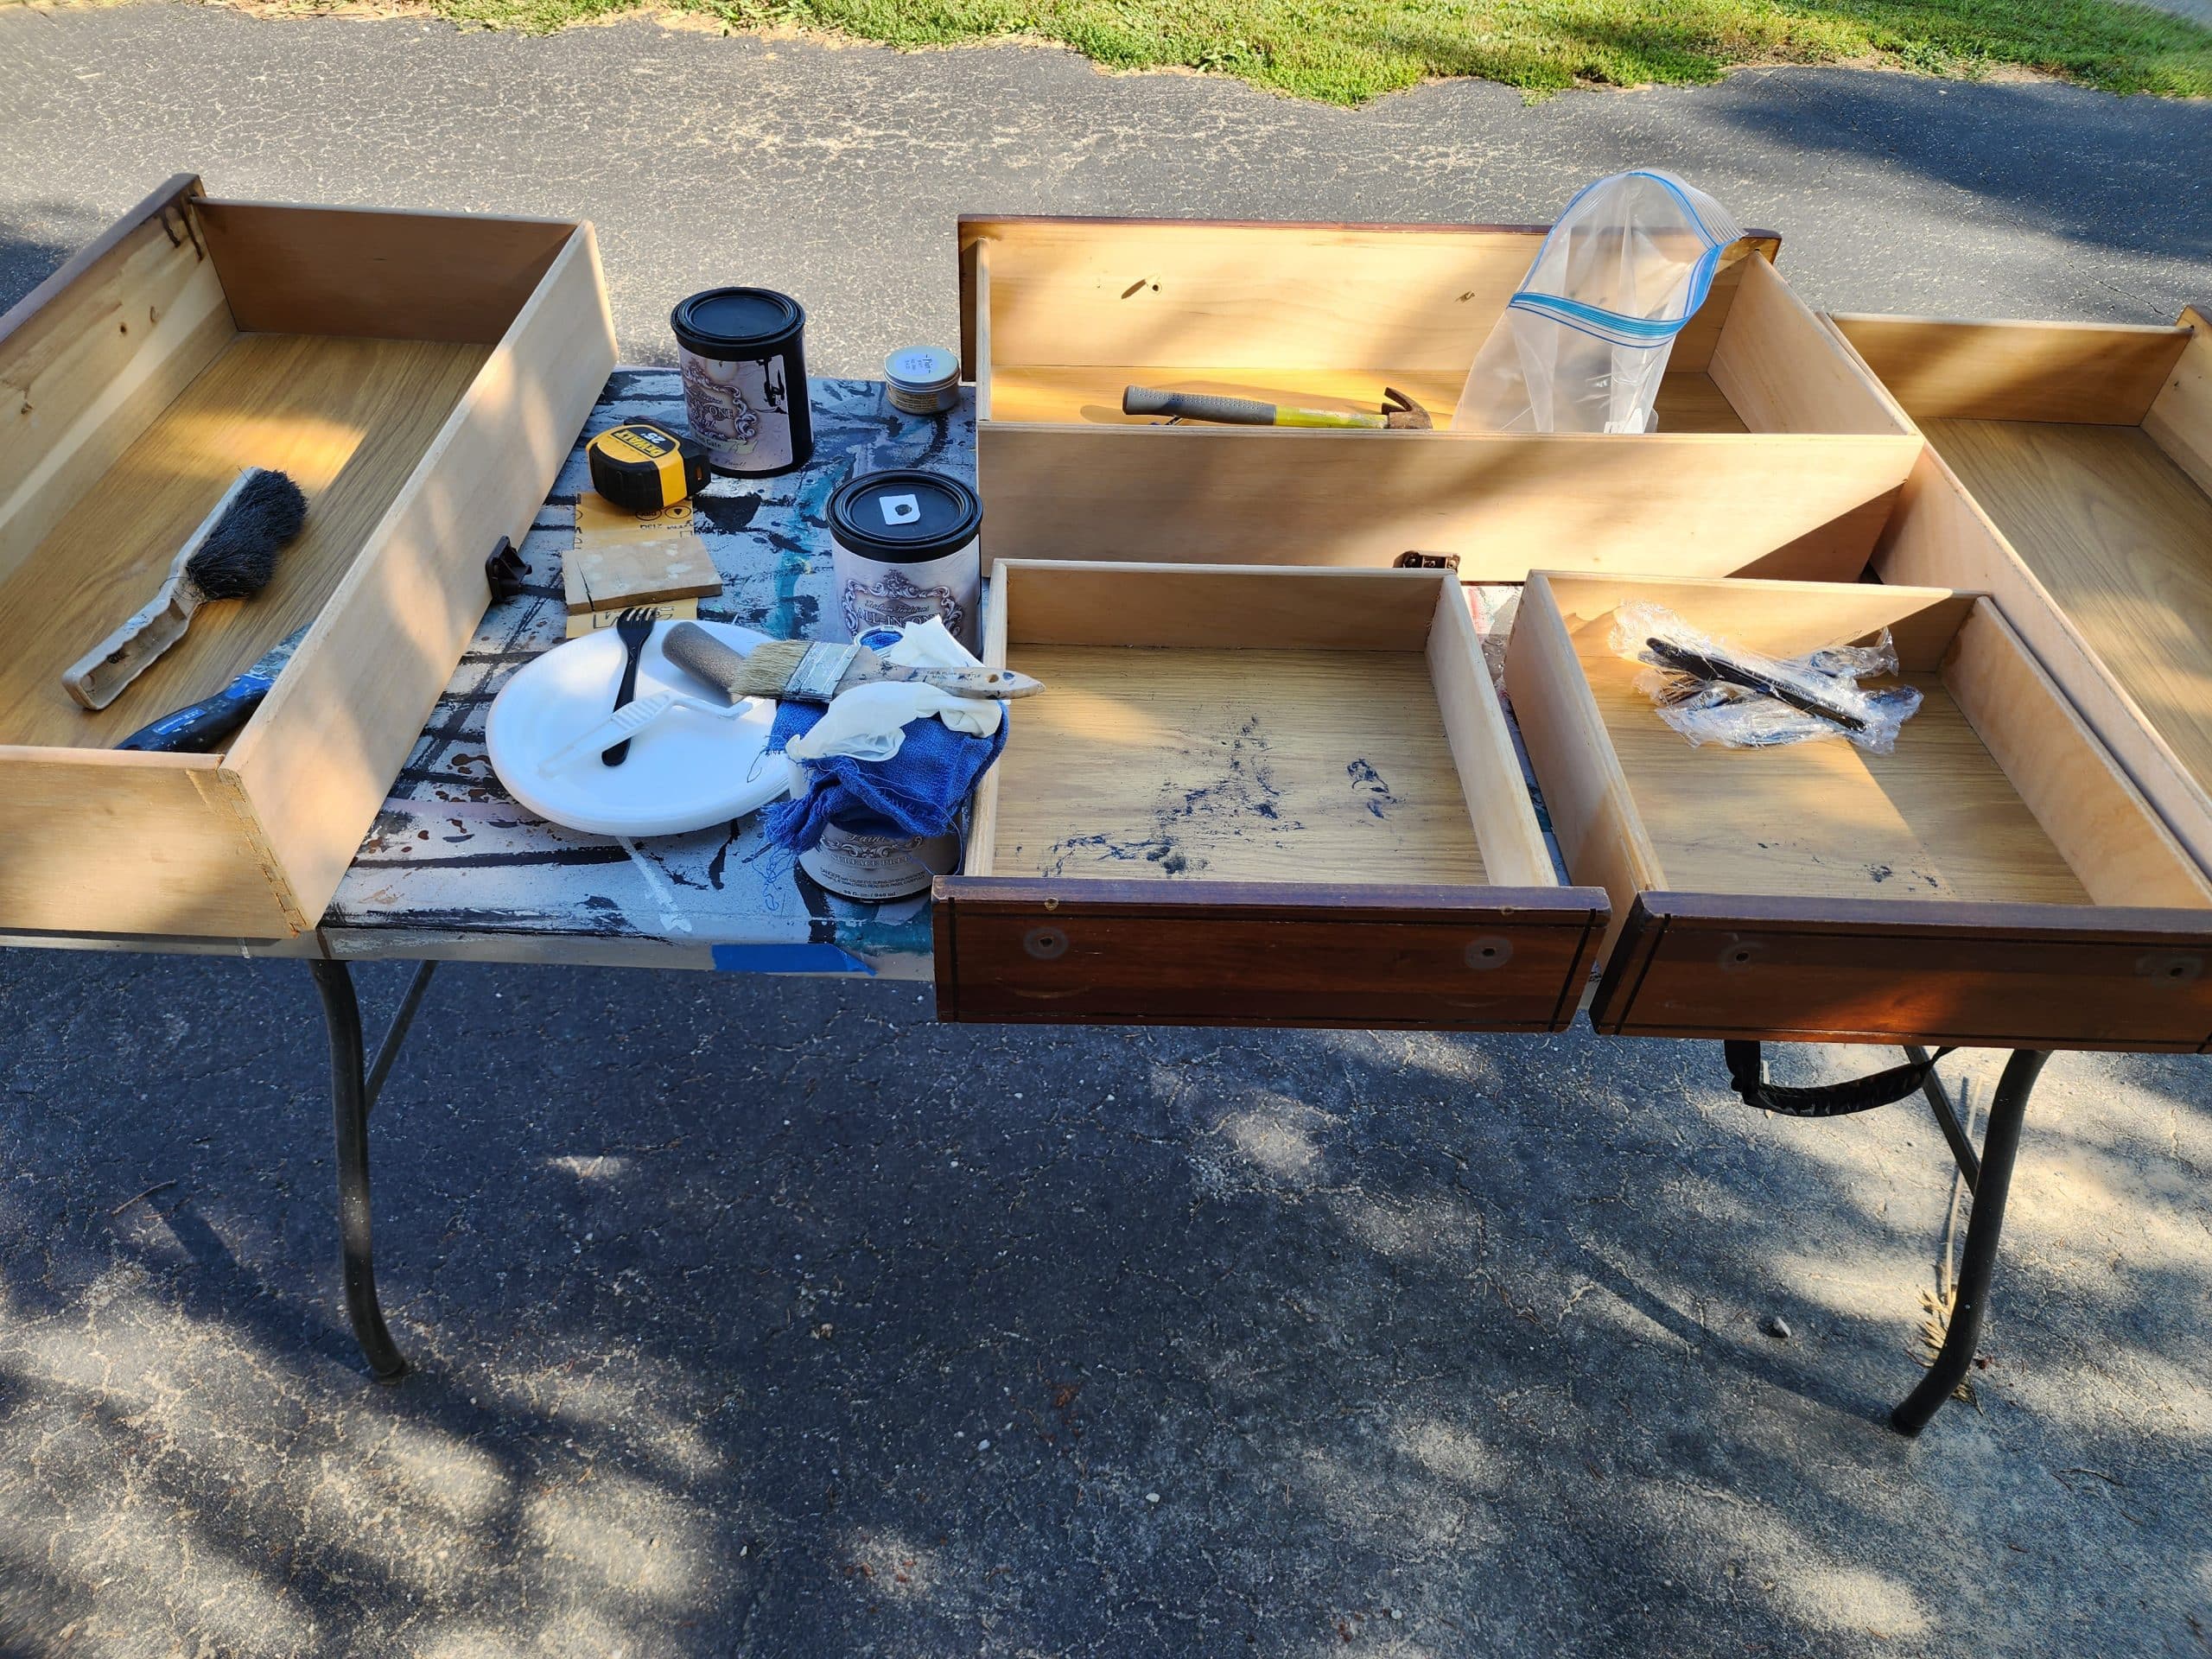
How do I paint furniture drawers? The best way is on a work table. I removed all of the nightstand drawers and gathered my supplies.
Prep Drawer For Painting
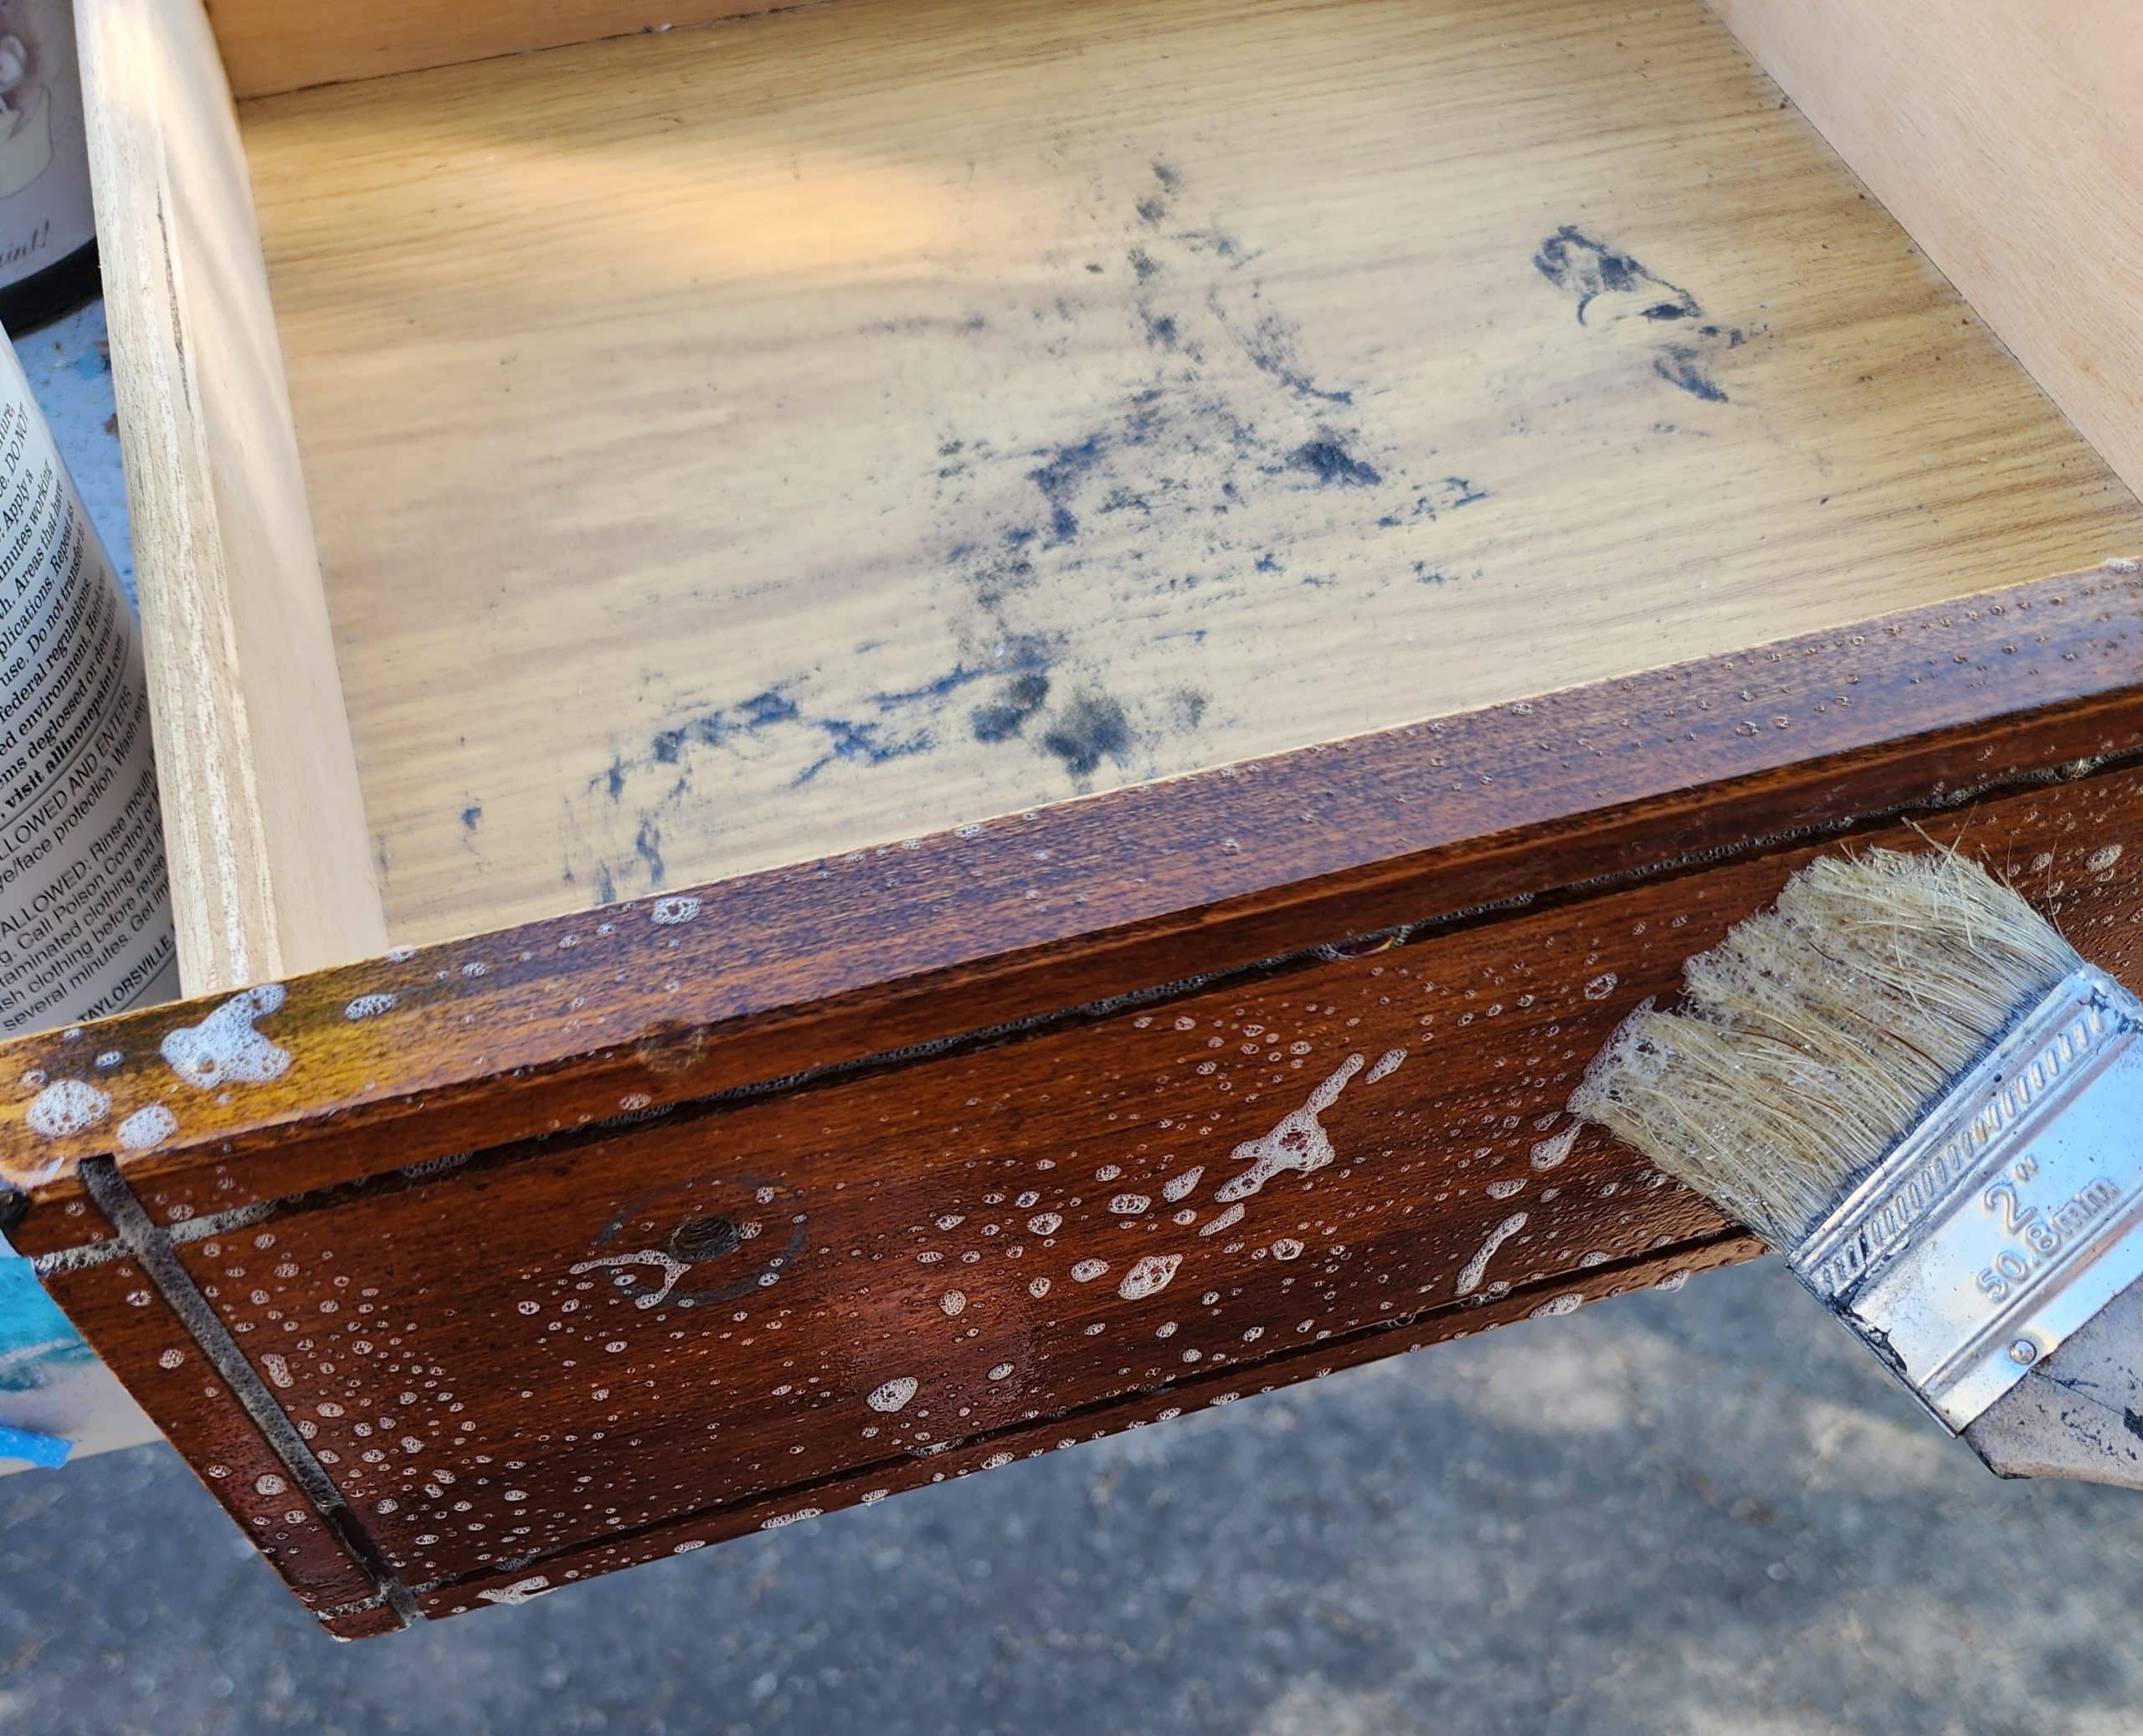
I used HTP Surface Prep and a chip brush to ready the drawers for paint. It cleans and deglosses all in one easy step. Brush it on and wipe it off with a rag.
I did the rest of the nightstand the same way, using caution where I had patched the wood.
Painting Furniture With a Paint Roller
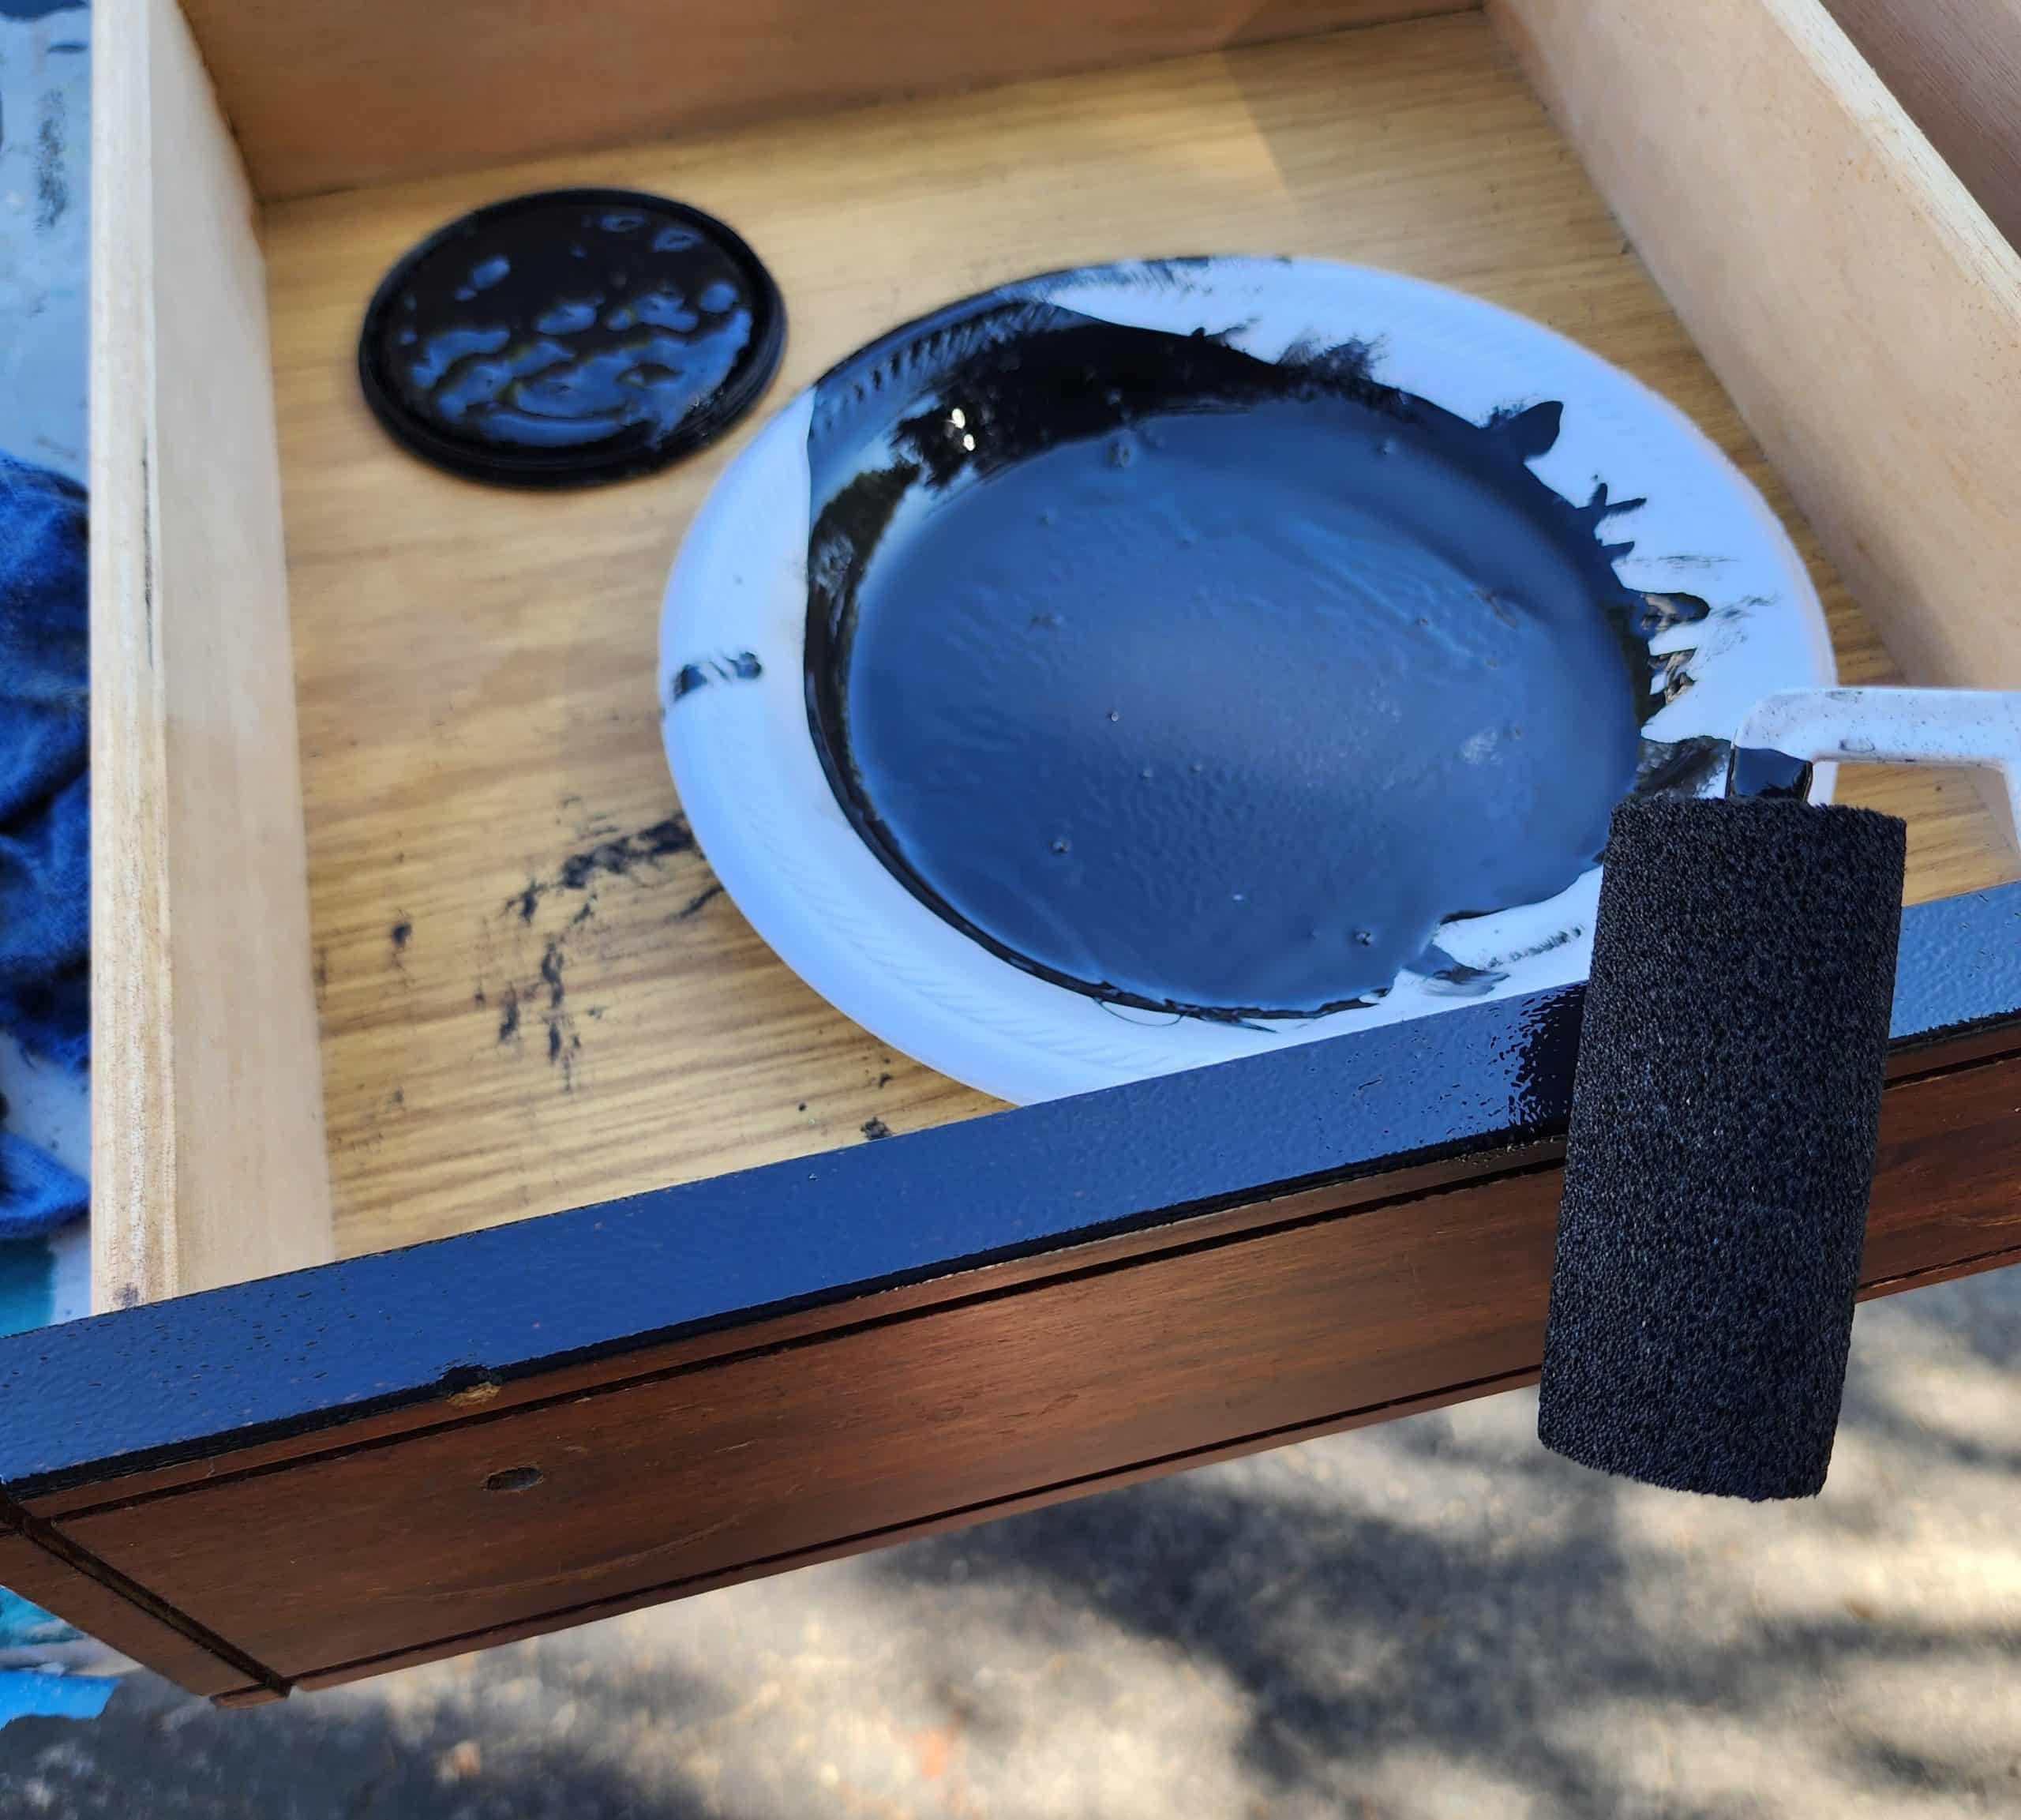
With paint on a styrofoam plate, my small sponge roller made this paint job quick and easy.
The roller was perfect for all of the nightstand. I used a small paintbrush to touch up tight spaces.
I hope the Iron Gate (black) will work with my furniture transfer.
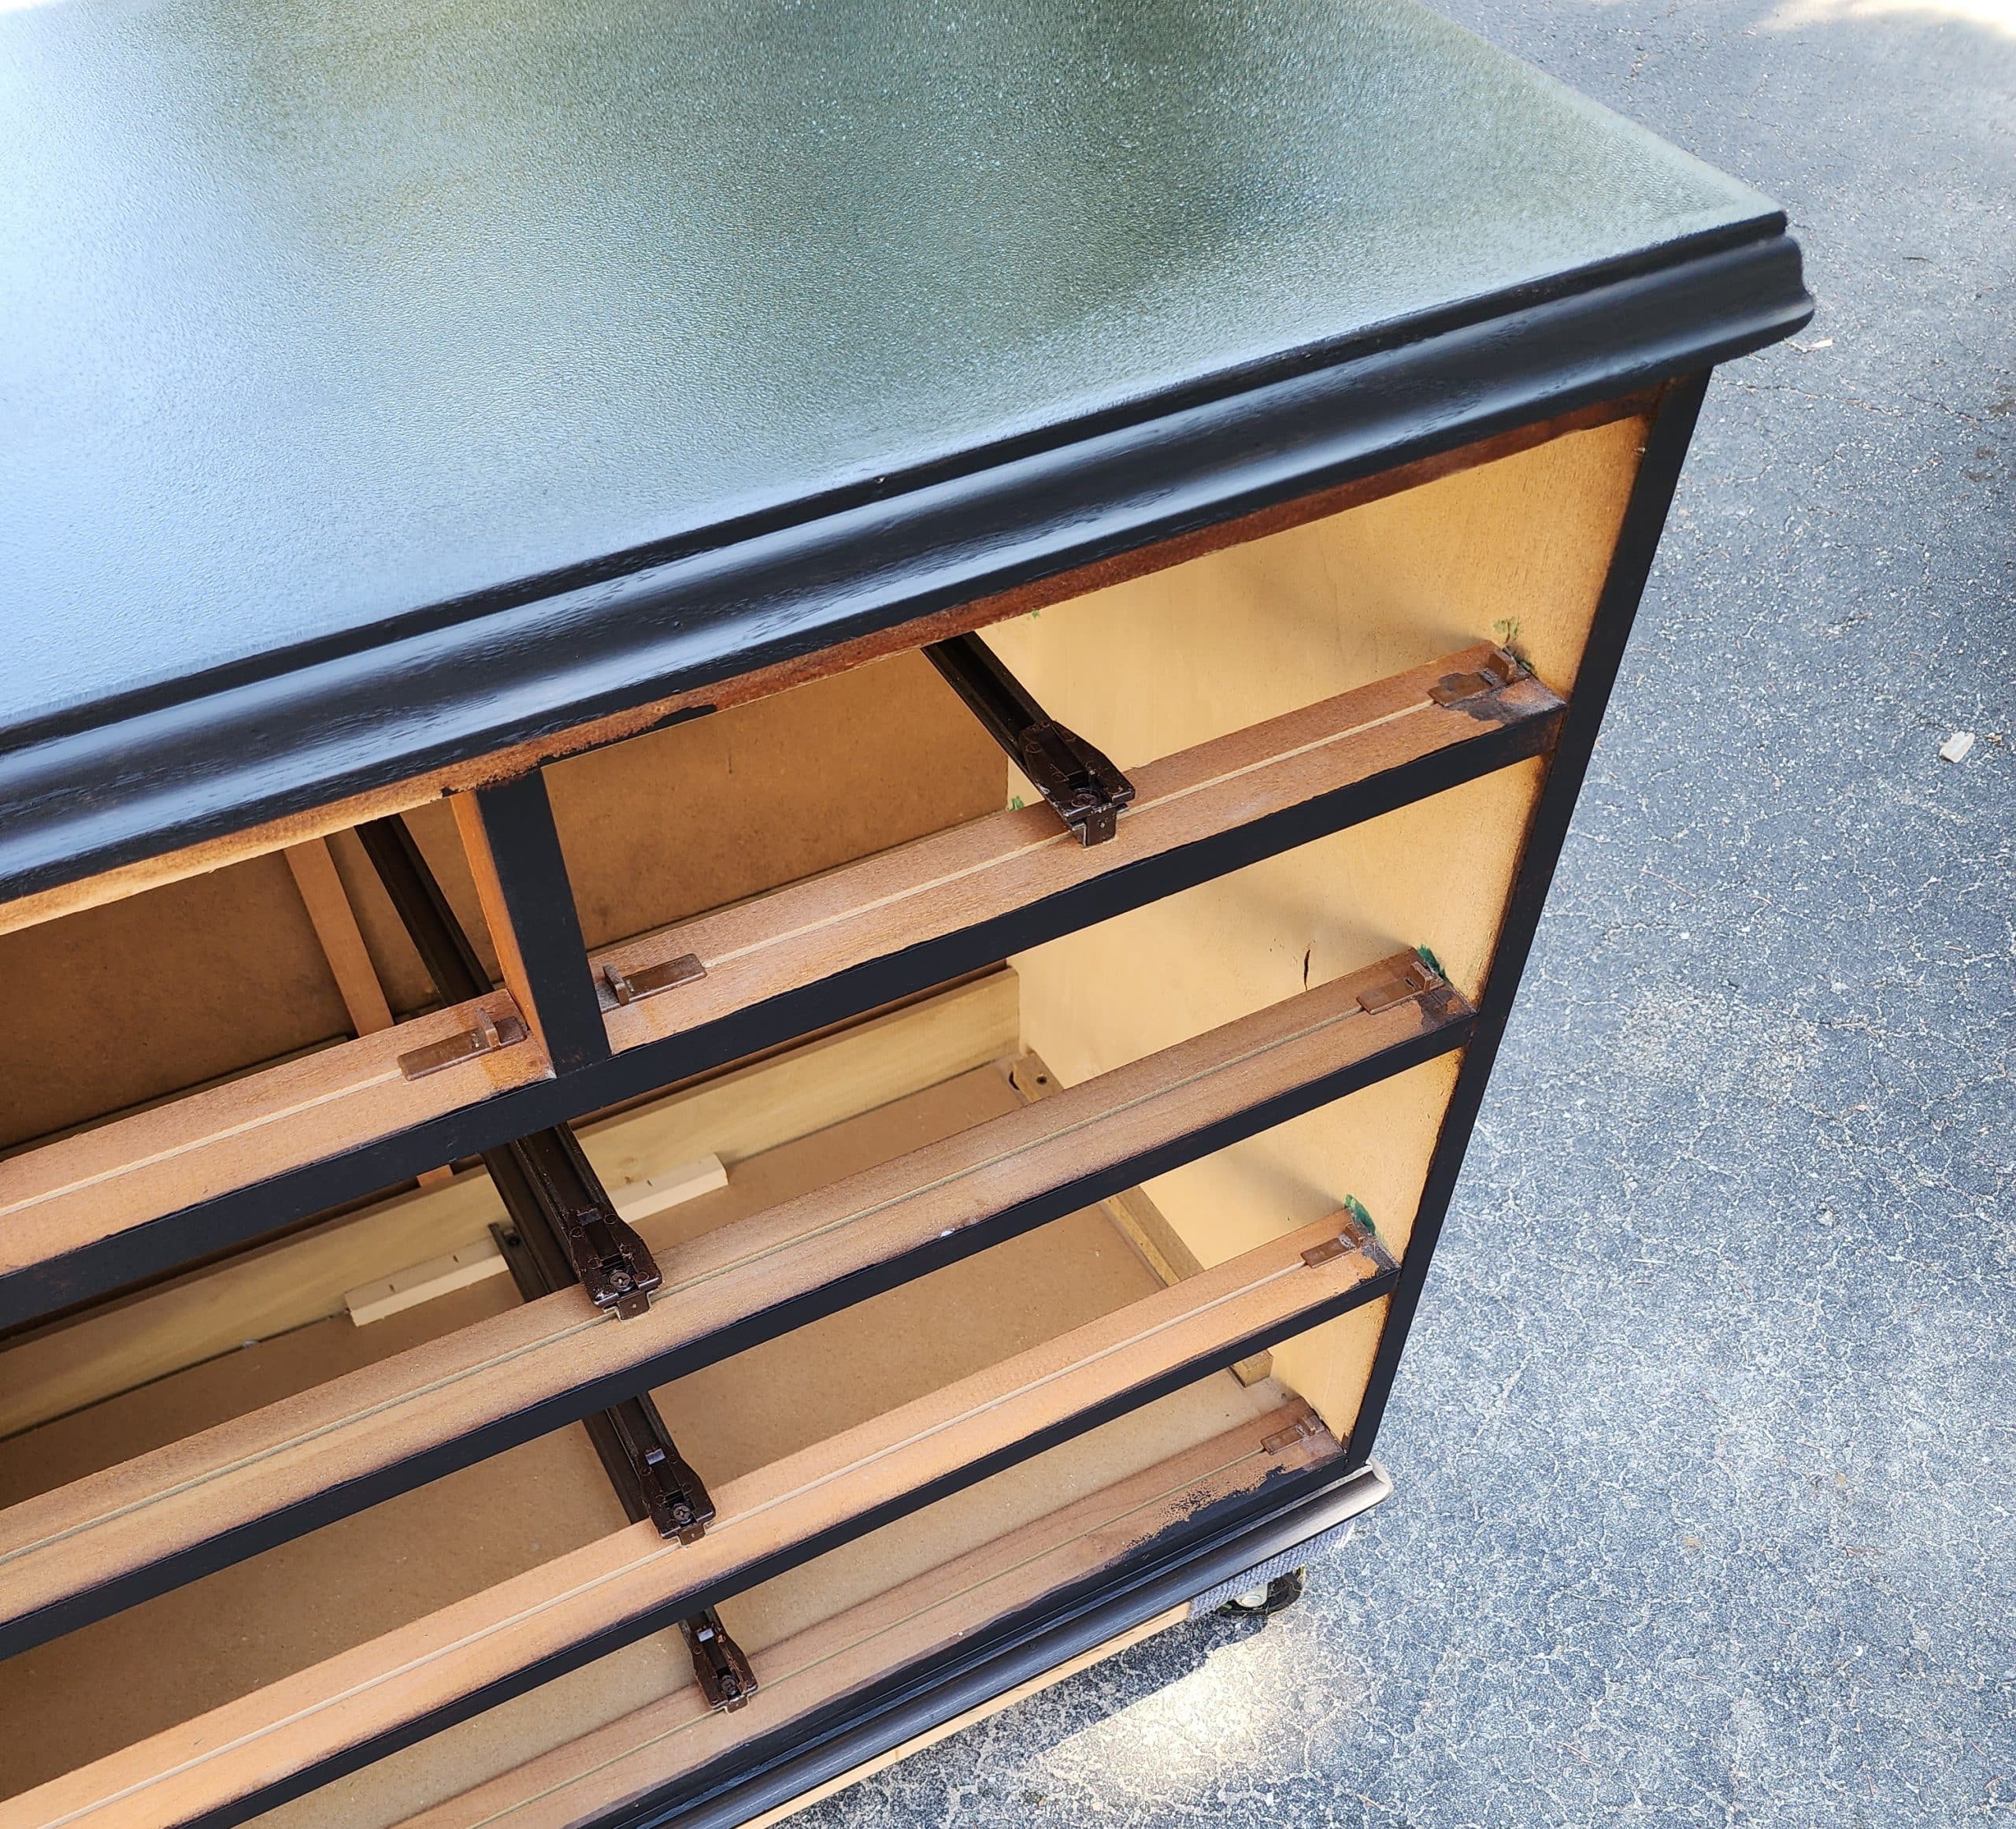
It’s hard to believe it’s the same piece of furniture I got from Terry.
Placing a Rub-on Furniture Transfer
I think the Prima Dark Floral transfer is supposed to go the other way. But it looks good this way, so I’m going with that. I have done furniture transfers on a smaller scale. Check out my blue bar stools.
After taping the transfer in place with painter’s tape, I worked my way down the sheet, pulling the white paper down as I worked. I’m not sure if that’s how other people do it, but it was so large I didn’t want to mess it up.
Some tutorials refer to “rubbing” the transfer in beveled areas. However, this nightstand has grooves and lots of drawers.
On the left, you see my tools. The wooden stick is included with the furniture transfer. I also used a cheap exacto knife. These tools made this project relatively easy.
The middle image shows how I cut the plastic and the transfer simultaneously. This was done in all the drawers’ cracks and grooves.
Lastly, I used the wooden stick to rub the furniture transfer in place.
If this project is too intimidating, perhaps you would like to start with a simple picnic basket makeover.
None of the transfer was removed; it’s pressed in place down in the grooves.
I used all three sheets of the furniture transfer, which fit perfectly.
This is how the nightstand looks, with all of the drawers removed. If you’ve ever wanted to try this, don’t wait years like I did!
Old Nightstand Makeover With Furniture Transfer
I replaced the original hardware, leaving off the tiny fake keyholes.
Black Nightstand With Prima Dark Floral Furniture Transfer
In some photos, the nightstand appears blue and looks pretty with the furniture transfer. So, I think a navy blue would be an option for the dark floral transfer.
So, are you ready to see the projects from the very talented Furniture Fixer Upper team?
But before you go, you can find all the details of the original nightstand and how I repaired the damaged wood.
Beautiful Furniture Makeovers
- Brother Sewing Machine Cabinet Makeover
- Painted Furniture with a Layered Dixie Belle Chalk Finish
- Furniture Transfer Updates Ugly Nightstand (You are here, thank you)
- Chalk Painted Thrift Store Desk/Hutch
Related Content:
Furniture Fixer Upper Tour Projects
If you love seeing old furniture get a second chance, be sure to visit more Furniture Fixer Upper Tour makeovers. Each project starts with good bones and ends with a fresh new story.
See more Furniture Fixer Upper makeovers here
You will find everything from small side tables to large statement pieces, all transformed by talented DIY bloggers who believe in saving furniture rather than replacing it.
I like what you do, but I don’t like distressed furniture. Just my opinion.
I know what you mean about distressed furniture. I light light distressing, but sometimes distressing is needed because a piece is in such bad shape.
gail
Hi Gail! Definitely a favorite!
Thank you Cheryl!
I still have it, but it’s going to my booth very soon. It makes me sad to part with it.
gail
Hi Gail, your makeover is stunning! All of your hard work paid off in spades! You mentioned Iron Gate black paint; what company makes it? And did you seal it? If so, what did you use? It has a lovely finished sheen.
Sherri,
Iron Gate is from Heirloom Traditions Paint. It is an easy paint to use, and the sheen is beautiful. Not flat, not glossy. I did wax the ReDesign transfer. I always allow my furniture pieces to cure in a temperature controlled environment for at least 2 weeks. Anything any sooner, may cause your items to “stick” to the paint if left for an extended period of time.
Thank you very much for your comment, it made my day!
gail
I love it!!
You make it look so easy!!! Lol
This is exquisite. I had to get my courage up to try a transfer. Now I’m addicted!
Thank you Fran! I hadn’t planned on painting it black, but I think it looks great too!
gail
Hello Gail,
Where do you buy your transfers?
I have been saving your remodeled furniture ,
Are they real expensiveness for a person on limited SSI?
Darlene,
I have had this transfer for years. I personally think they are a little pricey, especially the large ones. However, you could use smaller ones and get a really nice look, even on a large piece of furniture. Christy @ https://www.confessionsofaserialdiyer.com/diy-gallery/ does it all the time. 🙂
gail
Verrry nice. Your work paid off.
A sweet elegant piece now. 🙂
Thank you so much. 🙂
Oh my goodness…it is stunning, Gail! Watch out…transfers are addictive lol and this one could not have been more perfect for this piece! XOXO
awww thanks so much Christy! I appreciate your kindness and encouragement to finally jump in!!!
gail
I think this night stand is one of loveliest things you have repurposed. You definitely gave it new life. I would buy that in a minute. I do like the
transfers. Please do an armoire with the transfer. I have seen some really
expensive ones that were painted. This would be quicker and easier than paint. A headboard with a transfer would also be wonderful. Thanks for your great work. Love your posts. Leona
Thank you so much for your kind words Leona! I’m so happy you love it. I can’t decide whether or not to sell it, or keep it.
gail
This is a stunning makeover, Gail! So elegant and beautiful! Pinned! XOXO
Thanks friend! I have put it off for so long.
thanks for pinning.
gail