Glazing Furniture 101
As an Amazon Associate, I earn from qualifying purchases.
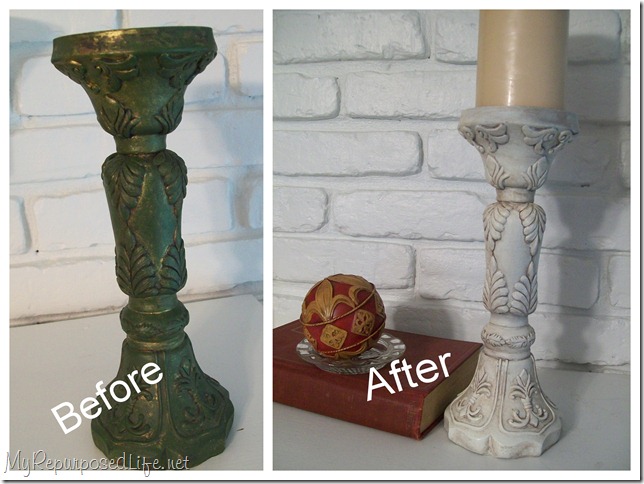
A few people have asked me about glazing furniture. I totally understand how it can be confusing. This time last year I had NO idea how to do this. When I first started seeing things pop up on blogs, I fell in love with the look. When I asked how to do it, bloggers were very nice to “try” to explain it. But, I didn’t get it. Most of them talked about Ralph Lauren something (smokey, maybe). I was unable to figure it all out. I have always watched a LOT of HGTV (Decorating Cents) and they were always using umber (burnt and or raw). I had some in my stash, but I didn’t use it when I first started glazing. At first I used wood stain (dark walnut). Because stain cleans up with mineral spirits and not water, I tired of trying to get it off my hands. My next phase was applying the diluted burnt umber with a paper towel, sort of putting it on and wiping it off all at the same time. That was pretty messy too. Although I think that technique works well for large pieces of furniture.
Fast forward to this summer. I have glazed several items lately and I really like the following technique best. If you ask 10 bloggers, you’ll probably get 10 different recommendations. I think that is why I was so confused when I first started doing this glazing thing! No one way is right or wrong. It’s totally a personal preference.
If you’ve wondered how to glaze, I hope this little demo helps. If you are a whiz at glazing and you have something to add, please leave your suggestion in a comment and I will include it in my Saturday feature “Recent comments & questions”. If something is unclear, please ask below in a comment and I will try to help clarify it in Saturday’s feature.
Now, on with the show!
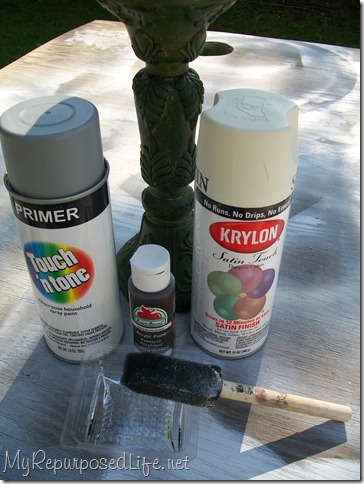
Supplies to gather:
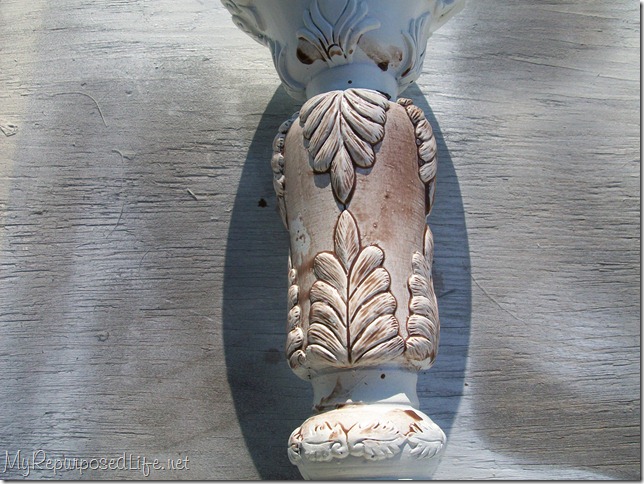
- Project piece
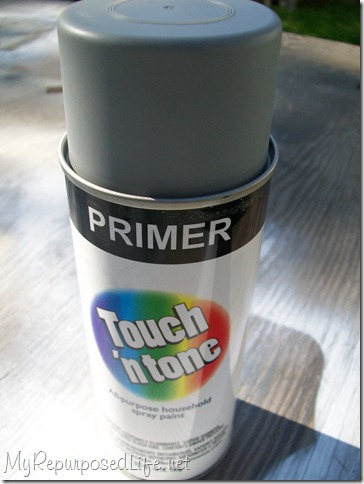
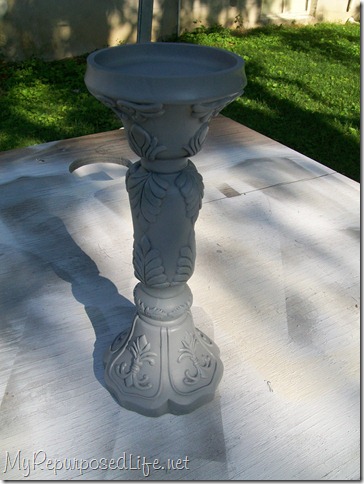
- Primer
- Spray Paint
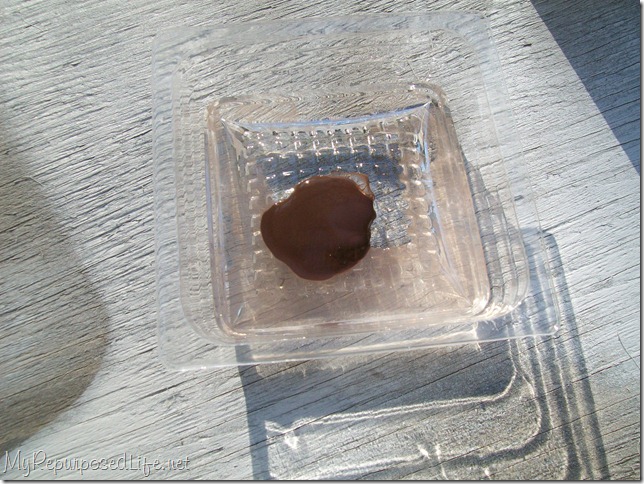
- Glaze (I used Burnt Umber)
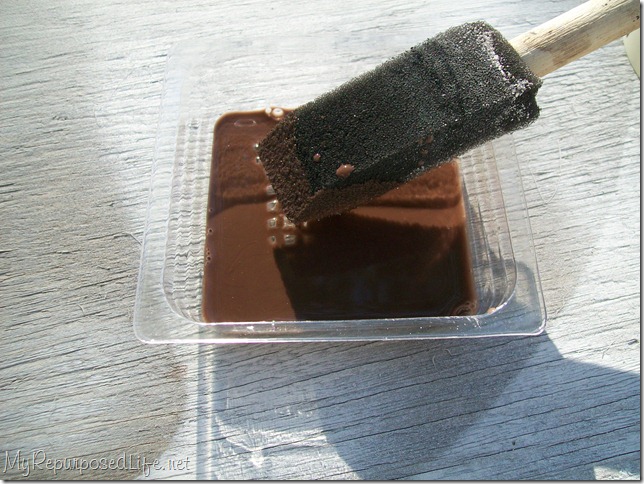
- Brush (I used small foam brush)
- Water and something to mix glaze and water in (I used small plastic tray)
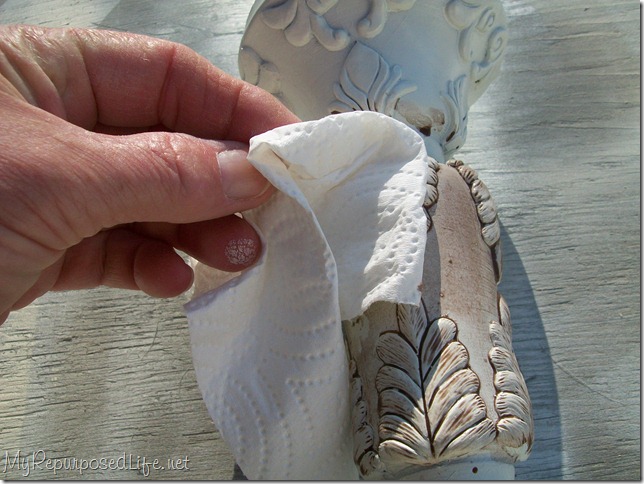
- Rag (I used paper towel)

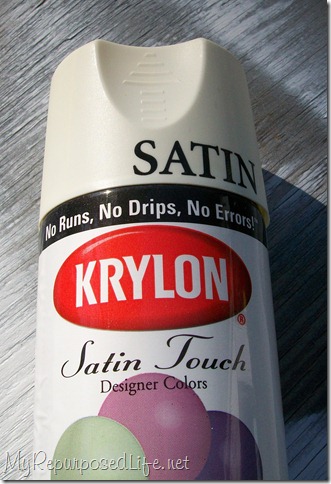
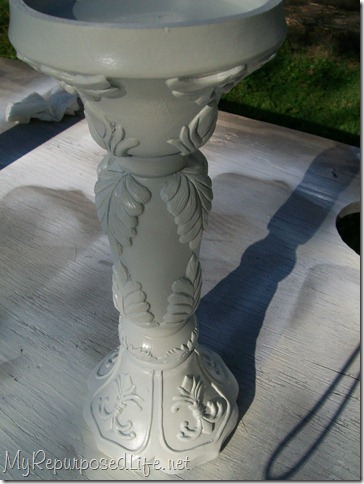

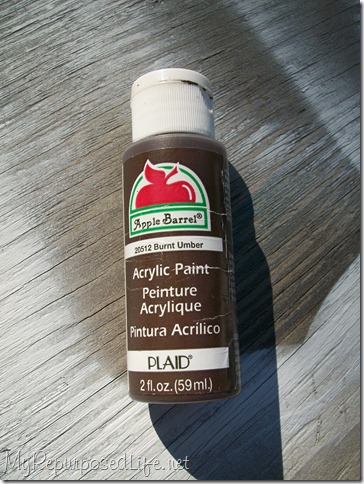
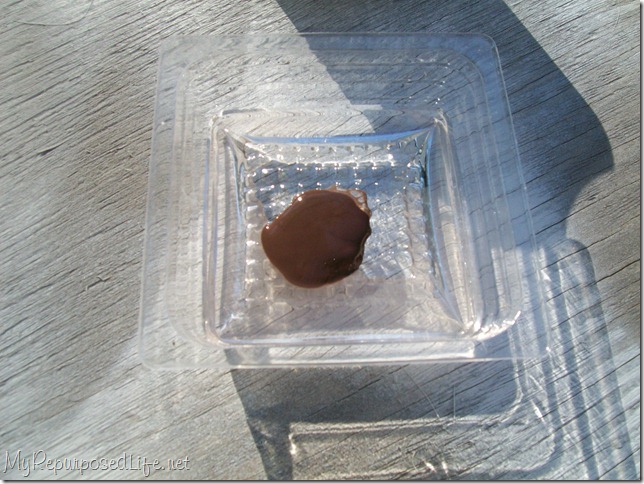
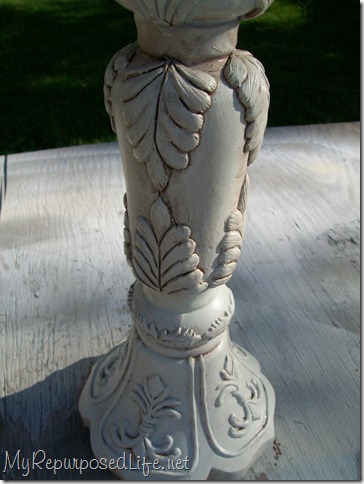
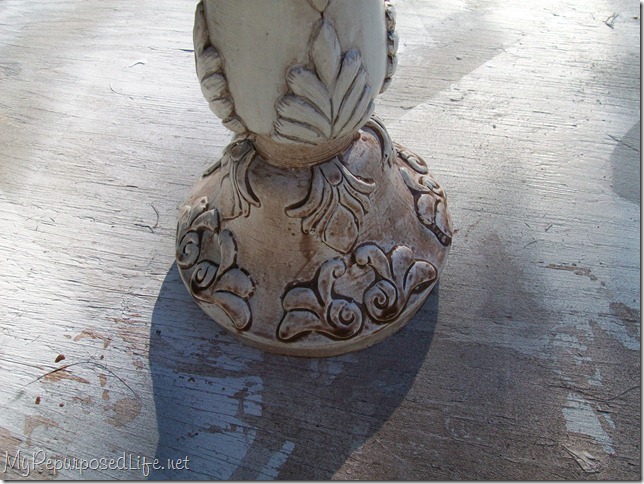
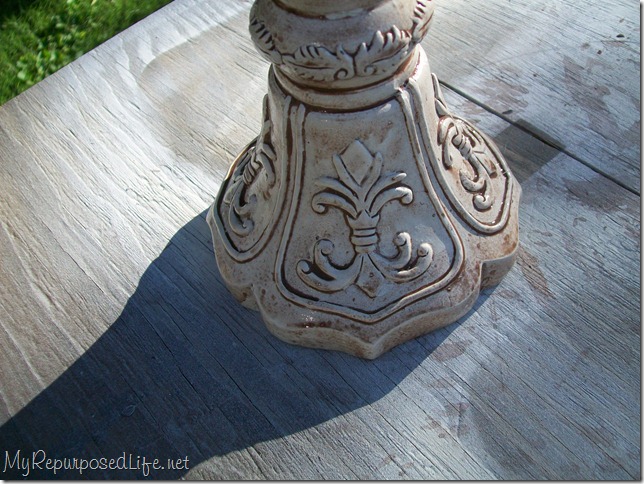
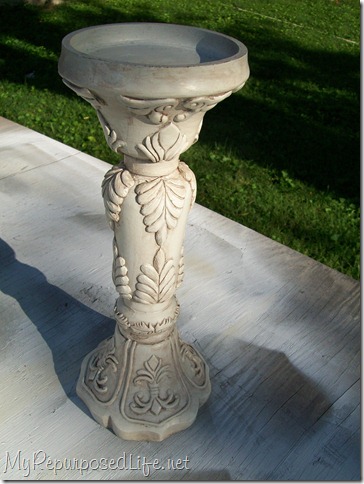
Wonderful! Thank you so much for this. Now I’ll know exactly what to look for when I go to the craft store. Thanks again.
Kim
Wow, what a great explanation – thank you! Because of blogs like yours I have recently started doing some refinishing and antiquing. I have been using a gel stain with polyurethane already added, but this seems like it would be easier and much less messy. You do beautiful work and I love following your blog.
great tutorial. i have done this on small items (ie. birds) but had recently bought a half gal. of actual glazing (which was over $10!!!) to do a table i am working on now. i was afraid to takle such a bigger piece with that ‘craft paint’ type of glazing but i now wonder if i could have saved some money. boo. lollove your blog!Amy W.
Thank you! I was just thinking of doing a glazing project, so this was right on time!
Thank you for a very ‘easy to follow’ tutorial – not many are!
XO
Lenore
So glad I happened upon your site! I have learned so much! Thanks for sharing a simple way to glaze! Now I’m looking around the house for something to glaze!
i always love your glazed pieces- they look so “store bought”. i mean that in a good way- like there is no way you could have done that yourself! 🙂
i always love your glazed pieces- they look so “store bought”. i mean that in a good way- like there is no way you could have done that yourself! 🙂
I have been loving the glazed look & you make it sounds so achievable!! thanks!
Thanks for sharing… & for showing the pics of the actual products….very helpful!!
This comment has been removed by the author.
Perfect timing!! I was just thinking questions you have answered! Thanks!
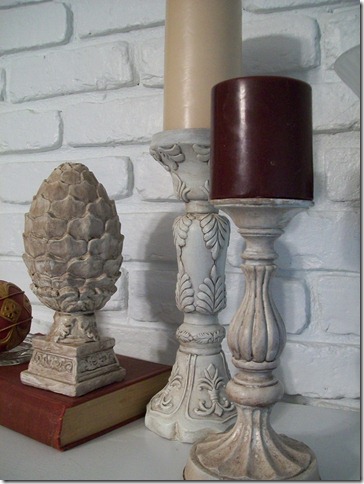
You did it again! I can now glaze, I’m sure of it. I like the way you used the same glaze on the different items but they’re not identical finishes.