Glazing Furniture 101
As an Amazon Associate, I earn from qualifying purchases.
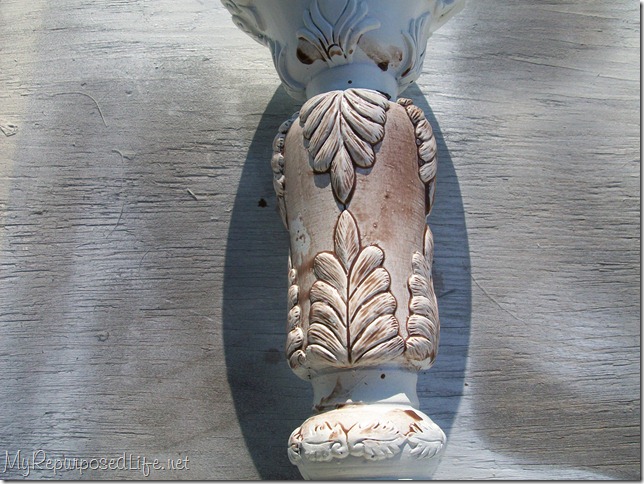
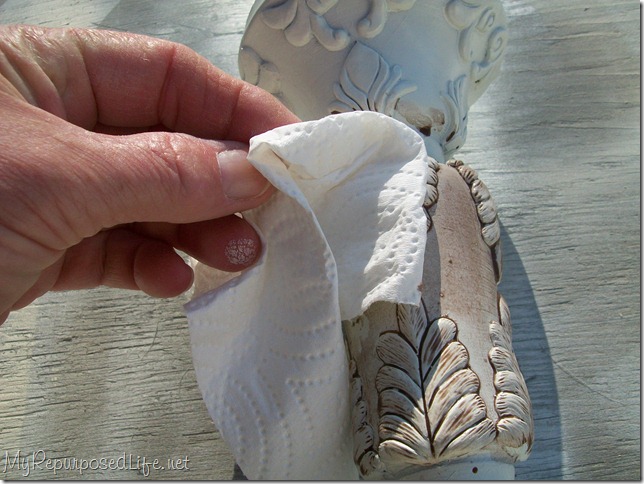
A few people have asked me about glazing furniture. I totally understand how it can be confusing. This time last year I had NO idea how to do this. When I first started seeing things pop up on blogs, I fell in love with the look. When I asked how to do it, bloggers were very nice to “try” to explain it. But, I didn’t get it. Most of them talked about Ralph Lauren something (smokey, maybe). I was unable to figure it all out. I have always watched a LOT of HGTV (Decorating Cents) and they were always using umber (burnt and or raw). I had some in my stash, but I didn’t use it when I first started glazing. At first I used wood stain (dark walnut). Because stain cleans up with mineral spirits and not water, I tired of trying to get it off my hands. My next phase was applying the diluted burnt umber with a paper towel, sort of putting it on and wiping it off all at the same time. That was pretty messy too. Although I think that technique works well for large pieces of furniture.
Fast forward to this summer. I have glazed several items lately and I really like the following technique best. If you ask 10 bloggers, you’ll probably get 10 different recommendations. I think that is why I was so confused when I first started doing this glazing thing! No one way is right or wrong. It’s totally a personal preference.
If you’ve wondered how to glaze, I hope this little demo helps. If you are a whiz at glazing and you have something to add, please leave your suggestion in a comment and I will include it in my Saturday feature “Recent comments & questions”. If something is unclear, please ask below in a comment and I will try to help clarify it in Saturday’s feature.
Now, on with the show!
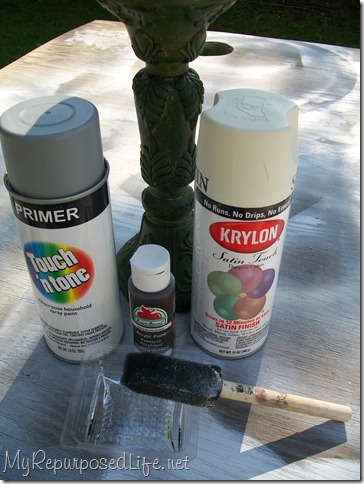
Supplies to gather:
- Project piece
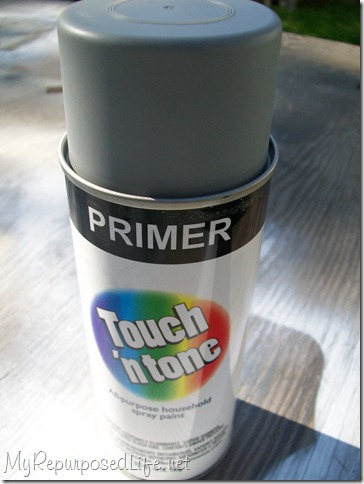
- Primer
- Spray Paint
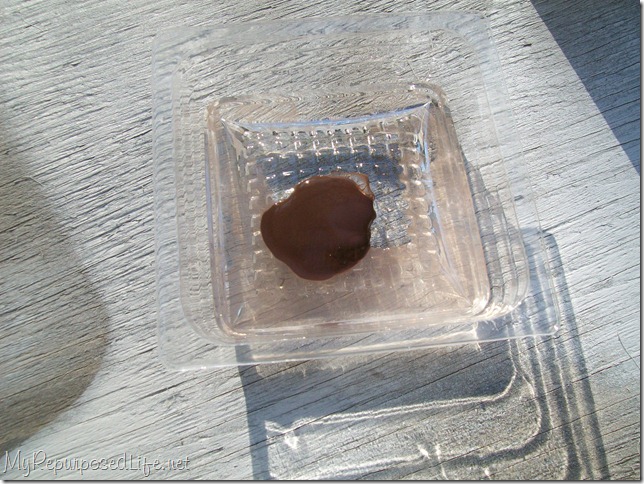
- Glaze (I used Burnt Umber)
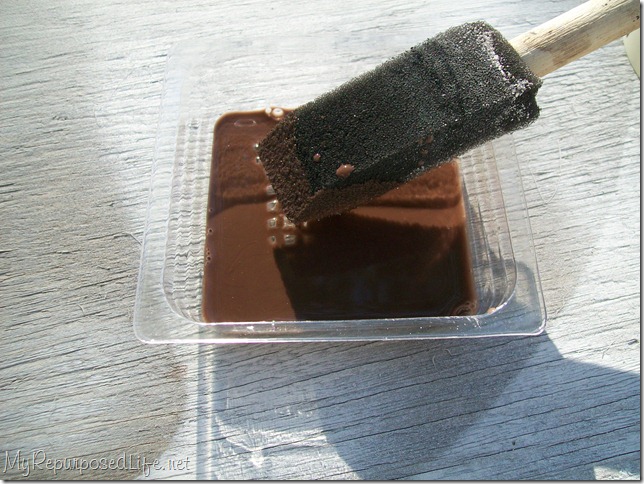
- Brush (I used small foam brush)
- Water and something to mix glaze and water in (I used small plastic tray)
- Rag (I used paper towel)

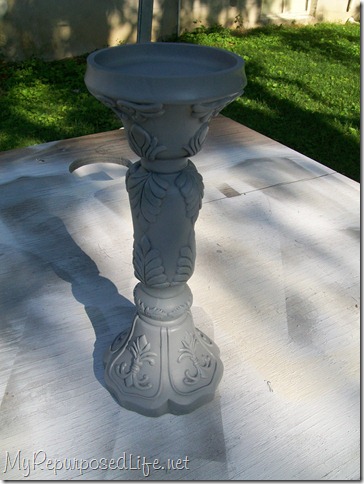
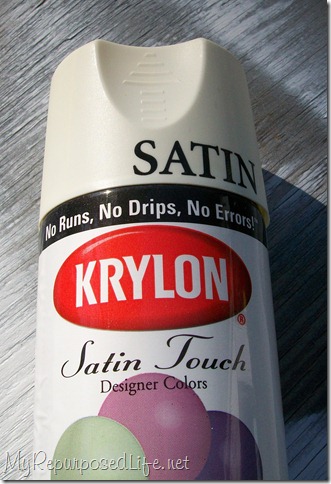
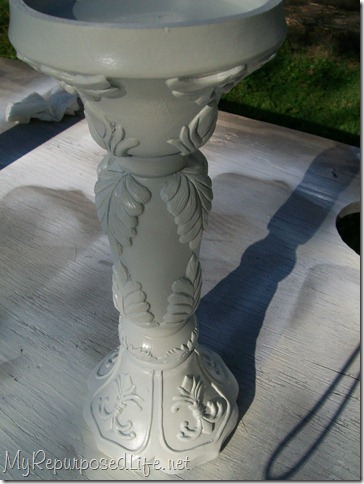

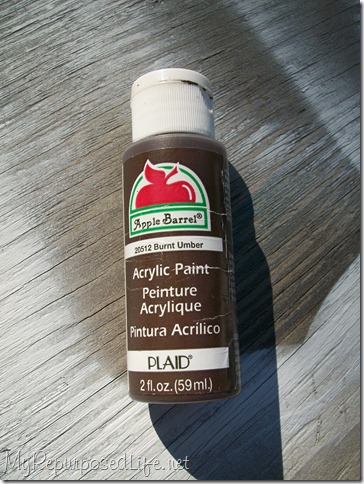
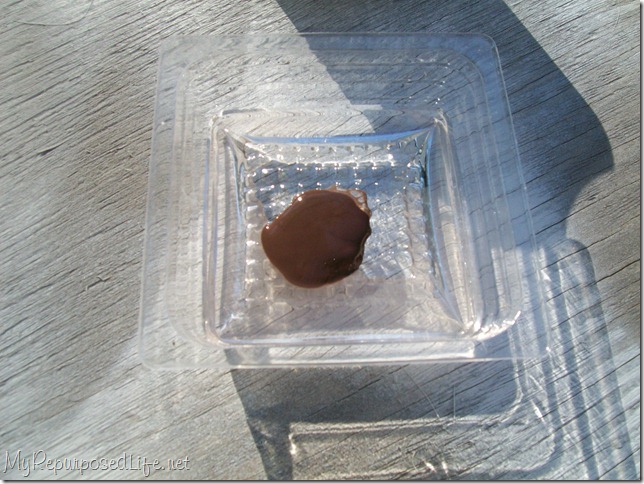
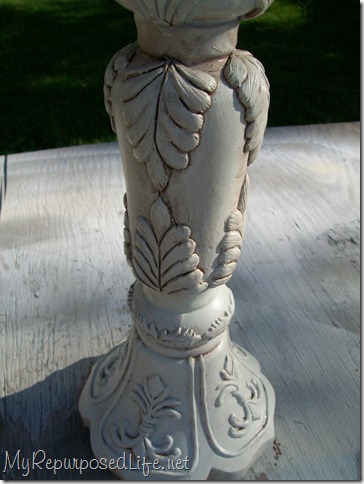
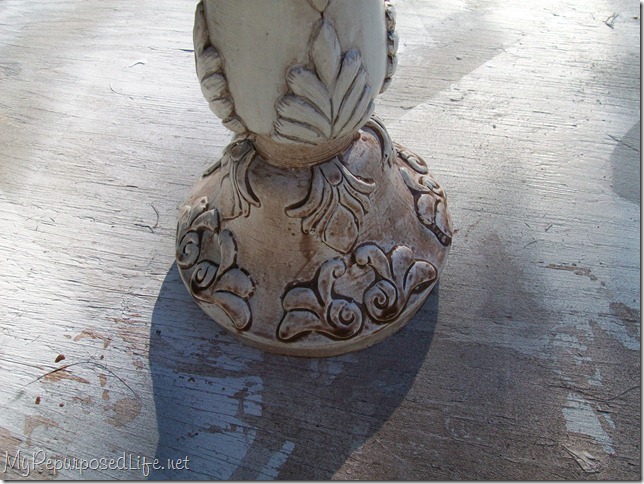
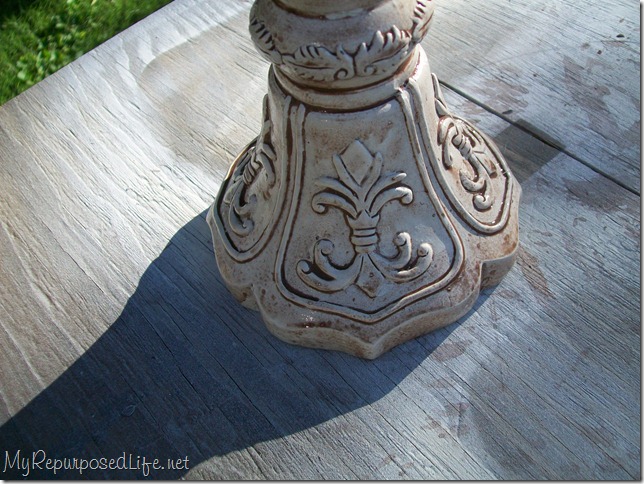
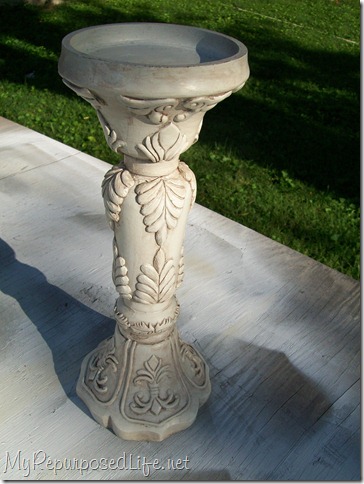
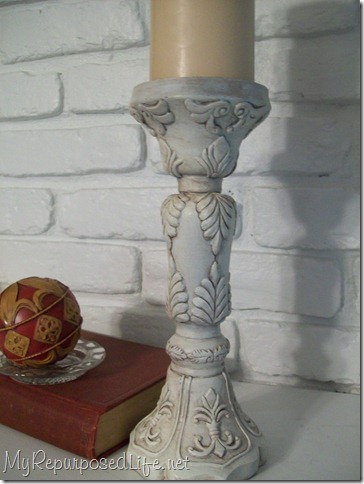
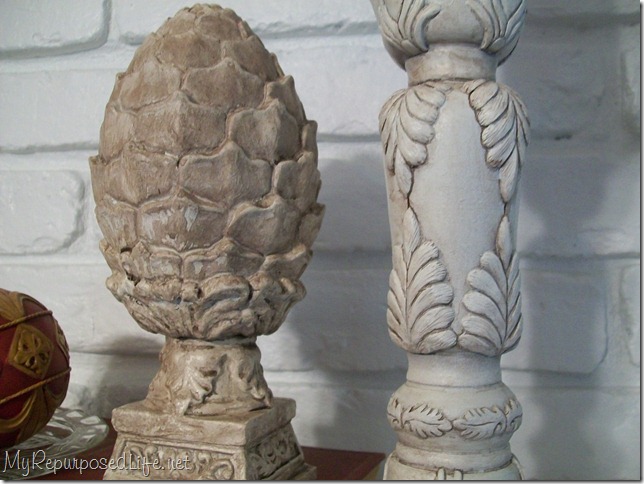
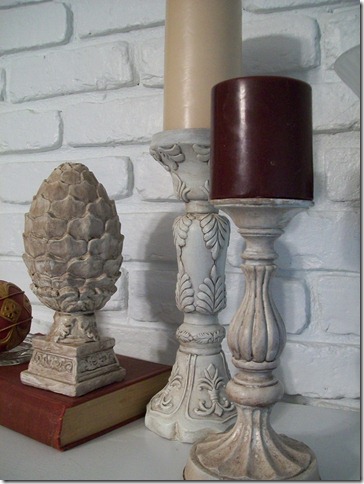
Did you put a glaze over it after you were done painting?
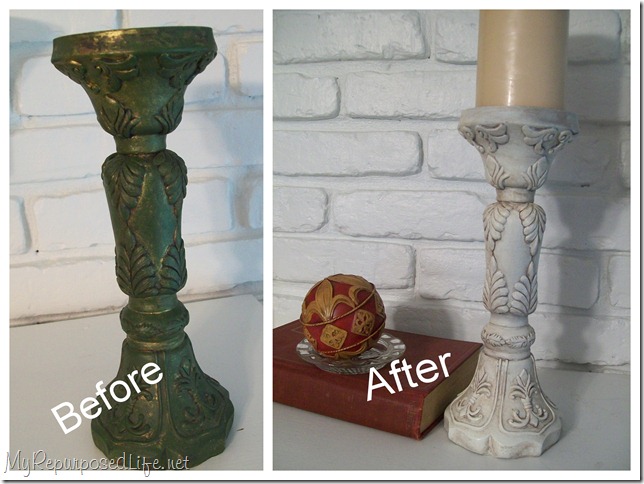
I didn’t really use GLAZE at all. Just the dark paint over the light paint. No top coat or anything. This was a long time ago. If I were to do it today, I’d probably use some Heirloom Traditions Wax over it to protect it and give it a nice sheen.
I hope this helps!
gail
Sounds like something I can do(and I love to spray paint!). I just need to find that right item to test on! Great job, and thanks for showing the difference with paints and heavy vs. light glaze.
YES!! Someone else cheats out there and just uses paint to glaze! 🙂 There are so many other variations one can do if they use this method. Very nice!
Donna