Chalkboard Banner by The Scrap Shoppe
As an Amazon Associate, I earn from qualifying purchases.
Today’s Chalkboard Banner project is the first of many guest posts that will be happening this week. A lot of my friends stepped up to help me while I’m busy getting ready for Jamie’s wedding. Say a nice hello to Michele!

Hi, everyone! My name is Michele, and I create over at The Scrap Shoppe.
I’m so happy Gail invited me over today! First off, Happy Easter!!
Second, I have a super fun and easy project to share with you today. I had this project in my head for ages and finally had an opportunity to create it last fall. And I’m still LOVING it!! DIY Chalkboard Banner!
How to make a chalkboard banner
Let’s do a little tute…
I started with some unbleached muslin remnants that I found at JoAnn’s.
(Can I just say that right after Halloween is the BEST time to peruse the remnants section??)
Use unbleached muslin
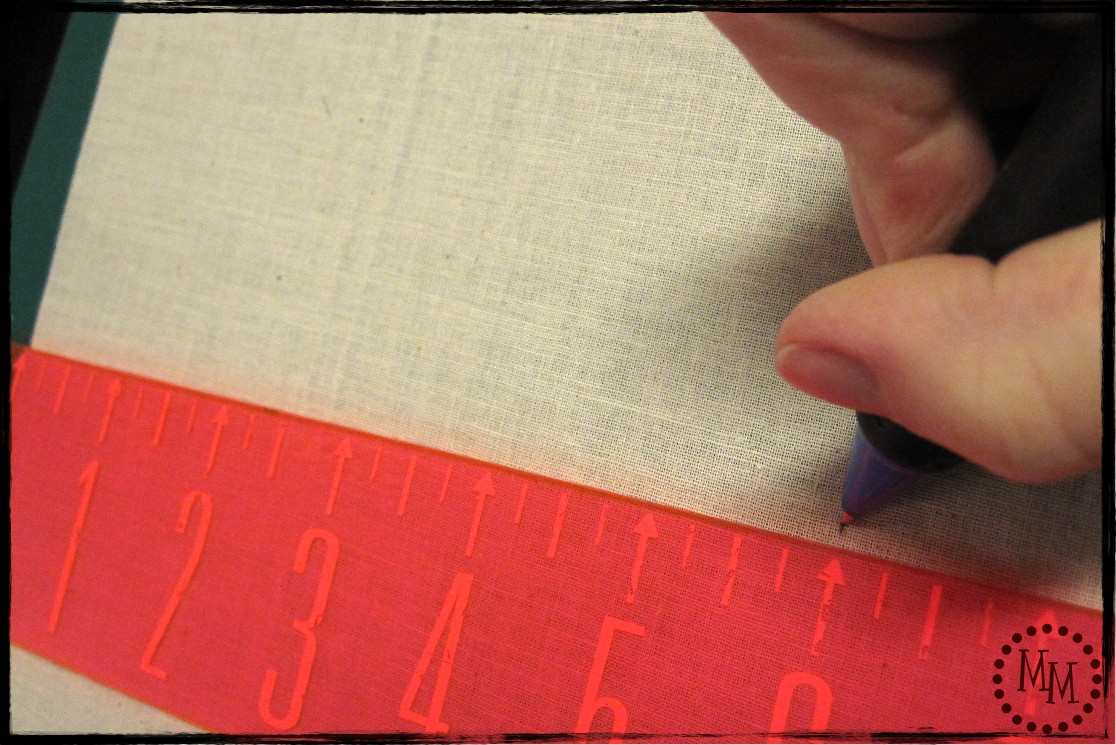
I ironed my muslin, then measured and marked where I would be doing my cutting.

I cut 6″ strips so that my bunting would be 6″ long vertically.
Cut triangles
Then I started cutting my triangles…
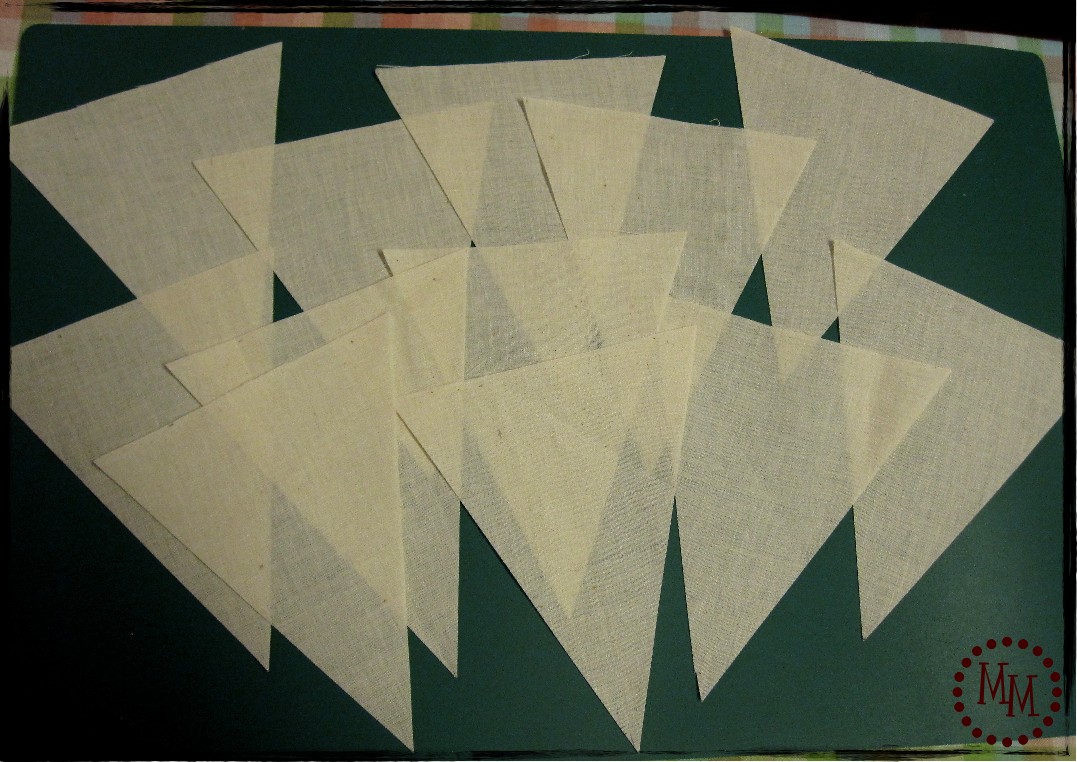
…And in no time I had a dozen pieces of bunting!
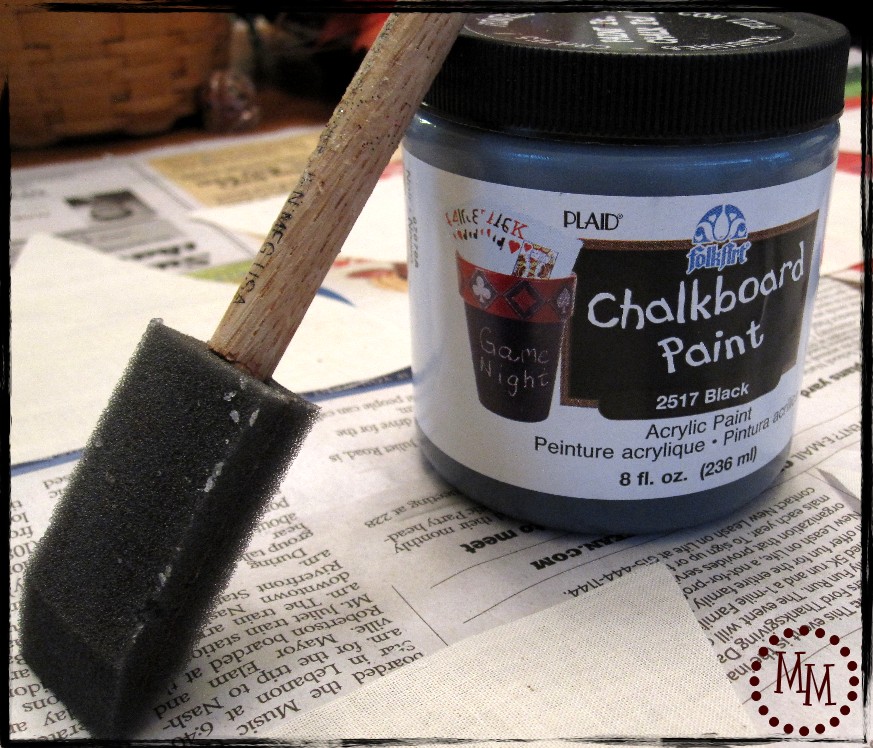
I got out my handy dandy acrylic chalkboard paint and set to work painting my bunting.
Do NOT paint muslin on newspaper
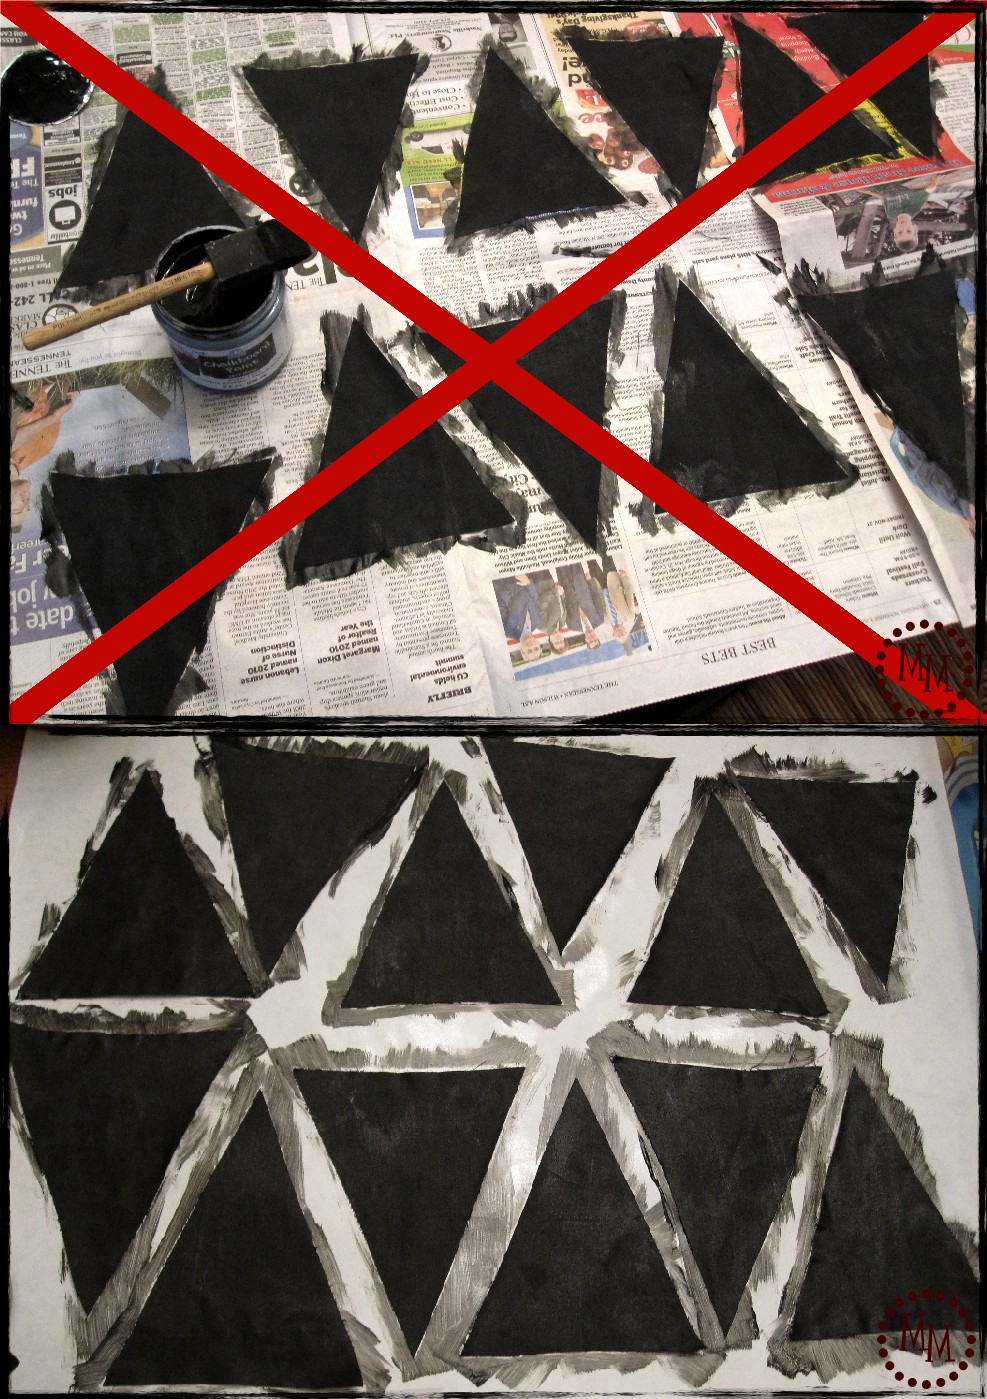
Ummmm, so you guys might already have known this so bear with me for a minute.
I naturally laid out my bunting on newspaper to do my painting.
DO NOT DO THIS!
Since the muslin is thin and obviously porous, the paint did go through it which resulted in the muslin sticking to the newspaper.
I peeled it all up and relaid it down on some freezer paper. Much better!
Apply 2 coats of chalkboard paint
I put on two coats of the chalkboard paint.
I cured my chalkboard by rubbing chalk on it then wiping it off.
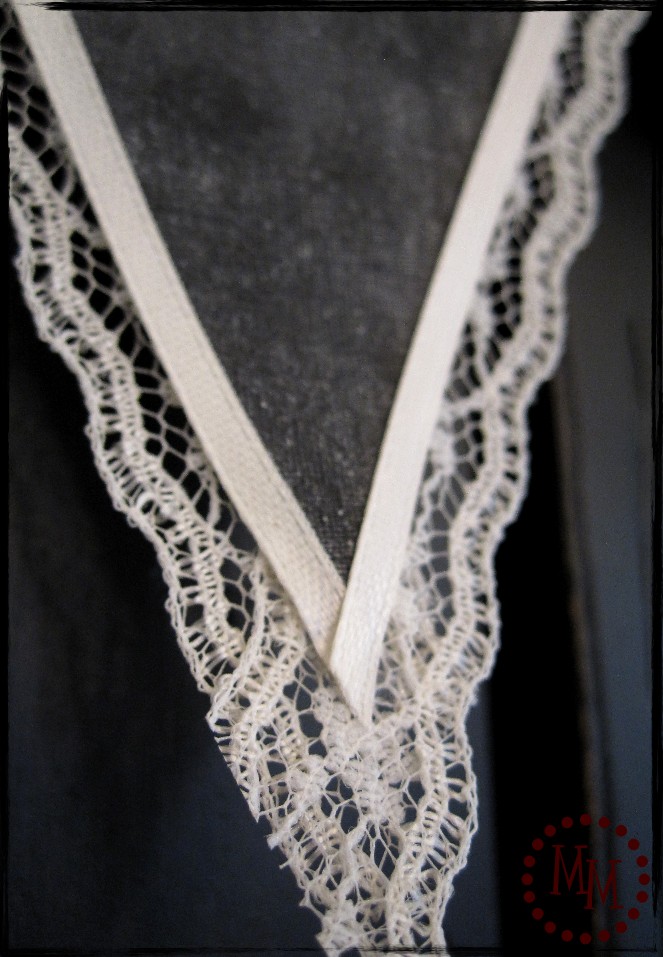
Trim the banner with lace
I trimmed the bunting by backing the edges with lace. I then covered the front edges with some thin cream ribbon.

There is a fabulous lace shop in a nearby town where you can purchase it by the yard for as little as $.25-.$50 per yard. So needless to say I have a large stockpile!
I decided to give my bunting a more eclectic look by using different pieces of lace for each piece of bunting.
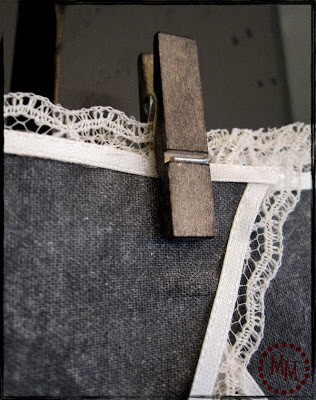
I obviously did not want to adhere my bunting to any string because the beauty of the chalkboard bunting is that I can erase and rewrite any saying I want, adding and taking away pieces as needed! So I clipped the bunting to some twine with miniature clothespins (from Walmart). And to make the clothespins blend better, I inked them with some black distress ink.
Use varying types of lace
(See my post about using your distress ink for staining wood!)
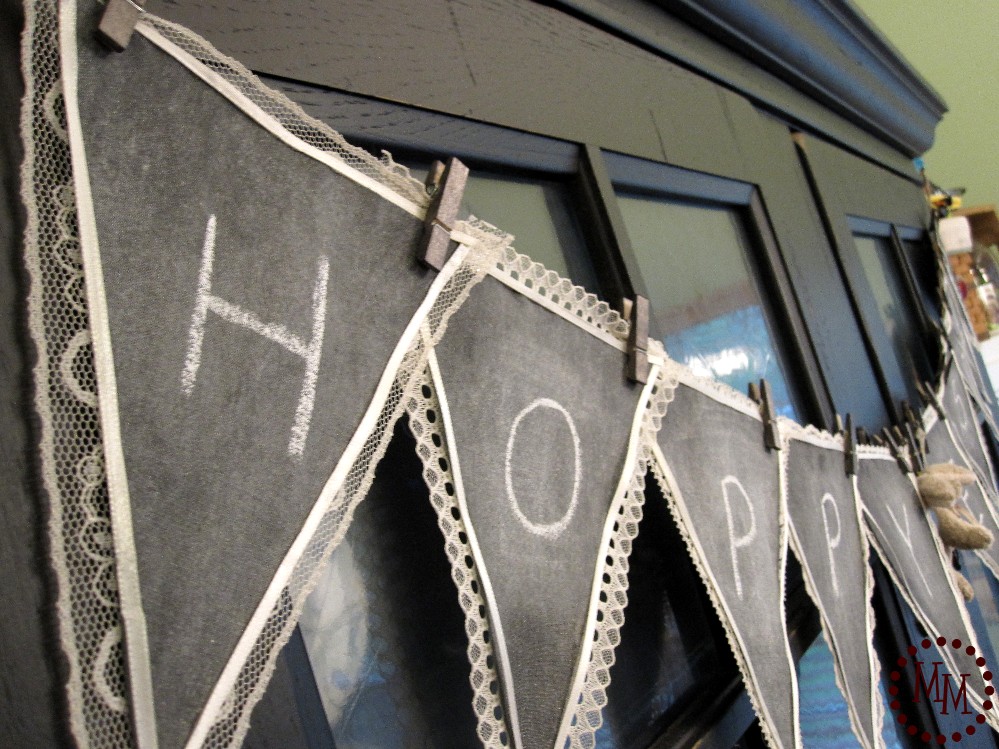
When I hung the bunting I ended up overlapping the pieces. But I’m loving how it looks!
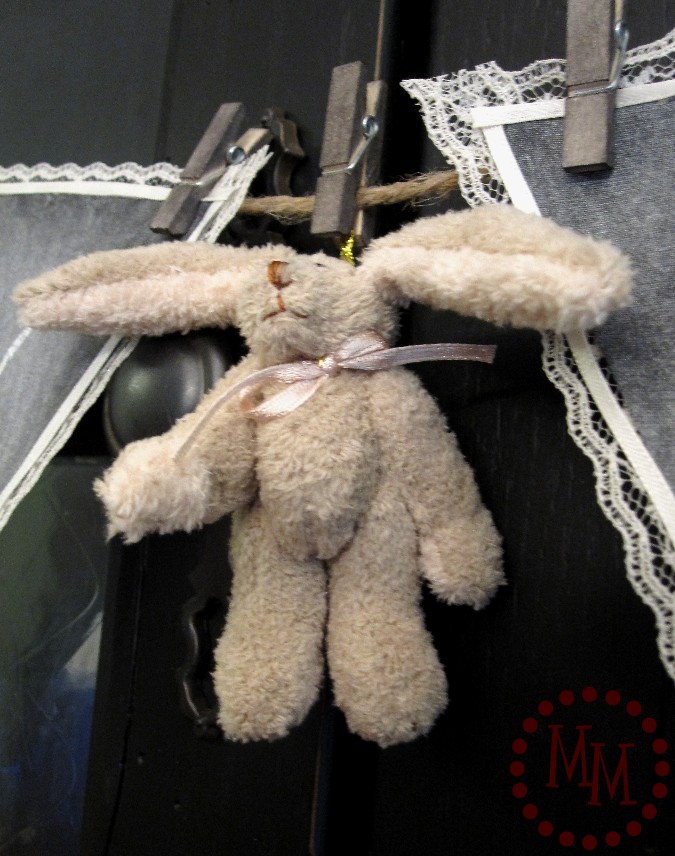
Since I’m currently hanging it for Easter, I clipped on a little bunny for an extra embellishment.

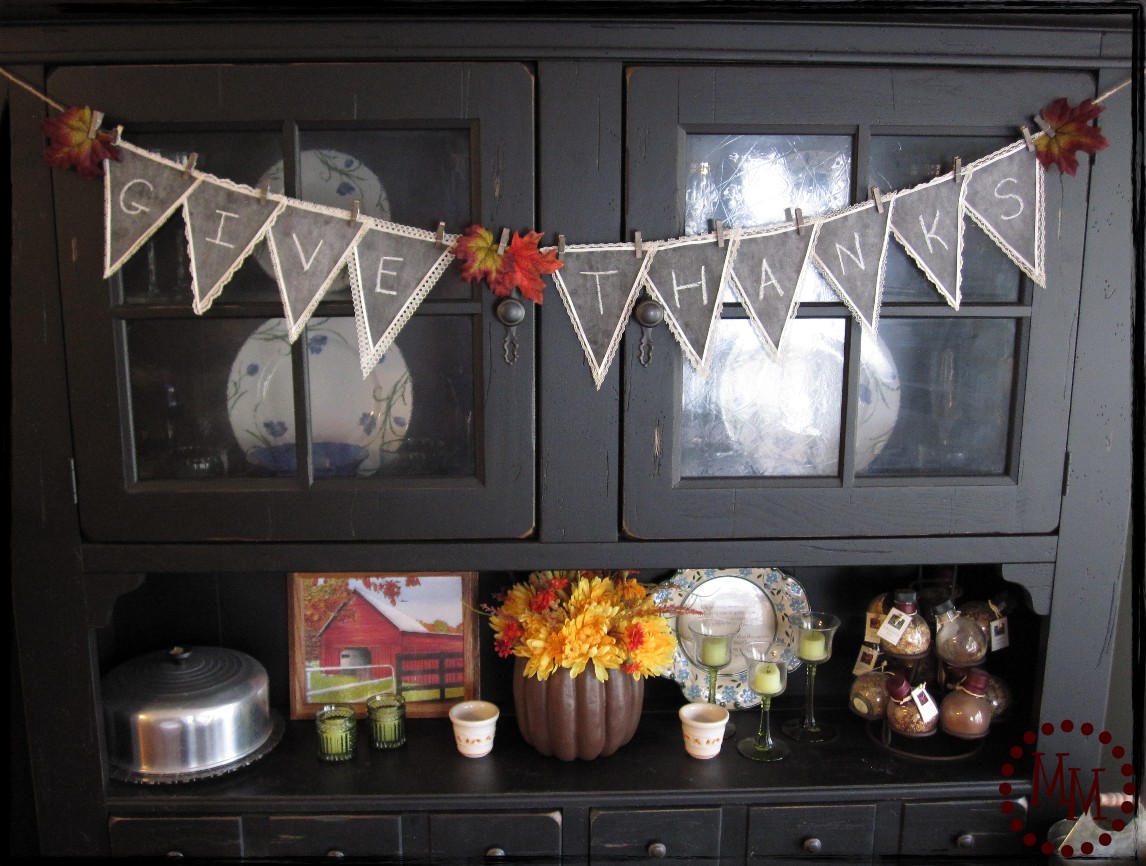
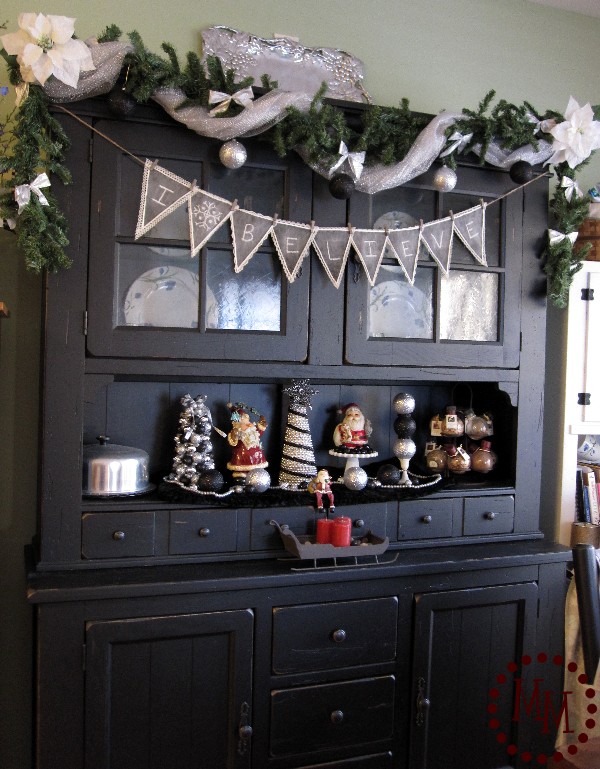
I love it on my hutch!! It will definitely be a staple for ALL holidays and probably birthdays, too!
In fact… I’ve also used the chalkboard banner for Thanksgiving:
Christmas:
And winter:

Thank you so much, Gail, for having me over today! And I hope everyone has a great Easter!
If you get a chance I would love for you to come visit me at The Scrap Shoppe.
Thanks Michele for helping me out with a guest post while I’m busy getting ready for Jamie’s wedding! I love this project. What’s NOT to love about a chalkboard bunting! Ya’ll be sure you leave Michele nice comments below, and check out her blog. I hope you all have a very nice Easter.
gail
See other great chalkboard ideas here
How cute! Did you know there is fabric called chalk cloth? I just learned about it recently. It’s relatively inexpensive too (I paid $4.99/yard plus coupon)! I may just have to make myself a set of these as I have some chalk cloth left over from another project.
This is such a great idea. I love that you can change it up to say whatever you want. It looks great hanging on your hutch. Which I beautiful! Thanks for sharing!
This is such a clever idea! I love it!!! 🙂
Crystal
GreenZebraCrafts
Love the chalkboard banner idea! What a great project and tutorial! Thanks for sharing!
Lovely!!!! I’m totally bookmarking this! 😉 Just so you know…. But of course, if I copycat, I will link it right back to you! 🙂
Happy Easter!