repurposed chair ideas
As an Amazon Associate, I earn from qualifying purchases.

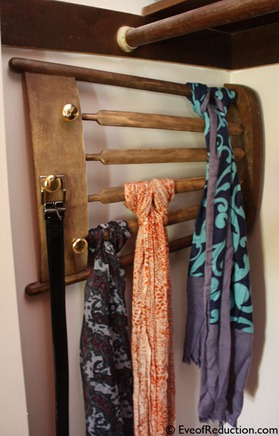
Hi! I’m Cristin Frank from Eve of Reduction. I heart My Repurposed Life and am thrilled to contribute a guest post. I specialize in upcycling and repurposing projects, furniture restorations and recycled crafts that reduce waste by reusing resources that would otherwise have been tossed in a landfill. In other words, I garbage pick a lot of stuff and make it prettier and more functional.
This closet scarf rack is one of those projects where the need actually preceded the resource. There was recently a hint of fall in the air that made me long to be reunited with my scarf collection. A scarf collection that was rolled and crammed into a rectangular basket in my closet. This got me to thinking and desiring a rack to hang them on; one that would liberate them from wrinkles (and me from ironing).
As the universe would provide, I passed this graffitied chair out to the curb while I was on a bike ride in my neighborhood. So, I promptly returned my bike to the garage and fetched the chair.
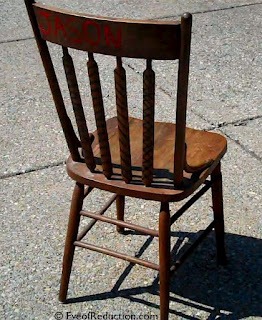
Besides the paint-pen handiwork, the bar connecting the front legs was busted. No prob – I was only interested in the upper half.
My first step was to mark my cut line with a pencil and t-square, and pull out my jigsaw.
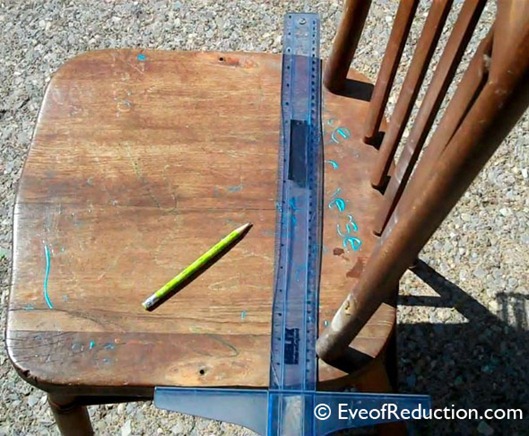 |
| The dip in the chair is making my t-square look like it’s in a fun house mirror. |
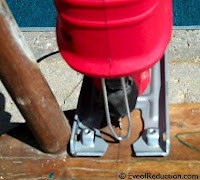 Keep in mind before marking your cut line that you’ll need to allow enough room for your jigsaw foot to fit between the cut and the chair back.
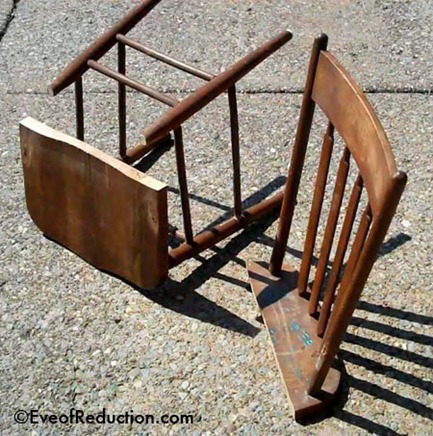 Once the seat is cut, I finished separating the chair back from the rest of the seat by cutting through the legs where they attached to the bottom of the seat.
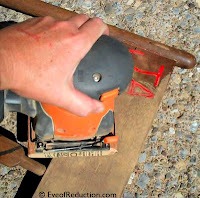 Since my name happens to be Cristin and not Jason, I felt compelled to delete the markings of the previous owner via my electric sander. This also gave a nice, worn look to the overall piece.
Next, I got out my drill.
The top back of the chair is ample real estate that is underutilized as is because my scarves will hang only on the chair rungs. So, to add functionality, I drilled three holes in the top portion of the chair for knobs.
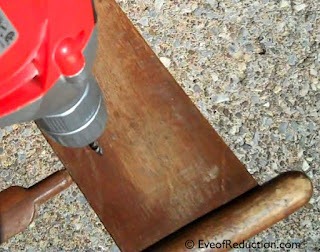
Once my holes were drilled, I used the drill again to attach my flush mounts. I’m slightly obsessed with using flush mounts for a few reasons:
1. They provide sturdy attachment to walls. Once you slide the two mounts into each other, the connection is secure.
2. You cannot see the hardware. It’s not like screwing something in where you have to drill through the piece and then the screw head is exposed.
3. I buy my flush mounts at a bargain outlet (Big Lots). They sell a pack of 4 mounts and 8 screws for $1. I used one pack for this project.
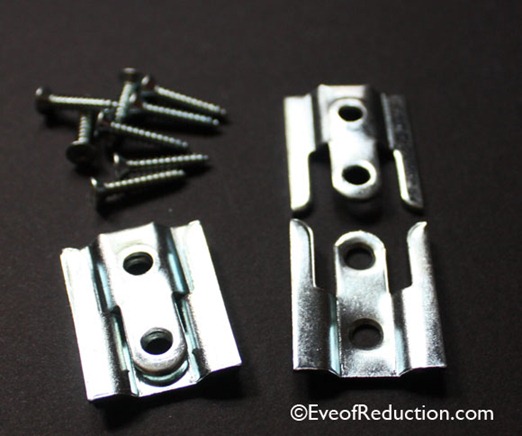 |
| This is one pack of picture hanging flush mounts. One set of mounts is engaged in the lower left and the other set separated. |
I screwed in the mounts on either end (top and bottom) of the cut edge of the seat bottom. Since the chair back is going to hang with the rungs going horizontally, the mounts must be attached with the mount “fingers” facing downward when the seat edge is in a vertical position.
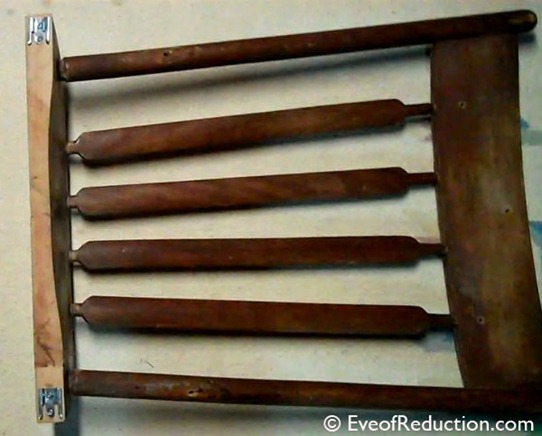
In order to line up the flush mounts that will be attached to the closet wall, I didn’t fully screw in the screws on the mounts on the chair seat. I left them sticking out a little so I could add a dab of toothpaste to the screw heads, then press the mounts on the chair seat against my closet wall to mark my screw holes for the corresponding mounts. I positioned the seat end of the unit towards the back of the closet and the top of the chair at the front of the closet.
I went ahead and drilled and screwed the closet mounts with the fingers facing up. I then slid the chair mounts down on the closet mounts. At this point, because it was only attached to the wall on the right side, there was a little gate-like wiggle in the scarf rack. To remedy this I hammered a single nail through the chair post (left side of rack) and into the wall.
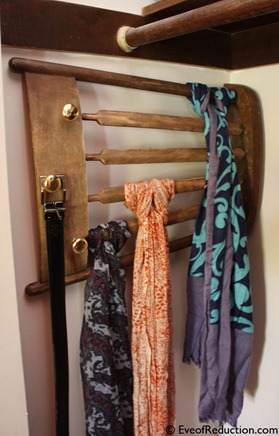 |
| As you can see my scarf wrinkles need some time to relax out. |
Chairs are one thing I see out to the curb a lot, and they hold so much potential for repurposing and restoration. I hope this tutorial inspires readers to repurpose a discarded chair they may happen upon. And, please let me know if you have any questions!
I also welcome you to visit the Eve of Reduction website and blog. Through our projects we seek to use our talents and creativity to reduce waste and over-consumption by reusing resources that we rescue from the trash. (The alliteration was not intentional.)
Below are a couple more upcycling projects you may be interested in checking out from Eve of Reduction:
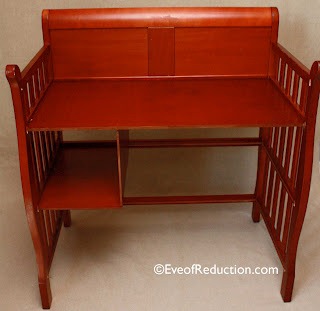 |
| Baby changing table upcycled into a desk |
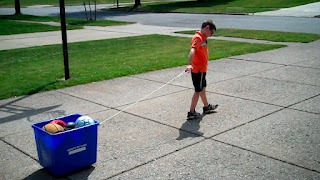 |
How to make a storage wagon out of your recycling bin |
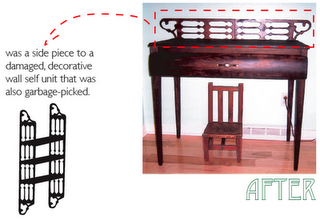 |
| Repurposed decorative shelf unit |
Gail, thank you so much for the opportunity to share this project with your readers. I absolutely love your blog full of such clever projects!
Cristin, you know I love a great tute and when it’s a repurpose, then it’s a win/win! Very clever use of an old chair! I’m also loving those other projects—that changing table to a desk is awesome! Thanks for sharing your creativity with us today!
gail


I can’t wait to visit her blog and see what other things she is busy creating.
Thank you all for your great comments. I hope to see you at Eve of Reduction! ~Cristin
Wow! how practical. I love this A.) because I love repurposing and B) because it’s fresh. I’ve not seen anything like this scarf rack.
I love the it. I must go and visit her blog!
Pat
Pysched! I just thought yesterday that I need a neat way to organize my overflowing basket of scarves! How DID you know? I am off to the dump/swap shop on Saturday to find an chair( love our swap shop!) Thanks for the so creative idea!
Great idea….now I just need to be on the lookout for a chair like that 🙂
Great way to display those scarves. I’ll have to try those flush mounts too. Good idea.
I love to see more of your recycle furniture…I have an old chair at my storage room and I try to make one of this recycle furniture of yours.