sewing cabinet bar
As an Amazon Associate, I earn from qualifying purchases.

Thanks to Eve of Reduction for sharing this sewing cabinet bar with us! I love how it turned out, don’t you?

Hi Gail! It’s so good to be back as a guest blogger on My Repurposed Life! This sewing cabinet project I am especially excited about sharing because sewing cabinets are something that I’ve seen a lot of in the past and have passed up because I wasn’t seeing beyond their intended use. Now that I’ve upcycled this cabinet into a fun and useful drinks serving station, I would definitely seek out these cabinets in the future.
I purchased this sewing cabinet for $35 from an estate sale because I really liked the character of the piece. Since the machine was not in working condition, I bought it only for the cabinet. My first move was to remove the old, built-in sewing machine and recycle it for cash. The machine netted me $5.55 in scrap metal payout.
I was torn between two design directions: a sewing cabinet bar cart or a game table. The answer was clear to go with the bar cart idea after I removed the machine. The top of the cabinet was on hinges that allowed it to open to the left. With the machine gone, the cabinet easily tipped over in the open position. I needed to detach the top and therefore upcycled it into a removable serving tray.
How to Make a Sewing Cabinet Bar
 I decided to do a distressed look on the cabinet using Vaseline. Vaseline prevents the top layer of paint from sticking and therefore you can achieve an easy worn look and interesting brush strokes with transparency to the under coat.
Paint the Sewing Cabinet

Distress Paint with Vaseline

Apply Dark Top Coat of Paint


Make Tweaks to Inside of Sewing Cabinet Bar


This repurposed sewing cabinet bar with removable serving tray is all ready for the holiday season!


Thank you Cristin for sharing a wonderful repurposed project with us today. You are so right, these sewing cabinets are easily found at thrift stores, on the side of the road, and most importantly, asking family members! I love your bar cart!
Build Your Own Portable Pallet Bar
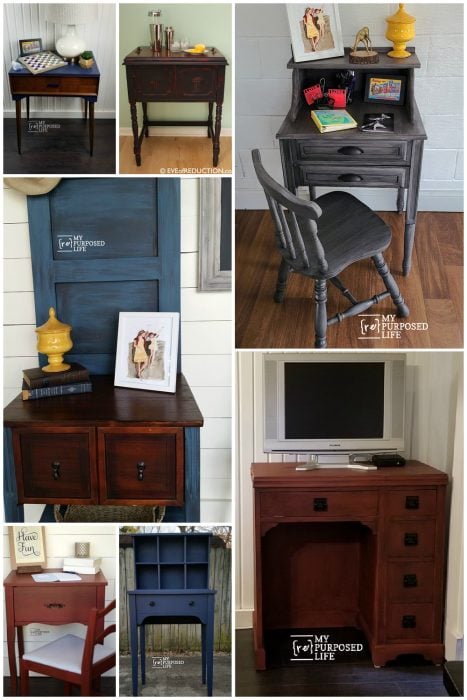
See More Sewing Cabinet Project Ideas
hi, this came out awesome! quick question… did you leave the hole in the top where the machine would sit once flipped up? and did you fill in the hinge holes once you decided not to keep the top attached?
Kimberly,
this isn’t my project, it was a guest post. I’m assuming that you are correct in both instances. If you look closely at the very small picture where the door is open, you can barely see that the hole in the top is still there. And if I were to do this, I would fill the hinge holes.
I hope this helps.
gail
Brilliant!!
It’s a great idea and I love the final color 🙂
Lucia