toddler bed bench
As an Amazon Associate, I earn from qualifying purchases.

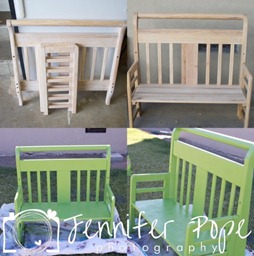 Hello my name is Jen from Jennifer Pope Photography! I am an avid creator and and I am thrilled to be a guest poster for My Repurposed Life. I LOVE to find projects and ideas from ” My Repurposed Life” and am excited to show you some of the things I am working on. My friends and I have started a re-purposing craze these past 6 months and decided to go all in, taking our skills to the next level with free items we come across. Here is my latest project. On Pinterest, I recently saw a toddler bed that was converted into a bench and loved it! So I was on the hunt for a used toddler bed that I could re-purpose. I was on the hunt for any kind of baby crib or used bed frame and the first thing I came across was a toddler bed. Tip #1: I am a member of my local Yahoo! Freecycle group constantly on the scout for old unwanted items. If you aren’t a member yet, JOIN! This is a group where people give away unwanted items. I might add, items come in all variations of conditions. Some good, some bad, but all in all, I have scored some pretty awesome items from this group. It’s basically people that don’t want to sell something or simply don’t have the time and would hate to throw it away. This is a great group for you mommys out there looking for things from Maternity clothes, baby clothes, baby toys, and so much more I even got a COACH purse one time! In any case, I got pretty lucky with this toddler bed and all it needed was a few small repairs and it was ready to re-purpose.
How to make a toddler bed bench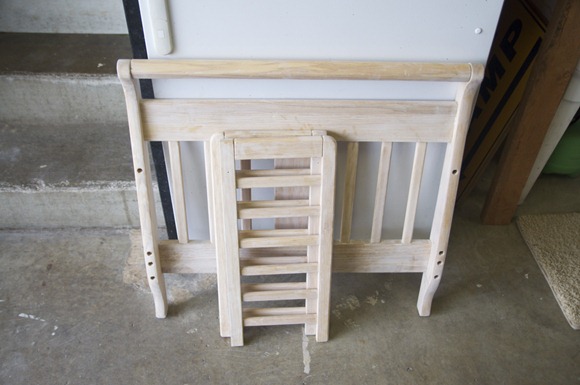 Step 1. { Sand } I used an 80 grit sanding pad, not paper, to sand the sheen/finish off so that the paint will stick. I used the sanding pad that has foam on it because it easy to use in your hands. I got mine from OSH but you can get it from Lowe’s too. It didn’t require a ton of sanding, but just enough for the paint to grab. Step 2. { cut } The bed has two ends so I used the tall end for the back and then turned the rails on their side to use as arm wrests. I had my husband use his saw to cut 2 slats up from the bottom so they sat shorter for arm rests. I bought longer screws to screw them in from behind. Step 3. { Glue & Assemble }
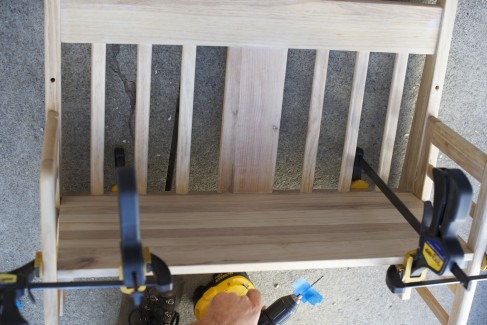
We glued all the bottom rails together with wood glue, clamped it, and let it it dry. After it dried, I used a power hand sander to smooth it out and remove the glue. I used 80 grit, then smoothed it down with some 220. After it was a solid piece, we cut it to fit within the two arm rests. Before we started assembling, we made sure it fit in between the arm rests nice and snug. We screwed it into the sides of the arm rests and in the back. Then with a little glue and some clamps it was together! ( and I still have the end foot rest to spare).
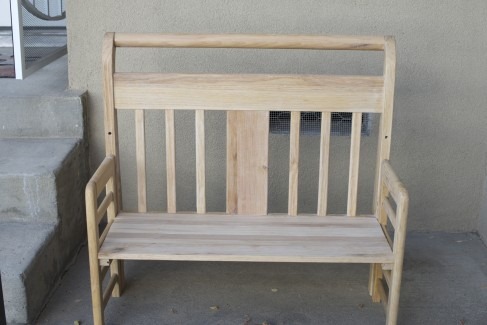
Step 4 { Prime } This is the fun part. I used Valspar grey Primer from Lowe’s and sprayed it. It dries very quickly!
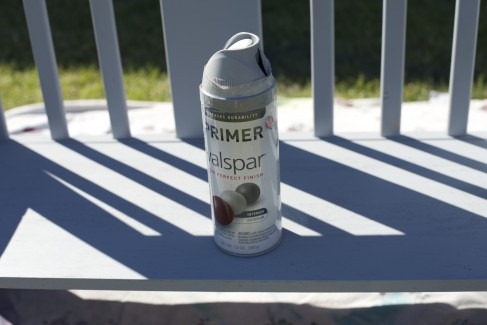
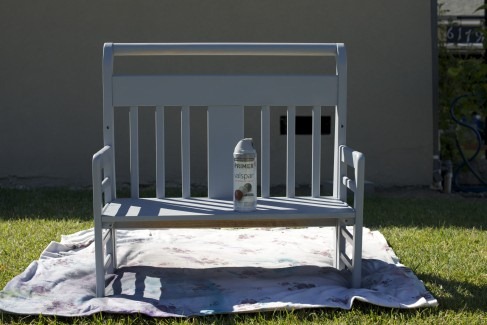
Step 5 { Paint! }- The Painting part was pretty easy. I used a nice green color so I can sit boys or girls on the bench for my photography sessions. The spray paint dries in about 12-24 hours. Afterward you should use a Clear Cleat spray paint to protect the surface. I used a glossy finish.
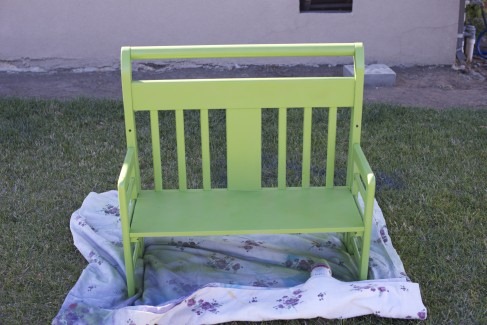
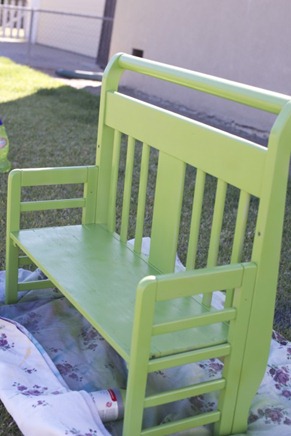
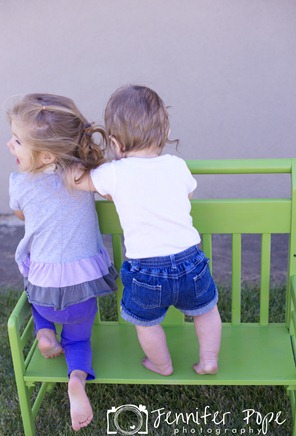
I am very excited that I can now use this for my photography sessions! Not only that, I have another to use in a few years. Here are some other projects I’ve been working on:
- Multi Colored Chairs
- Thrift Store End Table
- Children’s Chairs
and check out all these headboards and cribs I found in a dump pile! I have lots of fun ideas planned for these too!
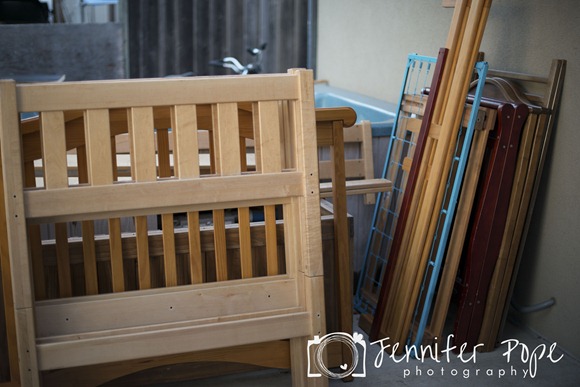
Ohh, Jennifer—I love your green bench, it’s a great photo prop! I sold a cute little pink bench years ago to a photographer for the very same purpose! Speaking of GREEN, I’m so envious of your stash! Lots of great stuff you found there. Thank you for sharing your lovely bench with my friends!
gail
See my favorite Mission Style Headboard Bench with Storage-The Complete Tutorial
See other fun benches here
Check out my other repurposed crib projects


Hi I’m planning on making this in the next few days and was wondering if you put in supports under the seat? I see extra wood there and was wondering what it was! I thank you for this idea! My 3 kids will love it!
This isn’t my project. It does appear that there are cleats on either side to help support the seat. Good luck with your project, be safe and have fun!
gail
These are all really cute…but I’m a dog lover…so of course I repurposed my toddler bed into the perfect dog bed! I have a bassett hound…so the bed is low enough that it is easy for Diesel to get into and out of! Please post more pics!
Cute!
~Bliss~
I am working on an Adult bench too!
What a fantastic piece. Not only a great idea but adorable too !
Hugs
Adorable…great job!!
The bench is very cute, but what I’m REALLY impressed with is her stash. Jealous!
Yay for California! Enjoy the perfect weather. 🙂
Love how this turned out….great little models too.Ü Wish I was blessed with the talent for reworking pieces like this. Loved looking over your blog links too.
Oh so pretty and what a great rescue of materials!