Picture Frame Wainscoting
As an Amazon Associate, I earn from qualifying purchases.
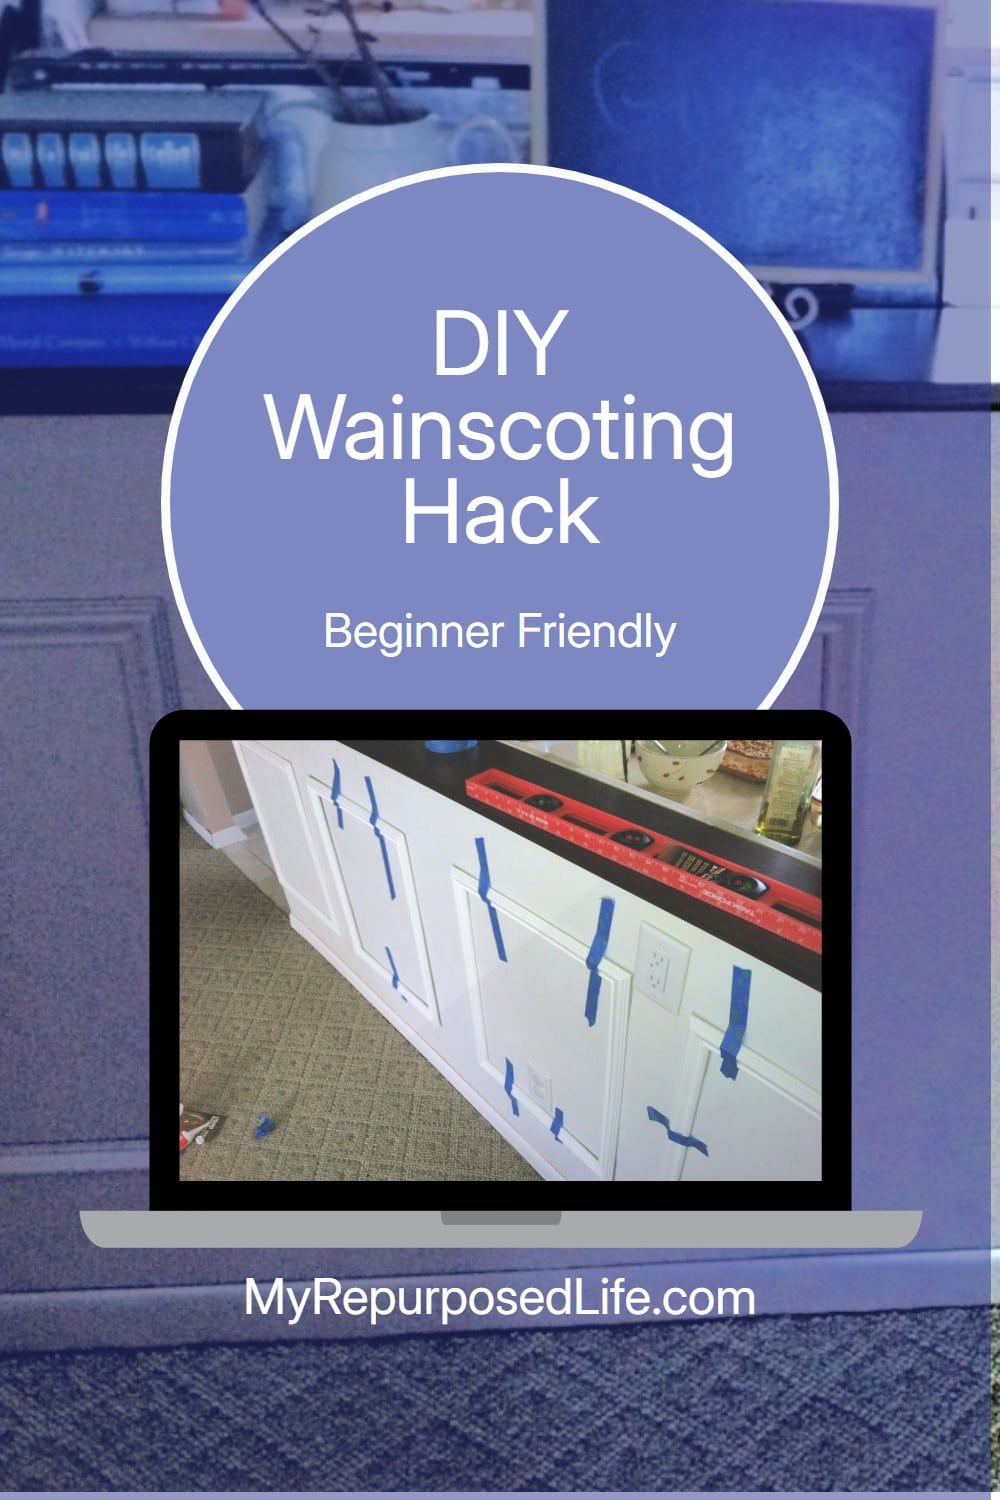
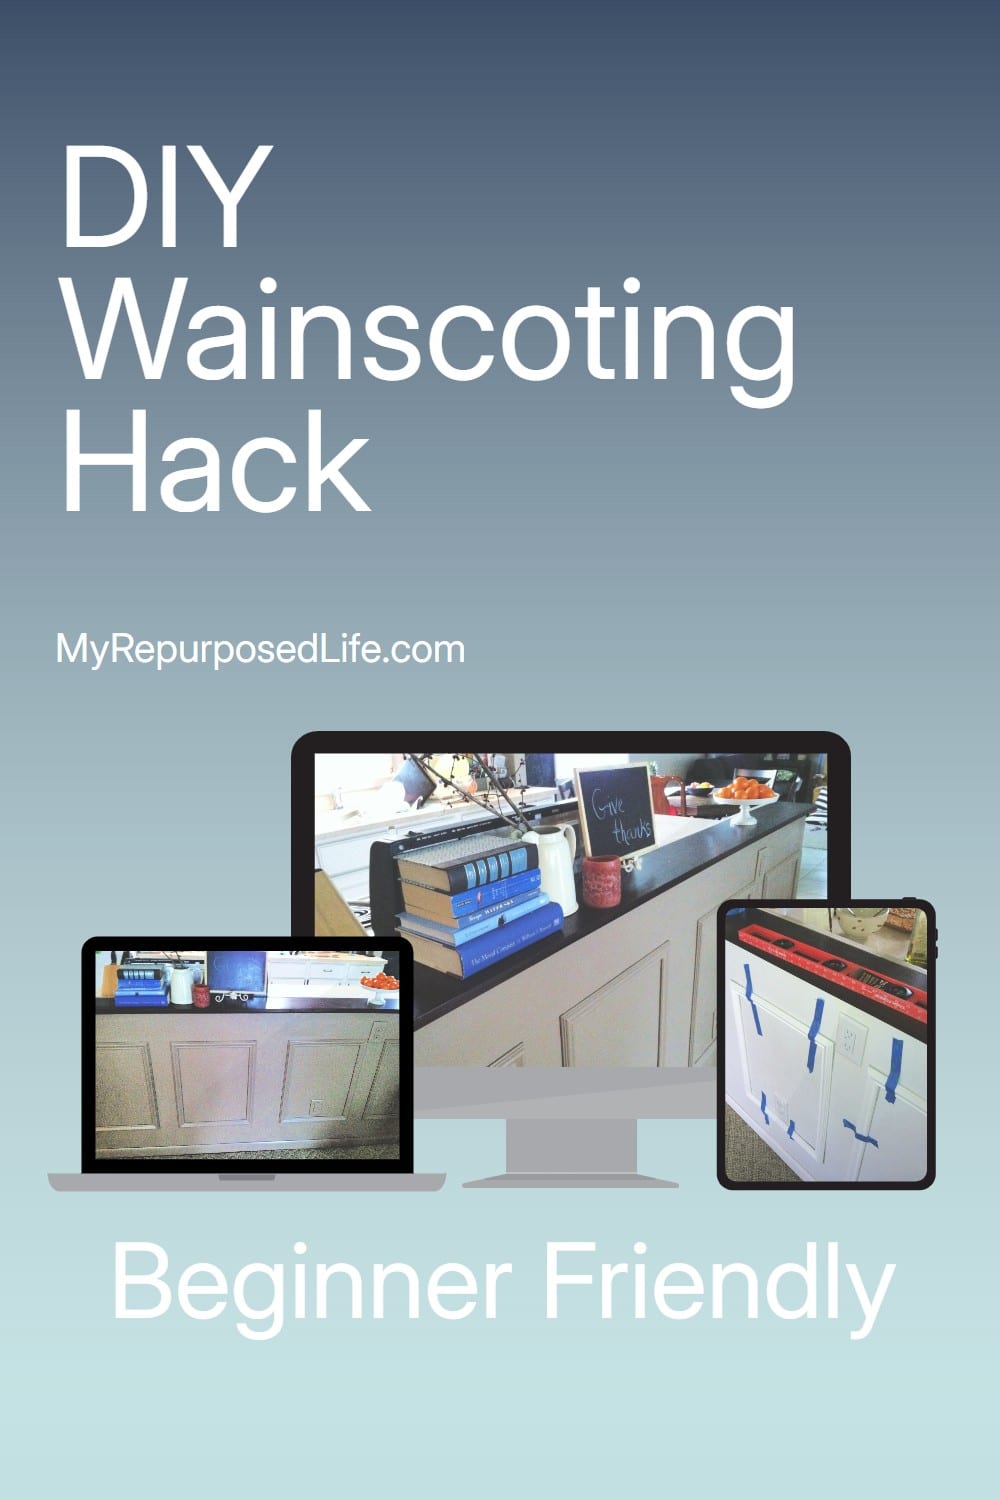
Picture frame wainscoting is a smart trick because it adds depth and charm to a plain surface without requiring many expensive materials. By spacing the frames evenly, keeping them level, and finishing the entire project with caulk, filler, primer, and paint, an ordinary half wall can take on the look of custom cabinetry. It’s a small detail, but it gives the whole project a more finished and intentional feel.
Hello! I am excited to be a guest here today with you, sharing some how-to tips. I am Casey, creator of Yes to Lovely, a little blog that is my creative outlet in addition to being a wife and momma. After several life upheavals and some loss in our lives. I decided I wanted to focus on whatever lovely thoughts, moments, or surroundings I could find, so as not to let life get me down. Hence, I choose to say “yes!” to lovely every day, and I compile lovely ideas and photos on my blog.
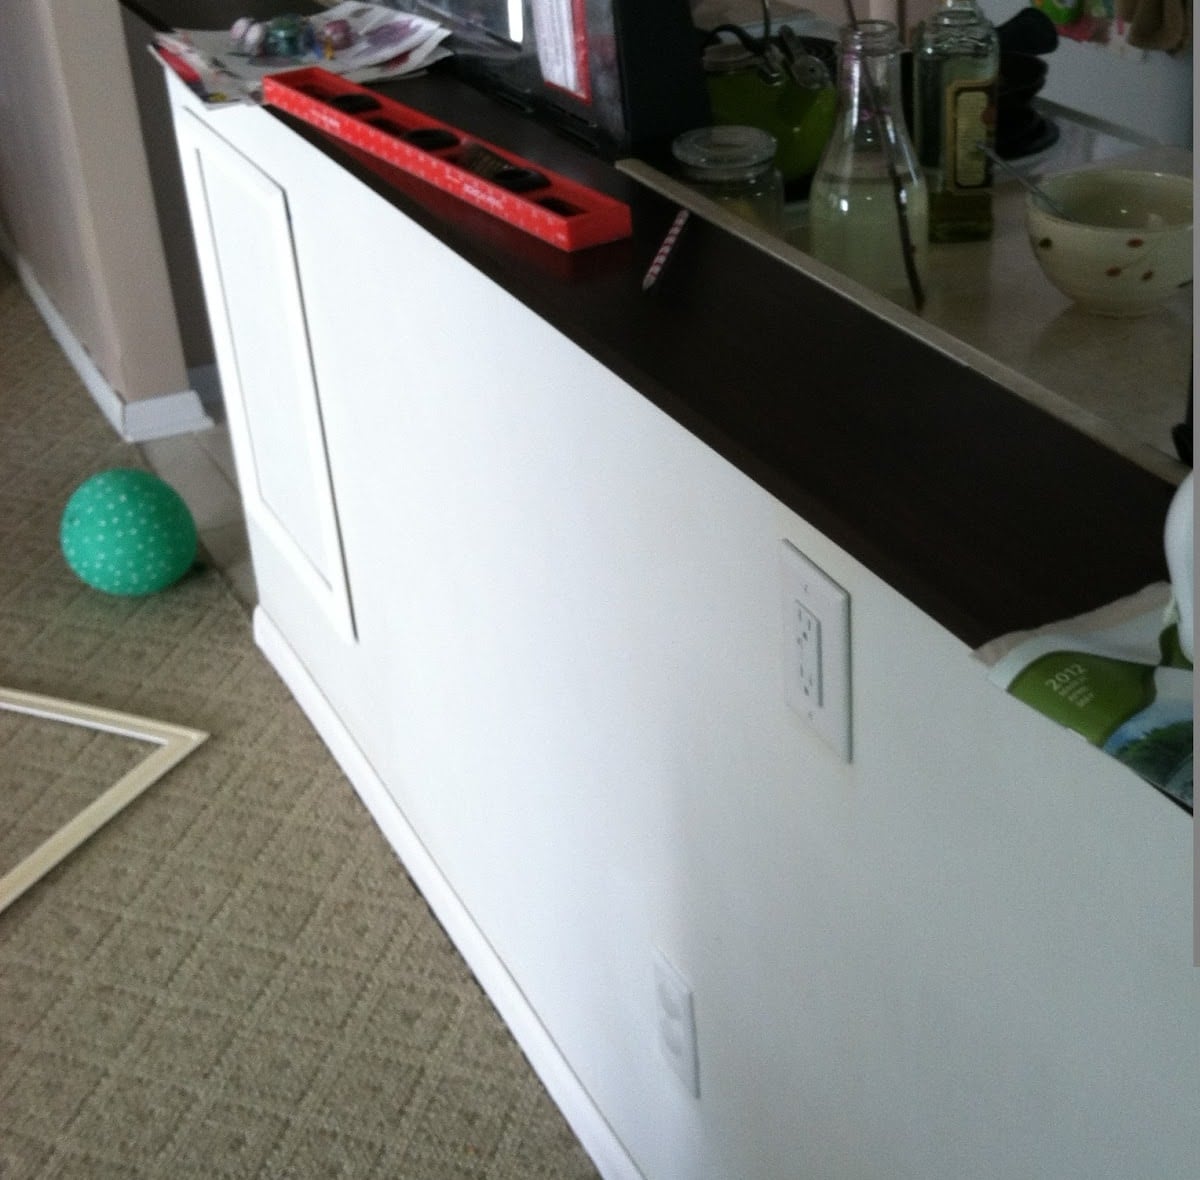
Kitchen Island Before Adding Wainscoting
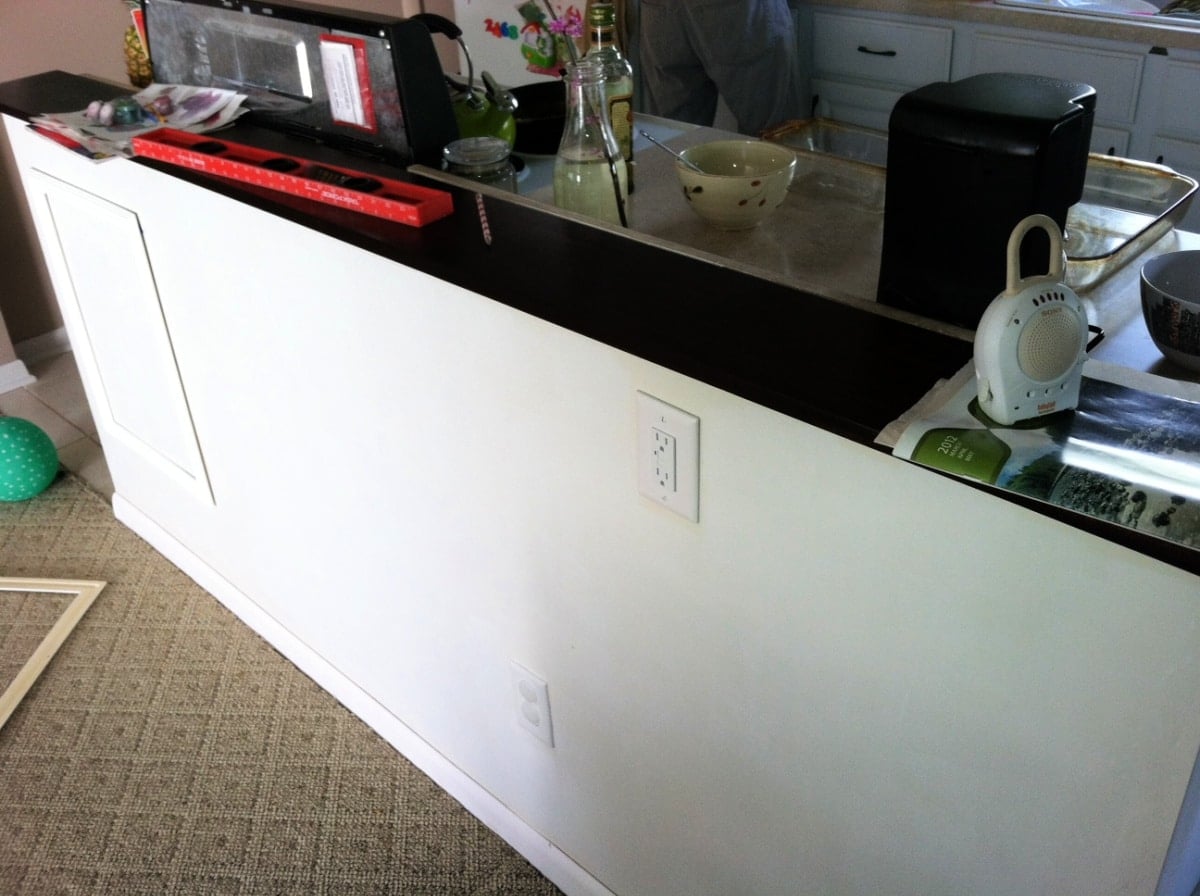
My husband and I recently took out a half-wall in our tiny galley-style kitchen. The project I am going to share with you today uses picture-frame wainscoting to make the half wall and lower cabinets appear like an island. I am excited about the low cost and the results!
Our galley kitchen was claustrophobic. With two toddlers, the space was getting nutty with four of us in there at a time. We knocked out part of a full wall and half a wall. This left us with a half wall in order to plug in our stove. We opted to turn the area into an island, and it is still a work in progress, with plans to remove the carpet and replace it with tile, add stools, and get a new stove.
But in the meantime, in place of traditional wainscoting, to fool us all into thinking it looked like a real island cabinet, we mounted a board, stained it, and to keep costs down, I applied plain white frames (available at any major home improvement store; I got mine at Lowe’s). This was an easier project than I expected. I was a little intimidated because measuring isn’t really my strong suit. I sew, cook, and do paint projects often with little measuring, and (usually) it all turns out. That’s just the way I think – but using the level and really measuring was quite fun, actually!
One reason wainscoting makes such a difference is that it adds character and dimension to a flat, plain surface. Even a simple wall or basic cabinet box can look more custom once trim is added. In this case, the picture frame molding helps the half wall feel more like a finished island instead of leftover construction from removing the old wall. It’s a budget-friendly way to add architectural detail without a full remodel. This fits the project’s goal of turning the half wall into something that looks intentional and more cabinet-like.
Using Picture Frames as Wainscoting
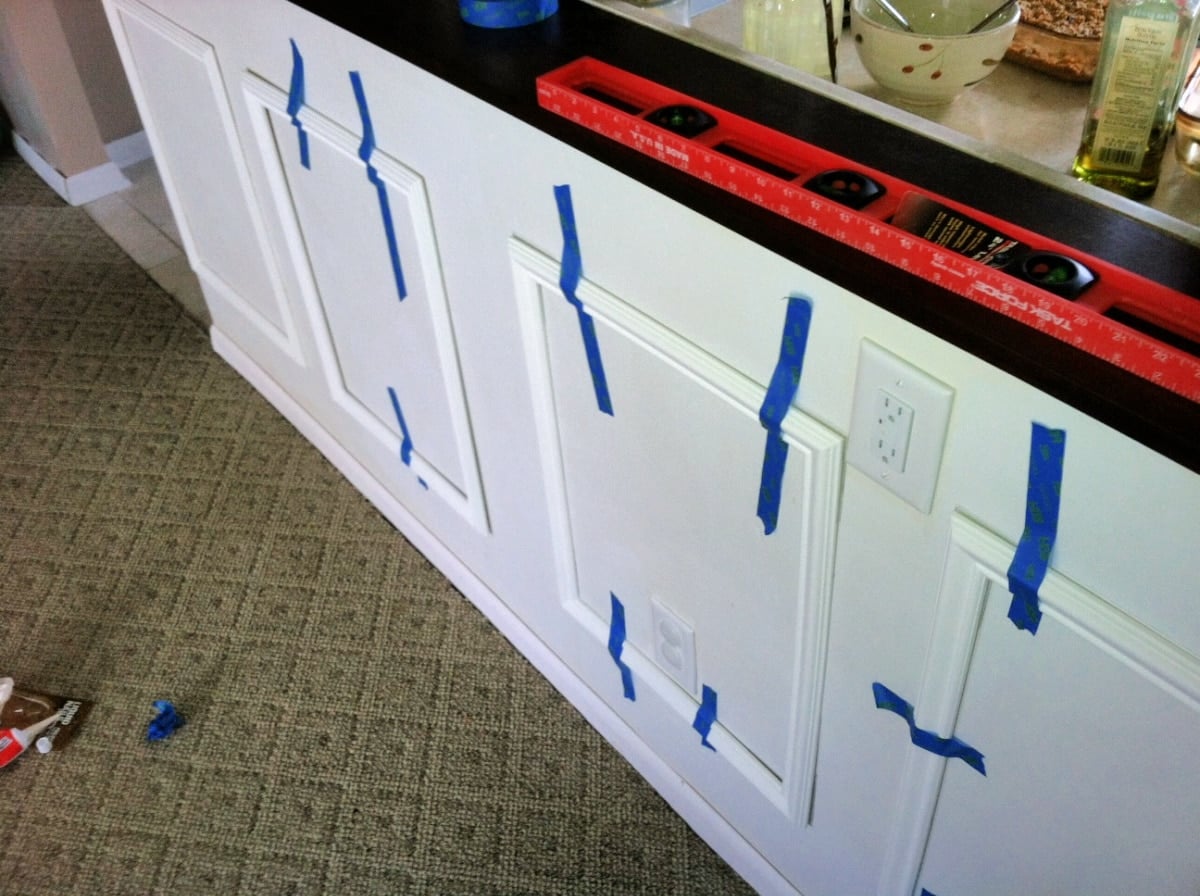
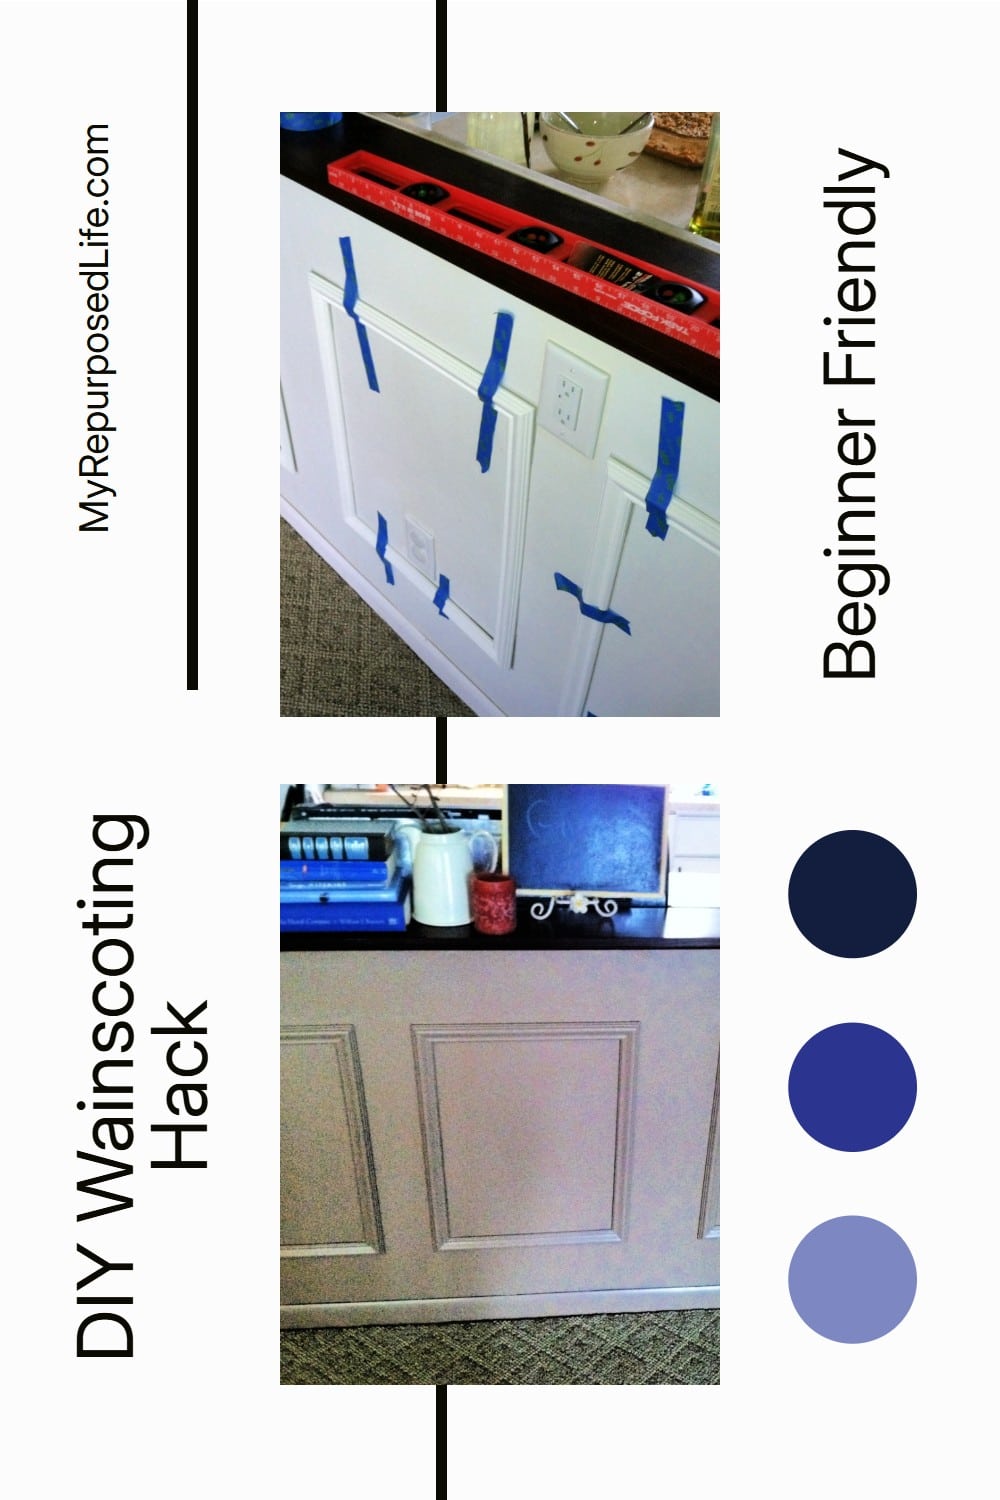
To start, I made sure to purchase enough frames to fill the space in a design I liked. So I bought four large frames, measured to make sure they would be evenly spaced, and then taped them to the wall with painter’s tape to keep them in place. The measuring was a bit tricky because we have an old house, and the floor is a wee bit sloped. So make sure you use a level, but sometimes, a bit of eyeballing is necessary to make sure it lines up with baseboard or chair rails.
After taping the frames, I outlined each corner with a pencil and removed them from the wall. Originally, I tried using Liquid Nails to adhere them to the island, but you have to be an octopus to do it. It takes a while to stick, and the frames like to pop off. So when the glue wasn’t working, I switched to finishing nails. Just pounded them in down the sides and on each corner. This step took only a few minutes. It does help to have a second set of hands, but re-taping the frame also works.
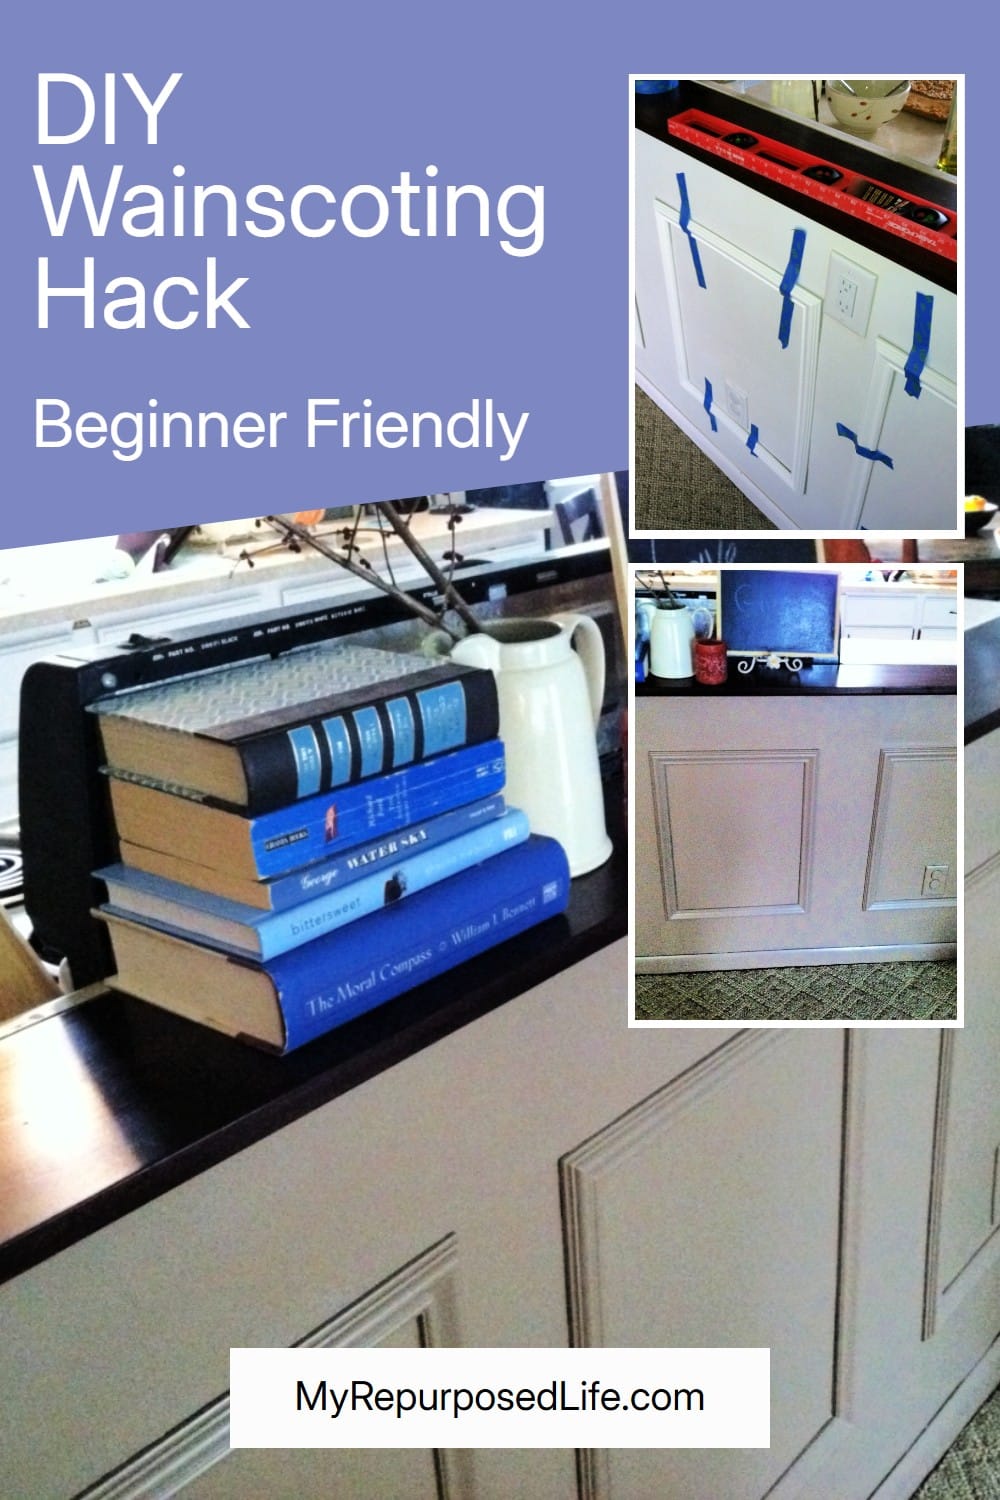
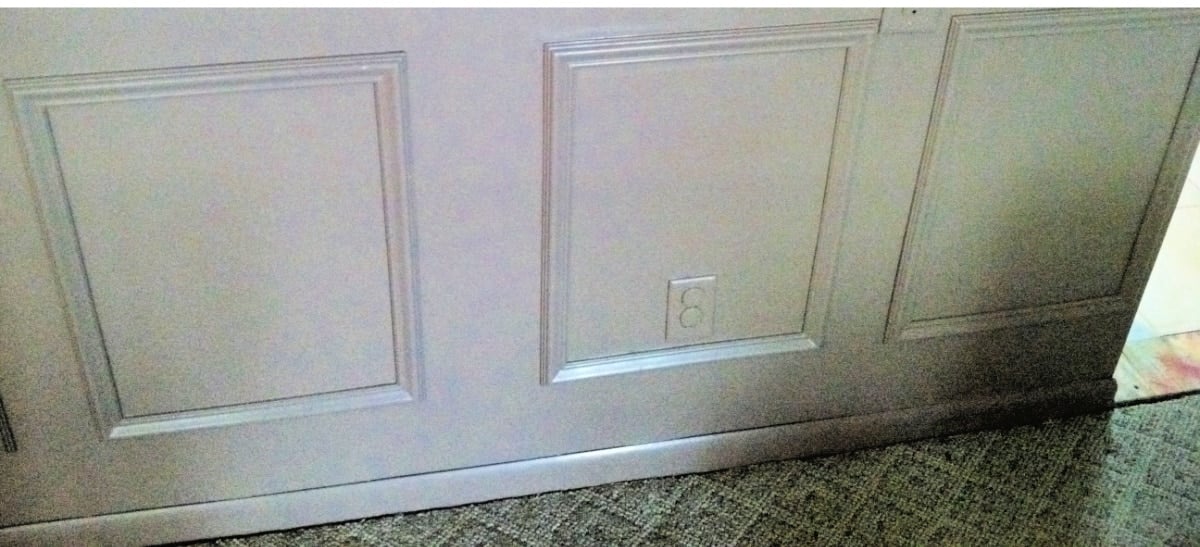
Half-wall Looks Like a Kitchen Island
Finally, I took some latex filler and covered the nail heads, primed and painted our makeshift island in a rich taupe hue, a contrasting color from our other cabinets.
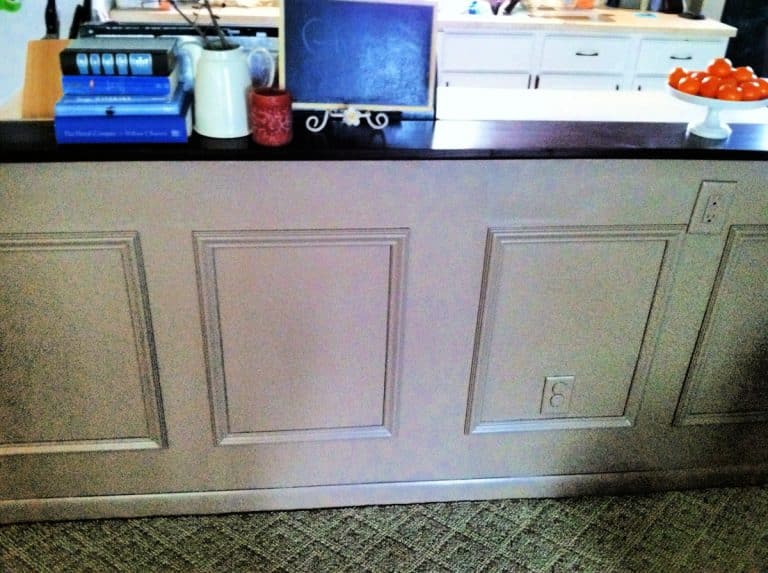
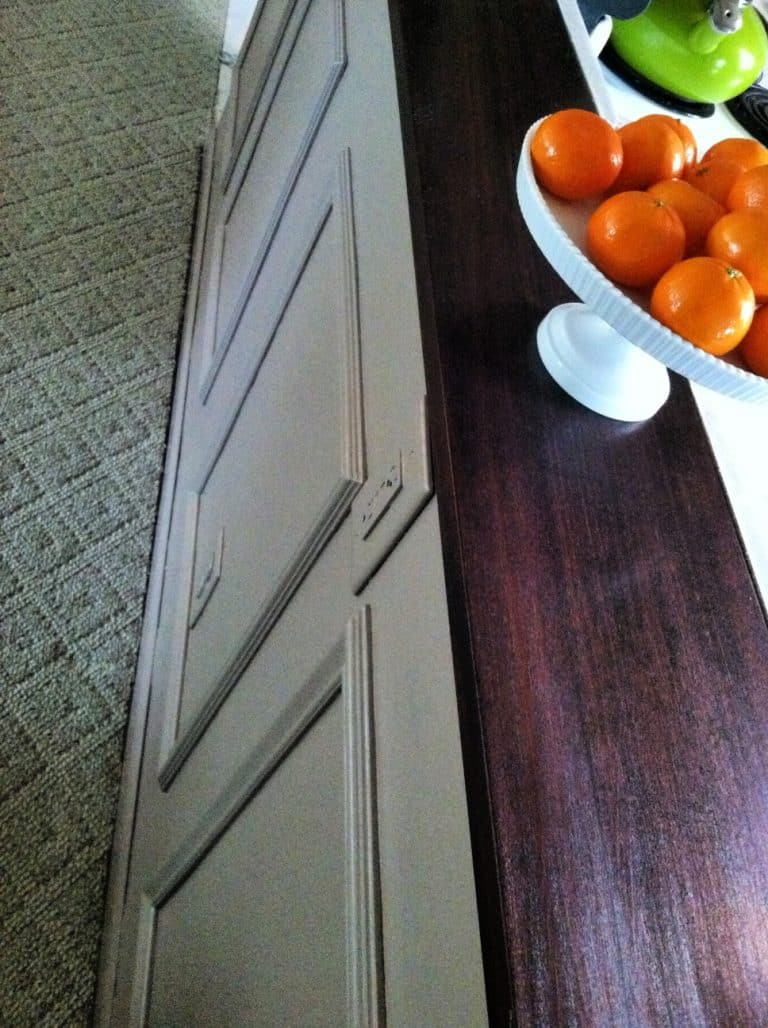
This project can save you quite a lot of time, money, and trouble if you want to use it in place of traditional frame wainscoting. I love how it turned out, if I do say so myself! Super satisfying project.
The nice thing about this kind of wainscoting is that it doesn’t have to be complicated. It really comes down to laying out the frames so they look evenly spaced, checking everything with a level, and attaching them securely before filling nail holes and painting. The post already shows that careful measuring, a little painter’s tape, finishing nails, filler, primer, and paint were enough to pull the look together. Those simple steps are what make the finished project look polished instead of pieced together.
It has been awesome sharing this today! Thanks for reading, and I hope you can transfer this project to your own home’s needs as well!
Casey
Wow Casey! That is an awesome repurpose! I truly love how your “wainscoting” turned out! I know my friends are going to LOVE this project! Thanks for sharing it with us today.
gail
Where did you purchase the frames for the wain coting.
Em,
I’m sorry–this was a guest post from another blogger, so I don’t have the answer to that question.
gail
That’s a very nice design. You took out the previous boring look. Thank you for sharing nice idea. I might try this one.